DIY Garage Mudroom
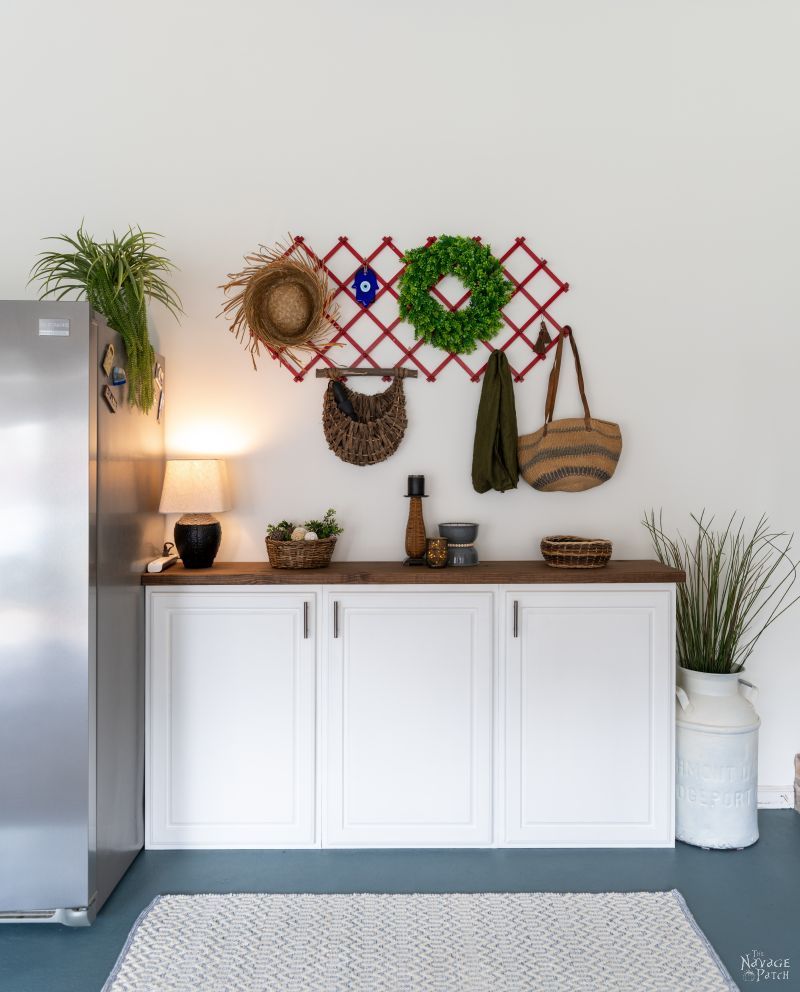
Our garage mudroom is a welcoming and comfortable space we created in an otherwise plain and uninviting area.
It’s a little bit ironic.
My babes has wanted a mudroom for years. In Connecticut, 99.999% of our arrivals into and departures from our home happened through the interior garage door. That door opened into the laundry room, and before we remodeled that room, I had made some awkward and lurching overtures towards something resembling a mudroom back in the early days of home ownership – before The Navage Patch was pulled into the world, half-formed and kicking. The room itself was perfect for mudroom status, but just as a kitchen isn’t truly a kitchen without a stove, oven and refrigerator, a mudroom isn’t a mudroom without a place to hang coats and a place to put muddy boots.
We had the coat hooks. They came with the house.
But there was nowhere to put our filthy winter slush-kickers. No fancy built-in locker-style cubbies with hooks and benches and boot depositories. It was just a room with a couple of hooks and a closet entirely occupied by an old and cantankerous pair of laundry machines.
At that point in time, my entire DIY resume could be seen and summed up in two pieces of furniture – two small tables – that I had bought raw and painted. So, naturally, I considered myself to be an expert on the subject of DIY and set out to build a boot rack.
One trip to Home Depot, two 2x4s and several screws later, I had something upon which boots (and shoes!) could rest. I wish I had a picture to show you, but I’m sure you can imagine unstained, un-sanded 2×4 pieces cobbled together. It wasn’t pretty, but it did the job. At the time, I considered it my crowning achievement.
And then my parents visited with their old friends, Joe and Karen. Joe had been a lifelong woodworker of some renown in the local area. I’m talking real woodworker – the kind who used hand planes and chisels and made beautiful pieces of fine furniture from exotic wood using highly detailed and arcane plans found in small-circulation woodworking magazines. He had heard about our new house and DIY projects and wanted to have a look.

My parents, Joe, and Karen came in through the garage door. Before Joe had time to take in these new surroundings, and before I had the chance to corral them all into the kitchen, my proud mother stopped in her tracks and pointed out the 2×4 boot throne that her precocious son had built.
I facepalmed and shrunk into myself. It was like having Rembrandt over for dinner and pointing out the cookie-fueled scribblings of the resident 5-year-old plastered on the refrigerator.
To Joe’s credit, he didn’t blow smoke up my ass or lie to me. He looked at the thing I’d built, chuckled and said, “That’s not woodworking.”

My woodworking skills increased exponentially after that visit with Joe and Karen. He must have seen some potential (or maybe he just pitied me), because shortly after their visit, he gave me his entire library of woodworking magazines in binders. He was wheelchair bound, and his woodworking days were behind him. I guess he hoped those magazines would get me out of Home Depot’s lumber aisle and into a WoodCraft store.
Once we remodeled that room, there was no longer a place for my cruddy old boot rack. In fact, the new laundry room was so beautiful, the only nod to “mudroom” status was a DIY mudroom organizer we made and a small DIY coat rack.

Then we moved south, to a place with no winter to speak of – just a few blustery days between fall and spring. No need for winter boots or heavy parkas.
So, yeah, it’s a little bit ironic that now is the time my babes gets her mudroom.
DIY Garage Mudroom
Keeping in the spirit of Using What We Have, almost all of our garage makeover will be completed with materials we already have on-hand, and the garage mudroom is no exception. Since squirreling away twelve of our old kitchen cabinets during our kitchen remodel, we’ve managed to put all of them back into service. I’m using seven in the basement for paint/stain/miscellaneous storage, two will be used for our military locker makeover and the remaining three are the foundation of our garage mudroom.
Painted cabinets
But the golden oak had to go.
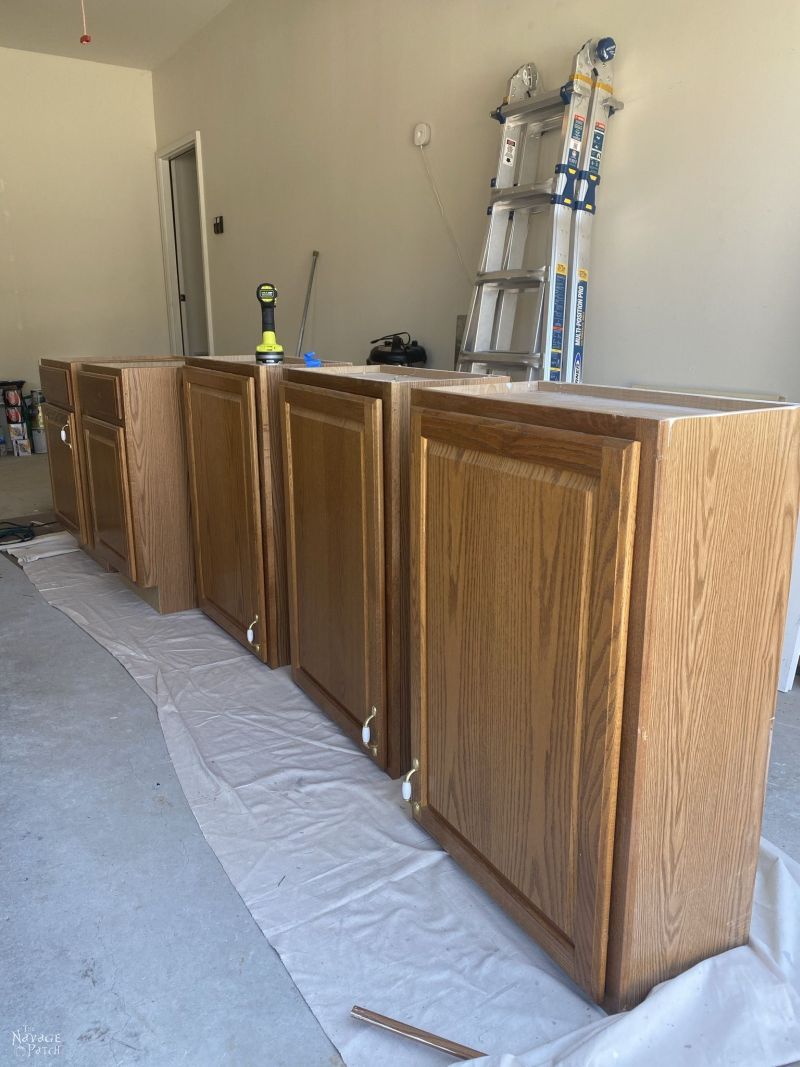
To update the old 90s look, we chose simple white paint, as it will help to keep the garage and the mudroom feeling light and welcoming.
Like most cabinets, these had a glossy, oil-based protective finish. If I tried to paint these directly with water-based latex paint, the oils from the old finish would bleed through. It’s possible I could have painted with oil-based paint, but for the sake of touch-ups and ease of possible future repainting, I like to keep things water-based. But on a finish like this, even water-based primer won’t cut it. So the primer had to be oil-based, which is fine – I always keep some in the basement for just such occasions.
Can’t beat oil-based Kilz. The gold standard for primer is (IMHO) Zinsser BIN, but it costs 50% more. For most jobs, simple Kilz will do.
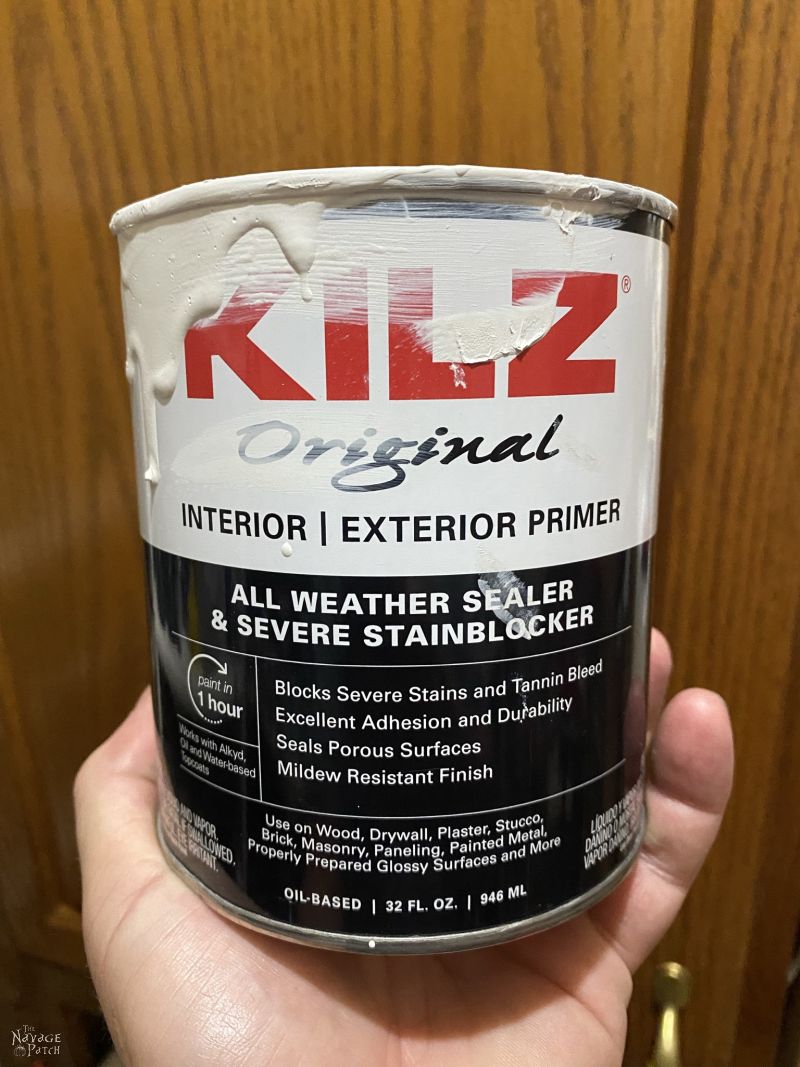
The trick to priming for optimal adhesion is one thin coat. There’s no need to glop this stuff on and no need to try to achieve any sort of color coverage. You just need enough on there to stick to the old finish and adhere to the new paint.
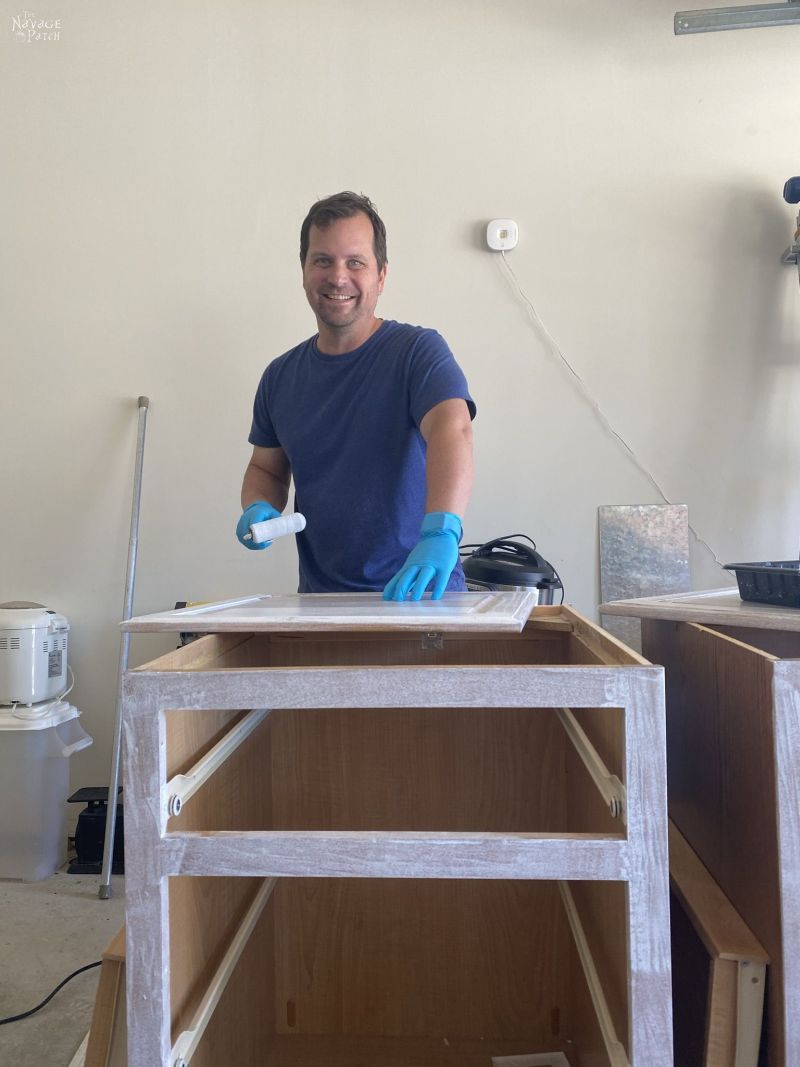
After three coats of paint, we brought the cabinets back inside to cure overnight. The next day, my babes and my boy brought them back into the garage.
Assembling the garage mudroom cabinets

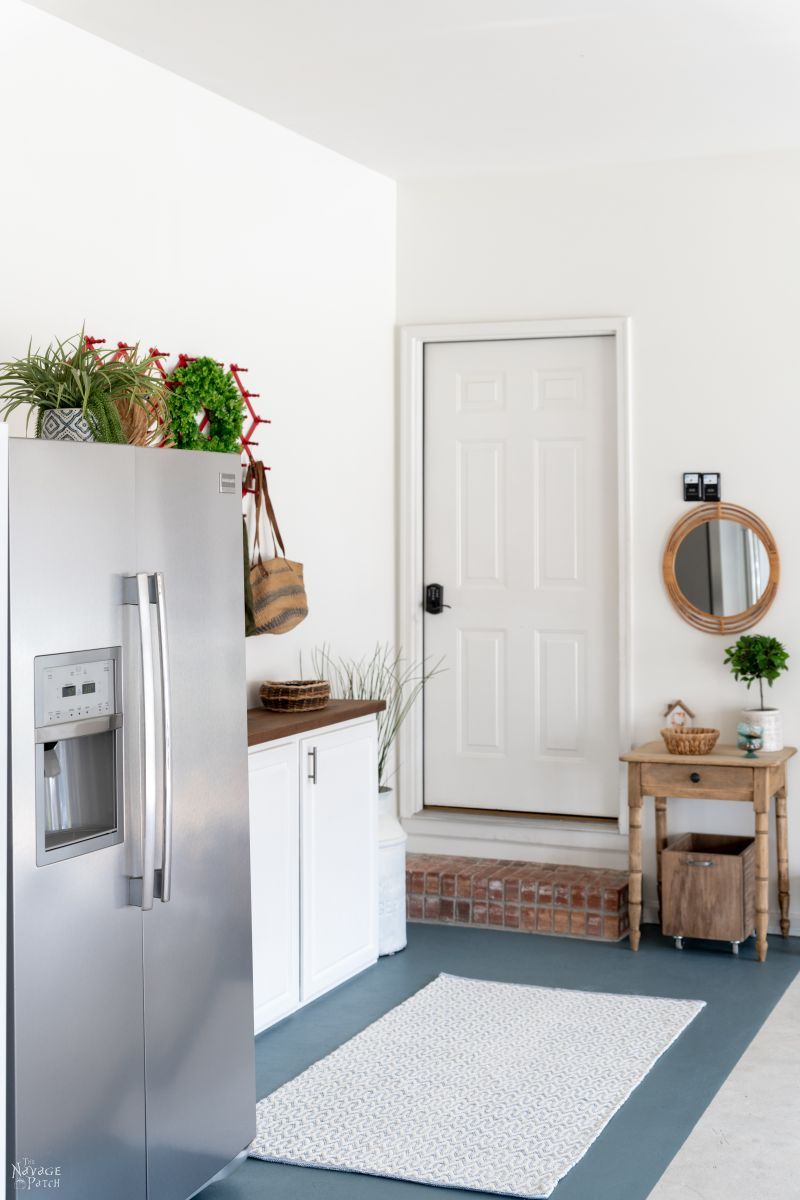
They placed them along the wall near the door and next to the refrigerator.

We put three cabinets in a row. These were upper cabinets in the old kitchen, so they’re only a foot deep. But 12 inches is more than enough room to hold garden shoes and sandals and some other goodies, too.

After lining up the cabinets, I screwed them together to keep them from shifting. All it needed now was a countertop.

As you can see, Handan couldn’t be bothered to wait until the garage mudroom was finished to start adding decorative touches like the rug and the milk can planter. Of course, the rug isn’t just decorative. It not only brings a cozy feel to the space, but it also helps keep the house (and the garage floor paint) clean.

Building a countertop
Getting back to the countertop, fortune favors the packrat, as we just happened to have leftover 2x8s from the storage room we built in the basement last fall. Handan wanted the countertop to be 14 inches deep, and these 2x8s are 7 1/2 inches wide. I just had to trim 1/2 inch from each and then glue them together.

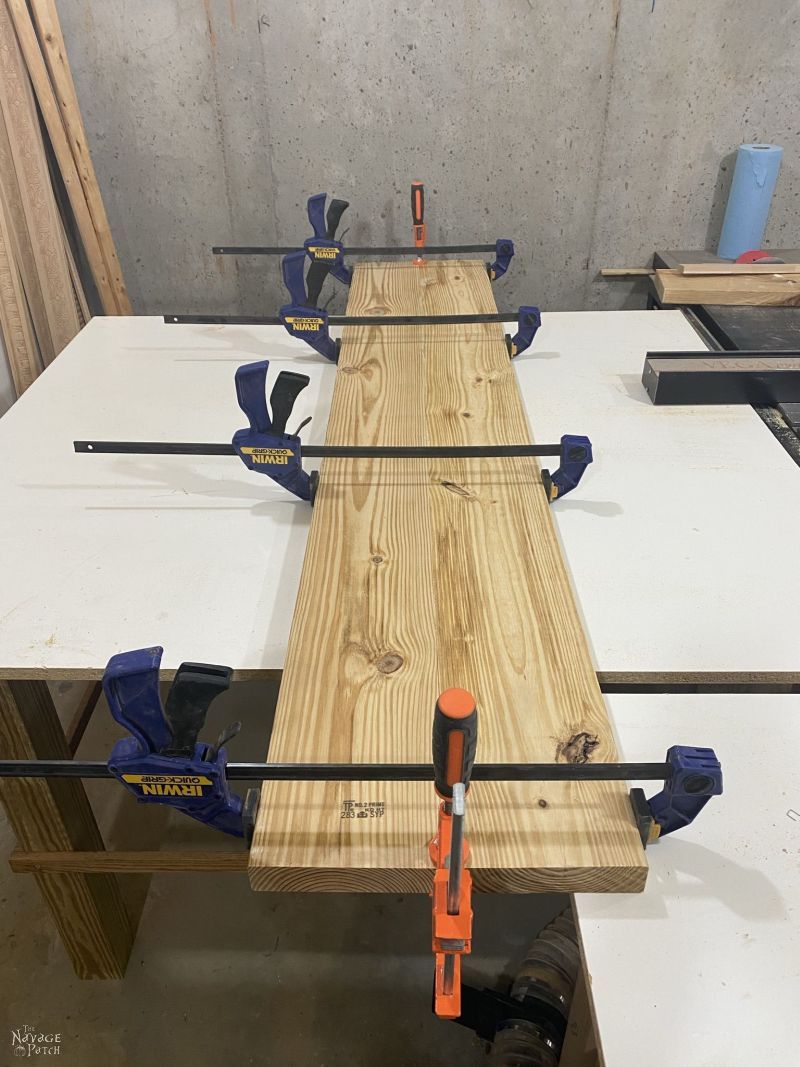
If I didn’t have these 2x8s, I would have found another way to make the countertop work using 2x4s or 2x6s. I have them all in the basement, and with wood prices what they are these days, I really didn’t want to make a trip to the lumber department. I’ve grown quite attached to my arms and legs, and the thought of handing one of each to Home Depot as payment struck a sour note with me.
When the glue dried, I brought the countertop upstairs to see how it looked in its new space. Sanding and staining would happen after I helped my babes hang the coat rack.
Handan found this red accordion coat rack years ago at the Put & Take in Glastonbury. I’ve wanted to throw it out a thousand times. I couldn’t ever imagine using the damn thing. Of course, my babes had to go prove me wrong.
Again.
But it’s actually perfect hanging over the garage mudroom cabinets, and since we don’t have a lot of coats to worry about down here – especially now that it’s swamp season – Handan is free to decorate the rack to her little heart’s content.

Putting it all together
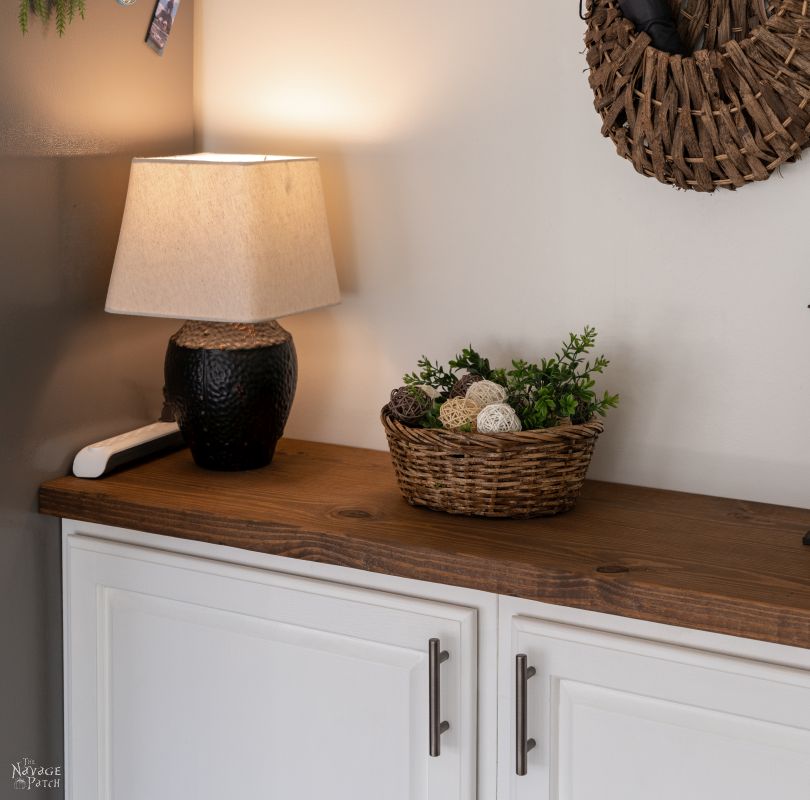
After hanging the rack, I let Handan loose to decorate it, and I headed to the basement to sand and stain the countertop, first with Varathane English Chestnut for some red tones and then with Minwax Dark Walnut for the browns. I hit upon that mixture when trying to color-match a scrap piece of acacia butcher block countertop that I’ll be using elsewhere in the garage. I’m now using it for all the wood tones in our garage makeover.
While the stain dried, I installed new hardware to the cabinet doors – simple and clean and similar to the ones we installed in the new kitchen. As soon as I brought the countertop up and laid it in place, my babes started filling it with all the homely touches to make our little mudroom a warm and inviting corner of the garage.

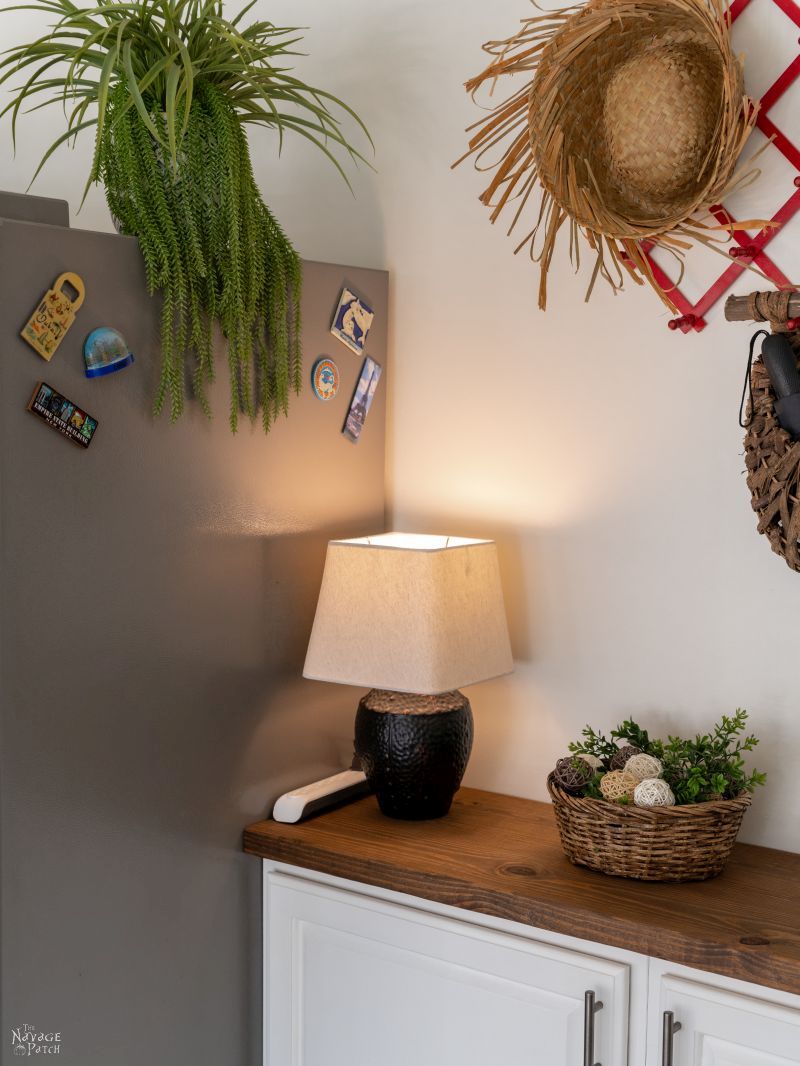
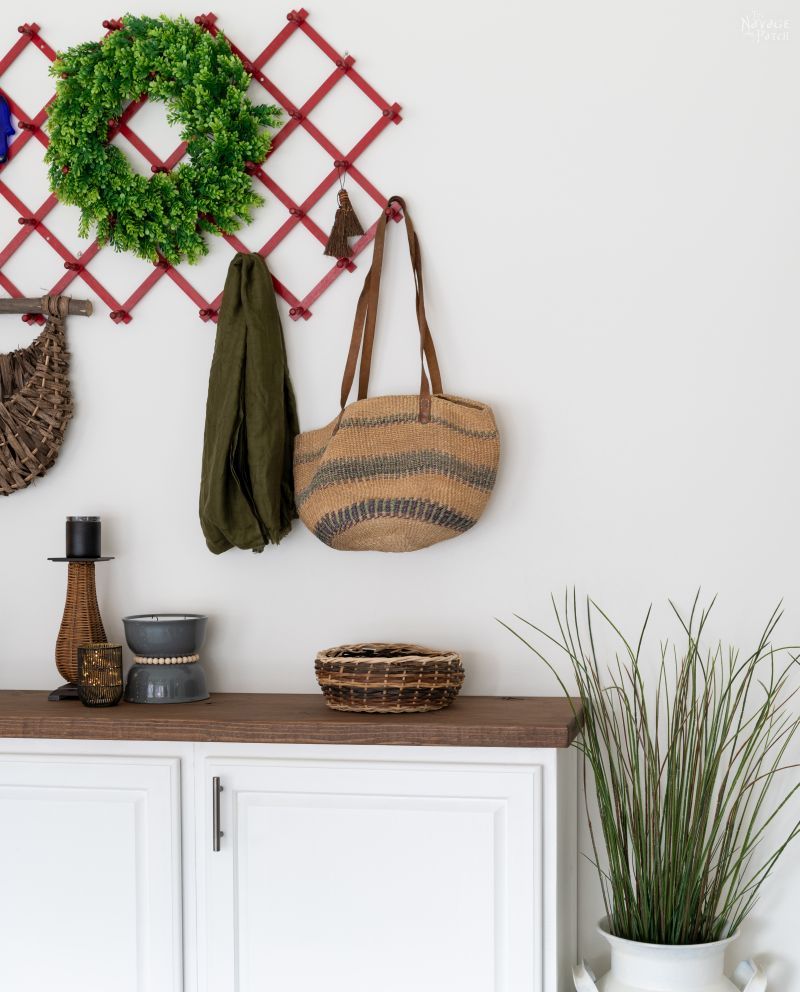

The “boot rack” lol.

And some good storage for water and soda.

This pool-smelling city water is fine for pasta, but for coffee, tea, Penny and Pepper, bottled is better. Just mention “city water” to the girls and see the look you get in return.

I love our garage mudroom at night.


Garage Makeover Checklist
Paint the wallsPaint the garage floorInstall smart garage door openersBuy a garage ready freezerCreate a garage mudroom area- Buy or DIY a small side table for the entry
- DIY locker makeover
- DIY shelves for the lockers
- DIY folding work table
- Garage organization
We love it when you share our posts on Facebook and Pinterest!



How do you keep spiders from building webs all over everything in your garage without removing spider webs daily? It is a struggle and I have given up.
Hi Wilma, it’s not a very buggy garage to begin with – at least compared to our old one! And since we’re out there using it so much, that area stays pretty clean! Bugs and spiders do congregate a little more in the corners near the garage doors, but not so much in the areas we use a lot.
OMG! This is GORGEOUS!!!
Thank you, Shirley – we love it, too!
You guys always do such a great job! This is a mudroom at a whole new level!
Thank you so much, Patti! 🙂
Looks so clean and fresh! Afraid that would be my husbands catch all for tools though.
The price of lumber has put some of our repairs and projects on hold for now. Our scrap wood pile is GOLD and is being hoarded. They say it should start coming down in price around November. Yeah, right! Not believing it!
Thank you, Les! I won’t be cluttering this area with my stuff, but wait until you see the military locker makeover! I’ll be putting a lot of my stuff in there! 🙂
LOVE the picture of the “girls”. They add more dimension to your blog articles. Your projects look so professional when you’re done. Thanks for sharing.
Thank you, Cynthia! I’ll add more of their pics in the future! 🙂
It looks gorgeous! Another win for Handan!
She must be getting tired of all that winning, lol! ?
“Fortune favors the packrat.” HA! Perfectly put, especially for artsy-craftsy types who hang on to leftover supplies and materials because you Just. Never. Know. when you might need something for a future project! I always appreciate a zero-cost project that turns out this good. Nice job! (I will request a pic of the dogs in all future project reports, though. A dose of canine cuteness never hurt anybody.)
LOL, thanks, Deb! Yeah, we’re doing a lot of low-cost projects these days. I’m really happy Handan made me move all of our scrap wood from CT to GA. It’s worth a fortune now! 🙂
Fortune favours the pack rat! Yes, it does! I’m constantly trying to explain to Mom WHY I can’t throw away that seemingly useless piece of timber or door handle, but she just doesn’t get it…until I use it for something else! Looks great, as always. Would love me a mudroom…or just another room in our house. Any room. A walkway. Something! ?? Our front door steps directly into our living room. And at the moment with our sandy front garden and it being winter, the amount of sand and debris that gets brought inside is just ridiculous!
Hey Jay! Yeah, it’s always a nice victory for Handan when some random thing I mentally cataloged as junk gets pulled out of hibernation and pressed into service. The successful packrat must also have a mind like a database to keep track of all the crap, and Handan has that for sure! If you can’t build inward, maybe you can build outward? DIY Mud Vestibule?
Your vehicles must love their new digs. Even the color is right for them. Great job as always.
They do, Melita – thank you so much! 🙂
This is such a good idea! It means I can have one small space in our one-car garage that stays clean and tidy (maybe….). Love it.
Thanks, Karen! It’s such an easy DIY, too! 🙂
Awesome inspiration Gregg!
Thank you, Connie!
That mud room is beautiful.
I’m a bird lover so the video of the Blue Jay was really neat. We have several feeders so attract a lot of birds to our yard.
Thank you, Judith! Yeah, that yard was full of wildlife! 🙂
I’m jealous!!
Thanks, Lynn! 🙂