Antique Sewing Machine Drawer Upcycle
For this Antique Sewing Machine Drawer Upcycle, we used the drawers from an old Singer to make a rolling storage solution for our craft room!
A couple of winters ago, I got a message from an old friend and coworker. Her mother had just passed, and she was faced with the difficult task of cleaning out her mother’s home in southwestern Connecticut. Not wanting all of her mother’s possessions (and her memories) to be sold to strangers, Paulina asked if Handan and I would be interested in taking some of the pieces to use and work on for the blog.
We agreed!
Some of the furniture we put to use as-is, other pieces are marked for future projects, and one was just perfect for our craft room makeover.
This beautiful antique Singer sewing machine served Paulina’s mom for decades.
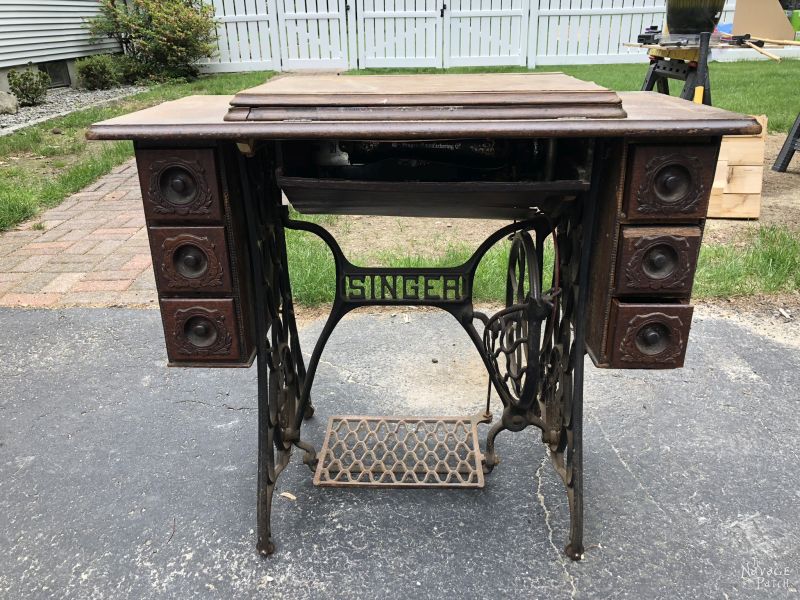
It was well-loved and well-used. It would have needed some work to make it functional again as-is, but Handan knew that we could do something awesome with those antique sewing machine drawers.
She kept those drawers in mind as the months ticked by. They had to fill a need. The project had to make sense and fulfill a purpose.
And my babes just found their purpose!
Our craft room makeover is all about storage solutions, big and small.
I just showed you our big solution with the West Elm inspired DIY storage towers, and these little drawers are a perfect small-item storage solution.
Let’s have a look at how we did it.
Antique Sewing Machine Drawer Upcycle
So I’ve told you many times how bananas Handan is about ornate picture frames. What I haven’t told is that she is equally bonkers about spindles.
And I mean loony, ladies!
Yep, we’ve got spindles coming out the wazoo, and that’s no place for a spindle!
o_0
Anyway, for 6 years, my babes has been chopping spindles off everything from baby cribs to broken headboards to beaten-up hutches. Of course, when I say, “my babes has been chopping,” I mean I’ve been chopping… under direct orders from ze Commandant.
And what has my beloved babes done with the hundreds of spindles squirreled in every nook and cranny of our basement?
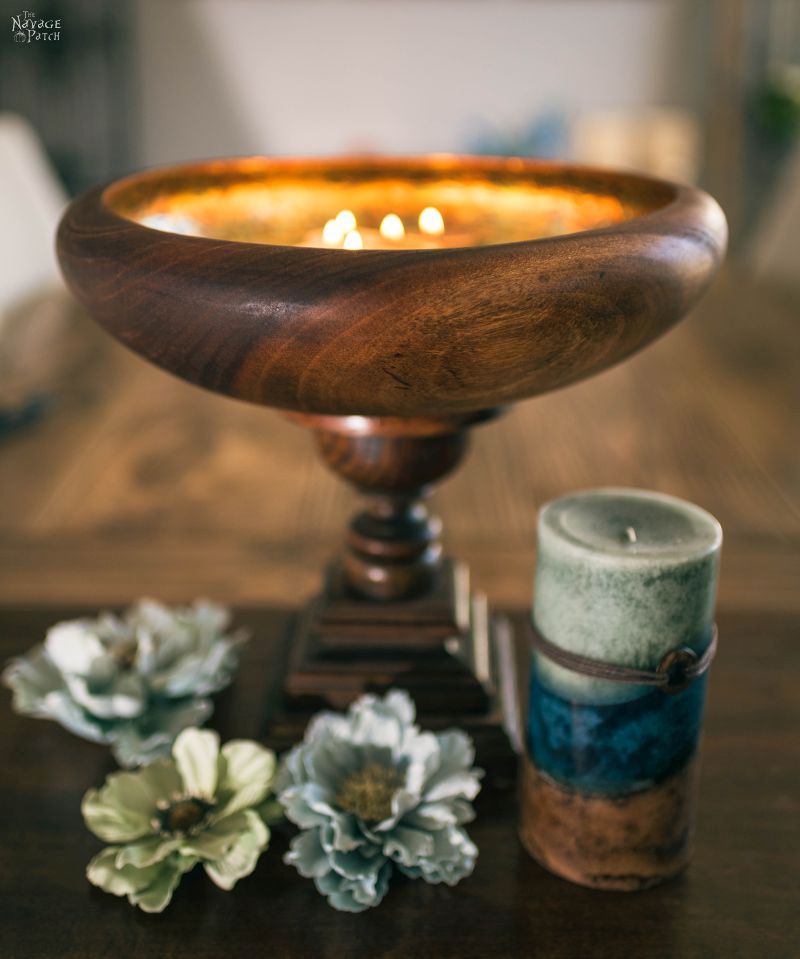
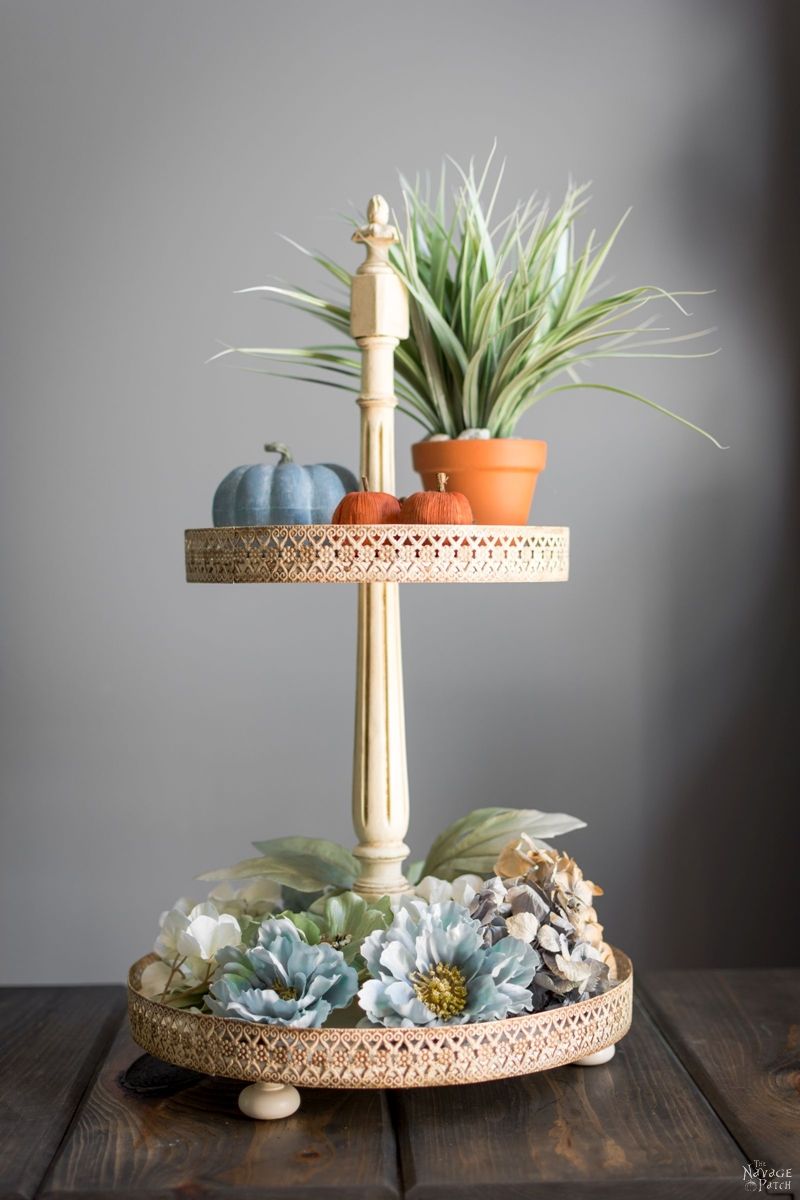
Well, there was this gilded bowl centerpiece, for one.
And then there was this tiered stand she made.
But other than that?
Yep, a whole lotta nuthin’ on the spindle front!
6 years of intensive spindle farming and only two measly projects to show for it!
Who here wants my babes and me to make more spindle projects? Let us know in the comments!
No Spindle Left Behind!
That’s my new slogan and the platform I’m running on as a candidate for Blogger-in-Chief!
To prove my commitment to our new Spindle Initiative, I shall incorporate them into this antique sewing machine drawer upcycle!
Here’s what we started with.
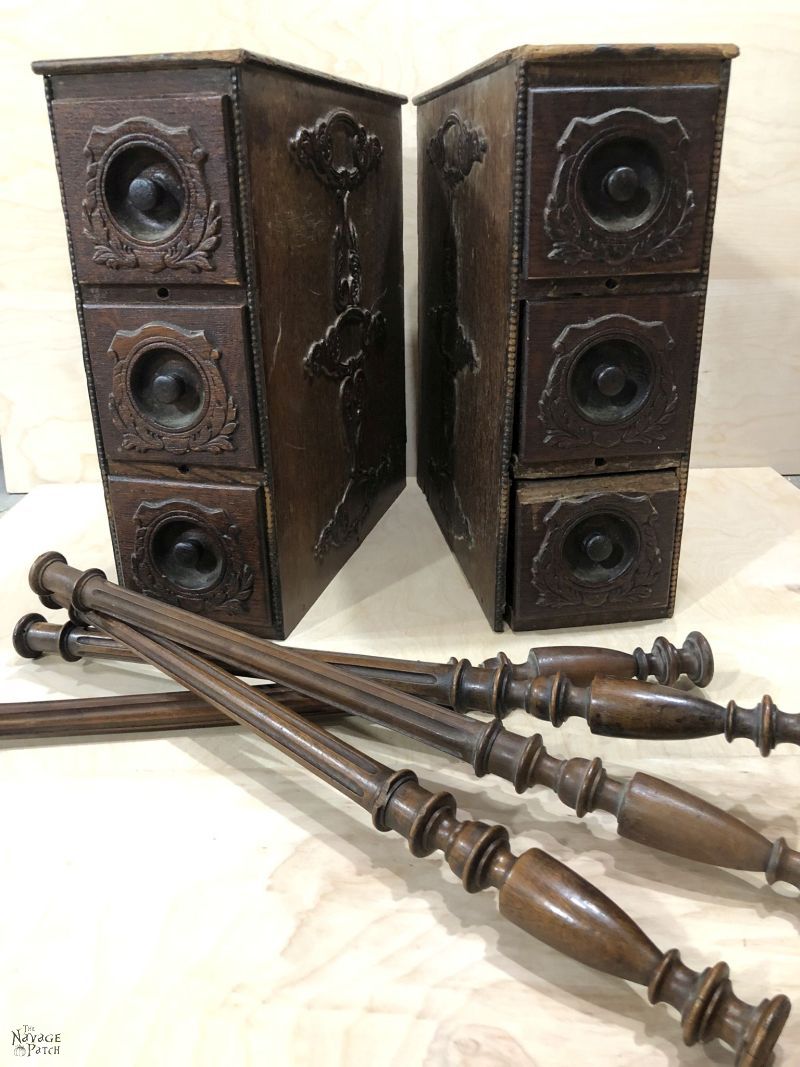
Now, those spindles were too long for what we needed, so I cut them to size.
And guess what?
This created 8 spindles where once there were 4.
So even after this project, we still have the same number of spindles hiding in our basement!
GAH!
Anyway, the idea was to make a rolling storage cart for the antique sewing machine drawers using spindles and some 1/2 inch plywood.
But first, we had to attend to the drawers. Time and use had taken their toll (just like on me.)
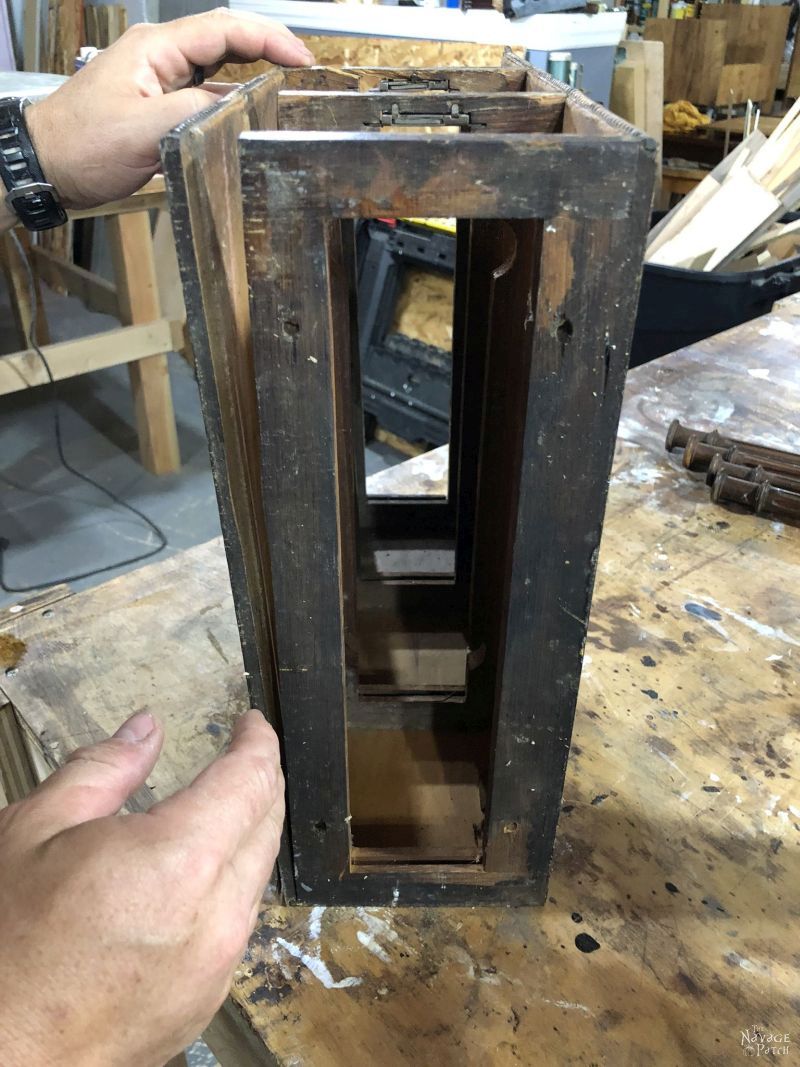
I removed the frame around the top of each drawer cabinet.

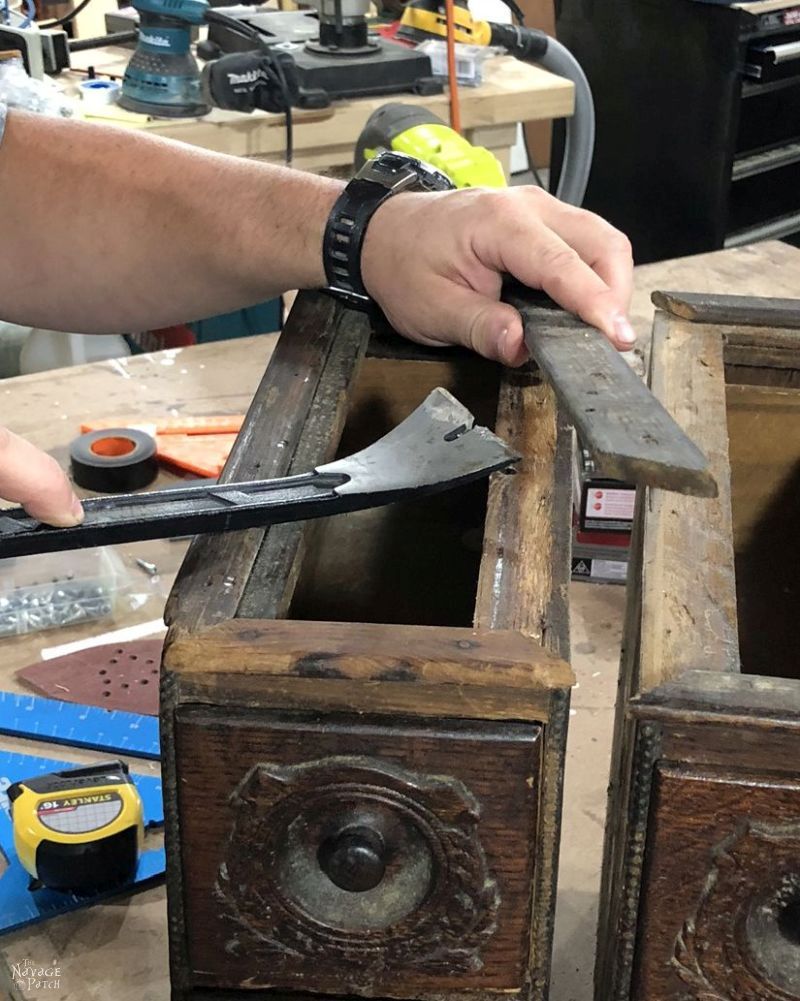
Next, I removed the drawers. You may have noticed in the earlier photo that one of the drawers was missing a chunk. We figured I’d have to sculpt a replacement from scrap wood and glue it in place.
But as I prepared to repair one of the broken cabinets…
Behold!
The missing piece!
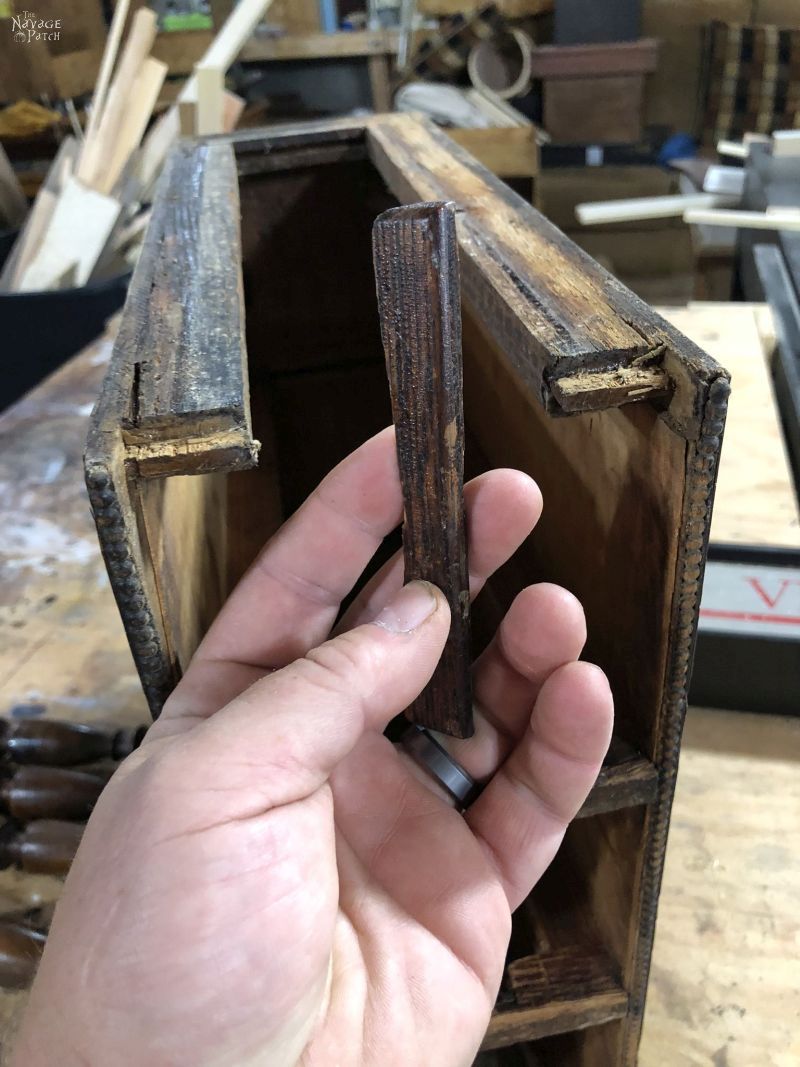
Ooooh….
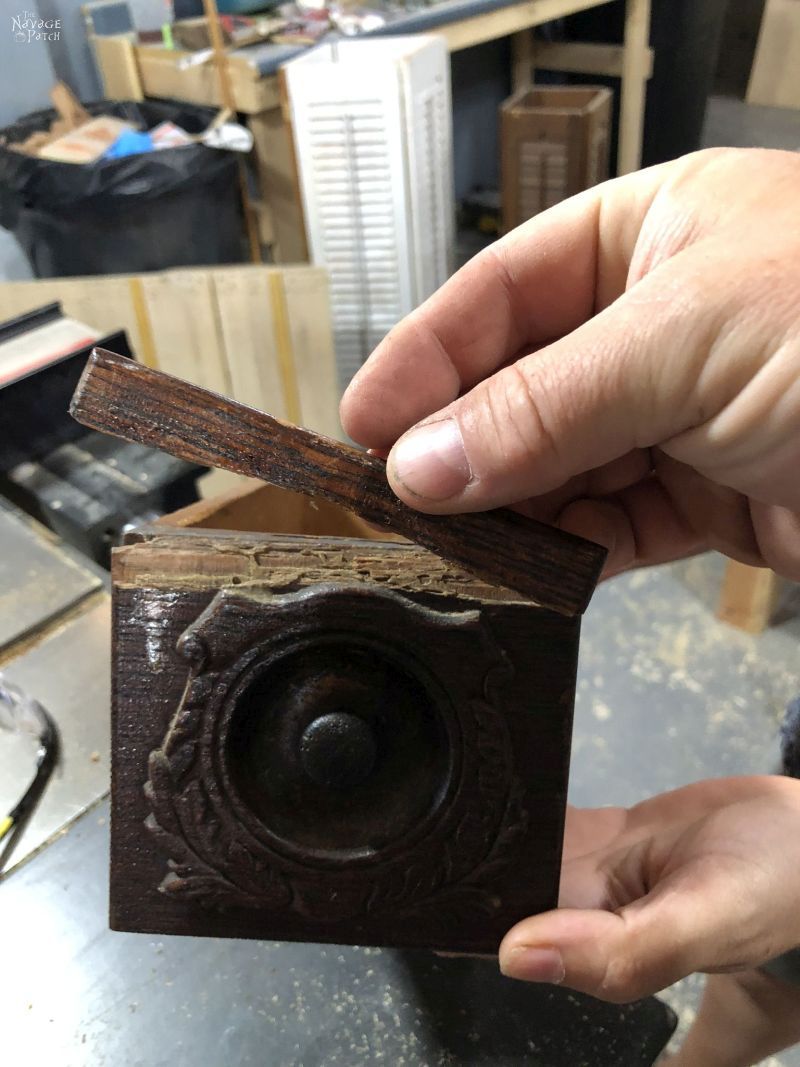
Fits like a glove!
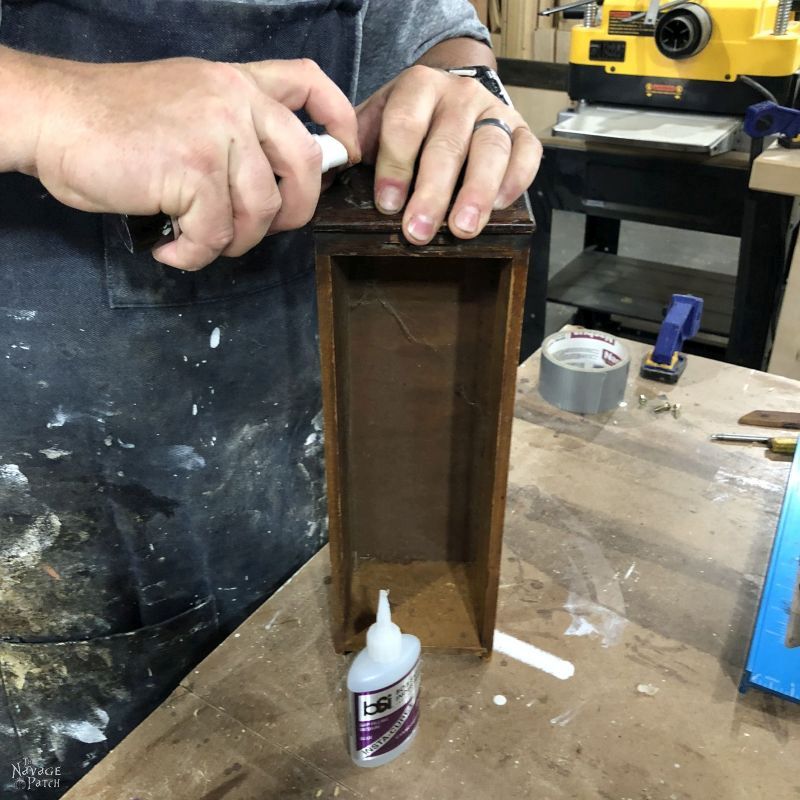
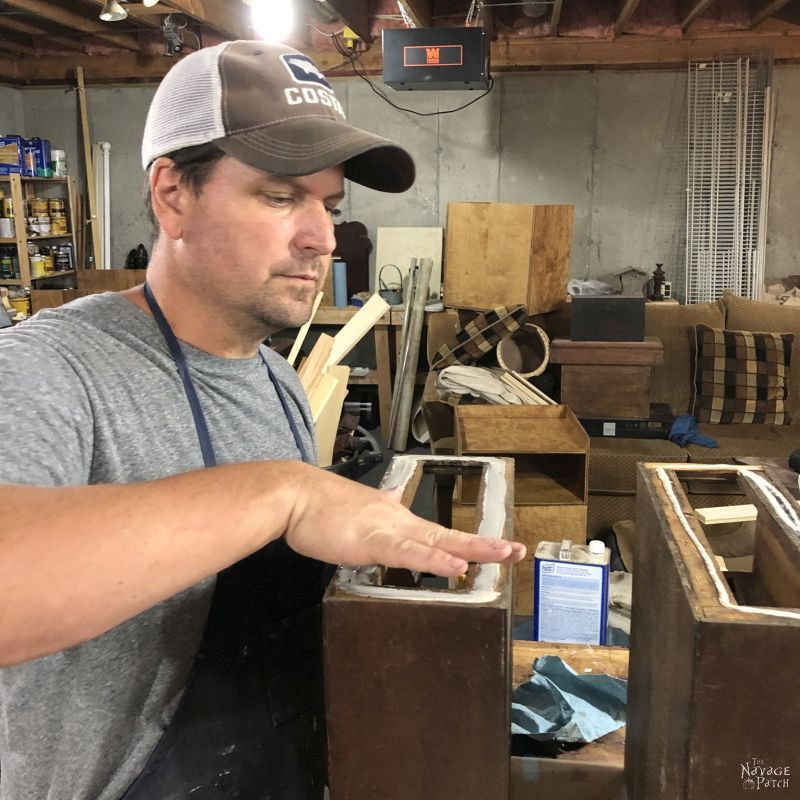
That piece had fallen off before, as evidenced by the dried glue on it and on the drawer.
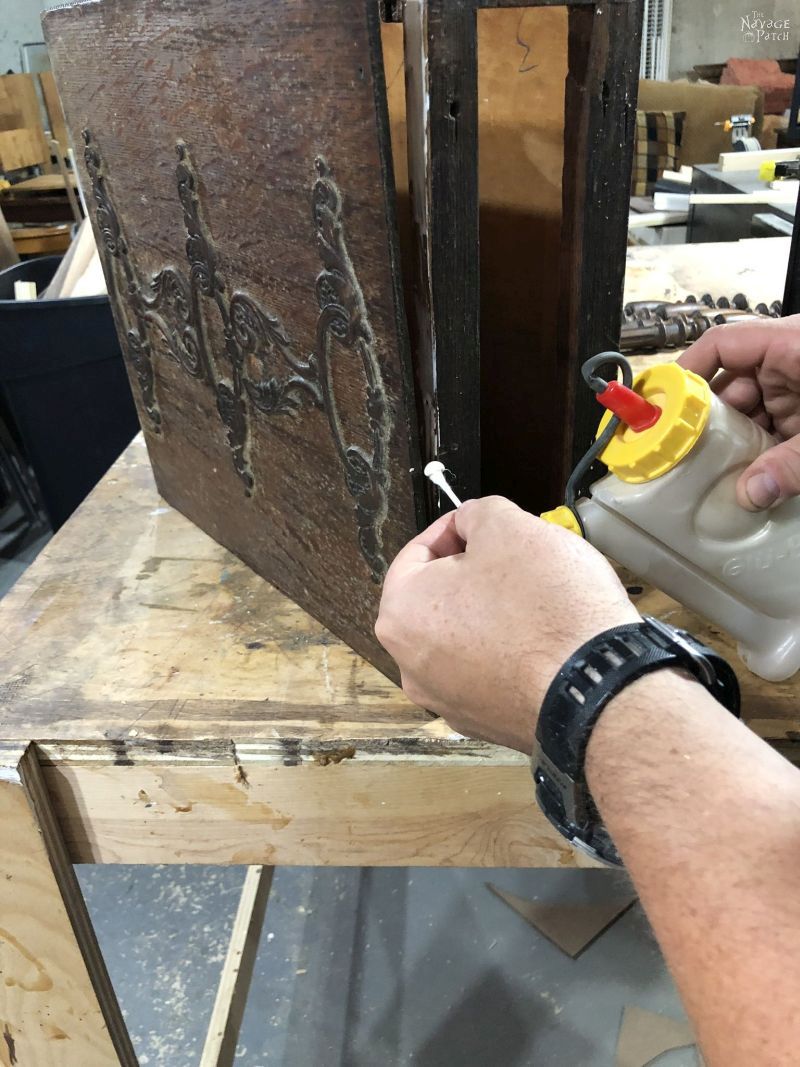
We scraped off the old glue as best we could, and then I glued it back together with super glue. Wood glue wouldn’t work well, since the wood pores were already sealed off from Paulina’s mom’s earlier attempts to fix this pesky little drawer.

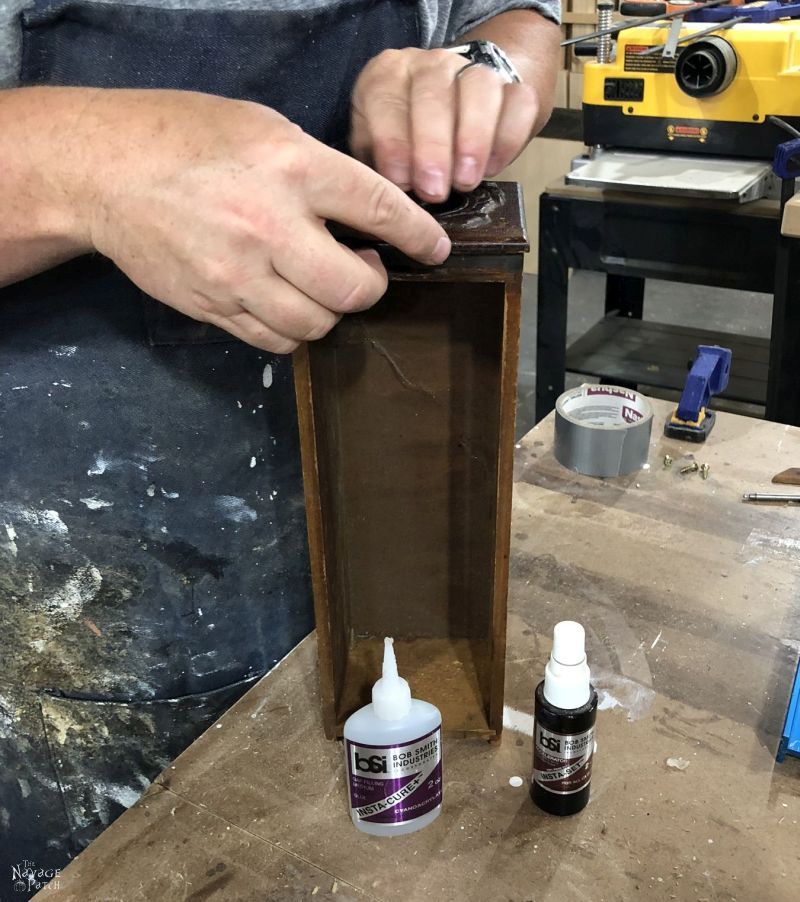
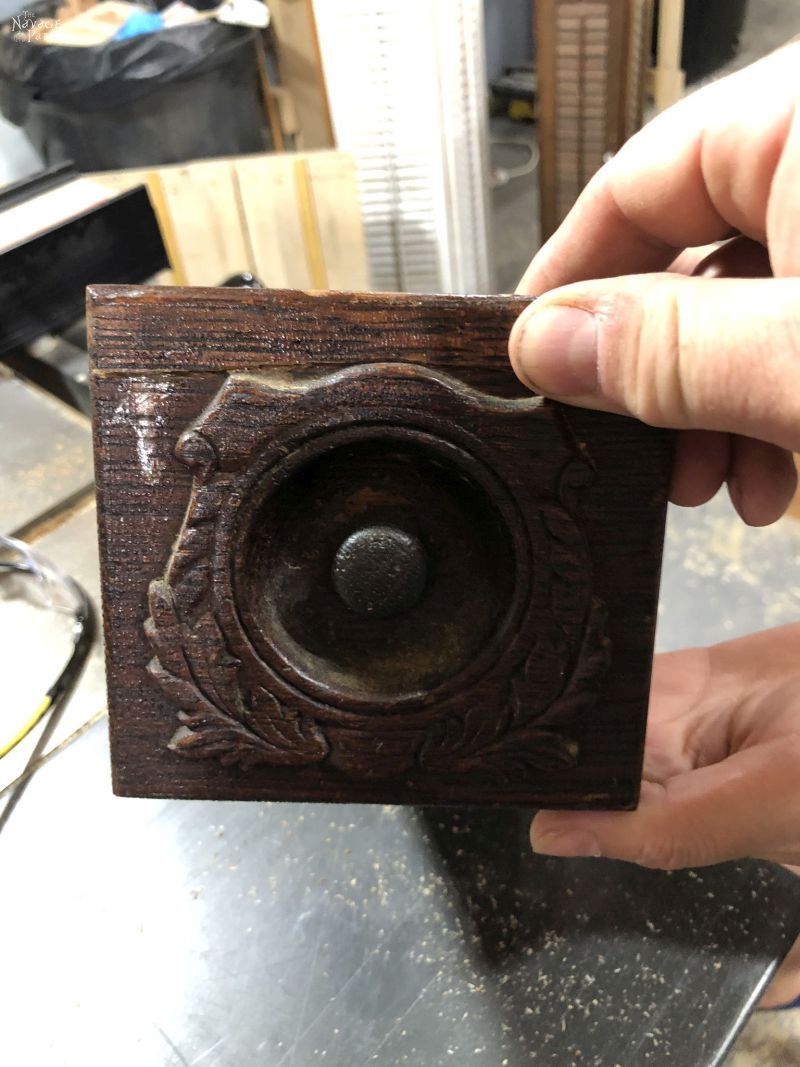
Insta-Set accelerator is the best! They’re not at all kidding about the instant part!
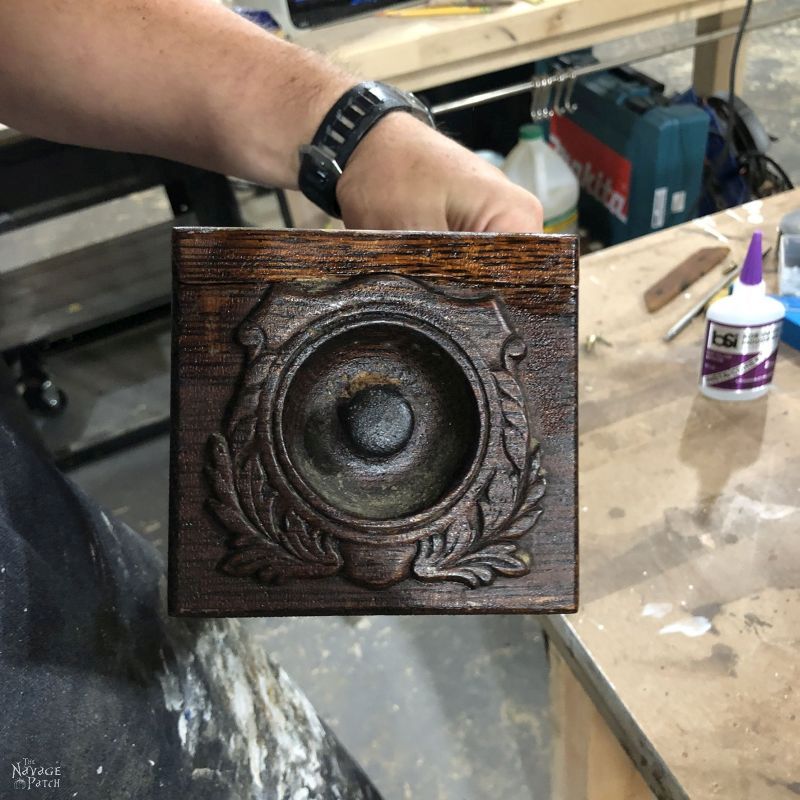
Good as new! Paulina’s mom would be proud!
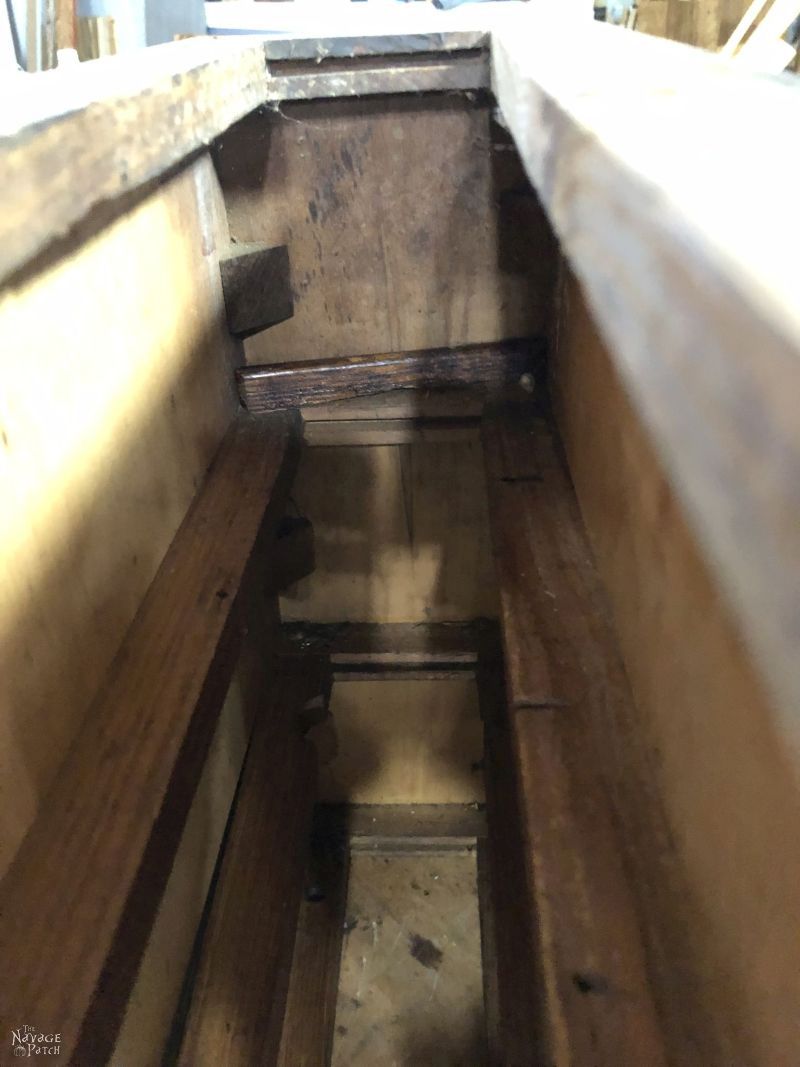
One of the drawer cabinets was coming apart at the seams.
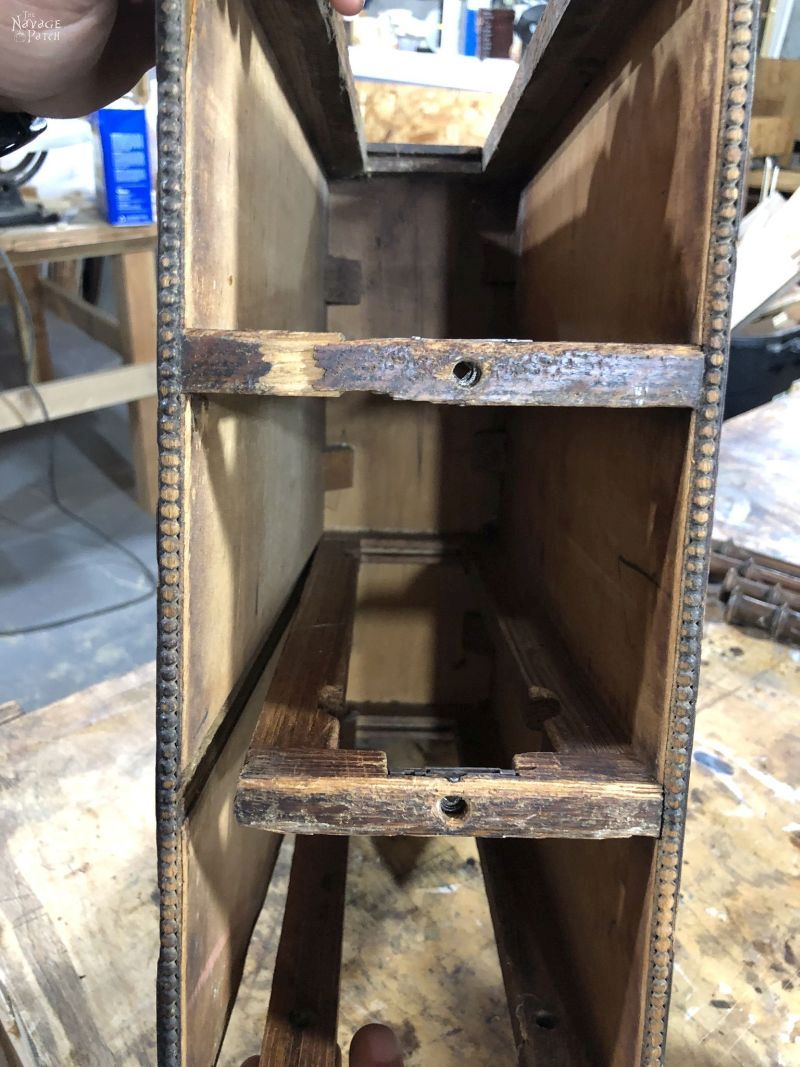
So we used a little glue…
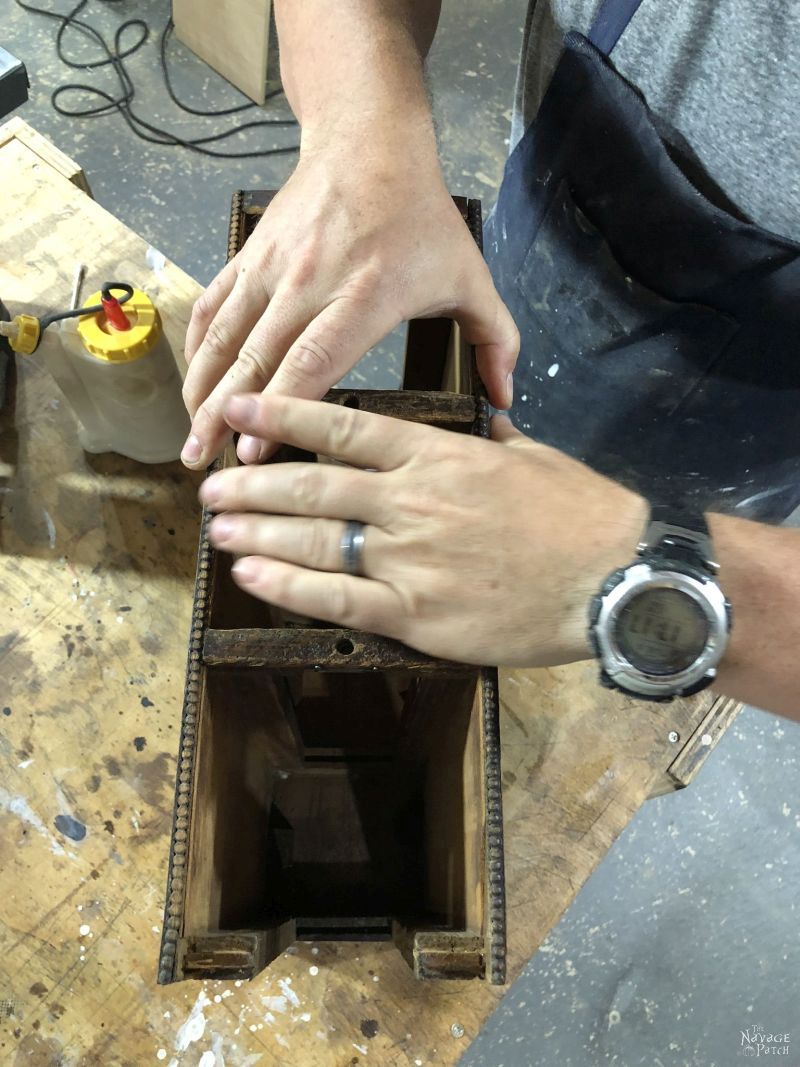
And…can you guess??
Yep!
Good guess, smarty pants!
With the repair work done, we started in on the build.
We have very specific plans for this little antique sewing machine drawer cart, not only for what it will store but also for where it will live in our craft room.
Though it can be moved anywhere since it’ll be on wheels, we designed it primarily to fit in two places:
- Underneath our DIY Craft Table
- Against a wall that is 16 inches wide
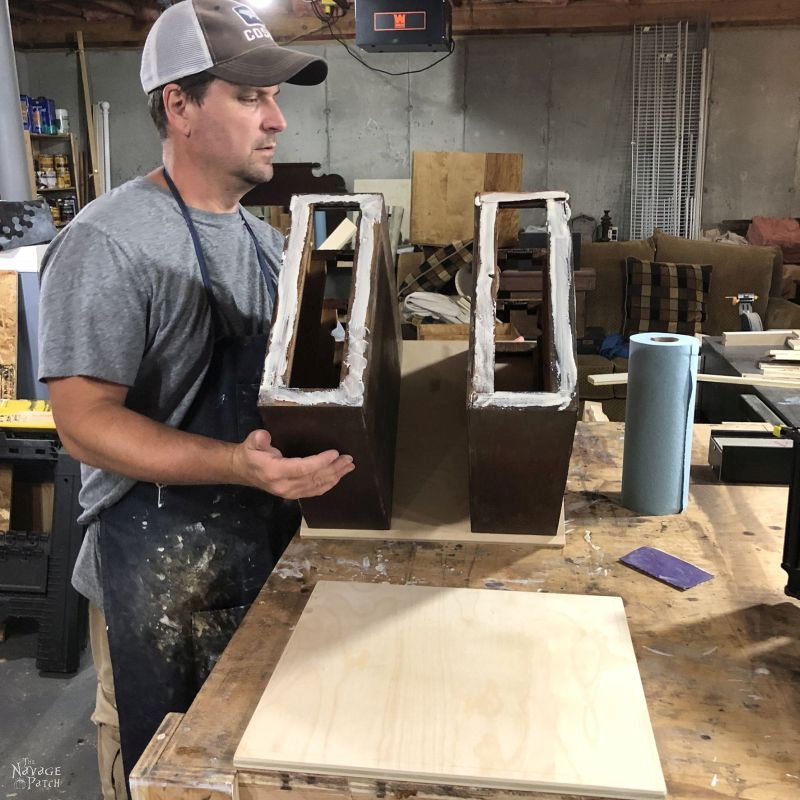
With that in mind, I cut 3 pieces of 1/2 inch plywood to 16 inches wide by 14 3/4 inches deep. This included a 1/2 inch overhang all around.
I marked a line around two pieces of plywood (the top and the middle piece), 1/2 inch in from the edge, and then I sanded the sharp edges from all 3 pieces (no more rough edges or tear-out when cutting plywood thanks to this little miracle!)

Then I applied some wood glue all around the bottoms of the drawer cabinets.
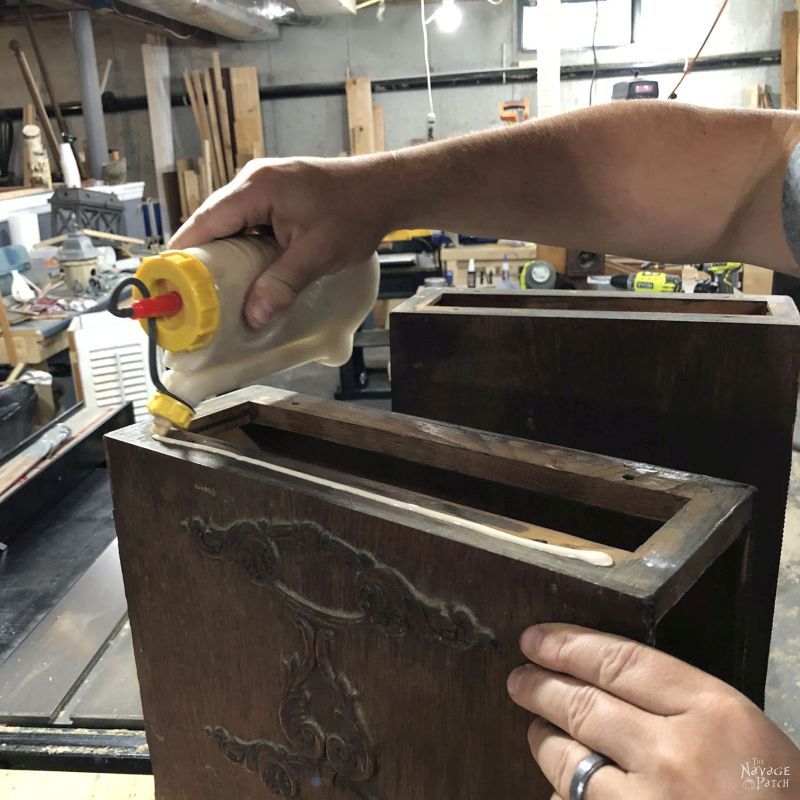
After smearing the glue around with my finger, I positioned the two cabinets on the lines I had drawn around the plywood.
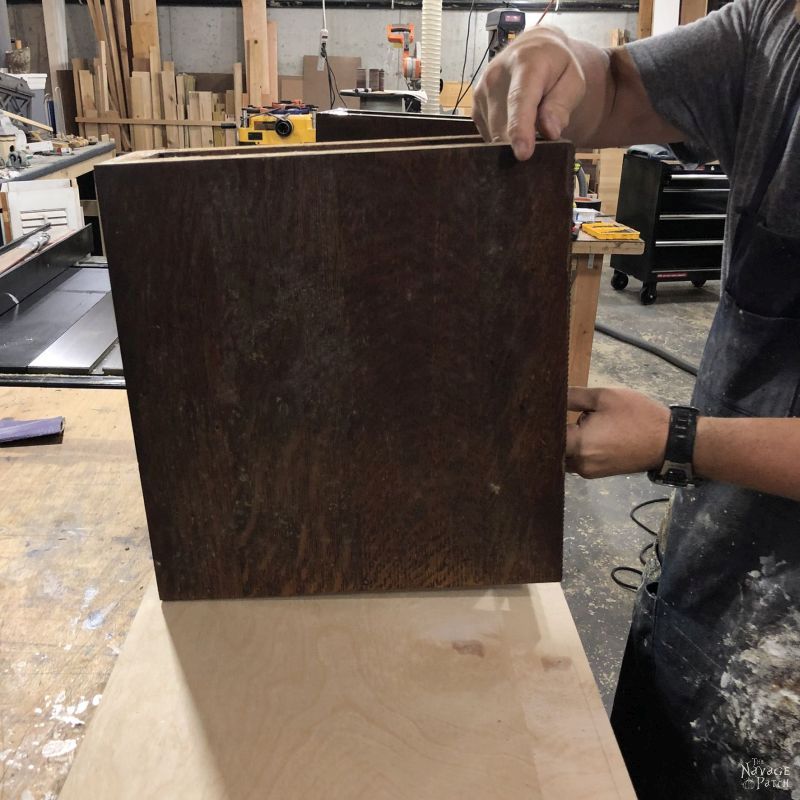
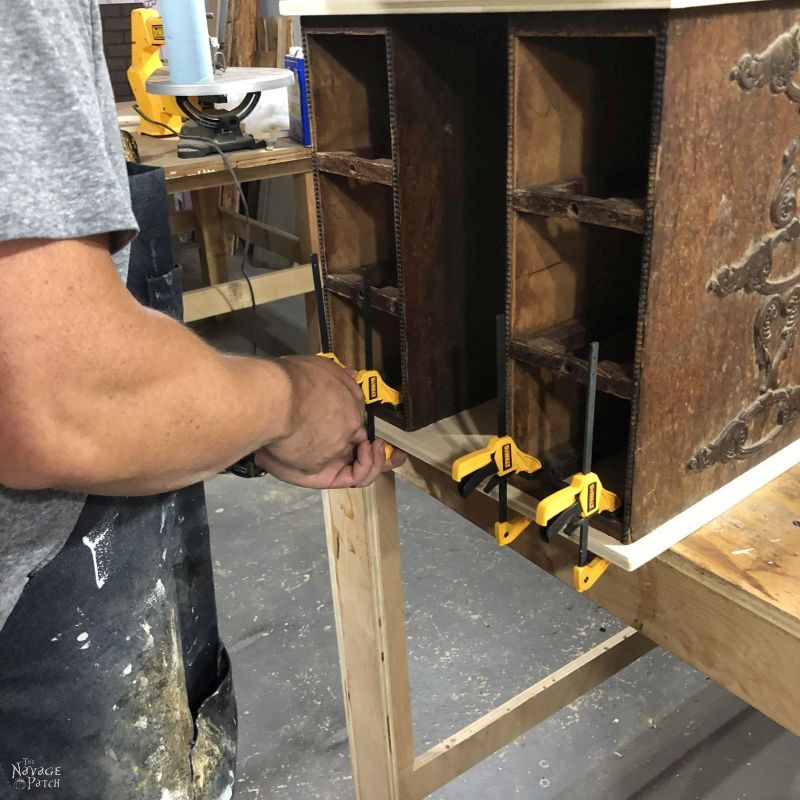
I put some clamps to hold everything together, and then I carefully flipped it over. Note that it is actually upside-down in the picture below.
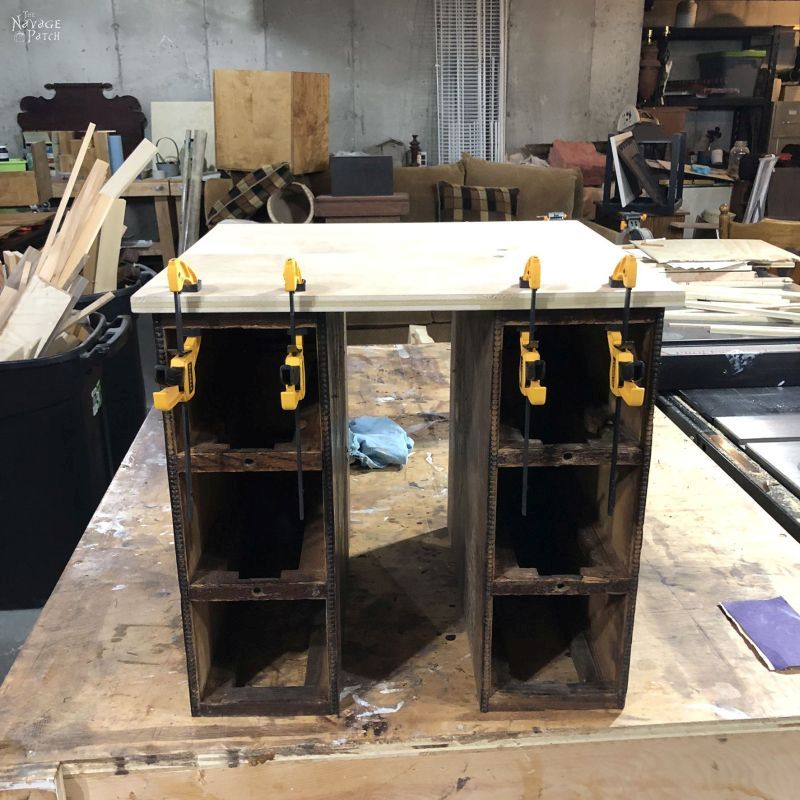
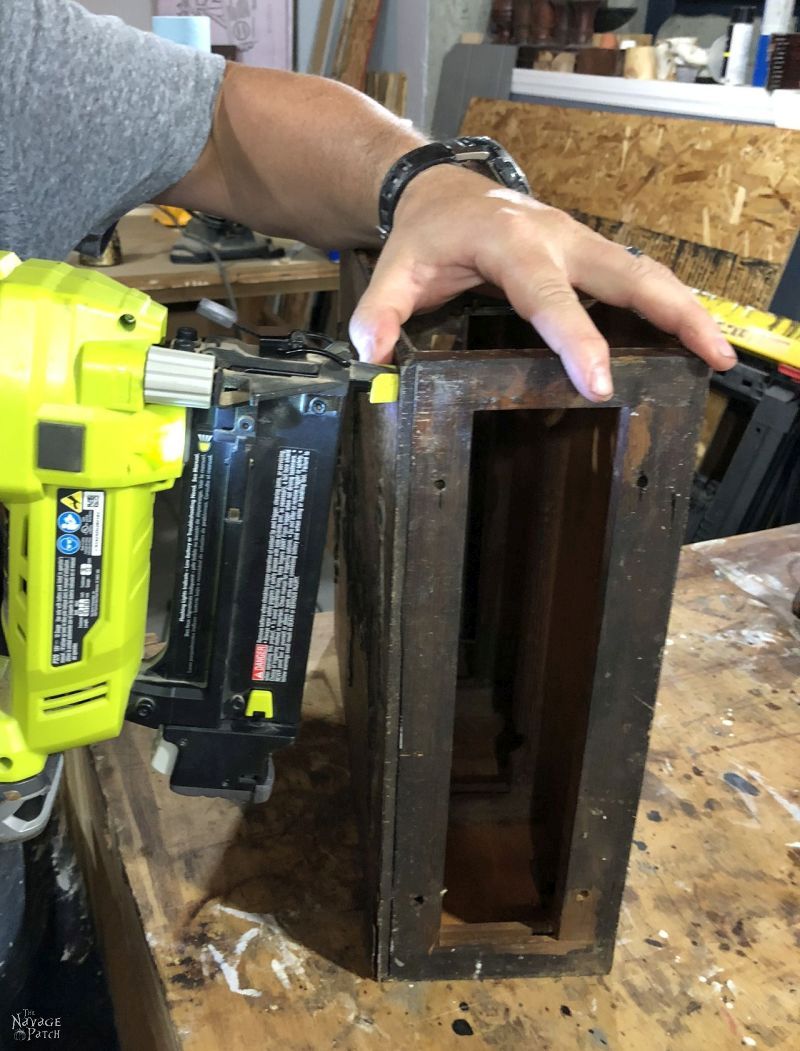
I shot a bunch of brad nails to secure the plywood to the cabinets, and then we flipped it back over again.
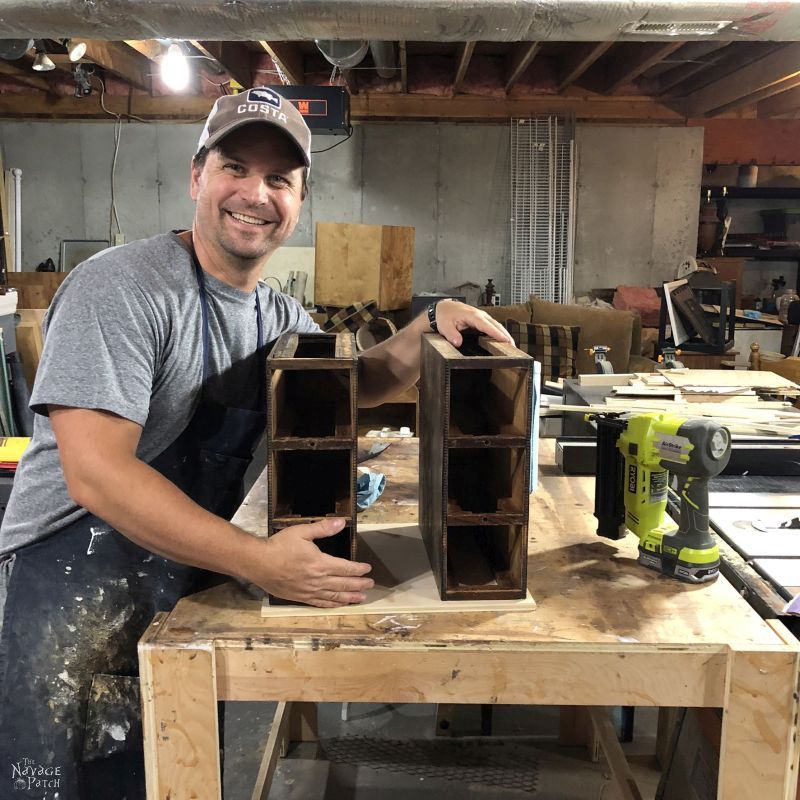
Someone’s sure satisfied with his little project!
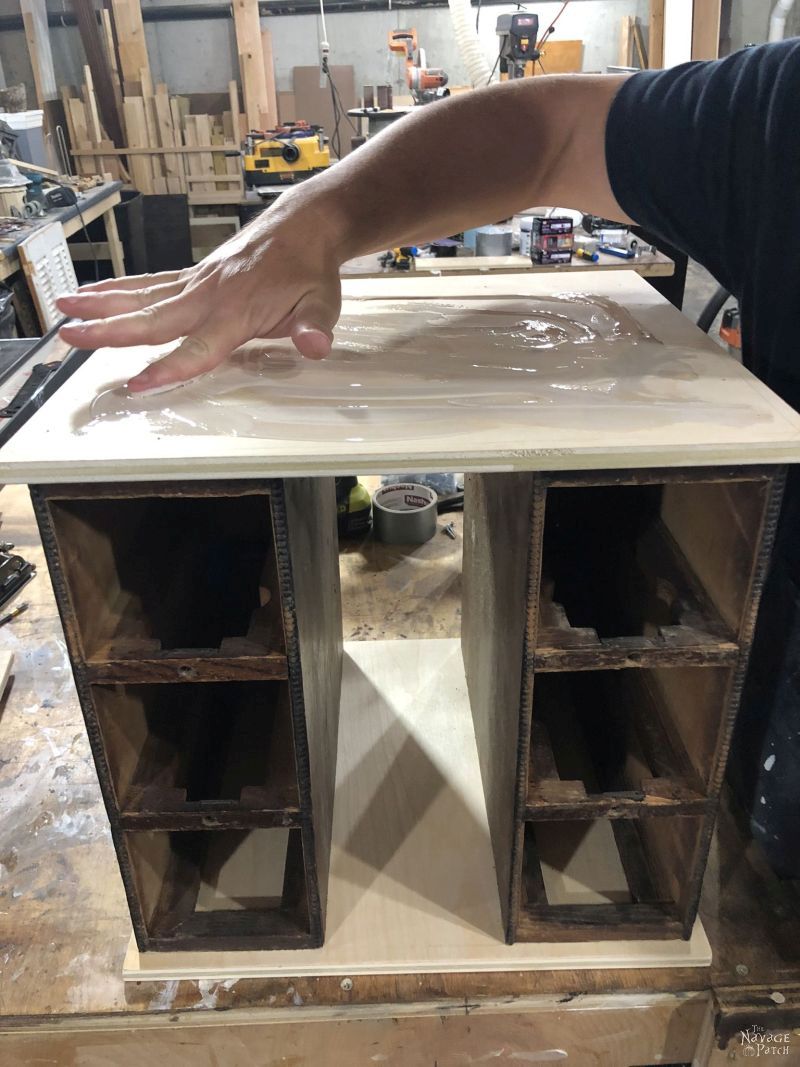
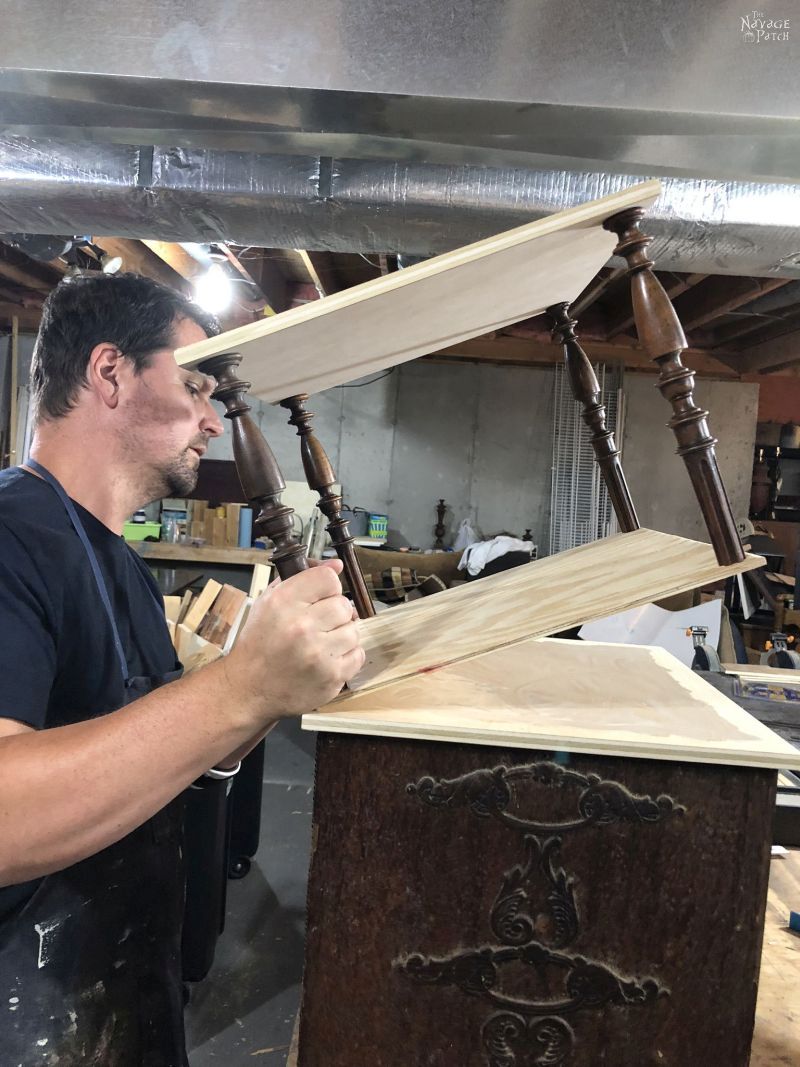
Next up – the top!
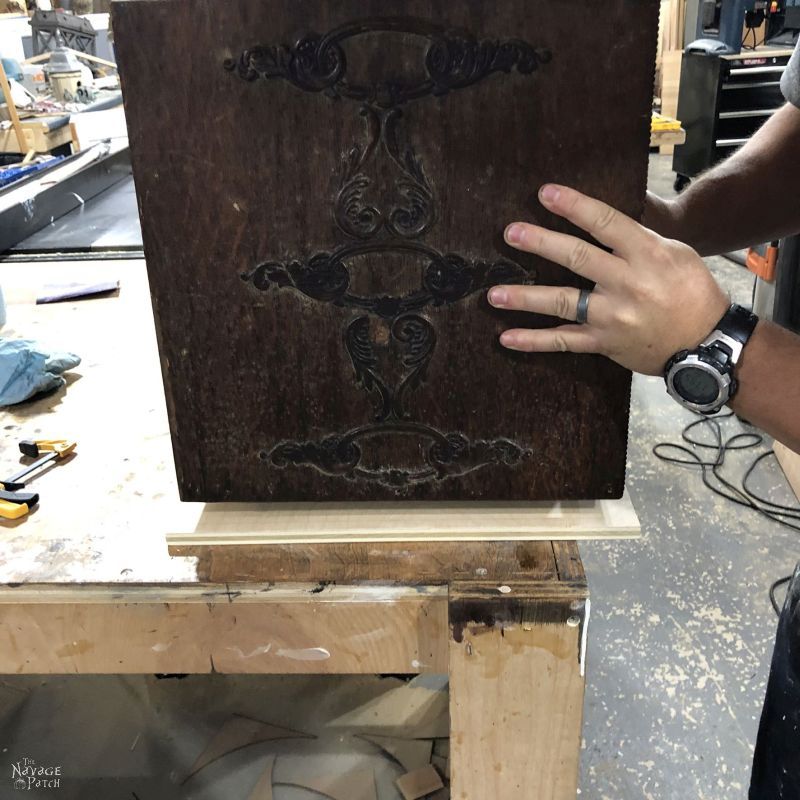
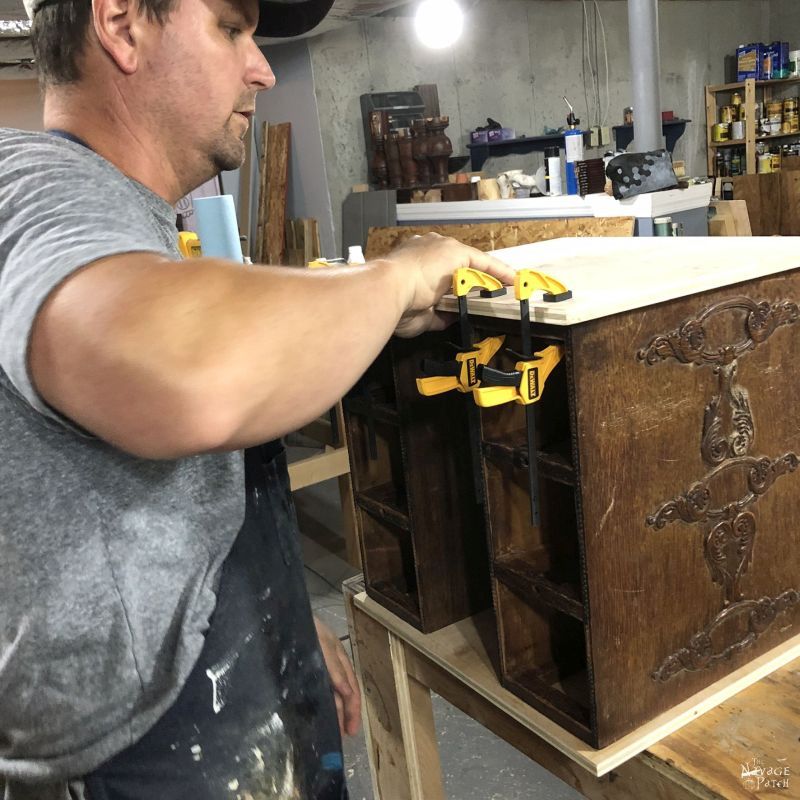
Just like I did with the middle piece, I smeared glue around the tops of the cabinets.
And then I inverted everything so I could position it on the plywood.

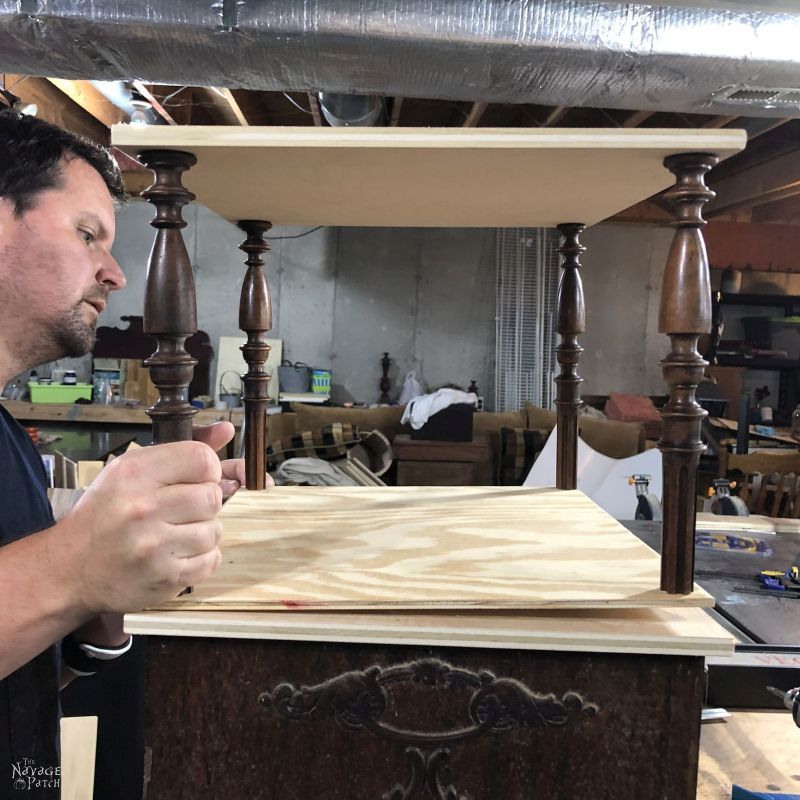
And flipped it over. In case you’re getting lost, it is now right-side up.
The next trick was to attach the spindles and bottom piece of plywood.
And it was tricky problem as we didn’t have double-sided screws! (But we figured it out.)
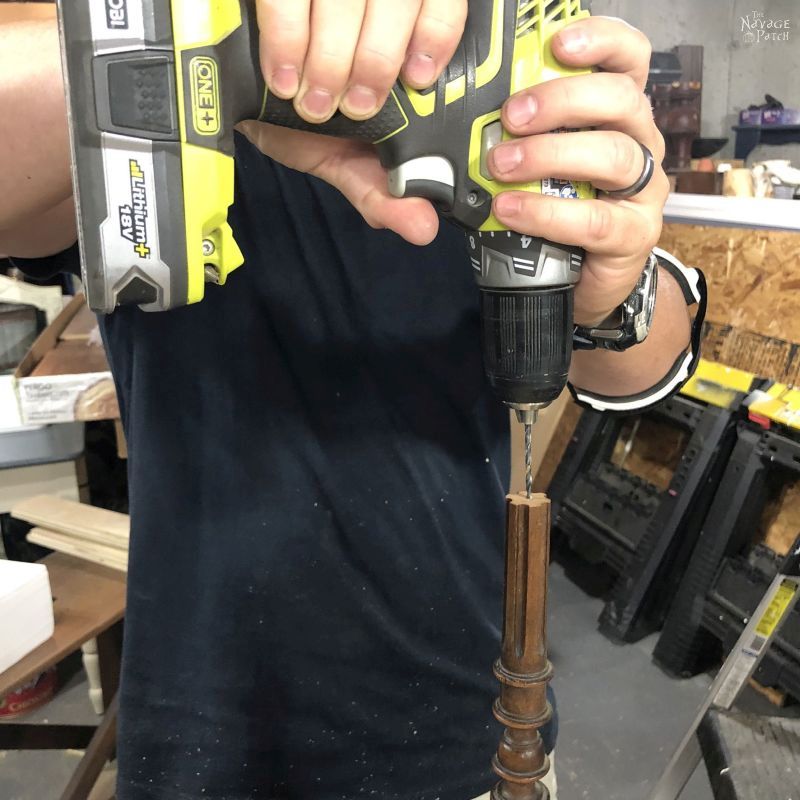
First, I drilled pilot holes through the bottom piece according to where we wanted the center of the spindles to be. The two metal blocks I’m using are makeshift guides to help me drill straight through and not at an angle.
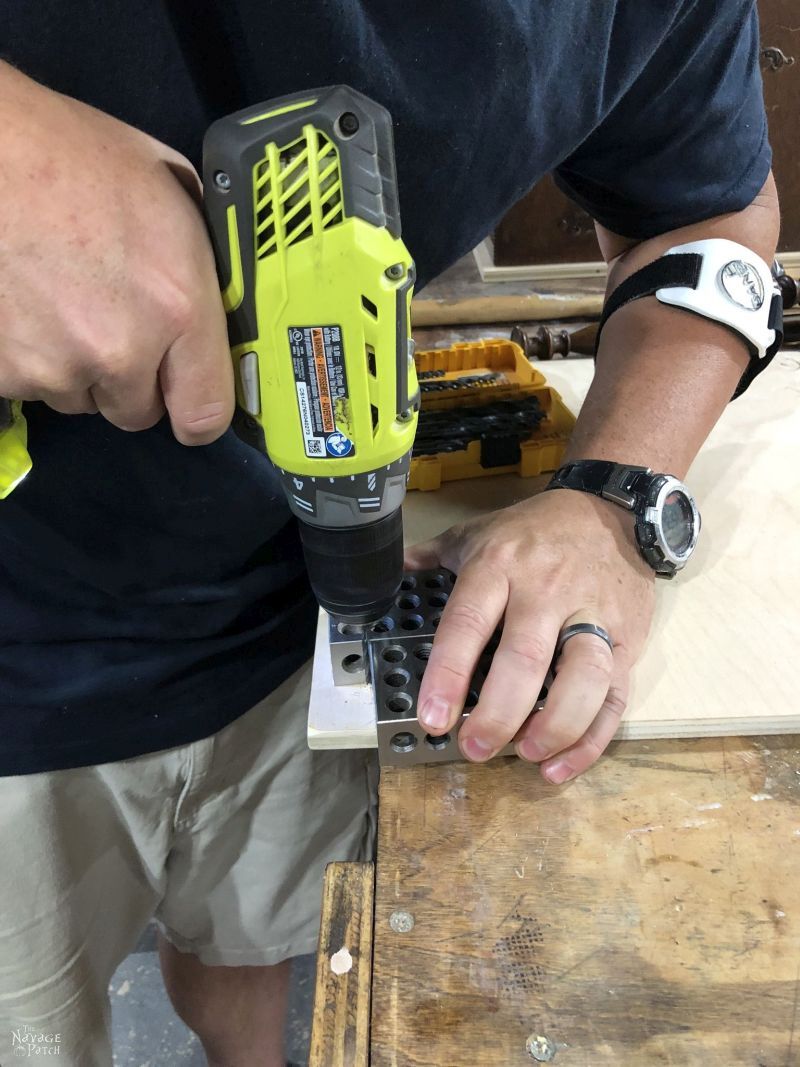
I would need to pre-drill both ends of each spindle, as I’d be screwing into them from either side.
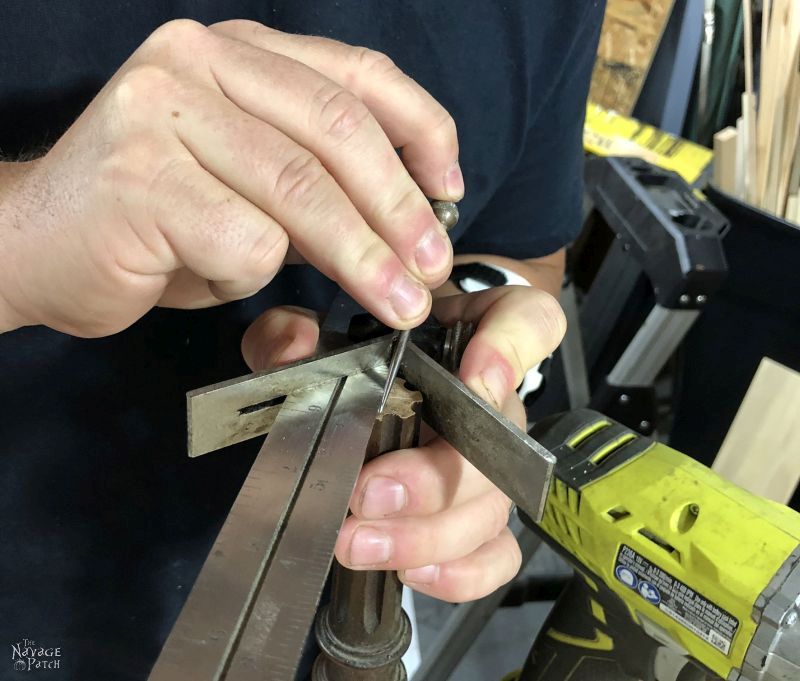
Before drilling, I marked the centers of each end of each spindle.
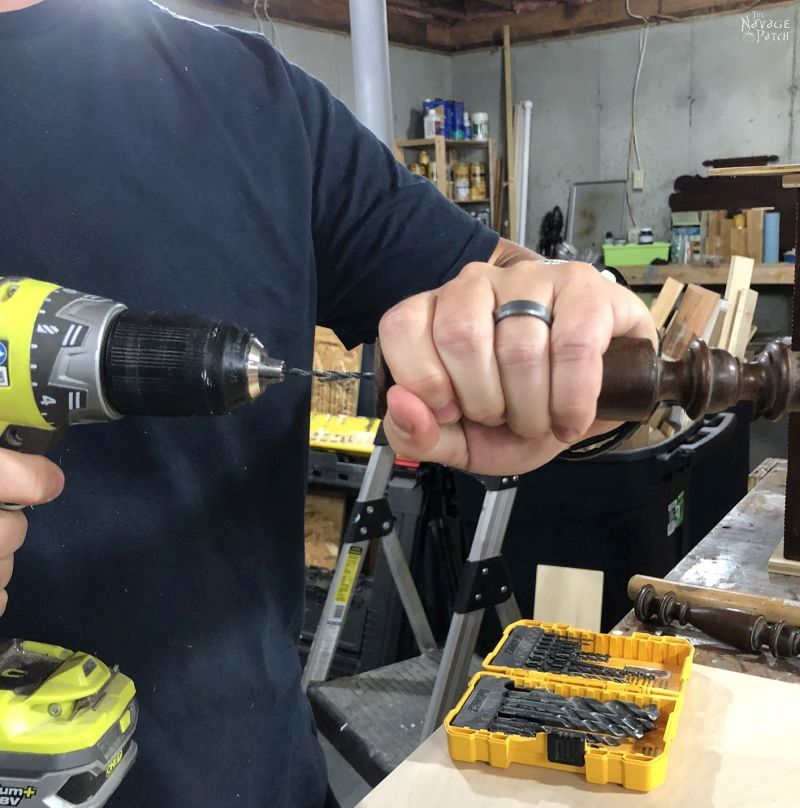
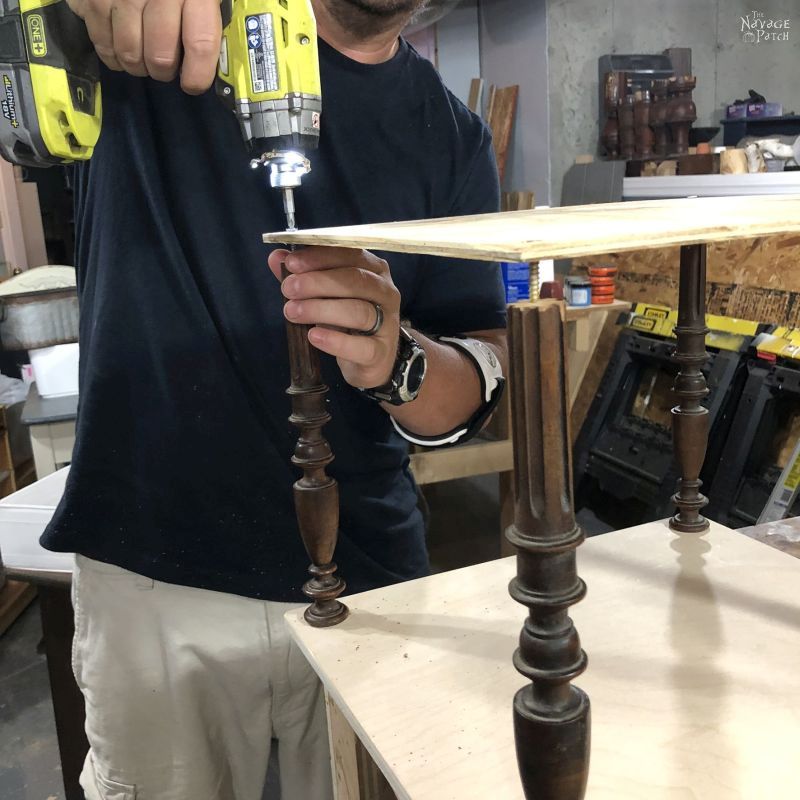
I pre-drilled the bottom ends of each spindle.
Then I put a screw up through the plywood from the bottom. I used a small dab of construction adhesive on the bottom of the spindle to keep it locked in place.

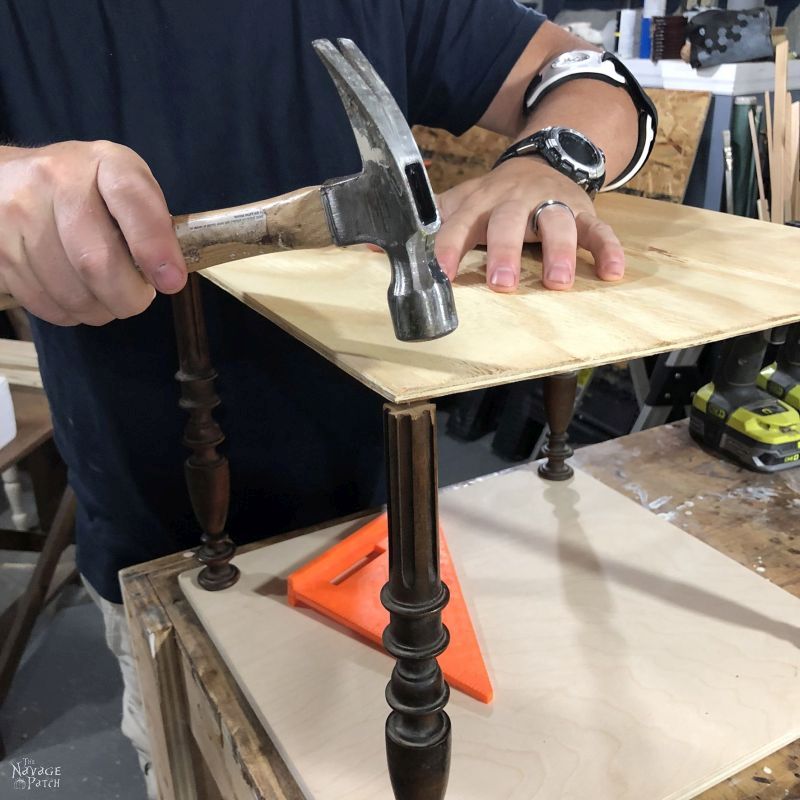
In order to attach the spindles to the upper part of the cabinet, we decided the best solution was first to screw the spindles to a piece of 1/4 inch plywood that was slightly smaller than the 1/2 inch pieces and then glue and brad nail the 1/4 inch piece to the 1/2 inch. Sounds more complicated than it is.
In order to mark where the spindle centers would meet the 1/4 inch plywood (so I’d know where to drill), I cut small pieces of brad nails and gently tapped them into the marked centers on the tops of the spindles.
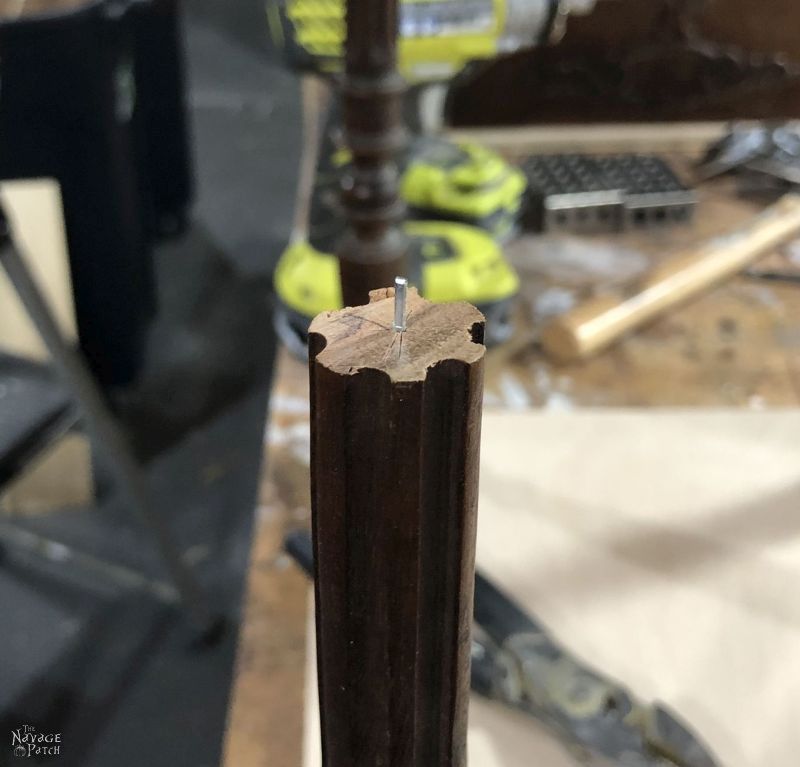
I then laid the piece of 1/4 inch plywood on top of the spindles. When I had it centered, I tapped the 4 corners so the brad nails punctured the plywood.
This showed me where I had to drill.
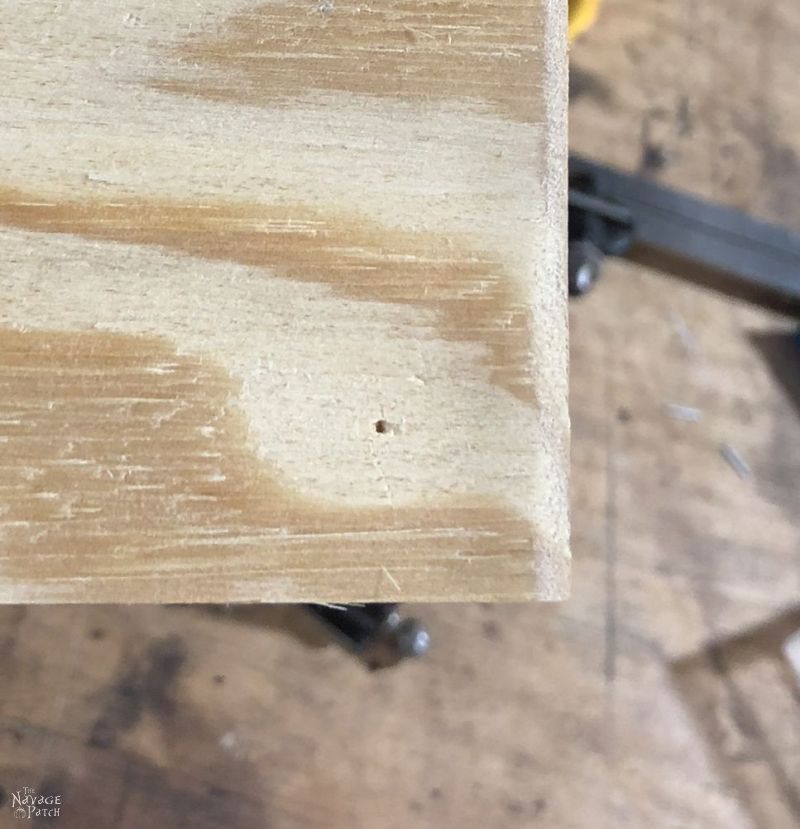
I pre-drilled the 4 brad nail holes with a countersink drill bit.
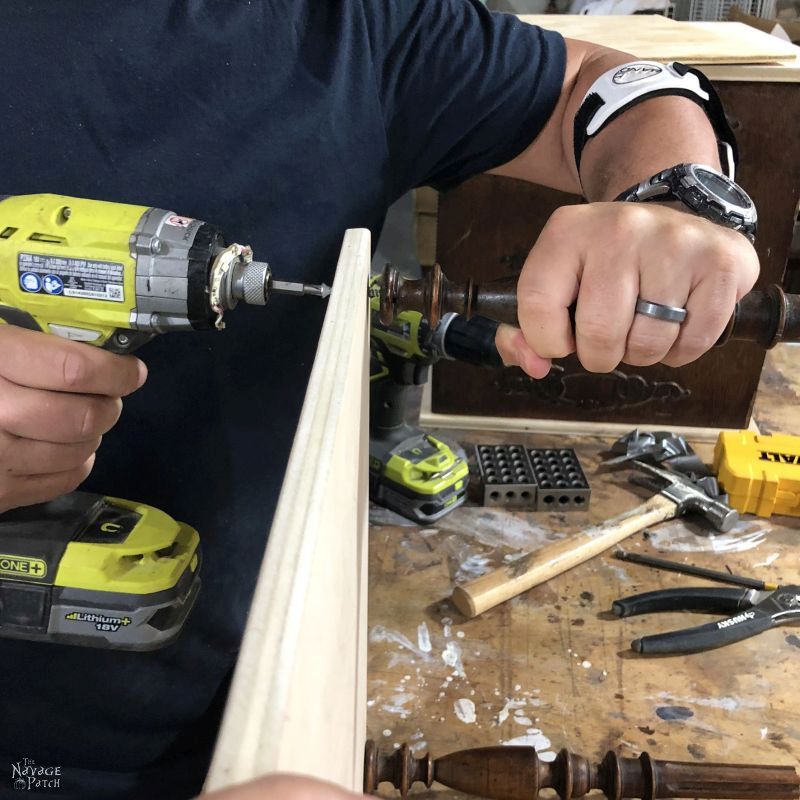
After removing the small brad nail pieces, I pre-drilled the spindles.
I then put screws down through the holes I made in the plywood and placed it on the spindles.
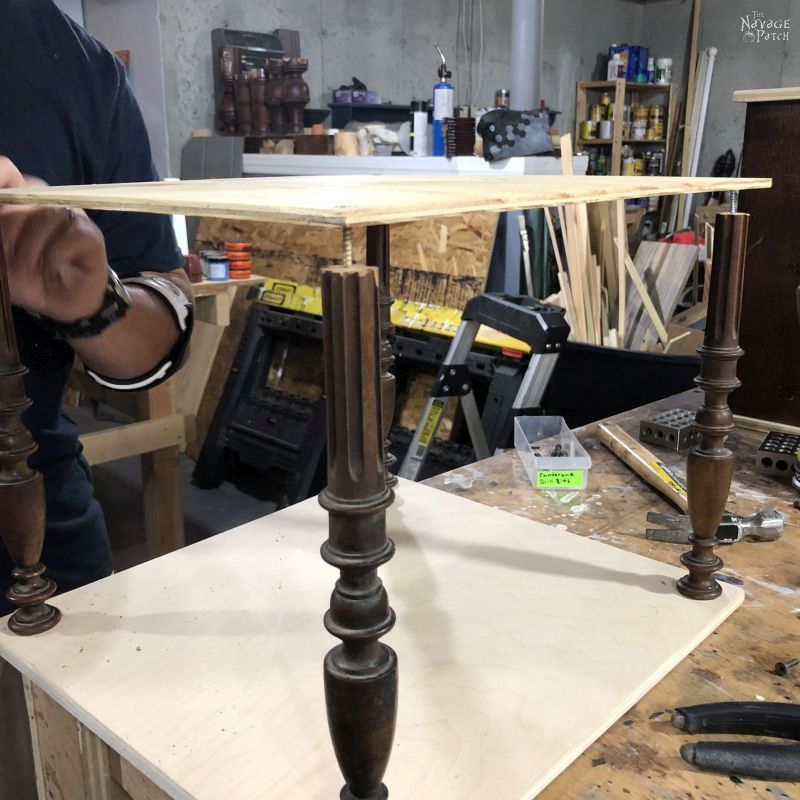
Once I had all the screws in the 4 holes, I tightened everything up.
Okay, that completed the base. The next step was to join the base to the cabinet.
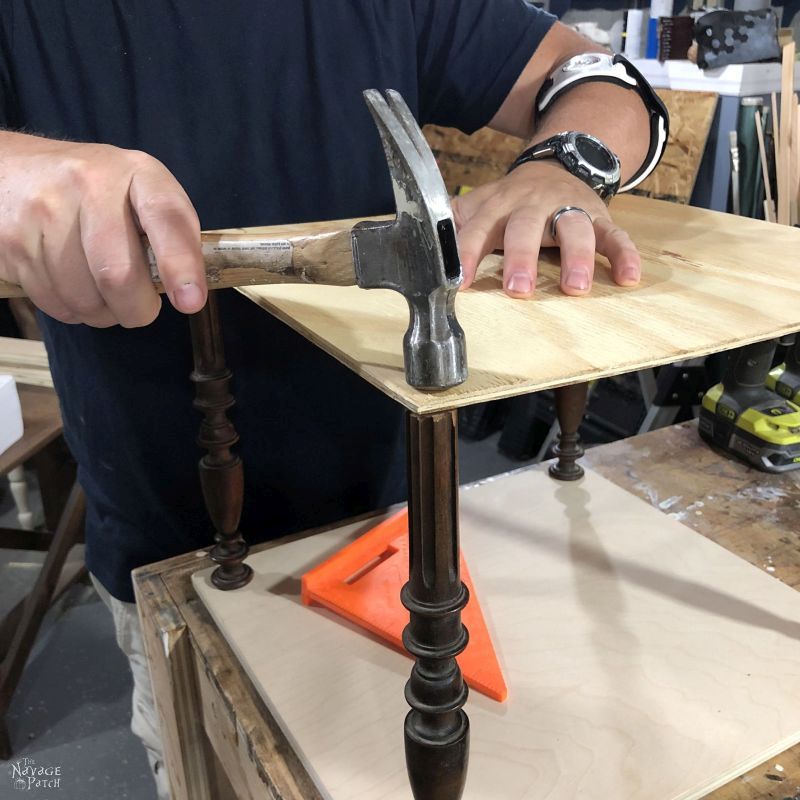
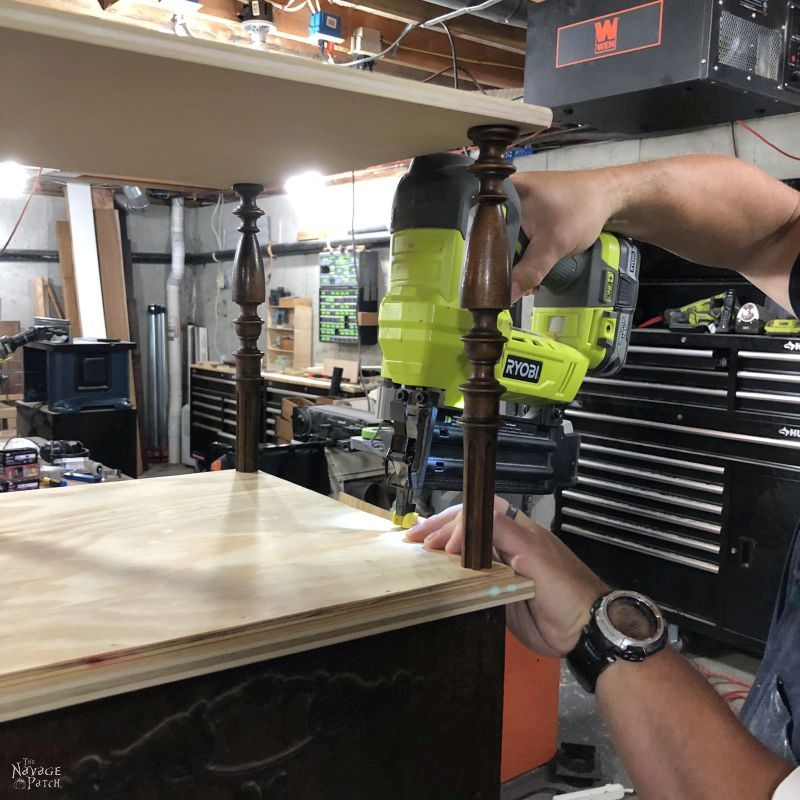
I flipped the cabinet over and dry-fit the base. Since the 1/4 inch plywood is smaller than the 1/2 inch, I marked around it with pencil, so I’d know where to put it after spreading some glue.
Then I lowered the base in position according to my pencil lines.
I shot a bunch of brad nails all around the edges, corners and randomly around the middle to keep the base firmly in place.
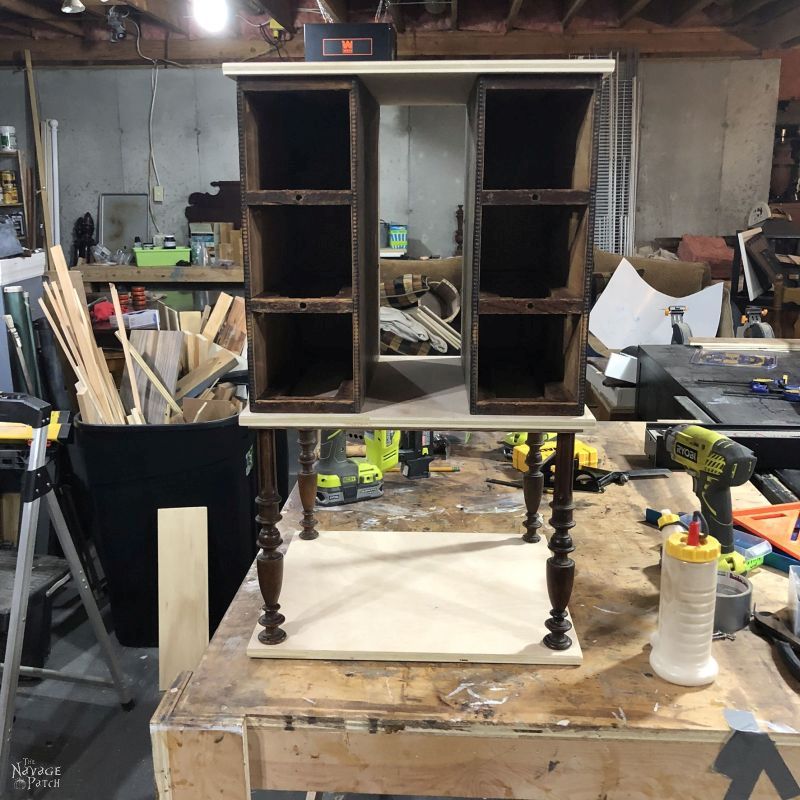
Flipping it back over, it looked like this.
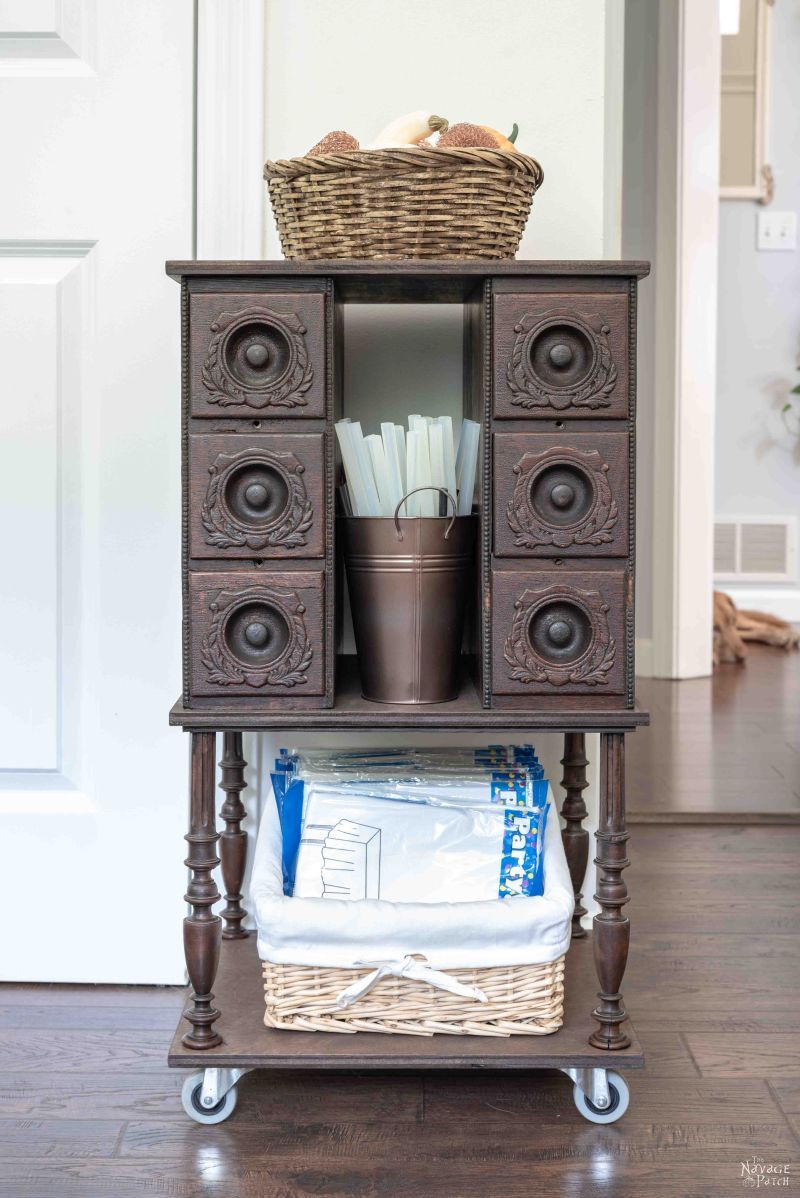
The only things left were to add the casters and stain the plywood, and those two activities were done without my babes to take my picture!
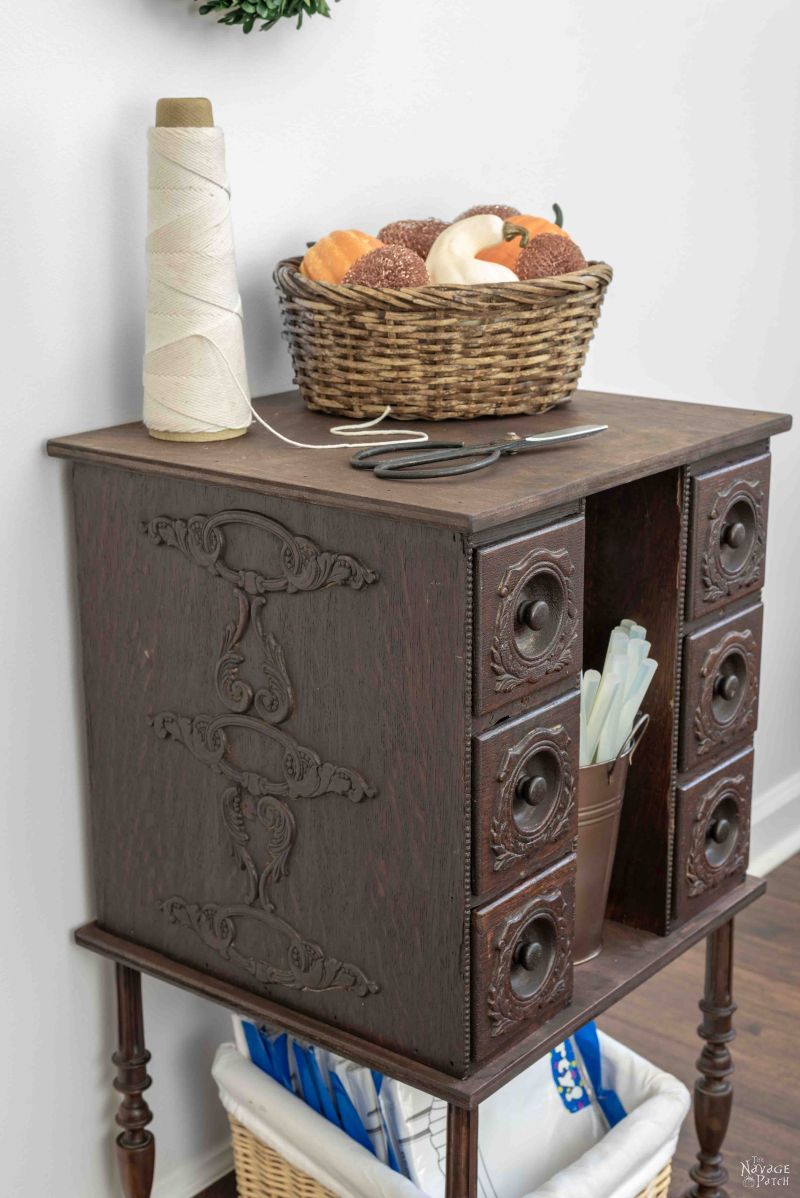
I color-matched as best I could by mixing Varathane Kona and Varathane Light Walnut (for the reddish tones). I cleaned the spindles, cabinet and drawers with Krud Kutter, then also wiped stain over them to further match the color.
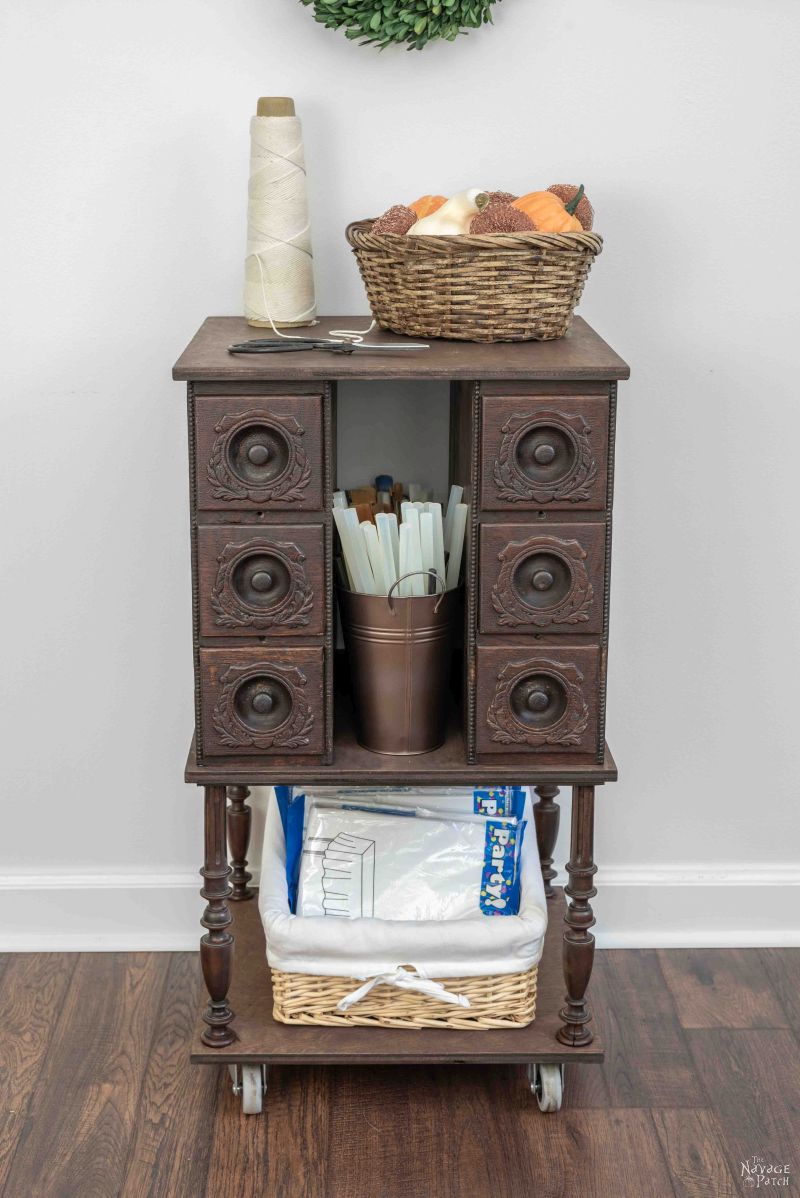
So, what do you think? Did I nail the color?
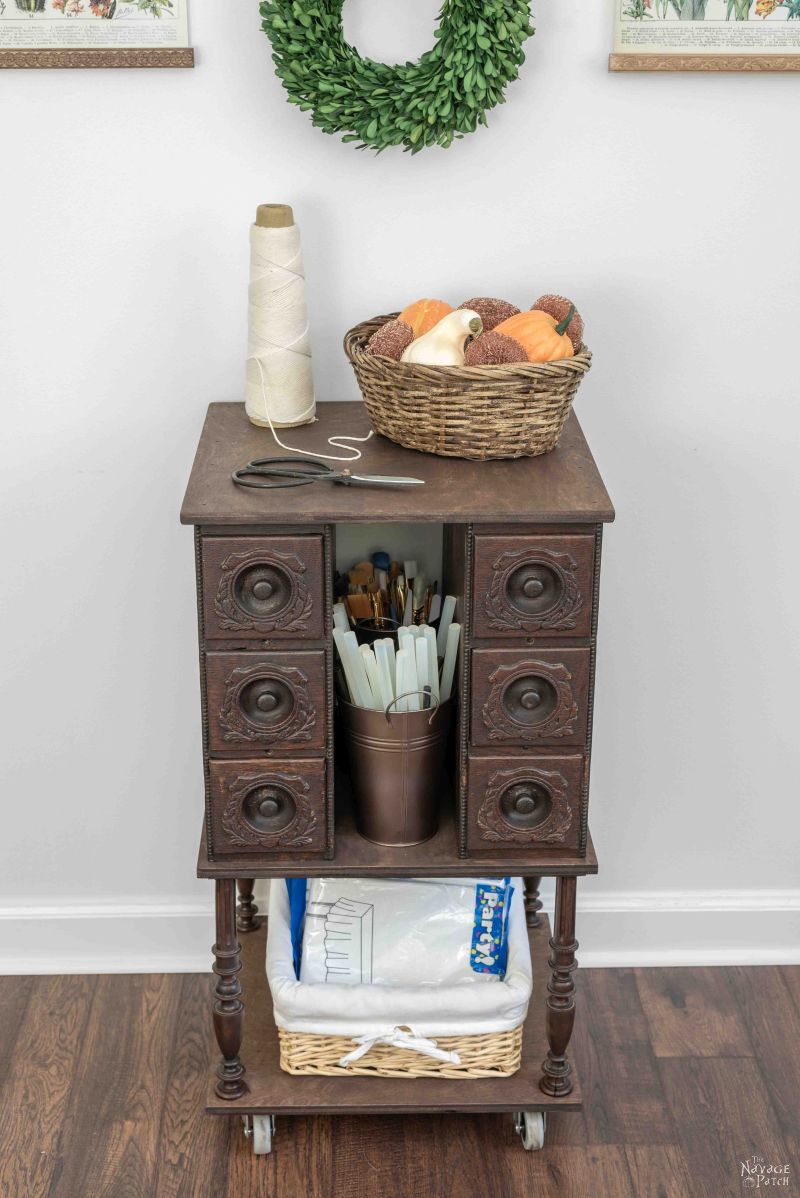
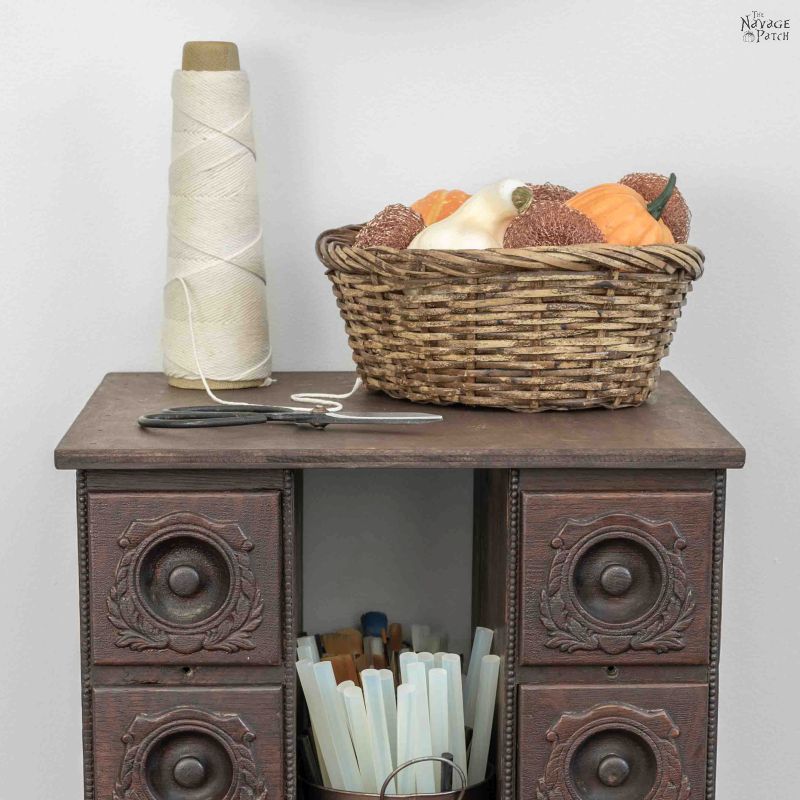
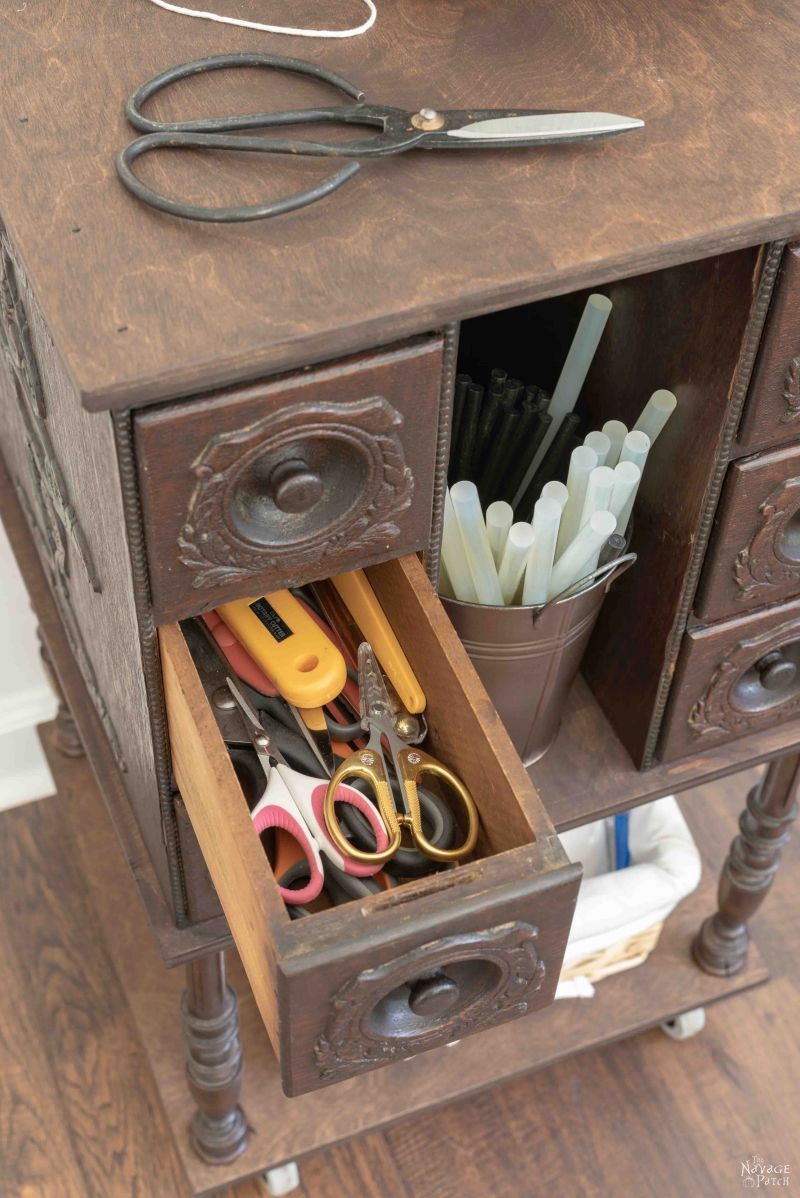
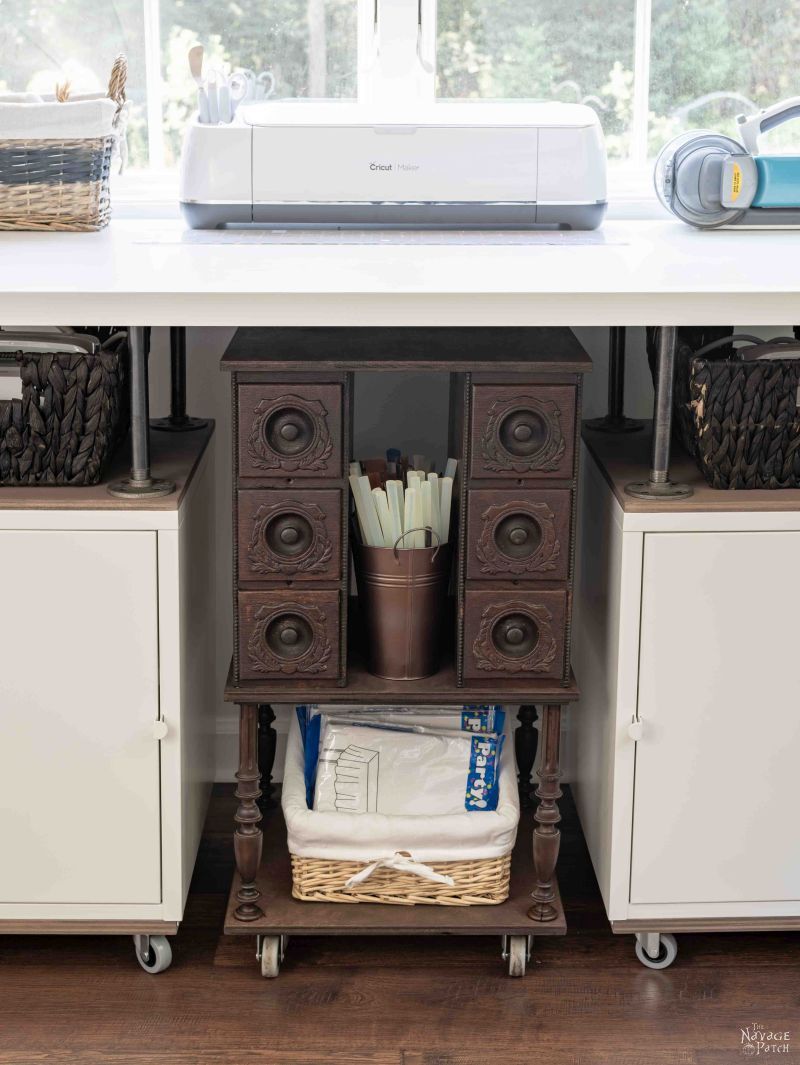
Do you like our new small storage solution for the craft room? It’s a perfect organizer for the small tools we use all the time.

Here is one of its homes. You can see now why it had to be 16 inches wide.

And if it’s not needed for a while, and we’re not working at the Cricut Command Center, it fits perfectly underneath!
Everything in this room has been carefully thought out and designed with a purpose, since this small room needs to fill three roles: a video & photography studio, a home office and a craft room.
Now, you know who’s responsible for that, don’t you?
Lord knows I couldn’t plan my way out of an empty room with no walls, so you know it wasn’t me! 🙂
Well, folks, little by little we’re getting closer to our craft room makeover reveal!
Stay tuned for more!
If you’re following along with the craft room makeover, here’s how we stand:
Craft Room Makeover Checklist
Craft room ideas and laying out the game planPaint the walls, ceiling and trimPaint the French doorCarpet removalInstall laminate flooringBuy curtains and install curtain rodsDIY craft table for CricutDIY / buy a computer deskDIY Closet makeoverDIY Industrial Bookcase (West Elm Inspired)Antique sewing machine drawers upcycled to a storage cart- Upcycled craft room storage
- Craft room makeover reveal
Click here to see more craft room makeover posts as we continue to cross items off our checklist!
We love it when you share our posts on Facebook and Pinterest!


NAILED it!!! Takes quite a bit to impress me, and I. Am. Impressed!
Awesome! Thank you so much, Vickie! 😀
You guys make an amazing team 🙂 I love this piece; it’s ‘sew’ appropriate for a craft room. If I had any more room, I would have to make one too. But who know, maybe I can squeeze it in elsewhere. Now excuse me while I look for those drawers!
Thank you, Sara! We think sew, too! 😀
Greg- Awesome project as usual! It’s so nice to be able to reuse and appreciate those beautiful drawers… Now I’m really curious about what you’ll do with the rest of the sewing machine! ?
Thank you so much, Melanie! We donated the machine to someone we know who can refurbish it and use it. Not sure yet about the base! 🙂
It’s beautiful!! The only thing I (meaning my husband) 🙂 would have done differently is to hide the wheels. Other than that it’s perfect!!
That’s a great idea! If we ever want to pull it out of the craft room, I can put a skirt of crown moulding around bottom! 🙂
I love the updated drawers, but is the sewing machine still able to be used? The reason why I’m asking is because I have my Grandma’s sewing machine and it still works.
Hi Lisa, the machine needed a little work to be properly functional again, so we gave it to someone we know who can refurbish it and make better use of it than we could.
I have about 6 or 7 of these drawers and now I know what to do with them! Oh gosh! I’m going to put them on my bathroom counter and put stuff in ’em! Another great idea from the ‘Patch!’
That’s awesome! I love it when we can help! 🙂
Absolutely great! As far a the rest of the sewing cabinet base. I picked up one at a sale and made a wooden top for it. I faux painted the top wood to look like marble. Made a great table, use it in to my guest bedroom.
Great idea, Susan!
I made my own from an old Singer table. I made a little vanity like you did, but also repurposed the treadle.
Good job, Dorothy! Those old Singers are great for repurposing and upcycling!
Greg. I love what you did with the old singer machine. Very impressive. What I would love to know is where did you get the insta glue? I would love to get some. Everything else takes to long to dry. Thanks. Great job
Thank you, Diane! Here’s the link for the glue/accelerator combo: https://amzn.to/2LTJOAI
Does your sweet wife realize how blessed she is to have such a handyman as you around? The sewing machine drawer reveal shows your collective creative talents, but also your love for her. Congrats on being such a great team, and thanks for sharing your talents with us! (I am STILL looking for someone to make some of those Valentine candle holders for me!)
I’m the blessed one, Cindy! Handan is the idea woman. I’m just the dumb muscle! 🙂
Oh I always tell him that I’m the luckiest woman in the universe and I wouldn’t change my boys for the world! <3
Greg has a link to the Amazon listing for the InstaSet glue. It’s under the picture with the glue bottle. I need some of that stuff too, first I’ve learned of it.
Beautiful! I have the exact same sewing machine drawers that I bought at a yard sale. And I’ve been wondering what to do with it.
Thank you, Jenny! It’s a useful upcycle! 🙂
So in love with this blog and all your projects. Look forward to opening each new email showing your newest project!
Thank you so much, Carolyn! 🙂
Magnificent! You do good work, and are always so patient and explain each step so that a beginner could easily follow along. Can’t wait for the big reveal Many thanks for sharing. ?
Thank you, Naomie! We understand that not everyone is an expert DIYer, so we try to make it accessible for everyone! 🙂
I love this , it`s brilliant, just shows what you can do, everybody should recycle and re purpose
Thank you, Marilyn – we totally agree! 🙂
Thank you for this very detailed and clear how-to!
I love repurposing antique pieces.
I have been planning a bedside table using antique sewing machine drawers just like these for a while. Seeing this has definitely put the fire under me to get it done!
And what did you do with the base? Another table?
Hi Riley, I’m glad to be an inspiration! We donated the base to a friend before moving, as we didn’t have any immediate plans for it. 🙂
Love it!! But any suggestions where I could get drawers if I don’t know anyone who’s getting rid of an antique machine? Thanks, Karen
Thank you, Karen! You can usually find drawers on FB Marketplace or Craigslist. Good luck!