DIY Witch Legs (Grandin Road Inspired)
DIY witch legs are a super easy Halloween prop that will add some whimsical fun to your front porch for a fraction of their Grandin Road inspiration!
This is Handan’s favorite time of year.
No, let me clarify.
This is Handan’s favorite third of the year – the days and weeks from September through December.
From the first maple leaf to break ranks and turn red to the last sip of golden champagne on New Year’s Eve, Handan is the Energizer Squirrel, darting from this idea to that project to those things over there and OHMYGODSOMETHINGSHINY!
She runs rampant through fields of inspiration as ideas bloom like late-summer flowers.
The halls of the Navage Patch echo with her craft-induced babbling as she hits upon yet another project for Yours Truly.
It’s a good time for me to be outside, preferably behind the shed or lurking among the yellowing ferns.
Out of sight, out of mind, hehehe.
Or so I hope.
Alas, there’s no hiding from a hypercharged squirrel.
Just this past weekend, I was studying a fascinating wood-ear mushroom on the far edge of our property when I heard The Call.
I told myself it was just the wind rustling the oak leaves.
But there it was again.
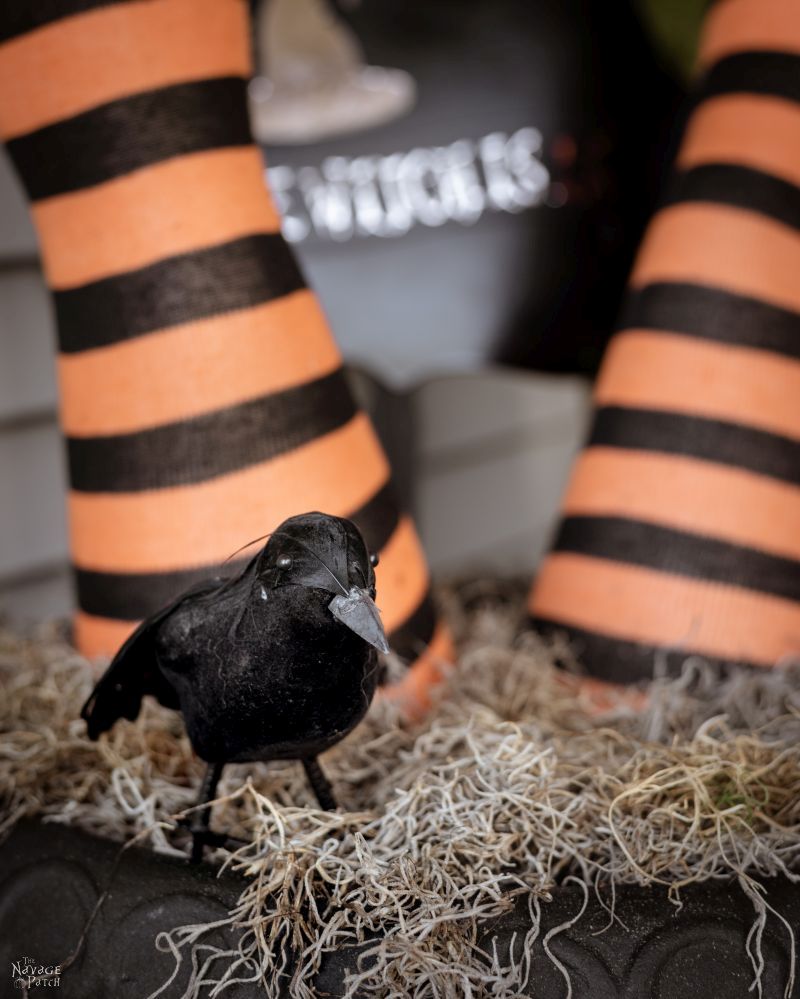
Maybe a crow? Perhaps a raven? We have legions of both up here at the summit of Navage Patch hill. Just to be safe, I crouched a little lower, safely out of sight.
Hey Babes!
That was no crow – it was my wife! And she wanted me to do something.
Drat!
I dropped the wood-ear and shuffled closer.
“Hey Babes!!”
Yeesh, what a screech! Maybe it was a raven after all!
“Yes, my babes!” I said as I stepped out of the forest and into the yard.

She stood on our deck, illuminated by golden shafts of late afternoon sun.
I stopped a moment to take in the scene.
There, the pond – an oasis in green.
The house set against the deepest blue sky.
Wind in the trees, their rustling leaves joining the symphony of cicadas and falling water.
And my babes on the deck, bathed in ethereal light as she held out her hand to me.
What was that in her hand?
I broke my reverie and walked across the grass towards her.
A magazine?
Closer now.
Not a magazine. A catalog!
I should have known! T’was The Season of Selling, when every Decor slinger this side of Singapore turned acres of forestland into shiny, paginated testaments to the Almighty Dollar.
I looked closer still, but I already knew what I’d see.
Yep!
Handan held the Grandin Road Halloween Catalog for 2019. Well, one of them, anyway. Grandin Road spits out catalogs like Turks spit out sunflower seeds. Seems we get a different Grandin Road Halloween Catalog every week!
Don’t believe me? Think I’m exaggerating? Here’s what a quick excavation of Handan’s sofa seat revealed.

And now you’re probably thinking, “Oh, you’re pulling my leg! Those must be three years of catalogs!”
To which I reply, “Madam, on my honor, those are all 2019 catalogs!”
(And I’d bet there are more on the way!)
But hey, as far as Halloween decor goes, Grandin Road is tough to beat – even I can see that! And their catalogs are eye candy to those of us who count the days until goblins and ghouls come out to play.
So anyway, there she was, my beautiful babes, standing in a pool of afternoon sunlight with a Grandin Road Halloween catalog in her out-thrust hand. She flicked her wrist, and the catalog spun open to page 50.
And then I saw.
And then I understood my next project.
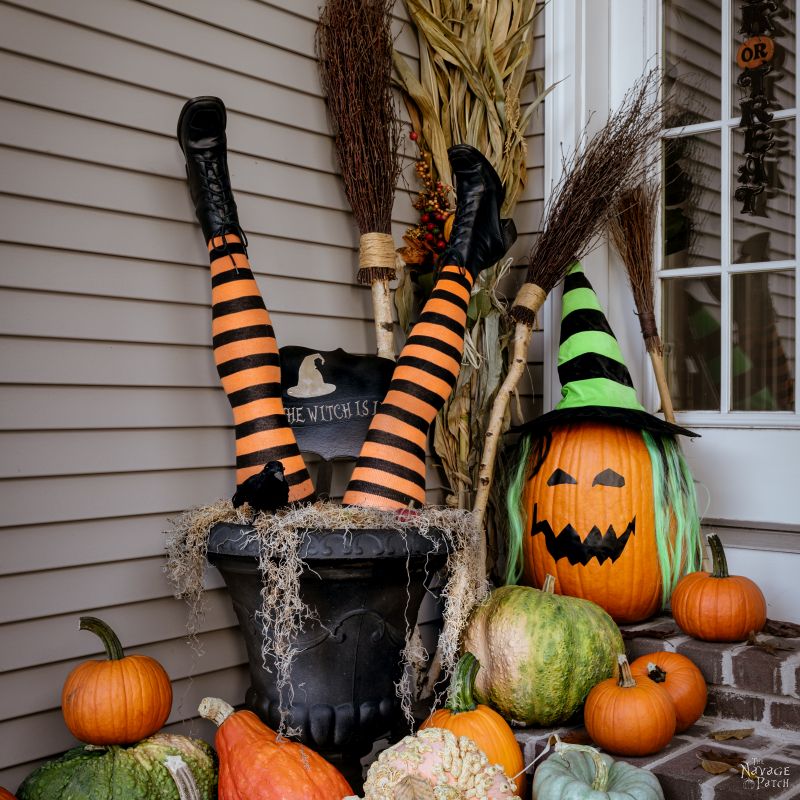
Witch legs in an urn.

Now, historically this would have been the point where I’d try to weasel out of it or start slinking back towards the woods, but not this time!
This time I grabbed the catalog, peered up at my squirrely wife and said, “Okay, my babes. Let’s do it!”
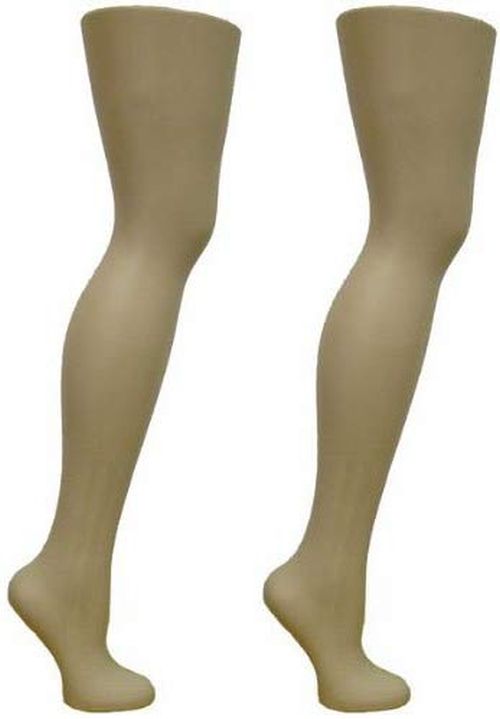
- 2 mannequin legs – we bought ours from Amazon.com as the price wasn’t outlandish.
- Orange & black striped over knee high socks
- A pair of black shoes or boots – we found ours in our local thrift store for $3.
- A medium sized urn or plastic cauldron – we used our old urn.
- Spanish moss
- Metal rods or bamboo stakes
DIY Witch Legs Tutorial
Though we would have loved to find legs shaped exactly like the ones Grandin Road sells, the mannequin parts we found online only came straight with a slight bend at the knee.
But, hey, I could work with that!
When we received our box of legs, Handan tried to fit the boots on, but the shape of the foot didn’t allow for footwear. These witch legs were made for standing au naturale!
Not to be outfoxed by a pair of plastic gams, I took them downstairs and sawed off the forefoot.

Problem solved!
They fit right into the boots.
Grandin Road’s witch legs look to have painted stockings, and that gives them a rather garish shine. Instead of painting them (which would have been way too complicated), we just bought orange and black stockings. They took all of a minute to put on, and they look more realistic.
These legs were almost as smooth and shapely as my own!

After the stockings came the boots, and then we took the legs out to our urn.
The urn had spent the summer by the pool growing a mélange of artisanal heirloom weeds. I probably could have sold those weeds at the farmers market to unsuspecting Millennials looking for some trendy new vegetables to post on Instagram.
Instead, I pulled the pretentious produce from the urn and tossed it over the fence. Let the foxes have it!
I carried the urn to the front portico where Handan gave it a quick clean with a damp rag.
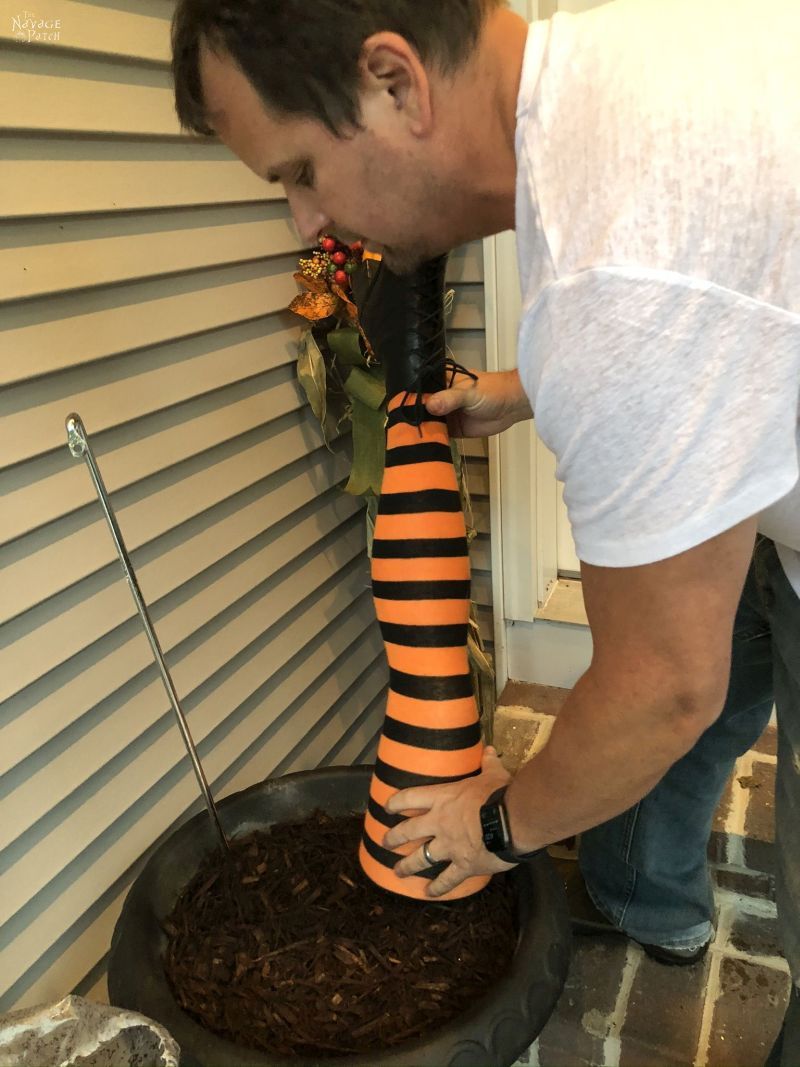
To hold the leg upright, we used some random spare metal rods we found in the basement, but anything straight and stiff will do.
o_0
Wait a minute.
Yeah, I know what you’re thinking!
But no, I’m not talking about whiskey!
😉
I pushed the rods into the dirt. There are rocks at the bottom of this urn to give it more weight, so the rods stuck firmly in.
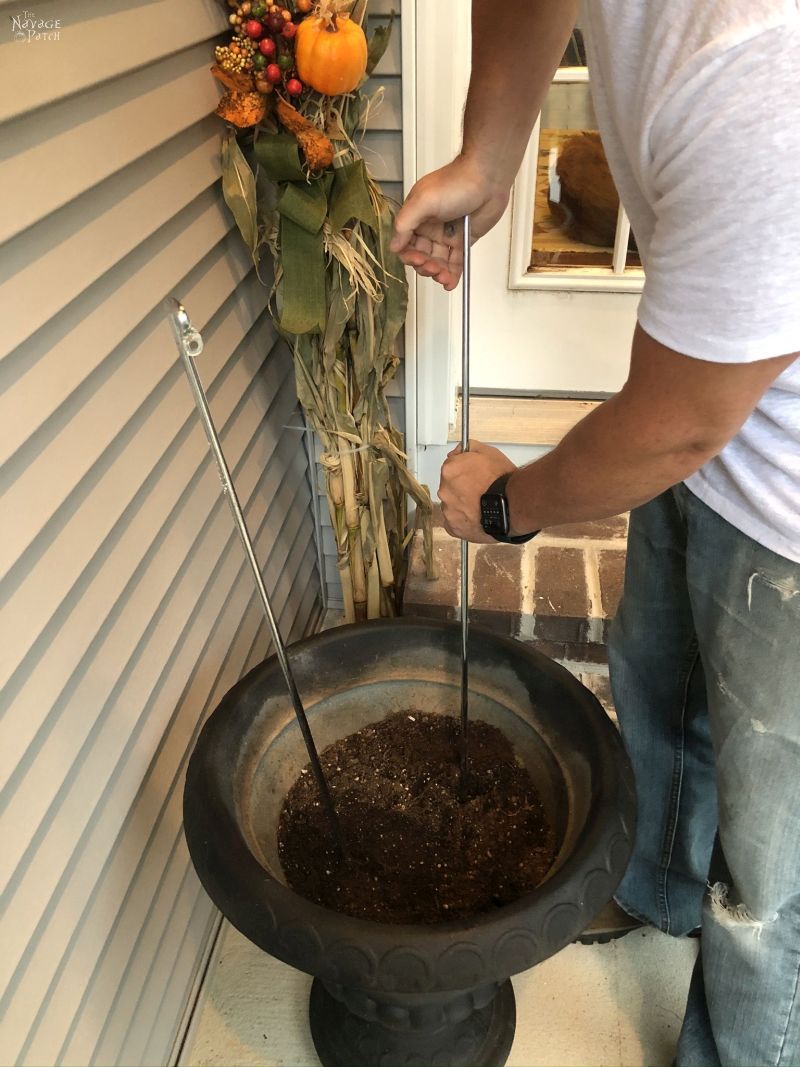
Instead of filling the rest of the urn with dirt, I used mulch. I had a bag left over from my my summertime toilings, so I figured I’d use it to save on weight.

After filling the urn with mulch, I placed the legs on the rods.


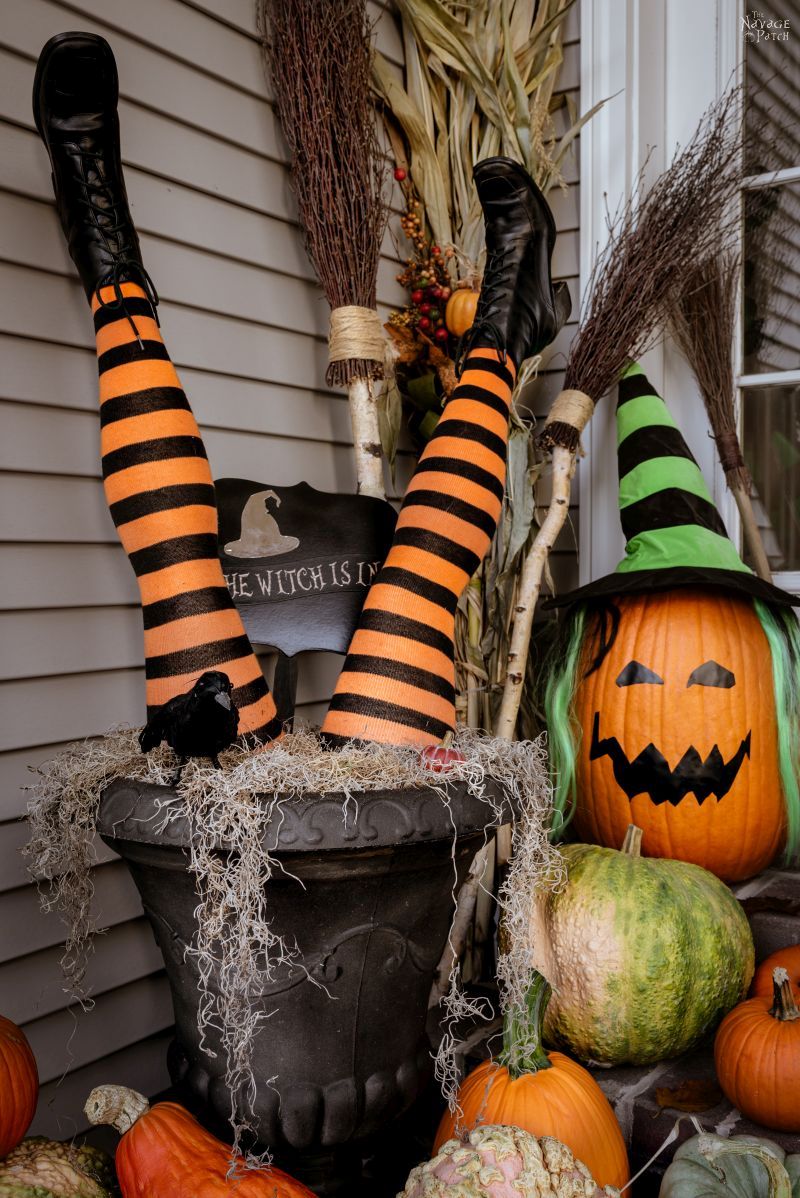
Now our witch legs needed a sign. Handan had bought some dollar store seasonal signs a while back thinking she’d paint them and use them for something. We finally had our “something!”
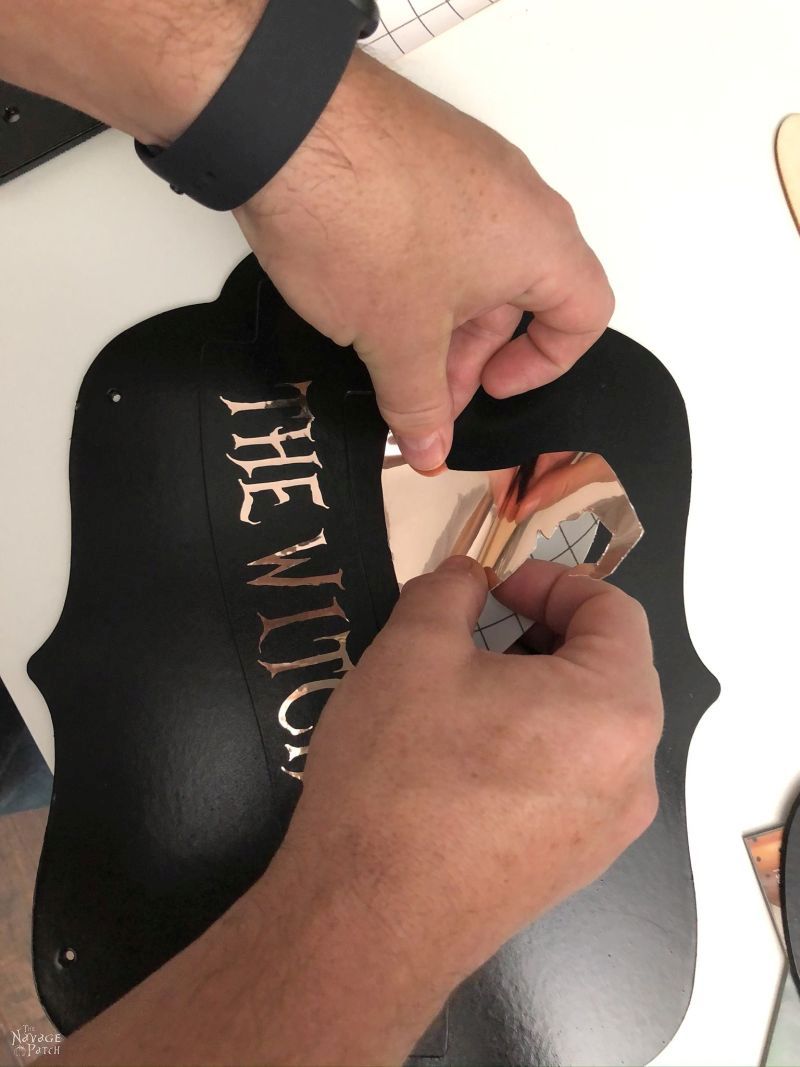
I painted the sign black of course.

To letter the sign, we used our Cricut Maker and rose gold adhesive foil, though a painted stencil or hand lettering would work equally well.


For the hat, I traced the dollar store wooden hat with one of the weeding tools and then cut it out with scissors.


Then I peeled the hat and stuck it on the sign.


For the signpost I used one of the dozens of paint stir sticks we have hiding in every corner of the house. A little hot glue, and the sign was done.
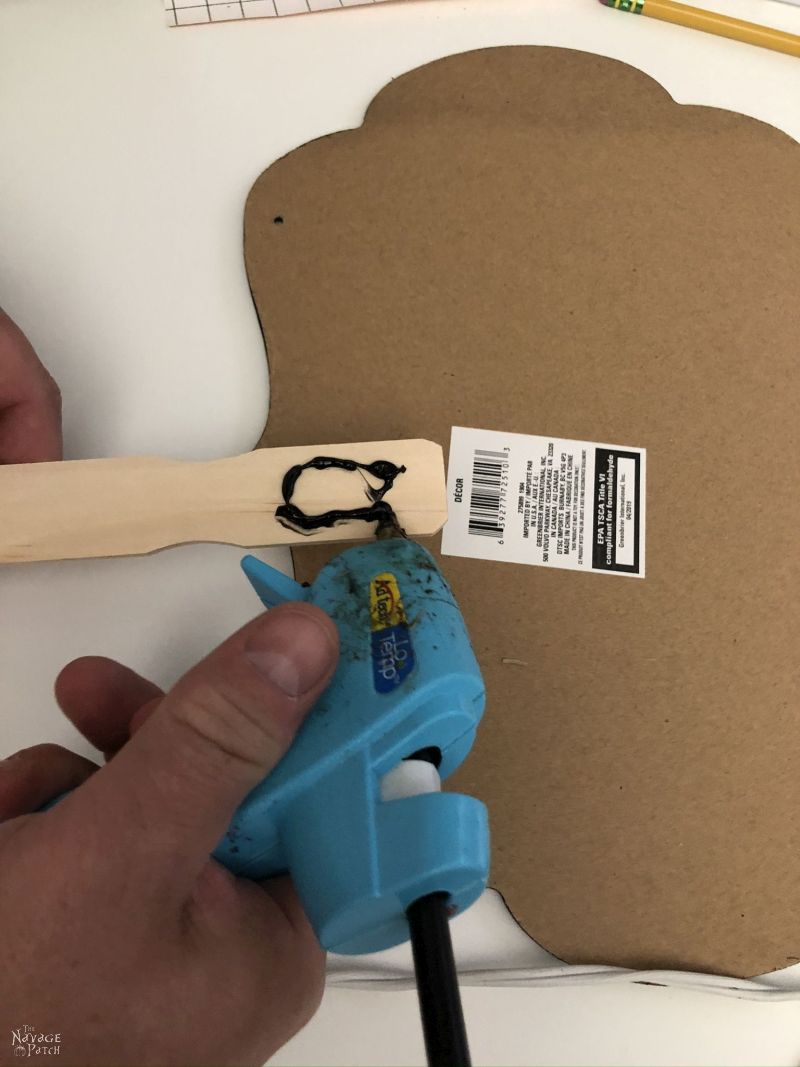

Ta-da! I was thinking that I should actually tape this to the back of Handan’s sofa seat, but then I remembered how much I like sleeping in a bed. 😆

I brought the sign out and stuck it in the urn.

The final touch was to add some dried Spanish moss.

Just then, we realized the plain paint stick signpost called too much attention to itself, so we quickly painted it black. We liked it much better that way.
And that’s it! We staged the area with some funky pumpkins and a few broomsticks, and now we have a brilliant Halloween entryway!

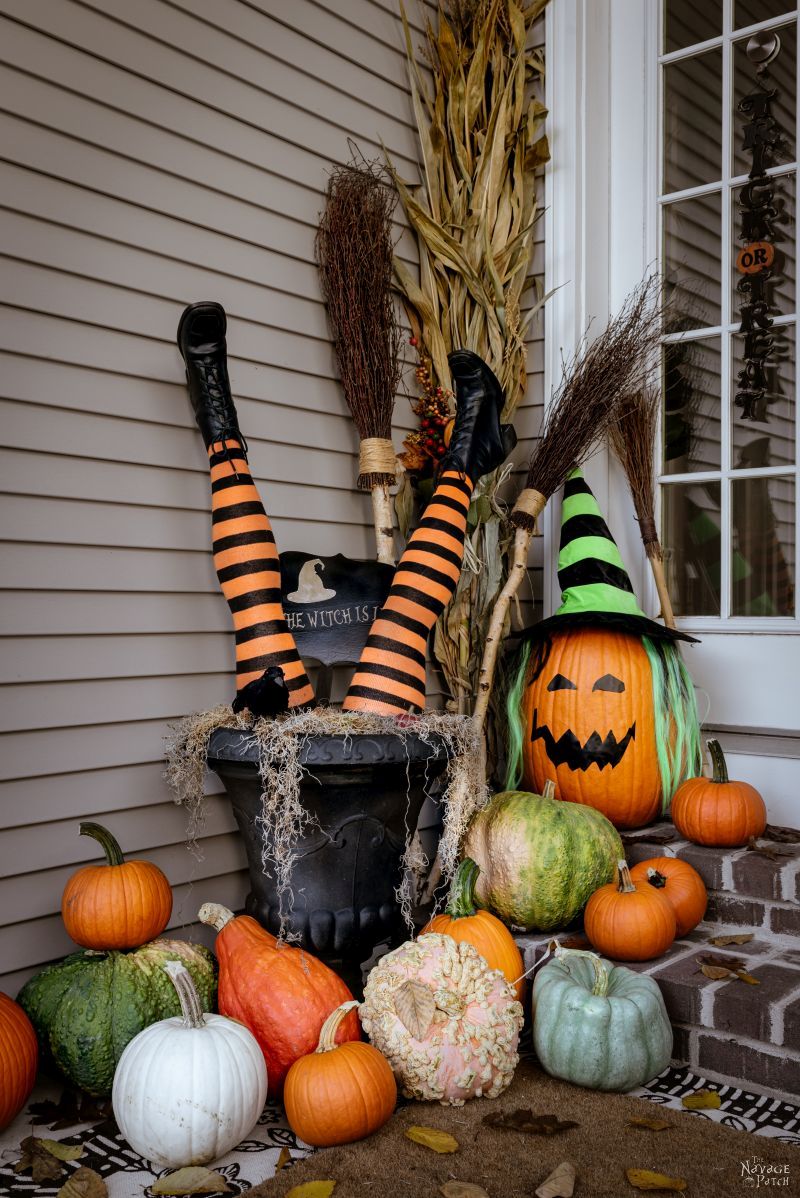
In case you’re wondering how much the whole thing cost us: the legs were $51 and the sign was $1 (as we used leftover materials for the sign.)

So what do you think? Not too shabby considering we made it for less than half-price, right?


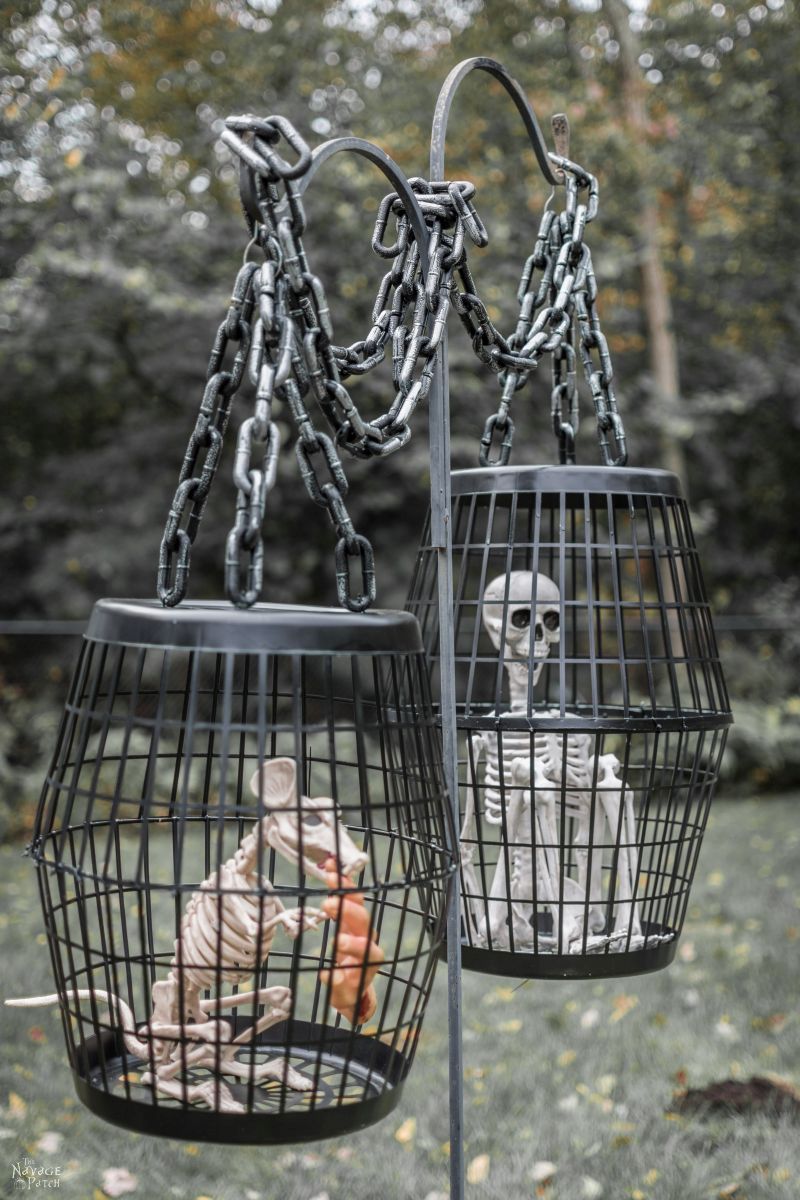
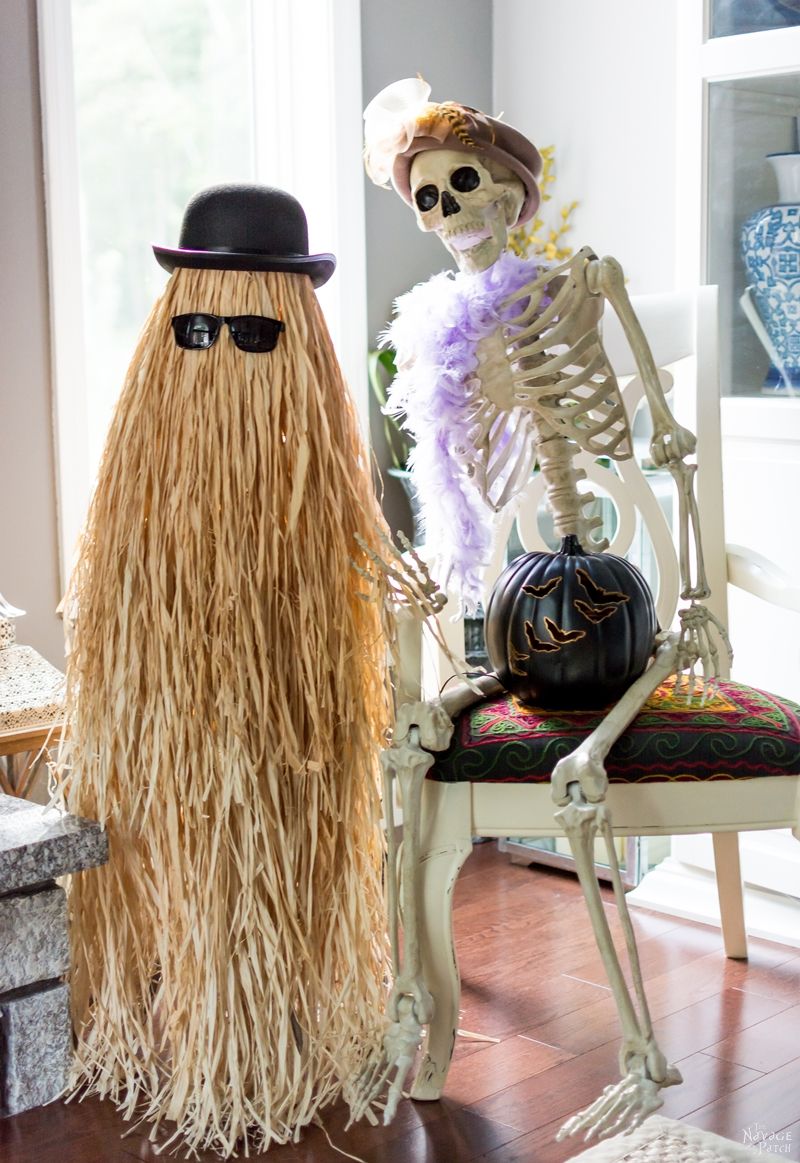
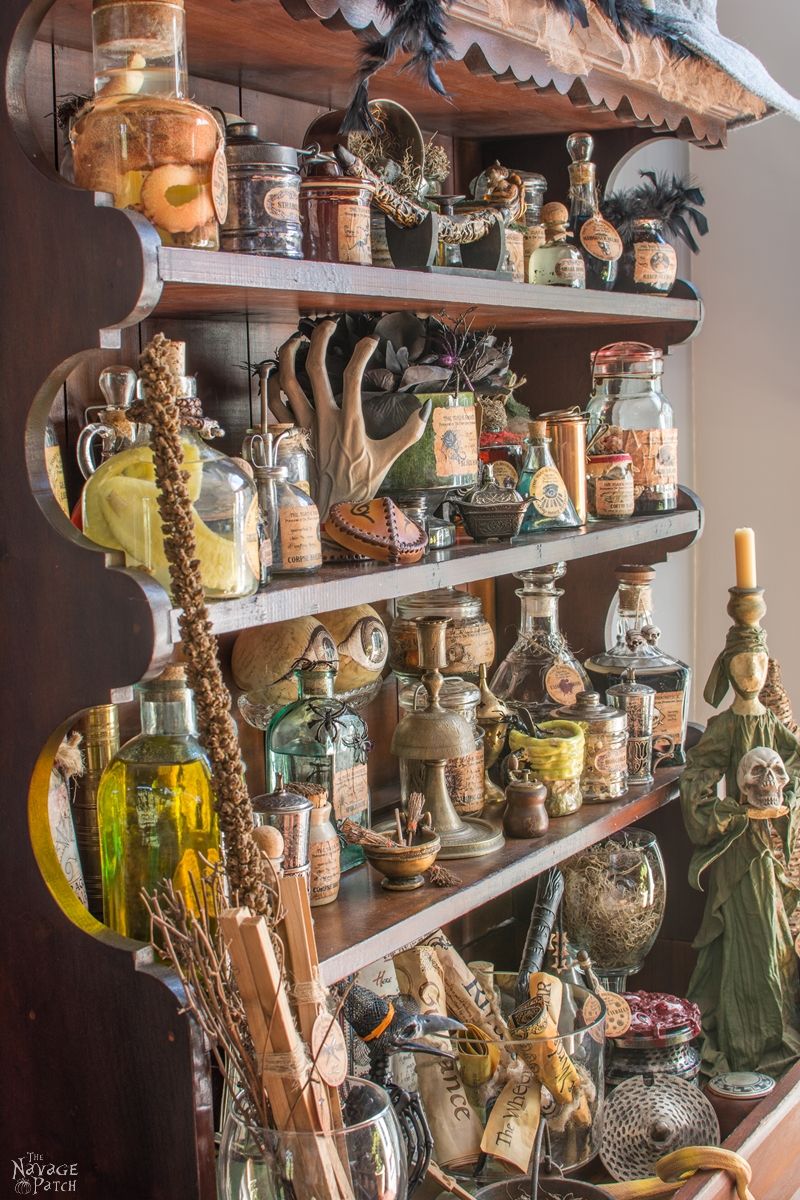
Before you leave, here are some more awesome Halloween prop ideas for you.
Apothecary Jars and Free Printable Labels
We love it when you share our posts on Facebook and Pinterest!


Love it as usual, but I would’ve attached the sign to the urn to make it more visible.
Thanks, Karen! You know, that was our original thought, too. But the sign overpowered the urn when we held it in front, and the shape of the urn would have made it difficult to attach or hang. In person, the sign in the back looks really good, and it’s legible from most angles. We also tried the sign in front, but that covered up way too much of the legs.
Who knew you could buy just the mannequin legs without the body. Huh. The world is an awesome place.
I think your version has more personality than the Grandin Road legs. (I get a ton of retail catalogs too, and Grandin Road has landed several times at my house too.
As usual, your post tickled my funny bone (you guys are just so humerus).
Artisanal heirloom weeds–snort and snicker. I need to start referring to my crab crass and those weird things that sprout under one of the maple trees as these. Maybe I’ll feel better about them invading my yard.
.
I’m pretty sure they sell just the legs because of A Christmas Story. The leg lamp has probably been one of the number one guy DIYs since the 80s, lol! Speaking of artisanal heirloom weeds, there’s a great story out there (no doubt fake, but still…) about a hipster who went to the farmers market in search of ironic produce and was sold an “artisan dwarf cabbage” for 3.50 pounds (British story). He posts his rare veggie find on Instagram and then learns through a deluge of snarky comments that he is the proud owner of a brussels sprout.
Wow! You all are having too much fun creating fun things for Halloween! I’m loving it!!!
We love it, too, Gail! 🙂
And here I thought we were going to see you using a lathe and creating those legs!!! Love your front porch!
Ooooh, a lathe! I don’t have one, Susan, but someday…someday… 😀
Oooooooo I want those legs 😀 Brilliant idea guys.
Thanks, Michelle! 🙂
If someone wanted to recreate this without spending the dosh for a pair of mannequin legs (who knew you could buy these things?), they can always go down the wrapping your own legs in duct tape and stuffing route. Very easy to do! Put on some leggings or thigh high socks, wrap completely with duct tape tight enough to create the shape, then cut down the back from top to toe and remove from leg. Tape up the cut, and then stuff with paper or hay, stick the striped stockings on, and away you go! (Want a full size mummy body to wrap? I bet you can see where I’m going… Just make sure your model can always breathe properly and use a wig head for the head!)
We did this lots for costumes to make dress forms or fake limbs/torsos. It wouldn’t be as sleek as nice unyielding plastic, nor as sturdy, though. So both options have their advantages. I can’t believe the professional store version just used painted plastic when the stockings look so much nicer!
What a fun post! Love your imagination
These are such great posts! I have been stuck on your blog for almost two hours now! Love the humour to each one! Beats a boring diy everytime! Thanks to you both! Going to keep reading! I have always wanted to make witch legs and broom that hit the electric post!
Awesome! Welcome to The Navage Patch, Gina – we’re so happy you found us! If you really want to waste some time (or is it time well spent?), start here and follow the trail of stories 🙂 –> About Us