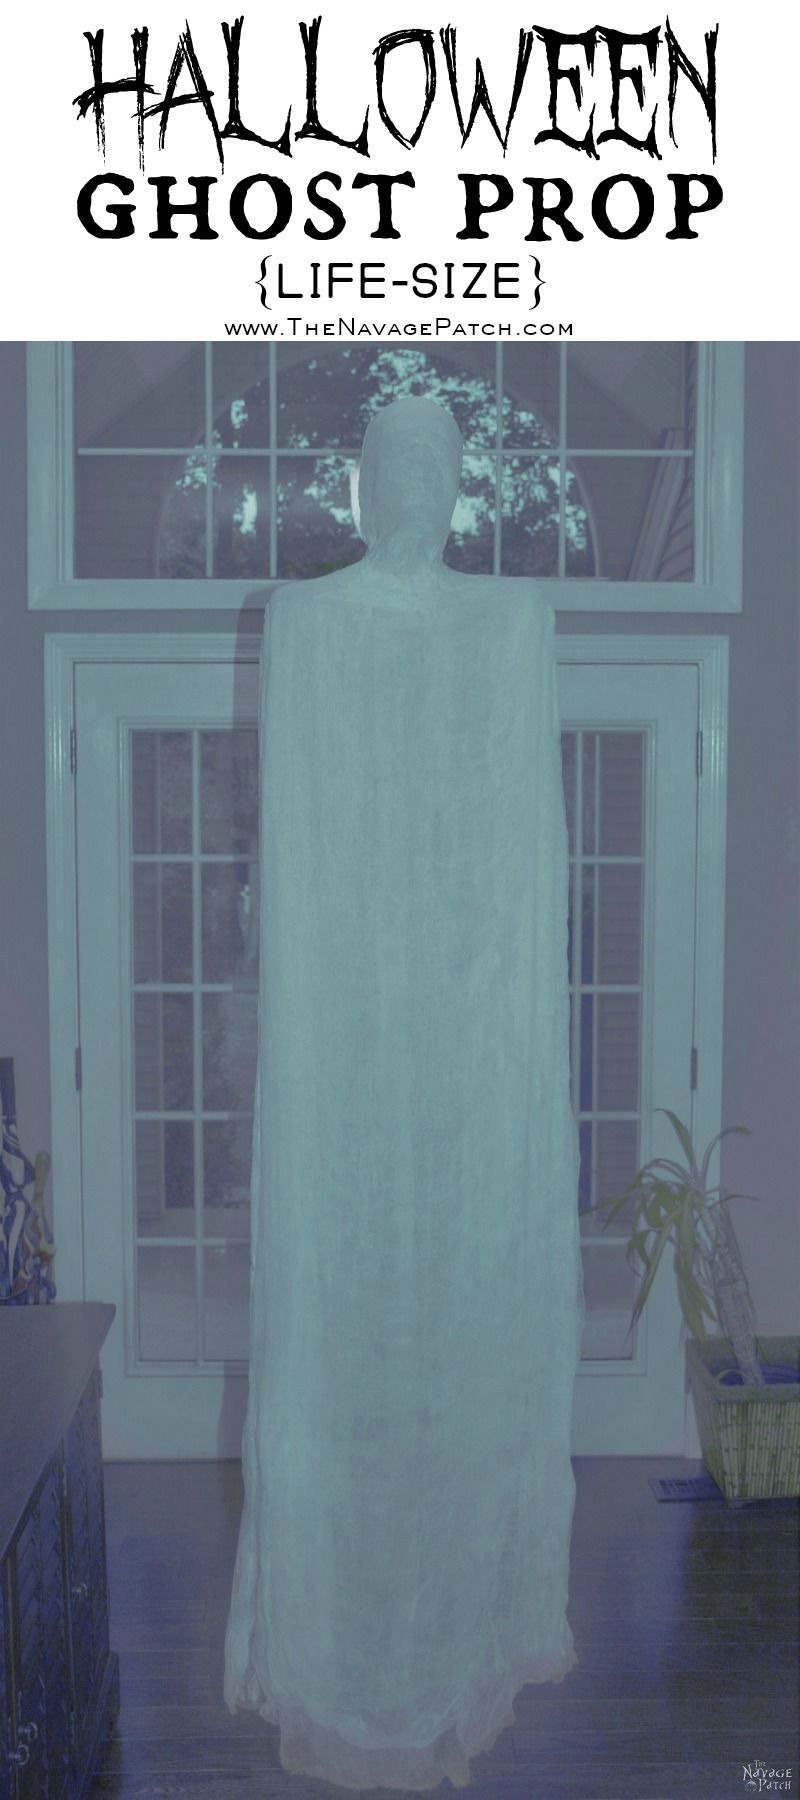
Halloween Ghost Prop
With Halloween on the way, we started watching creepy movies. Horror movies and me? Nope, not a very good combination! But we found an easy solution to that: when we’re watching a horror movie or show, I work on my crafts or surf the web while I sit next to my babes and keep him accompany. So I do in a way watch the show with him (or should I say, “listen”), but as I miss the best parts (so he says), I don’t get scared as much, nor do I jump or scratch his eardrums with my girly screams. Works perfectly for us!
The other day while we were watching American Horror Story, I found these cute ghost tutorials online.
 Source Source |
 Source Source |
What a brilliant idea, but… A cute ghost? Exactly! Greg would never let that thing near our house. I knew I could improve that idea and make a ghost that would be acceptable to Greg’s standards. But ‘how’ was my puzzle to be solved.
Last summer I bought a 5 dollar dress form at a tag sale. No, unfortunately I can’t sew but what a steal right? I can use the sewing machine to make pillows and simple things like that, but I can’t really sew anything complicated like clothing. So that wasn’t the reason why I bought the form. The only explanation for that is I am a woman, and like most of us, I also activate my ‘impulsive shopping spree’ plugin when going to tag sales. You know how that goes: “Well…It was 5 dollars and I figured that I could always use it for this and that” or “Ok maybe I don’t actually have a plan for its use, but it was only 5 dollars. So I thought, why not?” While you try to come up with your perfect reasoning for your purchase, your hubby sighs. Because he knows that is one more thing which will take its place in your pile of bought-but-unused items for an unknown time.
Well my 5 dollar dress form’s story was pretty much the same, but now was the perfect time to put her in use. With an urge to start the project, I ran down to the basement and grabbed the dress form. Then I gathered all other materials needed for the project: a Styrofoam head, cling film![]() , Mod Podge (original matte)
, Mod Podge (original matte)![]() , water, sponge brush, cheesecloth
, water, sponge brush, cheesecloth![]() and a pair of scissors to cut the cheesecloth.
and a pair of scissors to cut the cheesecloth.

First I started working on the head. I wrapped the Styrofoam head with cling film, as it stops the cheesecloth getting glued on the form.

Then I measured and cut the cheesecloth – enough to cover the head with 4 layers of it.

I placed the cheesecloth on the Styrofoam head, ensuring that I covered the entire head.

I made a mixture of one part Mod Podge and one part water in a plastic container and started spreading Mod Podge/water solution on the cheesecloth. While spreading the solution, I lightly pressed on the cheesecloth, especially in the eye and nose areas. This helps the cheesecloth to stick on cling film better. But I didn’t press at all when I came to the neck area, otherwise removing it from the form would be an issue. When all the cheesecloth was nicely soaked with the Mod Podge/water solution, I put it outside to dry.
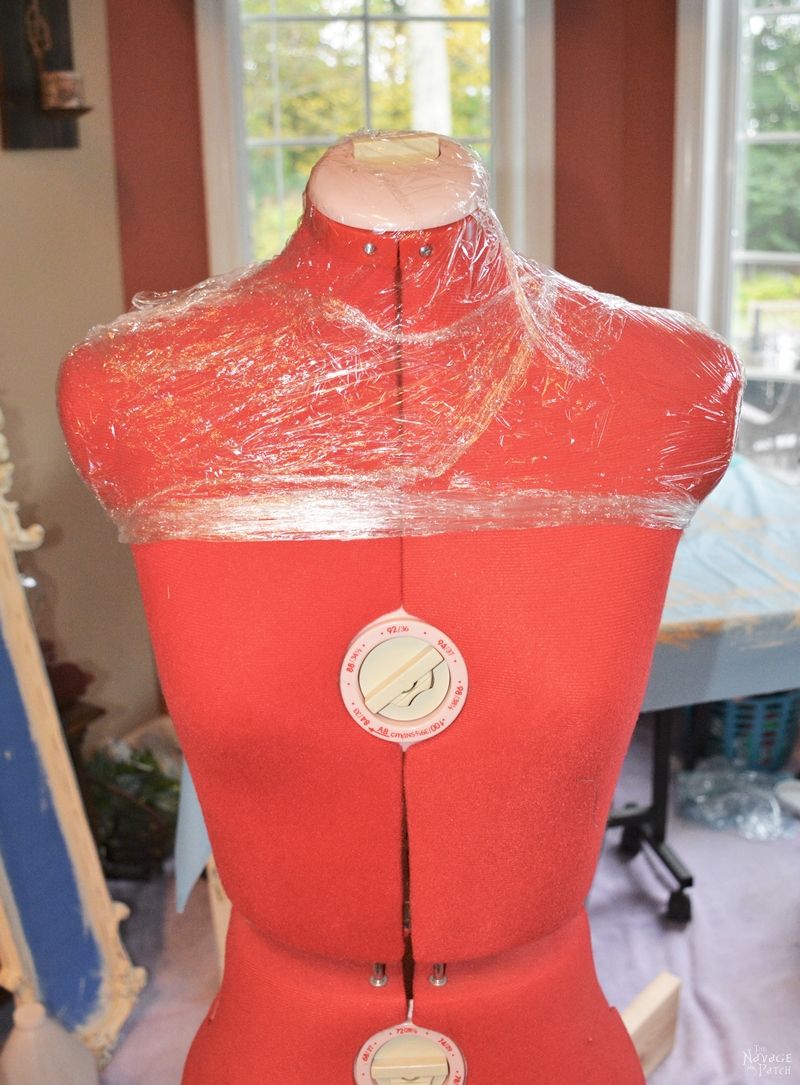
Meanwhile, I started to wrap the dress form in cling film.
Once the cheesecloth on the head form dried, I took it out of its form and placed it on the dress form. This time, I cut 2 pieces of cheesecloth, again long enough to have 4 layers for the body part. I placed the first cheesecloth piece in the front of the dress form and other one to the back.
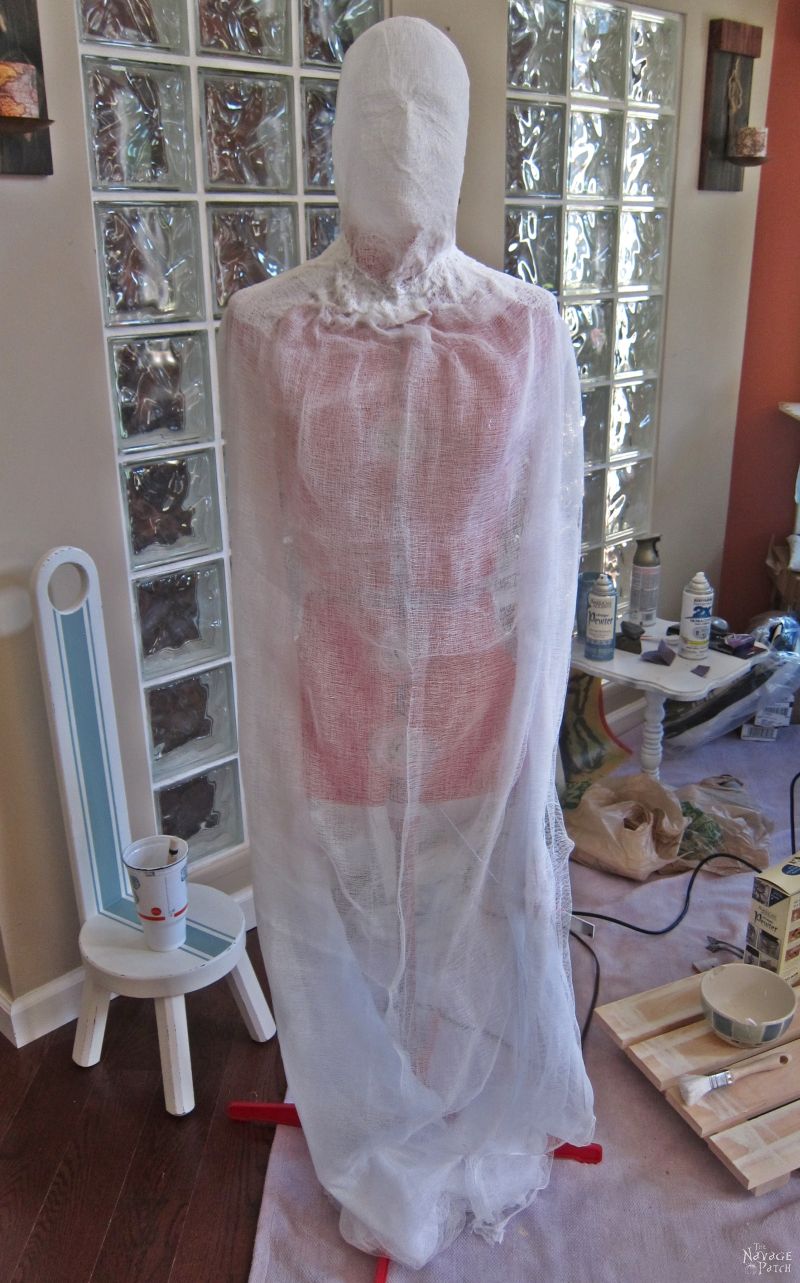
Then I prepared some more Mod Podge/water solution, and the rest was pretty much the same with making the head part, only easier. Because I didn’t want to have a form for the full body of my ghost, I only spread the Mod Podge/water solution down to the shoulder area. After this, I again put it outside to dry.

Once it was dry, I separated the cling film from the cheesecloth and that was the end of the project.

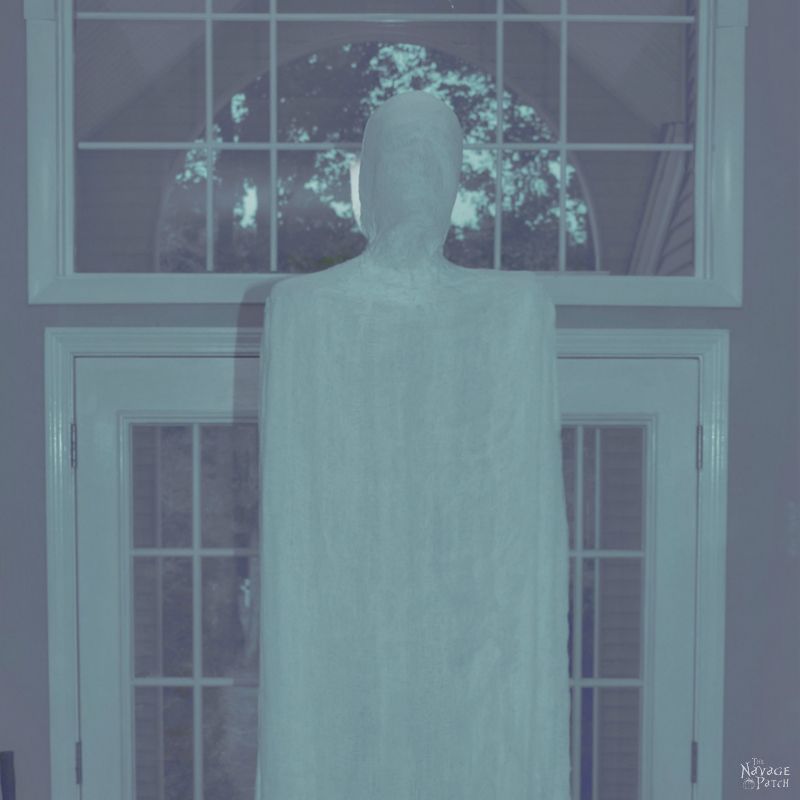
Here is our life-size Halloween Ghost Prop!

Creepy isn’t he?


We are planning to display this guy with black light, and I can’t wait to see how our trick-or-treaters will react 😉
Handan, xo


Feliz de este sitio, hay grandes ideas divertidas.
Gracias
¡Muchas gracias, Victoria!
Gracias, Victoria!