DIY Light-Up Skull Topiary (aka Skull Kebab)
Make this DIY light-up skull topiary & take your Halloween decor game to boss level! You’ve seen skull topiaries before, but never like this!
You know the end is near when skulls have gone mainstream.
There was a time when a well-placed skull could actually frighten and cause the flesh to crawl on an unsuspecting visitor, bystander or innocent child.
Sadly, those days have gone the way of dodo birds and common sense.
Now every Fanny Facebook, Tootsie TikTok and Suzie Social Media has skulls festooning every square inch of their Insta-homes during the fair autumn season.
I mean, when did it become hip to be showing off your brand of recycled ferret claw rugs and line of alpaca wool jogging sweaters one day and then hawking skulls the next?
What are the true Creep-heads supposed to do when their favorite holiday has been usurped by Stanley-sucking social media vampires whose only interest in a skull is how many likes and comments it will garner?
Sigh.

So yeah, you’ve doubtless seen a skull topiary online somewhere gracing the immaculate front stoop of some perfect house in a perfect neighborhood while two perfect kids play with a perfect dog who only craps in the back yard.
This ain’t that house.
We ain’t those people.
And our dogs crap wherever they damn well please.
So let’s take back Halloween, starting with the skull topiary!
Yep, it’s been done. But you see, Betty Bubbles and Guy Smiley forgot one thing…
Skulls taste better when roasted over a smoldering fire.

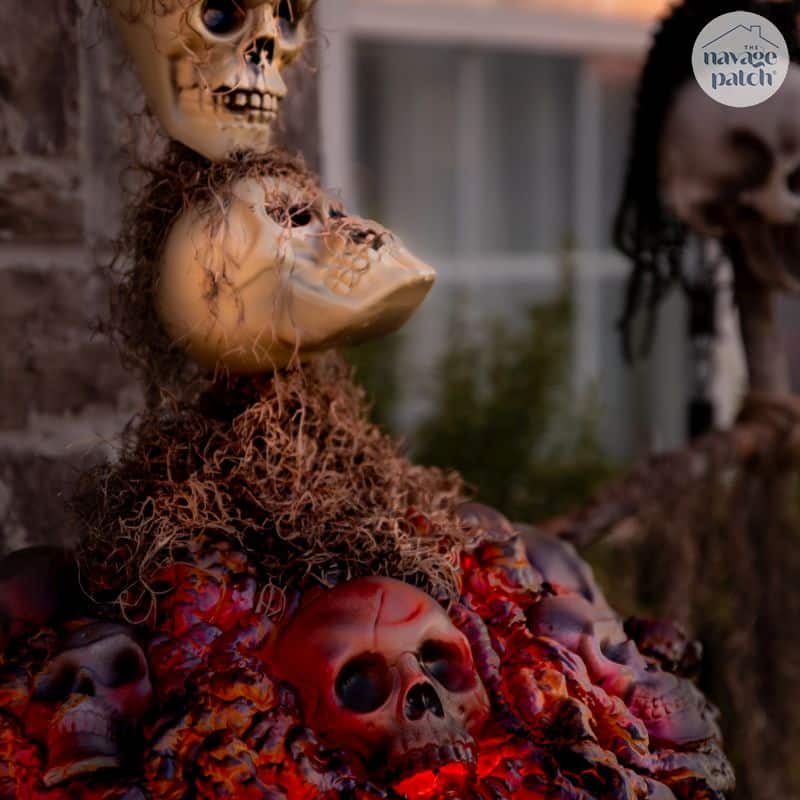
And that’s why this year I’ve made this delightfully tasteful skull kebab topiary for my babes! Inspired by Turkish shish kabob and large spits of lamb doner kabob roasting vertically, these skulls are a delight for all the senses!
Let’s get to it!
This is an easy craft made with mostly Dollar Tree materials. When it comes to skulls, we buy them from dollartree.com by the caseful. They’re just too useful around the holidays not to have around, and we’re always in need of them!
For the spray foam, any kind will do – you won’t need the pure-white foam we used for our Snowy Village Wreath last Christmas.
A note about the black hot glue sticks we use. They are not only perfect for Halloween crafts, but the black sticks we get are made from a stronger glue that holds better in the heat and in general.
DIY SKull Topiary SUPPLIES LIST
Affiliate links are provided below. Full disclosure here.
- Dollar Tree broom handle
- Dollar Tree plastic skulls
- X-Acto knife
- Spanish Moss (DT)
- Hot glue gun
- Black hot glue sticks
- Dollar Tree laundry basket
- Wire wreath form (DT)
- Zip ties (DT)
- Spray foam
- Nitrile gloves
- Eye protection
- LED string lights – orange or red (can be plug-in or battery-operated
- Gloss red and flat black spray paint


We love to see our DIY Halloween decor out in the wild! If you make this Halloween DIY decor for your home, take a picture or video and post it on Instagram, be sure to tag us – thenavagepatch
Skull Kebab VIDEO Tutorial
Watch our short and fun video below for an overview of our roasting skull topiary before you read the detailed step-by-step tutorial.
Watch Our Tutorial On YouTube
On Tiktok
More Easy DIY Halloween Decor Ideas
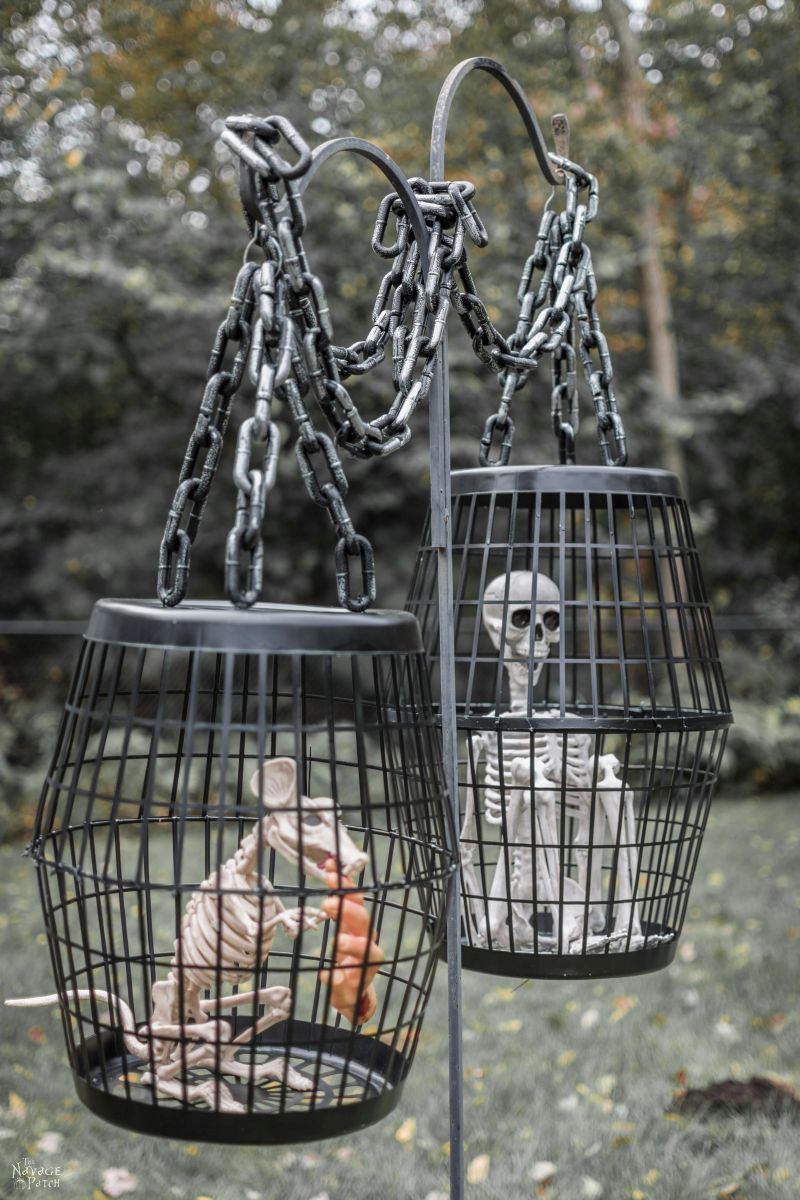

- Hanging Cage Halloween Prop
- DIY Dollar Tree Halloween Lights
- Easy Lighted Hanging Ghosts (A Dollar Store DIY)
- Free Vintage Movie Monster Printables
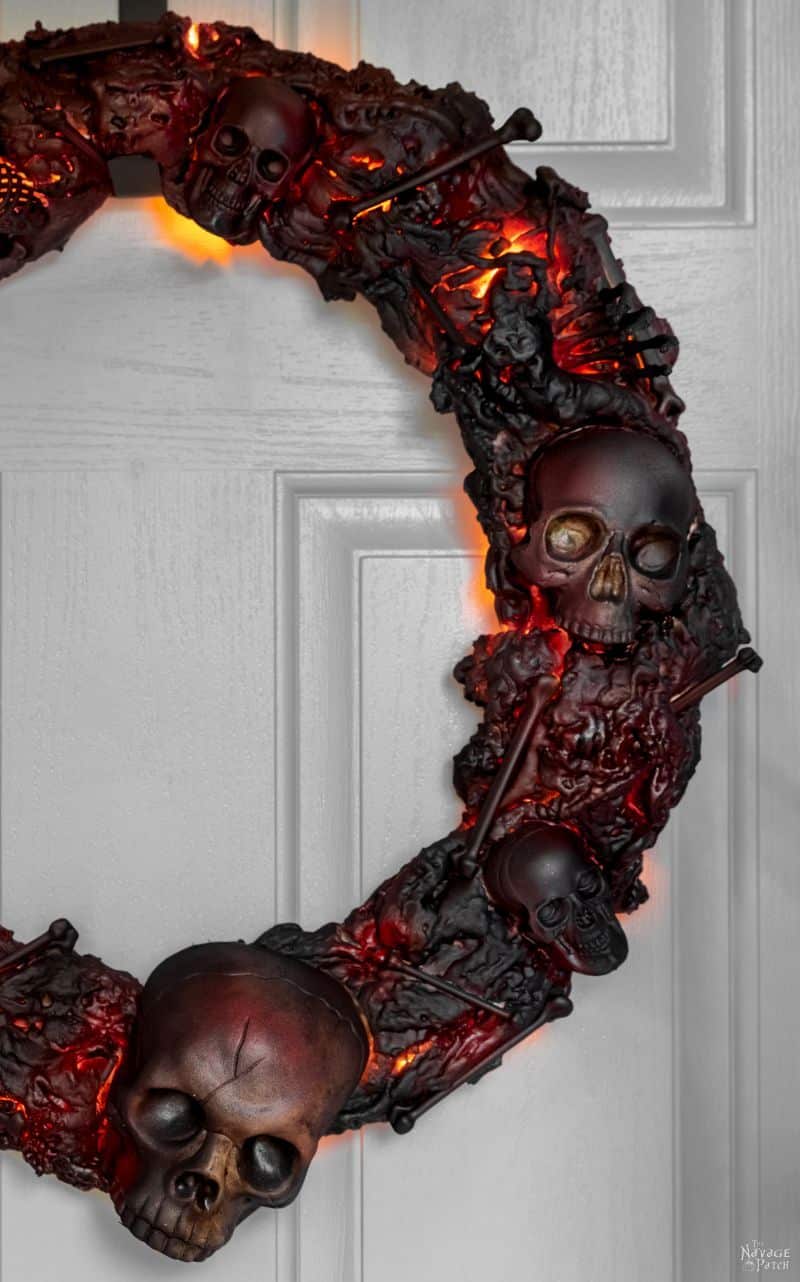
- DIY Halloween Fire Wreath
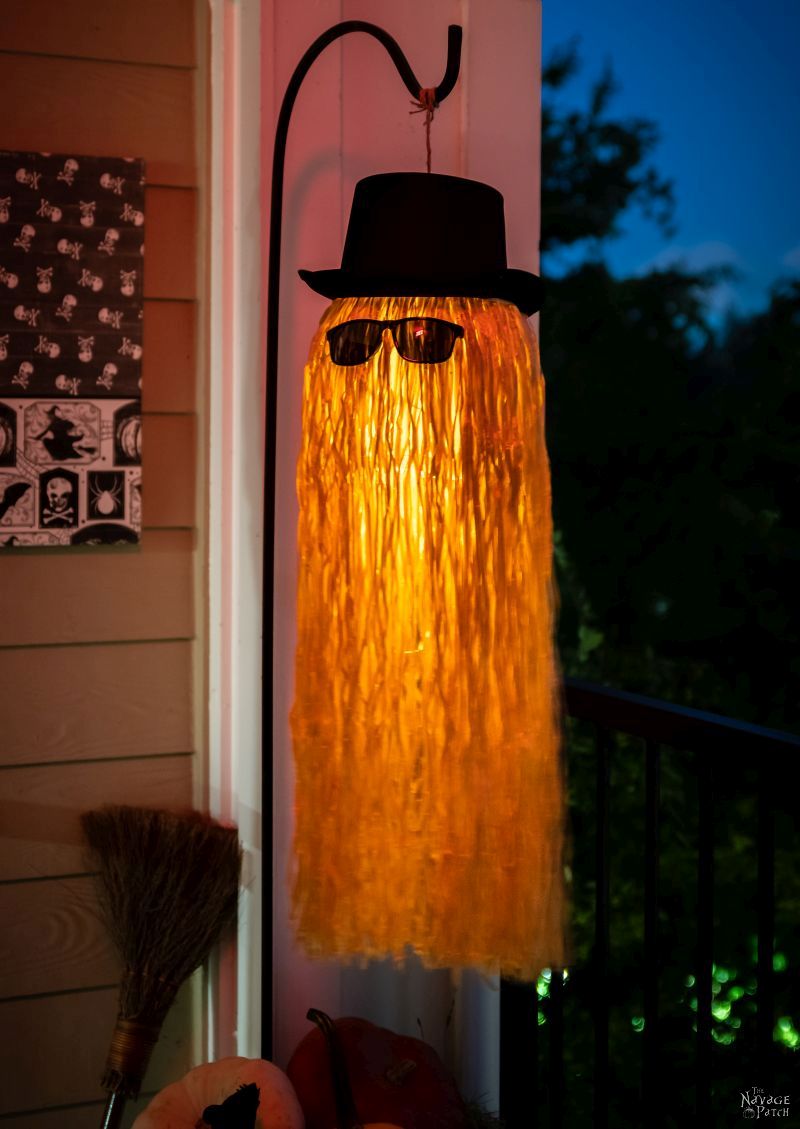
- DIY Cousin Itt Pathway Light
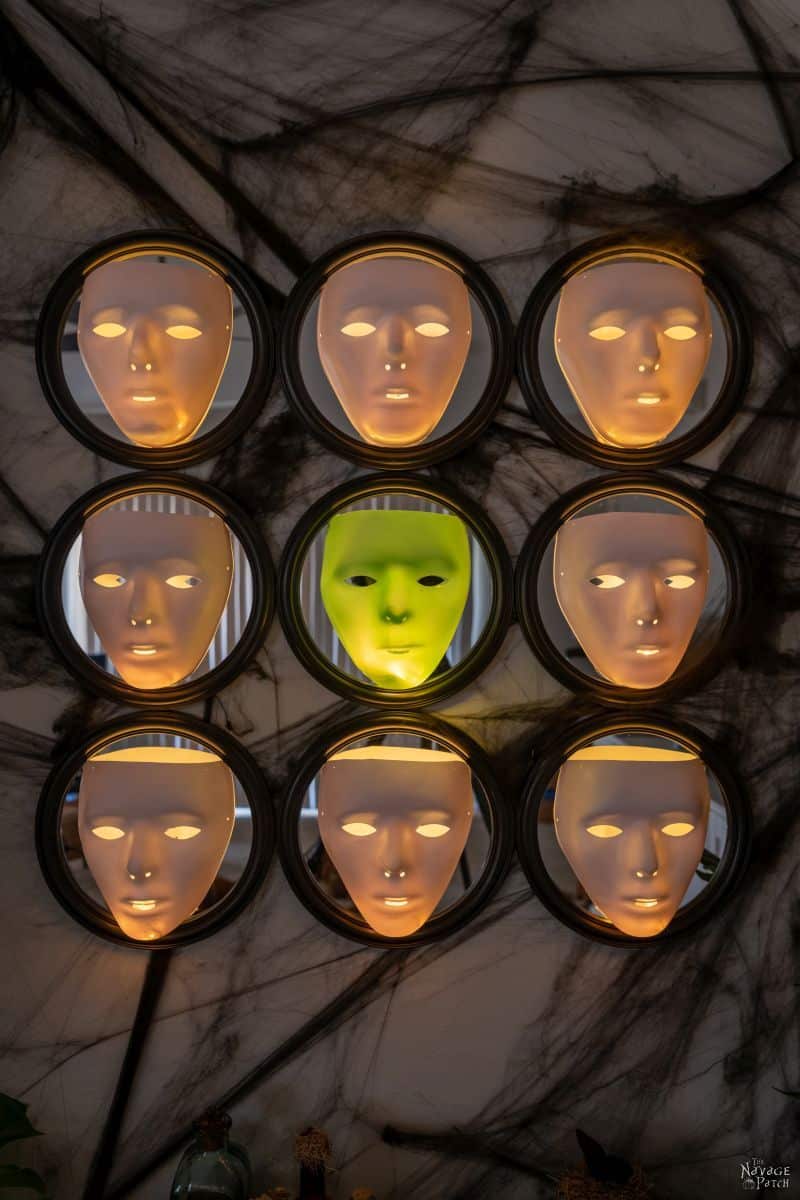
- Gallery Of The Faceless – Easy Halloween Wall Decor
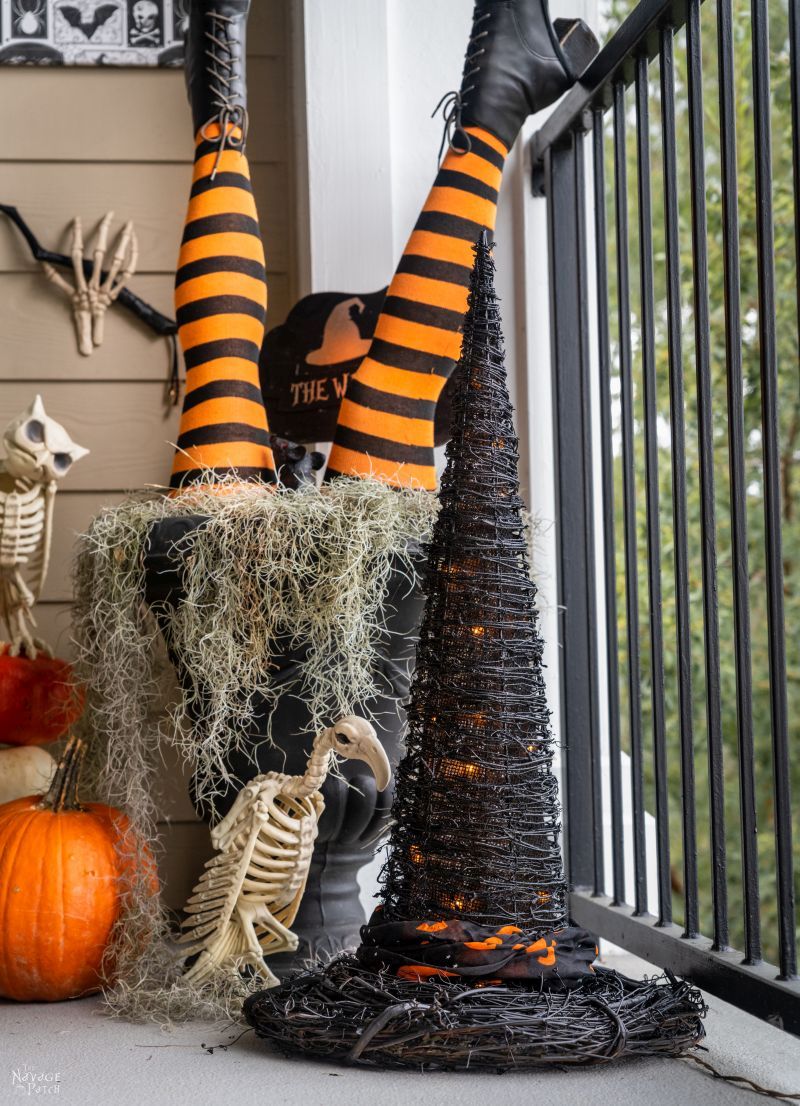
- DIY Lighted Witch Hat (Grandin Road Inspired)
- Apothecary Jars And Free Printable Labels
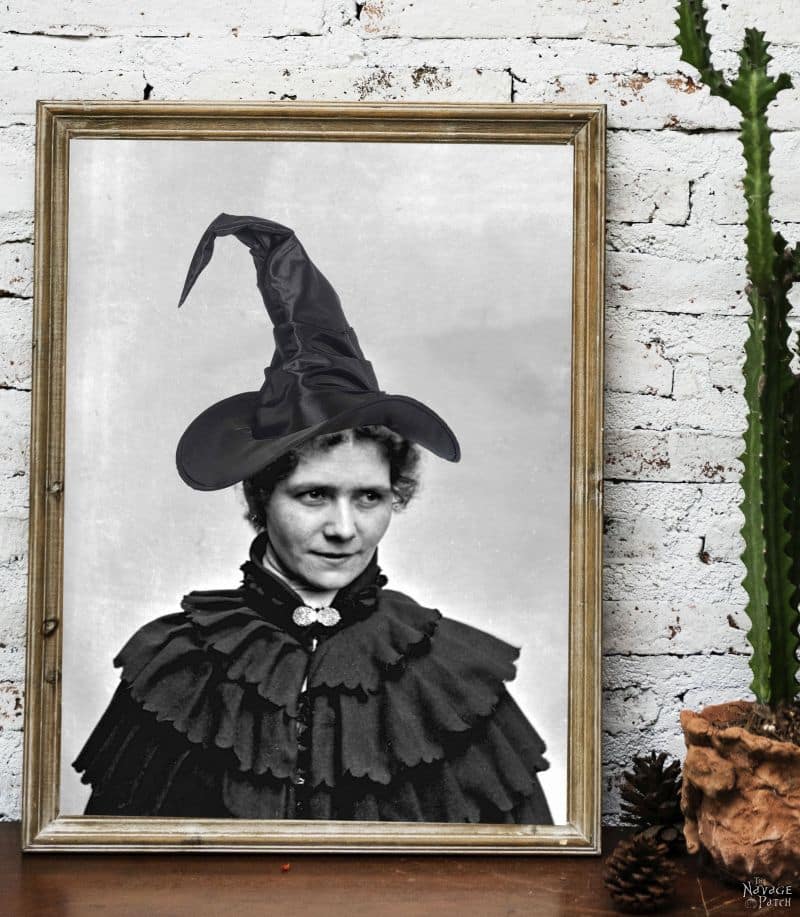
- Free Vintage Witch Printables
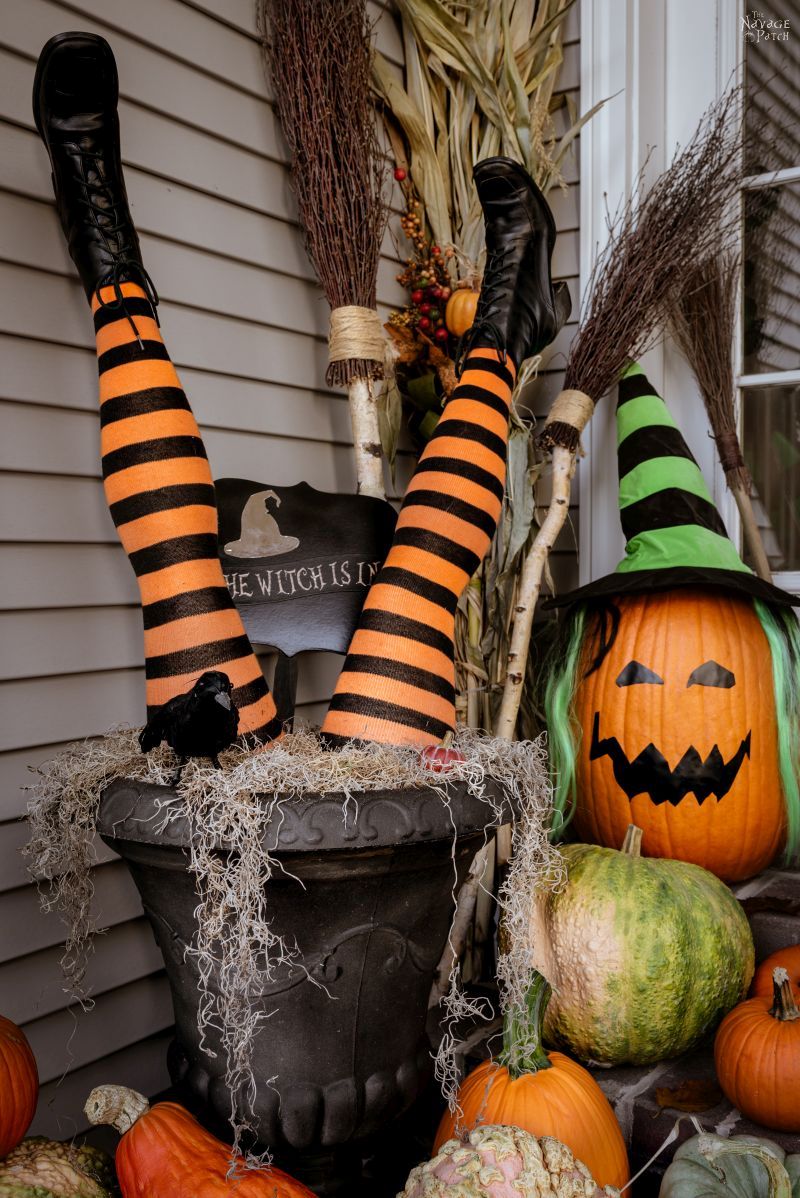
- DIY Witch Legs (Grandin Road Inspired)
- Dishes Of Darkness: Pottery Barn Inspired Halloween Plates
DIY Light-Up Skull Topiary Tutorial
Step 1 – Skewer some skulls
A Dollar Tree broom handle makes a wonderful skewer – why pay more when it’s all you need?
I marked my skulls top and bottom where I wanted the skewer to pierce. I wanted some skulls to be centered, some facing up, and some tilted to the side, so I marked accordingly.
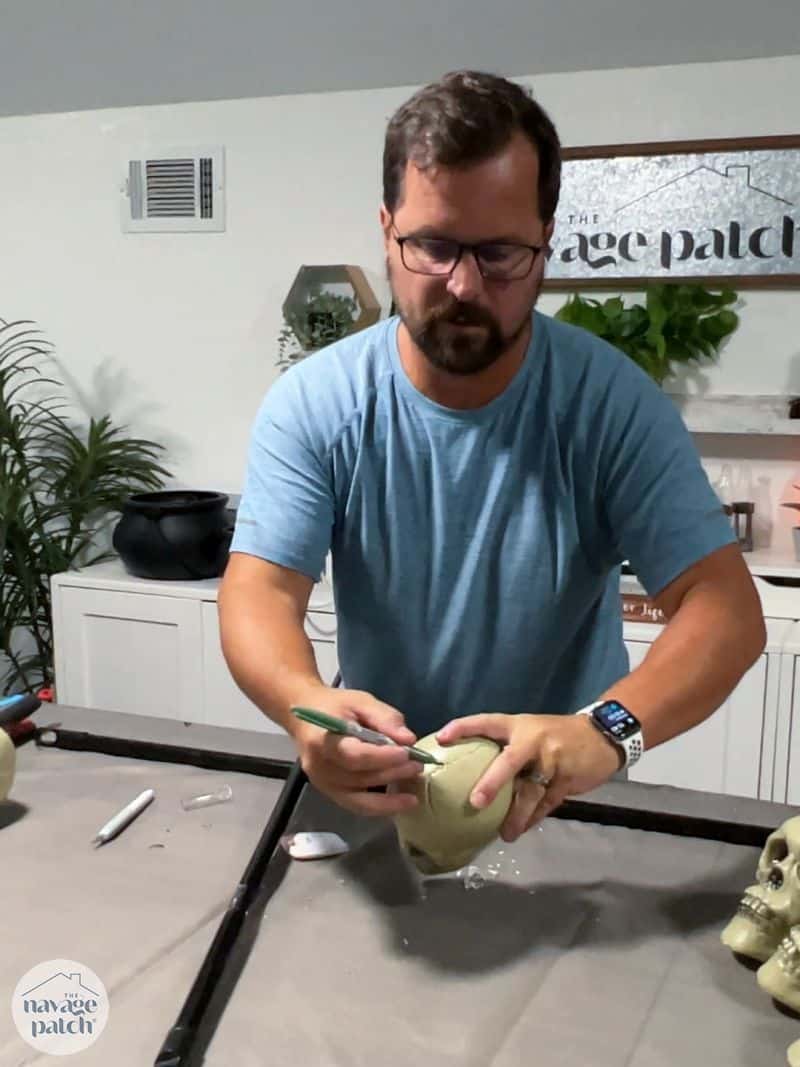
Next, I cut a round hole in the top of the skull the same diameter as the broom handle.

Under the jaw, I used the X-Acto knife to make an asterisk.

I poked the bottom of the broom handle through the top of the skull and pushed through the asterisk under the jaw.

This was the first of five skulls. I pushed him up to the top and repeated four more times.

Optional Improvements
Age the skulls:
Plastic skulls are easy to age, if you want to up the creep factor. Since I was on a time-budget, I skipped this step, but I recommend it for skull aficionados. Stain and shoe polish are commonly used, but you could also try dirt, mud or even spray paint to give the skulls a more ancient and menacing demeaner.
Char the undersides:
These skulls are roasting over a smoldering fire. Do you really think the lower jaws would be so lily white? Of course not! They’d be deliciously browned! A little black spray paint can char them right up for you. This was a great tip from someone on social media. I wish I’d thought of it when I started!
Step 2 – Add moss
When I had five skulls skewered and arranged, I hot glued Spanish moss between each skull. This not only looks good but it holds the skulls in place.


This next step is optional, but since I had a bunch of smaller Styrofoam skulls kicking around, I glued a trio of them on top.

Here are the two skewers I made, all ready for the next step.

Step 3 – Make the fire mound
I cut a Dollar Tree laundry basket as shown below.

Then I placed the cut bottom in the middle of a Dollar Tree wire wreath form and zip tied the two together . This will help mound the fire without having to use too much spray foam.

I cut a hole in the middle to accommodate the broom handle.

I sprayed Great Stuff Big Gap Filler spray foam in a layer around the outside of the laundry basket. This is the first of two layers, so it didn’t need to look perfect.
Don’t forget your nitrile gloves and eye protection for this step! Spray foam is nasty business!

Step 4 – Add lights
I waited a few minutes until the foam formed a skin, and then I placed the LED string lights all around the foam and the wreath form. Since the back won’t be seen as much, I concentrated the lights more on one side.


Step 5 – Add skulls
Before I started, I had cut the backs from a bunch of plastic skulls, I placed several randomly around the foam, concentrating on the front and sides. The skin prevented me from nestling the into the foam, so I just placed them on. I then secured them in place with Great Stuff spray foam – the red can, not the Big Gap Filler in the black can.

I only wanted a thin layer of foam over the lights to allow them to shine through. Big Gap Filler might have buried them too deeply.
You’ll notice there’s a hole in the skull I placed on top of the fire mound. That is where the skewer will be mounted, so anything put up top needs a hole in it. Alternatively, you can leave the are empty and simply stick the skewer through the foam at the end.

I stopped foaming once I had all the lights just covered, and then I set the fire mound aside to dry overnight.


Step 6 – Paint the fire
The next day I painted the fire with gloss red and flat black paint. This is the most fun step, and the smoldering look really comes alive during this part!

I like to concentrate the reds in the nooks and crannies and then lightly spray black over it.

Here are the two I made – one is a little heavier on the black than the other.


Step 7 – Insert skewer and display!
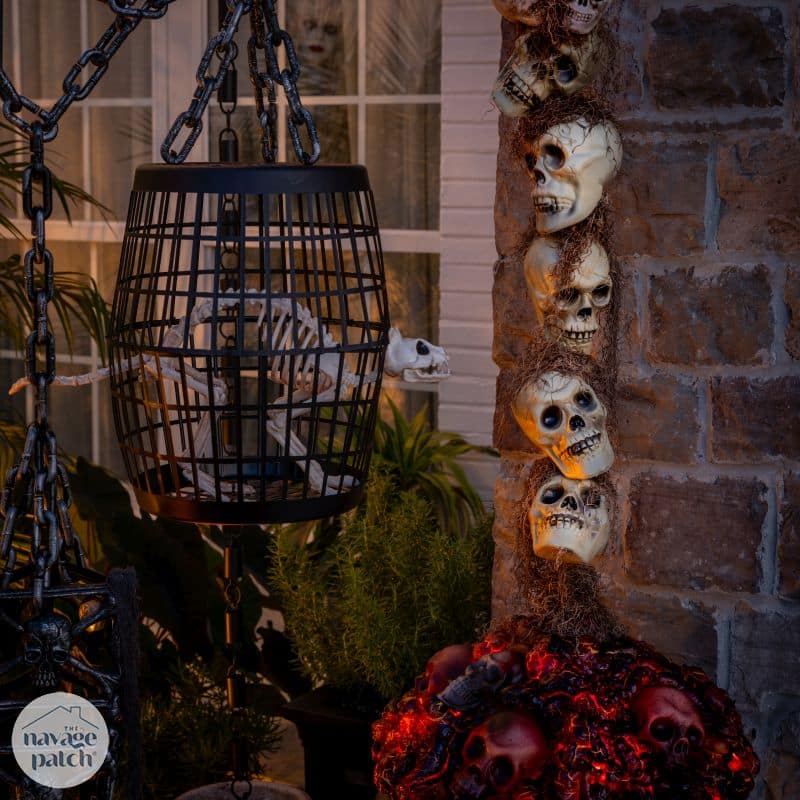
I displayed my smoldering skull topiaries in two urns we’ve been carrying with us since Connecticut – they’re the perfect size for these delightful kebabs!


What do you think of our roasting skull topiary?


Let us know in the comments!

You and Handan are ingenious. How did ya’ll come up with this briliiant idea. Just watching ya’ll craft and decorate for Halloween sometimes makes want to decorate for Halloween again (my youngest is 30 so no Halloween decor in a while). Great job again!
Thanks, Stayce! We’ve got brains geared for Halloween! 🙂
Never fear Greg, your work stands alone. We, who love and admire you, know who created the originals and will happily call out the imposters. I’ve been told, “Imitation (attempting to copy) is the best form of flattery.” So take your bow. You are the best!!!
Thank you so much, Sus! We love what we do. The imposters are just a fact we deal with now, lol!
I live in the boonies so no one would appreciate the hard work this takes. Instead I will share your fabulous tutorial with my niece. She too is a Halloween freak – I mean aficionado. You two are simply amazing.
Thank you so much, Betty! 🙂
Love to see your work. I might make this or perhaps use the burning skull piece on the ground as a fire pit to roast a skeleton over the spot like you see in the old movies (or Ewoks do in the Star Wars movie 😉
) where the islanders cook the invaders. Hmmm. Depends on the time I have left. Making a version of your spooky chandelier right now.
Awesome! Send me pics of everything when finished, Karen!
I’m gonna need you to post Handan’s kebab recipe, ok? 😀
My hubby used to work with Middle Easterners and he came home with a recipe for kebab once that was absolutely AMAZING. SO GOOD. Wouldn’t mind learning a Turkish recipe, too, I’m sure it would be DELISH!
This Halloween topiary is DARLING. I LOVE it. Gonna make one for my porch ASAP!
Brigitte – I have a kebab recipe of my own already! Check it out right here!
You guys are so creative, never ceases to amaze me!
But on a totally different subject, I was going thru your fall blogs looking for ideas and came upon an affiliate link for purchasing stuff on LTK. I saw the pic of your home all lit up with govee lights! Wowza! Can you do a blog about that? Is there anyway to link the lights to get the length you need? Couldn’t find any info on that in the reviews. Thanks!
Holy smokes, this is great! I usually put mini tombstones, skulls and pumpkins in my front porch flower pots. I think I’m going to switch it up this year! 😁 And yes, I think it would look better if the skulls were roasted in the kabob. One question though, who the heck is peeking out from the front window curtains? 😬😱😲🤣🤣 It’s never too early for Halloween!!
Hehehehe – you’re the first to notice the Peeper! 🙂
She is the very first Halloween prop we ever bought. Back in the day only Grandin Road was selling it, but now Home Depot carries it. Here is the link for you if you want to take a look: https://rstyle.me/+TAlIKH5vramBEKBWMHDfVw
I miss seeing all your potions, eyeballs and creepy small things Handan!
Love them!
Thank you!
You and Handan are Halloween decor royalty! The topiaries rock!
Thank you, Giselle! 🙂
Love this!! I’m in the process of putting everything on my urns. How did you keep the base on the urn and the pole from falling over. I’m from MA and next town from Salem. We’re pretty serious about Halloween.
Thank you, Sheryl! The pole is held in place by the foam, and the whole thing just sits on the urn. As-is, it’s not entirely wind-proof, but it wouldn’t be hard to rig up a weight underneath the fire.
Thanks, Greg. I’ll post a picture when it’s up and ready!
I’ve been looking for this tutorial after seeing a photo. Buying all the materials to make this tonight! Thank you for sharing!
Awesome!
I’ve been looking for this tutorial after seeing this in a photo. Can’t wait to make it!