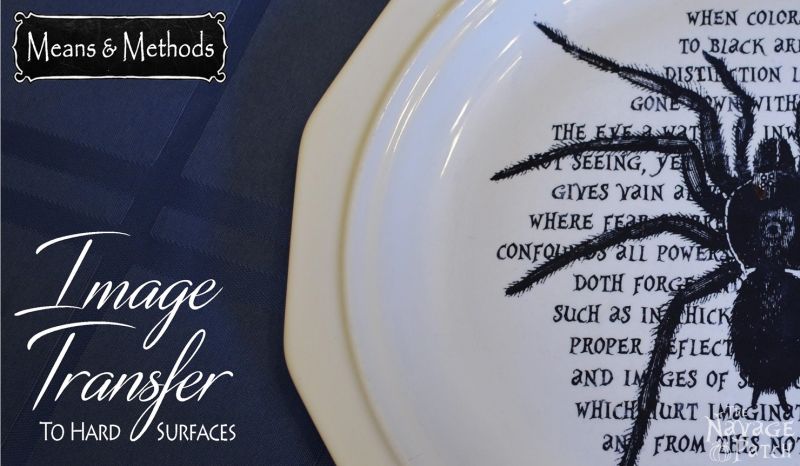
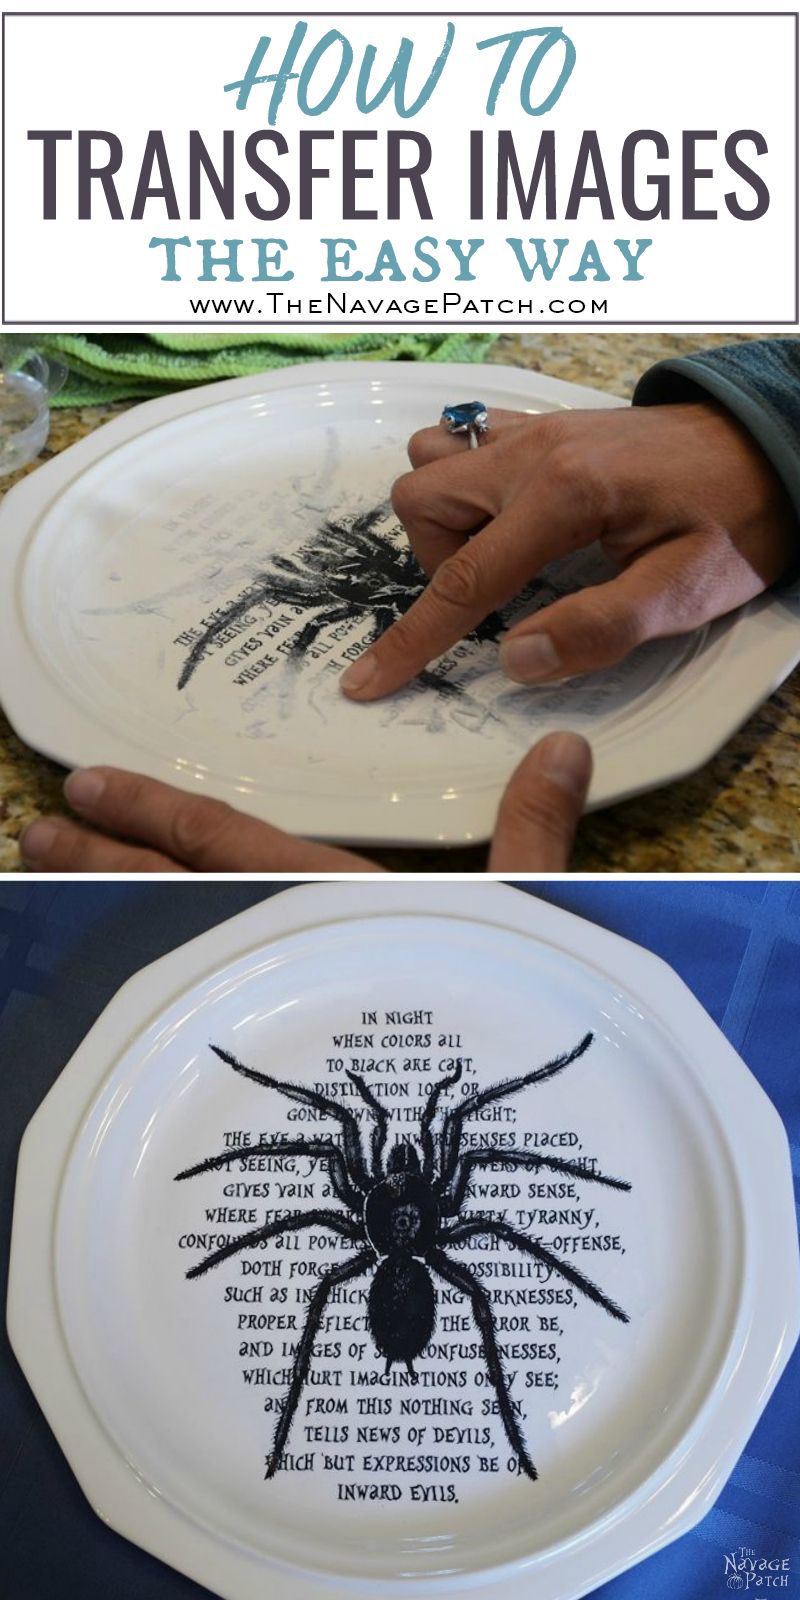
Image Transfer to Hard Surfaces
If you’ve ever searched for how to do image transfer to wood, ceramic, metal or to any other hard surface, you must know there are several methods and tools to do it. My preferred method uses Mod Podge Regular Matte![]() , because it is inexpensive, and I always get excellent results, even on smooth surfaces like glass or glazed ceramic.
, because it is inexpensive, and I always get excellent results, even on smooth surfaces like glass or glazed ceramic.
Here is my method:
First, I make sure the transfer surface is clean (no grease or dust) and dry. This not only helps with the image’s sticking time on the surface, but also affects the result.

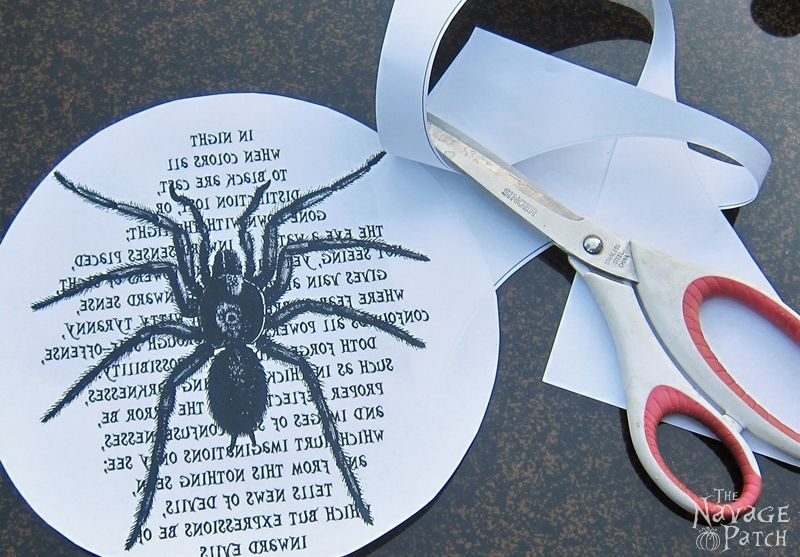
Next I print the image to be transferred. I don’t necessarily use an image printed by laser printer. If you give enough time for the ink to settle on the paper, images printed by inkjet do just as good a job as ones printed by laser printer. If you are going to use an image printed by an inkjet printer, I recommend that you wait overnight before using that image. Also, if the image has writing on it then you need to flip the image horizontally to make a mirror image. If you don’t know how to flip an image, I have a very easy 4-step tutorial that you might want to see.

After printing, I cut the paper to a manageable size…
…and apply a thin layer of Mod Podge on the image.
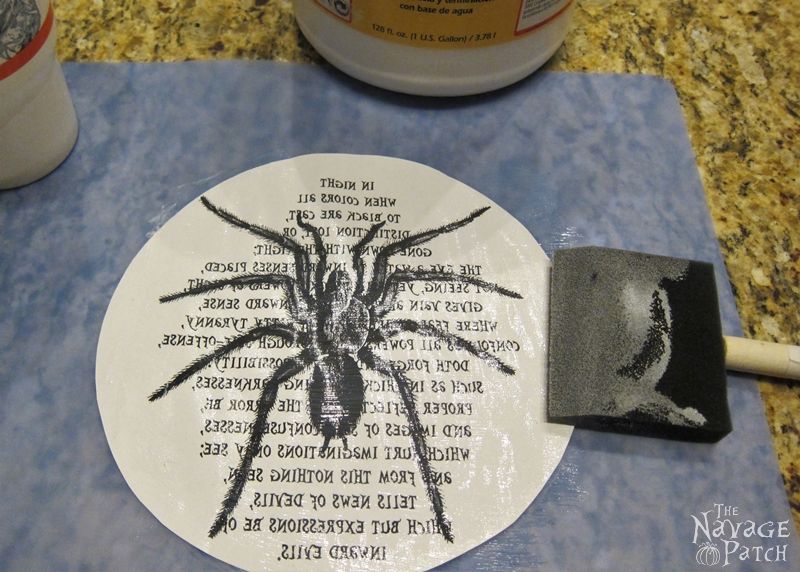
I place the paper on the surface and smooth it out so there would be no air bubbles or creases.
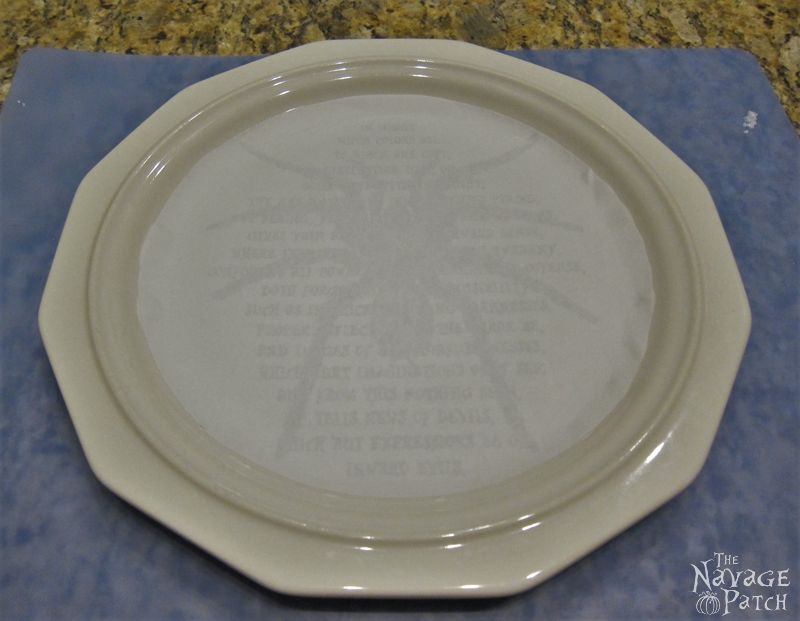
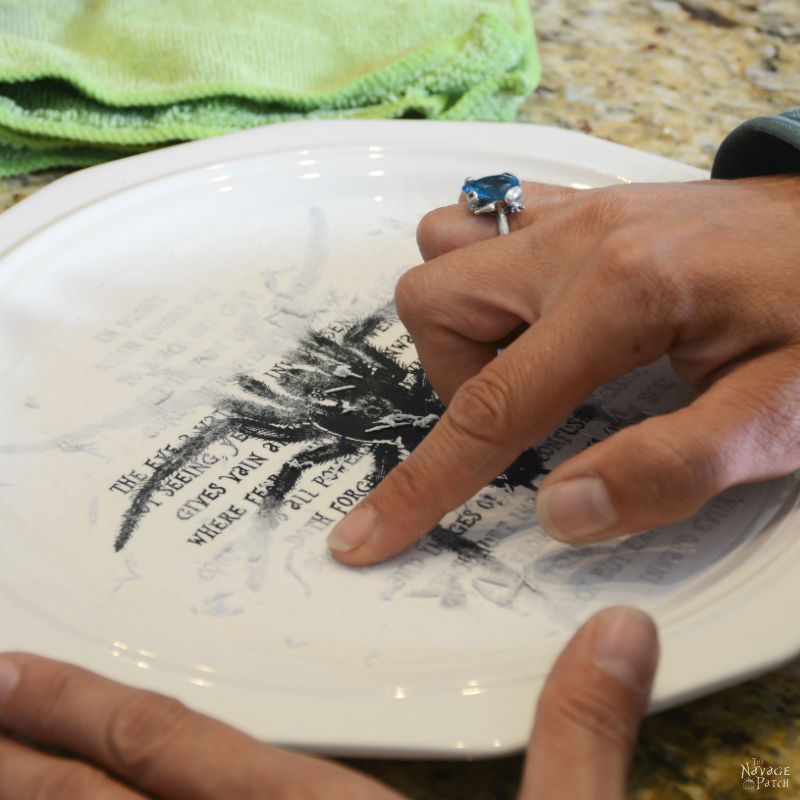
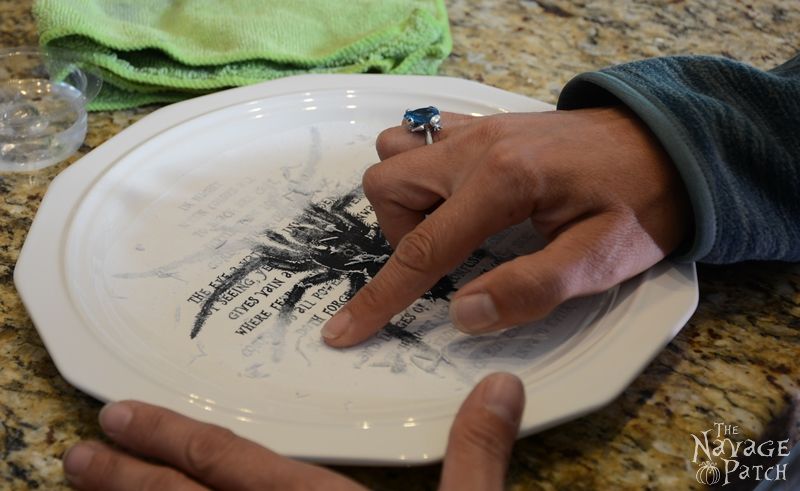
Then I wait…and wait… and wait… and wait…not too long though! Although in many tutorials they recommend to wait overnight, I don’t. As long as the Mod Podge between the surface and the paper has dried and the paper stuck properly on the surface, you will be good to proceed. So about 3-4 hours later I actually start the peeling of process. I very gently start rubbing and removing the paper, layer by layer.
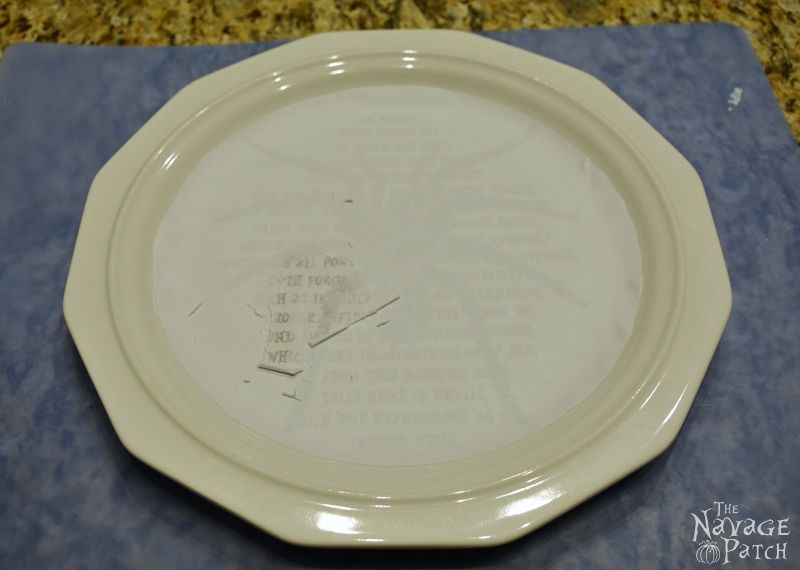
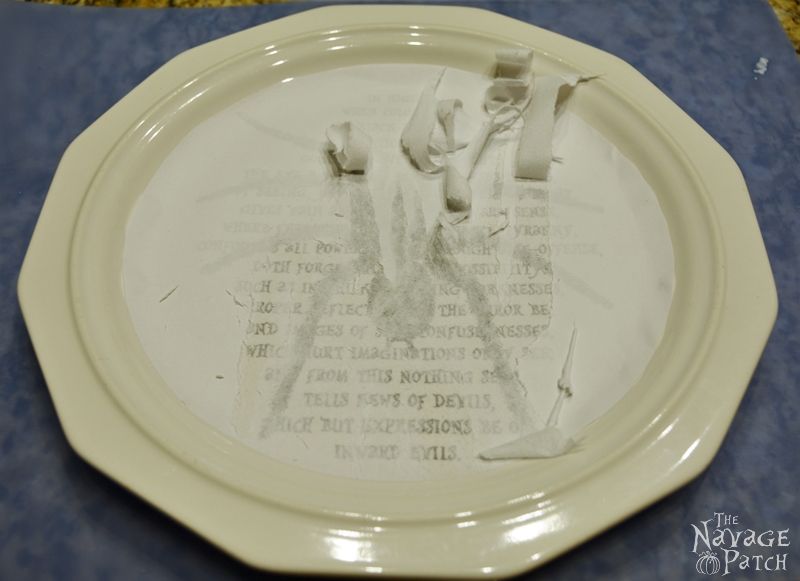
This is the step where I go slow and gentle. First of all I don’t use a damped sponge. Instead I use my fingers and damp them only little. Just as if I am counting money. The Mod Podge will wear off with water, so you don’t want to dampen the paper too much.
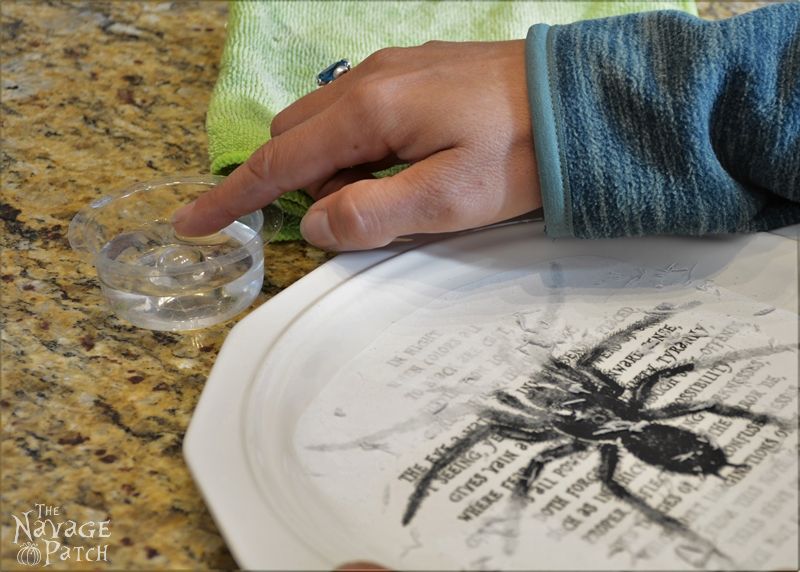
I continue rubbing the paper gently in circular movements. This step usually takes me about 30 minutes to an hour, depending on how big the image is.
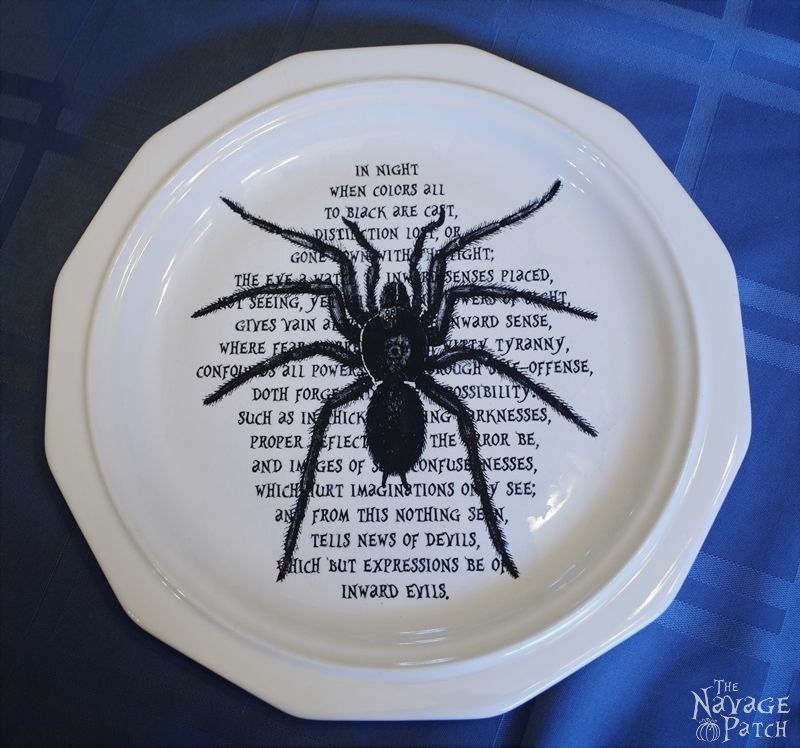
Once the image is revealed, I leave the piece alone for a day, and next day I spray clear acrylic sealer. For outdoor pieces I use outdoor acrylic sealer.
I hope you liked this tutorial. If you have any questions about this easy process, let me know in the comments and I’ll be happy to answer 😉
Handan, xo
We love it when you share our posts on Facebook and Pinterest!


These look fabulous! Thanks so much for sharing your technique. I’ve always been told this only work swith inkjet- thanks for proving the others wrong- makes me so happy to know I can now try this! So many ideas…THANKS AGAIN!
Thank you, Christi! Good luck, and let me know how it turns out!
Thank you so much I’m so excided about this I know it’s summer time but I’m going to go get plates and make me and my girl a set the grandbabies will love them. Thank you so much for sharing Have a wonderful summer .
Lorraine
Thank you so much, Lorraine! When you finish your plates please send a photo or two as I would love to see how they turned out 🙂
how do you reverse the printing?
Hello Wanda,
I will prepare a post for it and publish it tomorrow under ‘Tips & Tricks’. A post will make it much easier to follow than any kind of reply I write here, as it will have pictures/screenshots.
What can I do to be able to use the plates for food?
Hello Angie,
I also searched for it while I was preparing the plates, but unfortunately I couldn’t find any spray-on ‘food safe’ glaze to put as the protective final coat. Therefore I don’t suggest using solid (non-transparent) plates for food.
That said, image transfer can be done also on glass plates. So if you select a glass plate, you can do the image transfer to the back of the plate so the image shows through, and the plate will of course be food safe. If you choose the glass plate method, you would not first reverse the image.
On a last note, DO NOT spray any coating to the inner side of the plate. As I mentioned these coatings are not food safe. But to protect your transferred image you can cover the inner side of the plate and spray clear coating to the outer side. When you need to wash the glass plates I recommend hand washing them as a dishwasher may ruin the image transfer.
Love it! Will it work on rocks?
Hello Susan,
Yes this will work on rocks, on glass, on metal, on wood… basically any kind of hard surface.
You place the image face down?
Hello Teddee,
Yes, I place the image face down. This is why you need to flip the image horizontally to make a mirror image before you print it.
WOW! Of all the transfer methods out there, I have never heard this one. thanks so much for the tutorial. I will use this as my number one go-to method. Great work! Oh yes, do you ever love Halloween!!! lol
Thank you, Linda! If you will have any questions during your image transfer projects I will be happy to answer them.
I can not tell you how lovely these plates are, I am so inspired! Your explanation and directions are very clear and concise and your technique is great! Thank you so much!
Thank you so much, Bonnie! You made me very happy with such encouraging comment!
I have never written in to any of these sites before but your truly awesome. Fantastic job on the transfer. Would this work if I transfered a color copy of a photo. Same concept correct. I would have to take it some where for a color printout what are your thoughts. Thanks big much
Thank you so much, Teri! Yes, whether color copy or black & white copy this method applies to all. Because the principle is that you are transferring the ink layer of the paper.
Thank you for sharing this. I have been searching and searching for this exactly. All I found were for wood and fabric. So glad to know this will work on plates and with any printer.
Thank you, Tracy! Yes it will work on any type of hard surface and with paper printed by any printer. The trick is to get the ink properly settled on the paper before applying the Mod Podge. Otherwise when you spread the Mod Podge on the paper the ink would smudge. So make sure you let your ink dry for a day at least if you are printing with inkjet printer.
Good tutorial. These could be used as chargers with a clear glass plate on top.
I didn’t know I could use an inkjet printer, thanks. I’m using this technique for Christmas gifts.
Thank you, Linda! Good luck with your Christmas project and let me know how it turned out!
Thanks for this awesome tutorial!! Your plates turned out great. Just thinking this idea could be used with any kind of photo. Which mod podge did you use for this project? Thanks
I found the answer in the beginning of this tutorial. Thanks
Thank you, Susan!
I was wondering if you remove all the paper? Like in between lettering or do you leave a slight film of the paper on the plate?
I remove all the paper (even the slightest/thinnest hair of paper). But because Mod Podge creates a clear film to transfer the image, when you finish clearing the paper in the areas where you have no ink (image/lettering) you should have the clear film of Mod Podge.
Mine didn’t turn out anywhere near as beautiful as yours 🙁 I really need some help
Mine didnt either! As I was gently removing the paper, there seemed to be a paper film still attached, and trying to remove it, the design was chipping away.
I’m just wondering what “outdoor” acrylic sealer you use. I have never had luck with any sealer actually sealing. I’ve made coasters and no matter how many coats I put on them, they still smear if a glass has condensation on it. : ( I’d love to know how to seal images on items. Thanks in advance!
Blessings!
Hello Marjorie,
I have a couple of sealers that I like using for outdoors: Rustoleum’s Clear Triple Thick Glaze and Modern Masters Exterior Dead Flat Varnish. I use Rustoleum when I want a shinier finish. It can be used for indoors and outdoors and although it is oil-based, it doesn’t seem to yellow like some other oil-based sealers do. Modern Masters is my to “go to” sealer any time I want a flattened finish. This one also doesn’t yellow at all… at least not in Connecticut’s summer. Both of them hold excellent in Connecticut’s winters.
Hope this info will help and good luck on your projects!
Marjorie, I just purchased Mod Podge exterior. I also have clear acrylic finish from Min Wax which also is moisture proof.
Thanks again for the names of products that will give a waterproof sealer. I am probably going to try all, lol. I like a gloss finish for my coasters but for flower pots, I prefer a matte to flat finish. I did purchase the Mod Podge/dishwasher safe product just last night. I applied it to my already finished coasters and guess time will tell : ) However, it streaks and dries clear but still streaky which is what I don’t like about brushing on Mod Podge. I saw they have spray sealers now but they did not claim “waterproof” so I didn’t get them. I already have several cans of spray sealers but none prevent moisture from forming on my graphic and smearing it. Rustoleum’s Clear Triple Thick Glaze and Modern Masters Exterior Dead Flat Varnish are on my list to get next. Thanks for the great tips!
Blessings!
I tried this and when I pull back the paper it was blank. Suggestions, please
Hello Beth,
I am not sure what you meant with pulling back the paper, but once you apply mod podge on the paper and stick it to the hard surface, the paper can’t be pulled back as it gets glued to that surface. That is why you need to rub the paper off layer by layer until you reach the image.
Maybe if you can give more specifics on how you tried it I can help you better.
Hi! Thank you for your tutorial. I am trying to make a memorial stone for our dog who we lost almost a year ago. I purchased and nice flat stone at a lawn and garden shop, and am wondering if I need to do anything to prepare the surface before I begin the transfer. Also, I am a little confused by how to reverse an image. Any tips for a not so savvy crafter?? Thanks!
Hello Lorraine,
I am so sorry to hear that. Assuming the stone is light color (so the photo would show nicely and would not get lost with stone’s surface color) I don’t think you need any prep. That said please keep in mind printers would not print white, they would just leave that area off since all papers are considered as white. Therefore if you have anything in your photo that is pure white color then you would need to prep your picture digitally to turn those white areas to off white color, so your printer prints them (meaning that printer uses ink for those areas).
As for the reversing an image I have prepared a post for that and you can use that tutorial. However, if you don’t have Microsoft Publisher on your computer then you can use the online free photo editor named “LunaPic”. Here is the link for that online photo editor:
http://www125.lunapic.com/editor/
Once you upload your photo there you will see “Adjust” tab as the fourth tab from top left. Click on “Adjust” and it will bring a drop down selections for you. Find “Mirror” and click on it. That will reverse your image. Once your image is reversed click on “File” tab and save your reversed image.
I hope this will help, and once again I am so sorry for your loss.
You are so kind! I really appreciate all of your tips and advice. I will keep trying to get everything right and if it works out, I’ll share a picture. What a generous heart you have 🙂
Thank you so much, Lorraine! I am so glad if I could be any help and yes please: I would love to see a picture of your finished project 🙂
So, curious – your images are so cool! I want to try this for Fall. In the meantime, I am interested in the watercolor eggs. Would this transfer work on wooden eggs that have been painted? Thanks!
Thank you, Terry! Yes, this image transfer technique should work just fine on painted wooden eggs. 🙂
What type of paper did you use? I tried tonight using plain printer paper. Should I have used transfer paper? I apologize if you said it in the article, but I looked twice and couldn’t find where you specify the type of paper used. TIA!
Hi Carrie, it’s just regular printer paper. Good luck! 🙂
Very helpful tutorial, thank you. Can I use the same method to put photos on old roofing slates (of which I have hundereds)?
Thanks,
Tim
Hi Tim, so sorry for the late response – I’m just seeing your question. You can image transfer almost to any type of surface including glass. But it won’t work as good on a dark color surface as the image won’t show much. I hope this info helps!
I love this post, and have been practicing but I’m having a hard time with some of my darker color pictures. Whats happening is, while the piece is wet, the colors look great but as soon as it starts to dry it becomes really cloudy. I also tried this on a glass bowl and the picture didn’t stick at all; thats not too big of a deal though because I’m mostly working with wood pieces; I don’t think I let the glass piece sit long enough.
Any suggestions on the reason for cloudiness?
I have been trying to find the pottery barn plate images you have used. I can’t find them anywhere. Can you send me the link please to my e-mail please. Thanks
Hi Phoebbie,
Sorry we don’t email direct links to our printables. I see that you subscribed last night and our welcome email went to you, but you didn’t open it. Perhaps it’s went to your spam box, so please find that email and move it to your inbox as it will help you receiving our future email where we inform you with the password changes.
If you can’t find it anywhere then please inform Greg via his email, so he can send a manual Welcome email to you.
I hope this helps 🙂
What a fun project! This may be a silly question, but will this work with color images?
It sure will!
Just wanted to say that even 10 years later this is a great little tutorial, loved that you covered the questions I’d have such as the inkjet print etc
Thanks, Jane! I’m happy to hear the post is still giving value! 🙂