DIY Christmas Gnomes
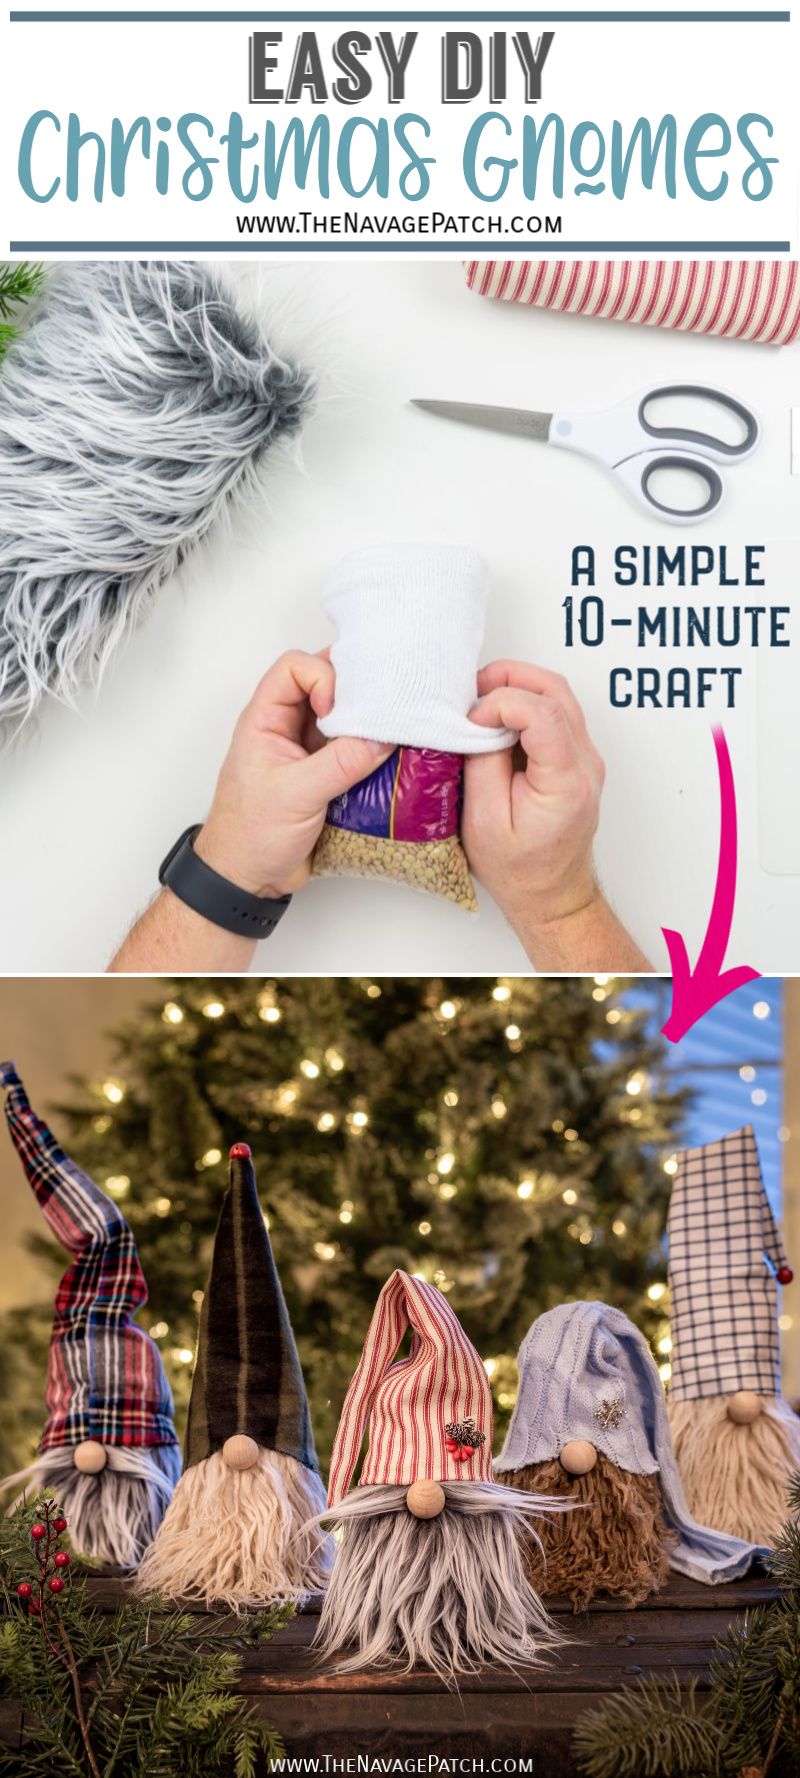
DIY Christmas Gnomes are a cheap & easy craft that anyone can do! Place these cute little guys on your mantel, on a shelf or in your Christmas display!
Usually when it comes to blog projects – and especially when it comes to cutesy crafty projects – I’m the one dragging my feet, while Handan cracks the whip and drives me forward.
But not this time!
This time we both dragged our feet.

We had the materials for this project months ago, and Handan had been blathering on about DIY Christmas Gnomes since the flowers were in bloom and my feet were in flip-flops.
So why the delay?
What was the holdup?
Well, for me, it was the usual excuses and avoidances:
- It was a cutesy craft, and even after disproving the notion that I’m not a crafter here, here and here, I still consider myself a manly man who should be tearing apart oak trees limb-by-limb instead of inhaling hot glue fumes while discussing the merits of Mongolian fur over craft fur.
- This isn’t our most original project. Every Rhonda, Phyllis and Gertrude has made gnomes and posted them on their blogs and YouTube channels, so why should I bother?
- Did I mention my manliness? Do crafters eat 3 bricks and a tree branch for breakfast like I do and then wash it all down with a glass of motor oil? I don’t think so, Tim!
Now, normally my excuses would have all the weight and impact of a feather in a windstorm, because Handan would gather the supplies and inform me (in no uncertain terms) that I’d be making DIY Christmas Gnomes.
“Yes, dear” I’d say, and then carry on my merry gnome-making way.
But it never happened!

We made all sorts of crafty trees and stars, and we gave you more printables than you can shake a peppermint stick at, but we never made the gnomes.
I never questioned it of course, but the reason for Handan’s procrastination became clear the moment we assembled our supplies for this project and switched on the glue gun…
DIY Christmas Gnomes
SUPPLIES LIST
Affiliate links are provided below. Full disclosure here.
- Dollar store athletic socks
- Bags of beans (we used lentils and navy beans). You could also use rice, but bean bags are a dollar or less and the beans are already bagged.
- Scissors
- Rubber bands
- Polyfill (optional) – for making taller gnomes
- Mongolian fur, alpaca fur or craft fur. Mongolian and alpaca fur look better, but they’re more expensive, so you may decide according to your budget. Here are what we used: this two-tone gray Mongolian fur, these taupe and latte color alpaca furs, and this beautiful white fur.
- Razor blade or X-ACTO knife
- Scrap fabric for hats. We used everything from fabric scraps to old sweater sleeves. Anything goes, really. Nordic-patterned socks or leg warmers would look great, too!
- Wood balls for their noses. If you don’t have beads and don’t want to buy them, you could make them from air dry clay or use anything you’d like.
- Hot glue gun
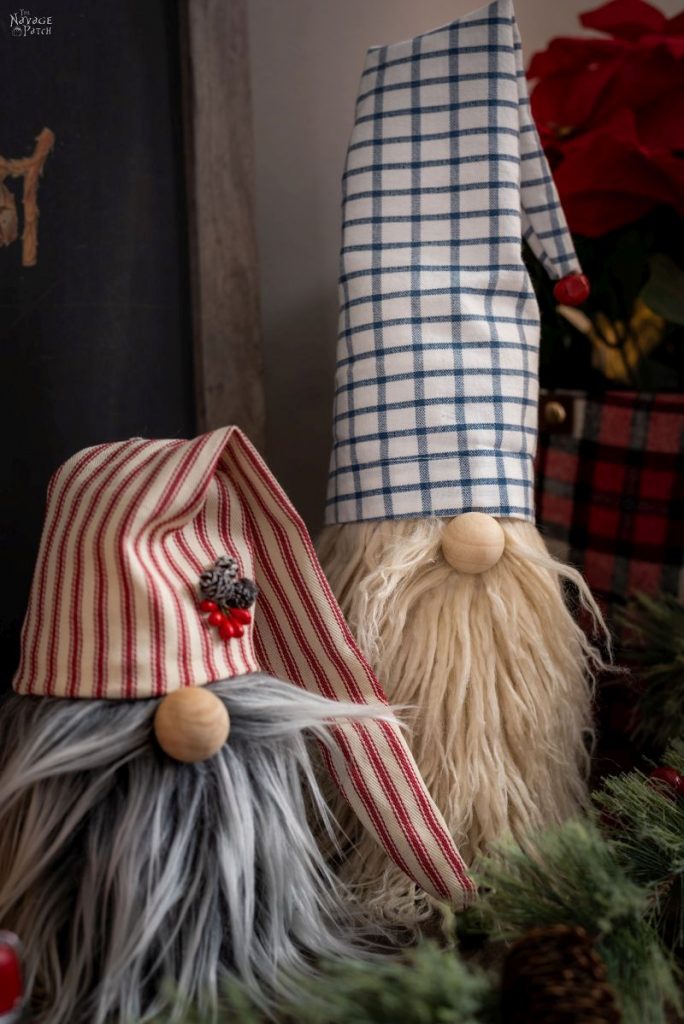

When it comes to craft projects for the blog, Handan usually gives me a quick rundown on what I’ll be doing. If it’s something she’s done before, like say, making mambo yarn trees, she’ll show me how it’s done and then let me take the reins.
But neither of us had made DIY Christmas Gnomes before.
Still, she sat at our crafting table and attempted to show me how to make one. When she got to the hat, things went off the rails.
Don’t ask me what she did – all I can say is that the engineer in her took over and things got real complicated real fast.
If you love gnomes as much as we do, be sure to check out our other gnome tutorials!
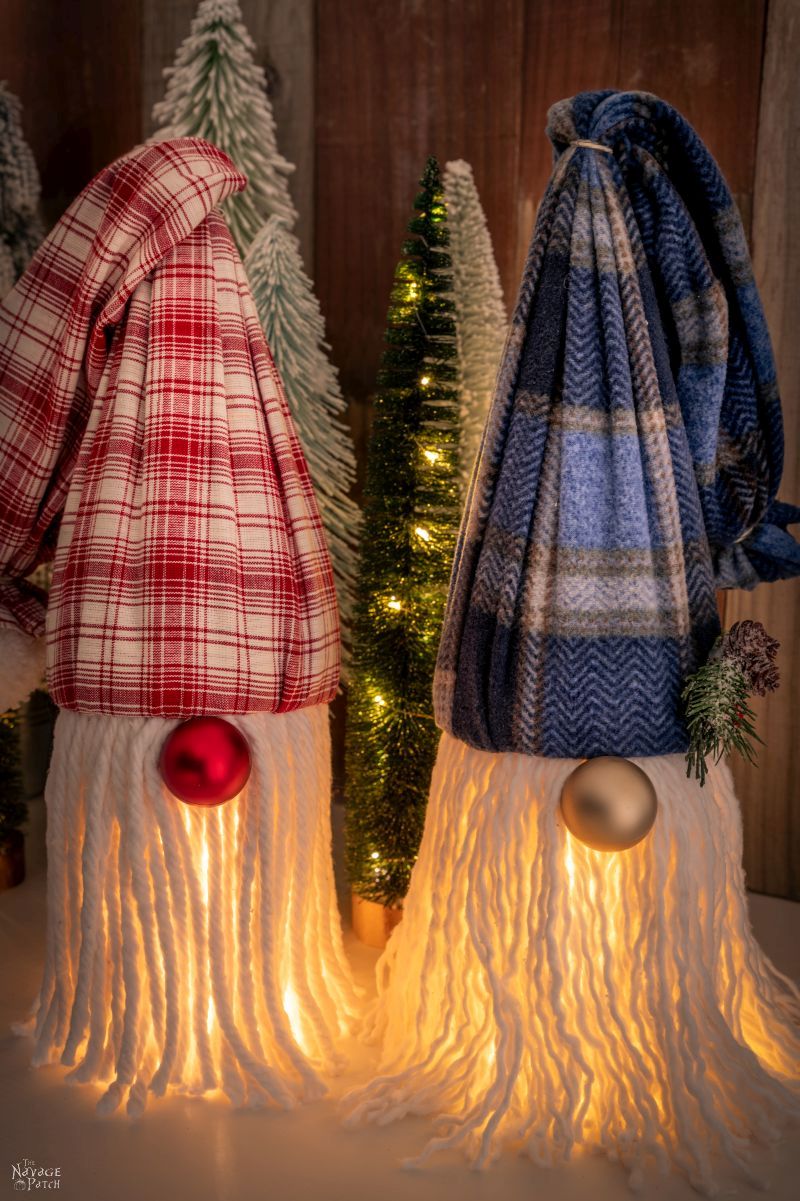
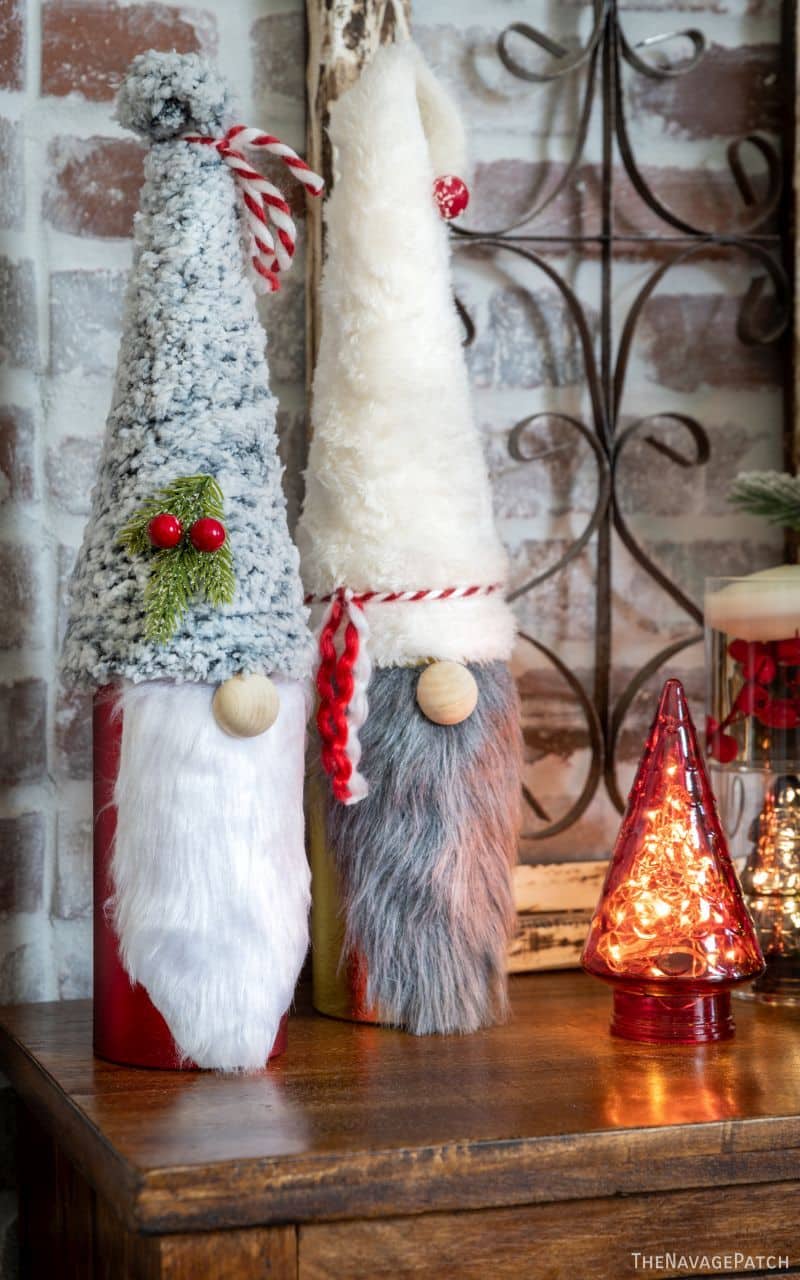
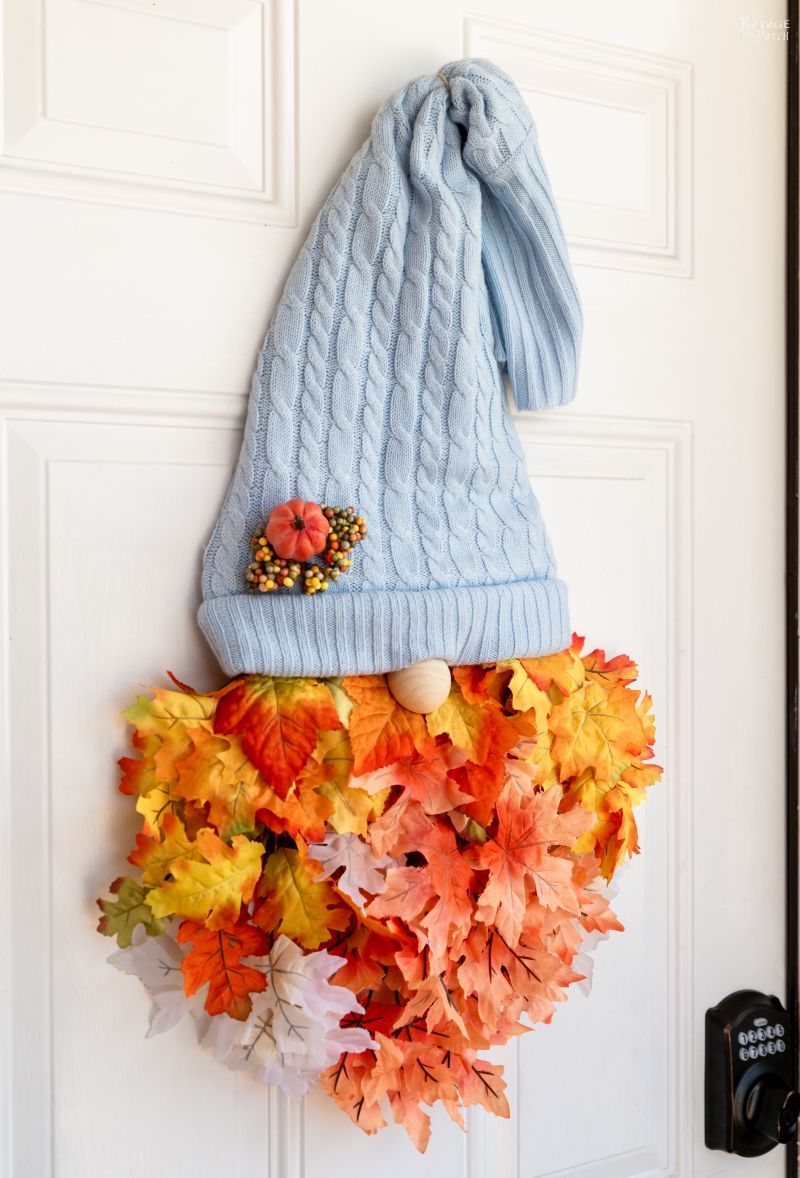
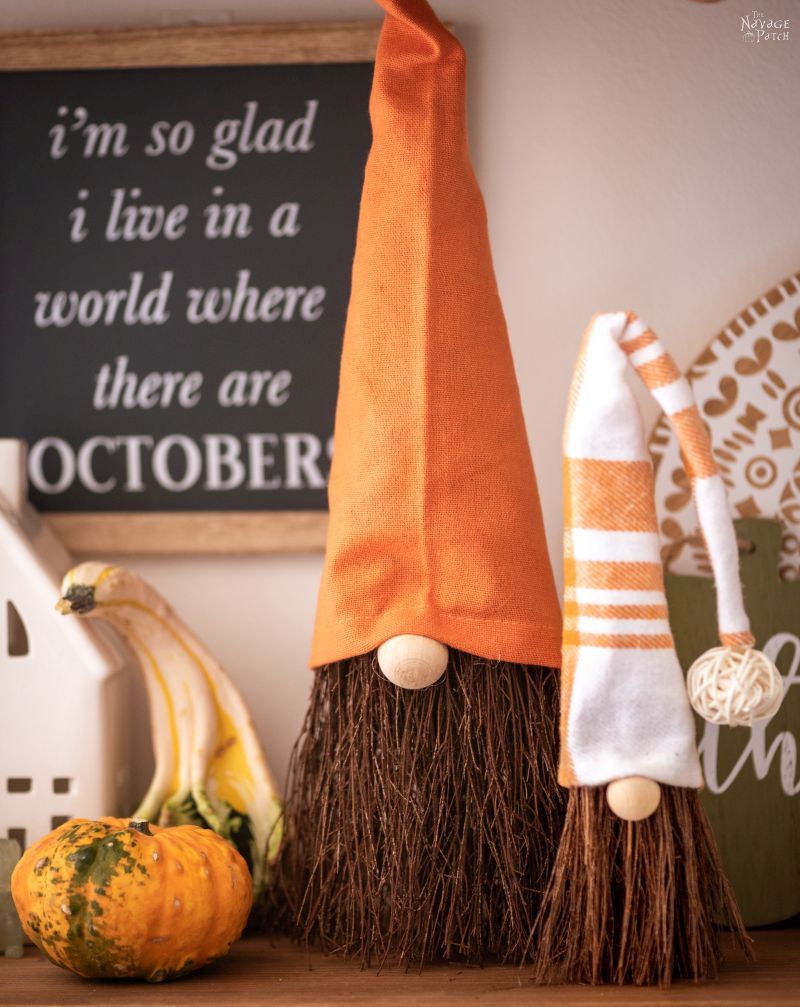
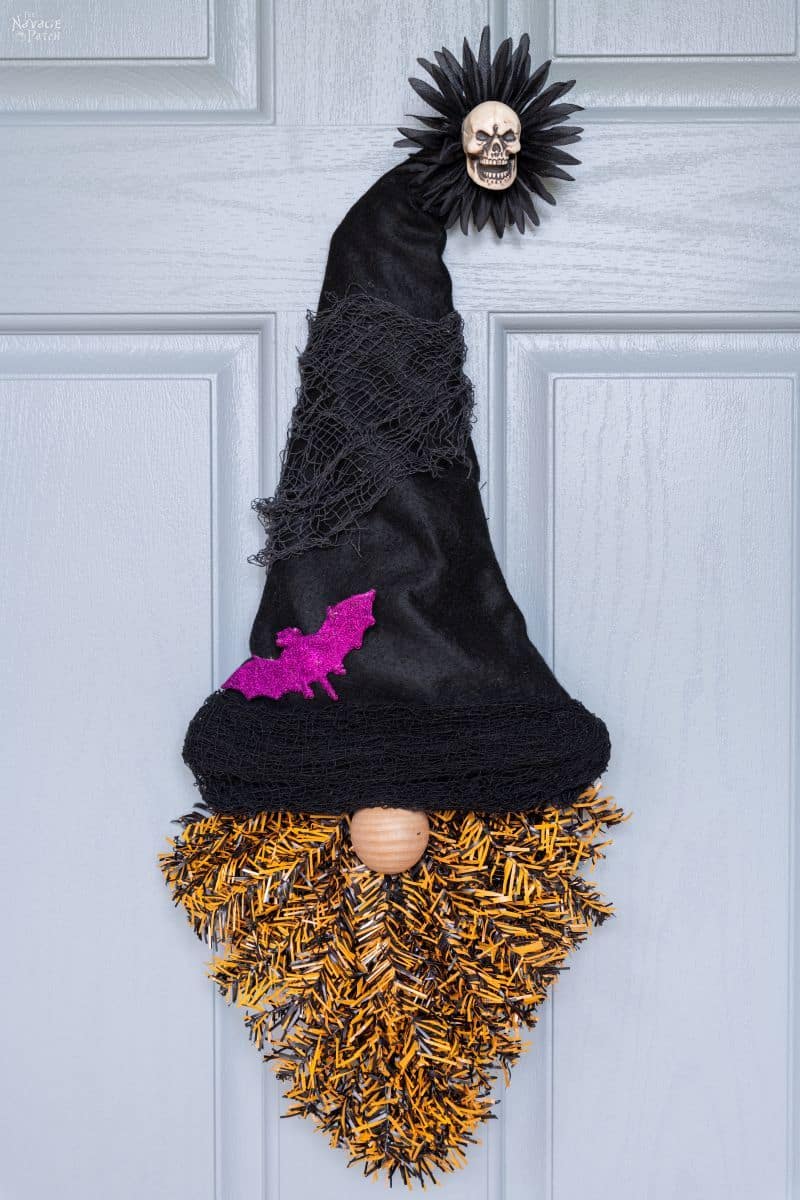
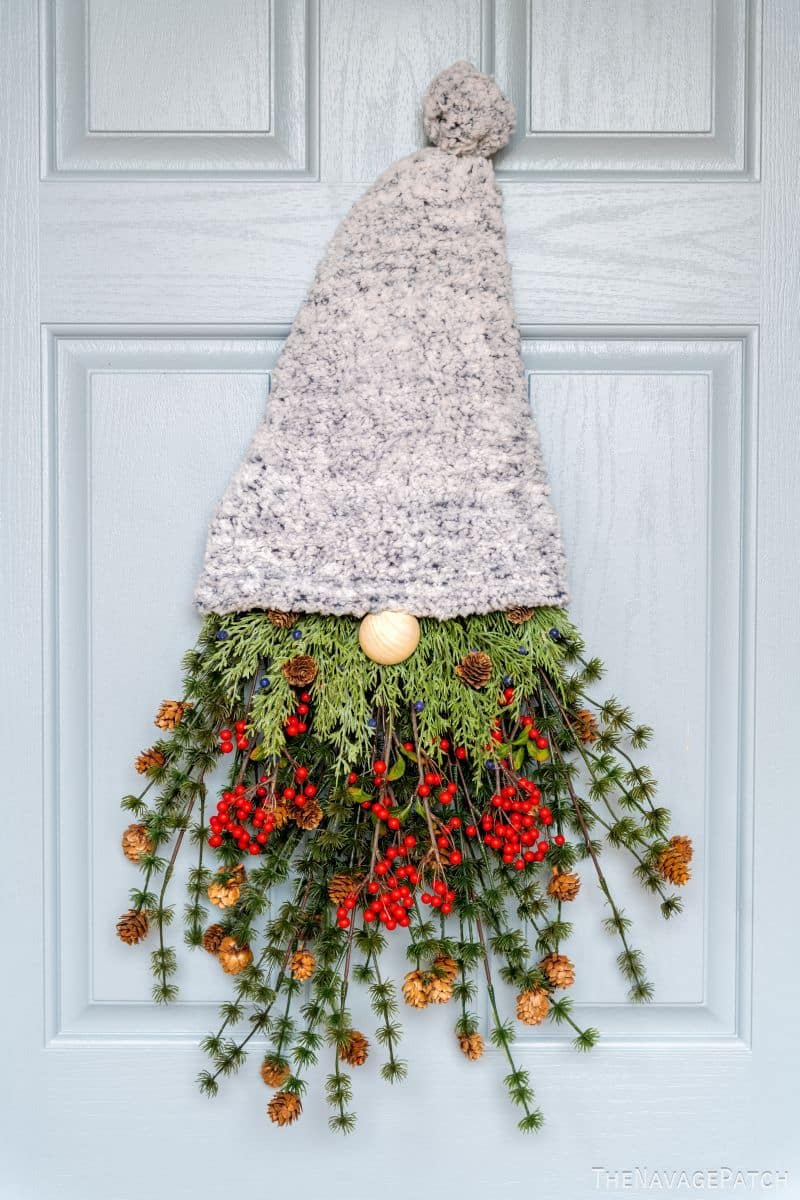
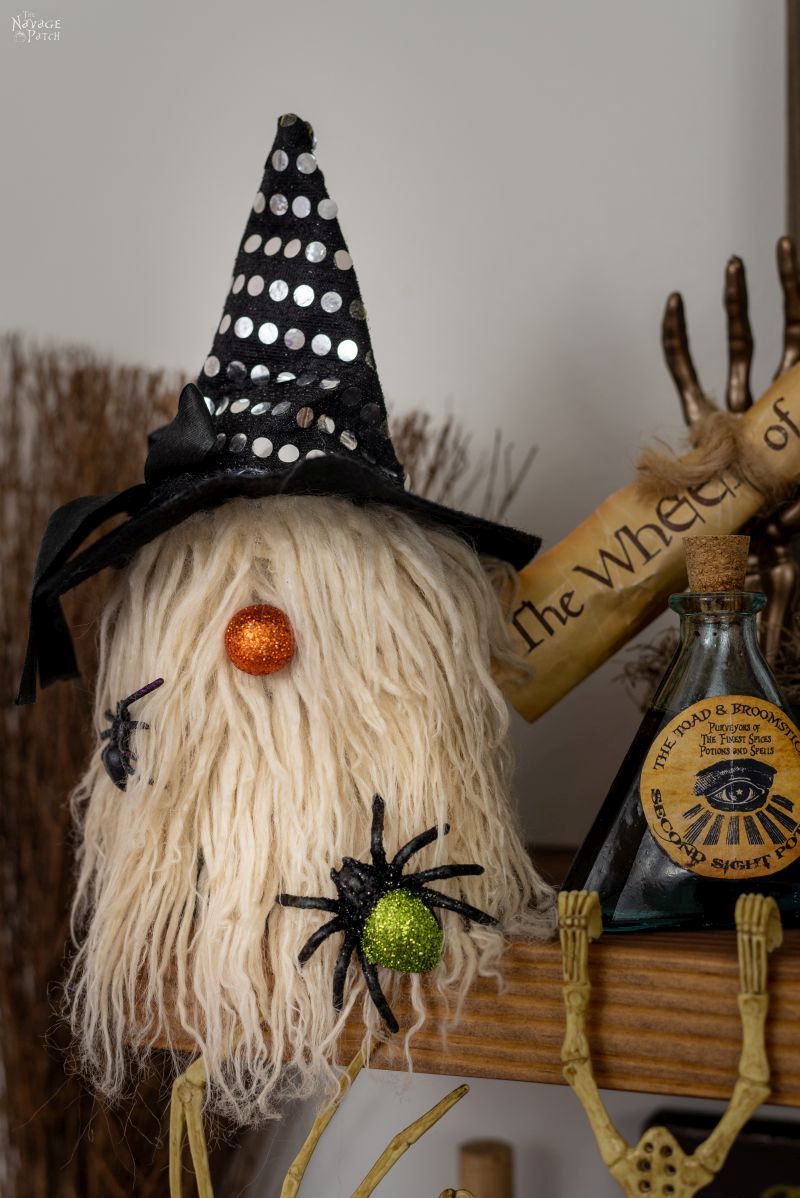
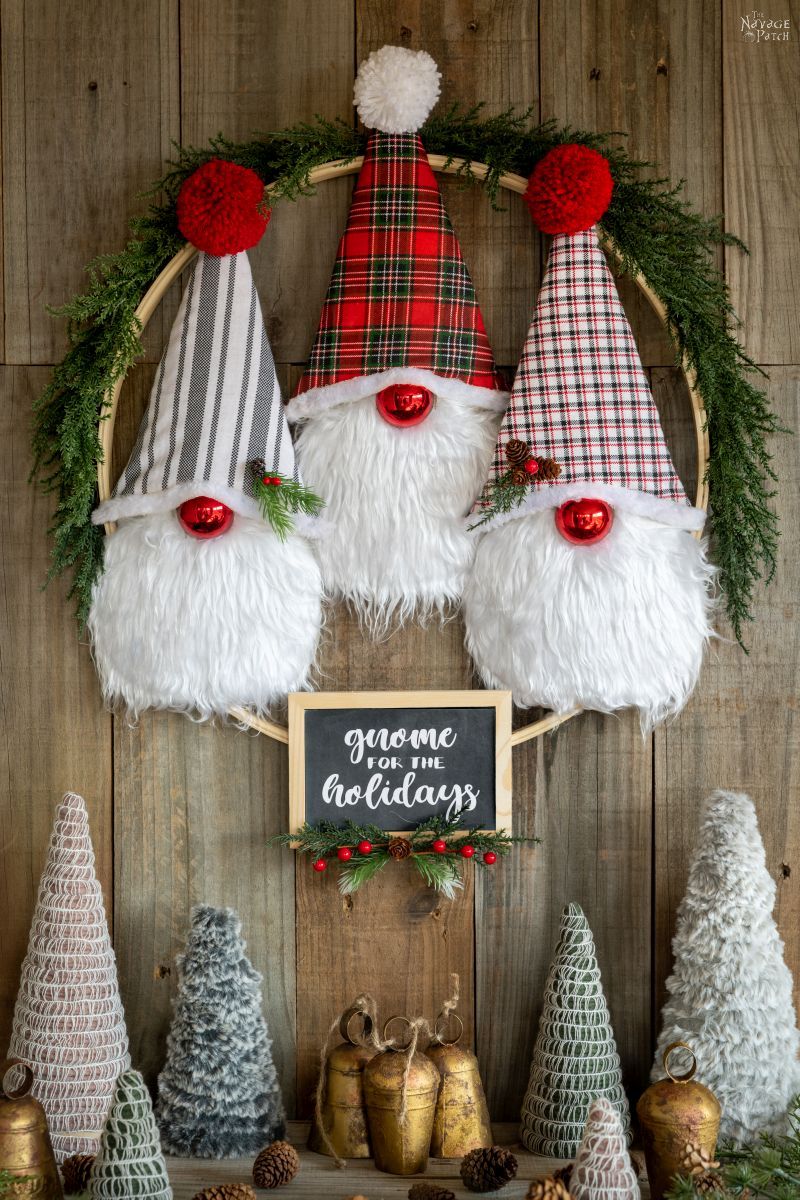
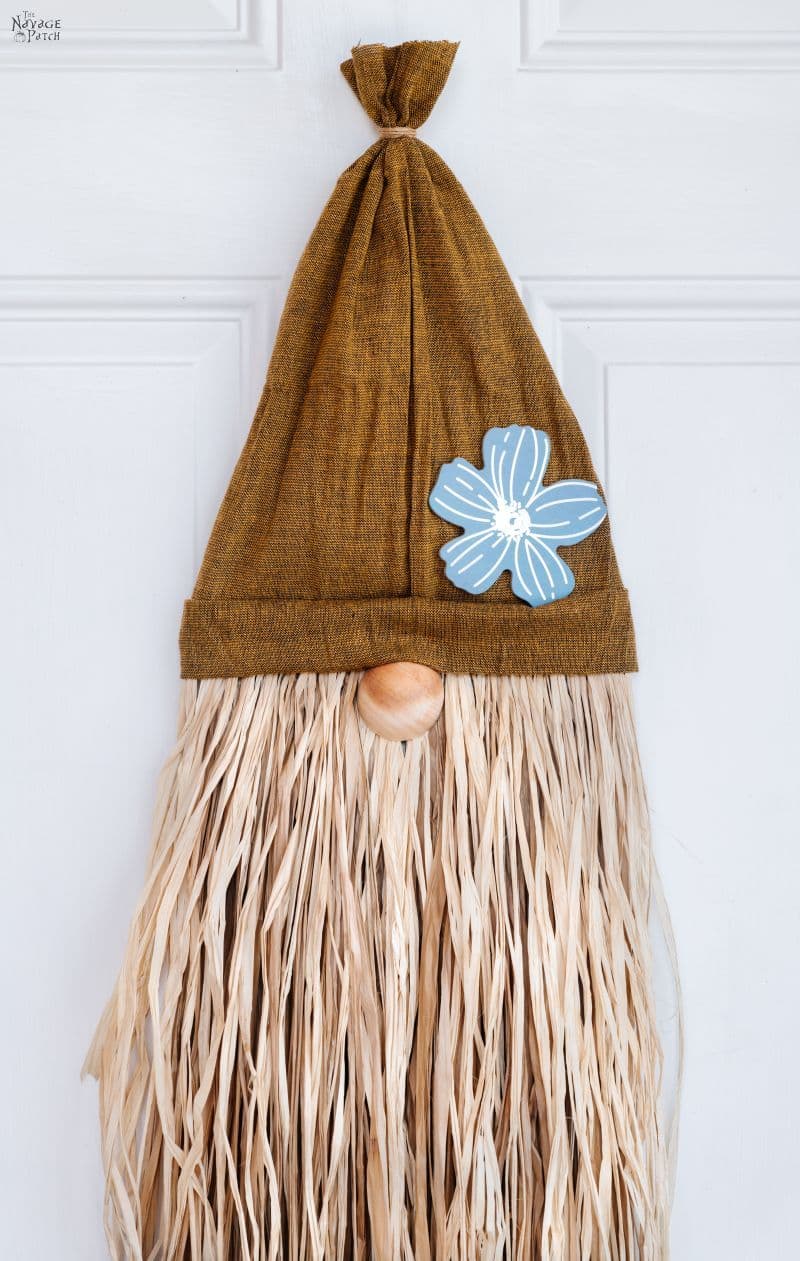
- DIY Dollar Store Lighted Mop Gnomes
- DIY Gift Box Gnomes
- Easy DIY Dollar Tree Fall Gnome Wreath
- DIY Scented Broom Gnomes
- Easy No-Sew Christmas Gnomes
- Dollar Tree Halloween Gnome Wreath
- DIY Christmas Gnome Wreath
- Cheap & Easy DIY Dollar Store Halloween Gnomes
- DIY Dollar Tree Christmas Gnome Wreath
- DIY Dollar Tree Scarecrow Gnome Wreath
I stood above her and one of those wtf looks spread across my face.
“My babes,” I said, “What the hell are you doing?”
Handan yammered about this and that and how hard the hat part was going to be.
“My babes,” I said. “Put down the fabric. You’re overthinking this. There’s nothing hard about this project.” I took the fabric and scissors from her hand. “C’mon. Get up. I know what to do.”
And then I learned why my babes had delayed these DIY Christmas Gnomes for so long.
She thought they were going to be hard, so in her mind they became more and more difficult as the weeks and months rolled by.
So when it came time for her to make one for the first time, her “normal” brain panicked and her “engineer” brain took over, and that part of her made it into a convoluted mathematical mess.
She expected it to be hard, therefore it became hard.

I shooed her away and told her I knew everything I needed to know to make the damn things.
(Which was nothing, by the way.)
I knew nothing.
And it turns out that knowing nothing is more than enough knowledge to make these little gnomes.
So enough of my yapping – let’s make some Christmas Gnomes!
DIY Christmas Gnomes Tutorial
The best part about using dried beans is that I didn’t even have to take them out of the bag!

I just shoved the beans into one of the Dollar Store socks…

And presto! A perfect gnome body!

I put a rubber band on the sock to keep everything in place, and then I trimmed off the excess sock.

Couldn’t be easier, right?

We used Mongolian fur for the beard – the kind shown in the pictures below, plus two other styles that you’ll see in the final photos. We also had some craft fur on hand, but I decided to stick with all Mongolian as it has a better look and feel.
I wrapped the fur around the sock to measure for size.

A little overlap…

My fingers show the length and height I’d make my cut.

Now, I didn’t want to cut the Mongolian fur with scissors, otherwise I’d cut right across the beautiful fur. Instead, I flipped the fur over and carefully cut just the backing with a razor blade.

I cut the fur in a U-shape.

See how the fur pulls away? If I had used scissors, I would have cut off all that fur that’s hanging below the cut line.

I laid it on the sock to check the fit.

Then I put a little dab of hot glue in the center and attached the fur.

And then I hot glued the rest of the fur onto the sock.


I used 1-inch wooden balls for the nose, but you can go bigger or smaller, or use something else entirely.

First I made a little space by pulling apart the fur…

Then I added a dab of glue…

And then I stuck the nose in place.

Now here’s the part where Handan had trouble. She’s an engineer, and sometimes she overthinks things with her finely-tuned and hyper-mathematical engineer’s brain.
Fortunately for her, she had a good ol’-fashioned dope standing next to her who was just smart enough to see she was overthinking the problem.
I (aka, The Dope) grabbed a piece of fabric and set to work on the hat.

I measured it…

And then I trimmed the excess.

I then cut it to a height that seemed good to me.
There are no rules when it comes to these DIY Christmas Gnomes.
Use whatever you want for the hat.
Make it as tall or as short as you please.
No one will judge you!
Well, your kids and grandkids might.
But you just stick a glue gun in their little hands and dare them to do better!

Since I wanted a pointy hat, I cut the fabric into a triangle shape.


Looked hattish enough to me!
Now look, if any of you ladies are into sewing, you’ll know that when I wrap this thing into a circle, it’s not going to be a perfect cone. Maybe this is where Handan’s brain went haywire. Just don’t worry about it, okay? You’ll never notice it when the gnome is finished!
Sometimes ignorance is bliss, especially when it comes to me and crafting (or sewing).

Okay, to turn this sucker into a hat, I just laid a bead of hot glue down one side…

Folded it back over onto the glue…

And when the glue had cooled, I turned it inside-out…which was actually making it rightside-out. Or outside-out.
Whatever. You get my drift.

Ta-da!

(I can feel your eyeballs on my gnome hat, madam. And I can hear you groan as you look at that little point in the back.)
Like I said, ignorance is bliss when it comes to crafting, and they don’t get much more ignorant than Yours Truly here.
Must be why I was so blissful while making these DIY Christmas Gnomes!
Anyway, I folded the rim up inside the hat to even things out and get rid of the rough edge.
Then I fit the hat onto my gnome.


Satisfied with the fit, I put a small dab of glue under the front of the hat.

Then I put a dab under each side and under the back.


I adjusted the fur to make a moustache.

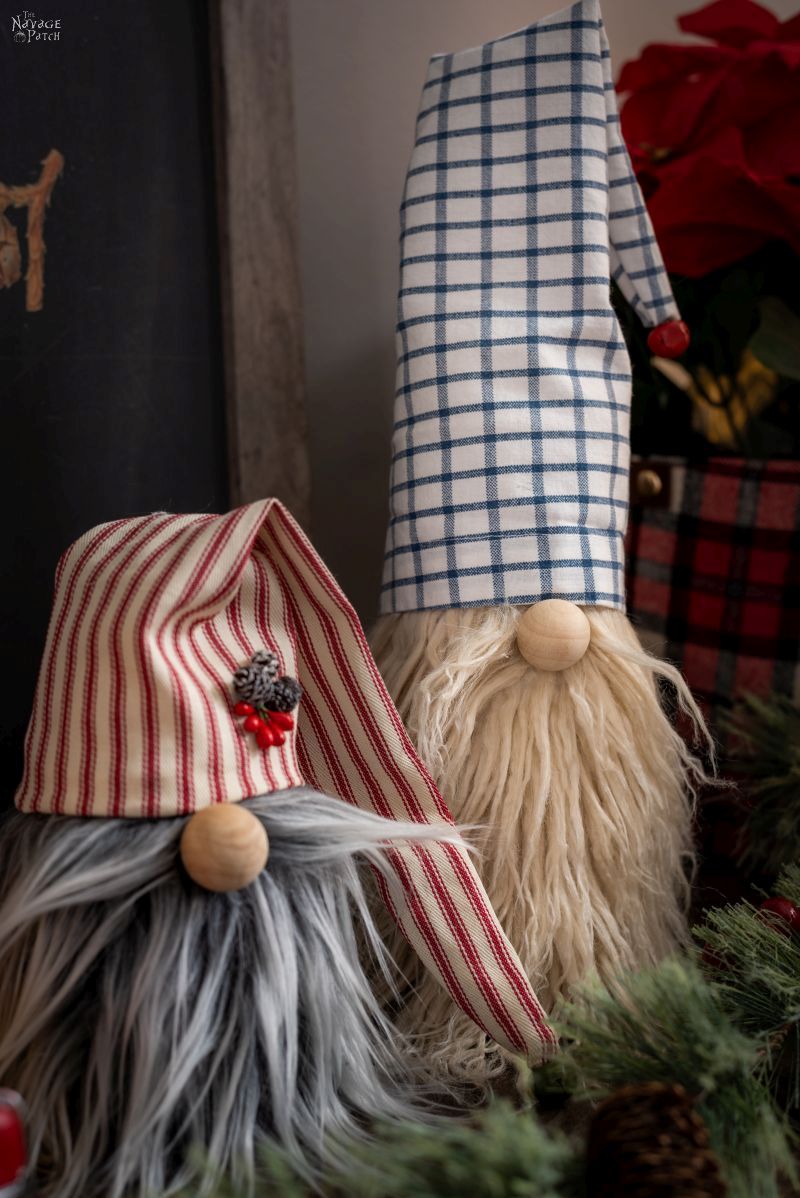
Then I added some embellishments by gluing on some tiny pinecones and red berries onto the hat and adding a jingle bell to the tip.

And that’s it!
These DIY Christmas Gnomes are super easy to make, and they’re really fun!
Yeah, I admit it. They’re fun.

Look, if a manly specimen like me can have a blast making these (I even woke up early on Sunday and made more while the rest of the household slept), then I’m sure you’ll enjoy them, too!
(Just don’t tell anyone that I said they’re fun, okay? I’ve got a reputation to protect!)
[A reputation? LOLOLOL – oh you make me laugh my babes! I’m sure your “reputation” will survive! LOLOLOL! – Handan]
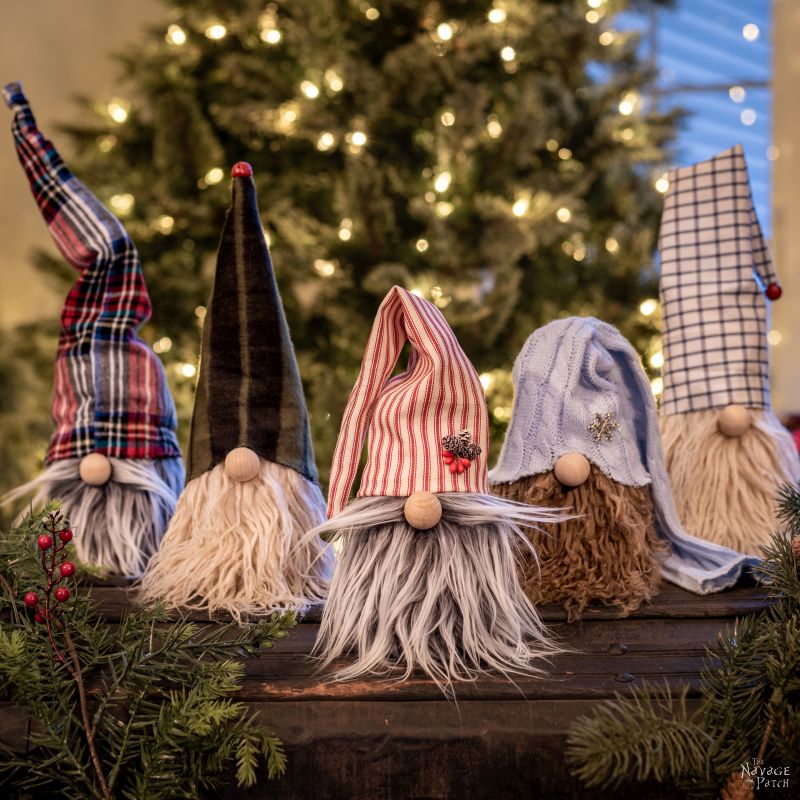
Here are the rest of them.
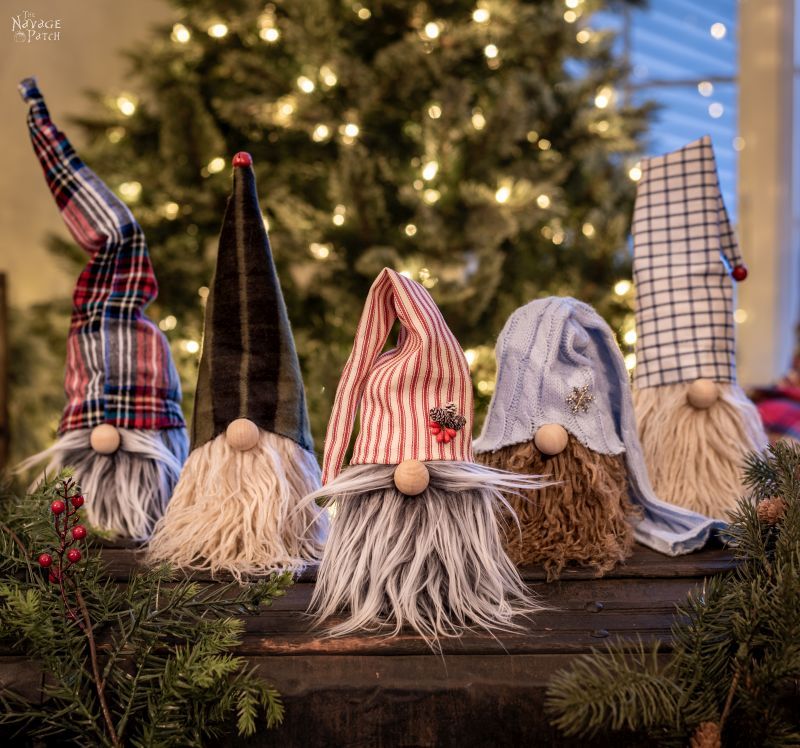
So what do you think of our Christmas Gnomes?

You can also add a wire underneath the hat so you can bend it into interesting shapes.
Or you can use wire to make a floppy hat stand up straight.

I asked earlier why I should bother making these DIY Christmas Gnomes when so many others have done so already.
Well, the answer is simple.

My babes loves them, and they make her smile every time she sees them.
For that reaction, I’d even craft with pink glitter.
(Just don’t tell her that. I don’t want her getting any crazy notions in her head with Valentine’s Day approaching!)


We love to see our craft projects out in the wild! If you try this seasonal craft project, take a picture and post it on Instagram, be sure to tag us – thenavagepatch


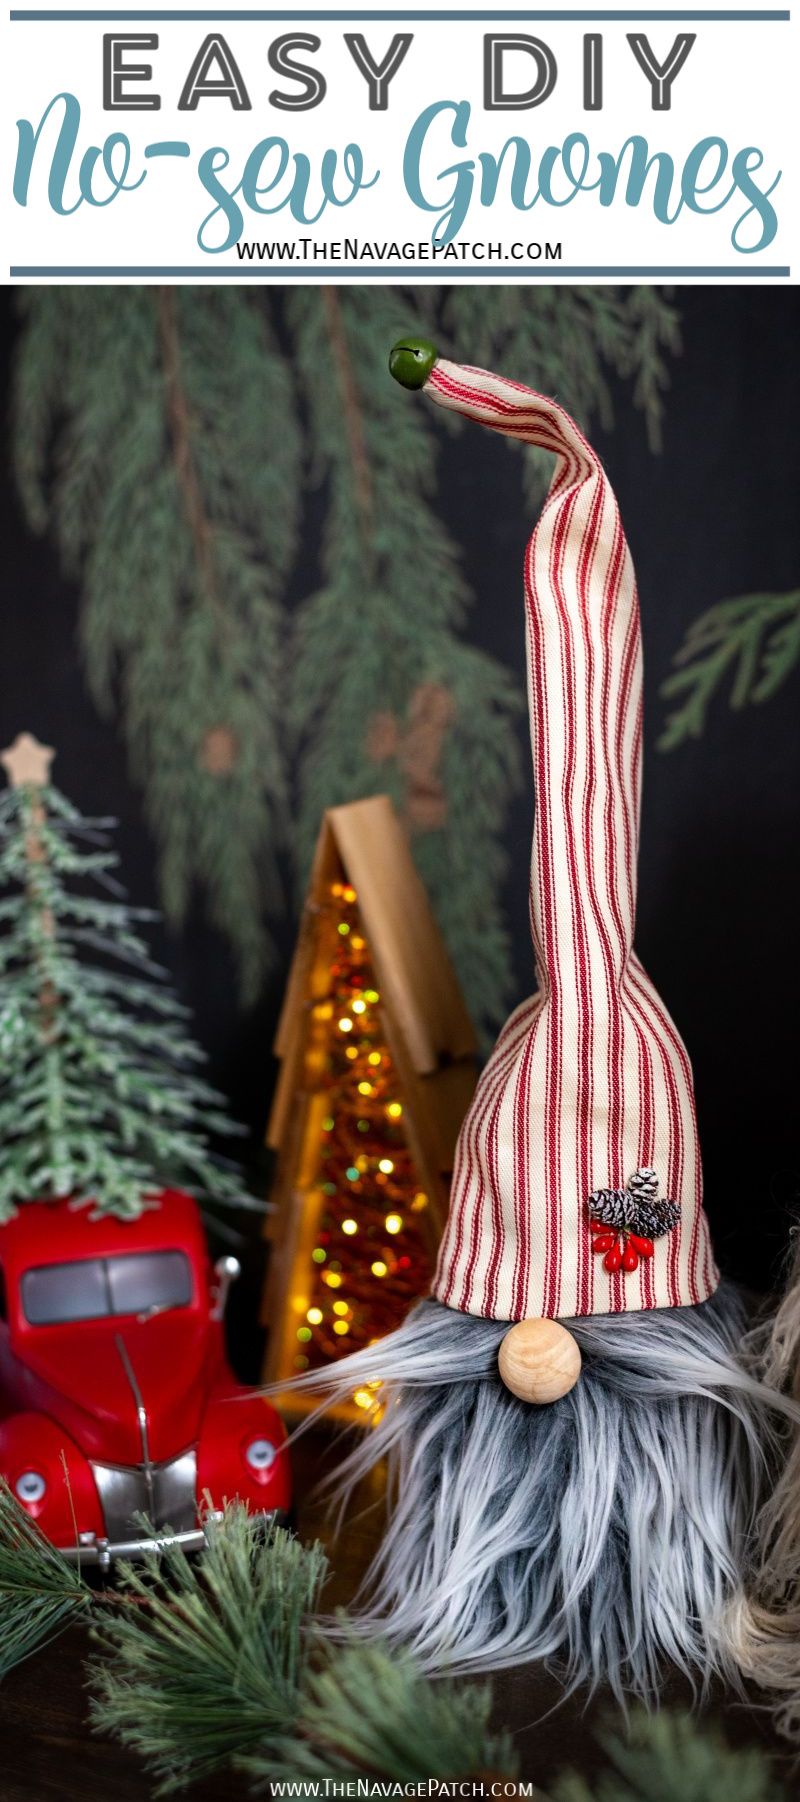
If you want to make some taller DIY Christmas gnomes like the one pictured below, just stuff some polyfill into the sock after you put in the beans. The polyfill will give him a little more height without making him too top-heavy.


Okay, so maybe you’re more of an outdoor gal. Maybe these dinky little indoor gnomes just leave you feeling…I don’t know…unfulfilled.
Well, sister, you’re in luck.

Holly Grace has you covered with her brilliant tomato cage gnomes. Check out her video tutorial and make a couple for your front porch!
Share it on Pinterest & Facebook!


They make me smile too. Move over Elf on the Shelf, we now have Gnome in the Home. Every engineer should know K.I.S.S. (keep it simple, stupid.) My hubby’s an engineer and he overthinks projects too until I walk in an simplify it.
Gnome in the Home! I love it! 🙂
THOSE ARE ADORABLE!!! Such a cute idea! And different from what you see everywhere!
Merry Christmas to my cousins! Hope to see you all sometime soon.
Thank you, Cuz! Merry Christmas to you and your family! 🙂
These are really cute! Your tip about cutting the fur was worth the entire post. The Vikings probably believed in these if it makes you feel more manly.
It does make me feel more manly – thanks, Teddee! LOL! 🙂
Oh, my! Greg, your gnomes are totally adorbs!!!
I was going to start baking today; however, I see I need to run out to the dollar store and grab some supplies to make a few of these cuties!!
Happy holidays to you and your family! Thank you for all your great ideas and designs!!
Wow, gnomes before cookies! They must be adorbs! LOL, thanks, Raylene! 🙂
You guys win, hands down, on the Gnomes. These are the cutest ones I have seen and boy, there has been a lot of them popping up! I love how each hat is different and different staging and also the hair! Adorable! Love ALL the printables you share too! Y’all rock! Merry Christmas!
Wow, thank you, Sheila! That is so gratifying to hear, because I was really unsure about making these due to all the other ones out there. Thank you so much, and Merry Christmas to you and your family! 🙂
Well, Greg, you did it again! Knocked it outta the park! I have already made some gnomes, but I’ve just got to make these. Thanks again for making life more fun! Merry Christmas to you, Handan and Barish.
Awwww, thank you, Linda! I’m sorry you need to do double work on the gnomes this year, but also, I’m happy, LOL! Merry Christmas from our family to yours! 🙂
Is that one hat made out of the sleeve of a sweater? It looks a bit like it and if so, how brilliant!
Yes it is, Nicole! It’s one of Handan’s old sweaters, and I think the color goes perfectly with the brown fur! 🙂
These are adorable!! They make me smile too. I made three of the mambo yarn trees, they are pretty and so easy to make! I also made the lighted stars which I also love. Thanks for the great ideas and easy instructions. Merry Christmas!
Thank you, Jane, and you’re so very welcome! Merry Christmas to you and your family! 🙂
I love these!!!! I only wish you could have posted them earlier, not 8 days from Christmas when I’m up to my elbows finishing Christmas commissions. I’ve saved it to my Pinterest to make for next year. A lot of bang for little effort on this one. You did good.
Thank you, Lynnette! Yeah, who knew they’d be such a hit?? Well, better late than never, and like you said – there’s always next year! 🙂
I love your gnomes! They are so cute! Now I need to get off my duff and make some lol!
Thanks, Pam – you still have time!! 🙂
Had to share on Facebook! Your gnomes are fabulous. Now I have to go hunting for fur!
Thanks, Susan and good luck on your fur hunt! 🙂
Good evening,
For not knowing how to make gnomes, you sure turned into an expert. I was trying to figure out if they were Hatfields or McCoys but maybe they’re not the feuding sort since they make so many people happy. I applaud your can do attitude and your willingness to go the glitter route, if necessary, to let your lovely wife know how much you love her. You are a testament to love and to ingenuity. May the good gnomes always sit at eye level in your home.
This is a beautiful comment – thank you, Pam! Yep, I’d do anything for her, including crafting with pink glitter, lol! Handan and I wish you and your family a very happy holiday season! 🙂
Now these are just so stinkin’ cute. This year Christmas kind of went gnome-crazy but up until now I haven’t felt very attached. But just look at their crinkly beards and big noses! And adorable worn in hats. They look so snug and wintery! These gnomes are winners. Simply astro-gnome-icle!
Thanks, Jay! I was worried that the ‘net was too saturated with gnomes already, but these little guys seem to have struck a good nerve!
Oh my goodness these are adorable and you are hilarious! I can’t wait to try these! Once again you’ve hit it out of the park! Merry Christmas to you, Handan and Barish!!
Thank you so much, Karen! We wish you and your family a very Merry Christmas as well! 🙂
I love your gnomes. But I really love reading your blog. You crack me up. Merry Christmas to you and your family.
Thank you so much, Karen! Merry Christmas to you and yours! 🙂
He gnomes if you’ve been bad or good and I must say, bloody good gnomes sir!!
Your blog wit is much appreciated, along with the fabulous photos and the “even I can follow” instructions!!! When telling others of your awesomeness & their need to join the dark, I mean Navage side, I have been pronouncing your name correctly … yay!! 🙂
Merry Christmas to you, Handan, Barish, Penny & Pepper!!
LOL, thank you so much, Gwen! Happy Christmas to you and your family!
Where did you find the Mongolian fur?
Hi Lana, we got ours on here on Etsy.
Loved your gnomes, and your humor as usual. Gotta start hunting for fur and oddball materials for hats for next year! Happy New Year!
Thanks, Kathy! You’re going to really enjoy making them – so easy and so fun! 🙂 Happy New Year!
I love those Christmas trees in the background. They look like they were made from shingles. Did you make those?
Hi Deborah, yes we did! You can find that post here: https://www.thenavagepatch.com/diy-epoxy-wood-shim-trees/
Happy New Year!
You guys!!! These are adorable! I pinned them for next year’s craft fair! How easy and fun these are to make! I’ve gotta get my husband to craft with me!!!!
Hi Susan, thank you so much! Happy New Year to you (and good luck with the hubs!)
I wanted to do some valentines day gnomes!! With tall cute socks, how do u use the wire to make them stand? Is it floral wire? Do u put polyfil in also? The wire wouldn’t poke through the sock? A video would be amazing!! I tend to over think things also and then chicken out and never do it!
Hi Jenny, we’re planning on doing some Valentine’s Day Gnomes too! 🙂 Okay, for the wire, I just stuck a piece in there. It didn’t poke through the top because it gets kinda thick up there where all that fabric and glue converge. I didn’t put any polyfill in the hats, but you’re welcome to experiment with it. Have fun! 🙂
Wao this is the best and easy tutorial that I found to make this cute gnomes.
Thank you
Thank you, Ines!
Really beautiful, I love it!! Thanks for sharing your great job. From Costa Rica!!
Thank you, Sharon!
We are planning on doing some Valentine’s Day Gnomes too! I found it to make this cute gnome. when telling others of your awesomeness & their need to join the dark. I can’t wait to try these. once again you’ve hit it out of the park. and I made three of the mambo yarn trees, they are pretty and so easy to make.
Oh cool! Yep, they’re all so simple, and they look great! 🙂
I took your idea and ran with it. I never met bling I didn’t love. I used Dollar Store socks for the body and the hat and for the rice. One bag of Dollar store rice filled 3. I used old broken jewelry for the nose and to embellish the hats. Honestly, I love the look of yours better. They look more like gnomes. But mine have developed such personalities. I have actually named them.
Another great craft!!
That’s great, Lori! We’d love to see some pics of your named gnomes. Please send a few to greg@thenavagepatch.com thanks!
I WANT A HUSBAND THAT CRAFTS WITH ME!!!! I will make these gnomes today!!!
Hmmmm…husband for hire…Good Idea! I may be able to pick up a little extra holiday cash this year! LOL ?
I need to make some of these. They are so cute! My dear departed my MIL loved gnomes. I want to make some in her honor. Thank you so much for this awesome tutorial!
You are so very welcome, Deborah! 🙂
Loved these – polished off a couple right away with the easy instructions! I went to a thrift store to buy fabric – turns out the sleeves of flannel shirts make great gnome hats! Wrap the cuff around the head and cut the fabric as needed, et voila! I also found a fake fur vest in the women’s thrift section, and took that apart for the beards. I ended up with some small styrofoam balls attached to the end of the hats – had a few laying around so I used them up! Thanks so much for this!
Great tips, Kris – thank you so much! 🙂
Love these little gnomes! What gauge wire would you recommend for under their hats? Thx
Thanks, Angie! The gauge doesn’t matter – as long as it’s stiff enough to hold up a piece of fabric!
I love these gnomes, will be making some for this year Christmas. Your instructions are so easy to follow. Thank you!
Thank you, Marisa – it’s never too early to start crafting for Christmas! 🙂
Hello!
Just wondering about the wooden beads used for the nose. Do they have a whole through them or did you just use wooden balls? If there are holes how did you make it so they are visible?
Thank you!!
Love these so much!!! Will be making with my nephews this weekend!!
Awesome! Have fun, Mel!
Well, you said “beads”, not “balls” so now my gnome has a hole in the top of his nose. Back to the craft store to buy wooden balls. Otherwise, these are super cute!
Holy noses are nothing to sneeze at, Dawn! 😀
I love how you don’t have to sew or crochet to make these. So many possibilities! I myself will possibly use the extra sock piece that was cut off as a type of poly fill to cut down on waste. Thank you for showing a quick and easy way to make these!
Thank you, Amber – have fun making them! 🙂
OMGOSH when I first read this, I thought ‘ok yeah these look amazing and I can totally do a bunch of them and give them out to family at Christmas!’. Well, here I am a month later with only 4 made and 9 to go because MY mathematical brain took over and I just couldn’t get those darn hats to be pointy enough lol Now that I’ve read it again, I’m going to give it my all and take the math out of the equation and get these guys done for next week. I love all of your crafts and you blog is just hilarious!! Thanks so much for sharing!!!
You’re just like Handan! Yep, just switch off the noodle – no need for it with this one!
I love all your crafts, Thank you for doing these.
Thank you so much, Vickie, it is our pleasure!
I! LOVE! THESE!!😍😍
Don’t know what it is about gnomes but I’m a Big- little fan of them!!
I know, right? We love ’em too!
OMGoshosh!! How adorable! I have always pictured gnomes as being grumpy old men. 🤷♀️ But these make me smile!!!!!!! i’m gonna make a few for stocking stuffers! tyfs!
Our gnomes are never grumpy, Kathy! 😀
I’ve made gnomes a few years and before that stuffed animals. For the gnomes I use the poly-pellets. A bit more expensive and I’ll get you why. Some poly pellets go into the bottom of the sock, enough to weight it down, then poly stuffing at the stop, just enough to tie the top down. The reason for the poly pellets is your darlings are going to be stored in the basement or closet, little critters (mice) will chew through if you use an edible item: seeds, noodles, beans, lentils. Or use a small rock at the bottom of the body for weight.
Using some non-edible will save you some grief.
That’s great advice, Darlene – thank you! 🙂