Locker Makeover
With this locker makeover, we transformed three old military hallway lockers into a smart storage unit for our garage.

They’ve been an albatross around my neck for the past three and a half years.
Oh, it started off all well and good, I suppose. There was the typical proclamation from my babes – a common occurrence – wherein she would inform me of this or that particular thing she wanted us to buy from some unknown person in some far-flung town in Connecticut.
My babes would spend hours each week poring through the sundry items listed for sale on Craigslist and Facebook Marketplace like job-seekers dig through help-wanted ads looking for that executive-office gem or local busybodies scan the police blotter in search of gossip fuel.
It’s amazing to discover the things you “need” when you go looking for them.
On a frigid Saturday morning in January of 2018, Handan discovered that we needed three used military lockers. The why of that need wasn’t immediately clear, but the where and the how most certainly were.
“Is Cheshire far, my babes?” she said.
“Not too far, my babes,” I said. It’s only 45 minutes by car – oh, except those lockers wouldn’t fit in our car, so I’d have to rent a trailer. I looked out the window. It was one of those bright winter mornings full of cheerful sunshine that belied the nose-shattering sub-zero temperatures waiting for anyone foolish enough to venture outside. I thought of the frigid steel frame of the U-Haul trailer sapping the heat and will to live from my fingertips as I hooked it onto my car’s ball hitch. Then I looked at my babes and saw just how badly she wanted those three old lockers.
“Ho-kay, my babes,” I said and heaved my carcass off the sofa much like a walrus deploys from an iceberg. “Let’s go get your lockers.”
The rest of the morning went pretty much as I expected. Cold times at U-Haul, an hour on the road, and then near finger-paralysis trying to load the three lockers (which were ambient air temperature) with bare hands into the back of the trailer across a driveway sheeted with ice.
But all’s well that ends with ten fingers, so no permanent harm, no major foul. My babes was happy, so I was happy, and I drove us home as she nursed my numbed fingers back to life.
I unloaded the old military lockers into our garage, and there they stood silent sentinel for two years.

My babes waited patiently for Lumpy Martinifingers here to clean the garage to a point where she could use them, but, alas, her waiting was in vain. When it came time to move, Handan made sure those lockers were loaded onto the very first POD. She was determined to put them to use in our new house!
We had to get most of the rest of the house in order before tackling the garage, but my babes’ three-and-a-half-year-old wish has finally become a reality. She’s not only getting the garage makeover she’s been pining for, but she got a locker makeover, to boot!
Locker Makeover
So here’s how they stood for the past year. They were already looking more fit and ready for duty than they had in the sloppy Connecticut car-hole. My babes keeps telling me that cleanliness is the foundation of an ordered mind and an ordered life. I’m beginning to realize how right she is, and I think these old lockers feel it, too.

Just look at their slovenly interior back in the CT filth. Crooked shelves, missing bolts. They were a disgrace to the armed forces!

But a year in Georgia put them right back on the Straight-and-Narrow.
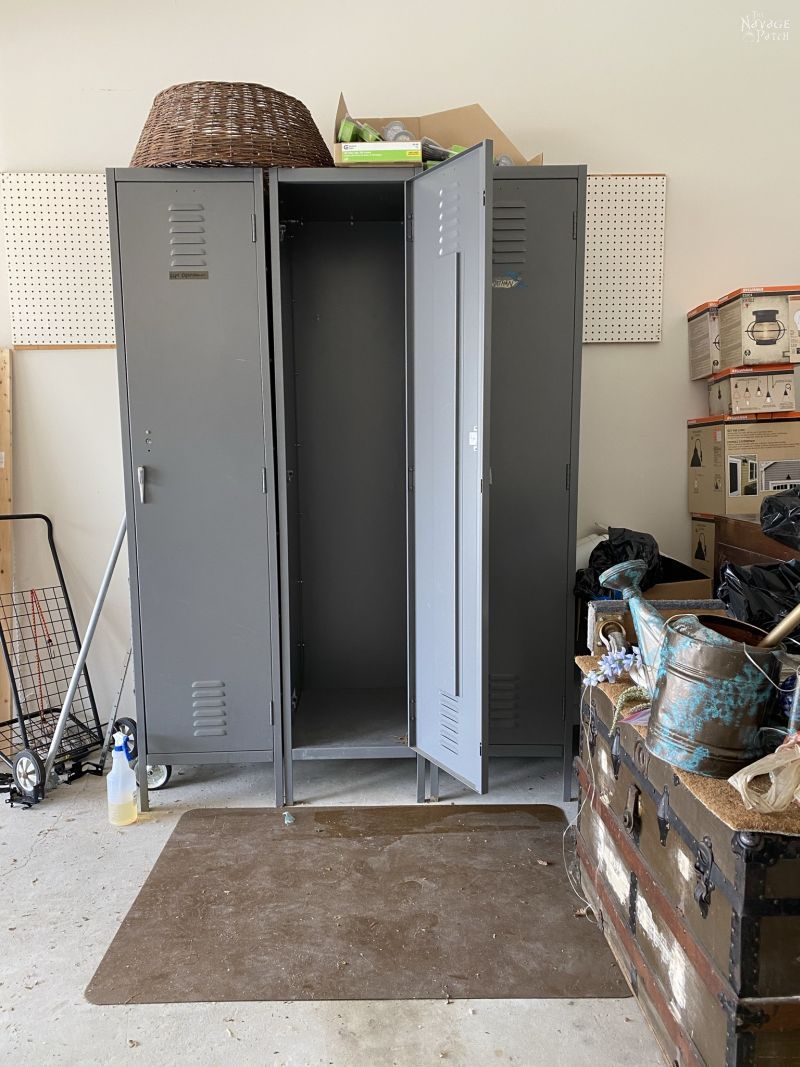
All they needed was a new purpose.
And paint.
They definitely needed paint.
As a reminder, this is the inspiration for our military locker makeover.

This locker makeover started with a good cleaning. As appreciative as I was to the three brave soldiers whose smelly boots once graced these metal cubbies, we no longer had a need for their masking-tape nameplates. After peeling off the tape, I used Goo Gone to get rid of the sticky residue.

Then I cleaned them all from stem-to-stern and keel-to-masthead with Krud Kutter.

After removing the door latches, I carried the lockers outside for painting.
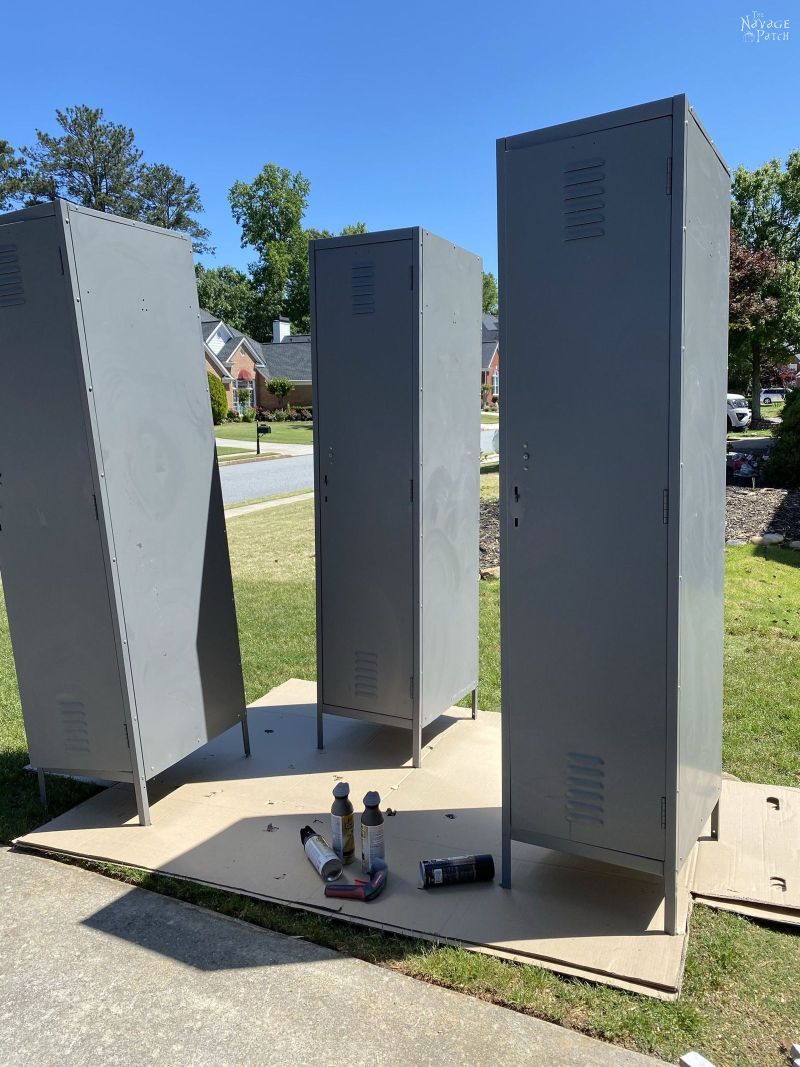
There were a few rusty spots here and there, so I sealed those with rust convertor. This particular brand is hard to find in our brave new post-pandemic world, and I only used it because I had it in the basement. For the small amount of rust on the lockers, I wouldn’t have gone out of my way to buy a rust convertor if I didn’t already own a can – I would have simply spray painted over the rust.

Handan and I chose Rustoleum’s Flat Soft Iron for the paint. We used it on our West Elm Inspired Bookcases, and we both love it.
Painting these lockers was an interesting affair. No matter when I attempted it – morning, noon or night – over the course of several days, the wind always kicked up the moment my chubby fingers reached for a can of paint. These were also the biggest and flattest surfaces I’d ever sprayed with a can of paint. I knew after the first can that this was going to take some time.

A long, long time with many cans of paint. I quickly surmised that my seemingly-bold purchase of six cans was a gross under-calculation.
Though I was outside and painting in a breeze, the fumes wanted nowhere better to be than in my lungs and eyes. Thus, despite the heat, I was forced into my organic solvent respirator and goggles. And here I thought it was hard to breathe in summer without covering my face in plastic!

I lost track, but I think it took about 12-15 cans to adequately cover these lockers. I probably could have gotten by with half that if I wasn’t so graciously sharing my paint with the wind.
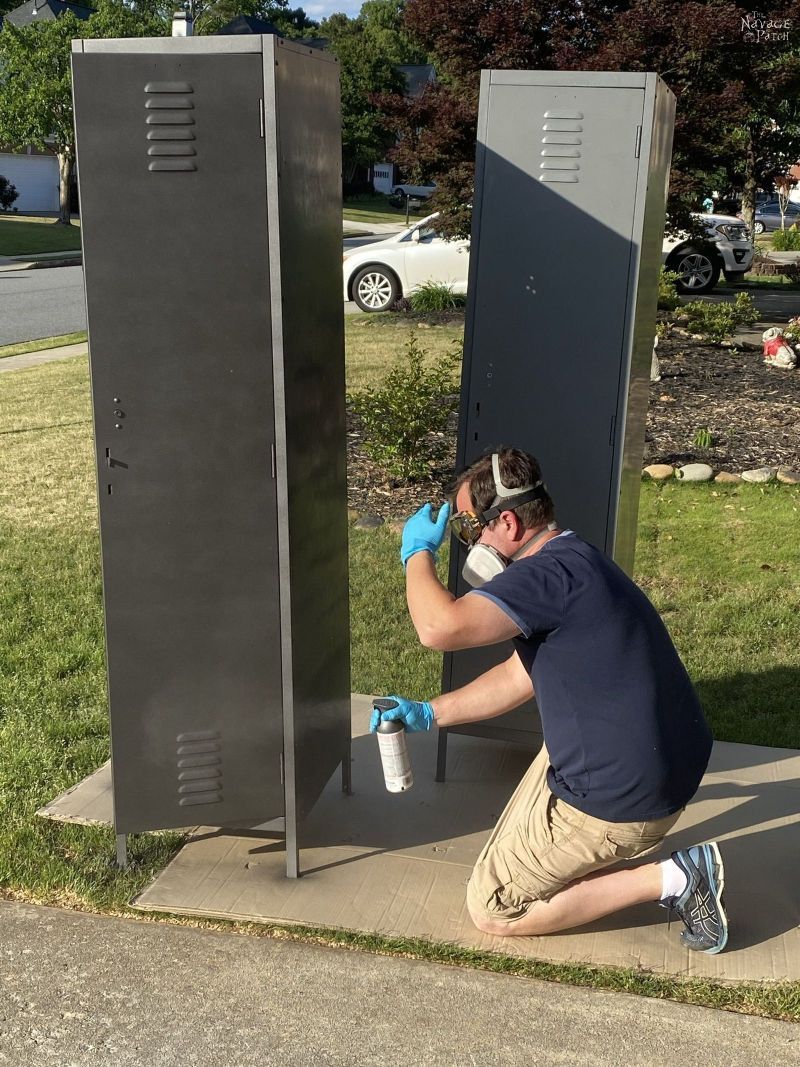
It was worth it, though. Even not fully painted, it looks so much better than the original battleship gray.

After several days (weeks?) and hauling them in and out of the garage every morning and night, I got them all painted and ready for the next step.
Astute Astrids and Noticing Nancies will note the garage floor is the first color I painted it, not the one we ended up with. I only took pics of doing this part of the locker makeover once.
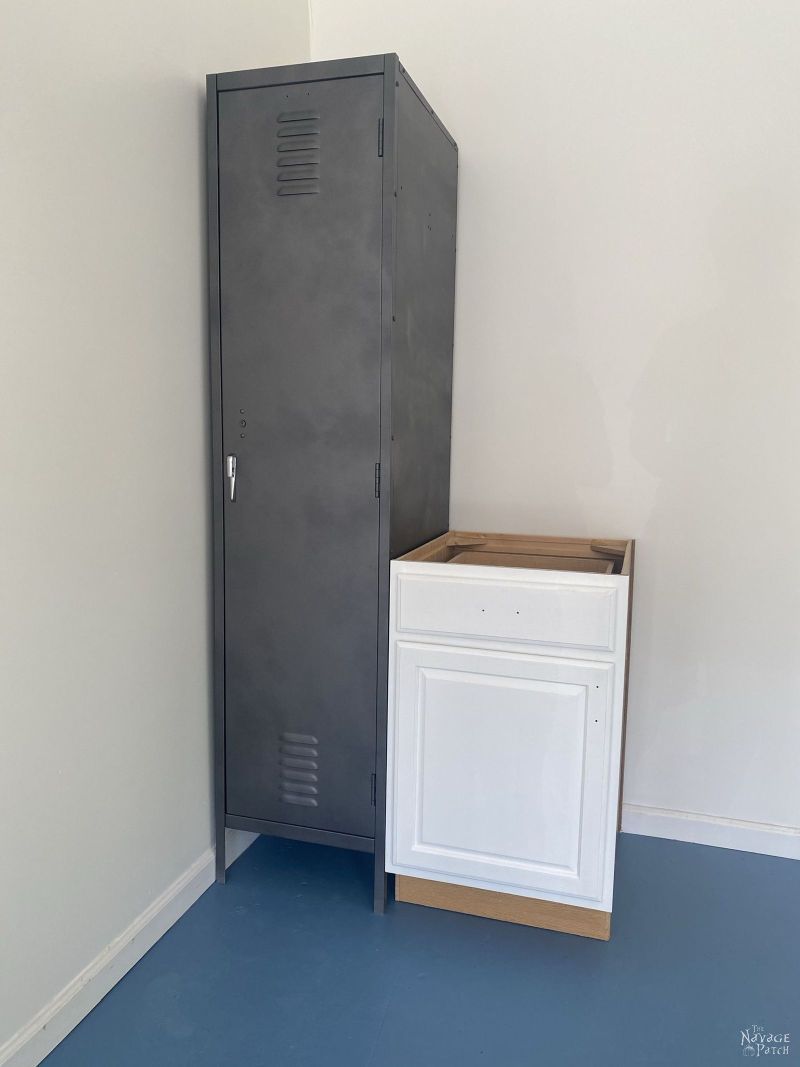
Handan’s plan for this locker makeover was to put the remaining two cabinet bases from our old kitchen between the lockers and install shelves above. We carried the elements into place.

But first, I had to jack the cabinets up a couple of inches. I’d eventually be installing a toe kick board across the bottom, and a two-inch boost to the cabinets would make it look and fit better by aligning the bottoms of the cabinet face frames with the bottoms of the lockers
I had a pressure-treated 4 x 4 post in the basement which I trimmed down to size. In basements and garages, any wood touching the concrete should be pressure-treated in case it comes into contact with standing water or moisture.
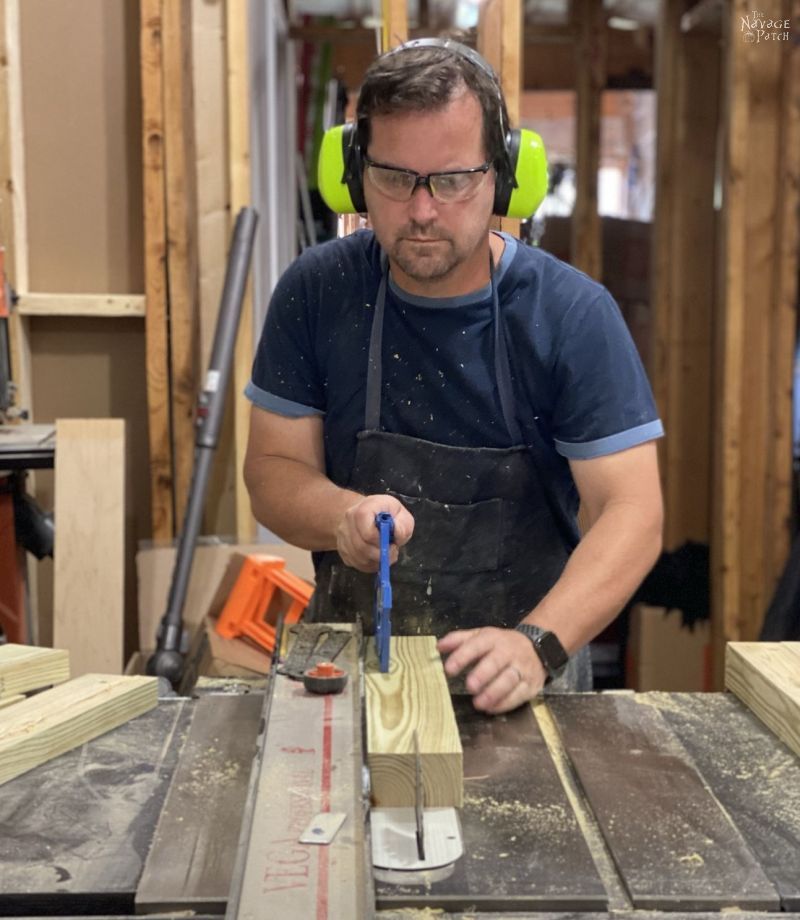
Now, please direct your attention to the man operating the saw in the picture below. That is the face of a man deep in thought. You may be tempted to think he’s pondering which type of wood joint he should use on the riser he’s building. Pocket screw? Glue and brads?

But I have it on good authority he was thinking about lunch – a tuna fish sandwich, to be precise. A man has no time for thoughts about pocket holes and brad nails when he’s trying to puzzle out the optimal ratio of fish to mayonnaise.
Next stop was the table saw, where the man operating the push stick continued with his internal musings about the optimal number of add-ins for his lunchtime tuna fish. Purists will mix the canned fish with mayonnaise and call it a day. Maybe a little celery for crunch and contrast. The man has plans to add finely chopped celery, black olives, pickles, and red grapes, but he’s struggling about adding red onion. Is he in an onion-for-lunch mood today?
Oh, and he’s also ripping the 4×4 down to 2 inches for his cabinet riser.
Somewhere during his internal fish debate, he decided that glue and brads would be the best and easiest way to hold the risers together. No need to get all fancy with pocket holes when a simple wipe-and-shoot will suffice!

Handan asked me to pose with my new creation, so I gave her Blue Steel.

It’s a work in progress.
Back in the garage, Handan and I lifted up the cabinets and installed the cabinet risers. Not long after the photo below was taken, my babes changed her mind on the floor paint, and everything had to be moved to the middle of the garage.

In case you forgot from the floor painting post, this was the scene when The Boy and I learned of our fate. I knew that arguing would get me nowhere, so I performed a Riverdance of Protest.

Which also got me nowhere.
After the floor was repainted and everything moved back into place, I started to build the next elements of this military locker makeover – the countertops for the base cabinets.

Keeping in the spirit of using only materials we had on-hand (as much as humanly possible), I endeavored to use the scrap pieces of acacia butcher block from both Baris’s floating desk project and our bathroom vanity repurpose project. I had one scrap piece that I could trim down to be a perfect fit. Unfortunately, all of my other butcher block scraps were too small. There was no way I was going to spring for a new butcher block, especially with the cost of wood these days. I’ve actually been contemplating hiring extra security for my wood scrap pile in the basement.
Figuring I could do a little color matching with stain, I glued one of the acacia scraps to another scrap of maple butcher block I’d been holding onto for years. I’d gotten the maple piece as a full countertop a few years back for $1 when a local woodshop went out of business. Ah, the good old days. Today, $1 will only get you a couple teaspoons of sawdust. And not the good stuff, either. Pine or poplar. You want a baggie of walnut or cherry sawdust – that’ll run you 2 or 3 dollars.

After the glue dried, I sanded the whole piece smooth. The acacia was even more beautiful with the stain sanded off.

Since the acacia piece was the smaller of the two, I made the tough choice to put it towards the back so the seam between the two pieces would be farther back. Acacia is such a beautiful wood, and I would have loved to have both countertops showcasing it in front.
But I was stuck with boring old maple, so I tried my best to color-match the other piece. Here’s the acacia countertop I was able to use as-is.
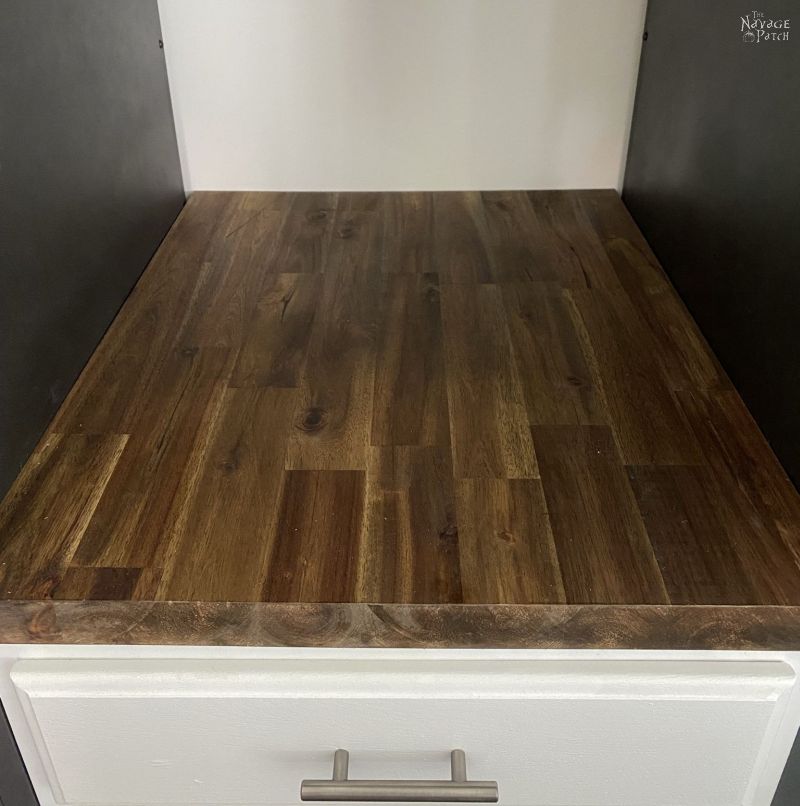
And here’s my cobbled-together and color-matched countertop. It’s impossible to color-match acacia perfectly, as the wood itself has so many different tones.

So it ain’t perfect, but it’s good enough for garage duty!
Next, I installed shelves between the lockers. I also built shelves to go inside the lockers, but both those shelves are the topic of the next post, so I’ll just leave it there.
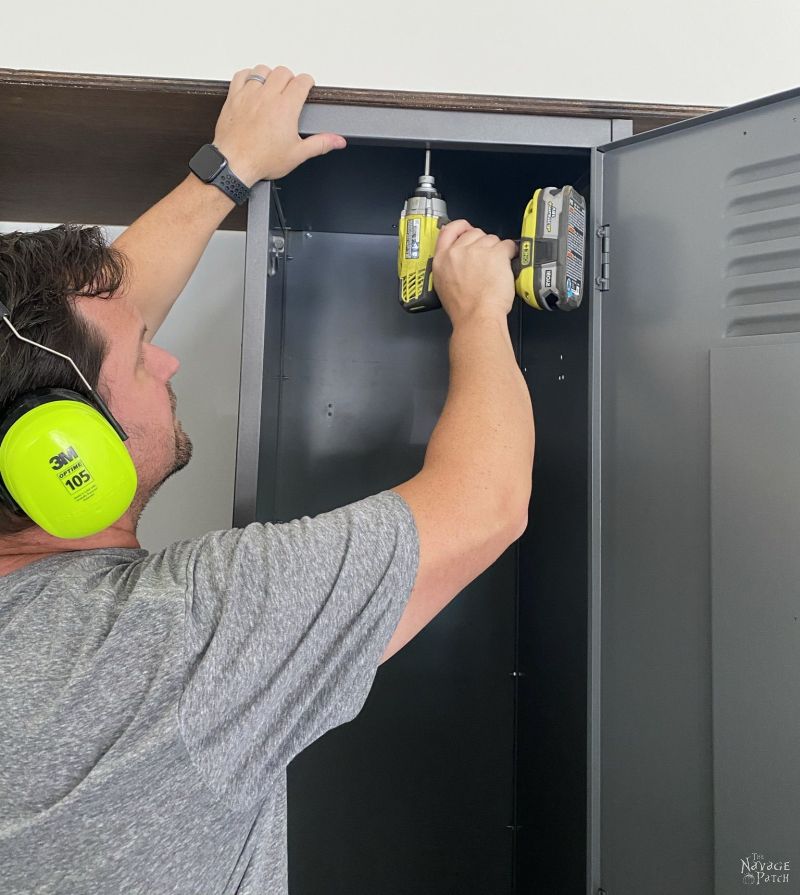
I had a sheet of 3/4 inch plywood that I planned to use along the top of the lockers. Not only would it make a nice-looking top for the locker storage unit, but the top would make an excellent storage shelf. I cut the plywood to size and then stained it to match the countertops.

Okay, so really, the picture of me and my cockatiel hair above should be more than enough for that part of the job, but as I’ve mentioned countless times in the past, Handan just has a brilliant and preternatural knack for photographing me in the most unflattering light.
Or maybe I actually do look like Spongebob Squarepants. You decide.

After placing the plywood on top of the lockers with Handan’s help, I drove a couple of screws up from the inside of the lockers to secure it. I can’t do any sort of power tool work without hearing protection these days. That one hammer strike in the coat closet changed my life forever. One the plus side, there’s always music in my ears! 😀
That left the toe kick board. The length was just over 8 feet, so I had to make it in two pieces. Again, I already had some 1/8 inch plywood (or maybe it’s 3/16, I didn’t measure) in the basement that I was able to join together with tape. After staining it, Handan and I installed it with construction adhesive applied to the locker legs. Doing it this way will allow us to remove it more easily in the future should the need ever arise.

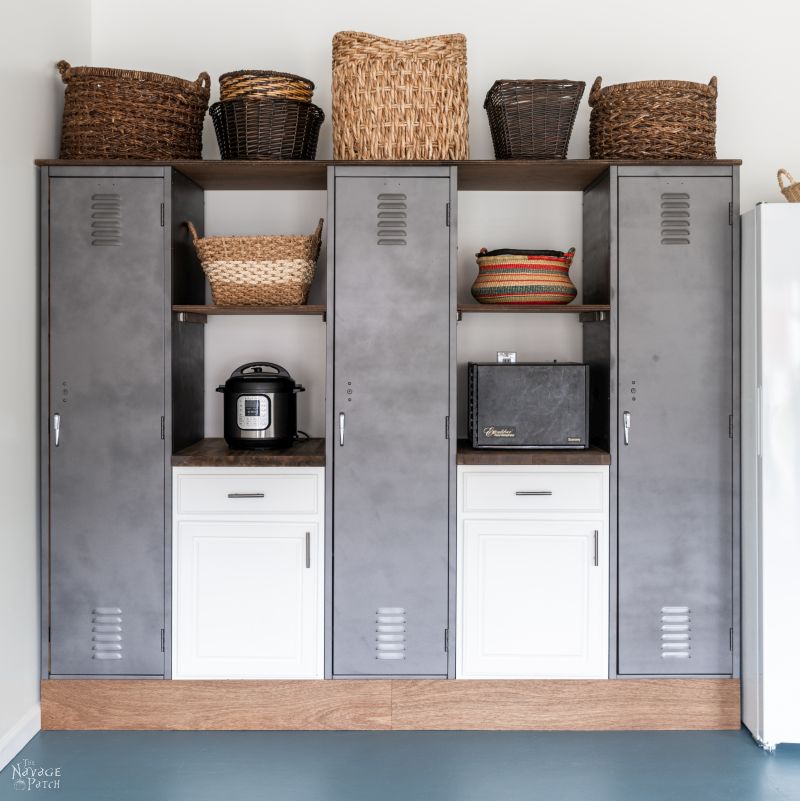
With the toe kick board in place, our locker makeover was finished, and a big piece of our garage makeover puzzle was in place.


Here’s a peek at the shelves inside the lockers. You can read about how I made them here.


Handan got right to work filling up the lockers. The extra storage space takes a burden off our craft room, as we were able to move all my food photo props out here.

The back wall of the garage is now finished!

Once she filled the lockers, Handan turned her eye towards the outer shelves.
There’s enough room both inside the lockers and out to hold my lesser-used kitchen appliances like my dehydrator and Instant Pot. My bread machine is in the middle locker.


Beautifully done! Like your LOVELY Handan, I also am pining for lockers in the garage (and my craft room!). I’m not sure I’ll have the patience to try doing anything as labor intensive as your incredible setup, for the garage, but maybe for the craft room. ?
Thank you, as always, for the inspiration and morning giggles!
Thank you so much, Carla! It wasn’t really so labor intensive at all, actually! besides the painting and a little saw work, it was just a matter of plopping the pieces in a row, lol! 🙂 And it would have been even easier if we weren’t so determined to use what we have on hand. If I had new butcher block, it would have been a breeze! Have a great weekend!
It looks great! I always enjoy reading your commentary on stuff. You are one funny guy.
Thank you, Stephanie! It’s nice to hear that without someone adding “-looking” after the funny part! 😀
Looks fantastic! Great repurpose for your cabinet bases!
Thanks, Audra! Yep, with this project, we’ve officially used all the old cabinets from the old kitchen! 🙂
I thoroughly enjoy your posts! I look for your article every week with anticipation. Not so much for the actual project, though I do enjoy the originality you both have, but your sense of humor makes my day! Thanks for the entertainment! By the way, how do I get my husband to do all the projects I’d like to complete? Is there a magic potion form Turkey I could buy?
Thank you, Diane, I’m always happy to hear that my posts are being enjoyed (for whatever reason, lol!). I’m going to let Handan answer your question… ?
Best looking garage I’ve ever seen! Good luck with keeping it so neat.
Now I need to make a tuna salad sandwich, thanks to your post!
Thanks, mom! 🙂
Using photos as my guide (admittedly, I didn’t read e v e r y word) I missed the instruction about attaching the shelf supports both inside and out.
That’s coming in the next post, Pamela! ?
Ooh, these look great! I wondered how you were going to manage the paint overspray outside. Those lockers are awkwardly big and trying to create a windscreen wouldn’t be easy. I can see how it took days and days to get that part done. But I really like that basket on the second shelf on the right–the round one with the red and blue stripes. Would Handan be willing to sell that one? I would take that off her hands in a heartbeat. 🙂
Thanks, Deb! Yeah, I gotta say, spray paint on large flat surfaces ain’t easy outside! If I had to do it again, I’d move the operation into the garage. Oh well – next time! LOL, good luck getting The Crazy Basket Lady to part with one of her little preciouses!! ???
Wow! What a great idea. I love the results. Thanks for another great post. I don’t know how you do it but I am reduced to tears of laughter with every post. I started reading your About Us stories and had to stop so I could breathe. Well, that and I want to save some of it for later when I need a laugh.
Hi Toni, thank you so much! Yeah, those About Us stories were so much fun to write…and I’m glad I got them out before I forgot all that good stuff! 🙂