Easy DIY Halloween Candles
These DIY Halloween candles are easy to make, and they’ll add just the right amount of creepy class to your Halloween display.
This Halloween season has been so busy, I’m already forgetting some of the projects we’ve made but not yet published.
Case in point, yesterday my babes and I were having coffee, or more to the point, I was slurping iced coffee while she held a mug and yapped at me about the projects we have going on. I nodded and inspected the ice cubes in my glass when she paused and then said, “squawk squawk SQUAWK,” which I roughly translated to mean, “why don’t you post the candles tomorrow?”
The candles?
I cast my fragile and tattered memory back through September and into August.
Candles?
The only candles I could think of are on our tombstones (which you haven’t seen yet unless you’re on Instagram or TikTok) or a project we’re currently working on (which no one has seen yet).
She must have seen my confused look, because she helpfully added “squa-SQUAWK!”
Ohhh, those easy Halloween candles I made!
Yeesh, I’d totally forgotten about them amidst all the holiday hubub! I’ve been busier than a housefly at a turd convention since Baris left for college, and I’ve got a backlog of blog posts to photograph, write and publish.
So without further preamble, let me show you 5 easy candle projects in case you needed to fill in any gaps in your schedule.
Easy DIY Halloween Candles SUPPLIES LIST
Affiliate links are provided below. Full disclosure here.
- Ceramic bowls
- Dollar Tree black jar candles
- Posable (bathing) skeleton (Walmart)
- Black hot glue sticks
- Small plastic skulls
- Creepy cloth
- Dollar Tree plastic spider bowl
- Black paint
- Baking soda
- Floating drip tea light holders (Michaels)
- Posable skeletons (Party City)
- Super glue gel or other adhesive
- Hot glue and glue gun
We love to see our DIY Halloween decor out in the wild! If you make this Halloween DIY decor for your home, take a picture or video and post it on Instagram, be sure to tag us – thenavagepatch
Easy DIY Halloween Candles VIDEO Tutorial
Watch our short video below for an overview of our easy DIY Halloween candles before you read the detailed step-by-step tutorial.
On Tiktok
@thenavagepatch Easy DIY Halloween Candles. #halloween #halloween2022 #dollartree #dollartreediy #dollartreeprojects #dollartreecrafts #dollartreehalloween #halloweekend #halloweenvibe #spookyseason #halloweenvibes #halloweenishere #halloweenathome #halloweencrafts #halloweendiy #thisishalloween #halloweenprops #dollartreehacks #halloweenlook #halloweeniscoming #candles #candlemakingtiktok
♬ original sound – TheNavagePatch – DIY & Crafts
More Easy DIY Halloween Decor Ideas
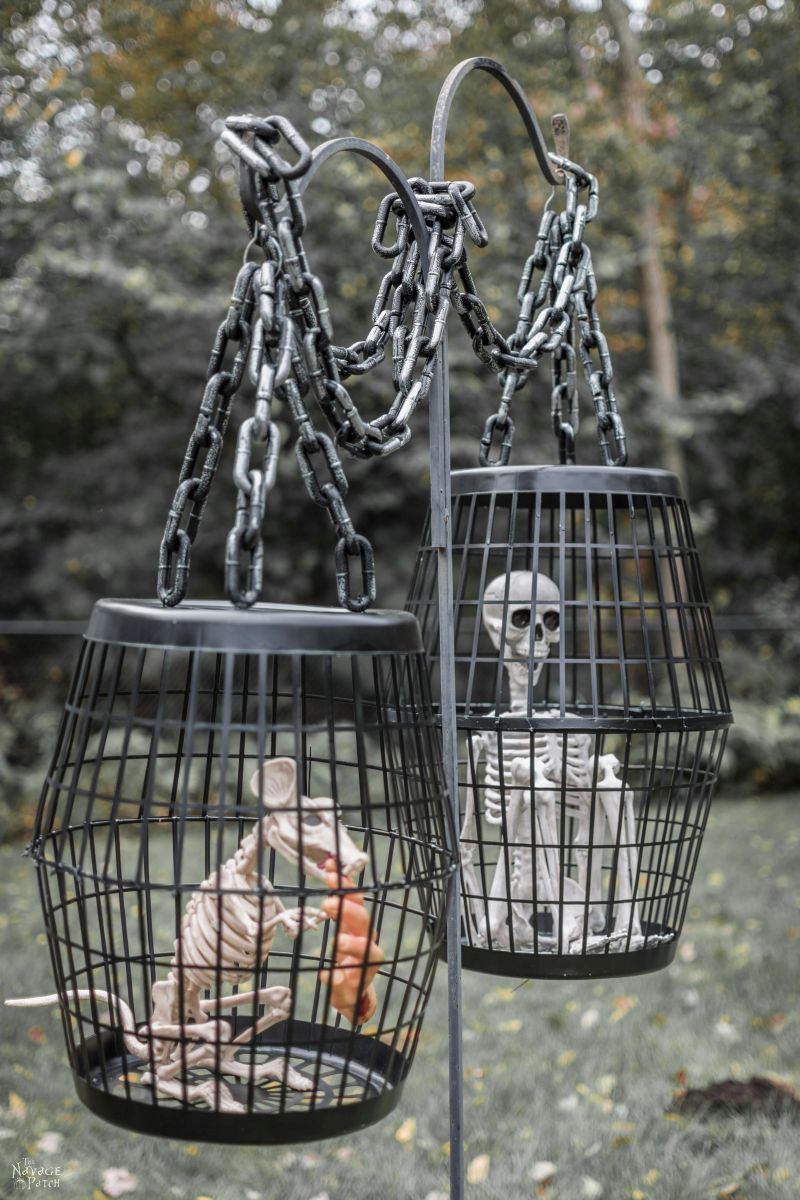
- Hanging Cage Halloween Prop
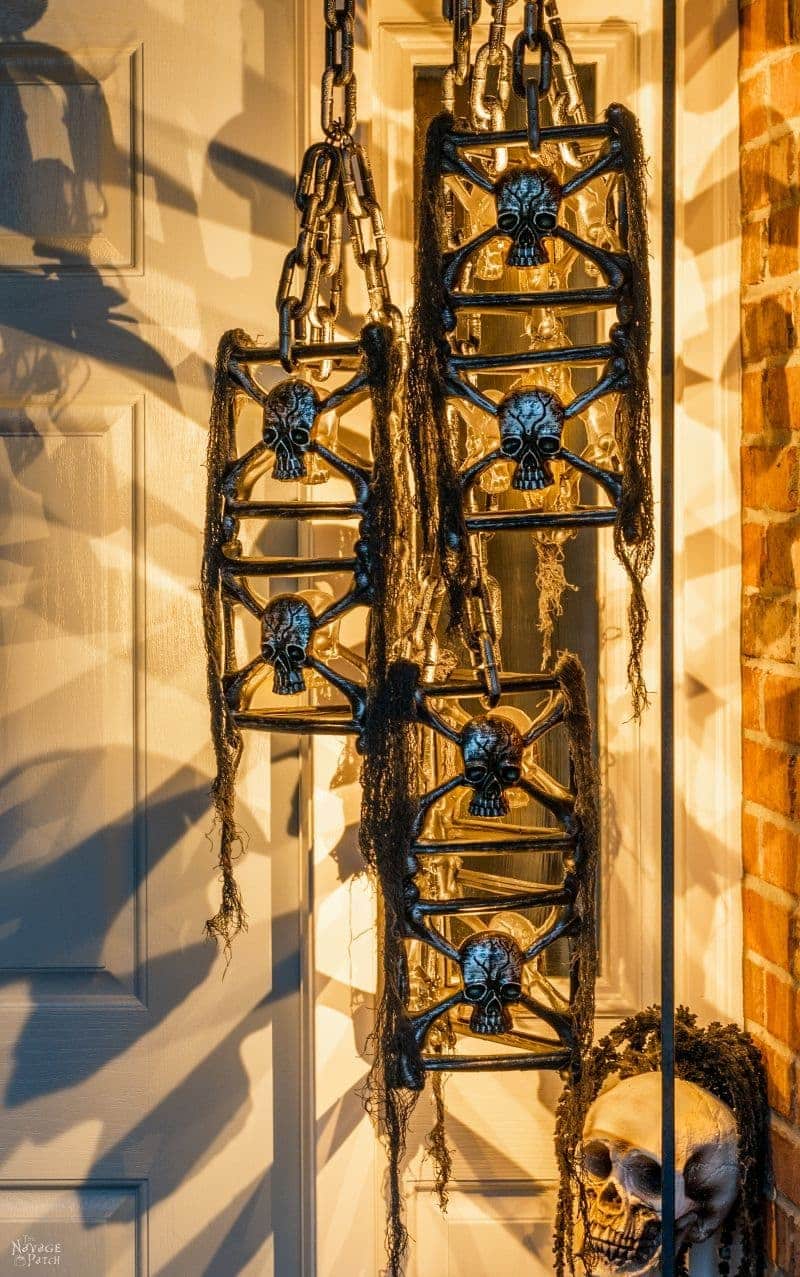
- DIY Dollar Tree Halloween Lights
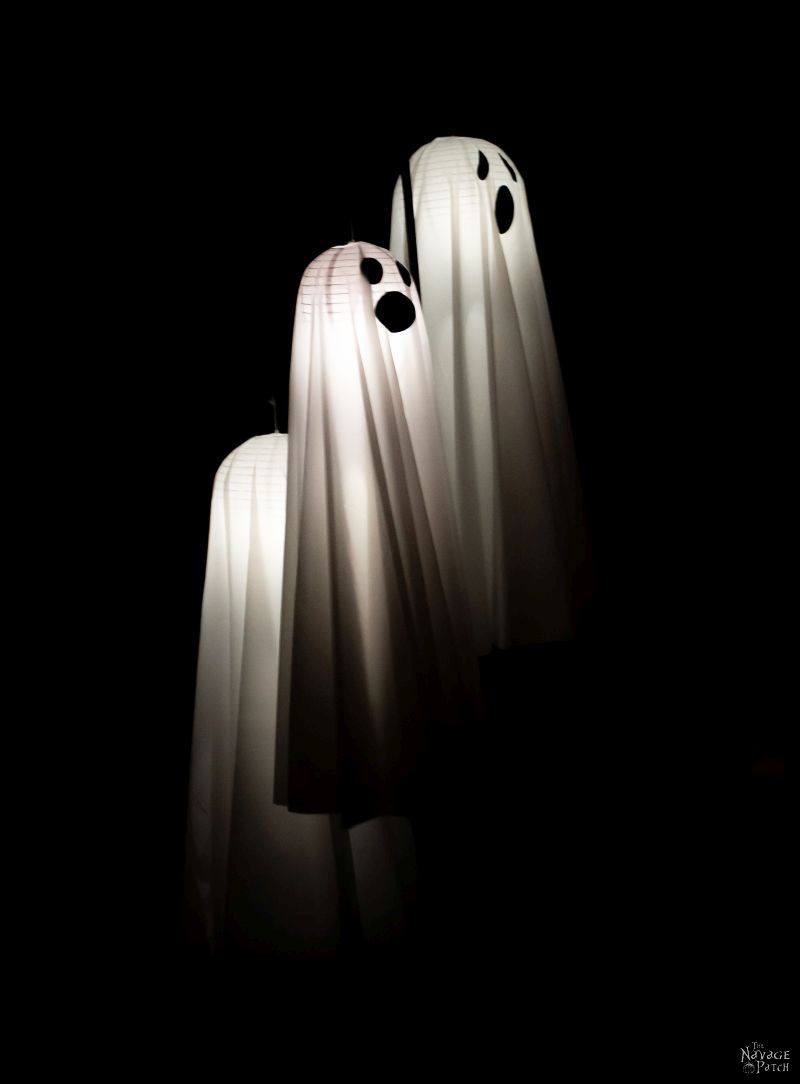
- Easy Lighted Hanging Ghosts (A Dollar Store DIY)
- Free Vintage Movie Monster Printables
- DIY Halloween Fire Wreath
- DIY Cousin Itt Pathway Light
- Gallery Of The Faceless – Easy Halloween Wall Decor
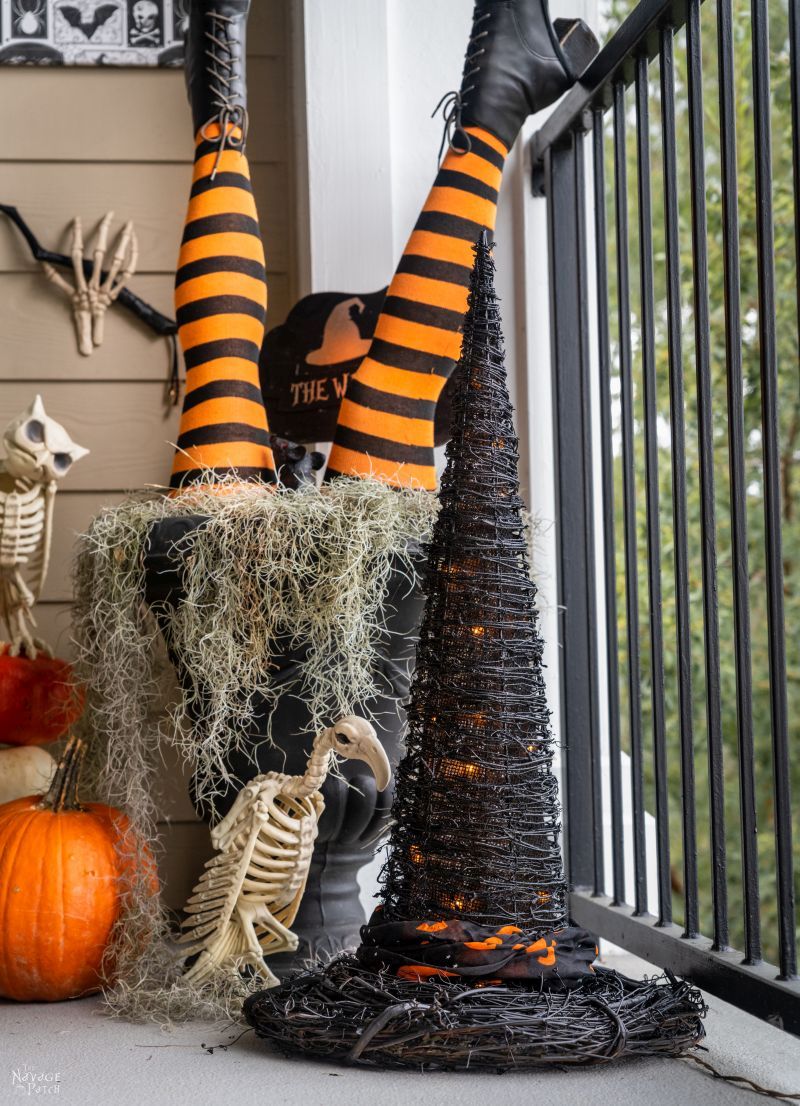
- DIY Lighted Witch Hat (Grandin Road Inspired)
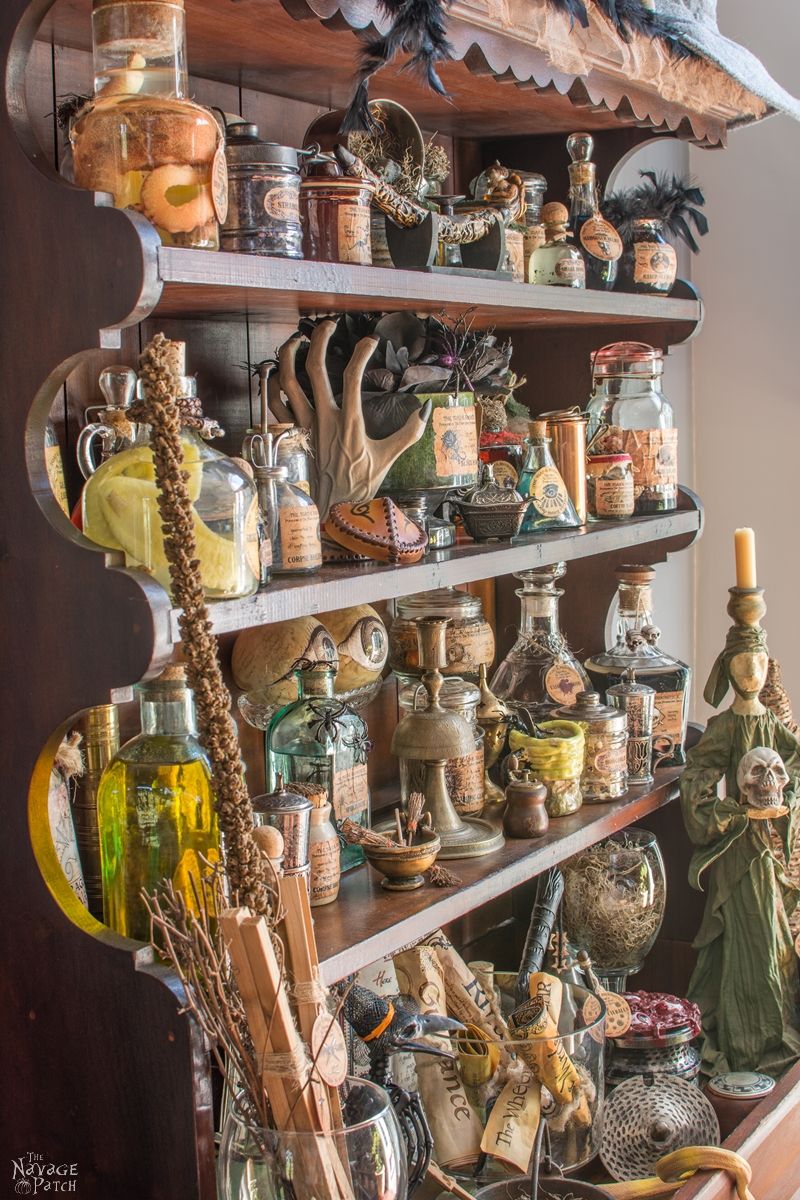
- Apothecary Jars And Free Printable Labels
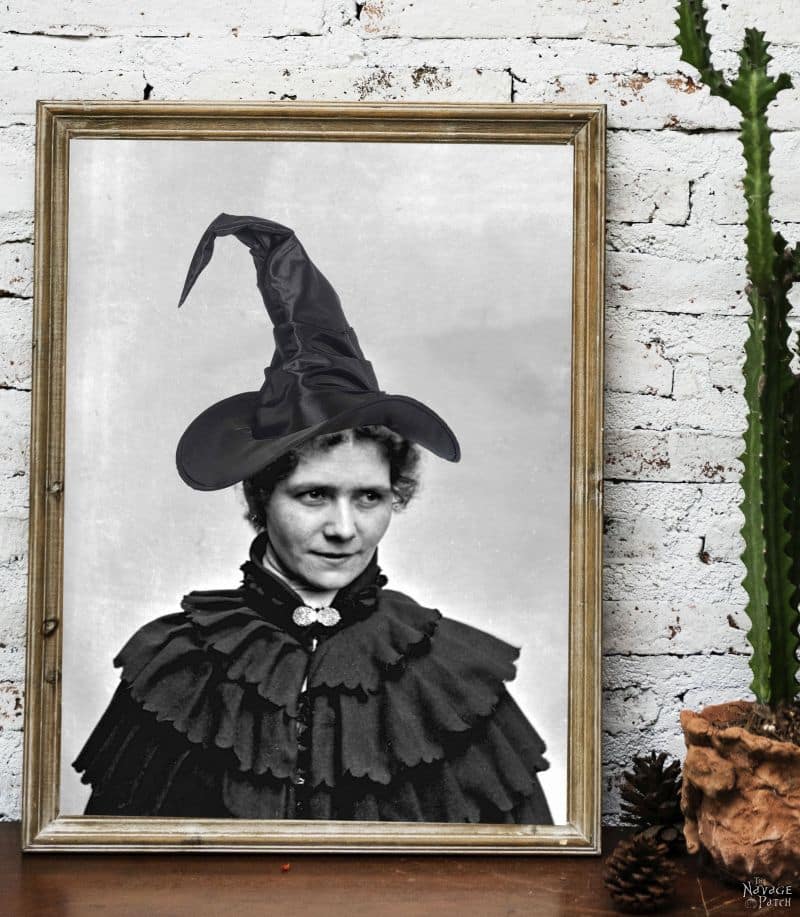
- Free Vintage Witch Printables
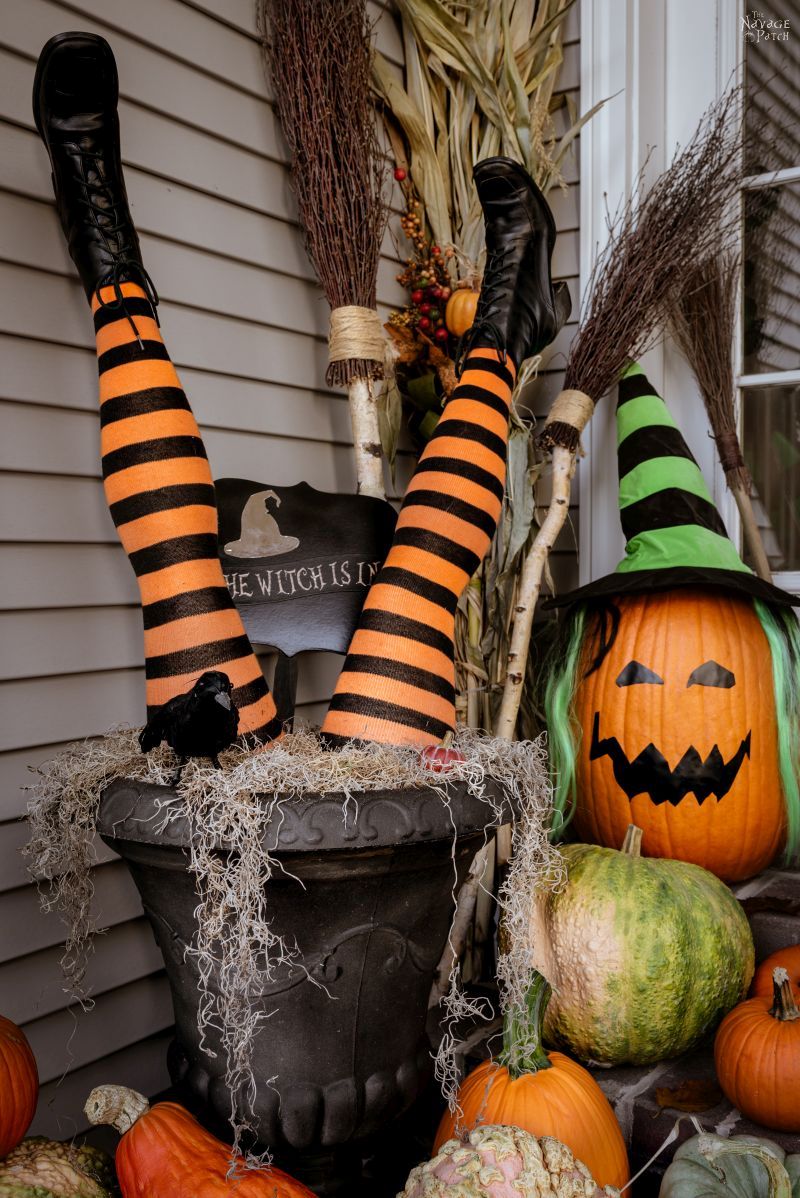
- DIY Witch Legs (Grandin Road Inspired)
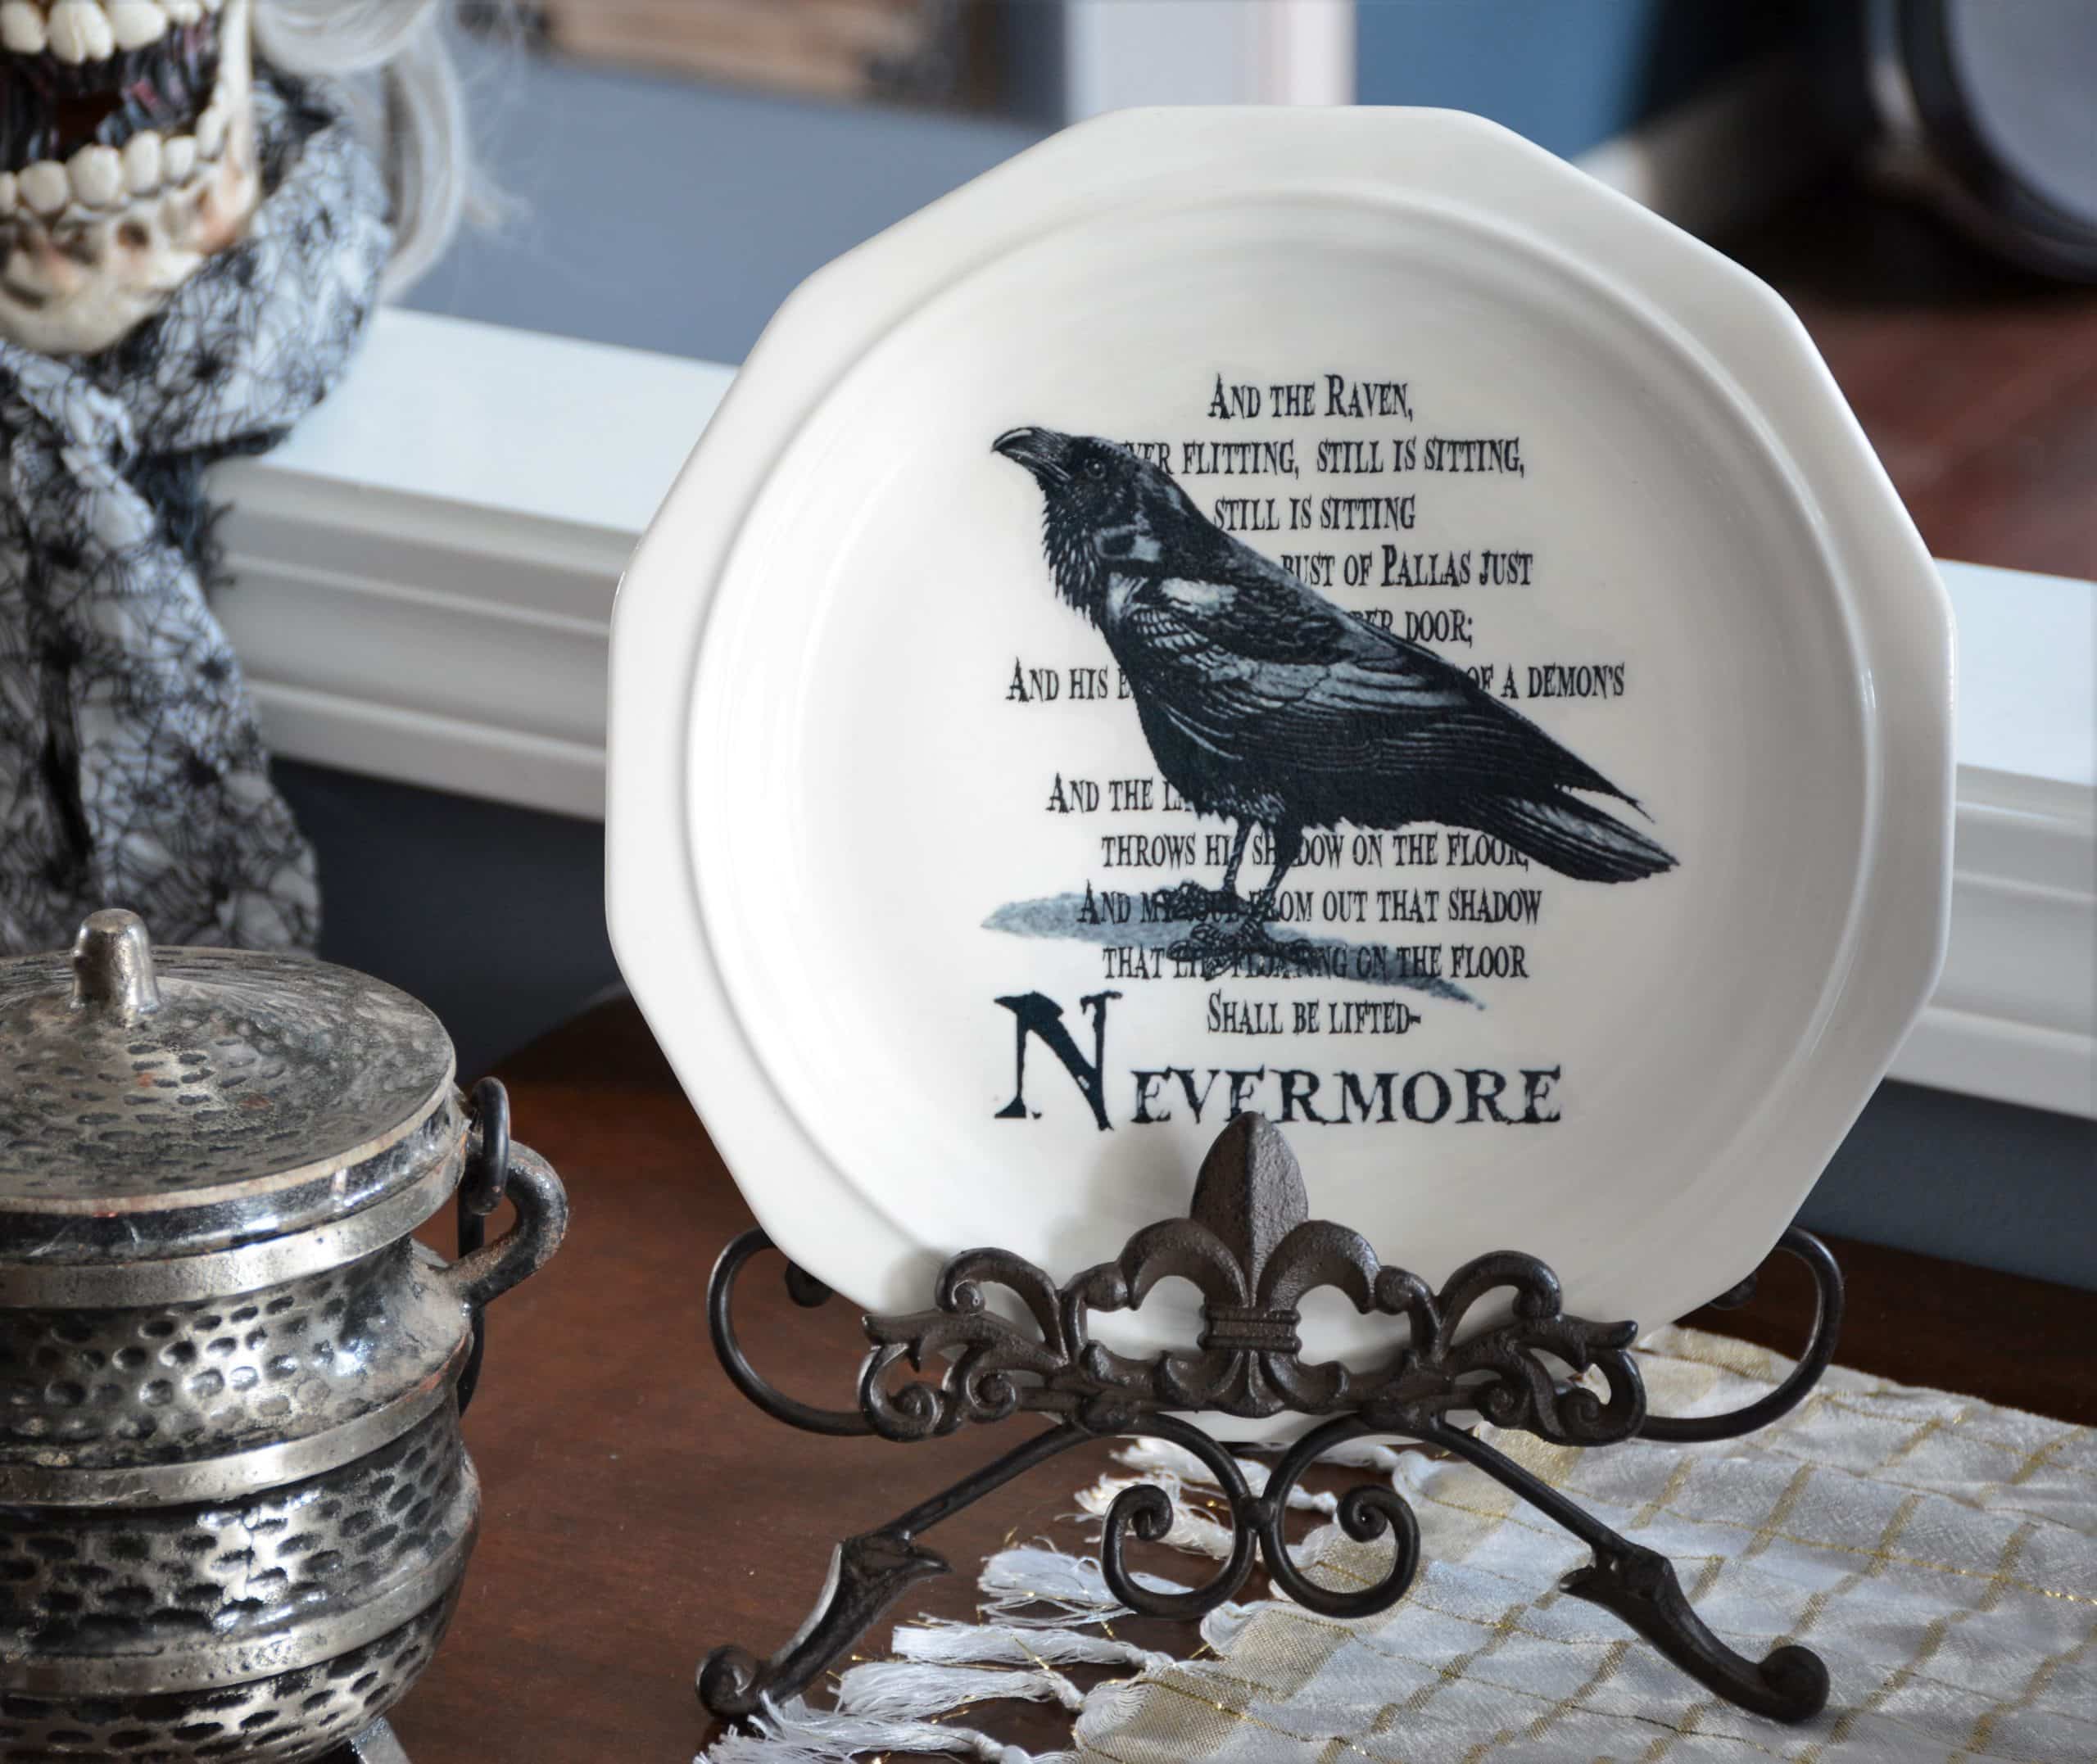
- Dishes Of Darkness: Pottery Barn Inspired Halloween Plates
Easy DIY Halloween Candles TUTORIAL
Candle 1 – Skulls and Bowls
For the first Halloween candle, I used two bowls of different sizes. We found the spotted bowls at Walmart and the black one at Target, though you can make these just as well with Dollar Tree bowls.
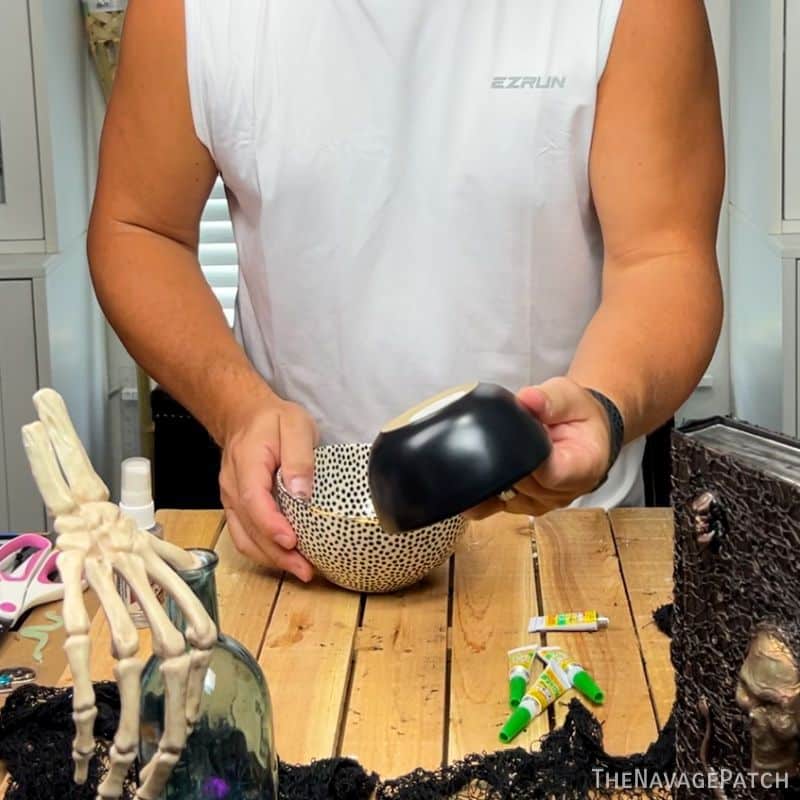
I used super glue gel to join the two bowls, but you could also use E-6000 or construction adhesive.
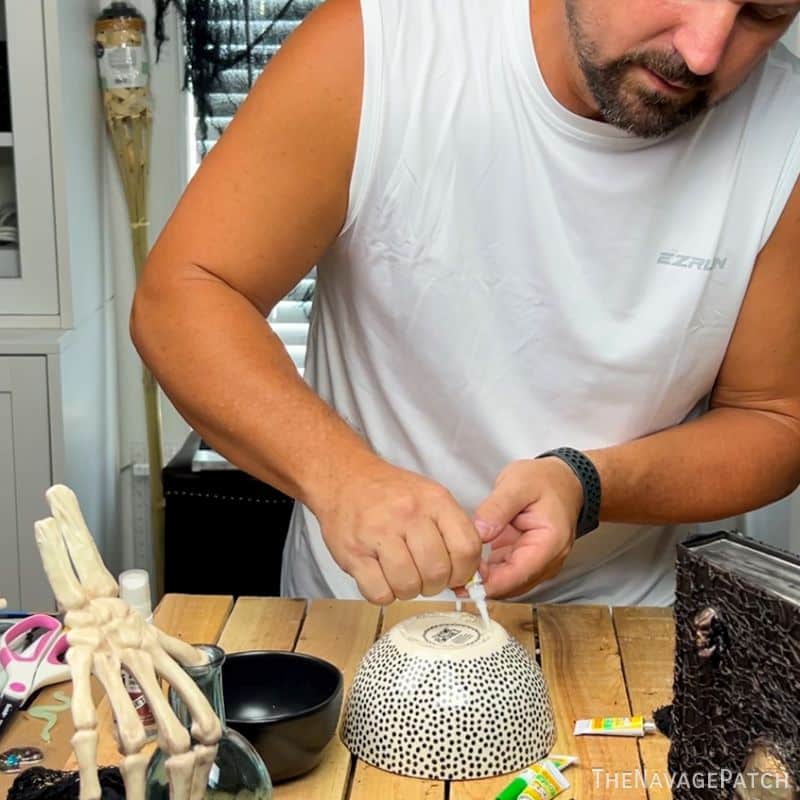
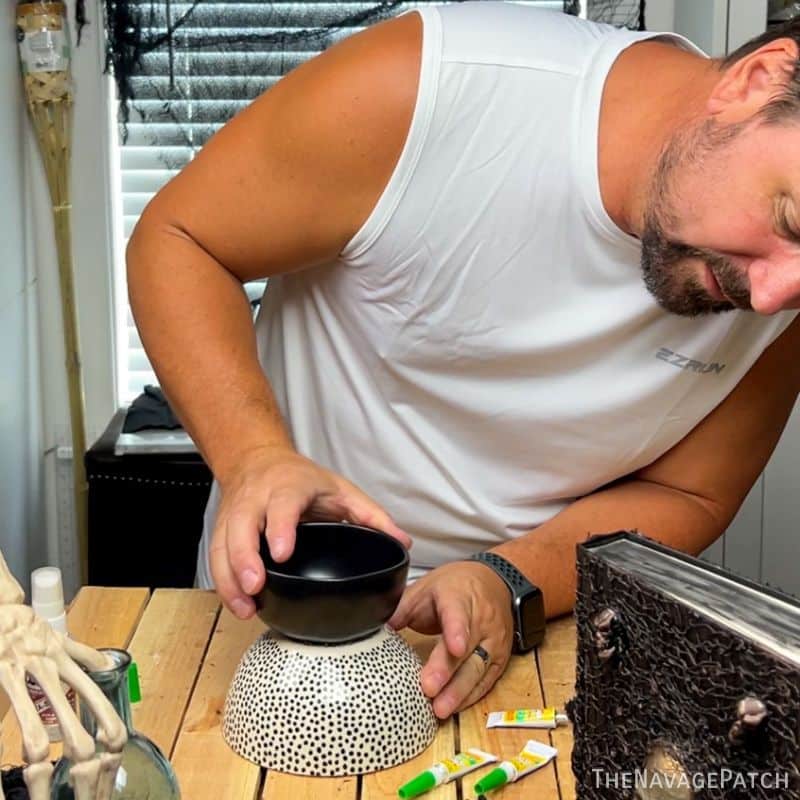
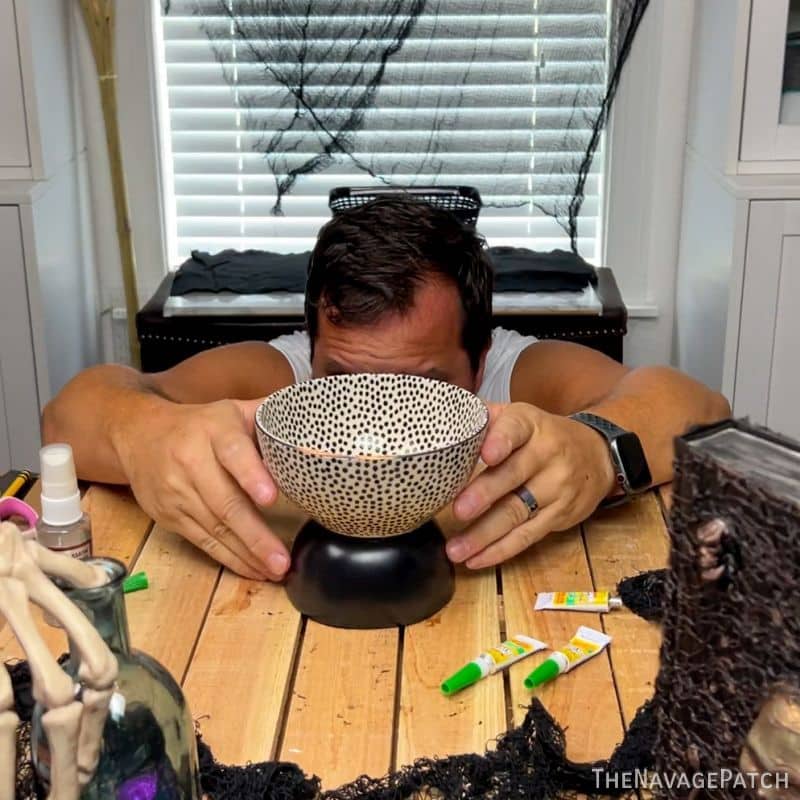
Ummm…yeah I guess I took the whole “centering the bowls” thing pretty seriously.
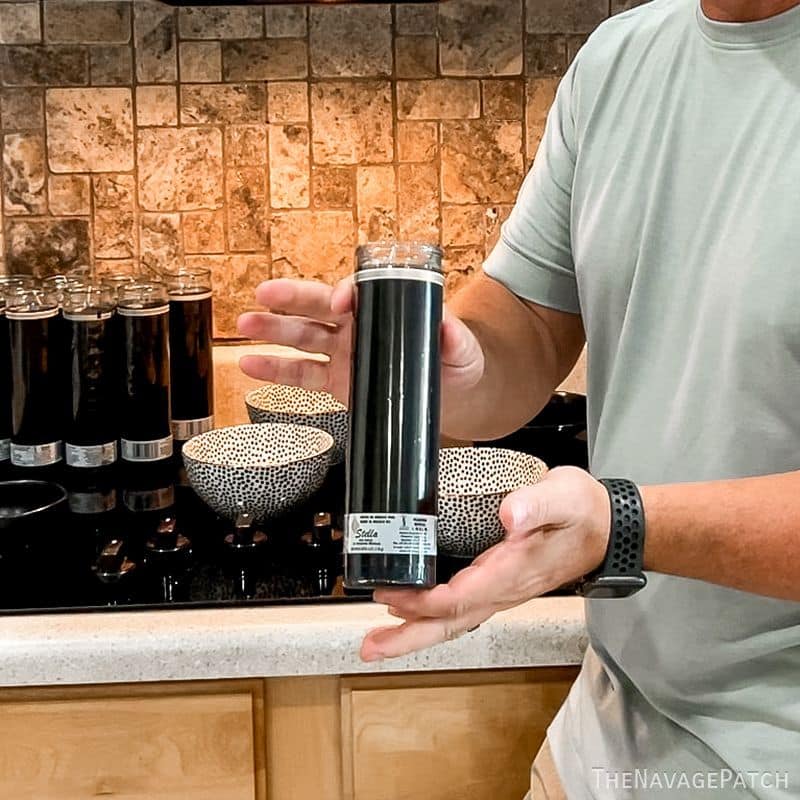
You can’t beat Dollar Tree, even for candle-making supplies. We bought a bunch of black jar candles so we could concentrate and re-use the wax.
After some time in a simmering bath, you can see that the candles are in fact only half filled with wax.
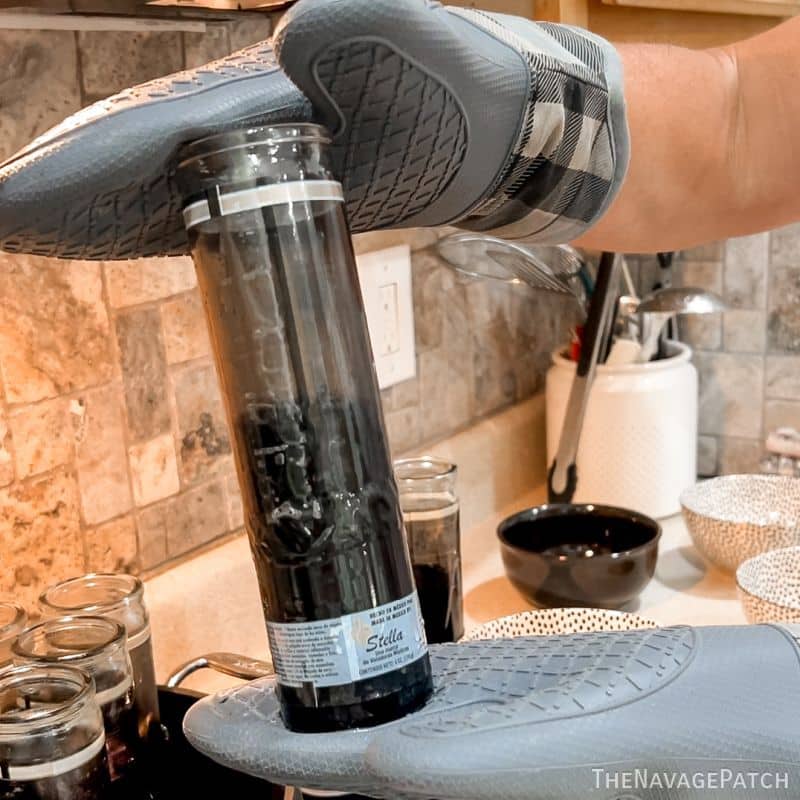
The other half was filled with air injected at the candle factory in the bustling industrial city of Guangzhou in China’s Guangdong Province. We now have a little Air of the Orient floating around our house. How exotic!
I pulled the wicks from 3 candles and stuck them to the bottom of a bowl. Normally I’d use actual candle-making equipment to secure those wicks and keep them straight, but that stuff is all packed in an undisclosed and unknown location, so I improvised with wooden spoons and some of my babes’ hair clips. Worked just as well!
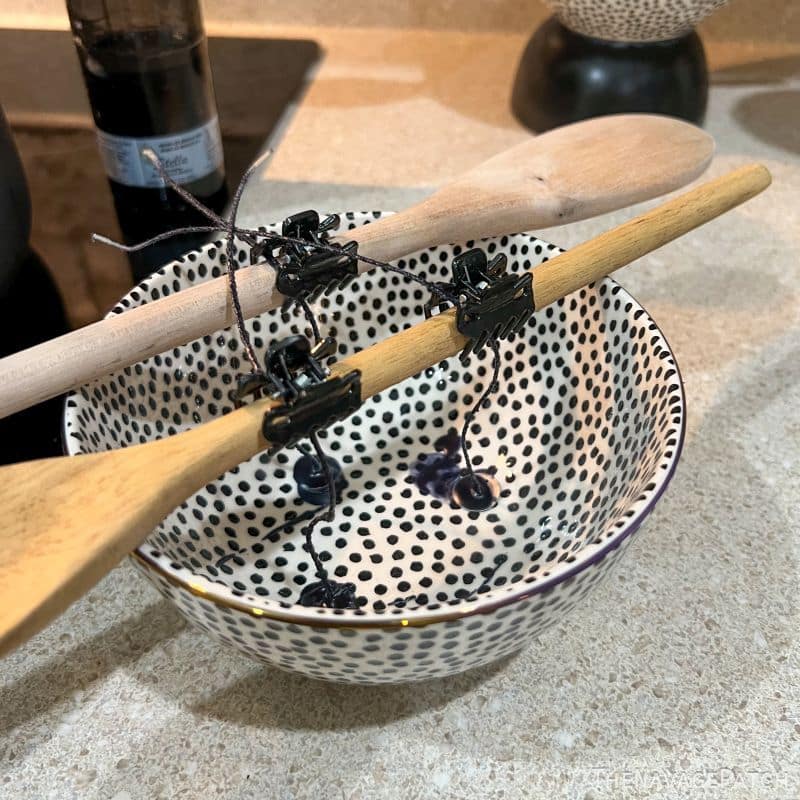
Each bowl took 3 candles to fill entirely.
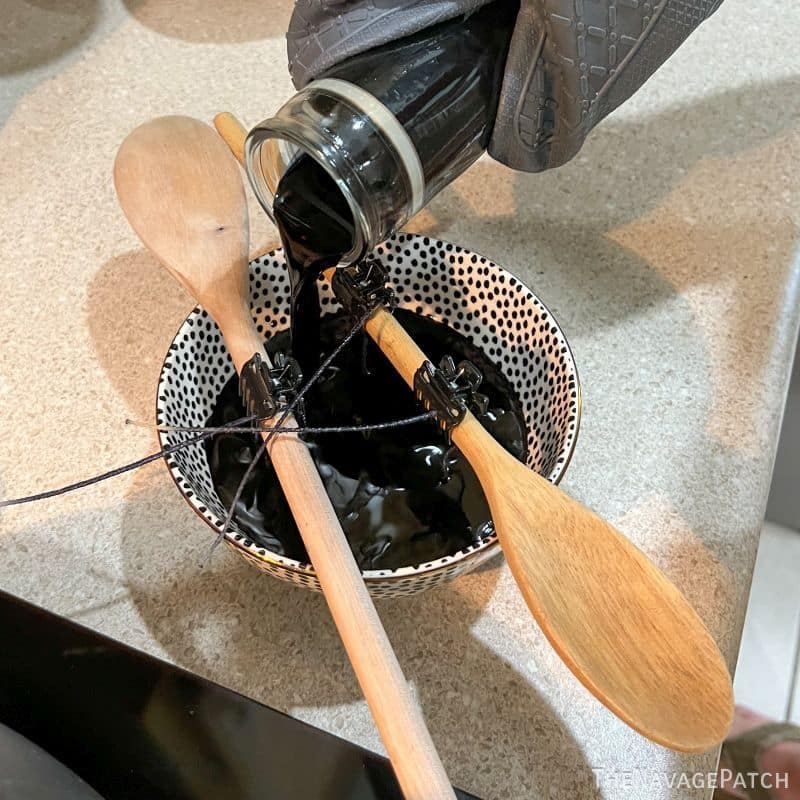
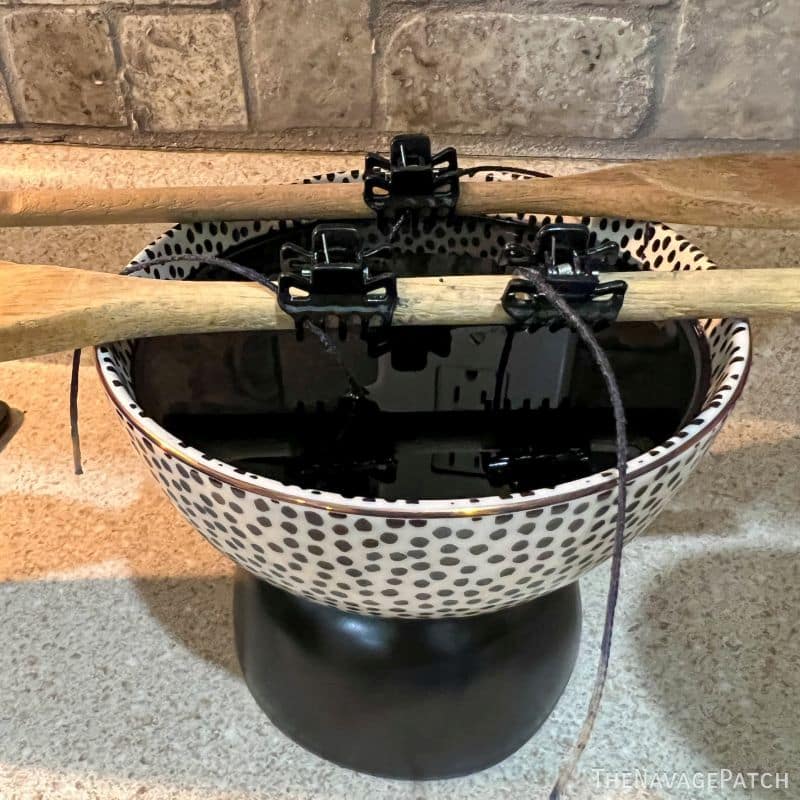
Once they cooled and hardened, I trimmed the wicks (not shown).
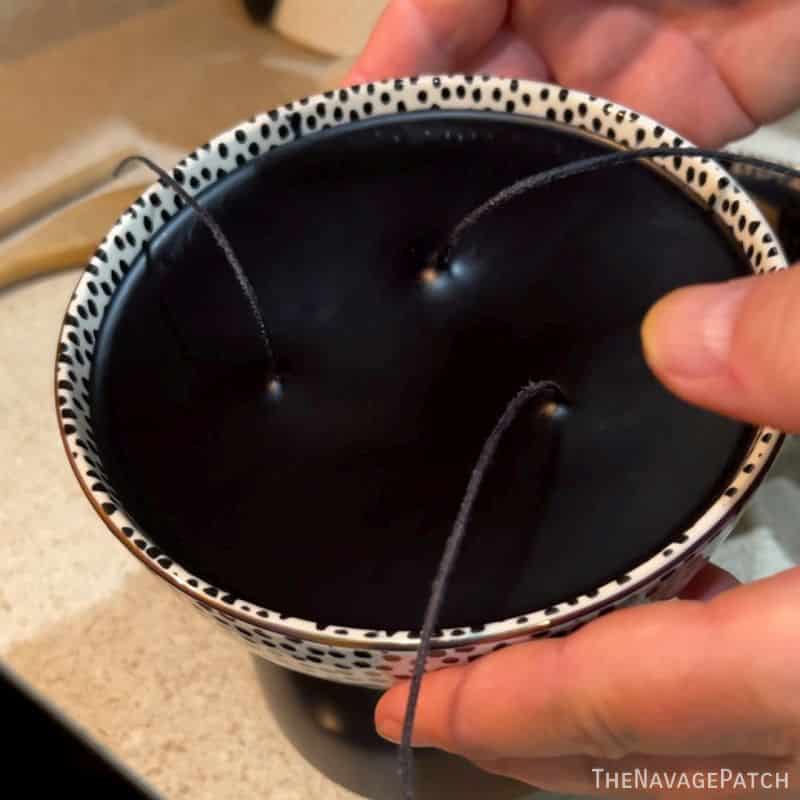
I brought this Halloween candle back upstairs to the craft room for the finishing touches.
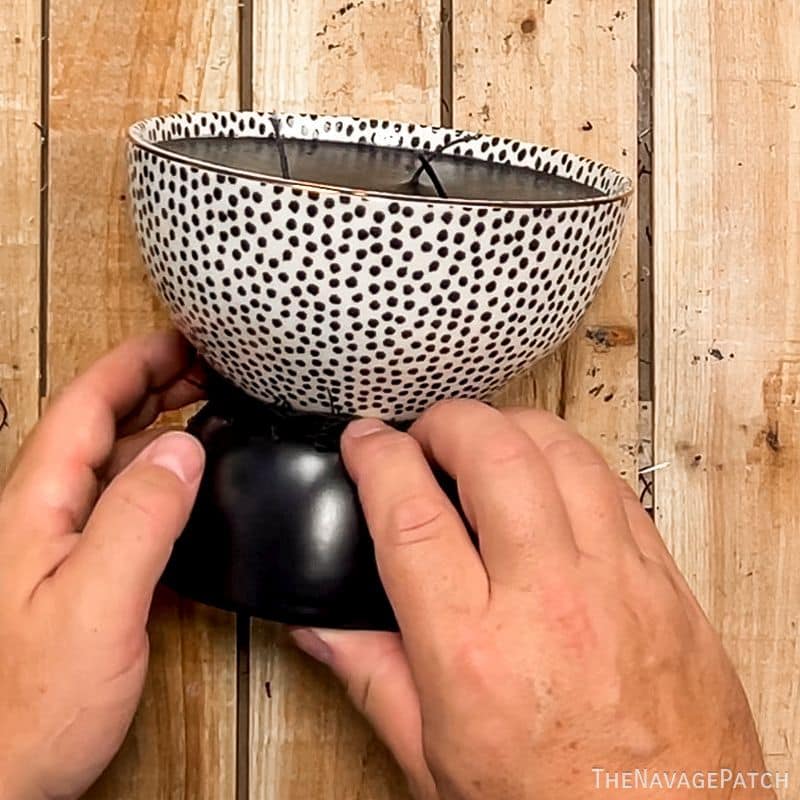
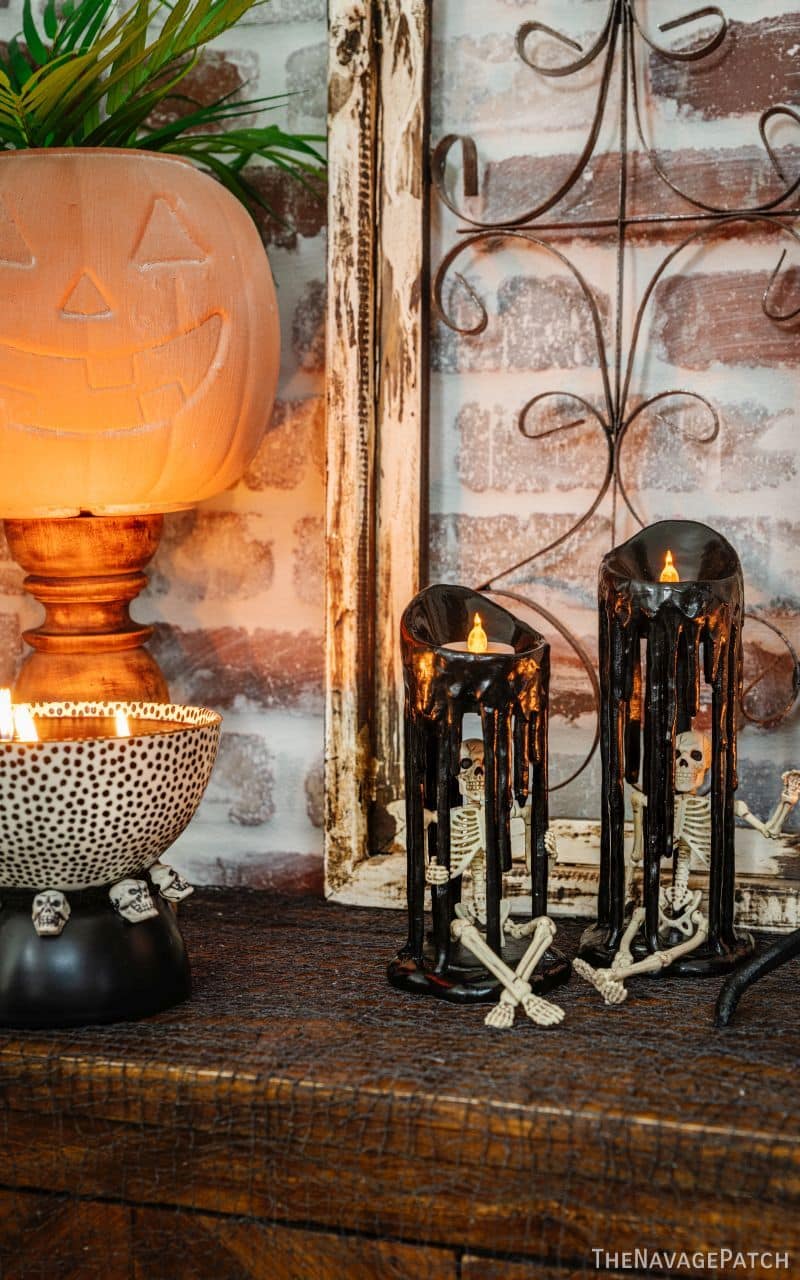
To hide the seam between the two bowls and to add a touch of Halloween, I glued a small strand of creepy cloth around the waist of the candle.
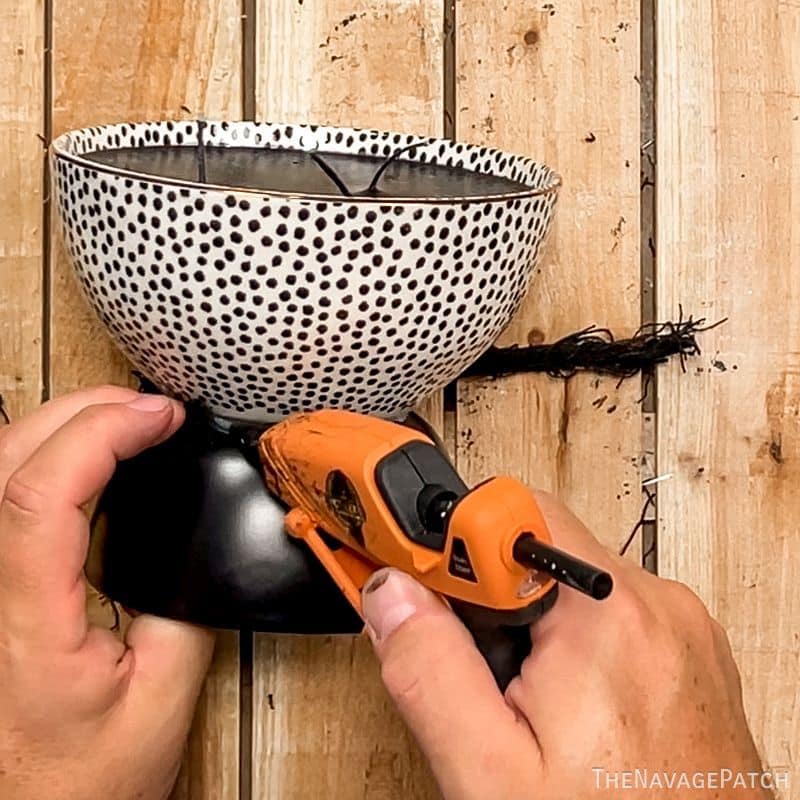
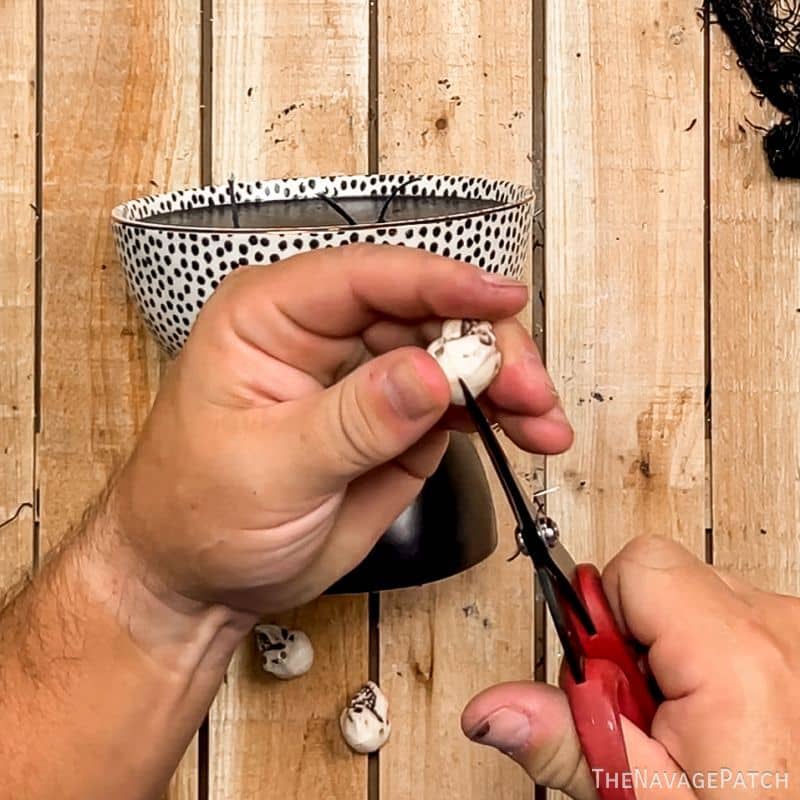
Next I cut 8 small plastic skulls in half. What would I do in October if I couldn’t slice open a few dozen skulls? Yeesh, what a boring month it would be without Halloween! [Seriously! -Handan]
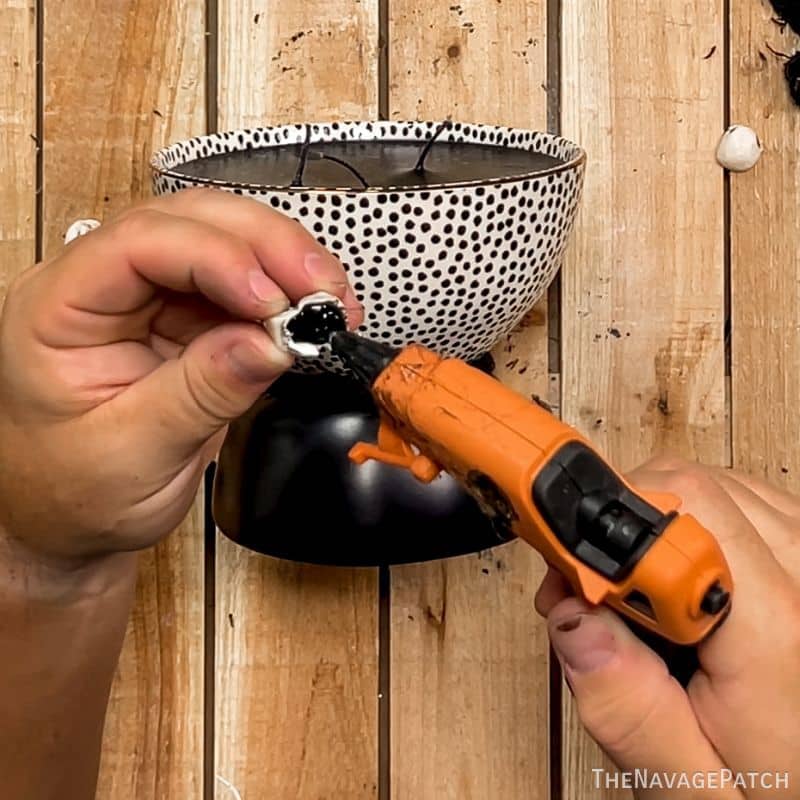
Then I filled the skulls with hot glue and stuck them onto the bowl. This method keeps the glue out of sight where it belongs.
Skulls on the bottom bowl facing up look the best.
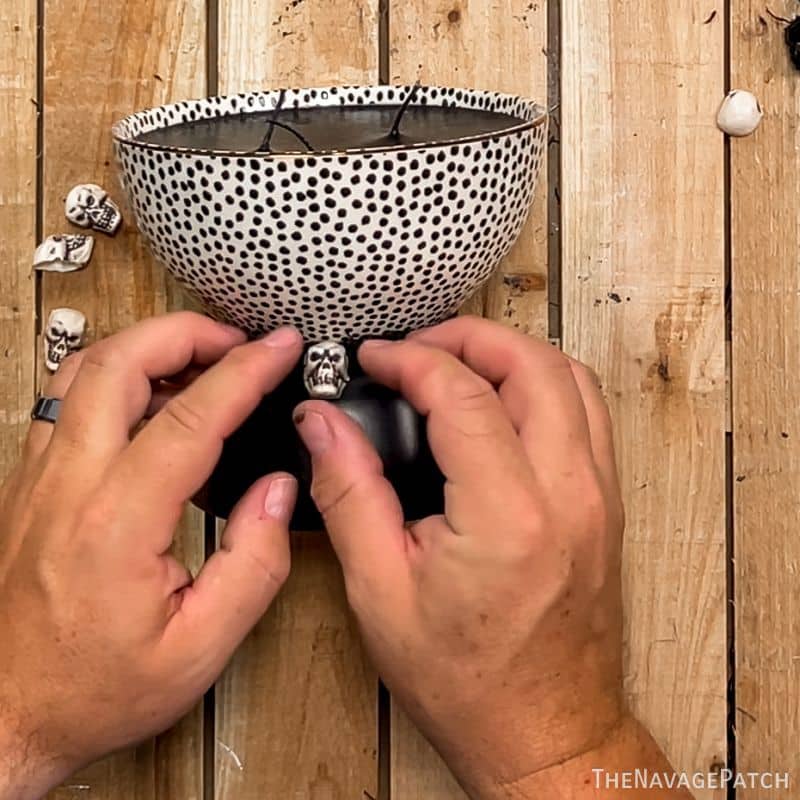
He’s an angry-looking little bugger, isn’t he? Somebody must’ve done him dirty when he had a little more meat on his frame.
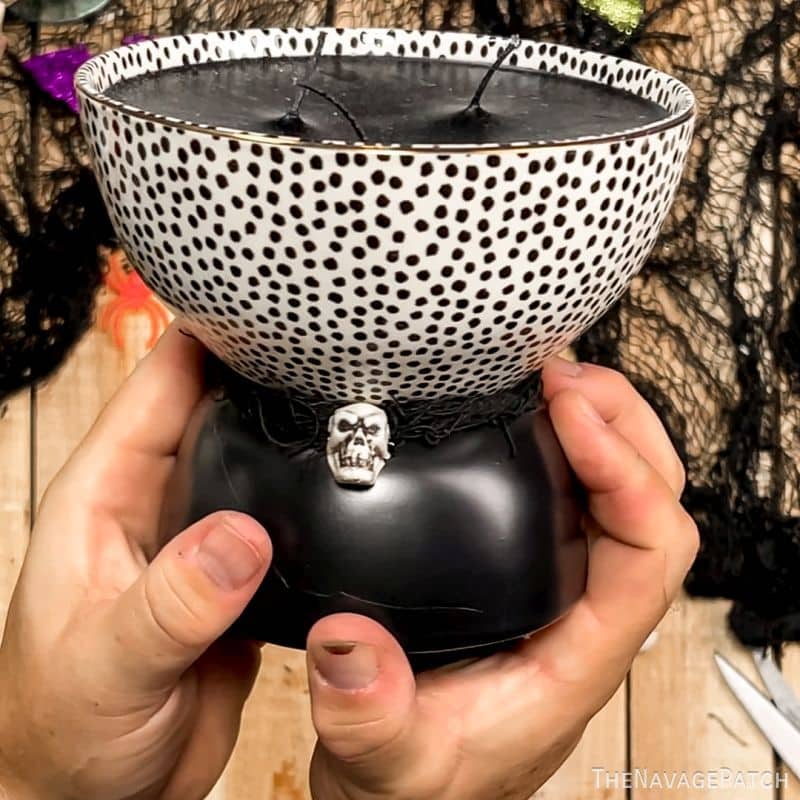
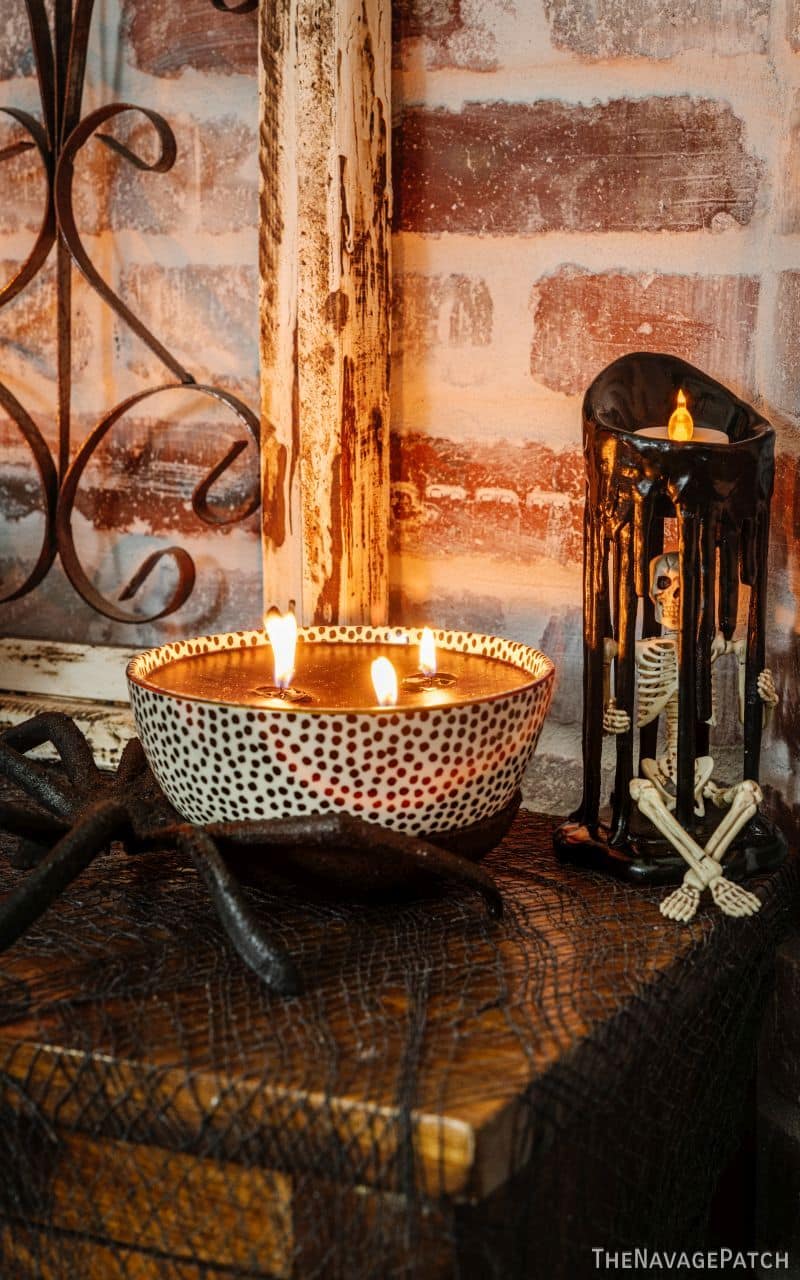
All done and ready for display!
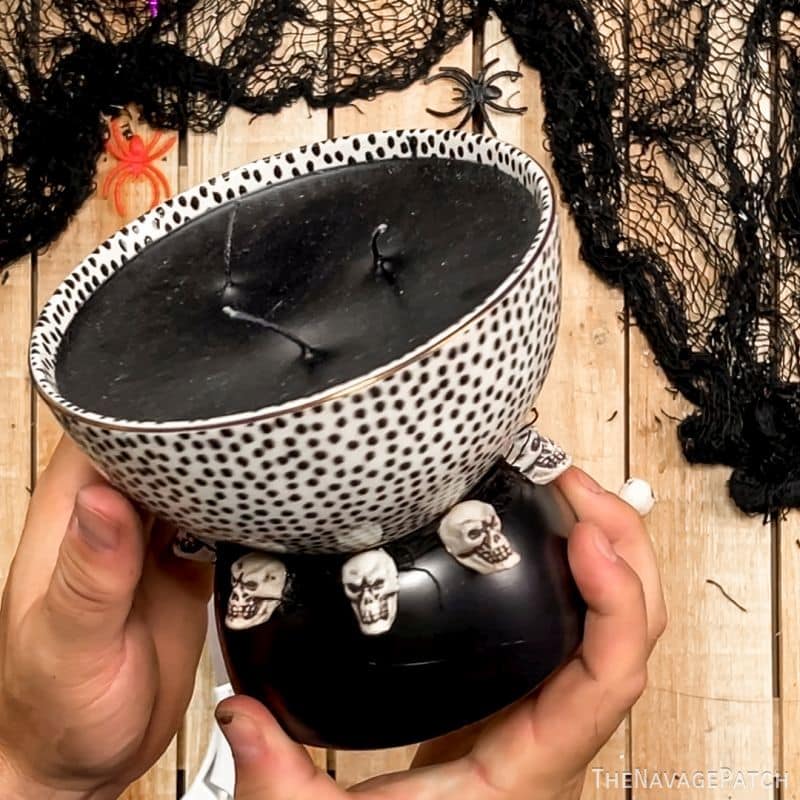
Let’s have a peek before I talk about the other candle I made from those Walmart bowls.
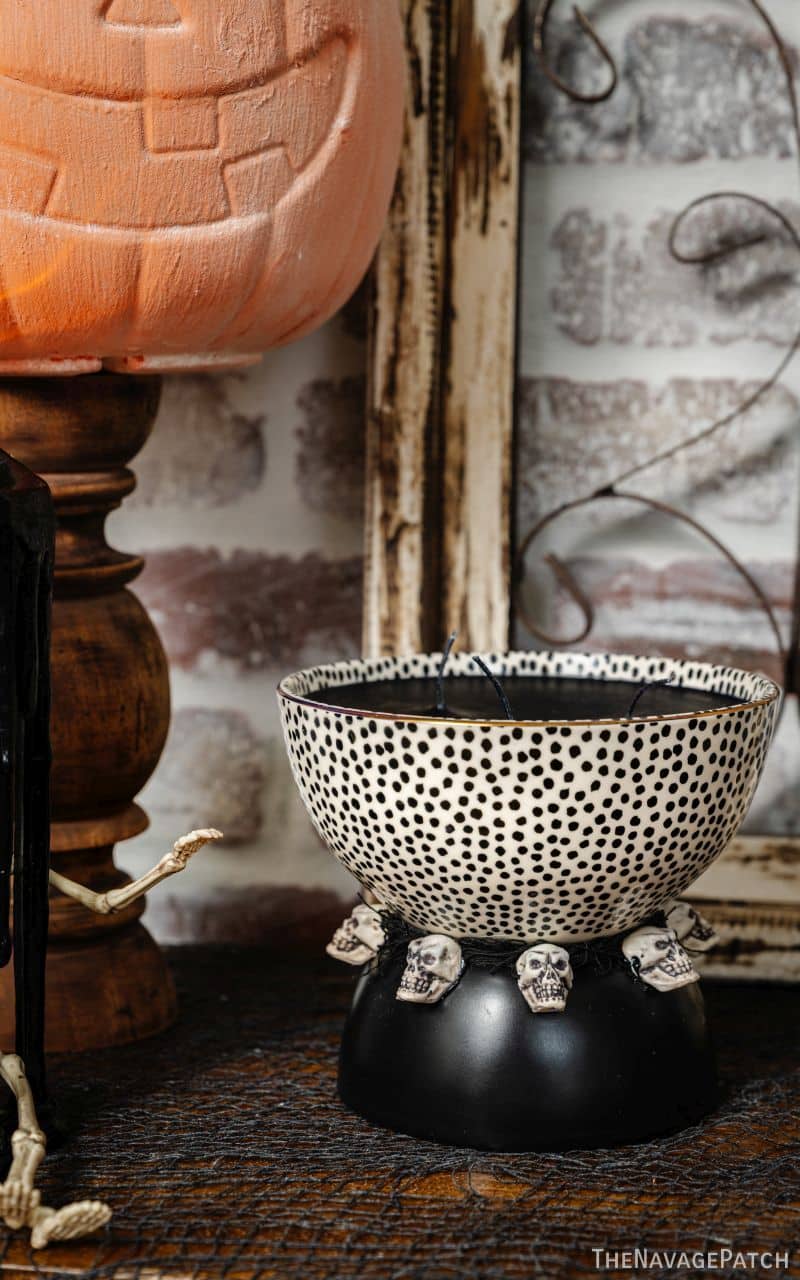
Needs more fire!
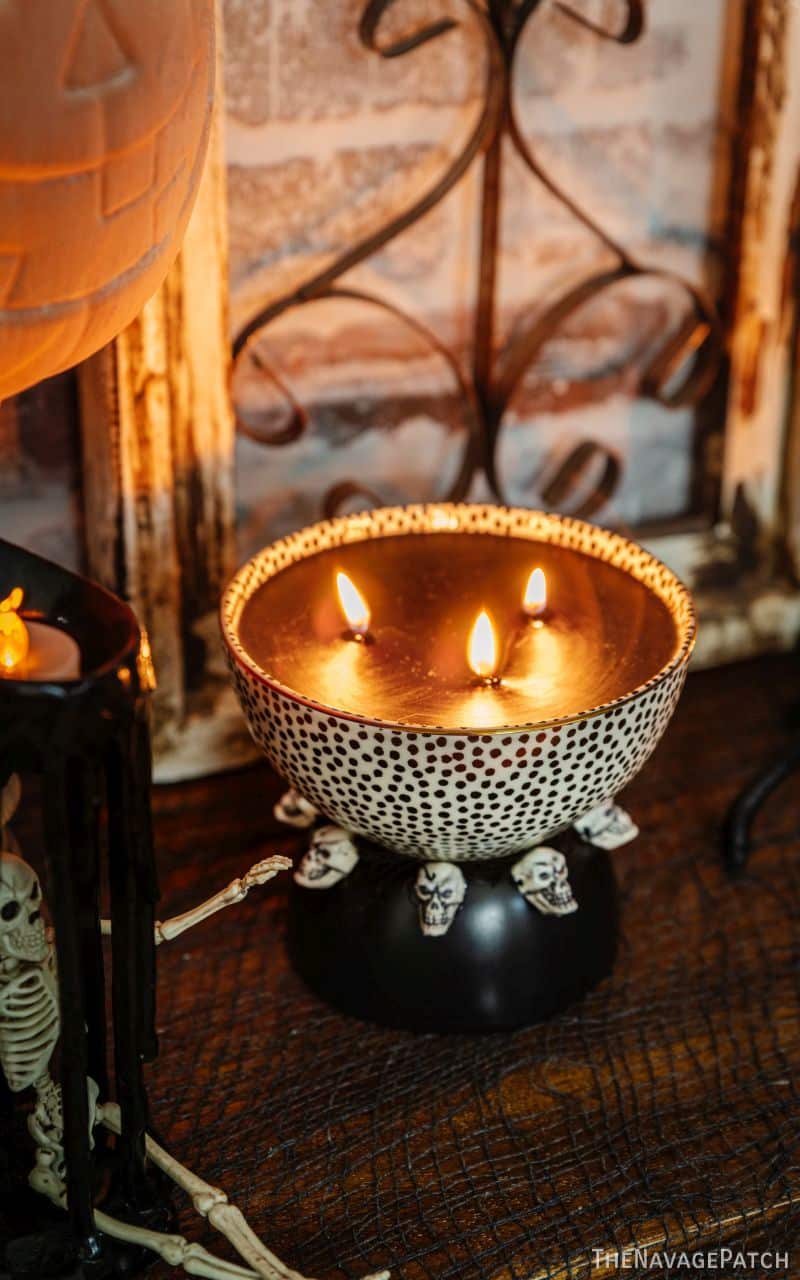
Okay, let’s move on to candle #2.
Candle 2 – Spider Bowl
I know, it sounds like a potent drink you’d order at a Chinese restaurant. Speaking of which, I could sure go for a Scorpion bowl right about now. But will I get one?
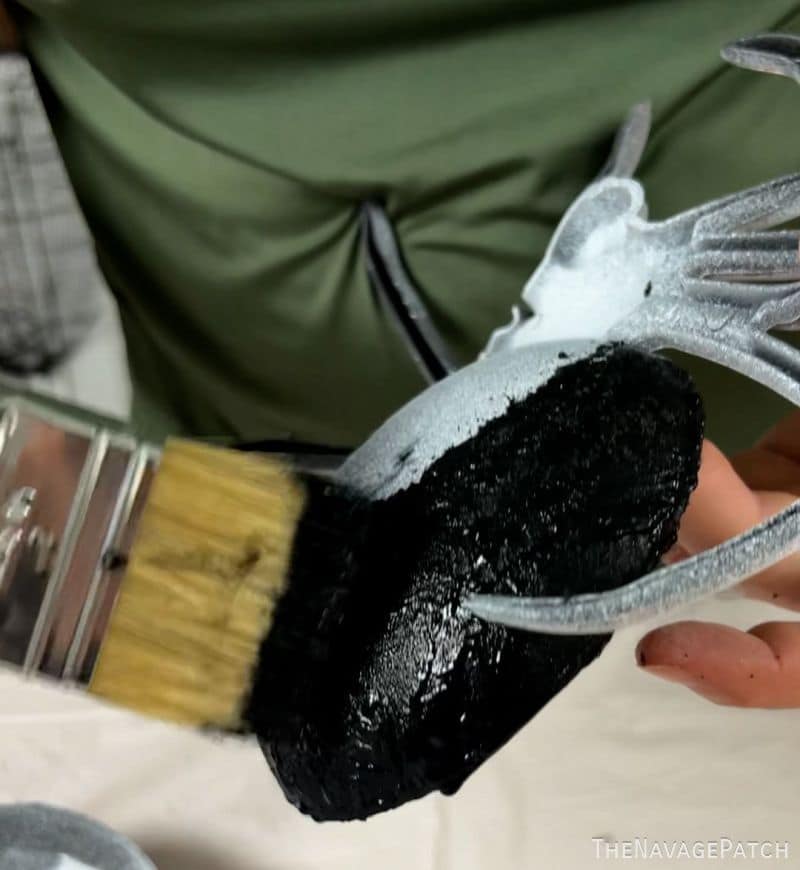
So for this variation, I primed and painted a plastic spider candy bowl from Dollar Tree.
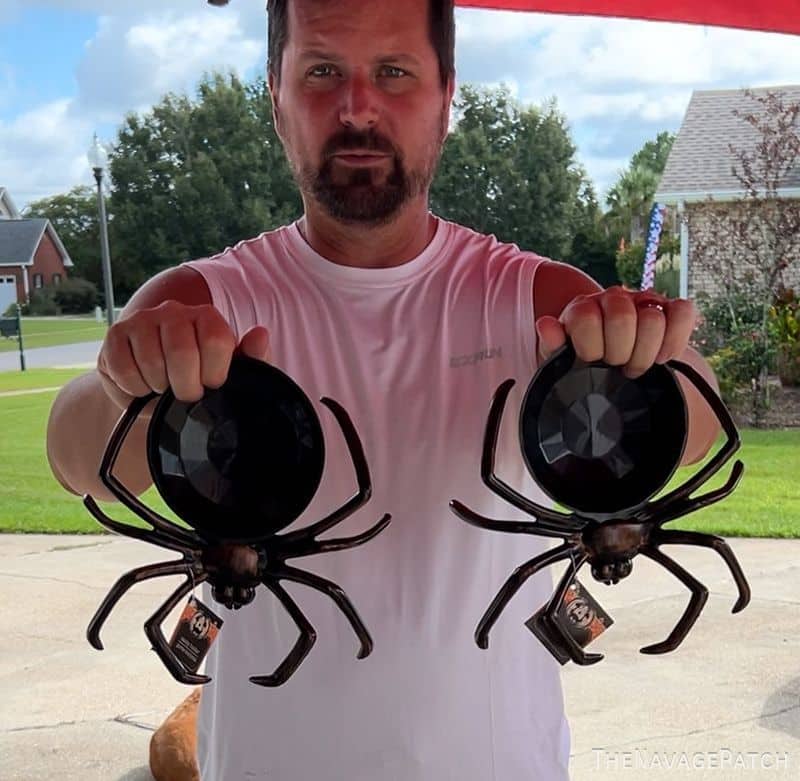
I used black acrylic paint mixed with baking soda to get a little tarantula texture.
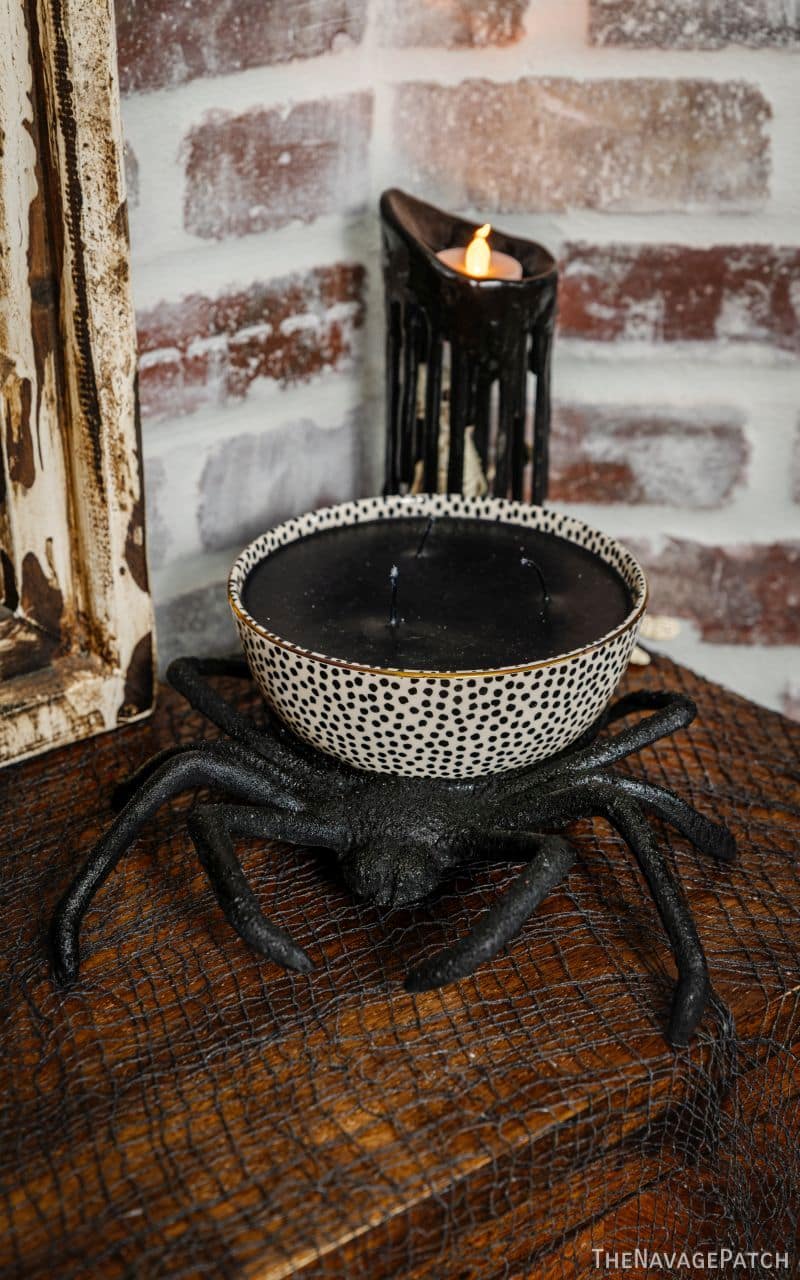
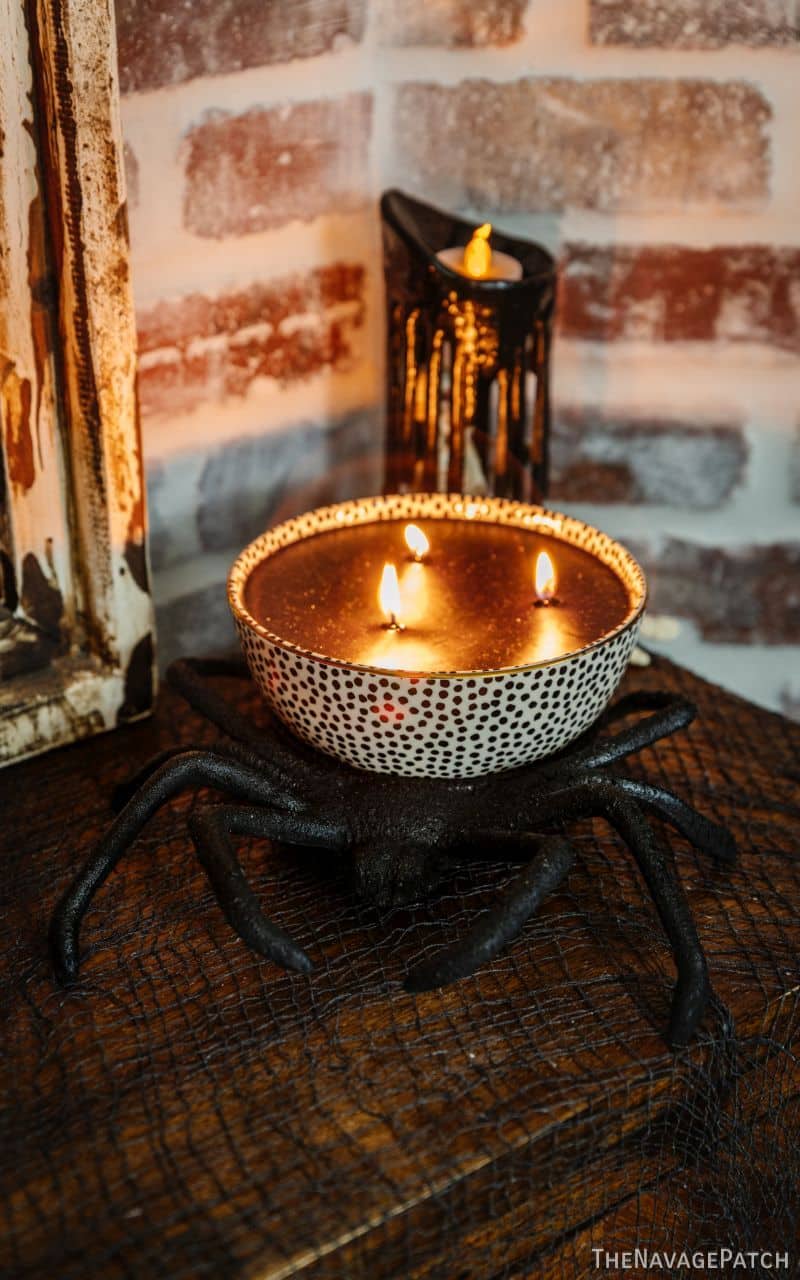
When the paint dried, I hot glued the other candle in the Walmart bowl into the plastic spider’s bowl. It was a perfect fit.
Candle 3 – Skeleton Cage Candles
Okay, for these next two, we broke out of our Dollar Tree/Walmart routine and went to Michaels. Look, DT is great for our raw materials, but sometimes it’s nice to go to Michaels or Hobby Lobby and just check out the stuff you can buy that doesn’t need extensive modifications.
Of course, that doesn’t stop us from extensively modifying them. Anything they can make, we can make better! 🙂
And since my babes is not physically capable of leaving any craft store without buying something, we walked out with a few Halloween supplies, including two tea light holders that we thought would make perfect little prisons for wayward little skeletons.
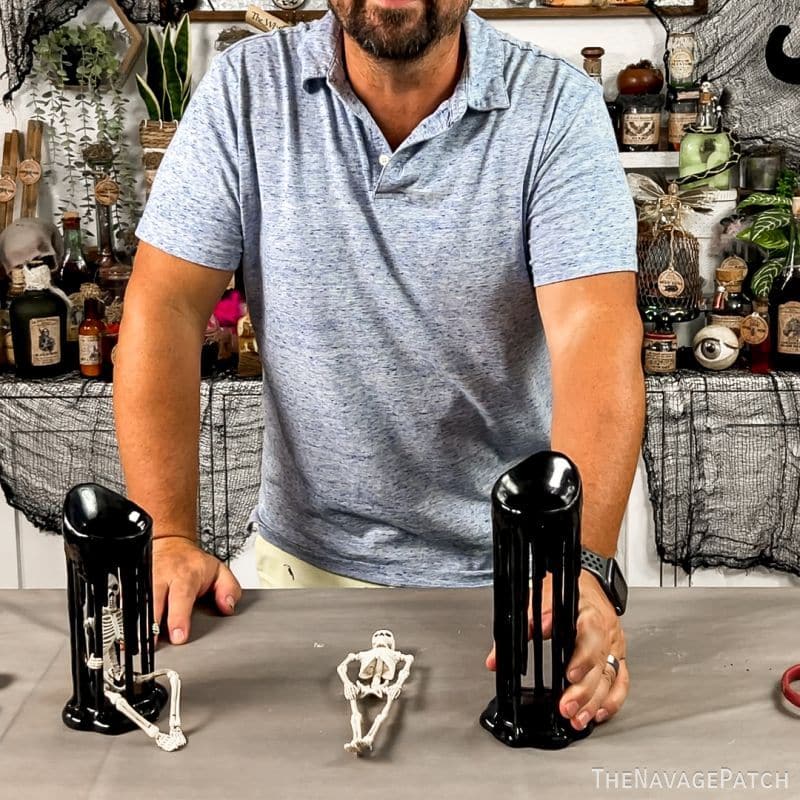
It’s so simple – do I even have to explain it?
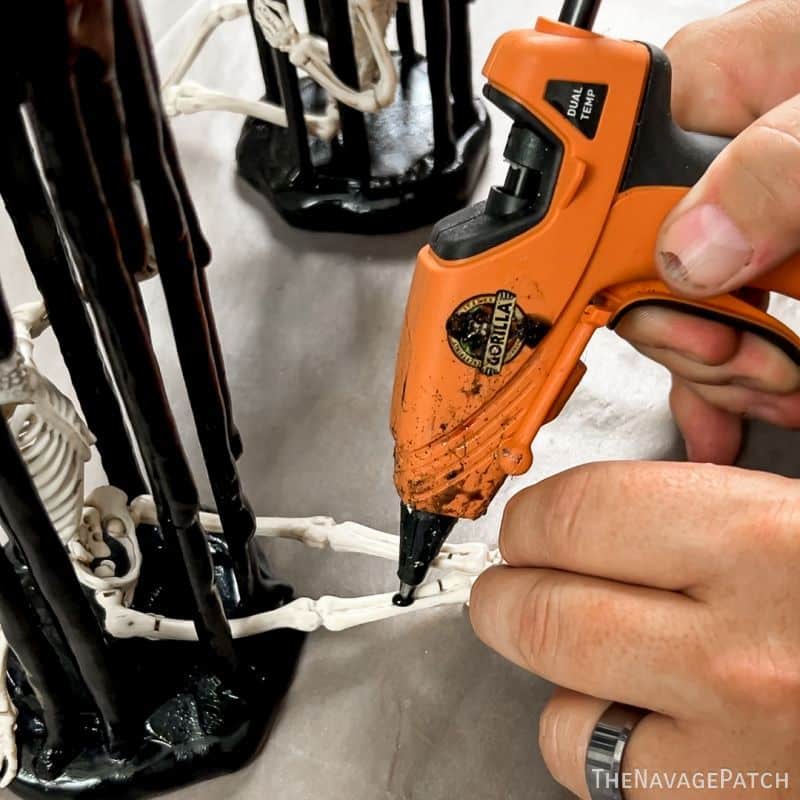
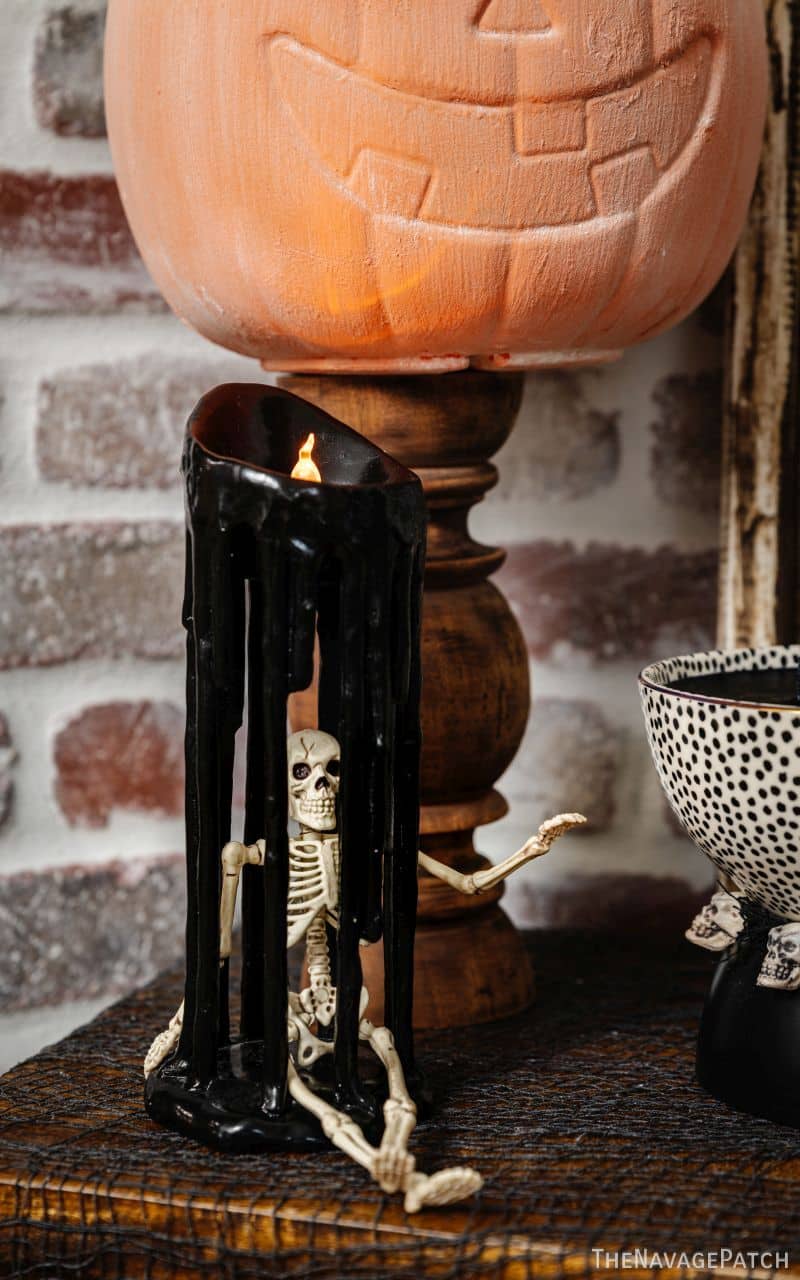
Cram the little ruffian behind bars where he belongs! Oh, you’ll need to use flexible skeletons for this. Bonus: you can pose them!
I helped them hold their poses with a little hot glue.
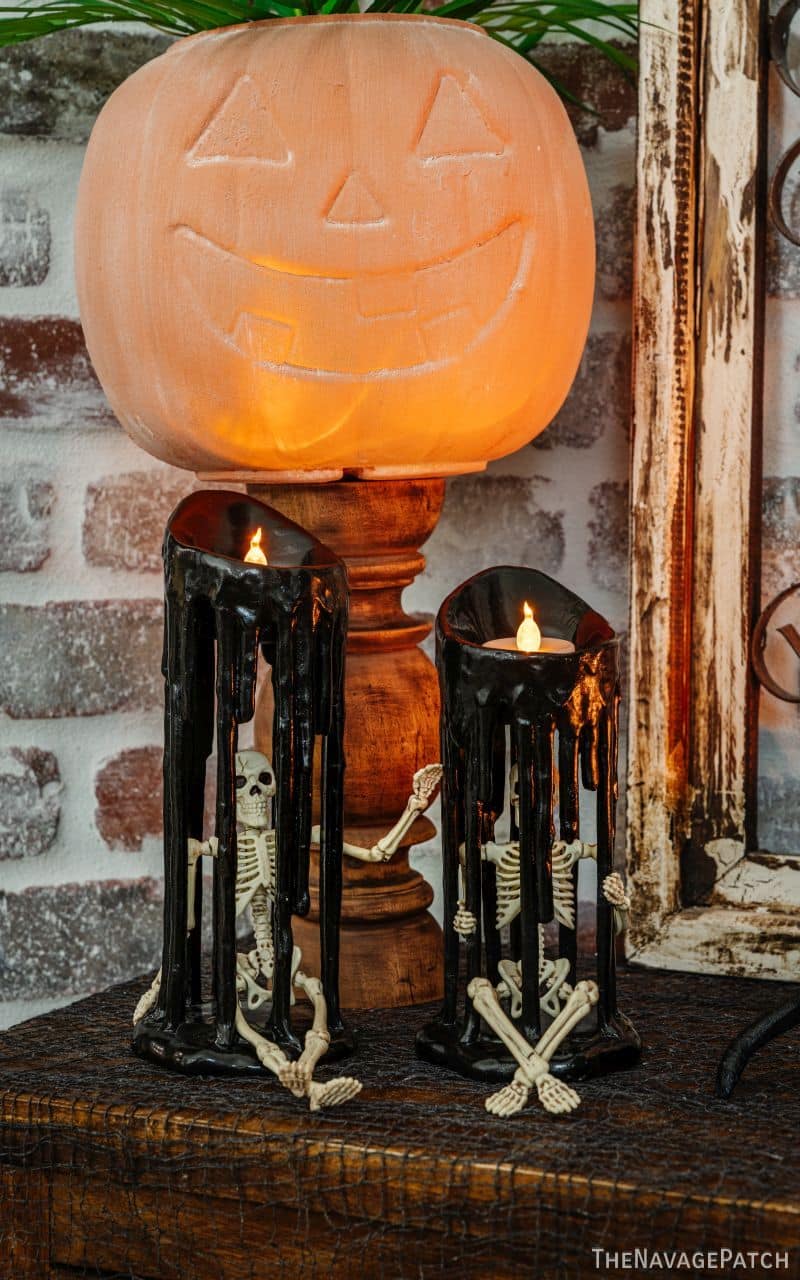
Behold, the Bonehead Brothers!
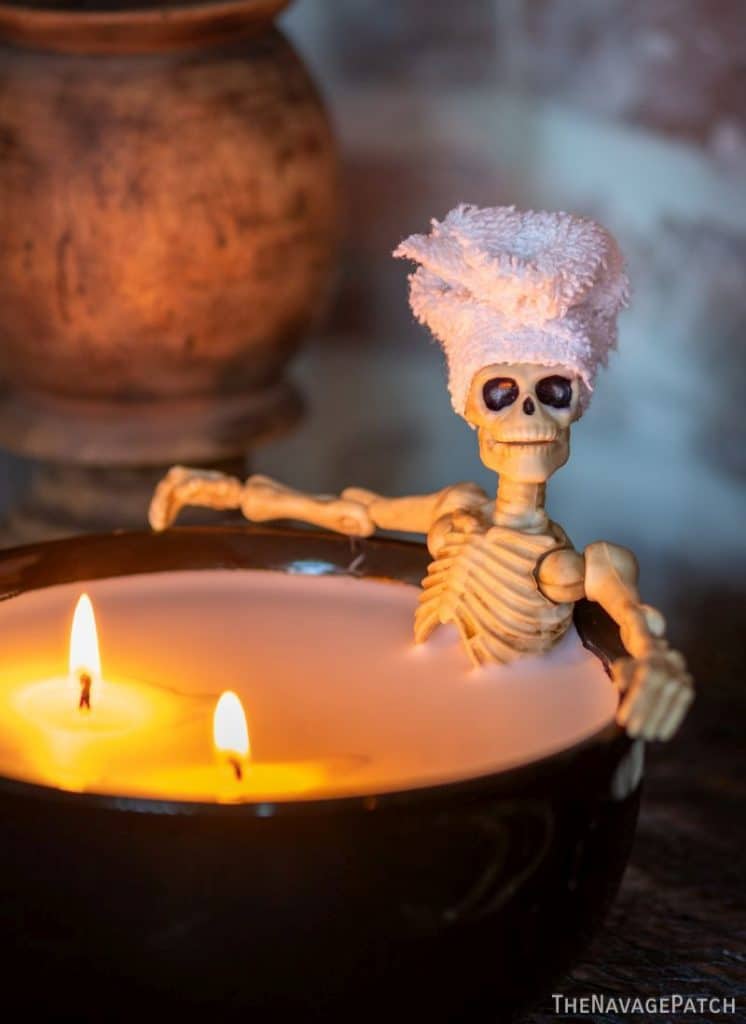
Candle 4 – Skelly at the Spa
This one is my favorite. I started with a Walmart posable skeleton – he’s the one that looks like C-3PO.
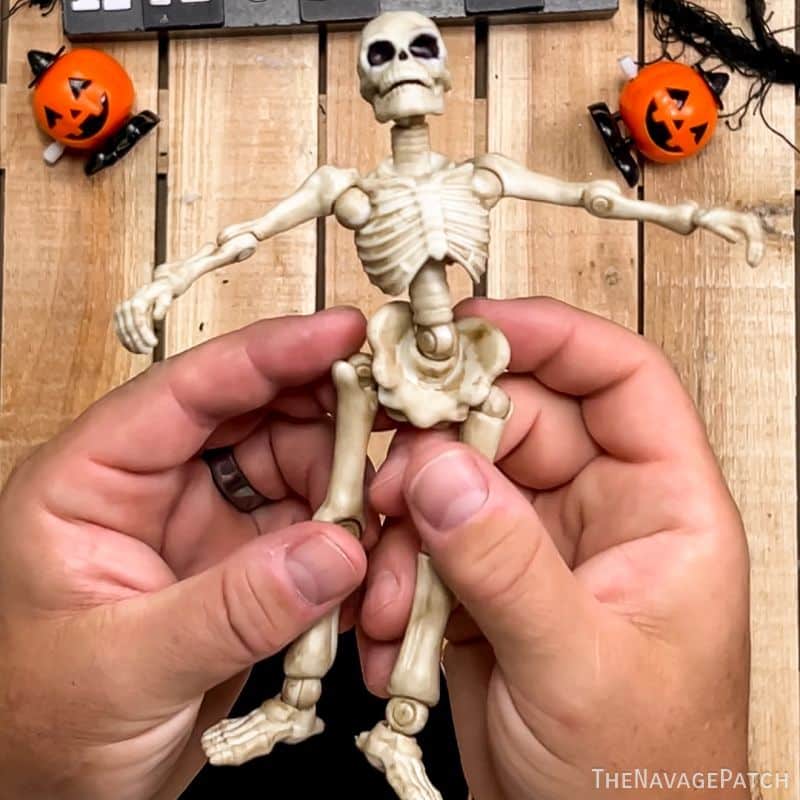
I pulled off his legs and pelvis and put them aside for future use. It was his torso that I needed!
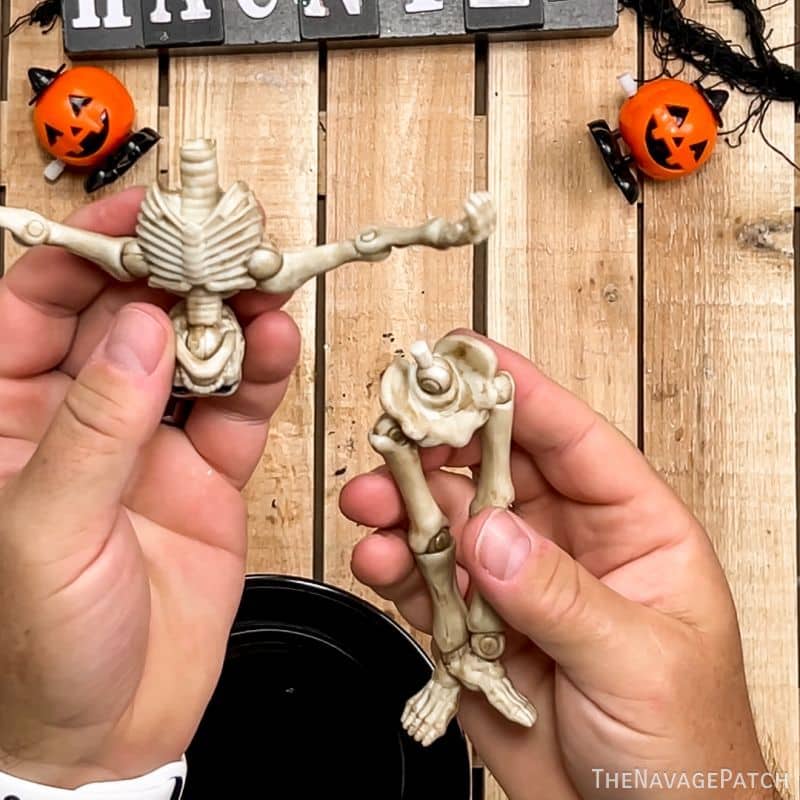
I put some hot glue on his lower spine and elbows and glued him in a Dollar Tree bowl.
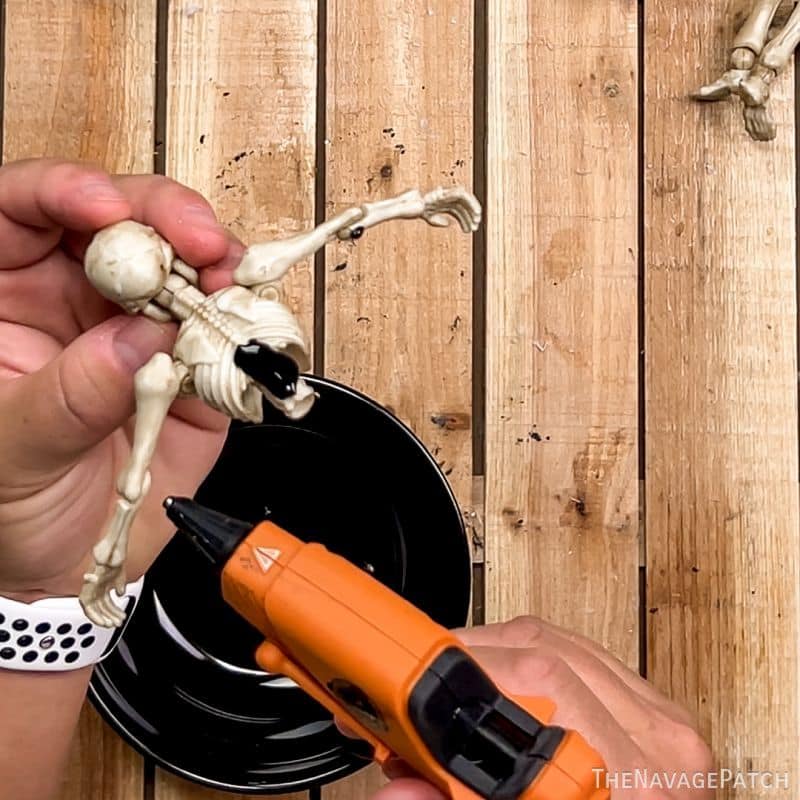
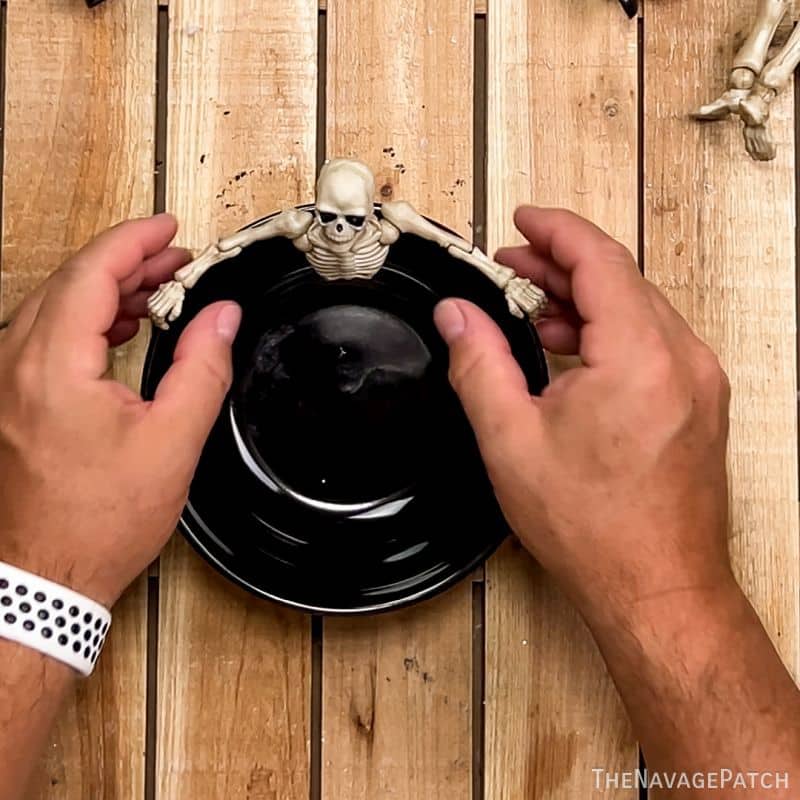
He looks happier already!
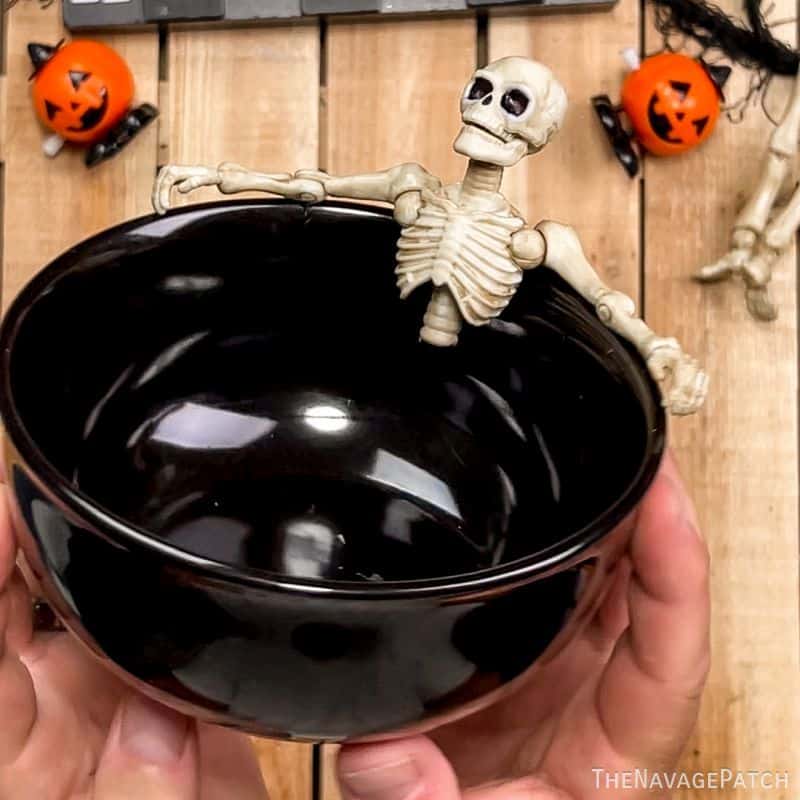
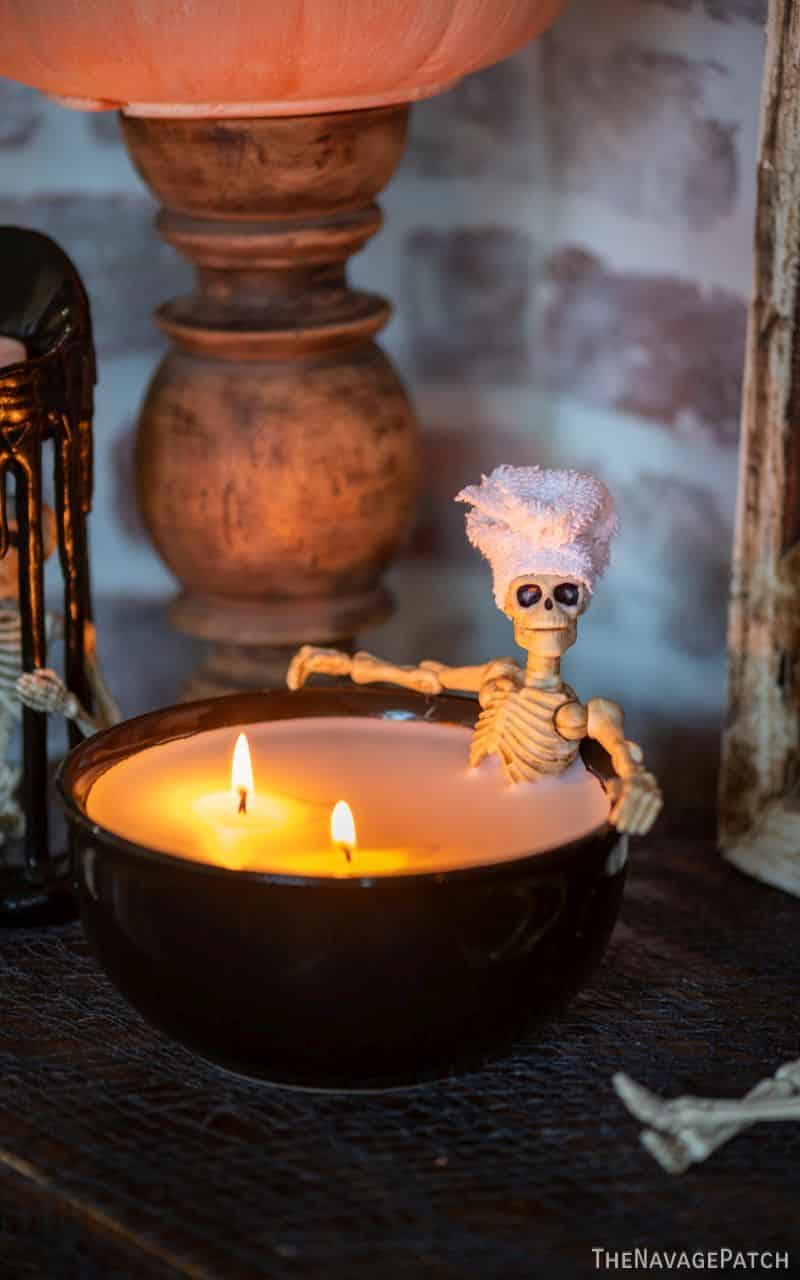
Then I melted 3 white Dollar Tree jar candles and placed two of the wicks in the bowl where Skelly’s knees might have been, if he still had them. And this is why I pulled off his legs. If they stayed in the bath, there’s a risk of catching the plastic on fire, and nobody wants that!
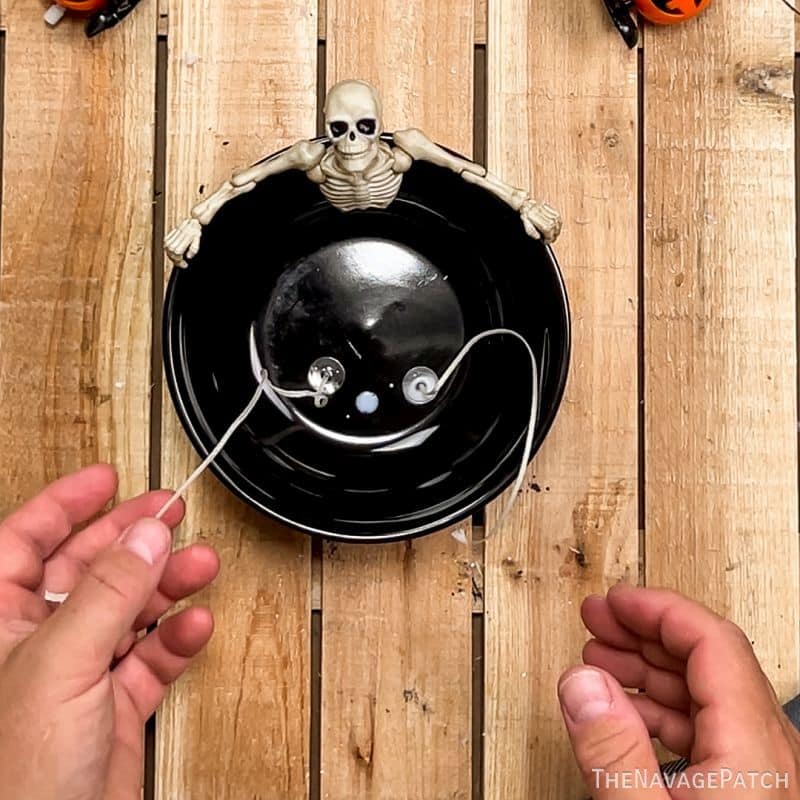
I again secured the wicks with a wooden spoon and hair clips and then poured in about 2 1/2 jars of wax.
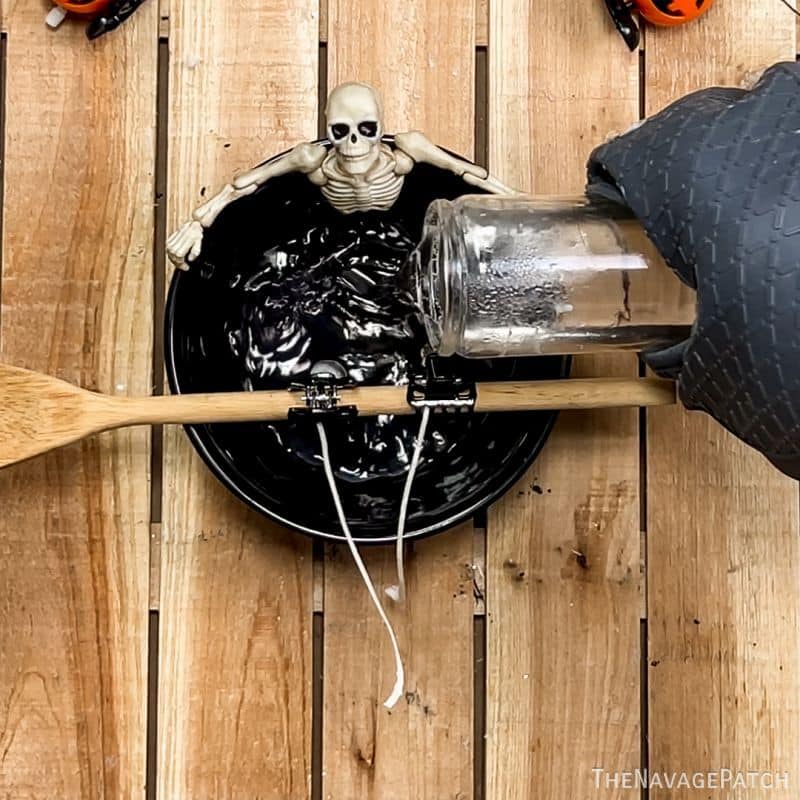
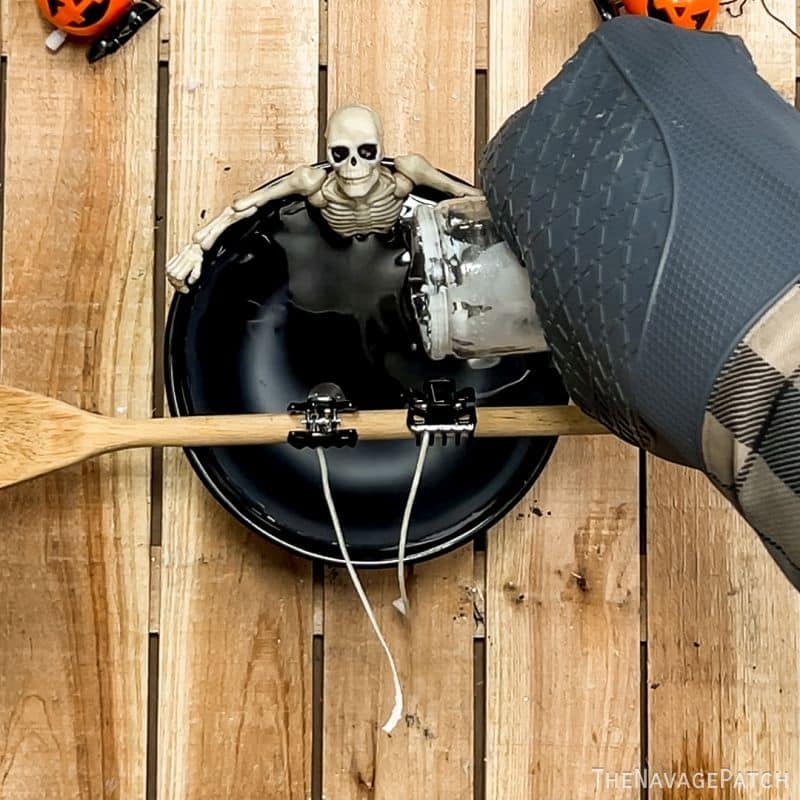
When the wax had cooled, I trimmed the wicks.
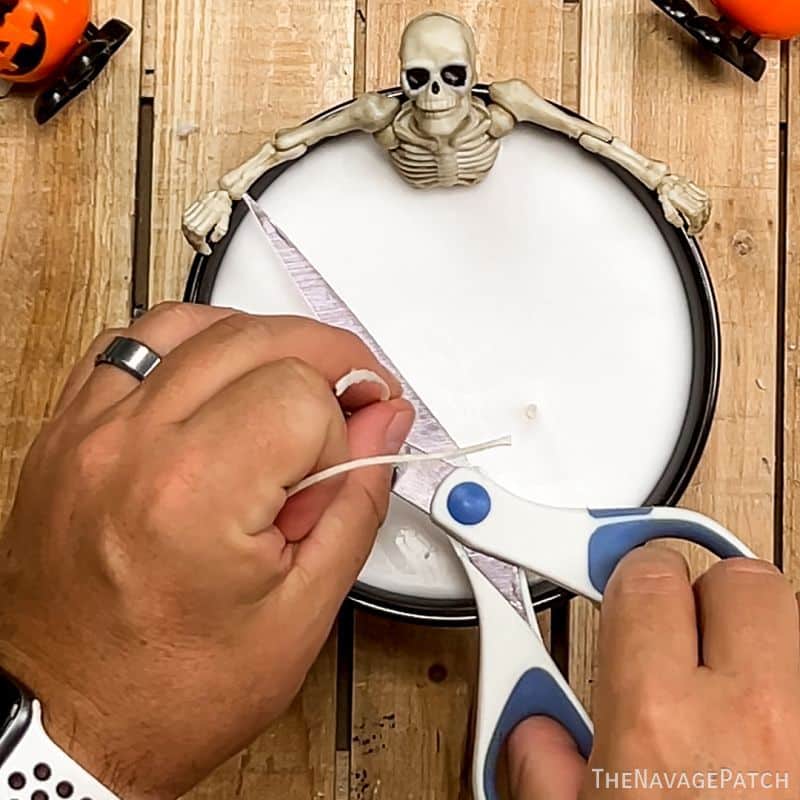
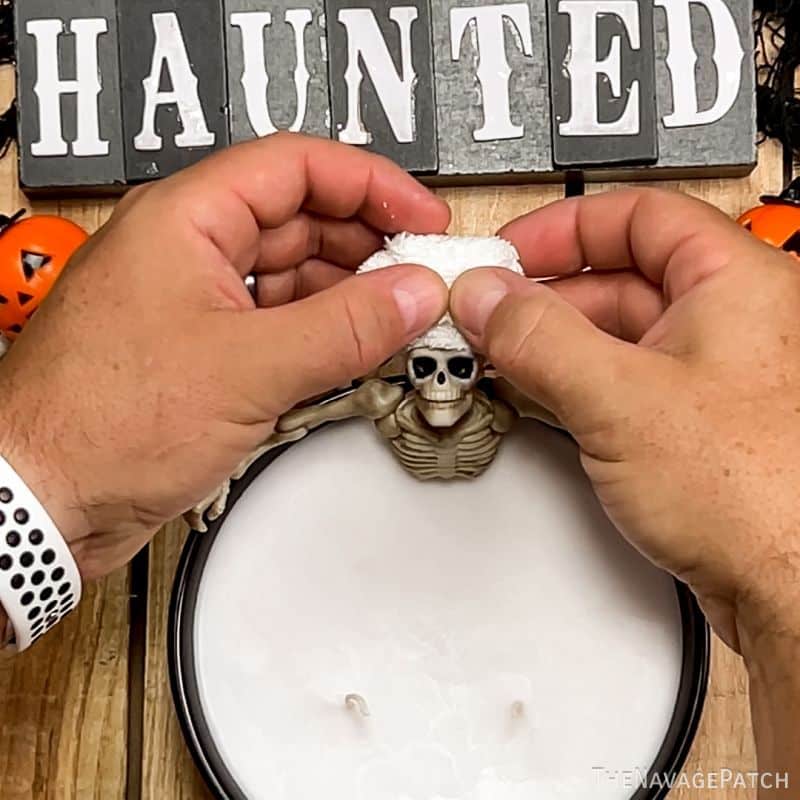
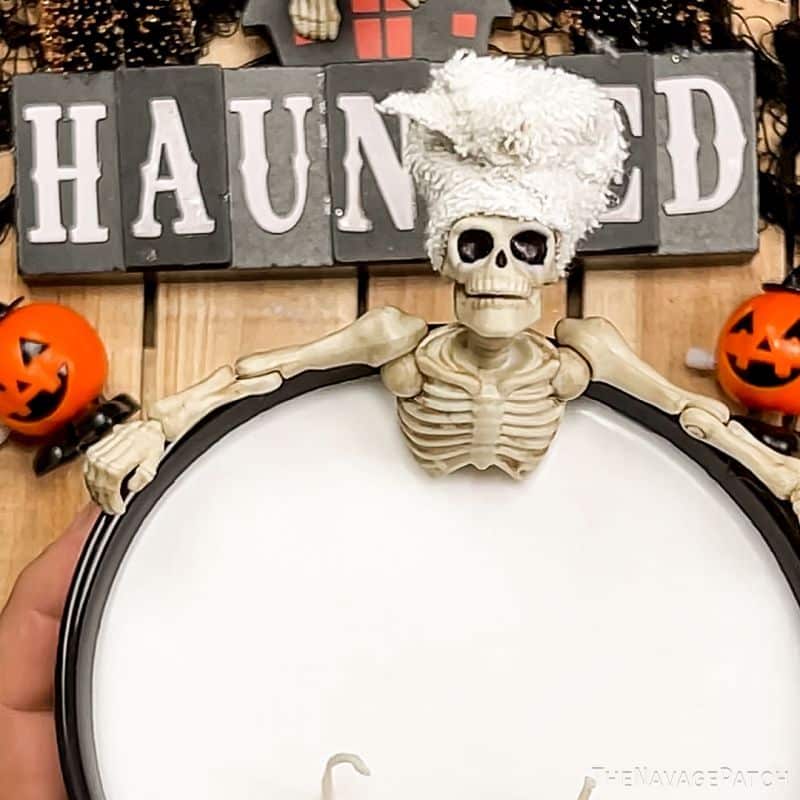
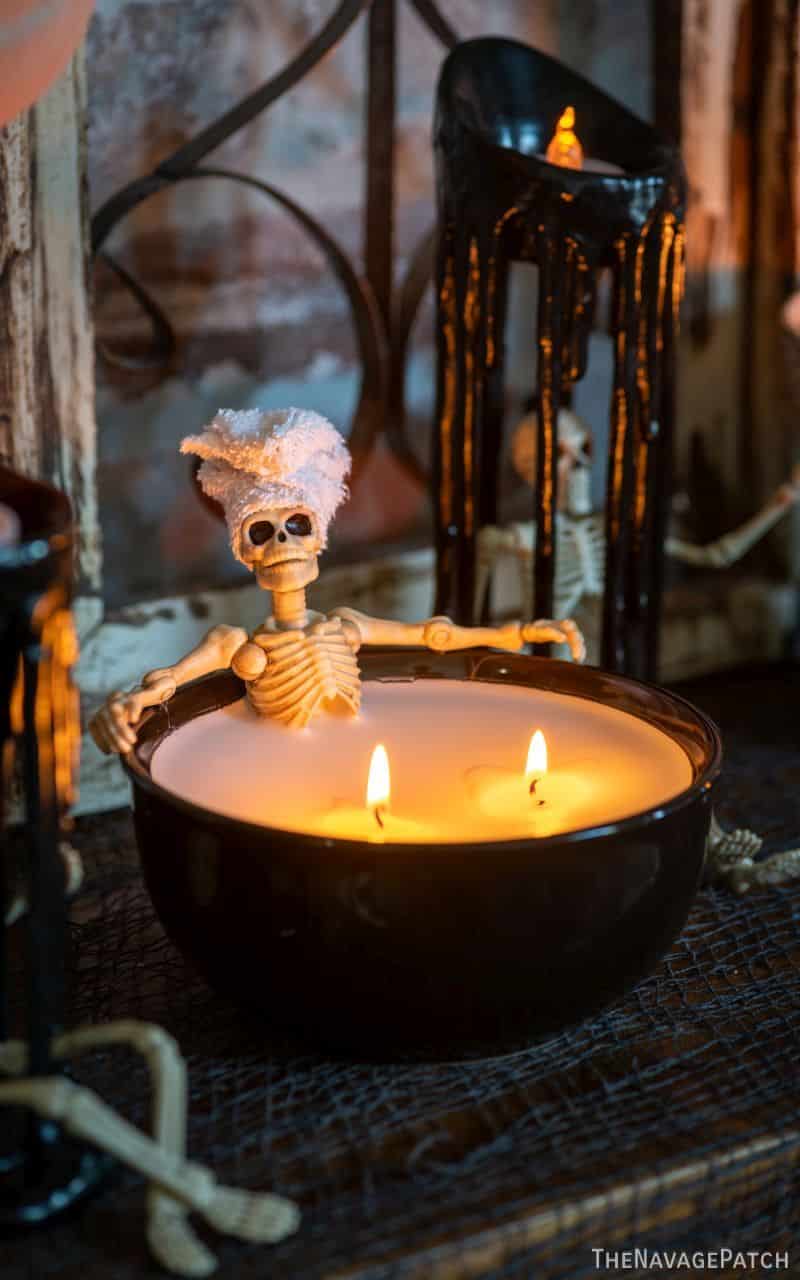
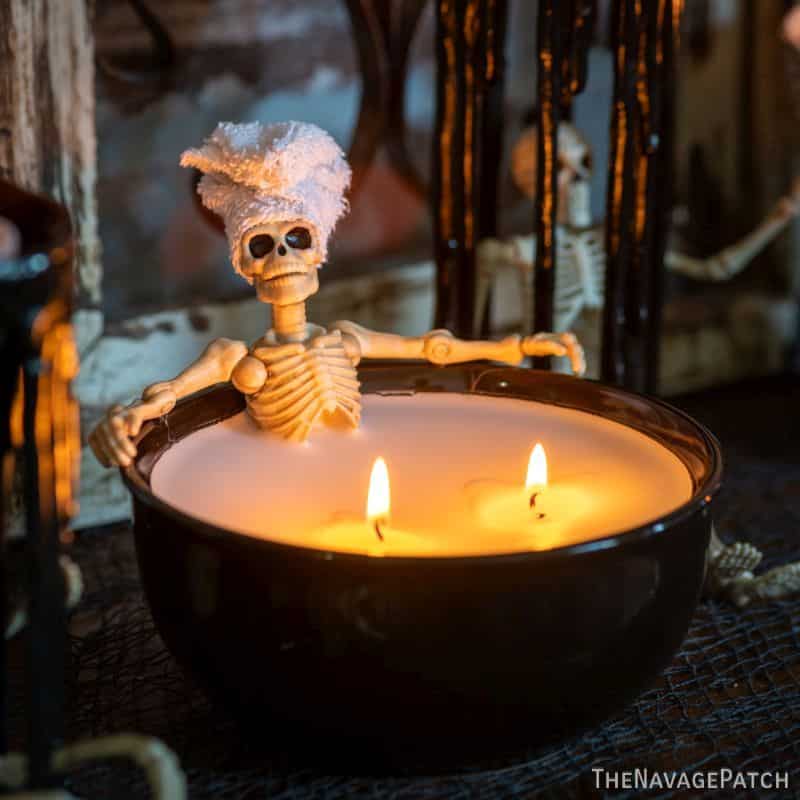
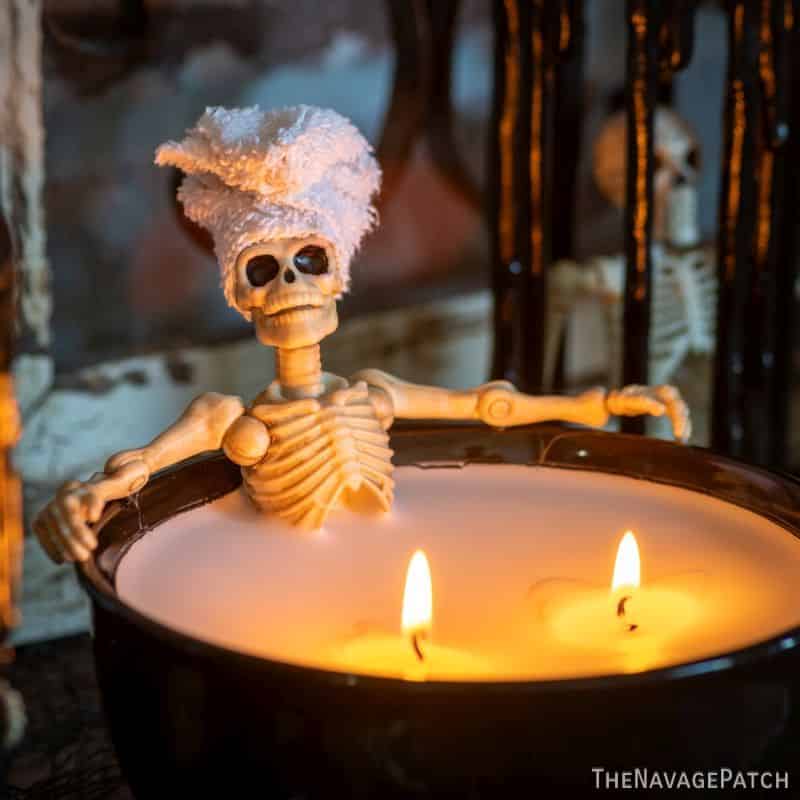
Skelly looked good, but I needed him to look great, so I decided to cut a piece of washcloth and wrap it around his head like I’ve seen Handan do after a shower.
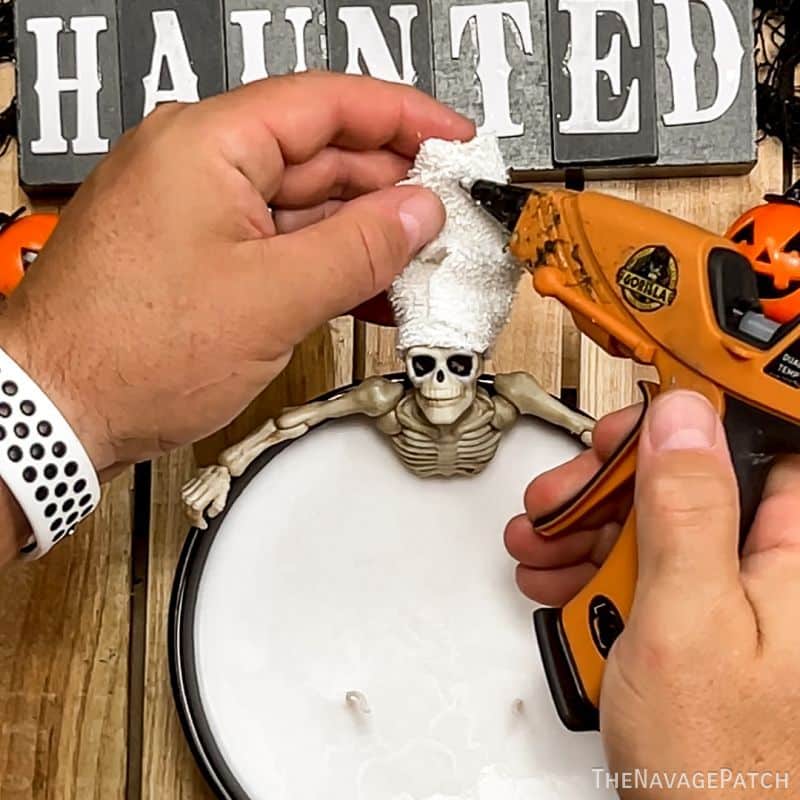
I hot glued it in place, and bam! It was the missing ingredient this little candle needed to go from “that’s cool” to “that’s frickin’ awesome!”
Candle 5 – I ain’t got time for this!
It’s okay, I get it! Just take 3 Dollar Tree skeleton hands and hot glue them on a pre-made candle! Done!
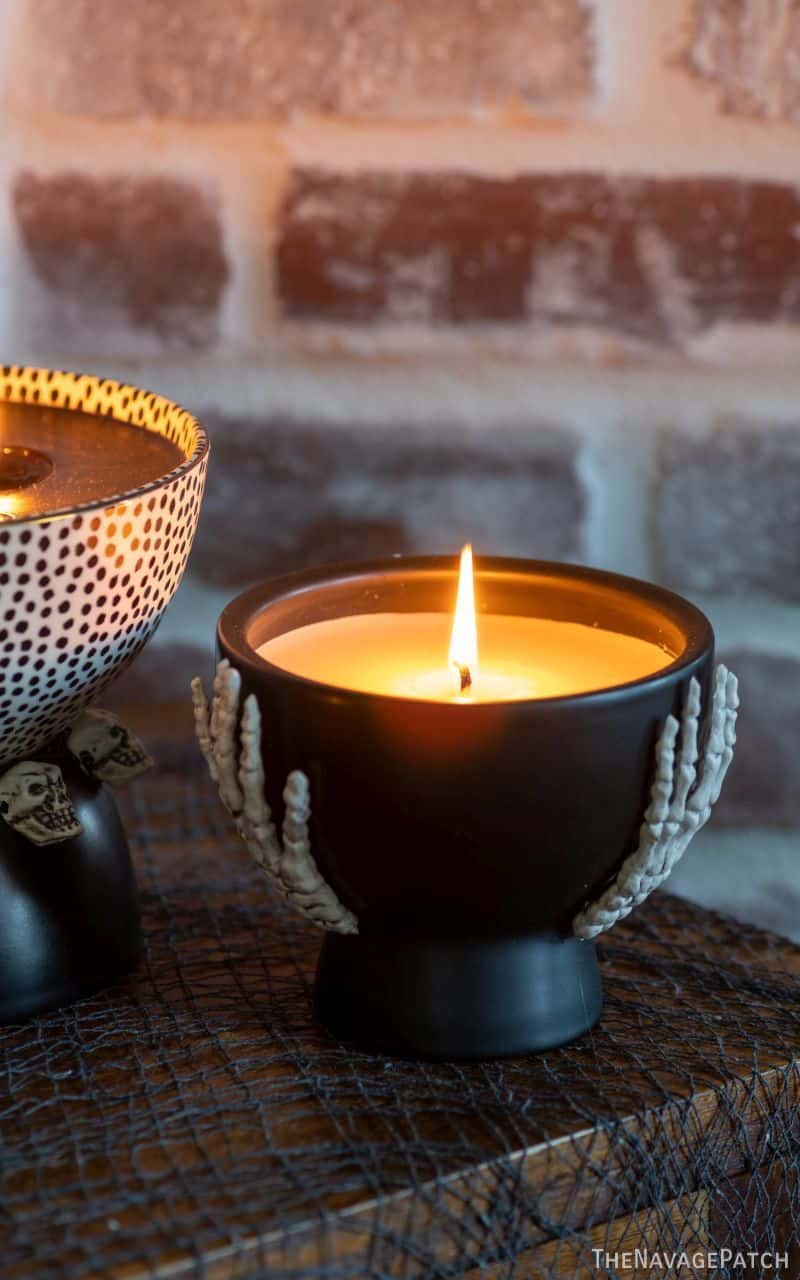
Let’s have a closer look at all…
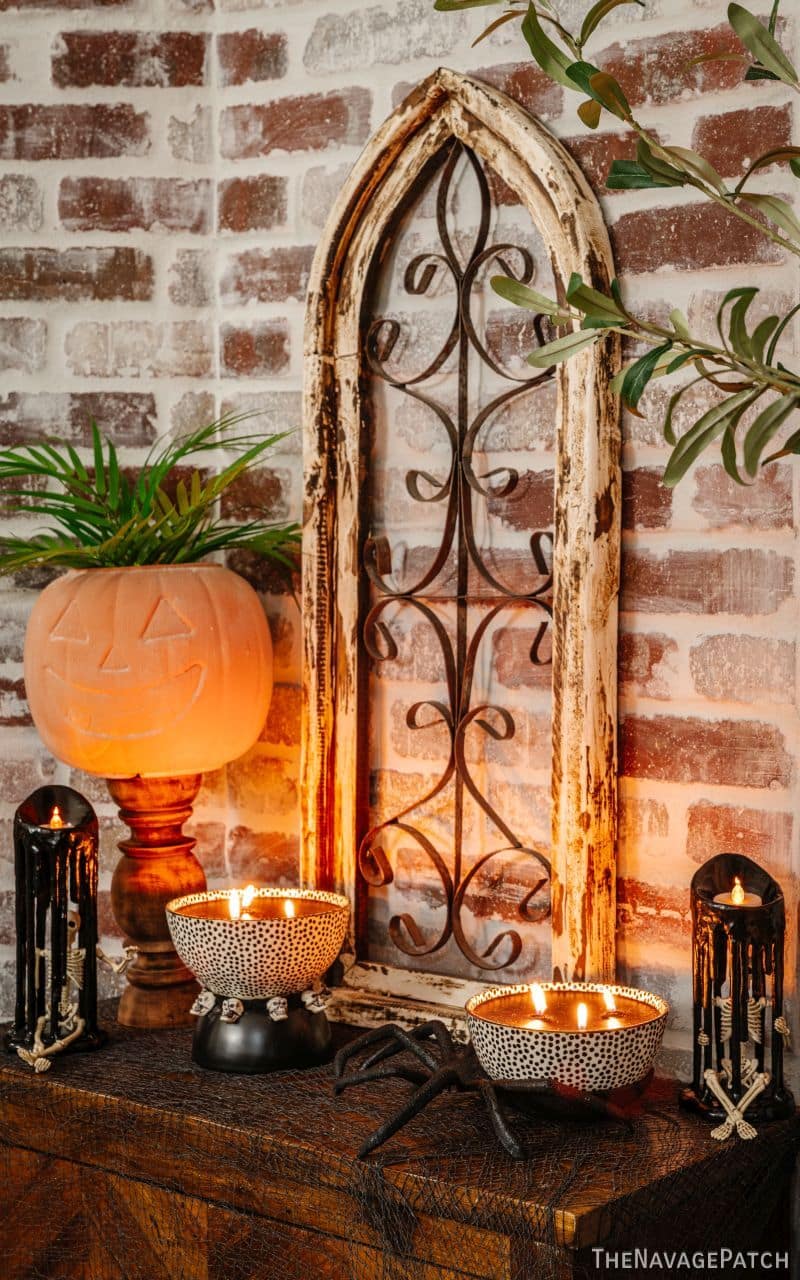

I’m not much of a Halloween person but if I was I know where to go for tutorials! You must have a lot of plastic tubs of Halloween stuff.
Oh yes we do! Tubs and tubs and tubs! 😀
I don’t need one more Halloween anything, but I do need those skelly candle holders. I mean, come on!
I know, right? 🙂
You are the best, Greg! Best husband, best crafter, best humorist and best all around good guy! Your creativity and uniqueness is the best, too! I am blown away with all of your Halloween creations! Great job!!!
Thank you so much, Gail, but I wouldn’t be a fraction of who I am today without Handan’s support, energy, creativity and drive! 🙂
I absolutely hate spiders, but those spider bowls were pretty neat 😁 And I love the little skeledudes in the candle cage. Those are some cool candles just by themselves but yep, you made them better!
You can’t live in Australia and hate spiders! Aren’t they part of everyday life down there? 😀
Yes, unfortunately 😭😭
Greg,
The candles are spectacular! I wish I could have gotten the tall tea light candle holders. They are super cute. I also am crazy about the spider candle. You are full of goolish ideas.
Thank you so much, Marian! I have a few more Halloween candle ideas I’ll be sharing soon! 🙂
I love you!! I just can’t get enough! Does your mind ever stop???? I was just like that in my younger day..lol. My family would say..omg she’s got her wheels turning again..lol!
I still have my wheels turning all the time but I just can’t do the work part anymore. It’s coming back slowly but then age has taken over..ahhh!! It was a medical thing that is finally almost gone! I keep working hard to get back there but it’s a process..
You absolutely amaze me with your thoughts! Keep it coming!!!!!
Thank you, Shirley! We have no plans to stop, so we’ll keep it coming for a long long time! 🙂
Hi there, I’d love to try and make these but I am concerned about the plastic skeletons being a fire hazard. Is that something you took into consideration while making these?
I love how the hot tub candle makes it look like his toes are on fire. 🙂
Thank you!
Whimsical, creative, cheap — what’s not to love!!!!