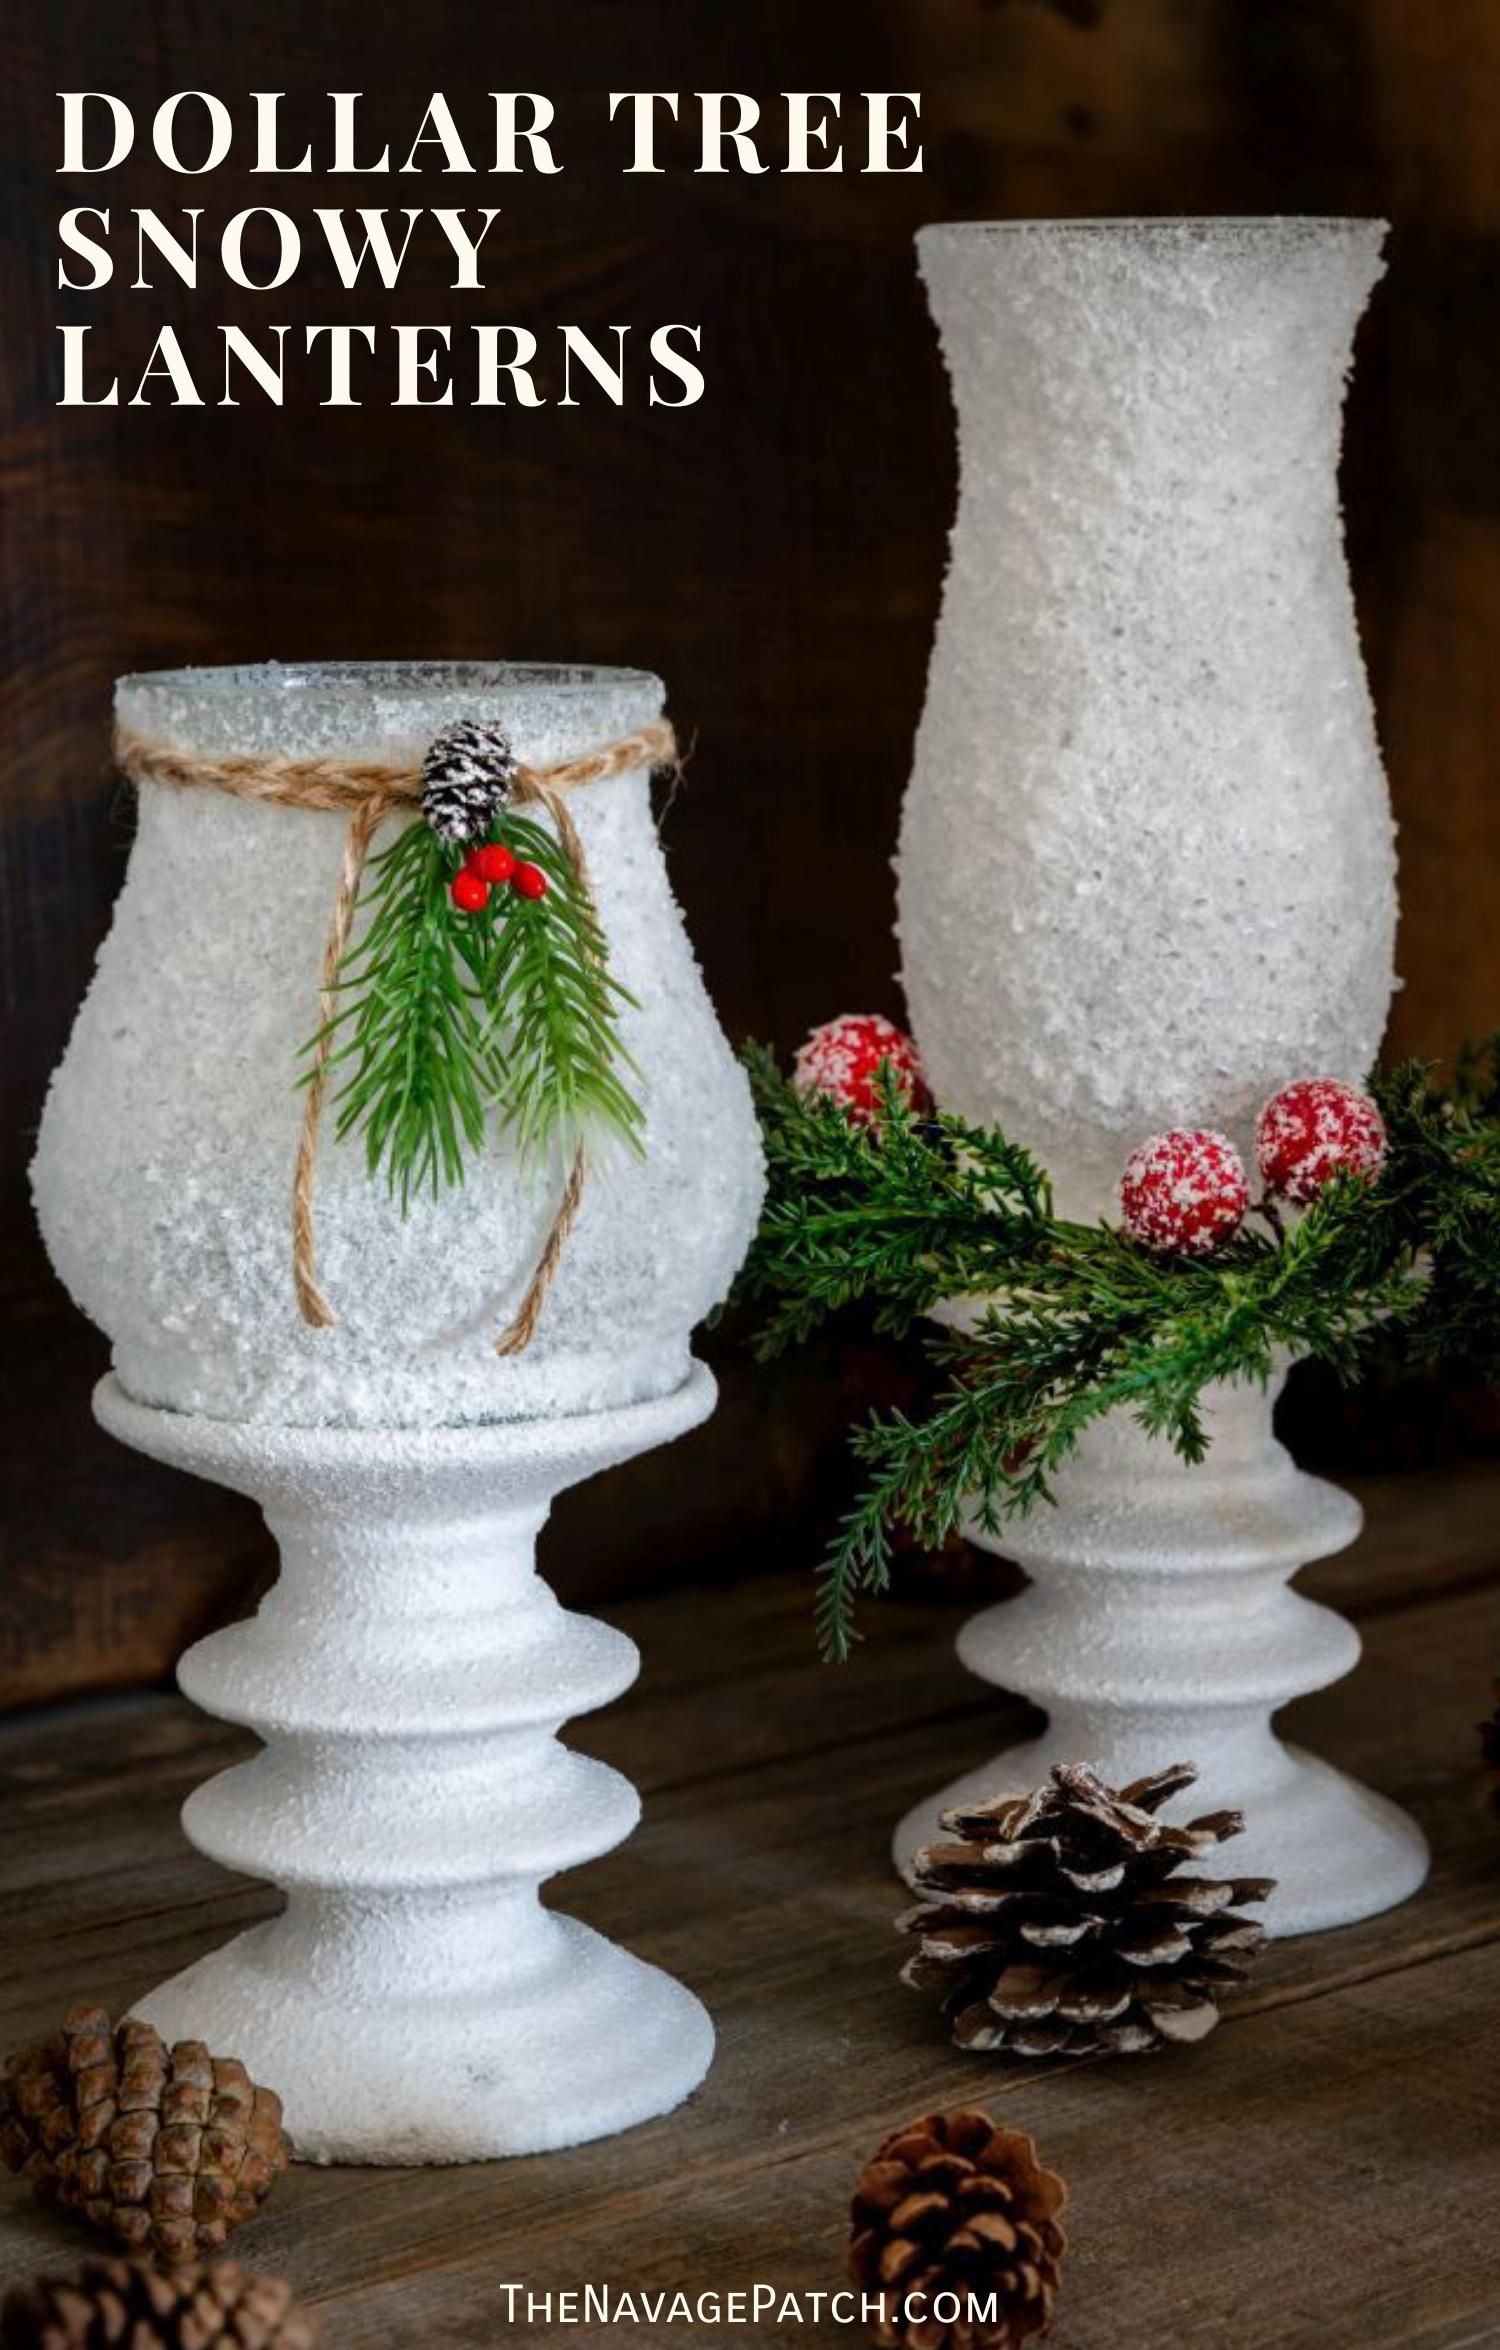
DIY Dollar Tree Snowy Christmas Lanterns
These snowy Christmas lanterns are a simple Dollar Tree DIY that transforms the ordinary into something magical!
Don’t be fooled by what you see on the Hallmark Channel in December.
Don’t fall for the con job of a picture-postcard New England winter.
And never, ever believe in the beautiful, romantic, softly-lit and oddly empty New York City during a stormy winter’s night as two Hollywood lovers giggle and stroll through snow-globe scenery.
It’s all a big, stinking, sloppy, frozen lie.
The reality, madam, is that winter sucks. Well, 99 1/2% sucks.
I’ll admit that there are isolated moments where it’s not so bad, like the beginning of a big snowstorm, when the snow first starts to pile up, and the Earth goes silent.
But then the storm ends, and the reality of driveway shoveling slaps you across the face like a cold and soggy glove.
And then the temperature burps above freezing, and the roads become lined with brown slush.
In reality, winter is just cold, ugly, nasty business.
I couldn’t be happier to be in Florida. As I write this on the very first day of December, I’m wearing shorts and a t-shirt, and warm sunshine is streaming through my window.
but there’s something missing…
Nope! It’s perfection all around. Palm trees, green grass, water fountains…
admit it…
Admit what? Who said that? There’s nothing more I could possibly want! We even have alligators!
you lie
Gah! Fine!
I grew up in the wild and uncharted hills of central Connecticut, so I’ve got winter in my blood.
And as much as I love the heat down here in sunny Florida, I fall for the very traps I warned you about at the start of this post!
I know that snow is a hideous beast that only caused work for me when we lived there.
But memory is a funny thing, isn’t it?
Sometimes it whitewashes the past and only allows the good stuff back in.
So when I see those snowy scenes in movies..
they’re all bullshit
…I get a little nostalgic.

I guess you can take the boy out of the New England tundra, but you can’t take the tundra out of the boy.
So what’s Florida Man to do in December if he wants a little snowy nostalgia?
Fake it, madam. Make it and fake it.
Look, I don’t want actual snow. Lordy, no! Actual snow is cold, and I’ve become something of a bukbukbuk chicken when it comes to cold weather these past few years. My advancing age and acclimatization to the South has robbed me of my New England winter machismo.
and i’m ok with that
Nah, I think I’ll pass on the real white stuff and settle for a gentle reminder.
As luck would have it, my babes thought of an easy and inexpensive project that’ll let me get my snowy fix any night of the week. All I have to do is look on the shelf.
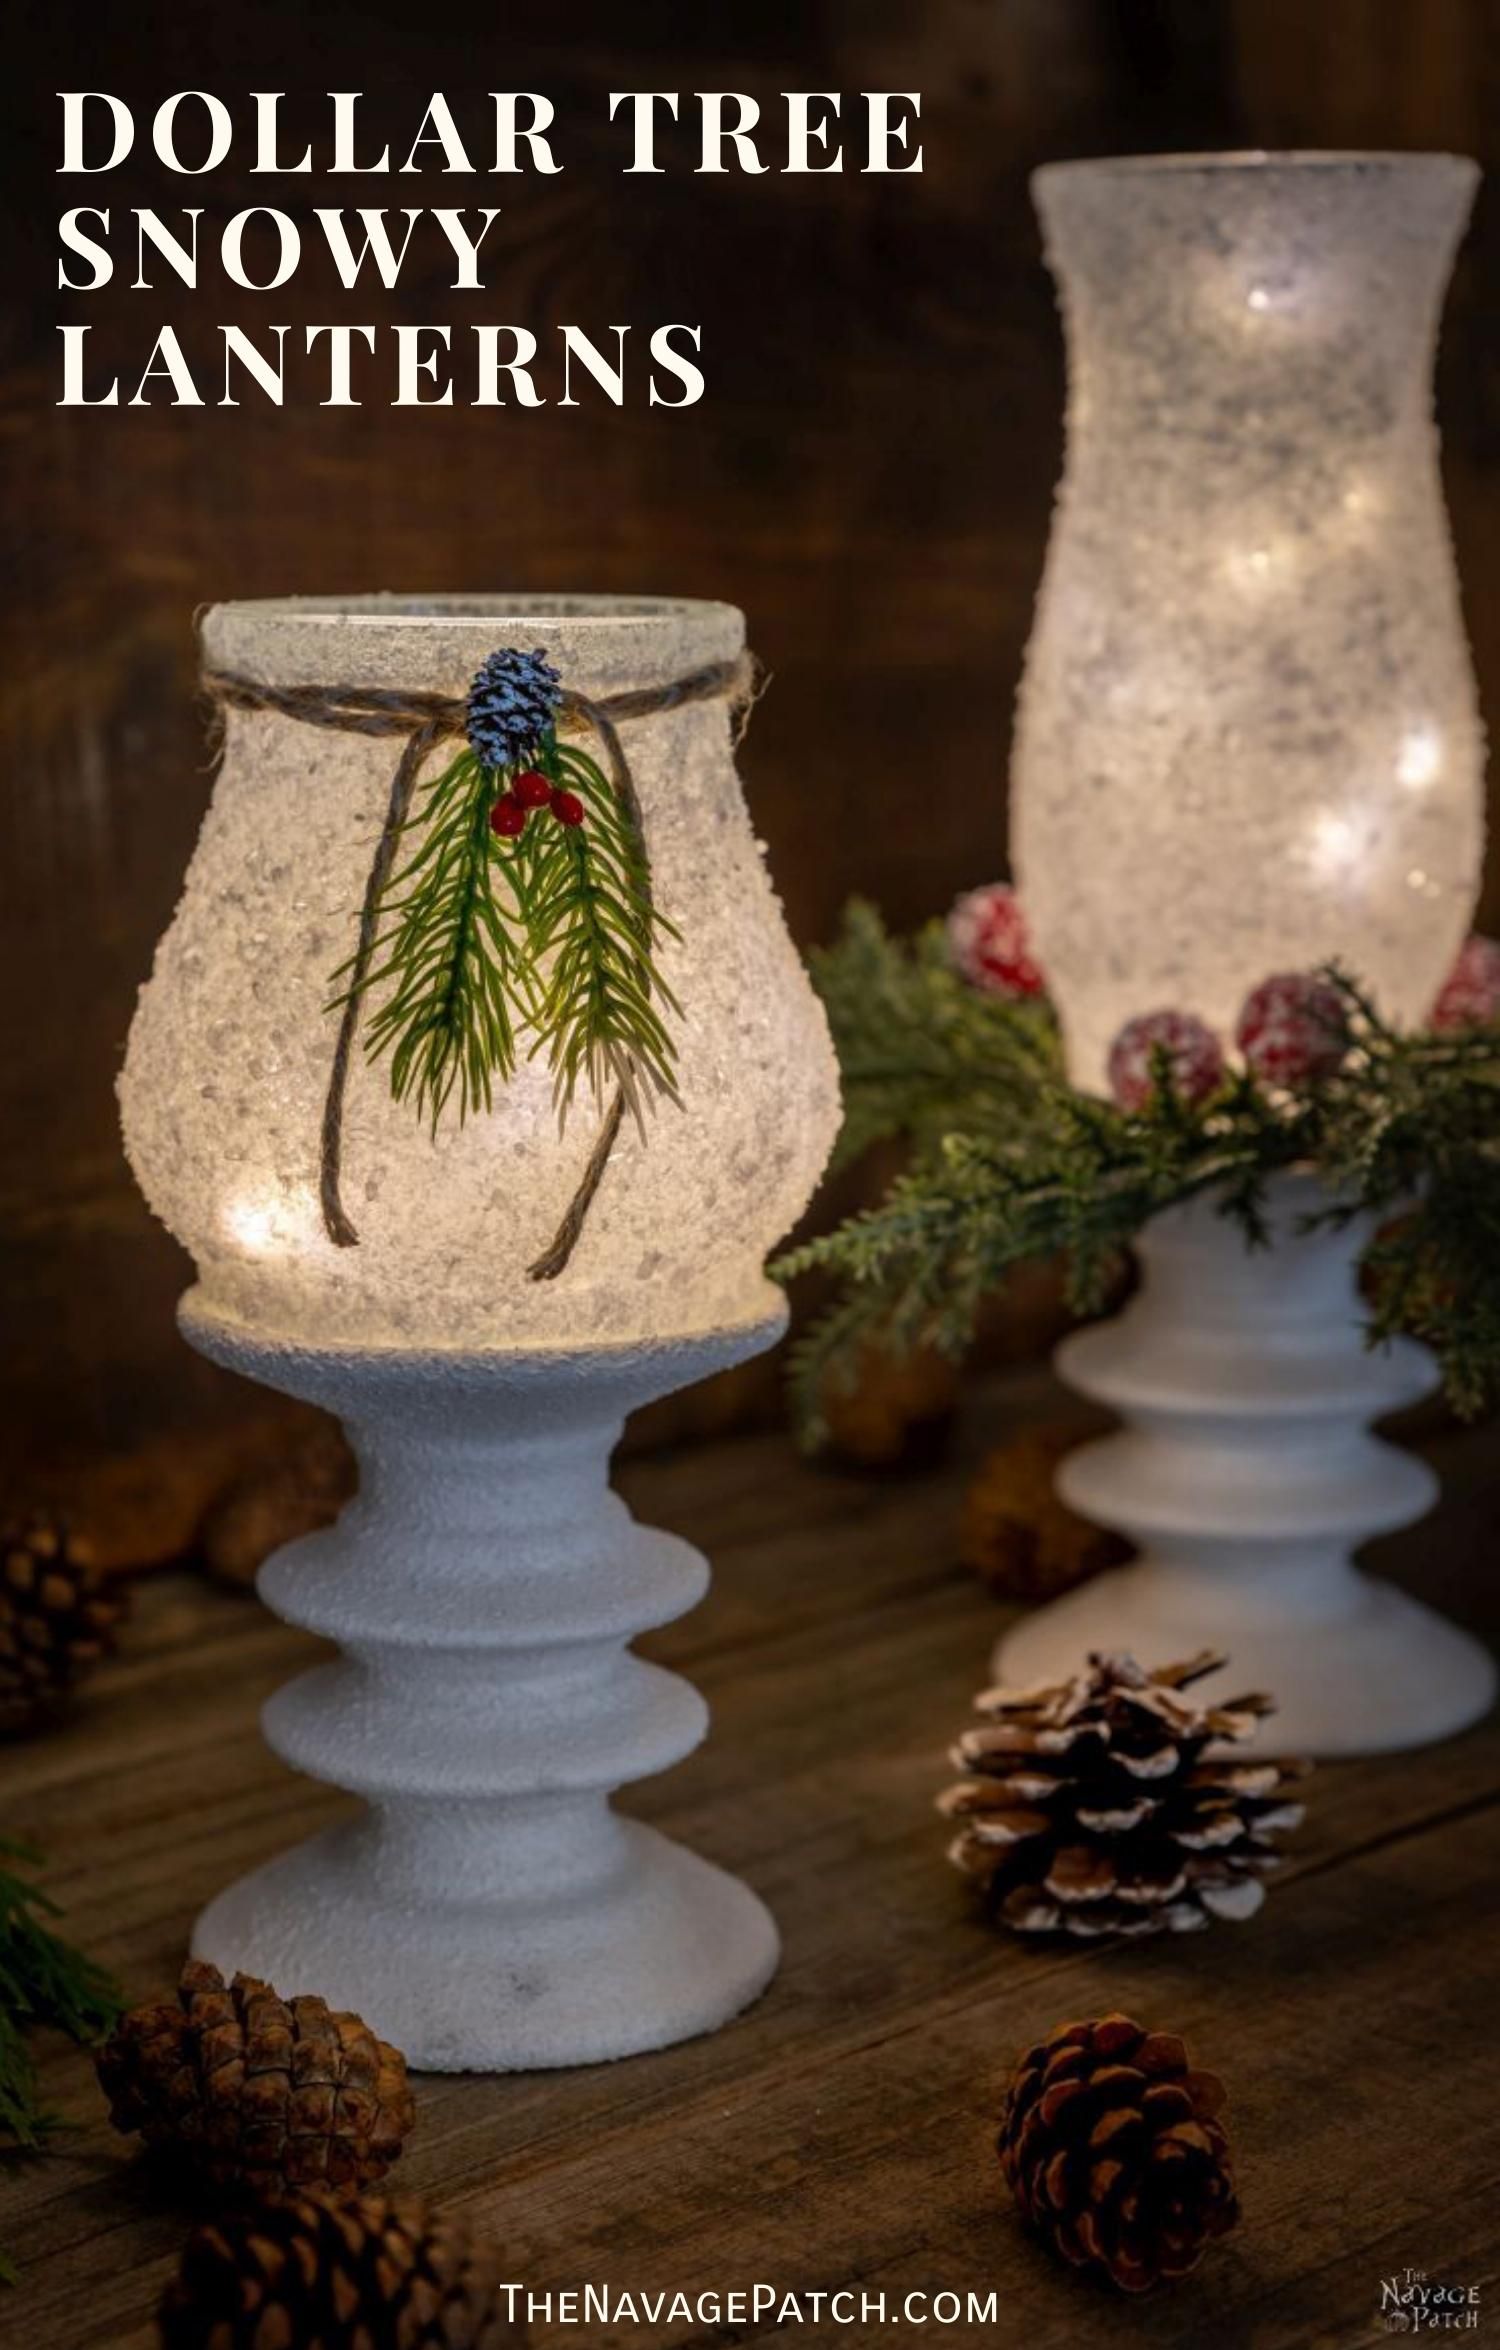
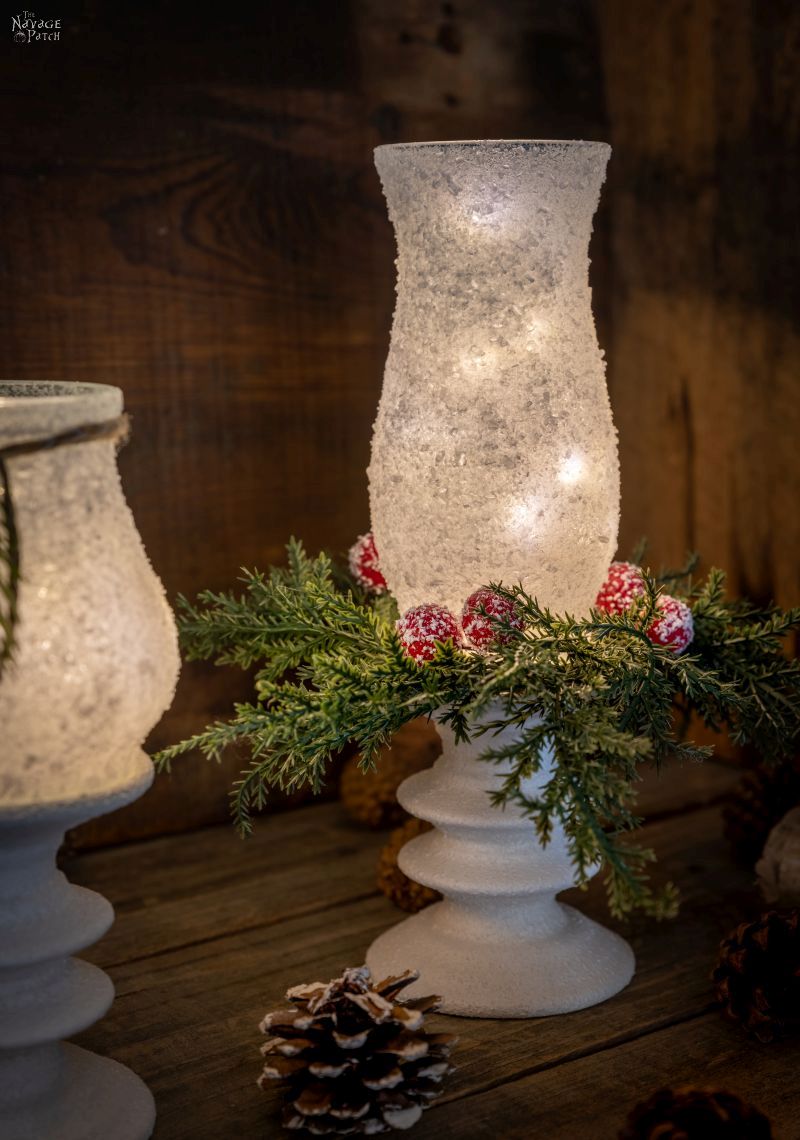
Our DIY Dollar Tree Snowy Christmas Lanterns are the cure to my Florida winter blues, and they look so good, you’d never guess their humble origins.
Let’s see how it’s done!
DIY Dollar Tree Snowy Christmas Lanterns
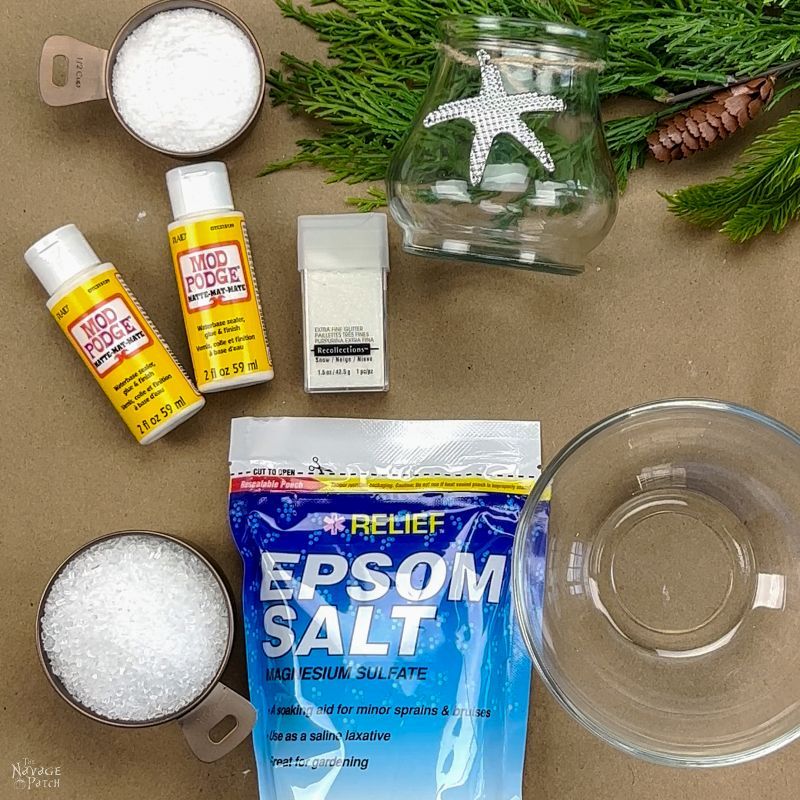
SUPPLIES LIST
Affiliate links are provided below. Full disclosure here.
- Pillar candle pedestal (Dollar Tree)
- Hurricane vase/bud vase/pot belly vase (Dollar Tree)
- Mod Podge (Dollar Tree)
- Chip brush or foam brush (Dollar Tree)
- Epsom Salt (Dollar Tree)
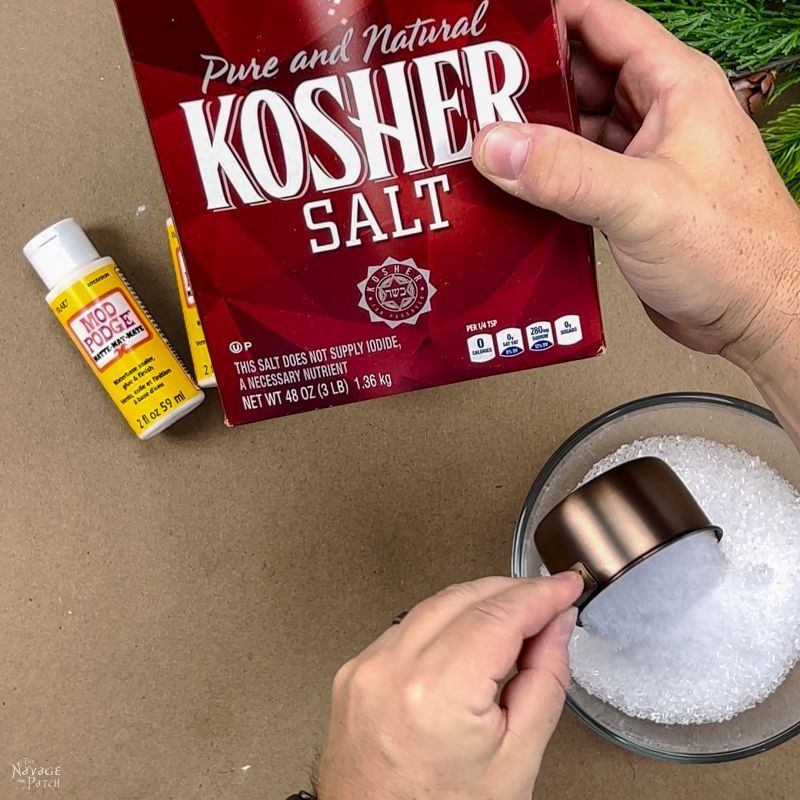
- Kosher salt (optional)
- Snowy glitter (optional)
- Spray sealant (optional, but recommended – I used Triple-Thick Glaze)
- Spray primer (optional, but recommended – I used Zinsser BIN shellac base primer)
- Rustoleum Bleached Stone spray paint (optional – you can use regular flat white spray paint to save money)
- Flat white spray paint (optional – I used it to lighten the stone color a bit)
- Christmassy candle ring (Target Dollar Spot)
- Jute (for our second lantern)
- Small sprig (for our second lantern – we scavenged it from a larger floral pick)
- Hot glue gun/super glue gel/E-6000 (I used hot glue)
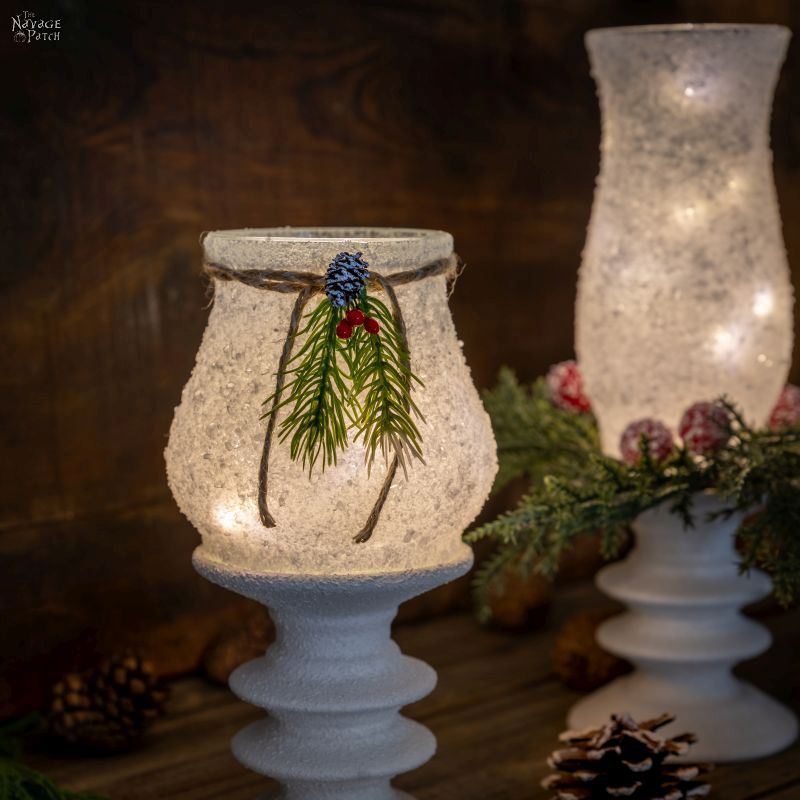
- Fairy lights or battery-powered tea lights (tea lights available at Dollar Tree)

How to make Snowy Christmas Lanterns
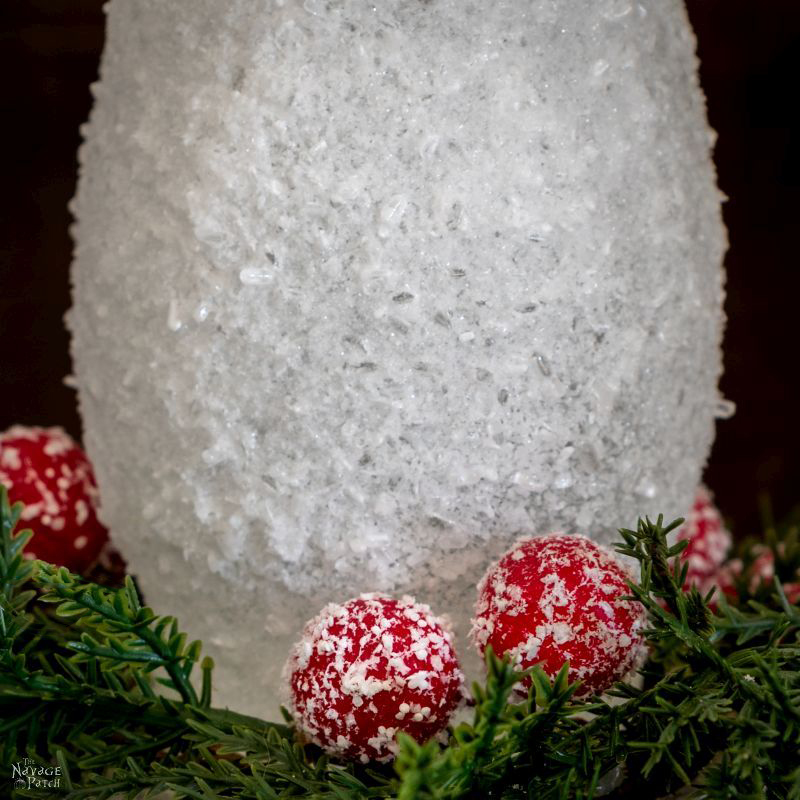
For the snowy effect, I used equal parts of Dollar Tree Epsom salt (large crystals – gives an icy look) and kosher salt (smaller crystals – more like snow).

For a little extra sparkle, I added some snowy glitter. I’m all about glitter these days. [Who would have thought? Three years ago getting you to make a simple wreath was like trying to teach an elephant to ride a bicycle LOL – Handan]
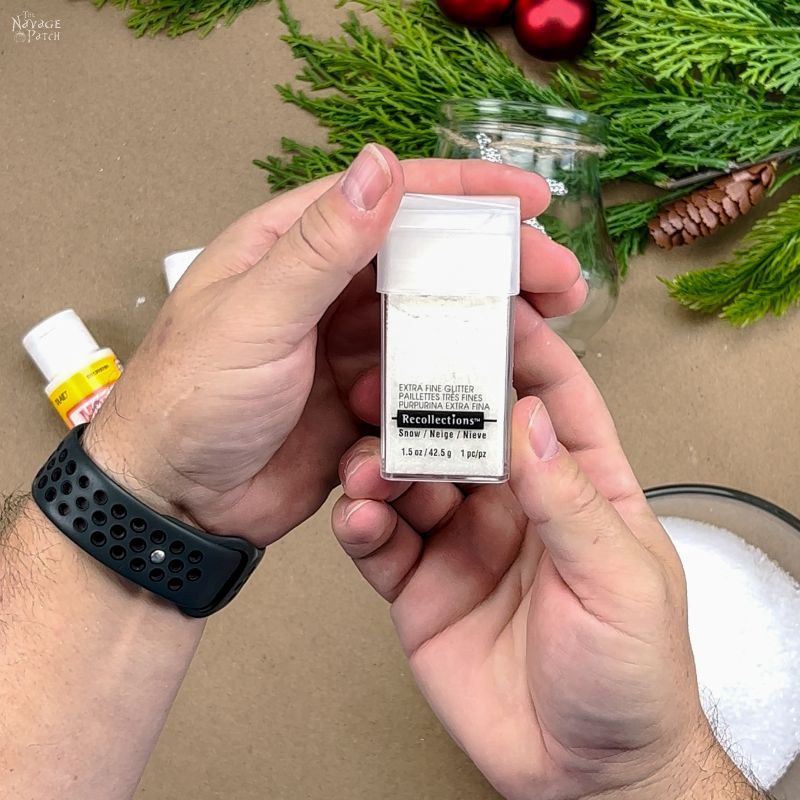
I’m channeling my inner teenage girl. (Too old? Pre-teen? Which demographic uses the most glitter? Is there such a thing as too much glitter?) [I simply can’t believe what I’m reading here… My babes?? Is that you?? – Handan]
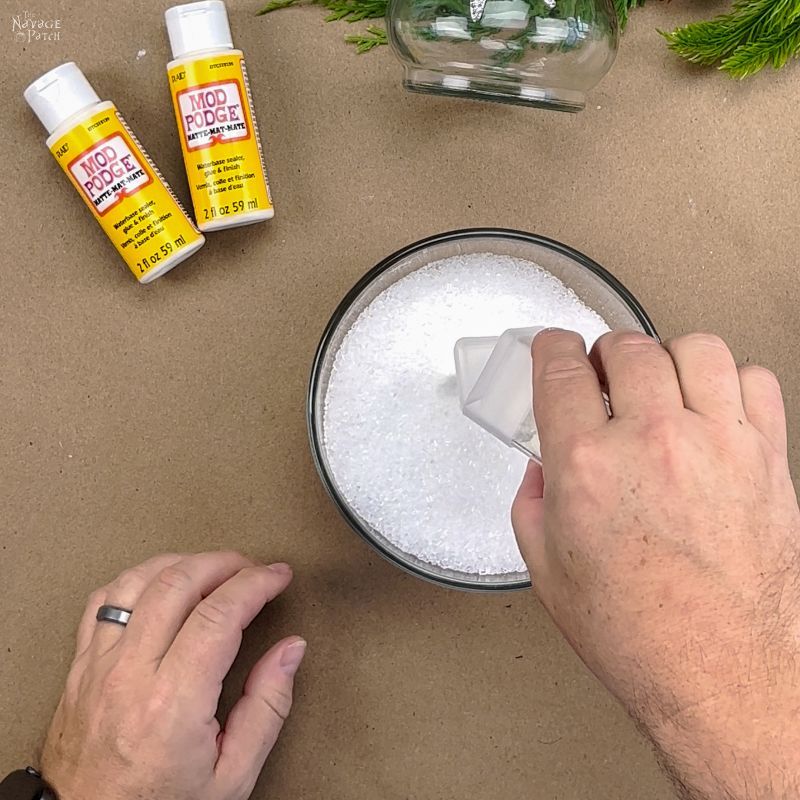
I stirred my glittery salty concoction.
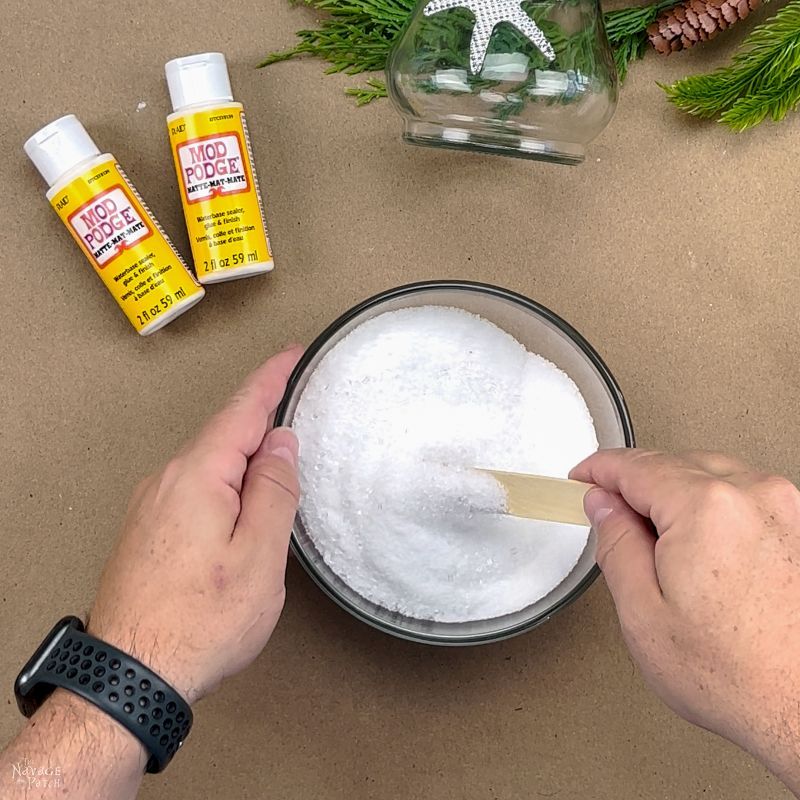
If you’re using Dollar Tree Mod Podge, you’ll want to dump it into a bowl first. If you’ve got a big bottle, you can work right from there.

I started with this beach-themed thingamajig. Pretty sure it’s just a pot belly vase with a metal starfish to make it beachy.
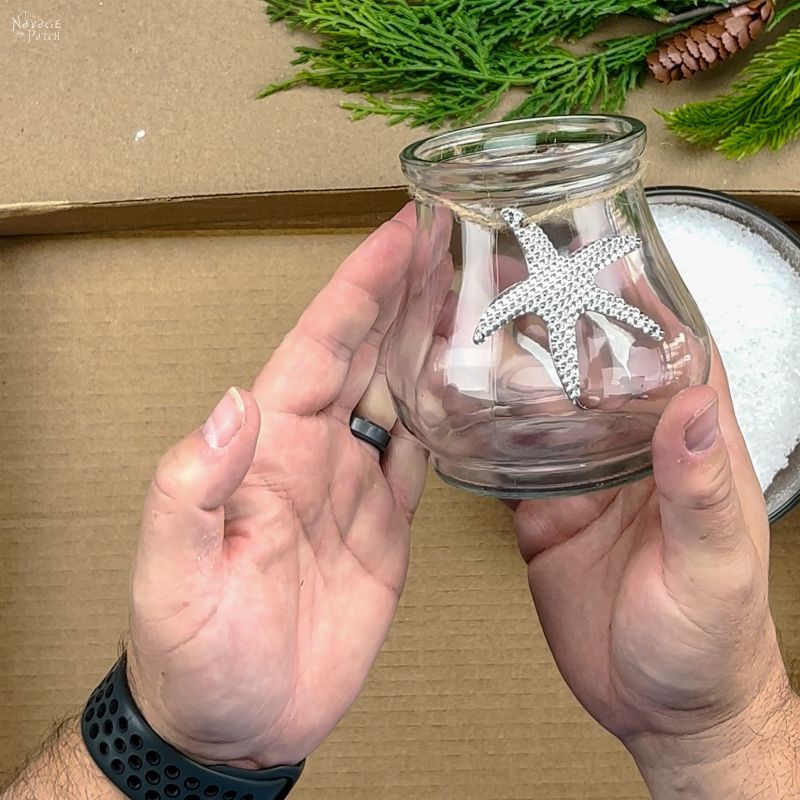
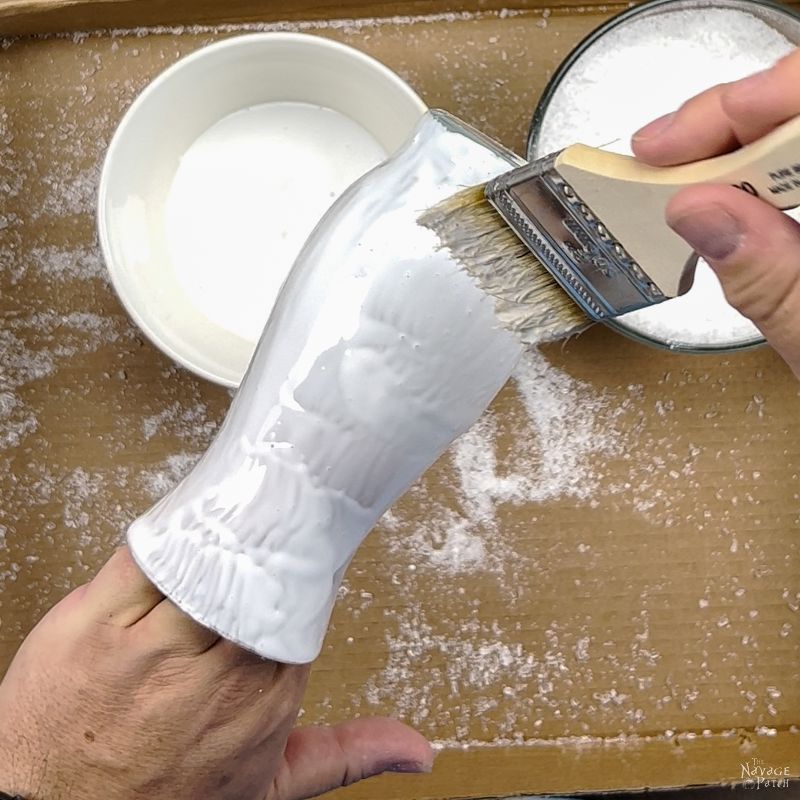
After depositing the starfish into the circular file, I brushed Mod Podge all over the vase.

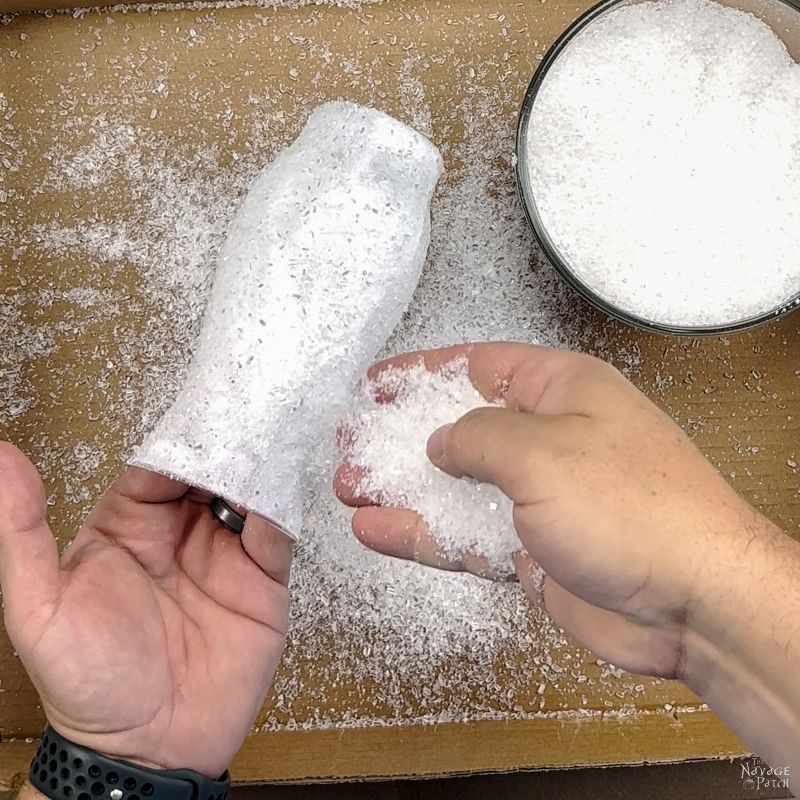
Next I poured my salty mixture all over the gluey surface until no more would stick. Note that it’s best to do this step over something that’s easily cleaned. I used an upturned filing box top.


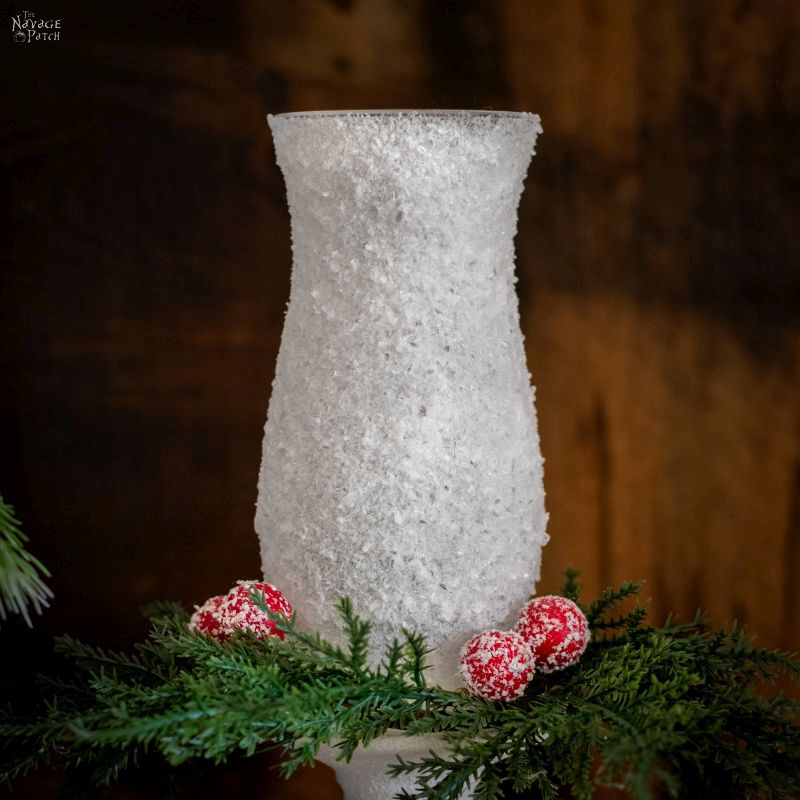
I set the first vase aside to dry and did the same thing to the hurricane vase.
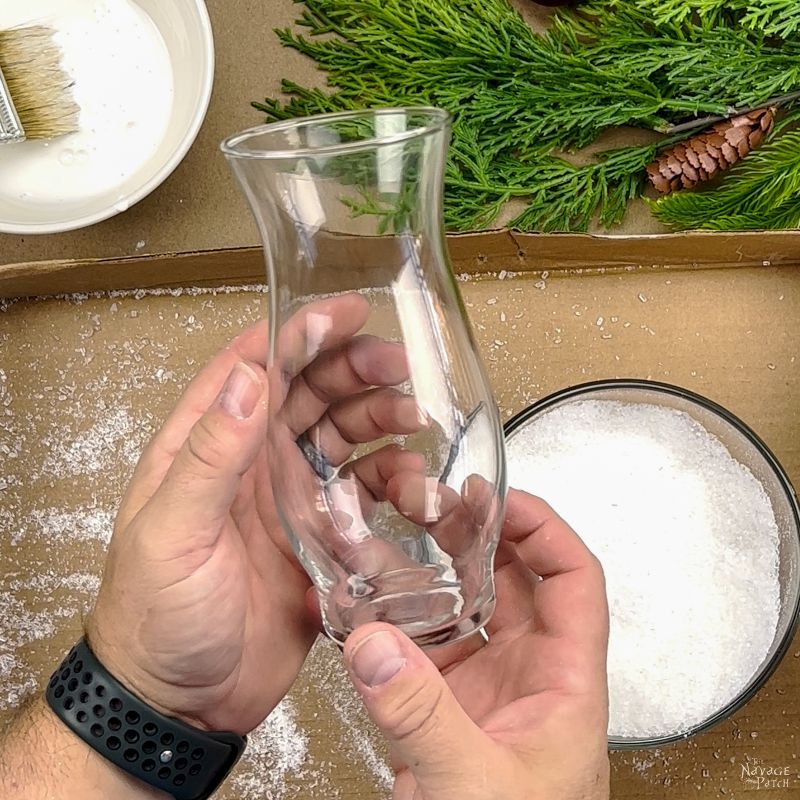
Once it was completely salted, I put it with the other vase to dry.

While the vases dried, I set to work on the pillar candle pedestals.
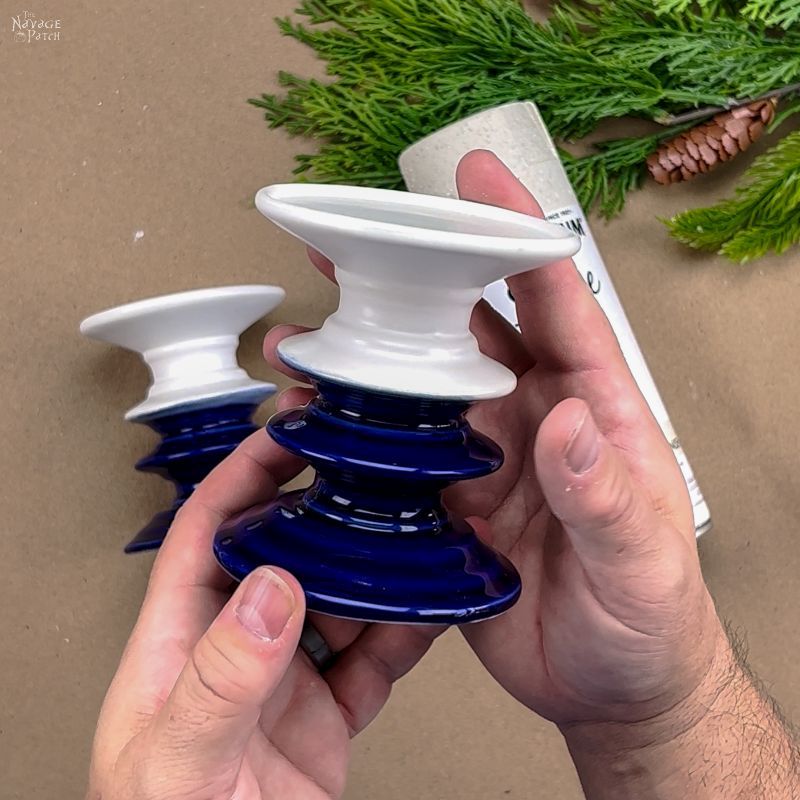
I first primed them, then I sprayed them with flat white paint, and then I sprayed them with stone texture spray paint. I first tried it without painting – just stone paint over primer – but the blue was persistently showing through, and the only way to cover it was by spraying way too much stone paint. It made a gunky mess that would have taken a full day to dry (stone paint does not dry quickly even with a light coat), so I wiped it all off and started over – primer, paint and then stone.
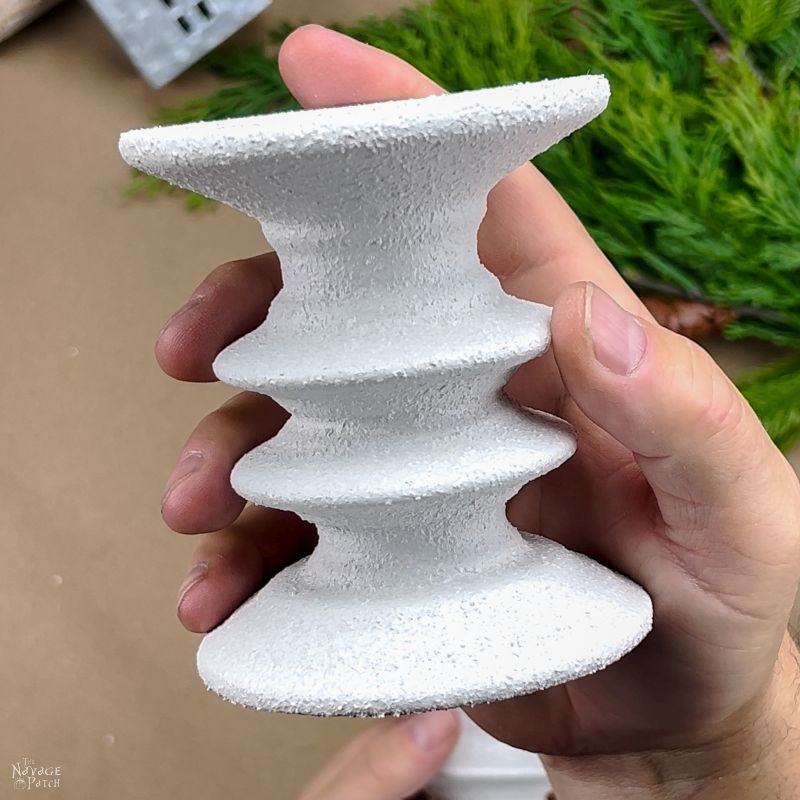
After the stone paint dried, I wasn’t quite happy with the color. I thought it was too tannish for the snowy vases, so I again sprayed some more flat white over the stone textured paint. Just gonna say it – I’m not impressed with stone paint. I’d much rather use my own faux-stone painting technique. Anyway, it was good enough for this project.
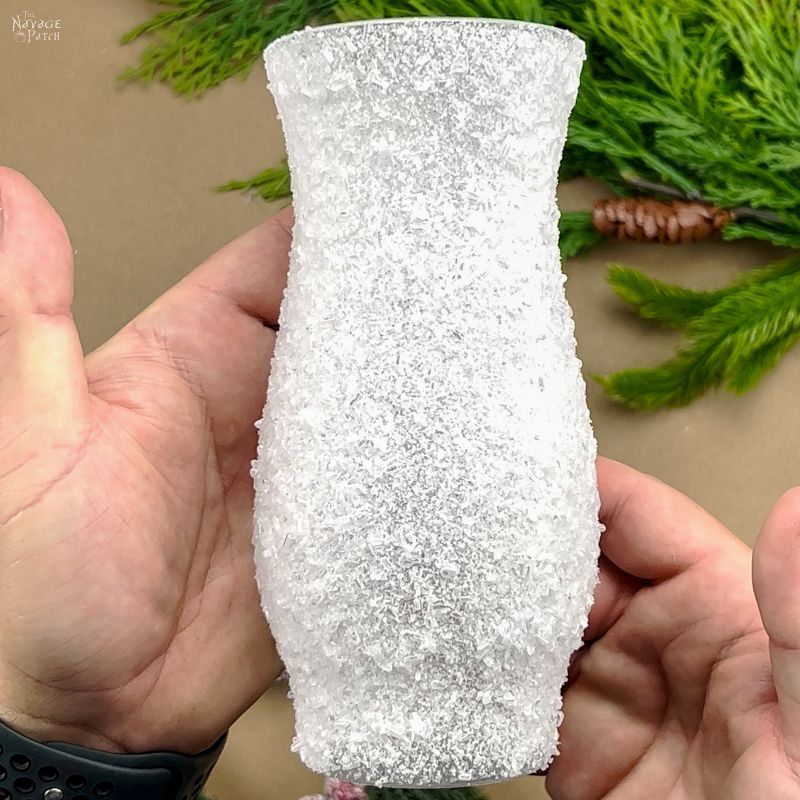
Once the Mod Podge dried, I gave the vases two good coats of triple thick glaze. This helps cement any loose granules in place. You’ll still lose a few when you first handle it, but the glaze helps tremendously in keeping things in place.
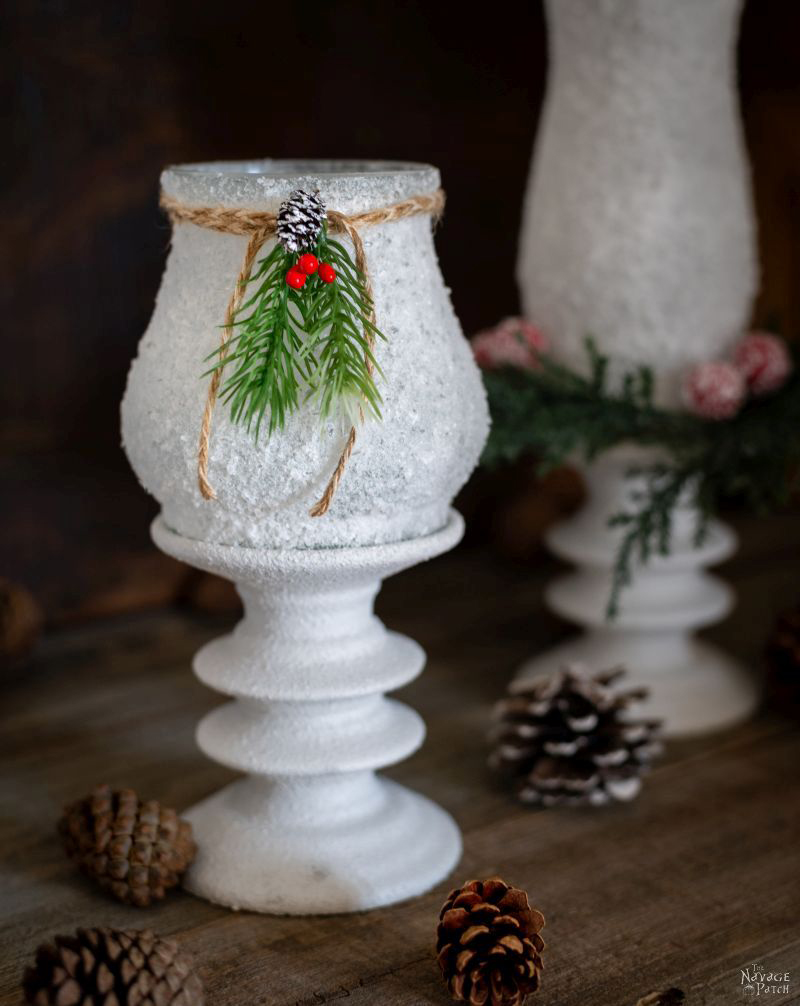
To finish off the hurricane vase snowy Christmas lantern, I put the candle ring on the pedestal.

Next I squeezed a big glop of hot glue onto the pedestal…

Then I placed the salt-frosted hurricane vase onto the hot glue.


Hot glue was the easiest solution for me for this step, but it’s also the weakest bond when compared to using super glue or E-6000. But since I don’t plan on using these snowy Christmas lanterns to play a round of hot potato with Handan, I think the hot glue is more than adequate.
One down, one to go.

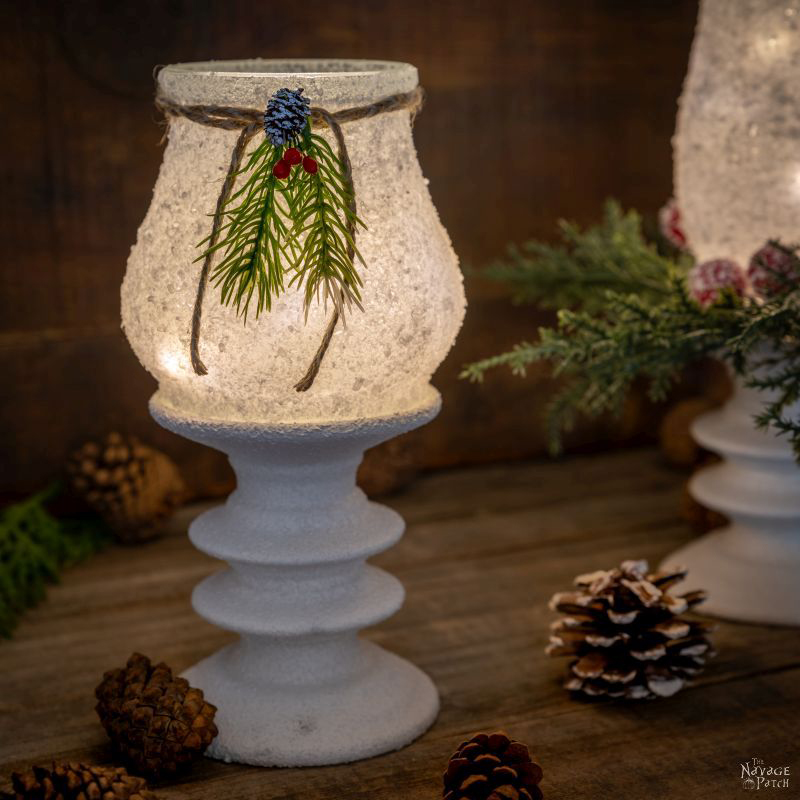
For the second lantern, I started by gluing the vase to the pedestal just like I previously did.


To finish the second lantern, I wrapped a piece of jute twice around the top of the vase and tied it off.


I put a dab of glue on my sprig.

Then I pressed it onto the knot. This not only secured the sprig but it also glued the knot so it wouldn’t come undone.
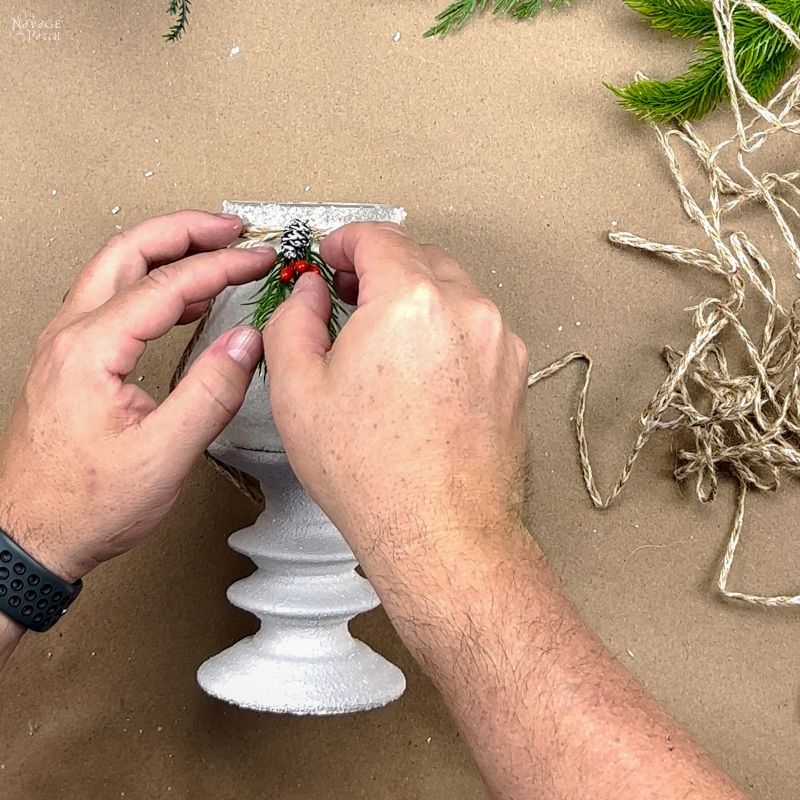
I trimmed the jute ends, and my second snowy Christmas lantern was finished.

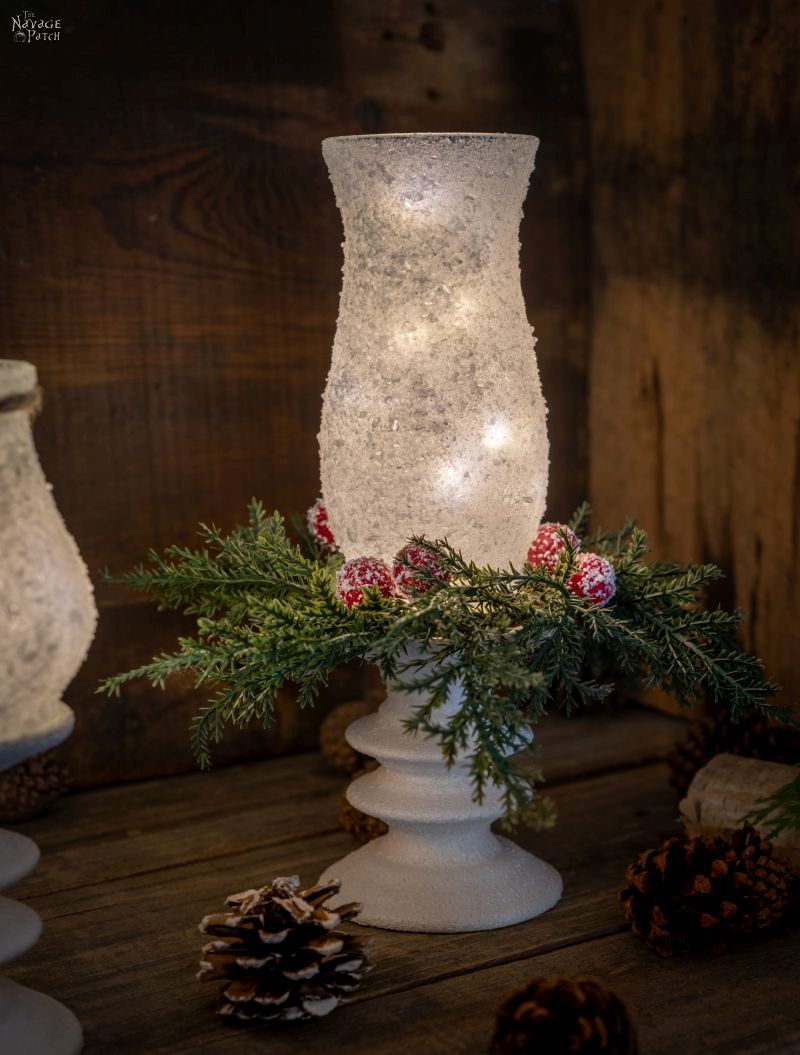
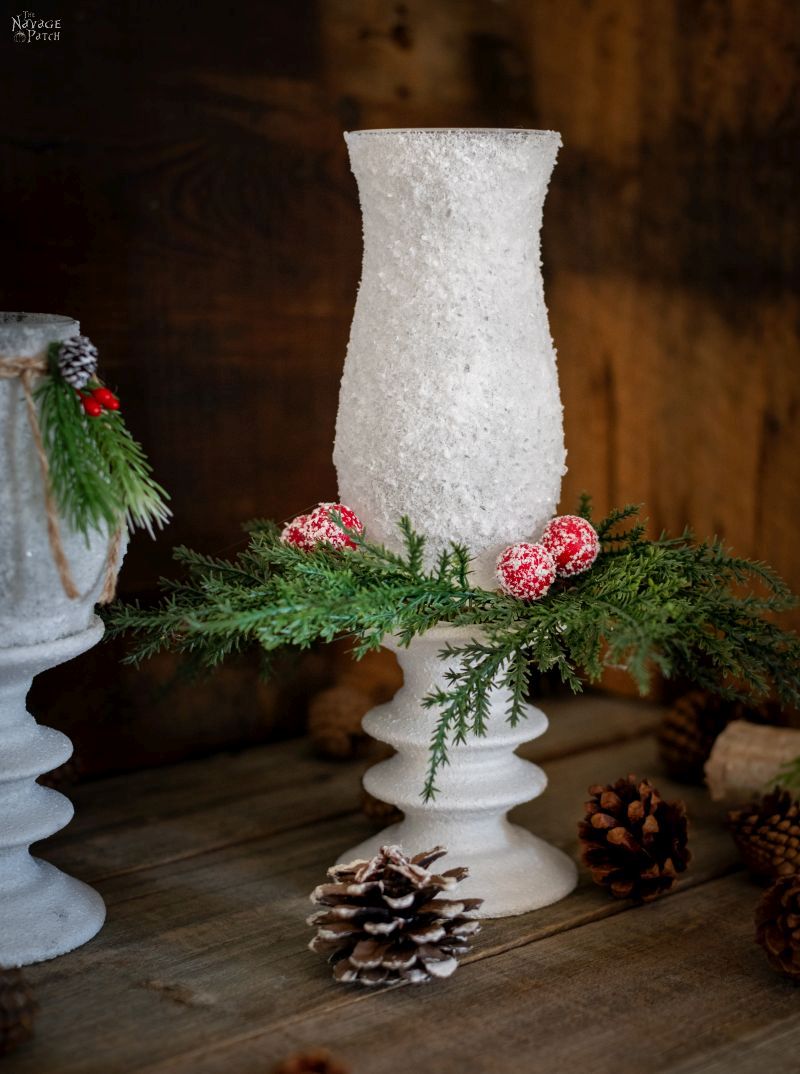
And now for some beauty shots…


We love it when you share our posts on Facebook and Pinterest!


Shivers…that is SO pretty…I got shivers!! Really ideal for top of books, mantle, china hutch, etc. SHIVERS, I tell you!!! franki
So lemme see if I’m understanding correctly…shivers, you say? 😂 Thank you, Franki!
These are great! I moved south and miss the snow for two days and two days only. Christmas Eve and Christmas day. We were surprised with a snowstorm last year. Well, 6 inches, but for here that’s a major storm!
These will hold me over until the next freak storm in about, ohhh…15 years or so.
Thanks so much!
Thank you, Kathryn! I hope never to see snow in Florida. If I need a fix, I’ll watch a Hallmark Christmas movie or a documentary on Antarctica, lol! 🙂
Hi Greg and Handan. Thank you both for the lovely post – and for making me laugh out loud! The lanterns look incredible, well done!
Thank you so much, Shay! I’m always happy to make you laugh! 🙂
You should be a stand-up comedian Greg. Made me laugh out loud too. Minnesota is in my bones, but Lakewood Ranch, Florida is now home after 30 years in the frozen tundra. Following you on all social media sites. Love your tutorials. I’ve made a few of them for my shop. Thanks so much.
Why thank you, Valerie! I do enjoy making you guys laugh, and I’m happy to hear you’re making our projects! 🙂
Super cute and I love reading your posts, so funny! 🙂
Enjoy beautiful Florida, we visit there whenever we can to get away from the weather confused Great Plains of Oklahoma.
Thank you, Patti! One of these days I’ll take Handan on a cross-country trip, and Oklahoma will be on our list. It’s one of the few states I’ve never set foot in, so I need to do that soon!
Love it. As usual y’all make something so simple look so beautiful. But is that starfish really in the circular file? I bet it went with the rest of the hoard. Remember you live in FL now and need beachy decor. Lol
Thanks, Debi! Yeah, Handan probably rescued it! Beachy decor is a whole new frontier for us!
Where in Conn. did you grow up?
Glastonbury. Are you in CT?
Hi Greg & Handan,
Love this project! I’ve already sent it to my Pinterest board. Thanks
Thank you, Debra! 🙂
These just call out for popcorn and cocoa in front of a fireplace…not that you want that in Florida! They are just awesome! As usual.
Lovely, what is the triple thick glaze that you used & a picture of product if possible?
Hi Lisa, I linked to this Krylon triple thick glaze, as it is the most affordable. The one I used (not shown) is made by Varathane, but it’s 3X the price of Krylon on Amazon. Prices have gotten out of hand lately on so many products I love. But that Krylon is a great deal – I have two cans on order and expect them this weekend. To answer your original question, triple thick glaze is simply a thicker polyurethane coating. It’s a perfect choice for this application where I wanted to lock those granules of salt in place.
Can you ever have too much glitter? I say yes indeed! My dear husband has taken up a craft of wood bowls, night lights that change color, and lots and lots of spray adhesive with lots and lots of glitter. It never ends!
Well you’ve gone and done it again Greg. I HAVE to make these now and it’s not like I don’t already have a kajillion Christmas decor ideas stacked up or waiting for me to unpack them, but dang. These are gorgeous. As always, thank you for the inspiration!
I’ve never seen snow in person being from the even hotter side of Australia. One some very, VERY RARE occasions it has snowed a teeny tiny bit on our highest peak but I’m sure whatever slush it became as soon as it hit the ground wasn’t worth the drive up there to see it! So if you see “snow” here it’s going to be that big chunky glitter (it’s fondly called “Texas Snow” but I think “Ozzie Snow” works well, too) sprinkled liberally over every ornament and decoration in sight. I’m a little obsessed with it.
Texas snow – lol, I like that! But really? You’ve never seen actual snow? As much as I’m against it, I’m all for you finding a way to feel your first falling flakes. (sorry for the alliteration – it was unintentional.) Maybe a trek to the Southern Mountains this winter? (I’m just guessing you have Southern Mountains – up here I’d call them Northern Mountains). I’m picturing you making the journey much like Clark Kent did at the start of the original 1978 Superman movie.
The closest place that has good snow fall is the Eastern Mountain ranges in New South Wales. People go skiing there! Unluckily for me, Western Australia is aaaaallllll the way over here and it costs the same amount to go overseas to somewhere like Bali or Singapore, as it does to go to New South Wales! We’re just so far away! In any other country…we’d be a separate country!
When you put it that way, yeah, I’d spend the money on Bali! 🙂
They look great!!! I made some a few years ago with old candle jars, and will leave them out all winter. Last year I used the same salt recipe and made snowballs out of Styrofoam balls from Dollar Tree. They turned out pretty good, and look especially nice around my snowman collection. I live literally two minutes from Dollar Tree…so I really enjoy all of the crafts you do!!
Thank you, Robyn! Isn’t it great to have a DT nearby? In Jacksonville, they seem to be around every corner, so we have half a dozen on our route! 🙂
Simple, yet very attractive! I think I’ll try this with the 2 lamp globes I have. Thanks for the ideas.
Thank you and you’re welcome!
Gosh, these are so darn cute! I’m going to make one too!
Awesome! So happy you like them! 🙂