DIY Lighted Pine Cone Star
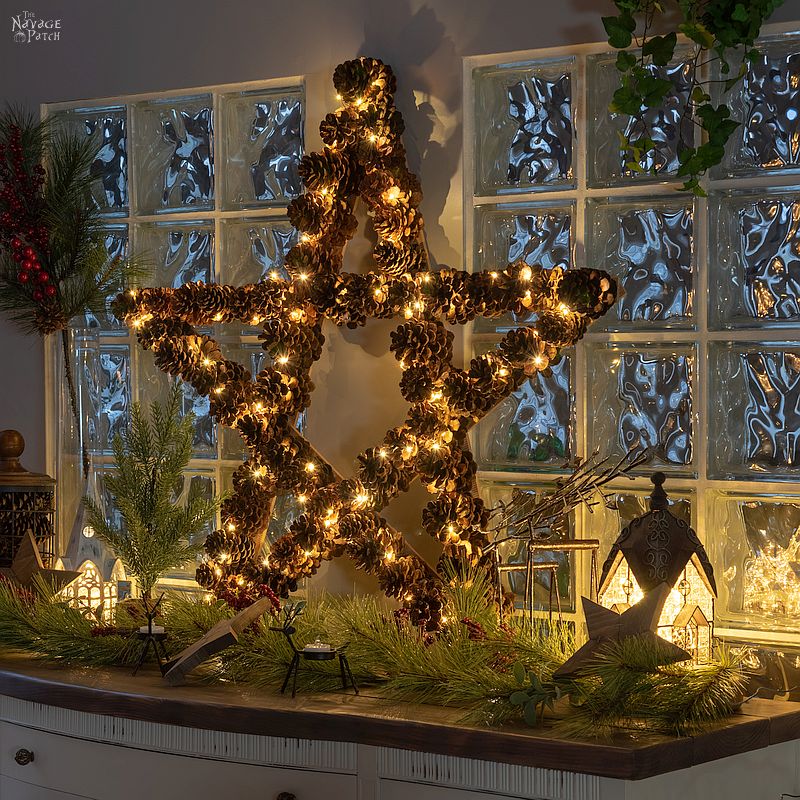
Pine cone Christmas decorations are a great way to use what nature has to offer. This DIY Lighted Pine Cone Star is a perfect addition to your holiday decor!
There is an attic above our bedroom. It is an unused space that could only be accessed through a drywall “door1” in a low-ceiling storage room off of the upstairs guest bedroom. The attic spans the length of the house, and it is a foreboding place full of pink insulation and lit by a single dim bulb. Walking is treacherous – one false move, and your next stop is the hardwood floor below.
Earlier this year, rodents figured out a way inside. They came in seeking solace from the cold and set up camp in the insulation.
They scratched and scurried through the long winter nights as I lay awake below, staring up at the ceiling.
I told Handan what I was hearing, and she instructed me to get some traps and lay them out. Since we couldn’t be sure they weren’t squirrels, she suggested those cages that trap them live.
I agreed and assured her it would be done.
But then the scratching stopped, and I forgot all about it…
So you can imagine Handan’s surprise and the ensuing anger when she went upstairs this past summer to retrieve something from the storage room and found the lighted Christmas star pictured below – the one festooned with realistic-looking faux red berries – totally denuded of its fake fruit!
The rodents had breached the piece of drywall that separated the dark attic void from the storage room.
They were probably hungry. Pink insulation is not terribly nutritious, and that berry-covered star was a smorgasbord they just couldn’t pass up.
They ate every damn fake berry on the star!
These are not intelligent creatures, though Handan may argue that neither am I…from time to time.
Instead of replacing the red berries, Handan wanted to do something a little different this year – a star-shaped pine cone Christmas decoration, but with a twist on the usual format. We considered re-using the same star but eventually decided to make an entirely new one, as it would work better for what we were planning.
If you live in an area with pine cones, you can do the unlighted version of this pine cone craft for $5. All you’ll need to buy are 5 yard sticks from Home Depot. If you want to add starry lights, that’ll bump your total cost to about $15. If you don’t have access to pine cones, they can be bought online, at Home Depot or at any craft store. We used mostly found pine cones, but we added in some cinnamon-scented ones. They make the entire room smell awesome!
DIY Lighted Pine Cone Star
SUPPLIES LIST
Affiliate links are provided below. Full disclosure here.
- 5 yard sticks
- Pine cones
- Starry Lights (optional)
- Small nails
- Hammer
- Staple gun (optional – can use nails instead)
- Glue gun and glue sticks
DIY Lighted Pine Cone Star Tutorial
Yard sticks are perfect for this pine cone Christmas decoration. They are cheap, thin, and their natural wood color doesn’t distract the eye as white would.
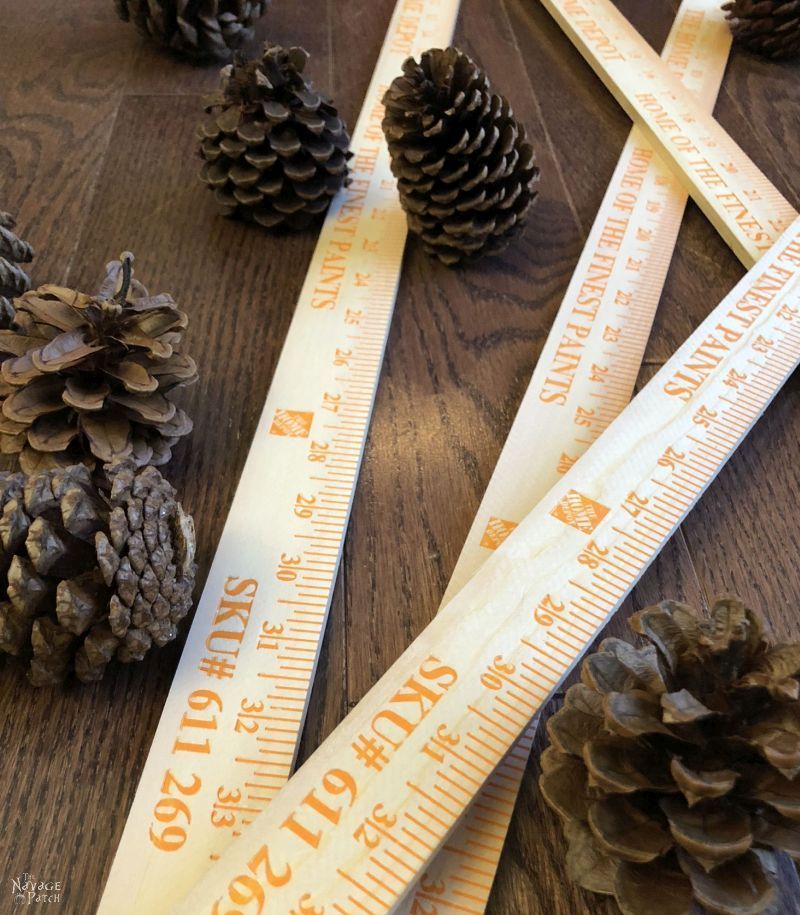
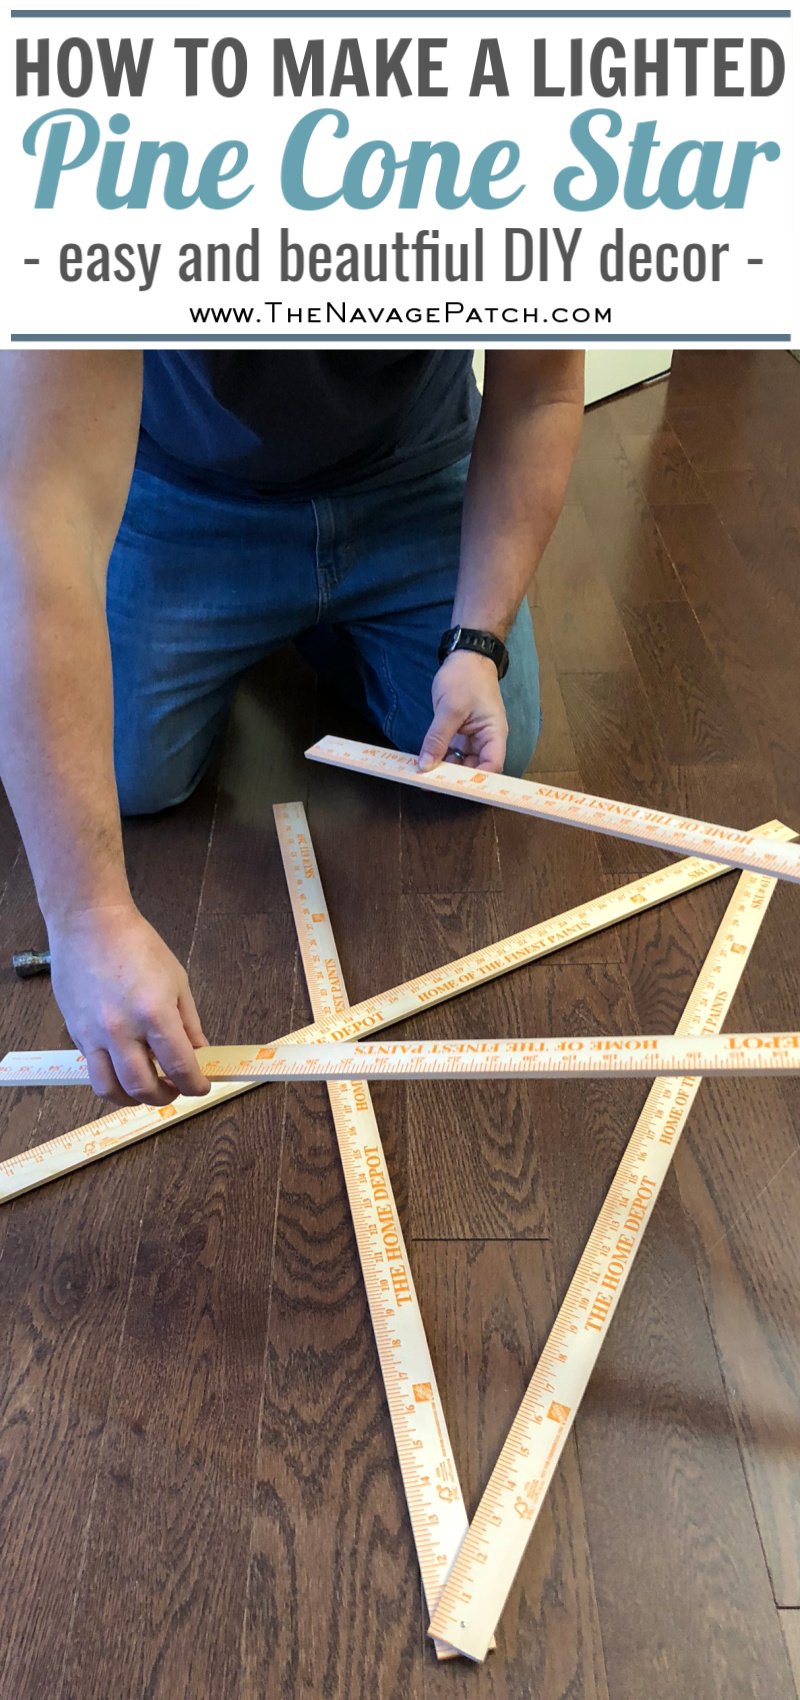
I started by laying two sticks on top of one another and lining them up. I placed a small nail (the nail is shorter than the thickness of two yardsticks) at the half-inch mark.

Since my chubby fingers were too big to hold the nail for hammering, I pushed it into the soft wood until it stood on its own, and then I hammered it in.

The single nail allows the two yardsticks to move freely.

I repeated this with two other yardsticks. I then nailed the last yardstick to one of the pairs, as shown in the picture below.
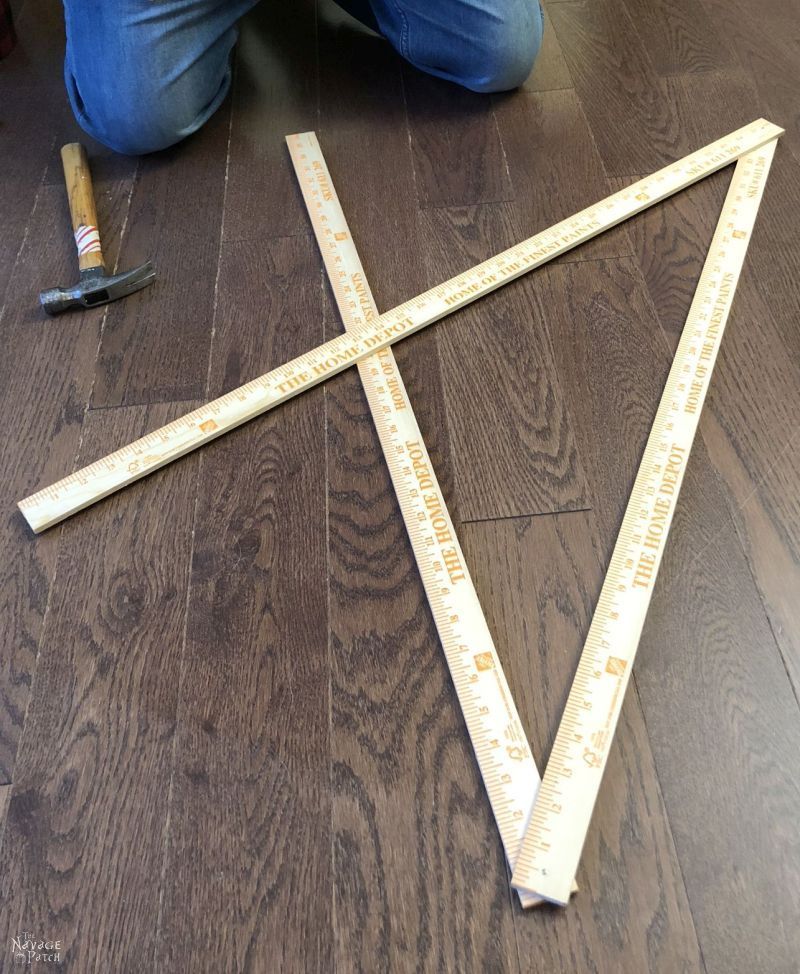
I then laid the other yardstick pair over the ones above to make a star shape.

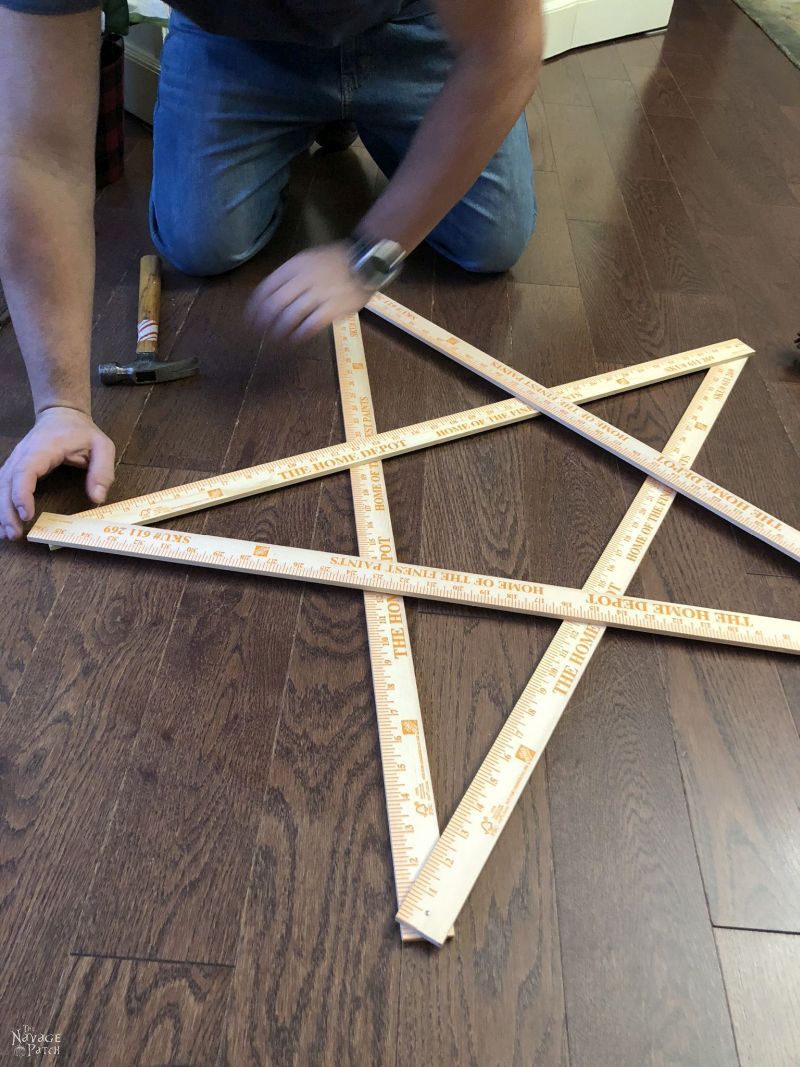
I nailed the two remaining corners.
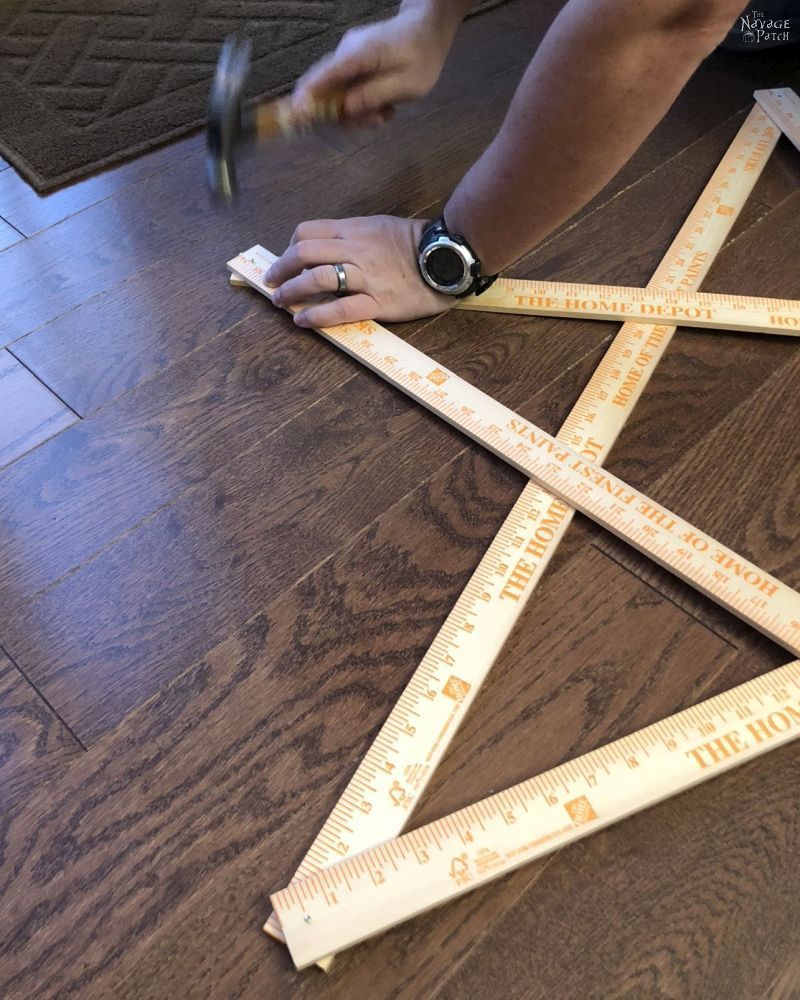
At this point, I had an adjustable star. Instead of using complicated math or measurements to get the star shape exactly perfect, I just eyeballed it. Since a yardstick is 36 inches long, I adjusted the star so that the 18-inch mark was centered on each star point.

Once I had the star shaped to my liking, I locked it in place with a few staples at each point and at each intersection.

Okay, look, we all know that Handan is much better at explaining things than I am, so if you weren’t able to follow along with my photos, Handan made an awesome tutorial with graphics on this star-making process. It’s really much better and clearer than my deranged ramblings.
Do you remember back in the chunky days of spring, when I showed you my long drill bit?

You were impressed. I know.
But, times have changed, ladies! I’ve now added a new weapon to my arsenal!

Gives a whole new meaning to “packing heat,” eh?
With my trusty glue gun in hand, I got down to the business of putting pine cones on the star.
Glue goes on pine cone…
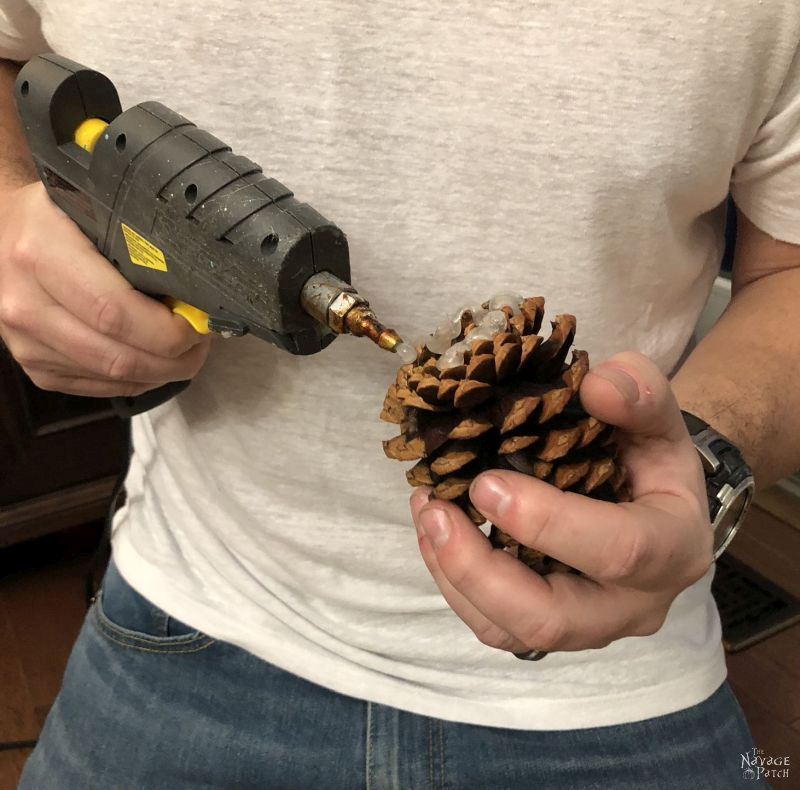
Pine cone goes on star.
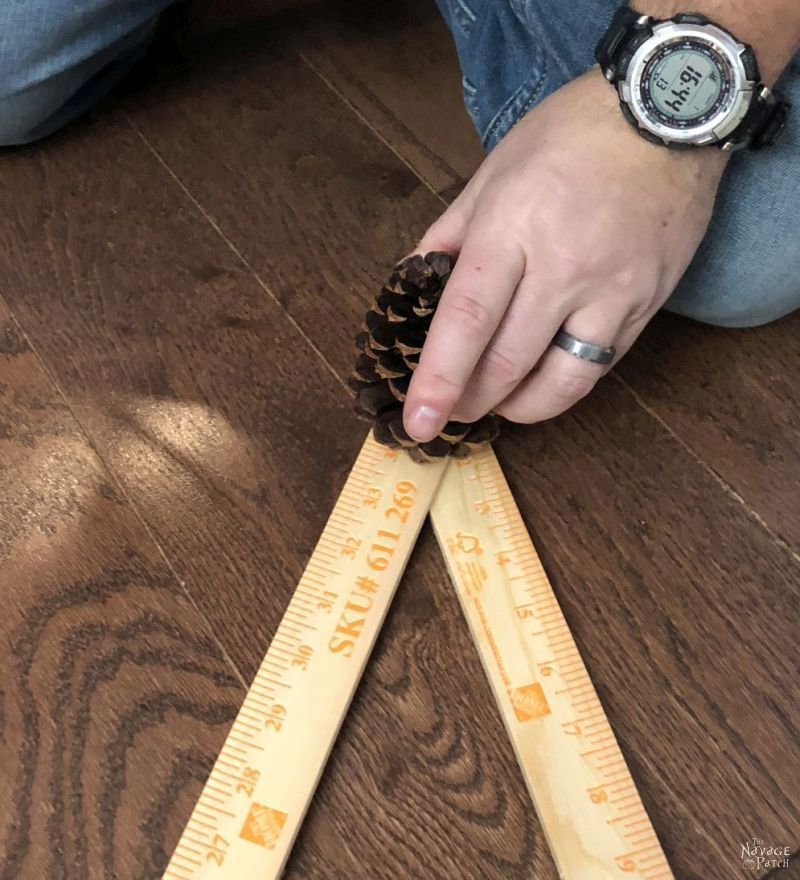
Since some pine cones were much taller than others, I occasionally had to trim them down by breaking off some scales from the bottom. This is easier done with a pair of pliers.

Glue and place, glue and place, glue and place…
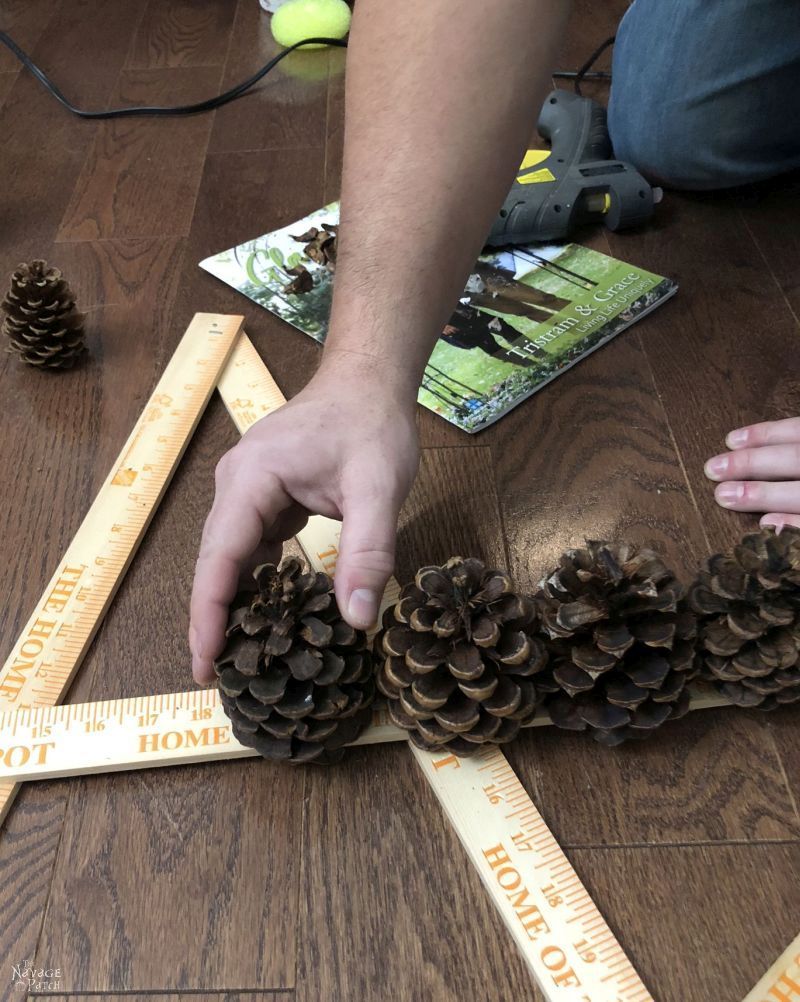
This is a simple pine cone craft, but it does take some time, so if your knees or hips are getting wonky like mine are, you may want to do this part sitting at a crafting table.
According to my highly scientific ranking system developed over many years and sips, I rank this pine cone Christmas decoration as a 2-Martini project.
Some pine cones had concave bases, so I filled those with hot glue and then placed them on the yardstick. It helps to do this project on cardboard, so the excess glue won’t drip all over your table or floor. We learned the hard way before using a piece of scrap wood.
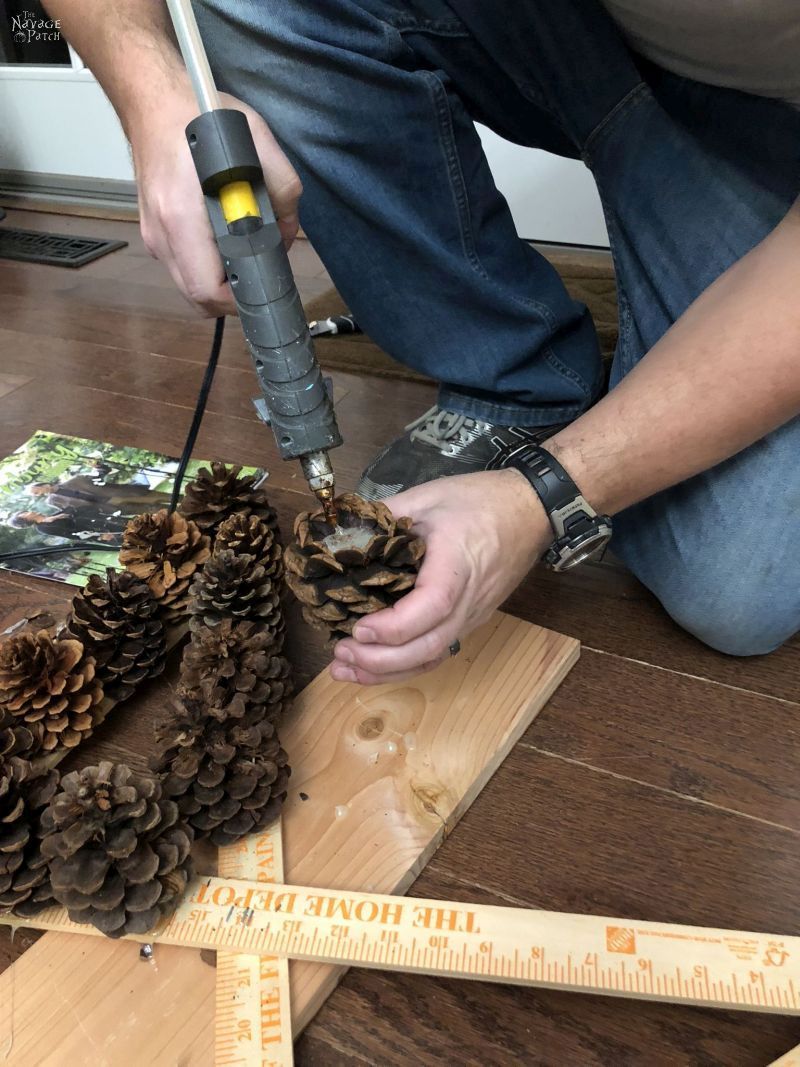
And finally, the last pine cone! Okay, so it not only took two martinis, but I also interrupted the project to cook some steaks on the grill. And of course, after steaks and martinis, I had to change into my pajamas.
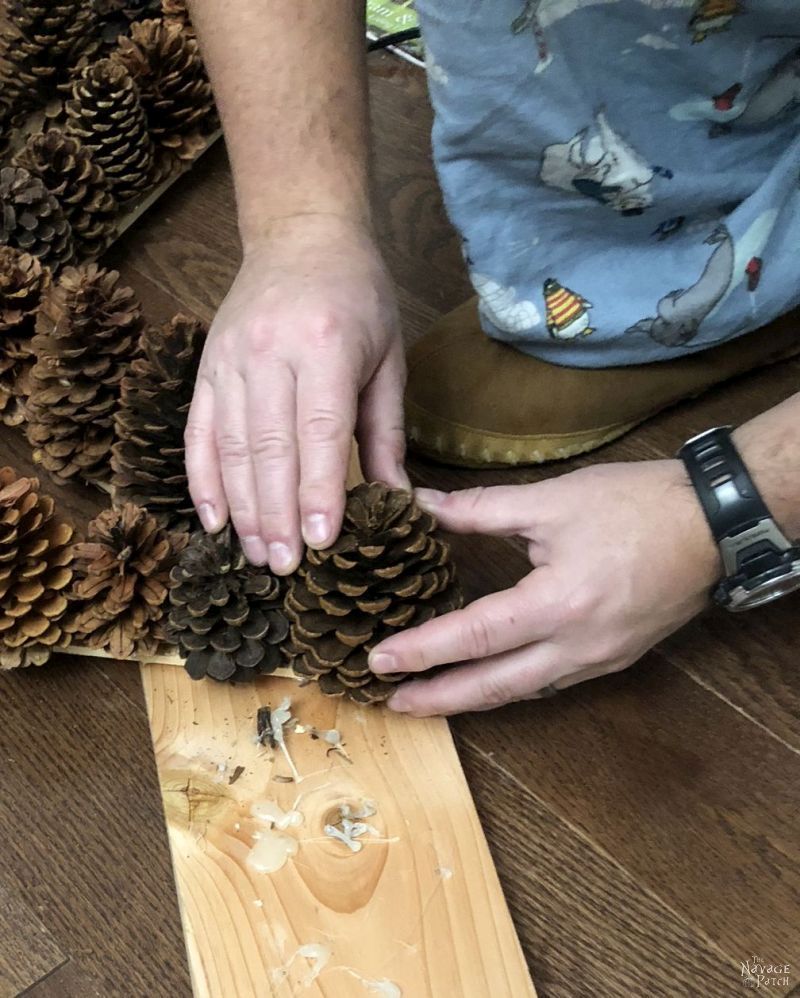
Now who does that remind you of?
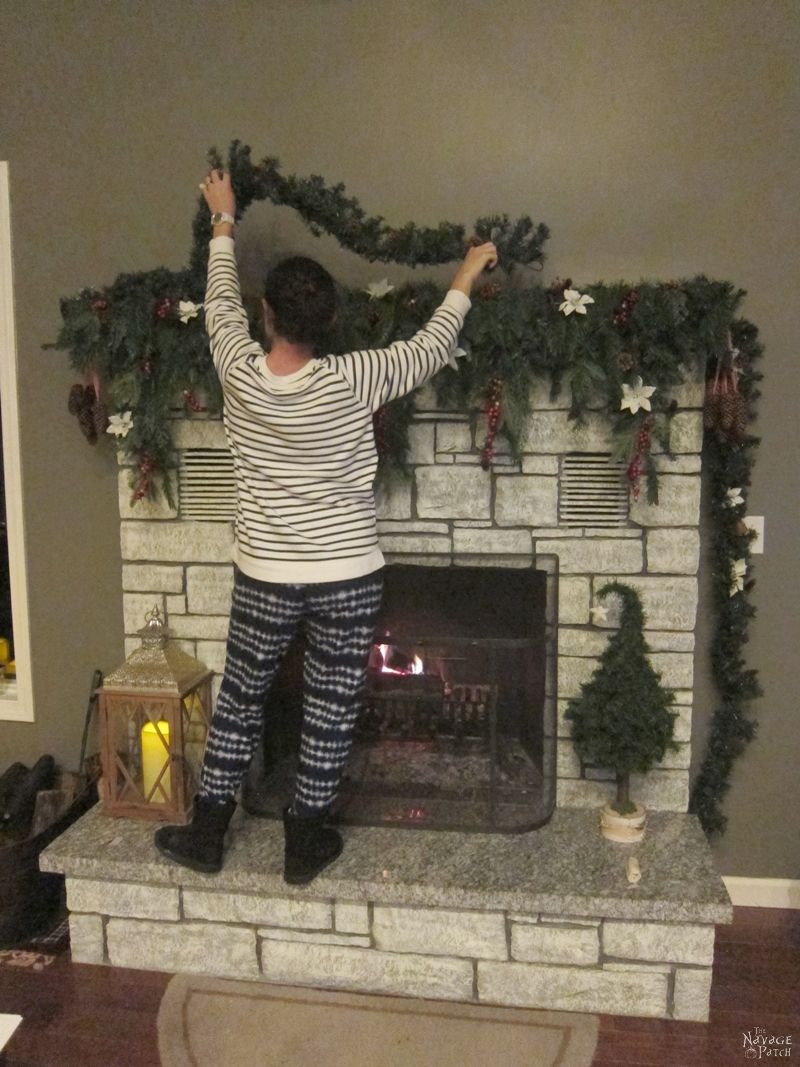
At this point, you’ve got yourself an awesome pine cone star! No one would think any less of you if you were just to display it as is. It would look a little something like this:
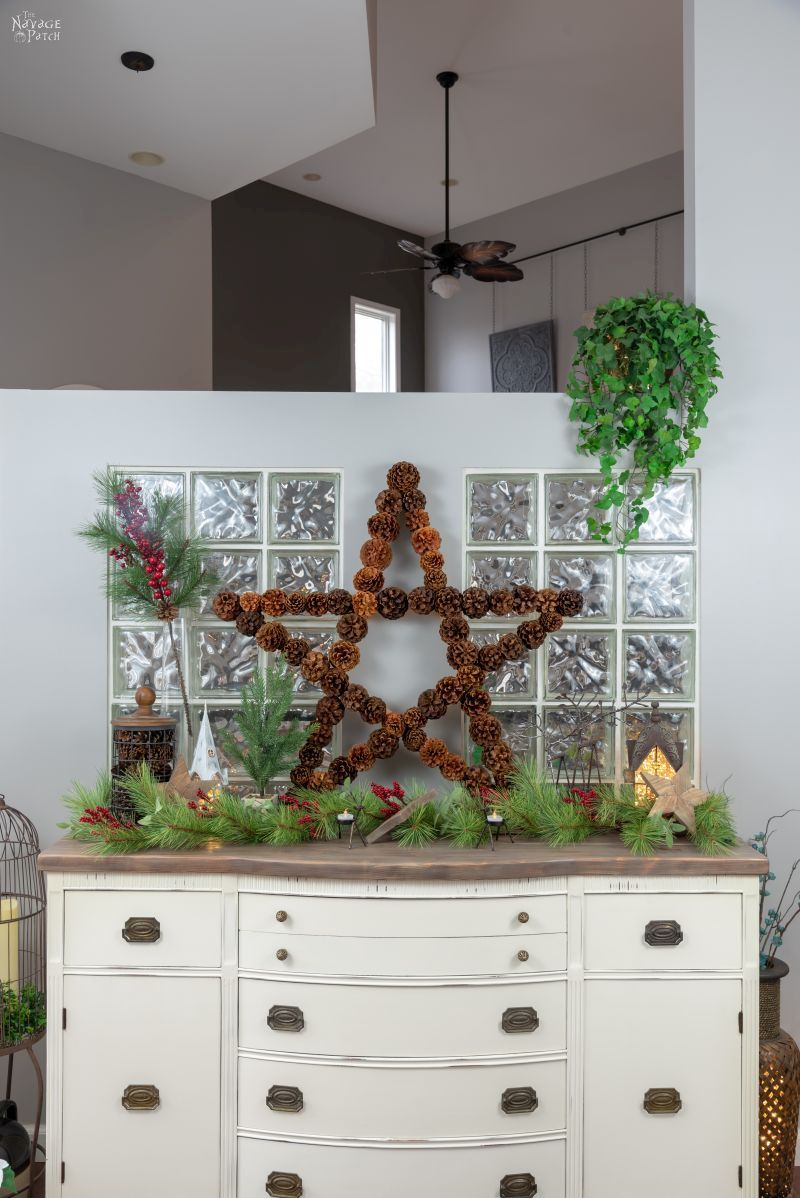


But you don’t really want to stop there, right?
You want yours stand out from all the other pine cone stars out there.
So let’s take it to the next level!
It is a scientifically-proven2 fact that starry lights make things better, and our little pine cone craft is no exception!
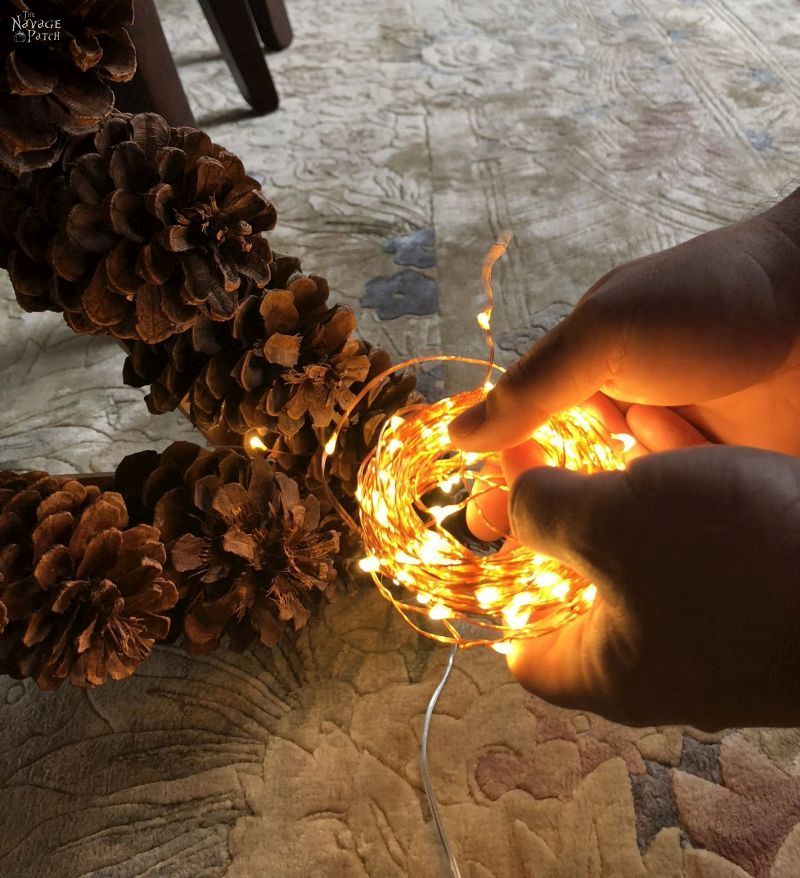
I started on one of the bottom corners – the one closest to the wall outlet. The idea is to weave the lights between each cone.

I had enough for two complete wraps around the entire star.

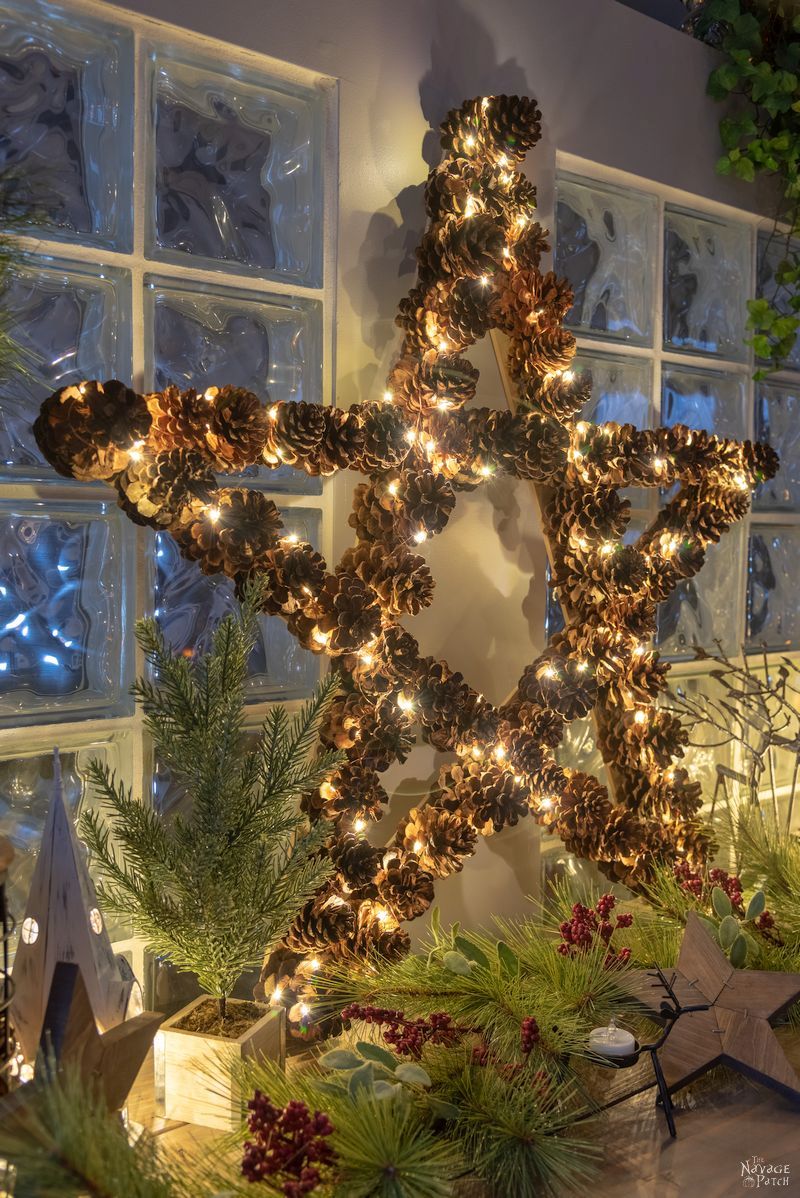
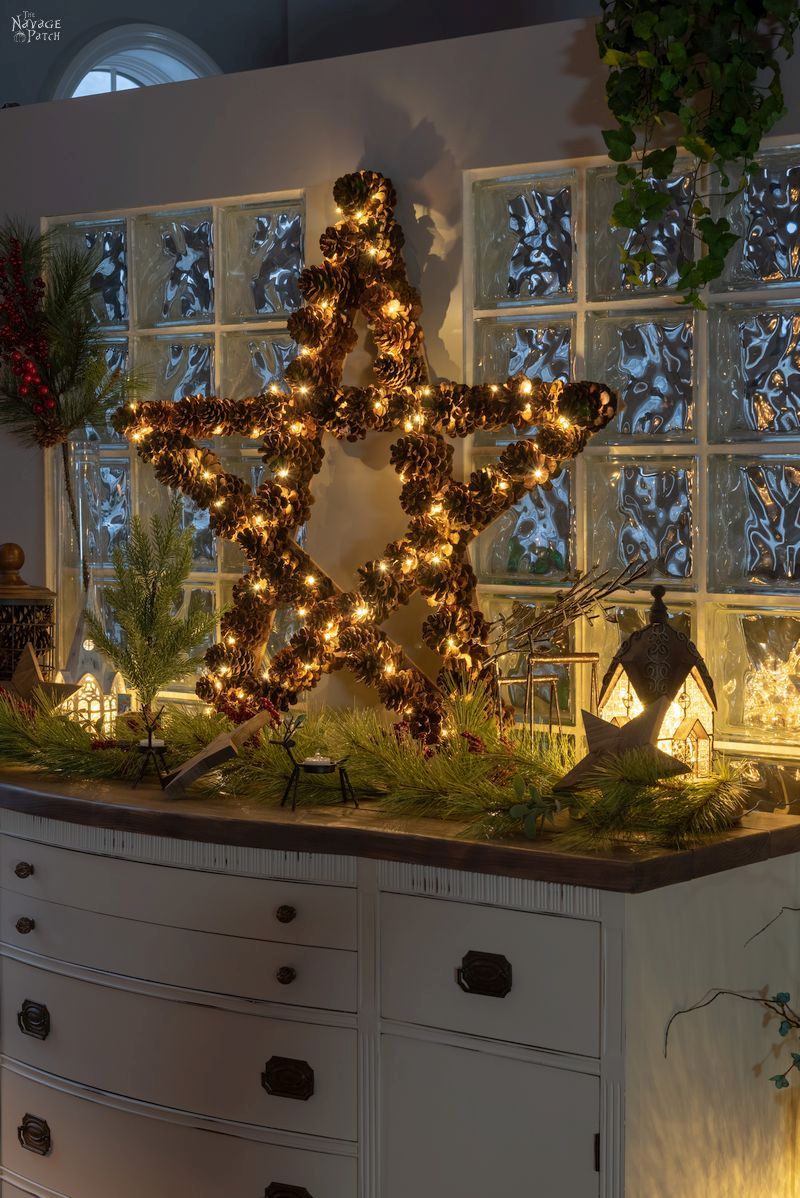
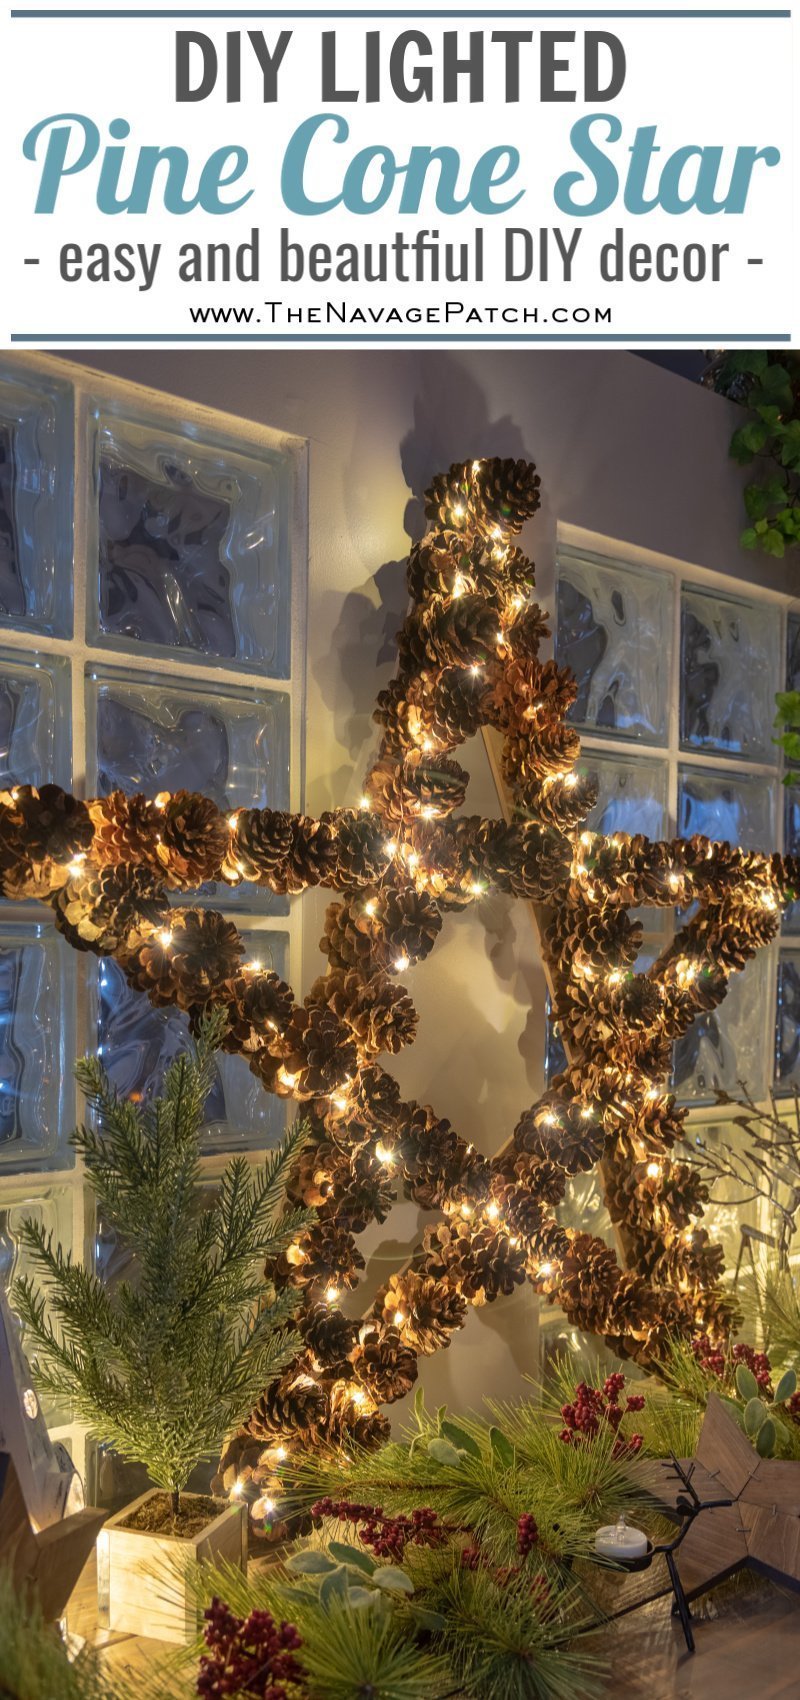
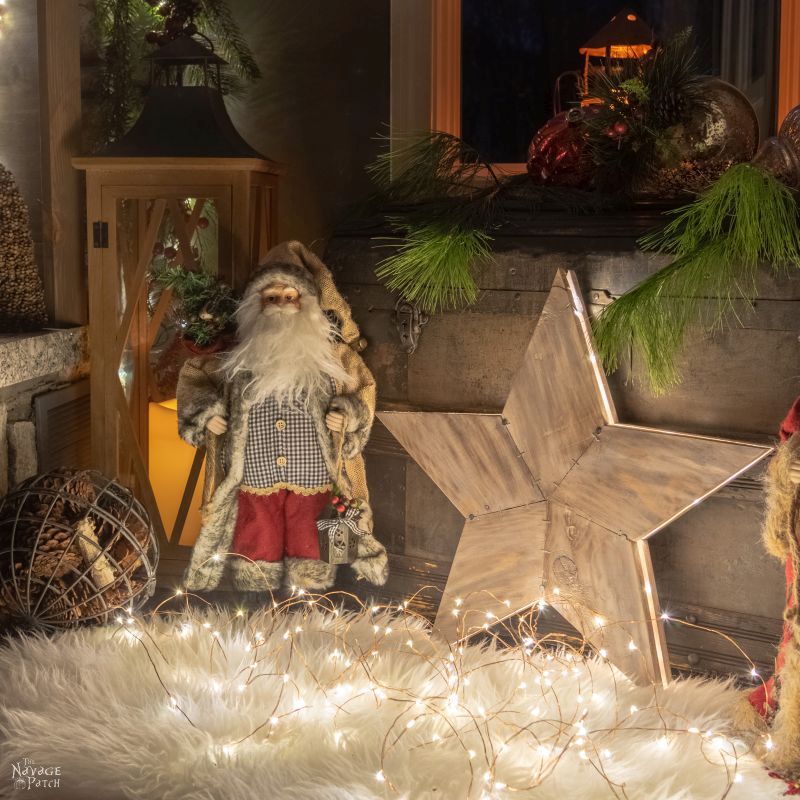
Once I finished wrapping the starry lights, Handan and I placed our new DIY pine cone Christmas decoration back into its new home. It looks awesome in the daylight…
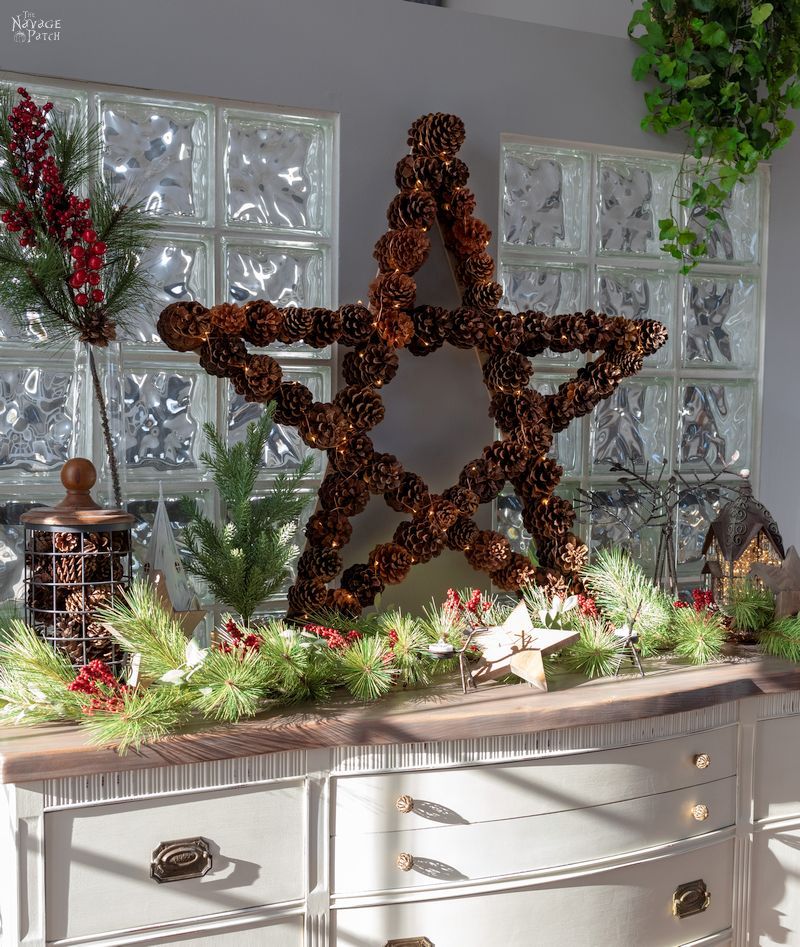
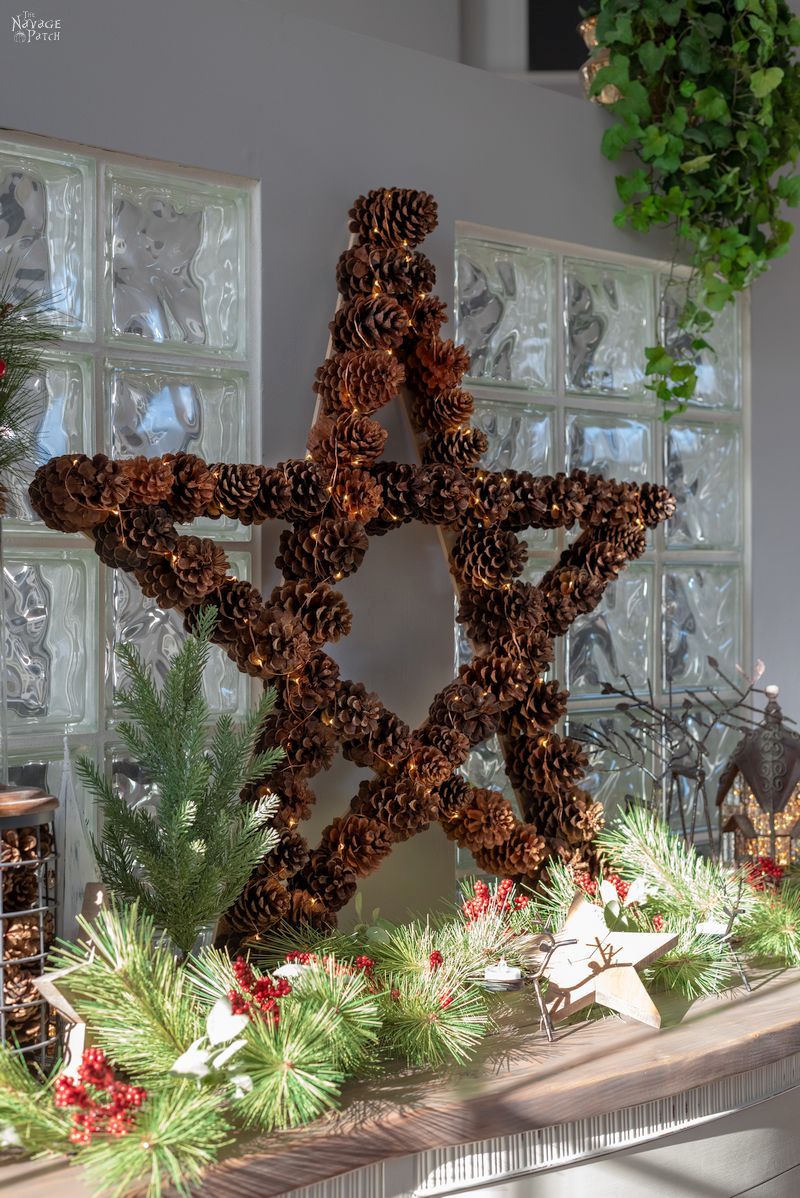
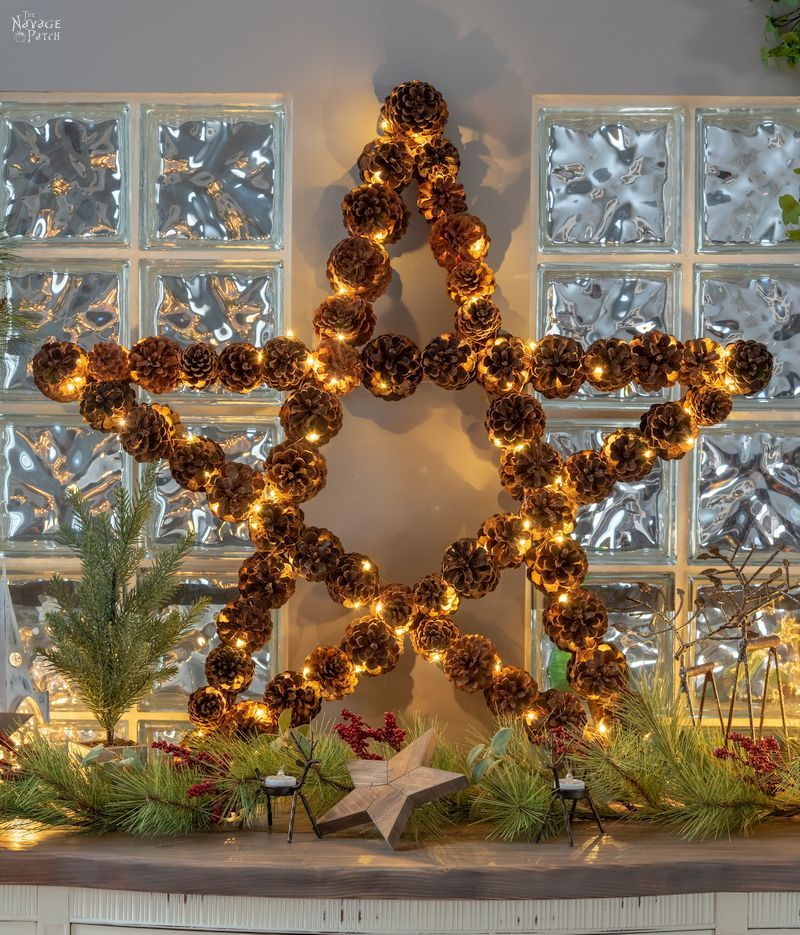
But we were waiting for dark…


1We’ve since installed a proper door to replace the flimsy piece of drywall. This winter, the rodents will stay in the attic and not launch raiding parties into our house!
2No actual scientists participated in the study, but I put on a white lab coat, drank a martini and wrapped starry lights around Handan. She looked awesome.
We love it when you share our posts on Facebook and Pinterest!


What brand is your glue gun?
Hi Cee, here’s the link to our glue gun. We pulled off the rubber part in front to be able to work it easier in small spaces.
Where did you find the cinnamon-scented pine cones? With your “found” pine cones, did you bake them to insure you didn’t bring bugs into the house? Your star is fabulous and now I need to make some for me!! Sharing this pose on Facebook…it is too wonderful not to! Please share this on Hometalk as well!!!
where
Hi Susan, we found the cinnamon-scented ones at Home Depot. The found ones we used were gathered by Handan years ago, and we did bake them back then. They’ve spent most of their time since then in a plastic storage bin waiting for a project like this!
Hi Susan, I usually make my own cinnamon scented pine cones, but I’m out of cinnamon essential oil, hence we bought a bag of it. If you want to make your own cinnamon scented pine cones, mix a few drops of cinnamon oil with water and spray it on the pine cones. Put those pine cones in a bag and after closing the bag, leave it over night. By the next morning, all that scent will be soaked up by the pine cones 😉
I love it, Greg. And, I thought YOUR directions were quite easily understood. I didn’t check out Handan’s tutorial, but I’m sure it’s quite good, as well. It’s nice that you considered not everyone is craft-experienced, or that it may be their first project. The two of you are awesome!
Well thank you so much Audrey! 🙂
Greg and Handon that is beautiful. I like it better than the berryless fake star.
Thank you, Susan, we think so too! 🙂
Excellent!! Love the instructions and the project. The pictures are done so well! I always look forward to seeing new things from y’all. Well done.
Thank you so much, Karen!
Great job ! I love the idea and so simple Thanks for sharing.
Thank you so much!
Such talent in you two! Both in your crafts and your writing! What a team! You always inspire me while making me laugh, thank you for being such a positive light through sharing your daily endeavors and experiences. Now I am off to build myself a lighted pine cone star!
Thank you for such an inspirational comment! We hope to keep inspiring you for a long time to come!
oh my gosh, you two are going to motivate me and my one good arm to make something this Christmas, i love, love this and i bet your room does smell awesome, i love the cinnamon pine cones, too buy some every year you guys are awesome, ho,ho ho xx
Hmmmm….one-armed crafts….that’s not a bad idea for a new category, Chris! 😀
Greg Pajama Counter #1 ?
Ha! Rodents yuck. I’ve had my share. Pack rats collecting our drill bits, pens/pencils, christmas ornaments, and it even chewed through my favorite PURPLE lights. Stinkers.
Hey, don’t forget, guys like your posts too! Especially the furniture repurposed ones!
Happy holidays you two crazy kids.
Ha! It is #1!! Thank you, Karen and Happy Holidays to you and your family!
Now, now, we all know it isn’t about the size of the tool, but rather how it is used.
And used here, it made one lovely Christmas decoration. Simple but elegant. I definitely agree that everything is better with lights. I mean, if you can’t festoon everything in twinkle lights at Christmas, when CAN you?
I used to live right across the road from a pine plantation back in the day. Pine cones everywhere. Now I wouldn’t even know where to begin looking! Not a common sight around this neck of the woods. I think an equivalent project for the Australian crafter would be to use 30cm rulers and honkeynuts (gumnuts) from our Eucalyptus trees (or maybe acorns for a smaller star up your way!). Everything ends up smelling like eucalyptus here over Christmas because of the summer heat. The trees drop branches, leaves, and nuts everywhere (never park your car under one!).
Great project. Makes a grand statement on the wall with the lovely green boughs.
Oh my God – Honkeynuts! That’s the best word I’ve encountered in years! Oh, I wish we had honkeynuts here, so we could craft with them, and then I could write that word over and over. Thank you, Jay, for another awesome comment! (btw – I’ve started the book. We’ll see where it goes from here!)
Love the pinecone Star! Great instructions too. Also could you tell us where you got the very interesting lit up little buildings on either side of display.
Thank you so much, Judy! You can find those lanterns on Amazon and EBAY – they are called Architectural European House Lanterns. Here are the links to each seller: Set Of 3 Glass And Metal Candle Lanterns on Amazon and Architectural European House Lanterns on EBAY.
Awesome project. I’m going to build a starry light pine cone star too! What length were the starry lights you used ??
Thank you, Summer! Here is the link to the starry lights we use: https://amzn.to/2Eekocn
You guys are very cute and that pinecone wreath is gorgeous. Thanks for the directions!
Thank you, Susan! 🙂
You did an awesome job on the star. It turned out beautiful, with or without the lights. I use to get my pine cones from my daughters house until they moved. Now I need to find another free source, I see so many great project made from pine cones that I would like to make.
Thank you, Linda! I used to think Handan was nuts when she’d go out in the cold for hours picking up pine cones, but now I see she was onto something, lol!
This is one gorgeous pine cone star! It’s really massive and beautiful and the twinkle lights sets it off perfectly! I would have loved to see Handan wrapped up in starry lights, too! Merry Christmas!
LOL, thank you, Gail! Merry Christmas to you and your family! 🙂
Very beautiful. Husband is so funny!
Not only funny, but funny-looking. It’s a win-win! 😀
Im new today ..I think its beautiful!!
Welcome to The Navage Patch, Patricia, and thank you so much! 🙂
Greetings!!
Great looking star and we have tons of cones to attempt this!!
You and your wife are so creative and talented in so many way I always enjoy your easy to follow entertaining tutorials even if I can’t do them all!!
I was however wondering if you have a tutorial on the little grinchy looking tree on the right of fireplace in picture #20. It looks perfect for what I have in mind!
Thanks in advance and Merry Christmas!!
Pam
I don’t have a lot of room since my husband and I live in a travel trailer. I was wondering about how to make the star smaller. Also, instead of pine cones, can I use the small round burrs (not sure if that is what they are called}. What do you think?
Margo
I know exactly the burrs you mean, and I think they’d be perfect. You can use anything to make the star, even sticks. They just need to be straight and the same length. Good luck!
I’m assuming this can be mounted outside the home?
Hi Helen, if protected from the elements, then yes, but I don’t know about exposed to the elements. First off, the yard sticks wouldn’t last in wet weather. Second, I just don’t know if plug-in fairy lights are rated for outdoor use. My gut feeling is no, but I may be wrong. It is something that would need to be determined from the manufacturer. However, if you were to swap in outdoor Christmas lights for the fairy lights, you’d be good on the electrical front. You’d just need to either shellac/lacquer/poly the yardsticks or find something more weather-proof. Hope this helps!