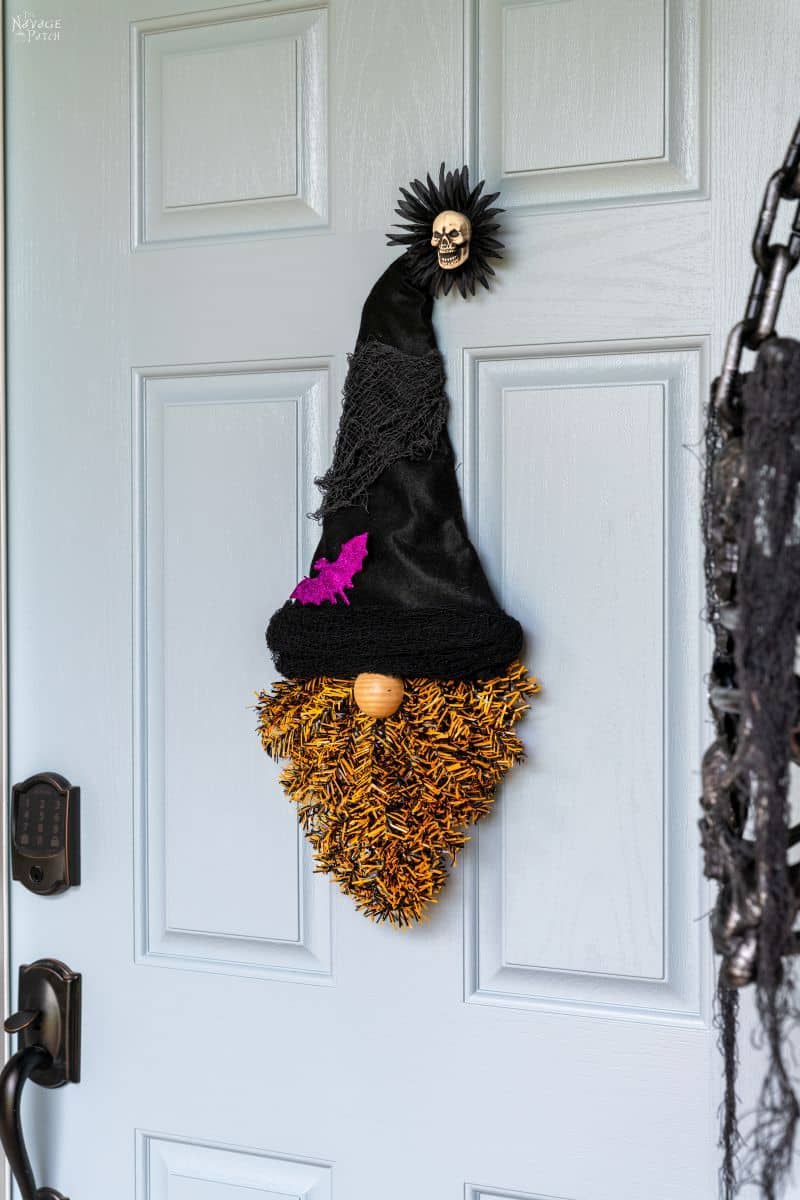
Dollar Tree Halloween Gnome Wreath
This DIY Dollar Tree Halloween gnome wreath costs about $7 and is one of the easiest and cutest gnome wreaths ever!
Everywhere I go, people shout at me, “Gnome oar! Gnome oar! Gnome oar!”
At the gas station, in the grocery store, strolling down the beach, and outside on my front lawn, a chorus of “Gnome oar” follows me wherever I go.
It seems my legions of adoring and screaming fans want me to make a nautical-themed gnome! Perhaps in a boat – maybe a rowboat?
I can picture him now: gray, salt-rimed beard blowing in the westerly breeze as he rows an old dingy across the fjord to find a big-nosed babe to keep him company on those long and chilly autumn Nordic nights.
Yes, gnome oar indeed! Rowing and rowing into the wind, oars dipping rhythmically into the silent sea, and…
Sorry, what was that?
They’re not saying “gnome oar?”
They’re saying what, now?
Oh!
Oh, my…
Well I say “tough noogies!” to the gnome-deniers and naysayers! As long as these lungs draw breath and these chubby fingers are able to squeeze the trigger on a glue gun, I’ll keep pumping out gnomes every fall and winter.
Now, before we get to this simple and spectacular Halloween gnome wreath, I’ve got some clutter to clear off my front lawn…
DIY Halloween Gnome Wreath SUPPLIES LIST
Affiliate links are provided below. Full disclosure here.
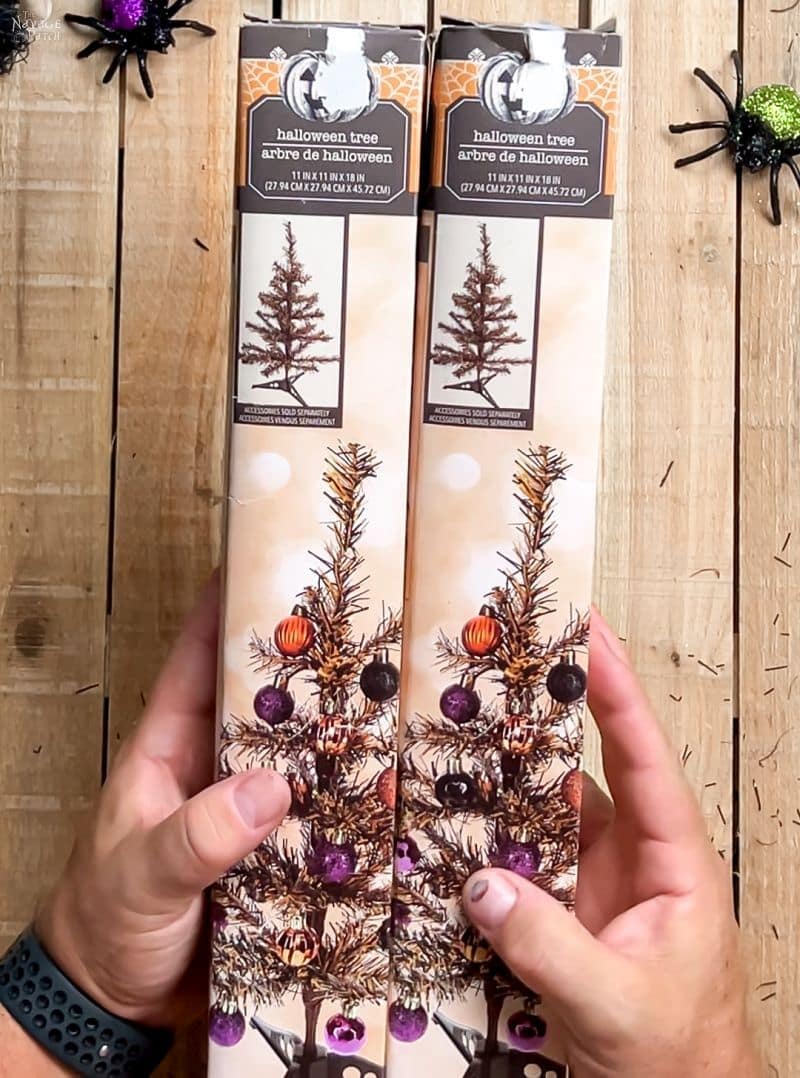
- 2 Halloween Trees from Dollar Tree
- Christmas Santa or Halloween witch tinsel hat (Dollar Tree)
- Small zip ties (Dollar Tree)
- Old fabric, burlap or black felt for the gnome hat (Dollar Tree)
- 2-inch Split wood ball, 1/2 ping pong ball or similar for nose
- Hot glue gun
- Creepy Cloth (Dollar Tree)

Dollar Tree Halloween Gnome Wreath VIDEO Tutorial
Watch our short video below for an overview of our Dollar Tree Halloween gnome wreath before you read the detailed step-by-step tutorial.
On Tiktok
More Easy DIY Halloween Decor Ideas
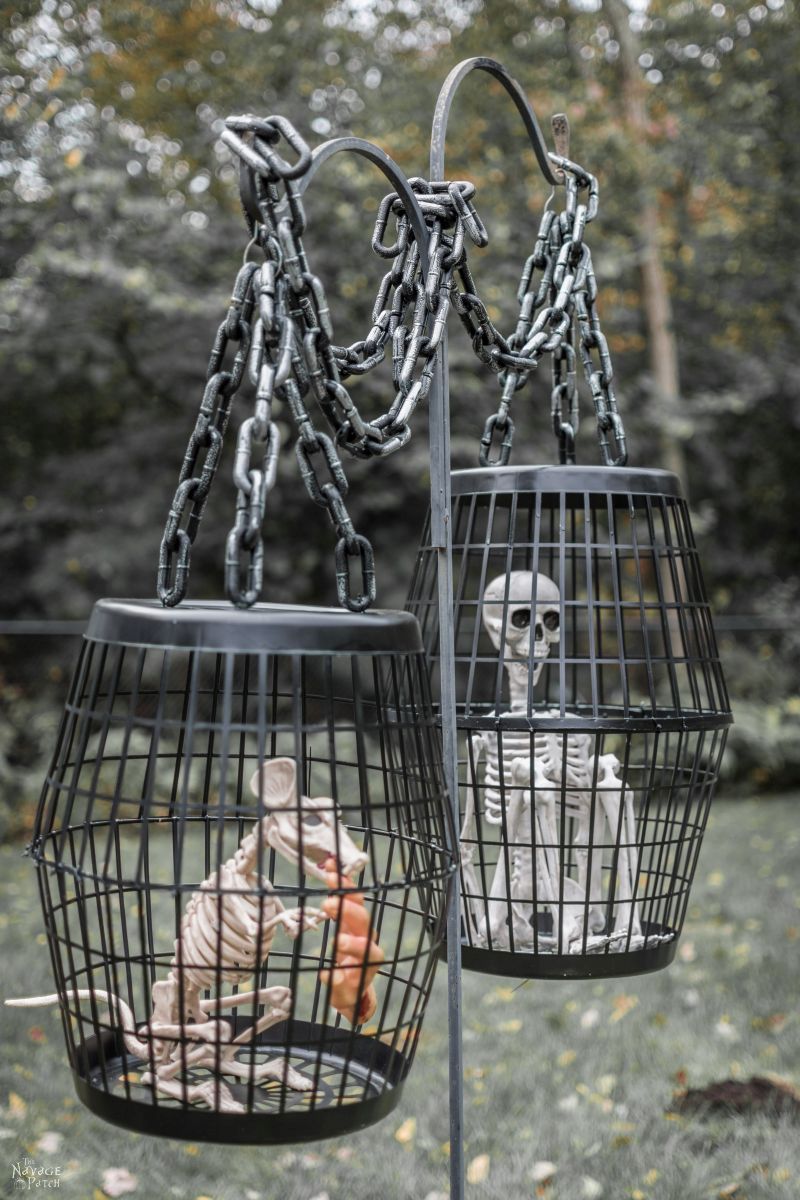

- Hanging Cage Halloween Prop
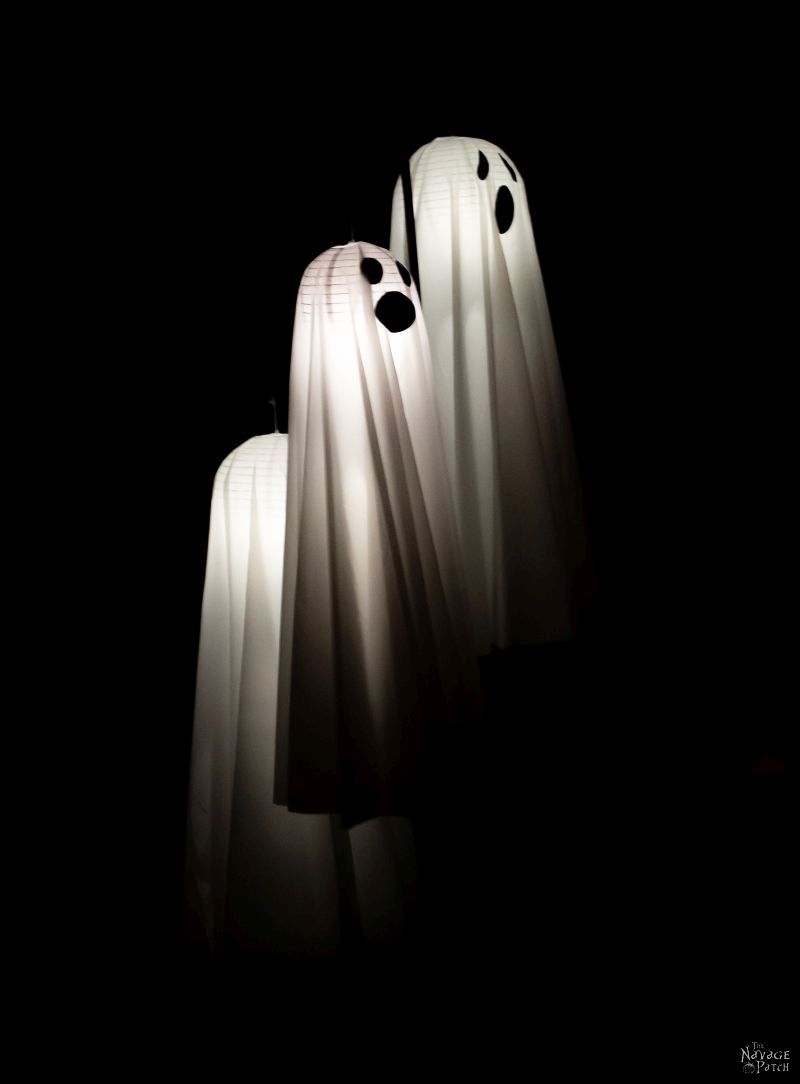
- Easy Lighted Hanging Ghosts (A Dollar Store DIY)
- Free Vintage Movie Monster Printables
- Gallery Of The Faceless – Easy Halloween Wall Decor
- DIY Cousin Itt Pathway Light
- Vintage Witch Printables
- DIY Lighted Witch Hat (Grandin Road Inspired)
- Apothecary Jars And Free Printable Labels
- DIY Dollar Tree Halloween Lights
- Floating Potion Bottle
- DIY Witch Legs (Grandin Road Inspired)
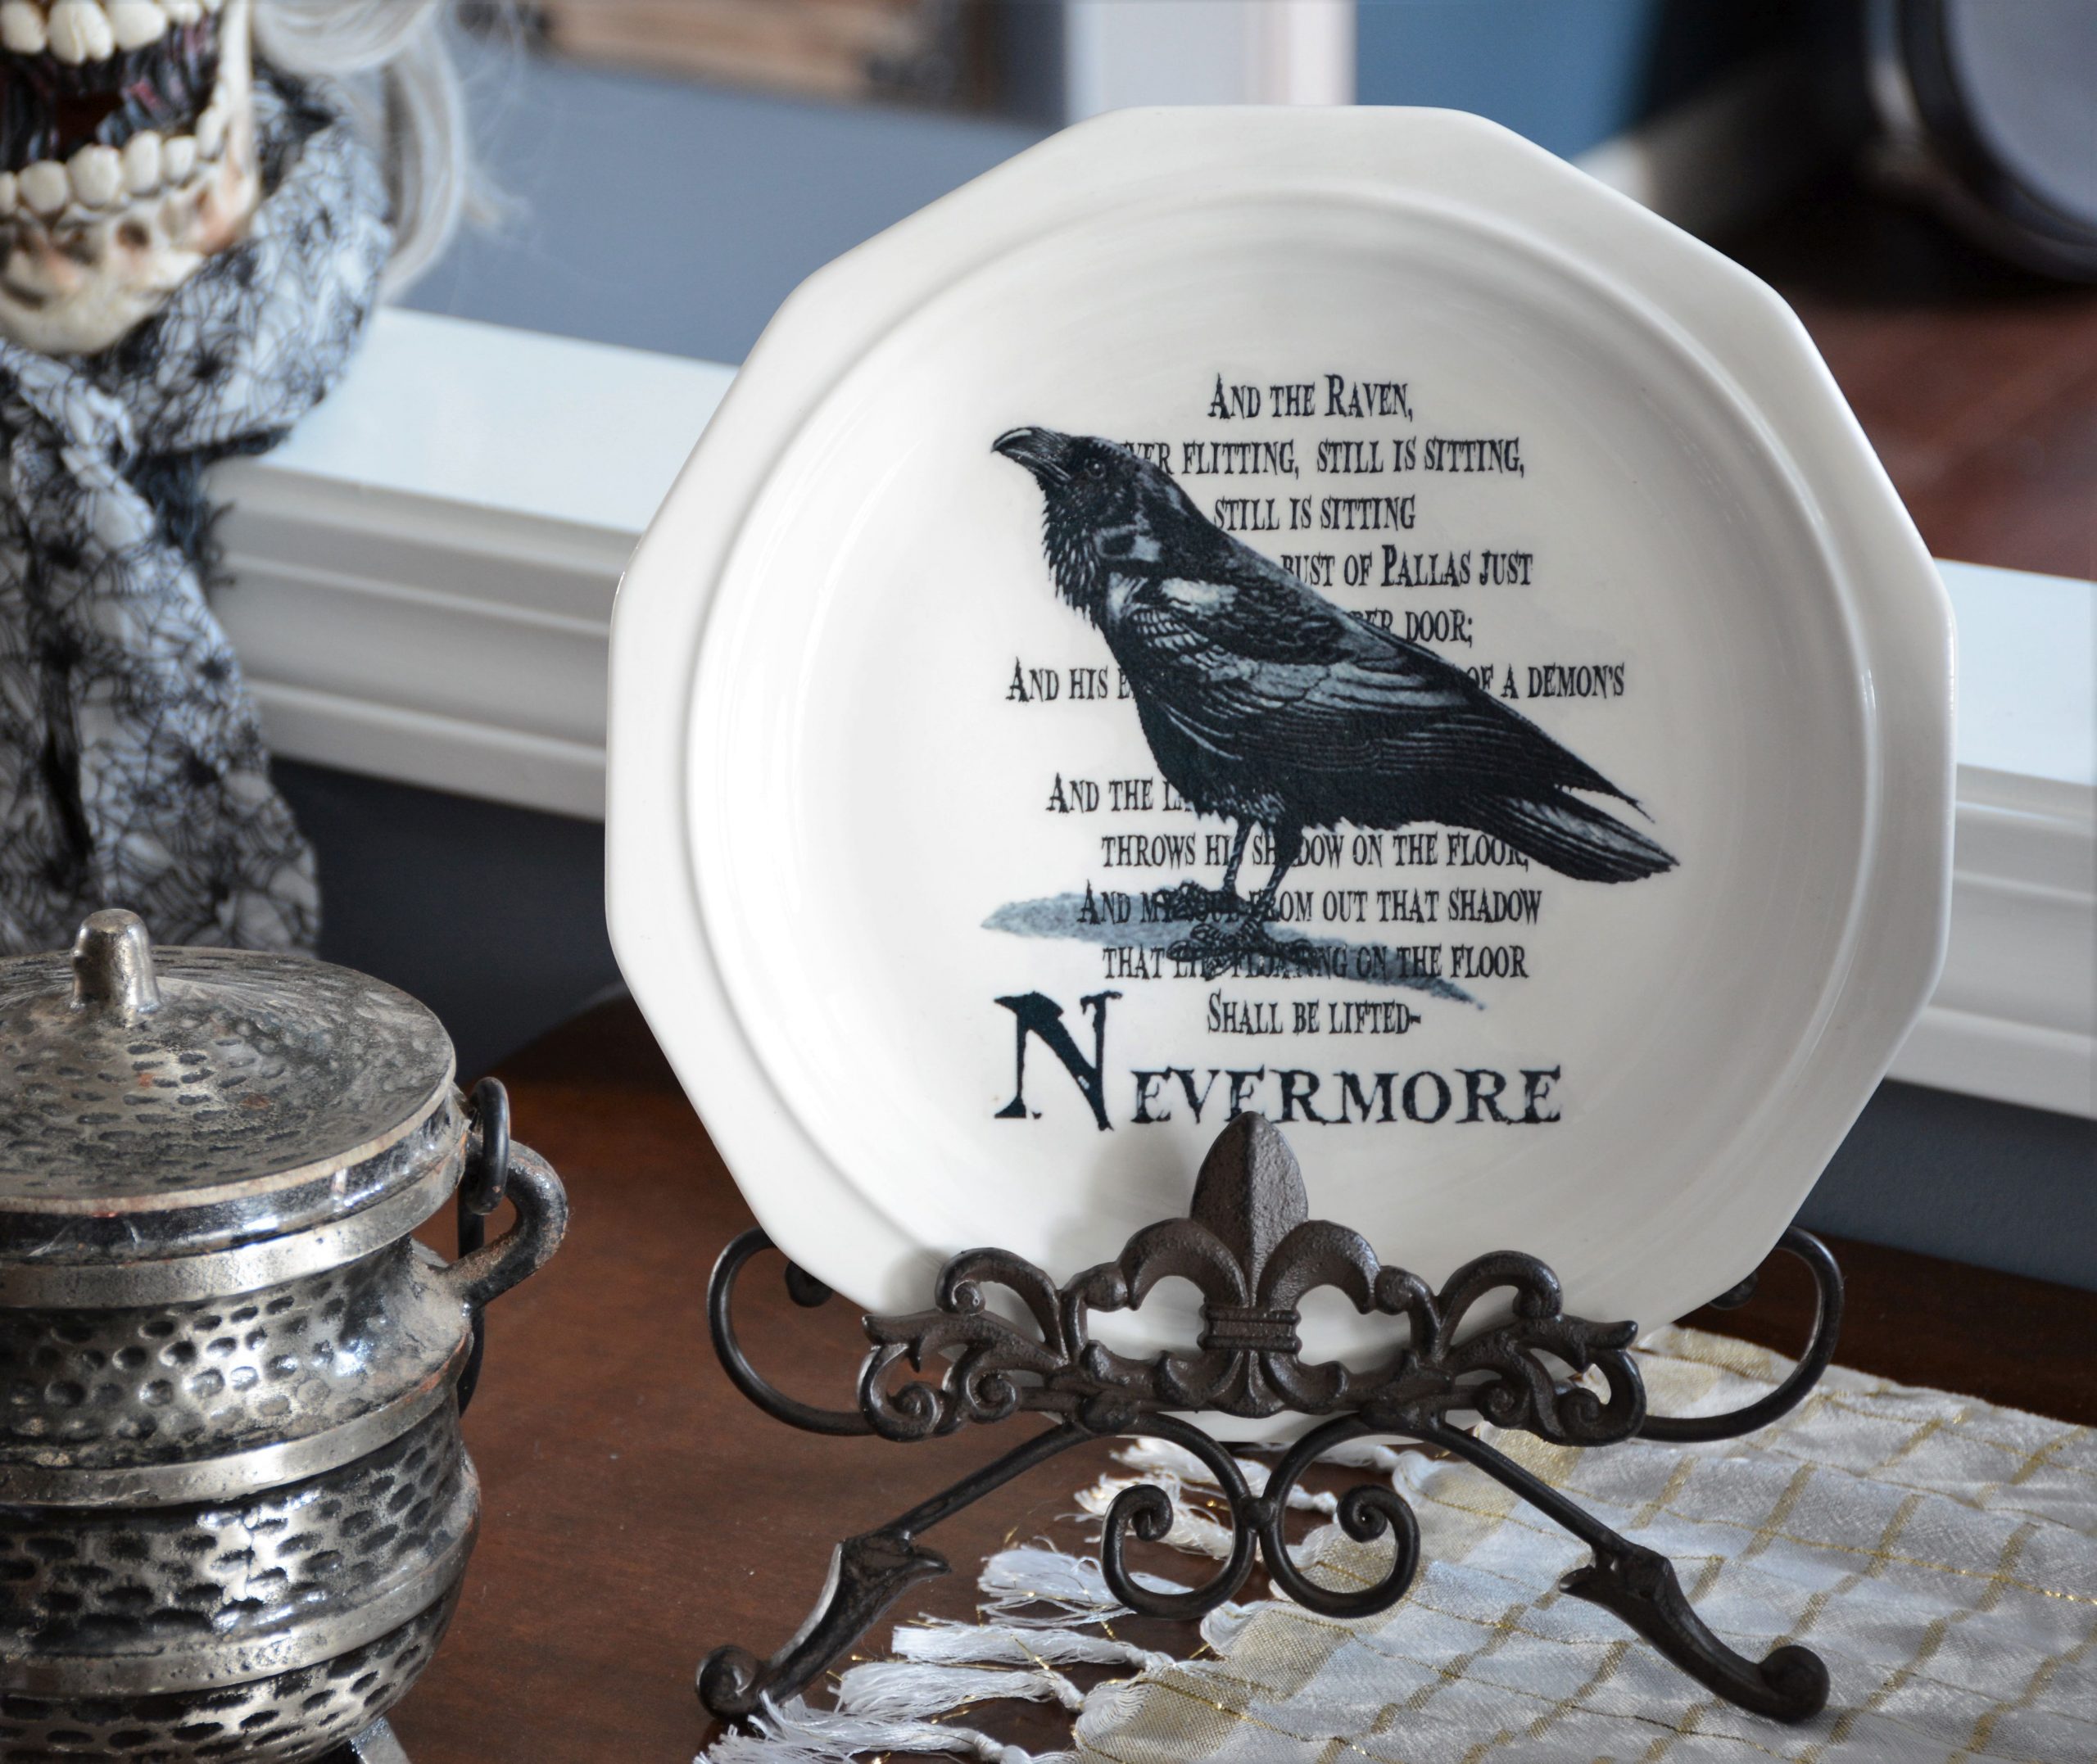
- Dishes Of Darkness: Pottery Barn Inspired Halloween Plates
We love to see our DIY Halloween decor out in the wild! If you make this Halloween DIY decor for your home, take a picture or video and post it on Instagram, be sure to tag us – thenavagepatch
Dollar Tree Halloween Gnome Wreath Tutorial
Step 1 – Prepare the frame
I didn’t need the Boo or the buckle, so I tore them off and tossed them. For other wreaths, I pulled off the tinsel. You could if you want to, but it won’t show under the fabric I used for the hat. On a side note, I feel like Dollar Tree could sell this exact same hat as a pilgrim hat if they just omit the Boo. I remember dressing up as a pilgrim in grammar school. Gotta love those tricorn hats!

Step 2 – Make the gnome hat
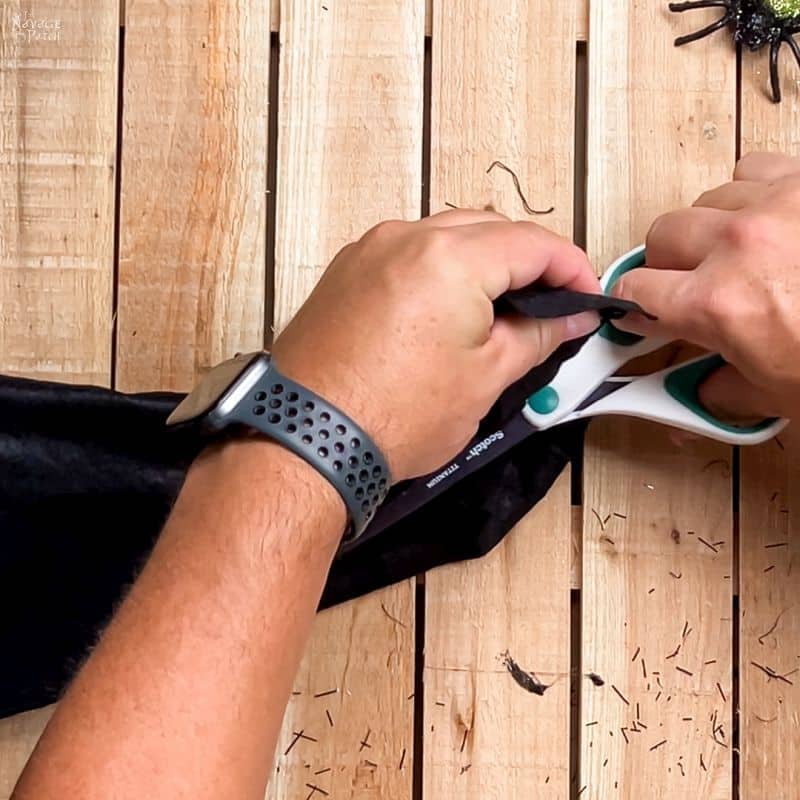
To give the gnome’s hat a better shape, I cut off the ends of the witch hat.

We debated making the gnome’s hat from creepy cloth, but this black felt from Dollar Tree won out in the end. On another side note, I never thought I’d be debated the proper Dollar Tree material to use to make a hat for a Halloween gnome wreath at age 50. Most men my age wear stifling wool suits and demand increased productivity of their underlings. I play with hot glue and make people laugh.
Who’s got the better job?

A laid the felt on the hat frame to get a sense of how much I’d need.

After trimming the excess, I put some hot glue on the underside of the felt.

Then I wrapped it over and around the bottom bottom edge. Normally I make a hat brim by rolling the fabric over on itself a few times, but in this case, I’m making the brim from creepy cloth, so that step wasn’t necessary.

I flipped it over and glued down the corners.

Then I glued the rest of the fabric to the frame.


I trimmed the excess fabric that had bunched near the top.
And then I glued the loose ends.

I present to you – a boring black hat that no witch, wizard or Halloween gnome would be caught dead wearing. Fortunately, it would be boring for long.

Step 3 – Make the gnome beard
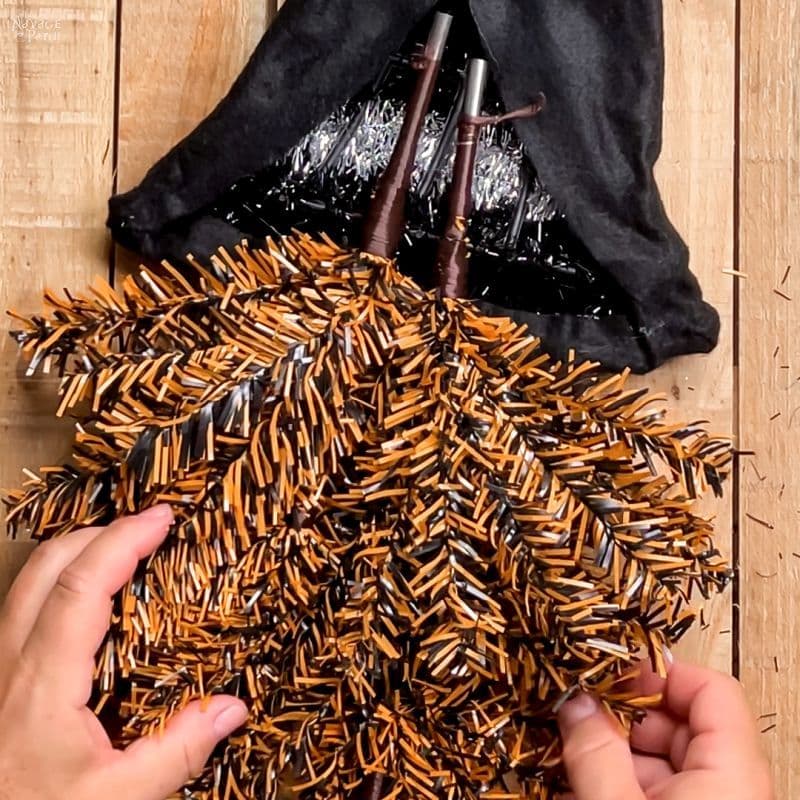
For the beard, I used two Dollar Tree Halloween trees. These are what Charlie Brown would have if he ever put up a tree for Halloween. They even match his sweater!
I bent all the stems over to one side.

Then I joined the two mirrored halves together.

Step 4 – Attach the beard to the hat
I flipped the beard over the placed it on the back of the hat.
Then I secured it in place with a bunch of hot glue.


After gluing, I felt like there was a lot of torque on the glue joints, so I reinforced them with zip ties.

I secured the two beard halves together by twisting the ends.

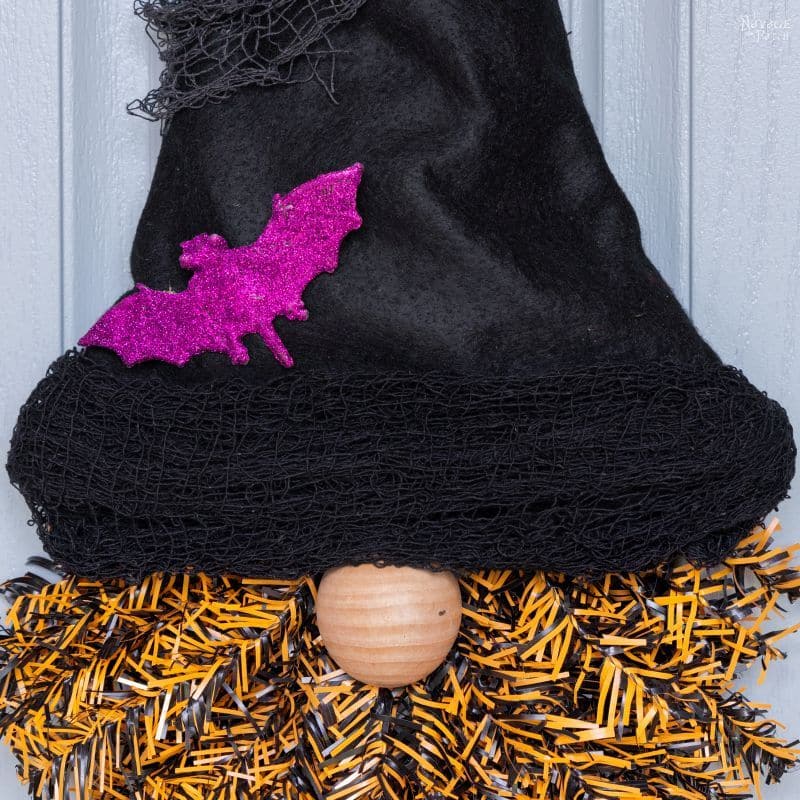
Step 5 – Make the brim
For the brim, I rolled up some black creepy cloth and glued it on.


Step 6 – Add a nose
I used our go-to gnome nose – a 2-inch split wood ball.

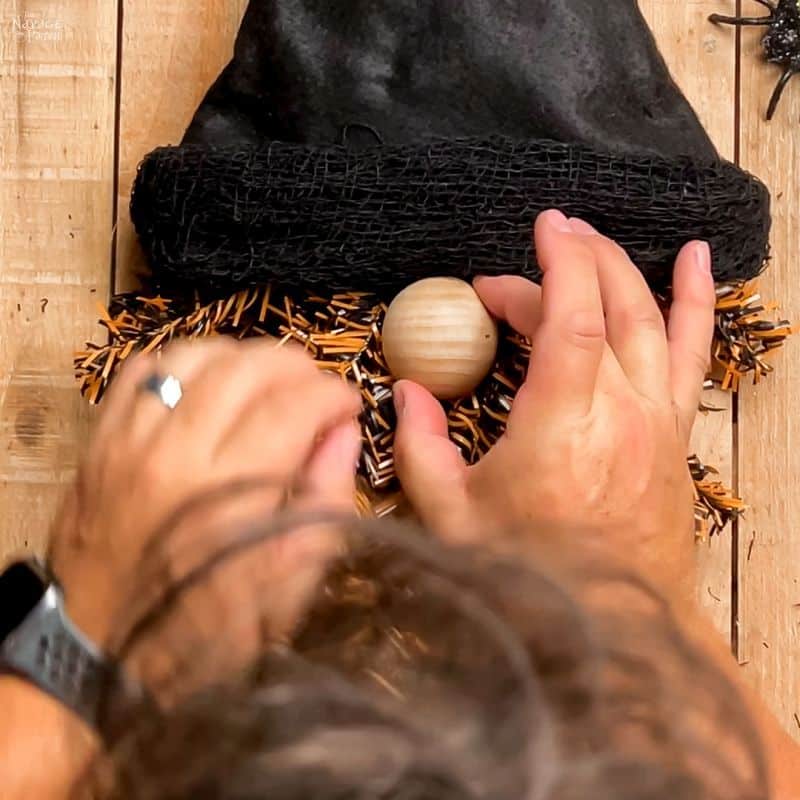

I put a small dot of glue on top of the nose and stuck the creepy cloth to it.

If you love gnomes as much as we do, be sure to check out our other gnome tutorials!


- DIY Dollar Store Lighted Mop Gnomes
- DIY Gift Box Gnomes
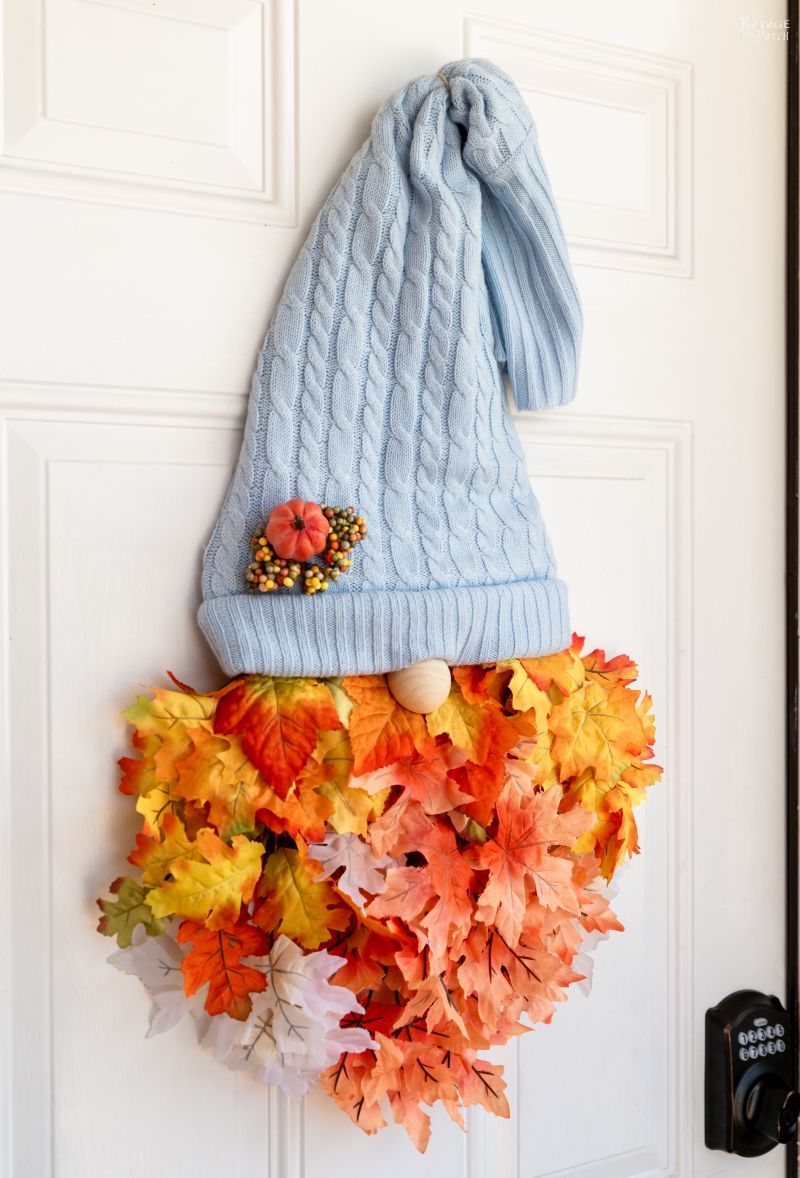
- Easy DIY Dollar Tree Fall Gnome Wreath
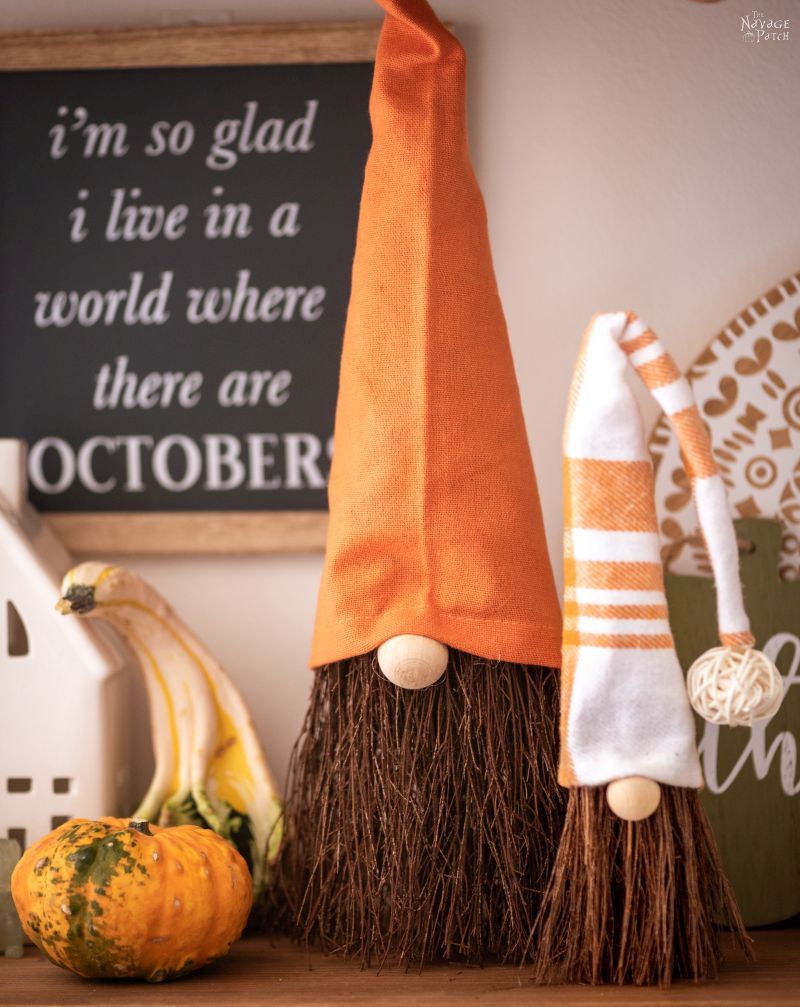
- DIY Scented Broom Gnomes
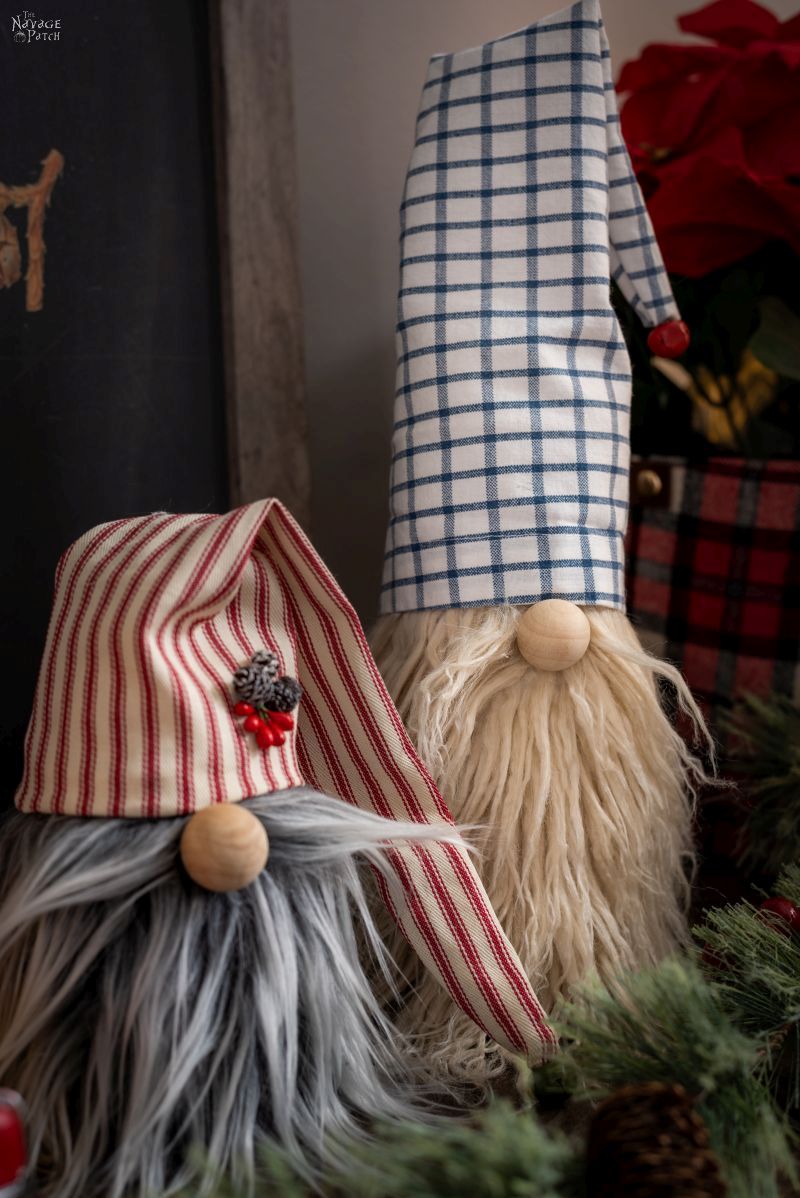
- Easy No-Sew Christmas Gnomes
- Dollar Tree Halloween Gnome Wreath
- DIY Christmas Gnome Wreath
- Cheap & Easy DIY Dollar Store Halloween Gnomes
- DIY Dollar Tree Christmas Gnome Wreath
- DIY Dollar Tree Scarecrow Gnome Wreath
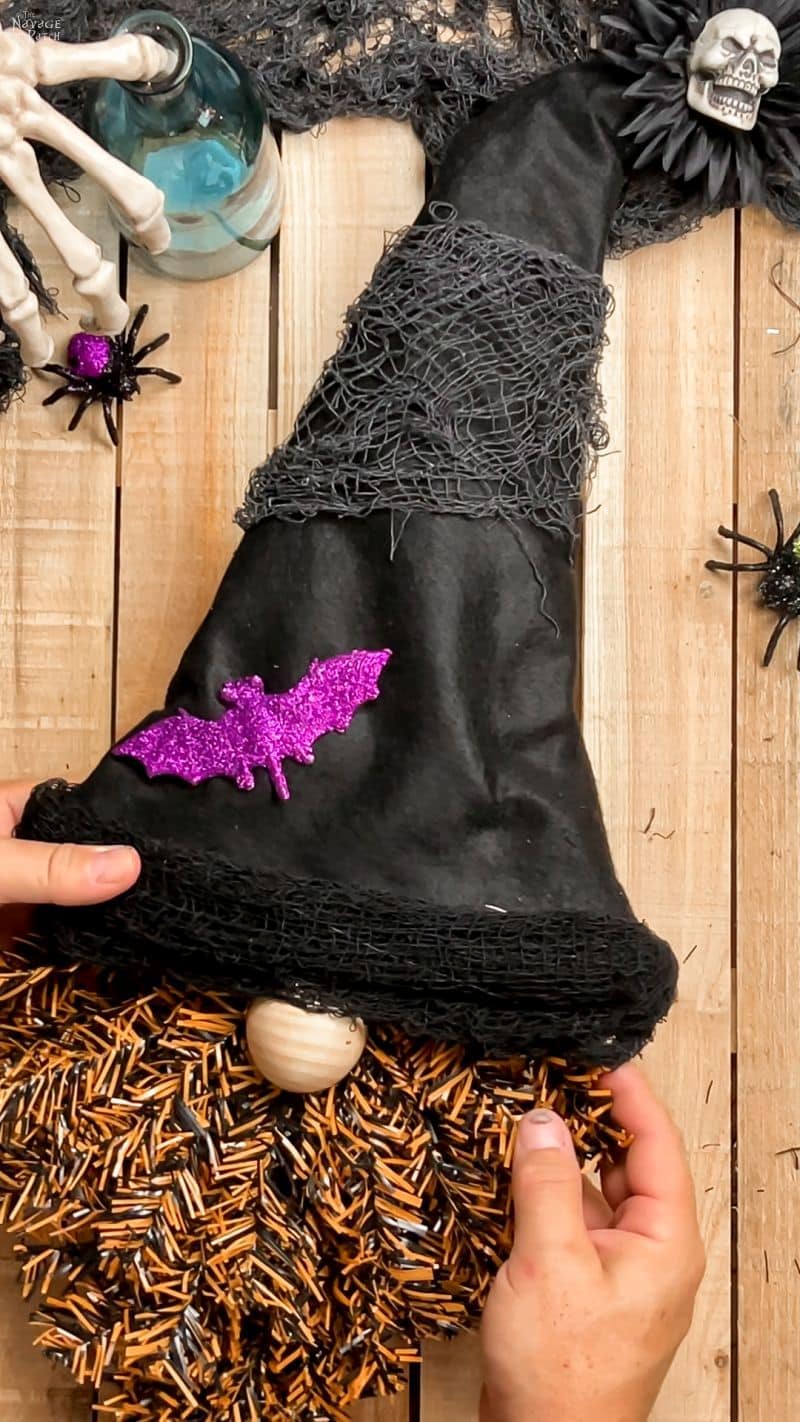
Step 7 – Embellish the hat
A Dollar Tree bat clip provided some color.

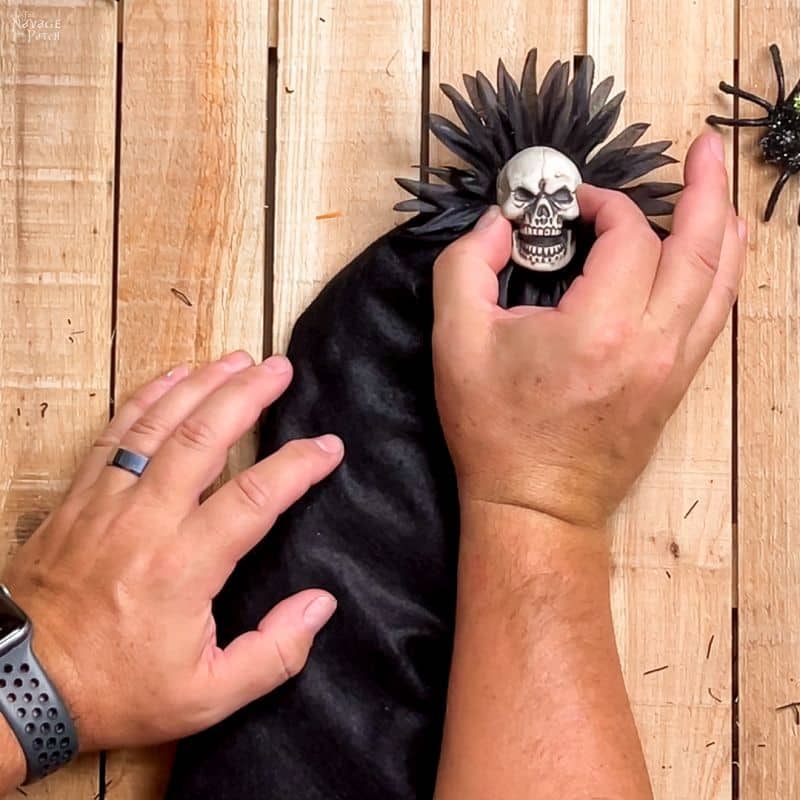
And a black skull sunflower was the perfect touch for the tip of the hat. After cutting off the back of a small plastic Dollar Tree skull, I glued it to the center of a black sunflower from a Dollar Tree Halloween floral pick.


I glue the skullflower to the tip of the hat.
As a final touch, I draped some gray creepy cloth across the middle of the hat. and glued it in place.


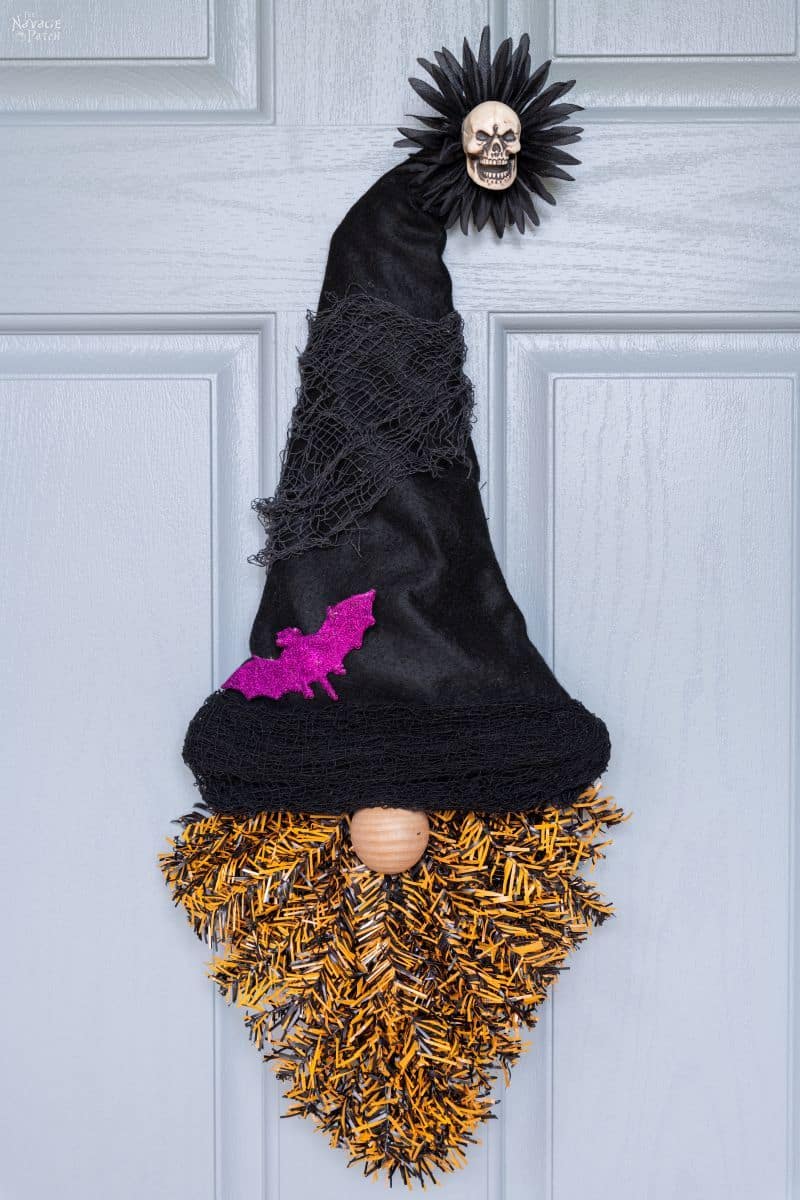
Here he is – our Halloween gnome wreath!

ooops, You’ve done it again… mind blown. Your vision and creativity are such a gift. Thanks for sharing
LOL, thank you, Gail! 🙂
I for one say bring on the gnomes. My favorites were those tabletop Christmas ones with the plaid hats. I am partial to the Nordic gnomes with sweater hats, but all cute.
Ah, yes, the lighted gnomes we did last year were awesome! I’m sure we’ll have more as the Christmas season approaches. Or is it already here? I can’t tell anymore. 😀
Gnome naysayers?! Good Lord, what is this world coming to?? 😖 I love this little guy! He’s perfect for those lower-key Halloweeners, or those whose neighbours are easily freaked out … like mine. Your creativity makes me tingle, Mr. Greg! Stop it … I like it! 😁
LOL, thank you so much, Nancy! I’m happy we have decorations for everyone’s taste!
Love this!! So fun and Different!!
Thanks, Anne! 🙂