
DIY Gift Box Gnomes
These gift box gnomes are inexpensive and easy to make. They can be used for treats, wine or even as a stocking replacement!
C’mon, even the most cold-hearted gnome-knockers among you must feel a little love for these cute little buggers!
Because here’s the thing, you can be a card-carrying never-gnomer and still be on board with these gift box gnomes because after you make them, you give them away to all your gnome-adoring friends and family!
It’s a win-win-win! You win because everyone will think you’re a thoughtful and craftacular gift-giving genius. The recipient of your delightful gift box wins (especially if it’s filled with booze). And I win. That’s right, I win, because I’ve converted another gnomeless Nancy into, if not a gnome lover, then at least into a gnome tolerator.

The next step after gnome toleration is gnome acceptance and then gnome adoration. Yep, my plan to convert you all is working out just as I envisioned!
Now lest you think this is just and only a gift box to be fobbed off on your boss, coworkers or unsuspecting relatives, let me suggest an alternative ending for these handsome little wood folk.
Look, everyone knows that stockings are the red-headed stepchildren of Christmas morning.
Now, before you get all up in a twist, you know I’m right. No matter how Pinterest-inspired or Instagram-worthy your physical stocking is, and no matter how batcrap full you stuff it with treats until the damn stitching wants to burst, the unfortunate reality is that to children, stockings are the crappy leftovers of a delicious meal. They’re still opened and pawed over with the same rapacious intensity as the previous *ahem* real gifts, but it’s more akin to the brainless feeding frenzy a group of hammerheads engages in when it chances upon a school of delicious tuna.
Inquiring madams may want to know just exactly how I know this – I, a man of 50 who never sired his own offspring.

Well, I’ll tell you.
My skin and bones may be 50, but the thoughts prancing around in my head are sometimes still 5, 15, 25…and so on.
So I can recall clear as if it were 5 minutes ago how I felt when it was stocking time. It’s the sad denouement to a wonderful morning. But hey, after tearing through it like a Texas twister, at least I got to beat feet and head outside to play with the real toys I received!
All of which is a roundabout way of suggesting that this year, perhaps it time to stop giving small gifts stuffed into old socks and start giving them in fabulous gnomes!
I’ve said my piece on the matter. The rest is up to you.
Gnomaste.
Okay, enough babbling, I’ve once again spent more time yapping than it takes to make these gift box gnomes, so let’s cut the jawboning and get crafting!
DIY GIFT BOX GNOMES SUPPLIES LIST
Affiliate links are provided below. Full disclosure here.
- Dollar Tree gift box or bottle box
- Fur ribbon
- Dollar Tree foam cone
- Hot glue gun
- Scissors
- Split wood bead
- Sherpa or any other fabric

We love to see our craft projects out in the wild! If you try this seasonal craft project, take a picture and post it on Instagram, be sure to tag us – thenavagepatch
If you love gnomes as much as we do, be sure to check out our other gnome tutorials!
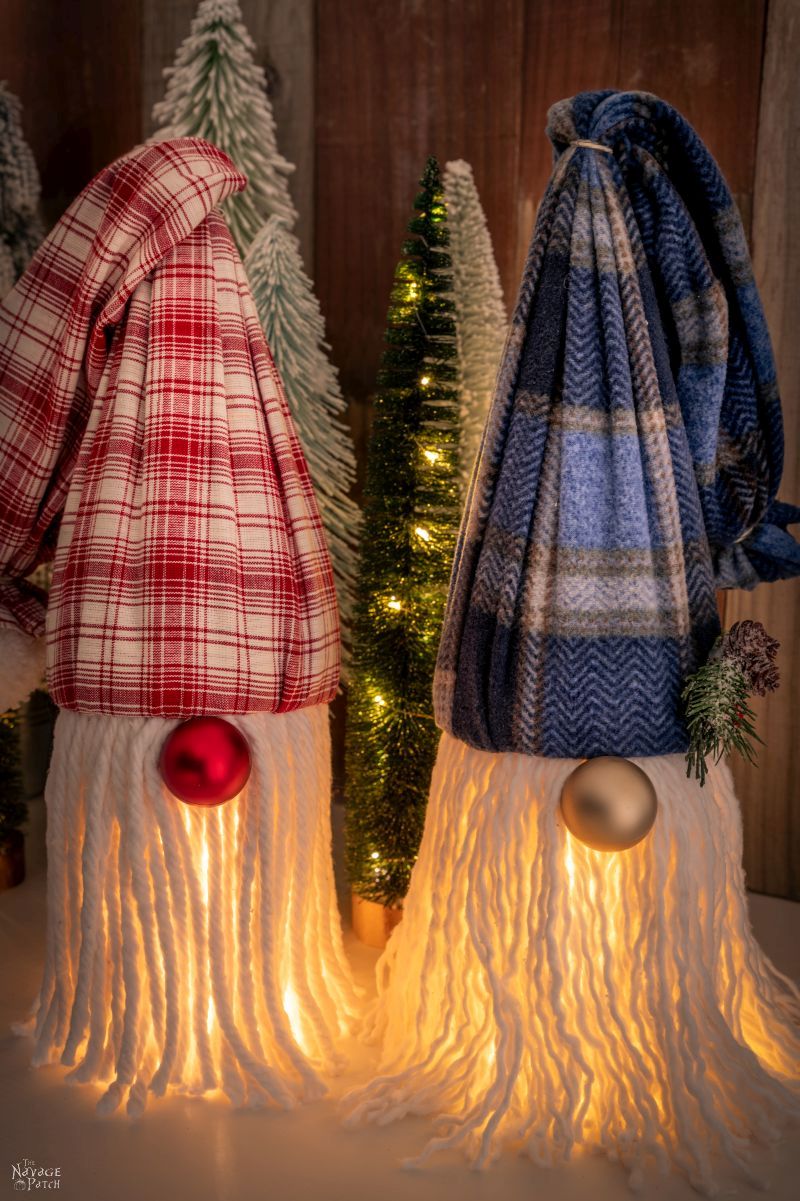

- DIY Dollar Store Lighted Mop Gnomes
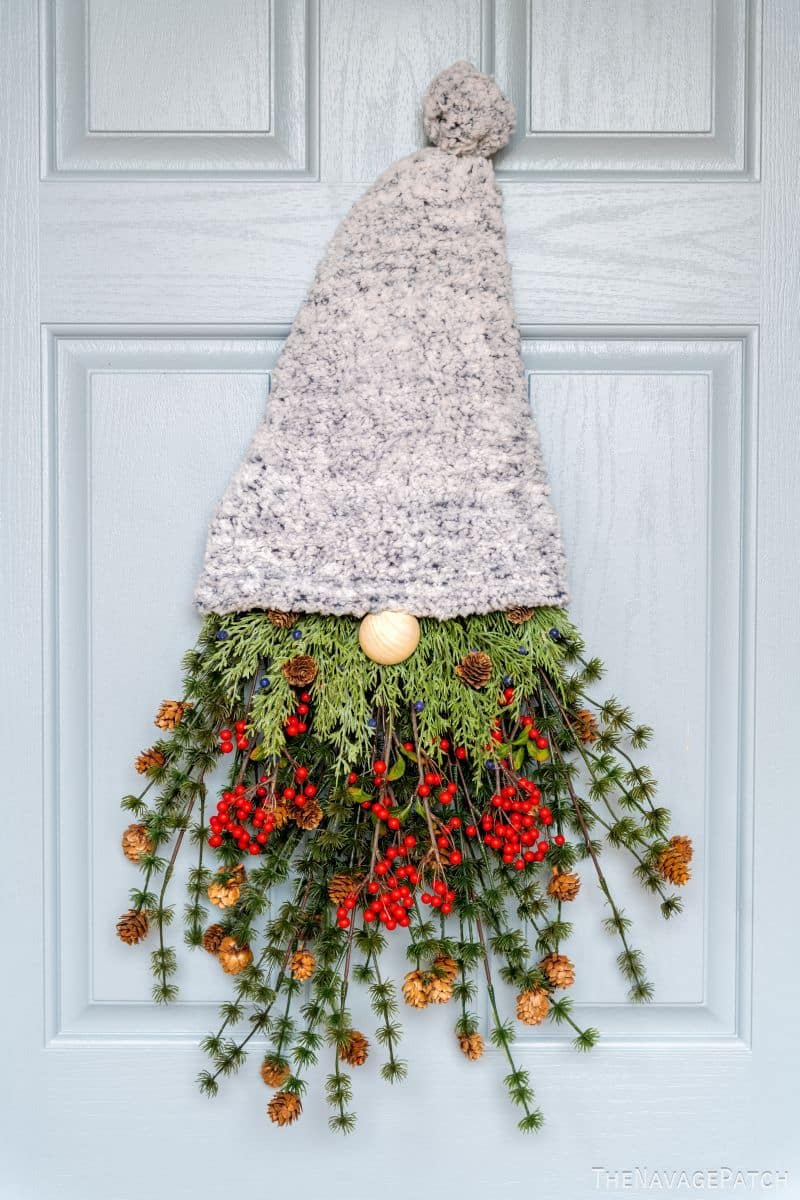
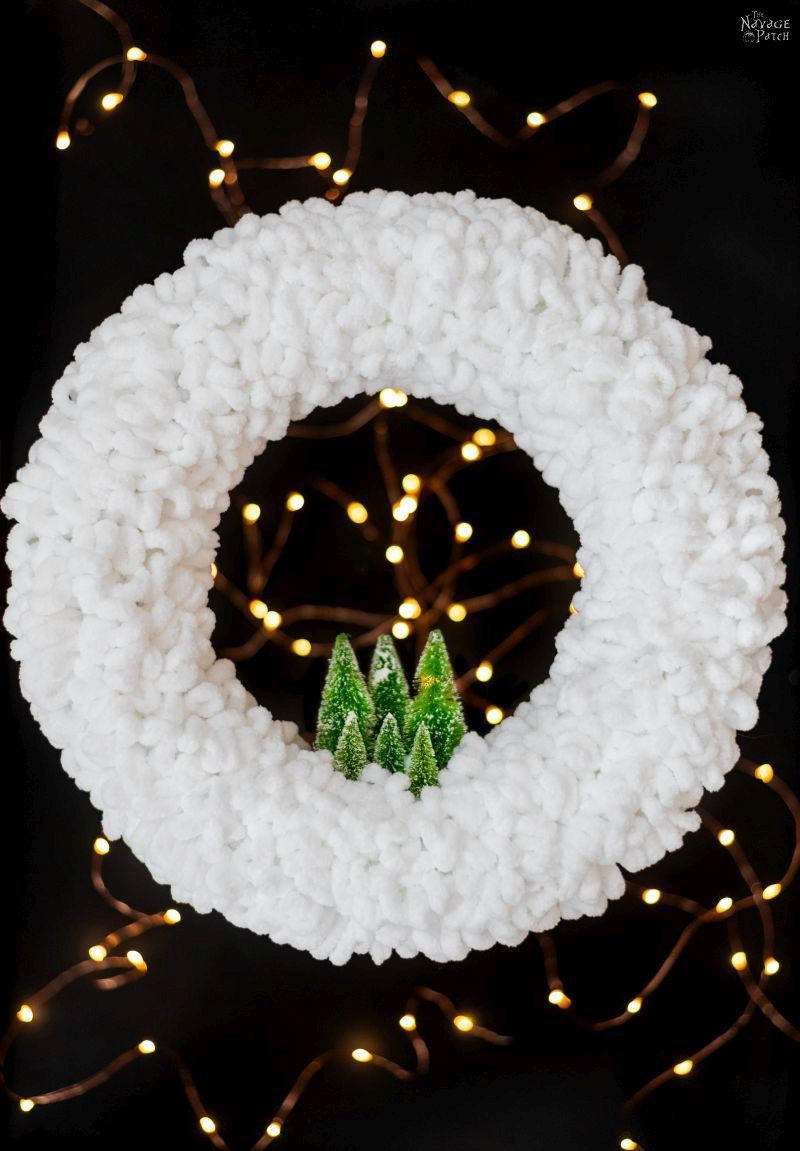
- DIY Christmas Gnome Wreath
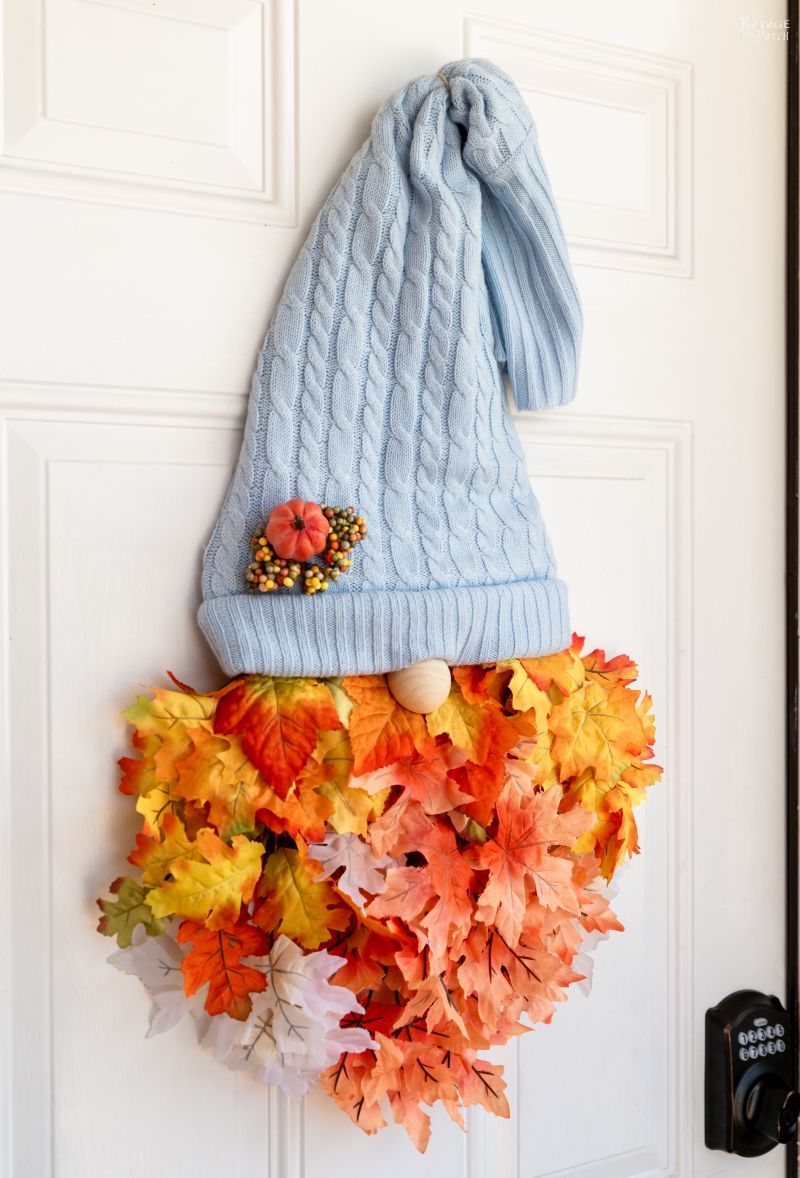
- Easy DIY Dollar Tree Fall Gnome Wreath
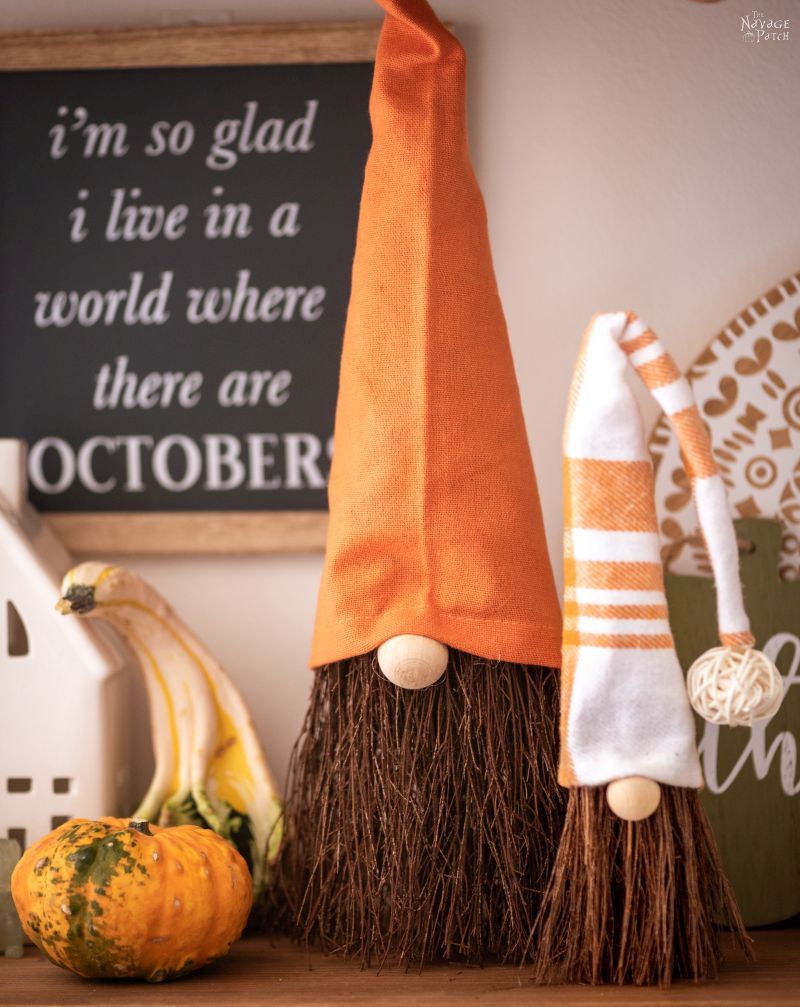
- DIY Scented Broom Gnomes
- Easy No-Sew Christmas Gnomes
- DIY Gift Box Gnomes
- Dollar Tree Halloween Gnome Wreath
- Cheap & Easy DIY Dollar Store Halloween Gnomes
- DIY Dollar Tree Christmas Gnome Wreath
- DIY Dollar Tree Scarecrow Gnome Wreath
DIY Gift Box Gnomes VIDEO Tutorial
Watch our short and fun video below for an overview of our DIY gift box gnomes before you read the detailed step-by-step tutorial.
On Tiktok
DIY GIft Box Gnomes Tutorial
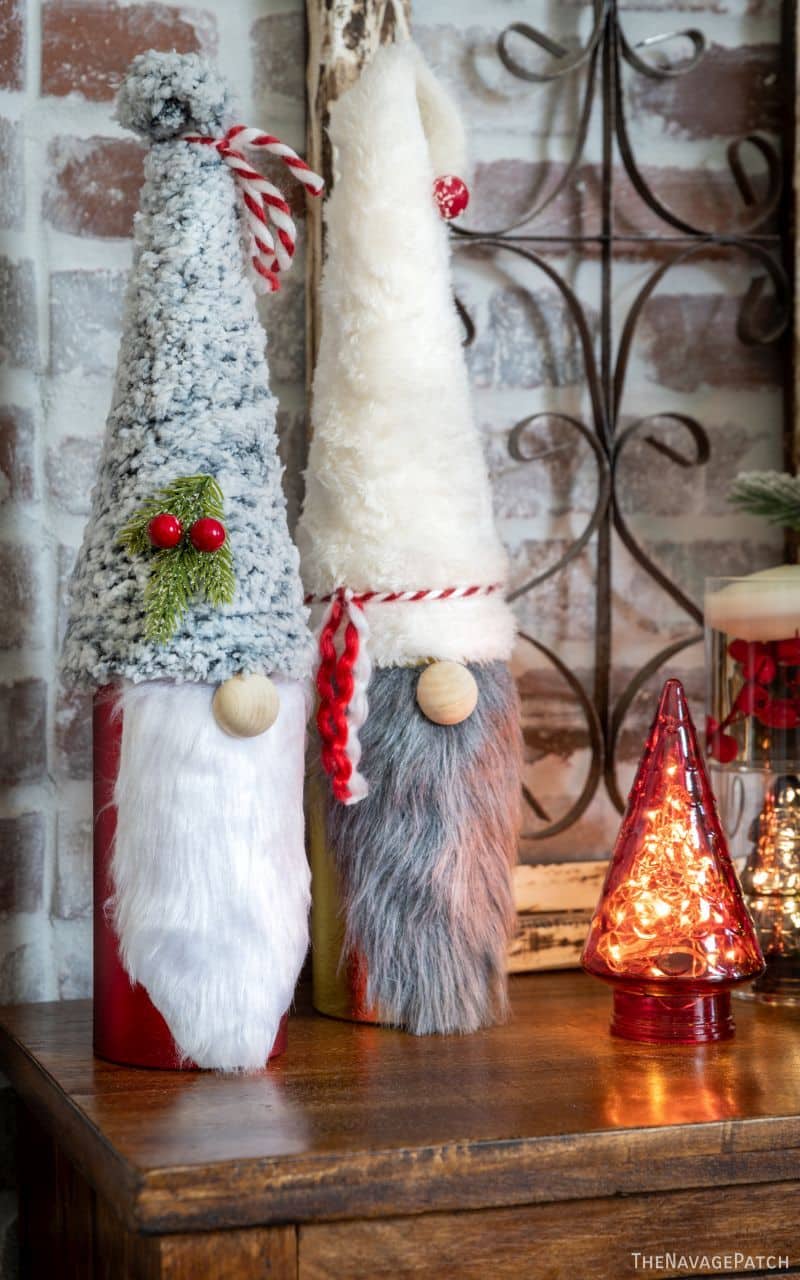
Step 1 – Attach the cone
The easiest way to make a point gnome hat with these gift boxes is with a Dollar Tree foam cone – it’s a perfect fit!

I put hot glue on the base of the cone and stuck it on the lid of the gift box.


Step 2 – Make a hat
I used another piece of the Dollar Tree sherpa throw that I told you about in my Christmas Gnome Wreath post. That $5 blanket is really coming in handy, and I’m not done with it yet!

I ran a line of hot glue around the rim of the gift box lid and glued the bottom of the sherpa in place.


After pulling the fabric tightly around the cone, I trimmed the excess from one side and then glued that side to the cone.


Then I glued the other flap and trimmed the excess.


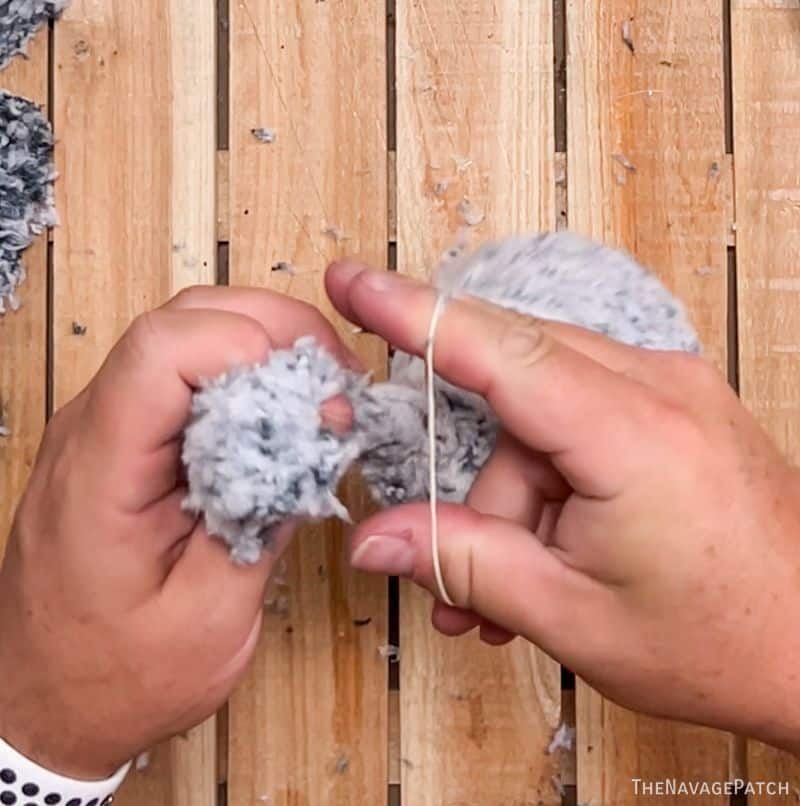
I made a pom pom up top with the excess material left over, and I’m still coming to terms with the fact that at 50 years old I’m even saying things like, “I made a pom pom.”
It’s a bizarre world, madam. A bizarre world, indeed.


More DIY Christmas Decor Ideas


- DIY Dollar Tree Duster Trees
- DIY Dollar Store Mop Wreath
- DIY Faux Fur Trees
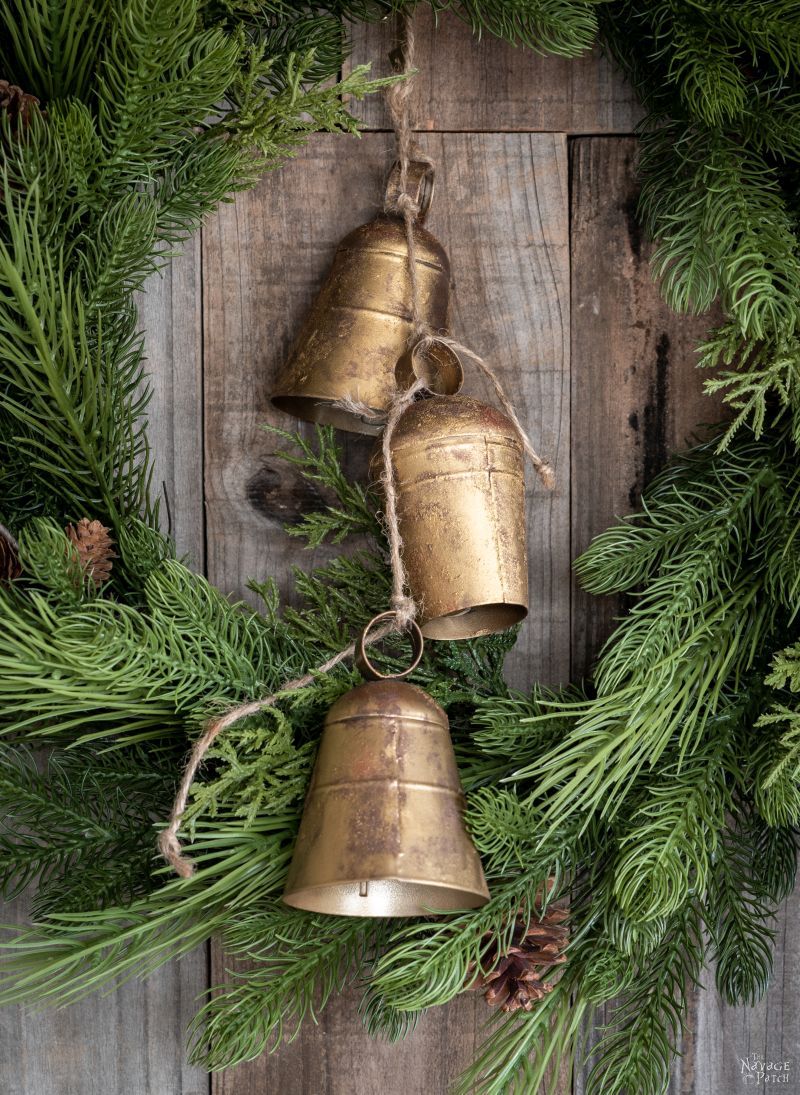
- DIY Faux Antique Brass Bells
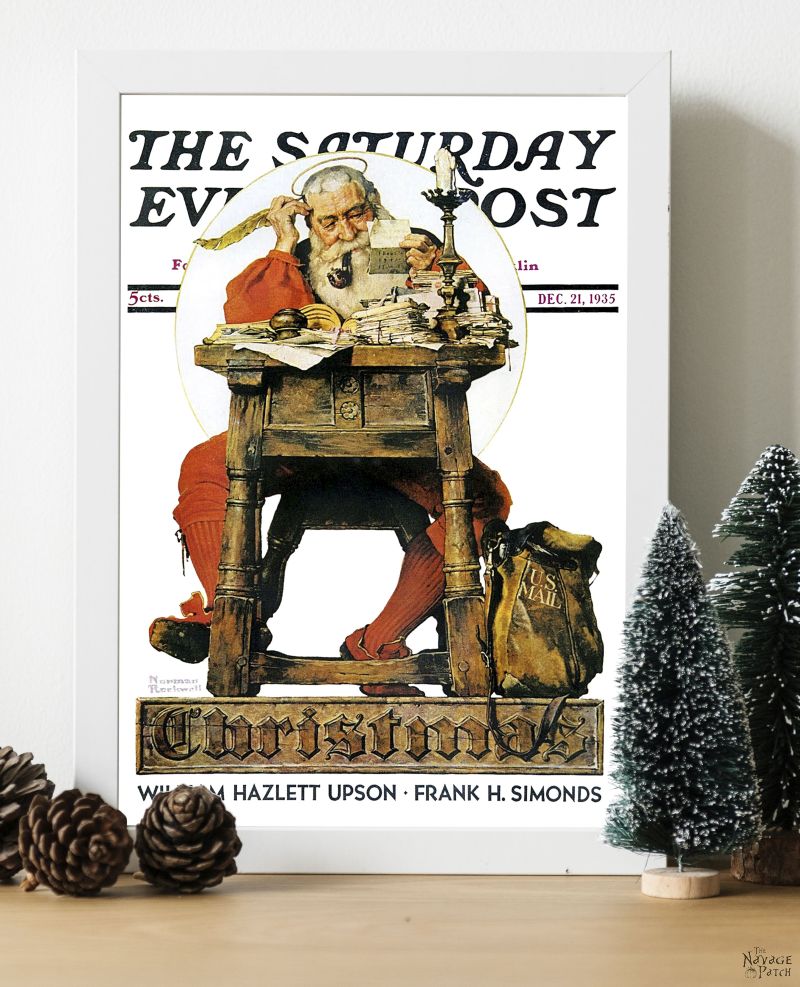
- Free Vintage Christmas Magazine Cover Printables
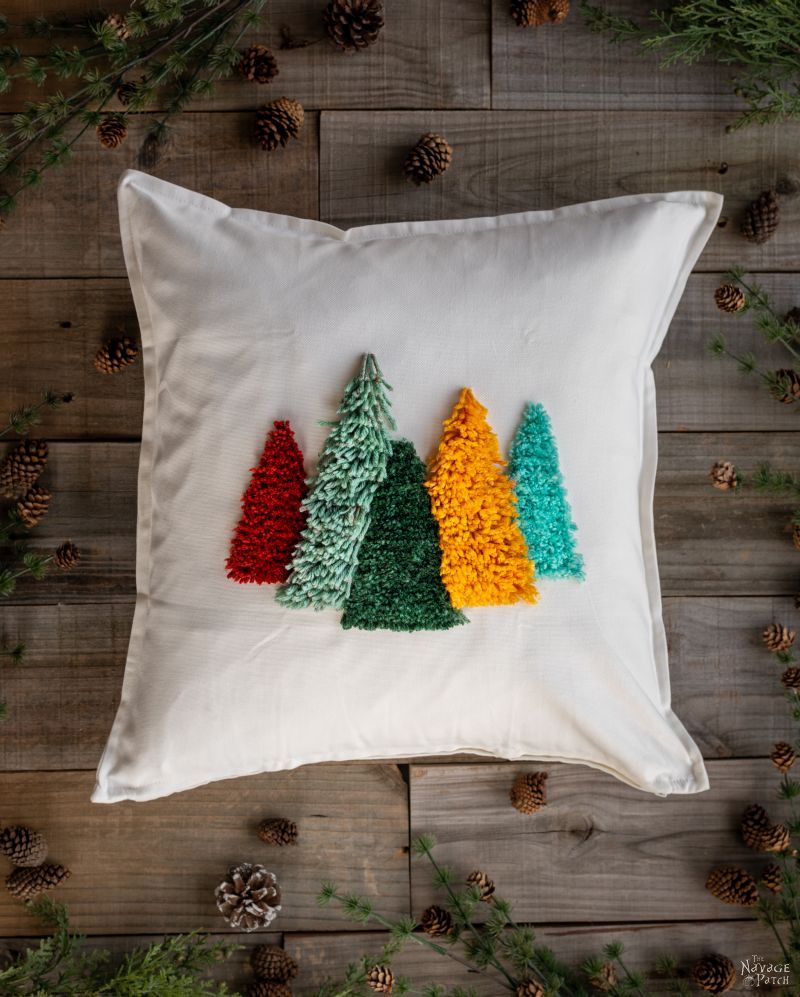
- DIY Shag Tree Pillow
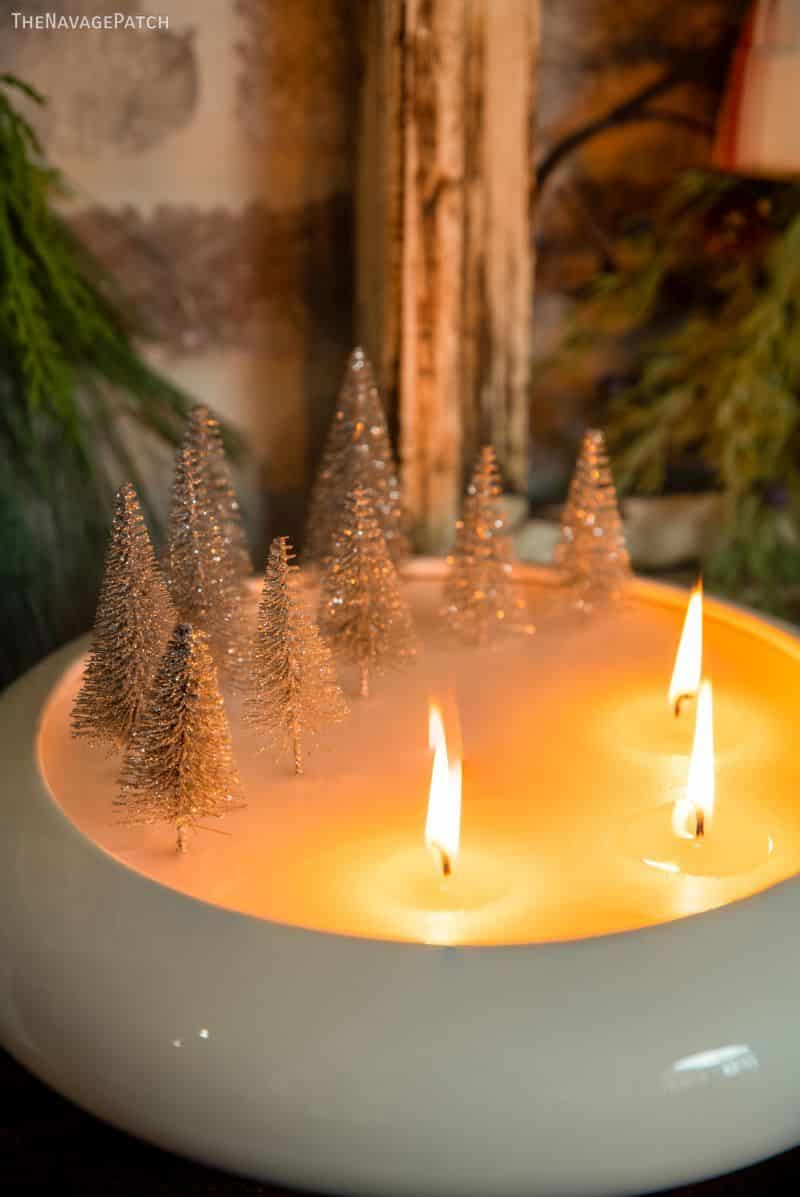
- Easy DIY Christmas Candles
- DIY Winter Loop Yarn Wreath
- DIY Christmas Decor: Faux Tree Repurposed 3 Ways
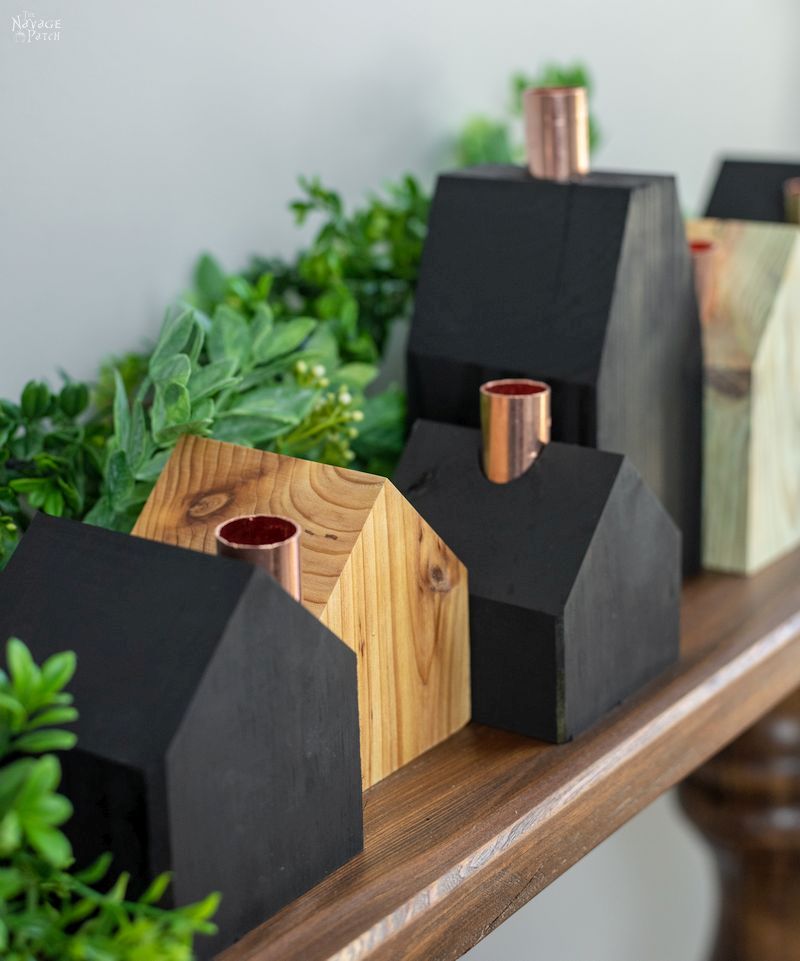
- DIY Wood House Candle Holders
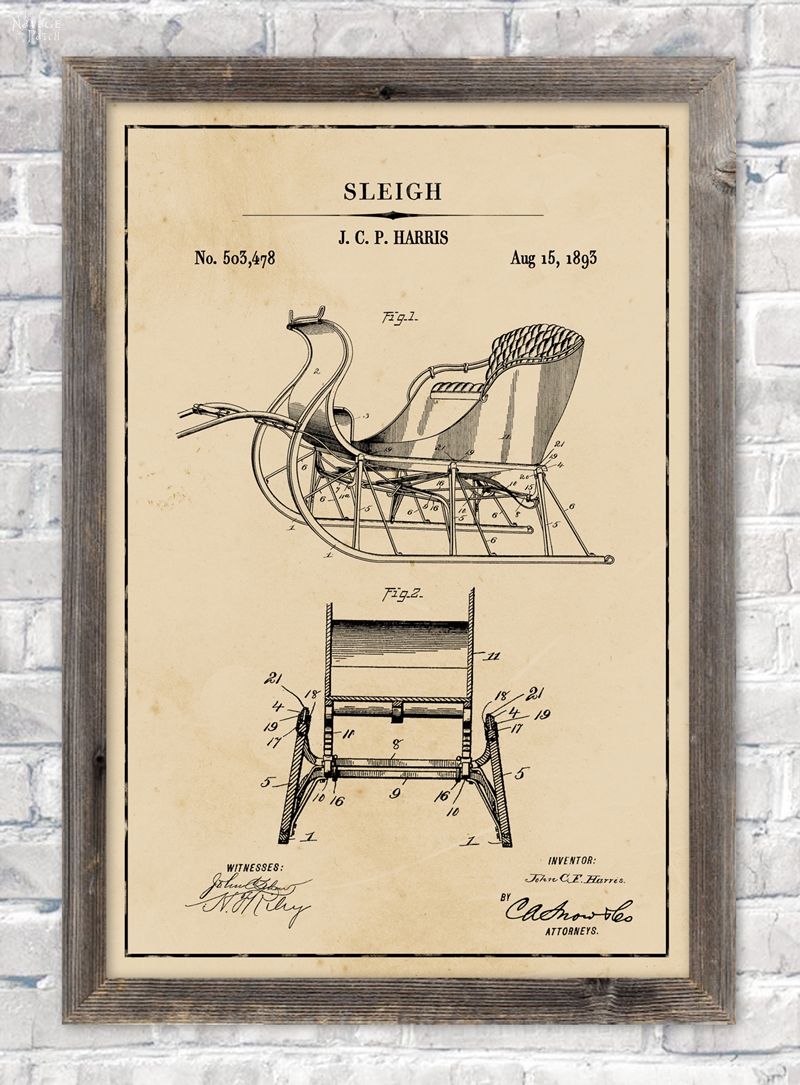
- Christmas Patent Wall Art And 18 Free Printables
- DIY Epoxy Wood Shim Trees
- DIY Dollar Tree Snow-White Nutcrackers
- Free Watercolor Christmas Printables (20+ BEAUTIFUL Holiday Prints)
Step 3 – Make a beard
I used ribbon fur to make beard for my gift box gnome. Now, the proper way to cut fur is the a razor from the back. I was in a bit of a rush, so I grabbed the nearest pair of scissors and gave it a snip. I cut the beard to fill the space between the brim of the hat and the bottom of the gift box.

I folded the beard in half and rounded the bottom.

Then I hot glued the beard onto the gift box and secured it in several places.


Step 4 – Add a nose
I glued a split wood ball onto the beard, and this little gnome was almost ready for action.

Step 5 – Embellish
I tied a piece of red and white ribbon underneath the pom pom and glued a festive sprig on to the hat, and my gift box gnome was ready for treats and booze! Well, this Dollar Tree gift box is a bit small for a traditional booze bottle, but you can make him just as easily with a full-size box!

Here are the first two I made.

And then because some of you have been asking for Thanksgiving crafts, well…here ya go! Gobble gobble gnome! The perfect hostess gift, don’t you think?

If you want to be even more authentic, you can embellish him with a smoked turkey leg or cranberry sauce, or maybe even some Stove Top stuffing mix!

And remember, if you make too many and you have more gnomes than gifts, you can always mail a bottle to Greg Navage in the Florida Panhandle. I’m sure it will reach me eventually.

Love these! I am just amazed at you and your wife’s creations. These would make great office gifts with candy inside. I really don’t know where you get the time or imagination to create them. Also, it looks like there has been some work done on your walls. Is that the brick work you added? It looks great and can’t wait to see the final project. Please rest your minds and bodies during this holiday time. Happy Thanksgiving!!
Thank you, Mona! Yes, they’re perfect for office gifts, and in fact, Handan has already started taking some to work!
Hi Greg! These are very cute and seem easy enough to do! For the wooden nose..can you buy those wooden balls already split like that, or did you cut it yourself? If so..how did you do it without cutting your fingers off?
I buy then split, Colleen – they’re linked in the post. Trying to split them myself would end in disaster, lol!
I love gnomes! Although in this Finnish-American house, they’re called “Tonttus”.
Tonttus is a way cooler word than gnome, and from now on, I’ll be using it!
Oh, how clever! It’s a multi-tasker craft: both decorative and useful. I’m thinking for my office–one for each coworker and fill it with their favorite candy…or adult beverage. This was a good one!
Yup! That’s what Handan is doing with them! 🙂
You guys did stockings backwards! When my three boys were at home, nobody opened gifts until Mom was up, showered, and had her coffee (because she stayed up way late to wrap gifts)! But, they could open their stockings right away. We didn’t go all out, but there was always candy and some toy that would take the edge off of having to wait for Mom to drag herself out of bed.
By the way, gnomes in Germany may be called “wümmel”.
Yeesh, apparently we did it wrong! Before makes so much more sense! You wouldn’t want an appetizer after an 8-course meal, so why would you finish with a stocking! I’ll keep it in mind when I have grandkids, lol!
Gnomaste. That is my favorite word in this entire post, Greg! 🙂 🙂 🙂 These are cute as can be. I am incredulous at the fact that you can just stuff the raw edges of a blanket into itself and with a little hot glue: poof – a pom-pom is born! You are so correct, This is a nice alternative from a stocking. I, however, wonder if you are the only one opening stockings *after* the gift opening? We always ran to our stockings first, to see the surprises, then found the gifts, and opened the wrapped presents. At my in-laws, the stockings were before breakfast, and no gift opening until after we ate. Stockings first, in both instances. (and we always got underwear.)
Stockings first makes sense, Patty! I guess we were too keyed on the big gifts to pay any heed to the fireplace, lol! In our house we used to open one gift on Christmas eve when growing up. That morphed over the years into every gift on Christmas Eve, leaving only stockings for Christmas morning! 😀