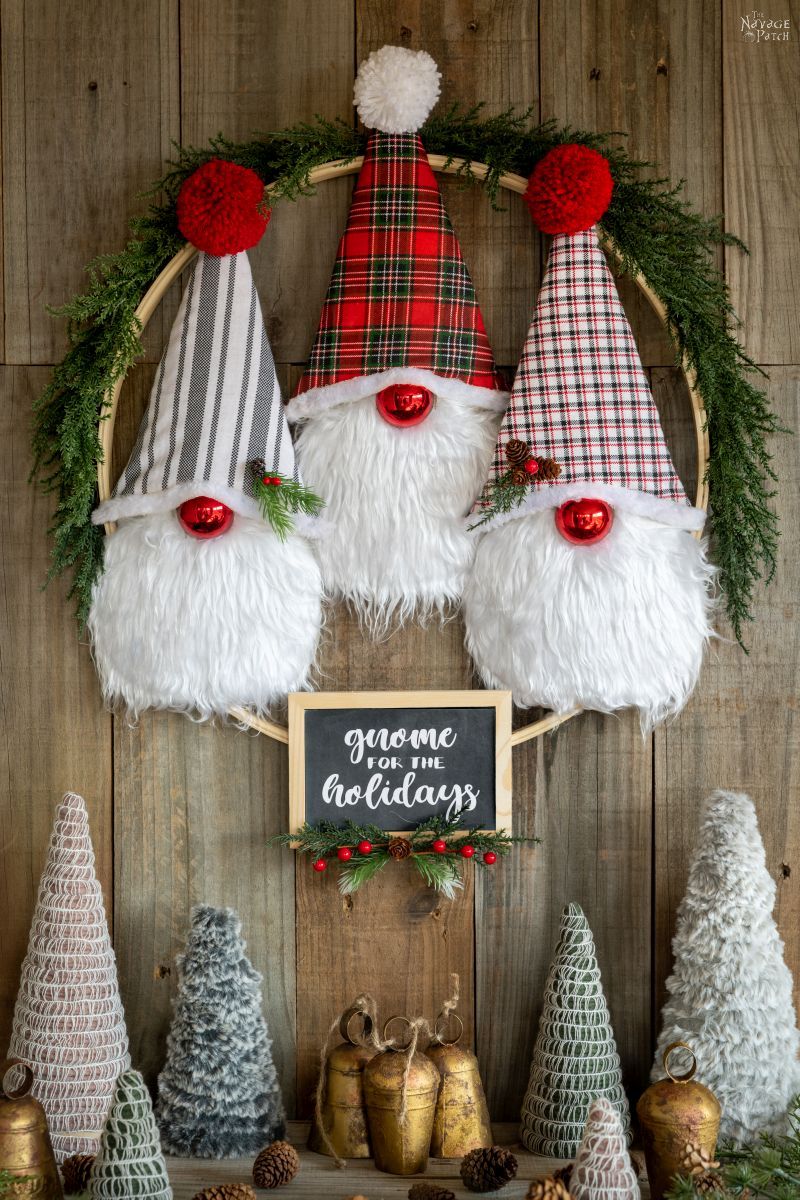
DIY Dollar Tree Gnome Wreath
This DIY Gnome Wreath is clever upcycle of Dollar Tree gnome Santas. You’ve got gnomes on shelves – now it’s time to hang them on walls!

You may think that there exists somewhere in nature an optimal number of gnomes – like a group of, I don’t know, 27 of them in some chilly Nordic forest somewhere living in perfect harmony because 27 is the perfect number for gnomes.
Or you may think that there is an optimal number of gnomes that you should have in your house, like say, 11, because 11 seems to be a really nice number when you think about gnomes and all the little nooks and crannies in your home in which you can display them.
Now as to the first point, I really couldn’t say, as I’ve not spent nearly as much time as I’d like to have spent gnome-watching in the Nordic forests of northern Finland. But as to the second point, well, according to my dearest babes, there does not exist any number which could be described as optimal, and therefore neither is there a number that could be described as too many.
Skeptical minds need look no further than our apartment, which has become somewhat of a flop house for itinerant Nordic gnomes.
Silly me thought we had reached our gnome quota last year after we made these scented broom gnomes.
To be honest, I thought we were well-and-properly gnome’d up after our first Christmas gnome post.
But then this year, my babes had me gnoming around Jacksonville looking for Dollar Tree mops and vases so I could make her these lighted gnomes!

Surely there was an optimal number of gnomes, and surely we’d achieved that number!
Nope.
Not by a long shot down a country mile.
Not content with an apartment full of Lapland layabouts, my babes recently instructed me to fashion her a Christmas wreath…a Christmas gnome wreath.
I guess the only difference is that instead of laying about or sitting around like their bean-stuffed brethren, these three big-nose amigos just wanna hang.
Still, if my babes wants a gnome wreath, you know what’s gonna happen, right?
You got it!
If my babes wants a gnome wreath, my babes is gonna get a gnome wreath!

DIY Dollar Tree Gnome Wreath
SUPPLIES LIST
Affiliate links are provided below. Full disclosure here.
- 3 Gnome Santas (Dollar Tree)
- Christmassy fabric – can use old sweaters or pajamas too – we got ours at Walmart
- 18-inch embroidery hoop (or anything similar)
- Small chalkboard (Dollar Tree)
- Pom poms
- Hot glue gun
- Scissors
- Embellishments of your choice


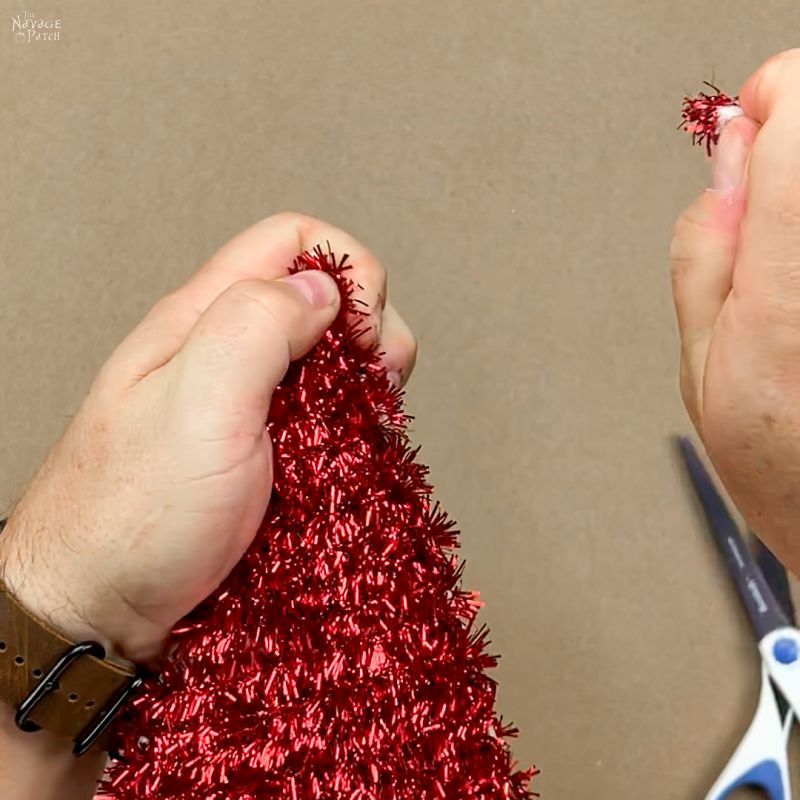
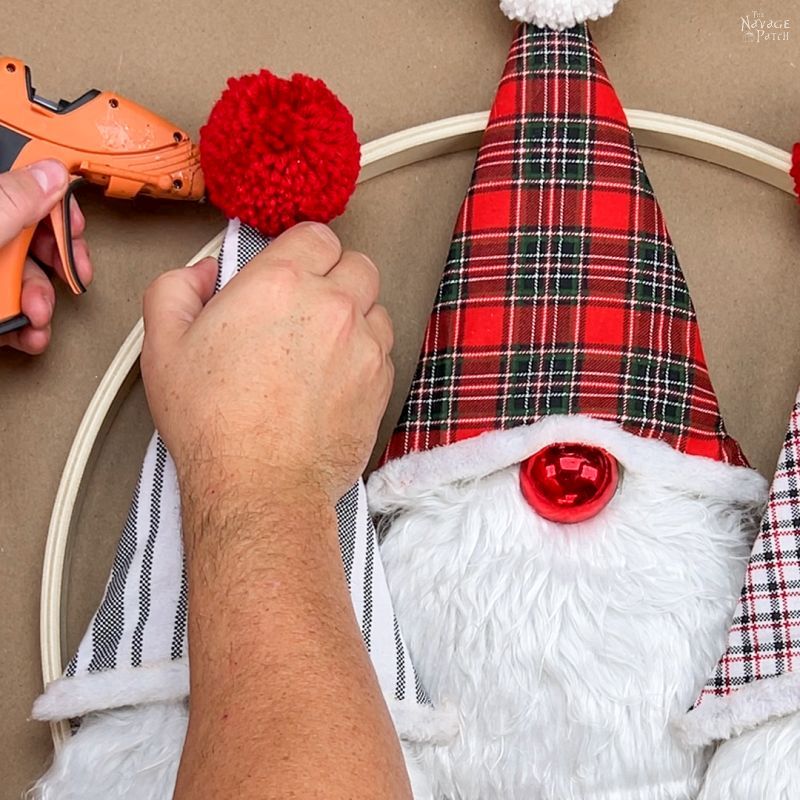
First I pulled off the dinky pom poms from the three Dollar Tree gnome Santas. If you find it too hard to pull, you can cut it off with scissors.
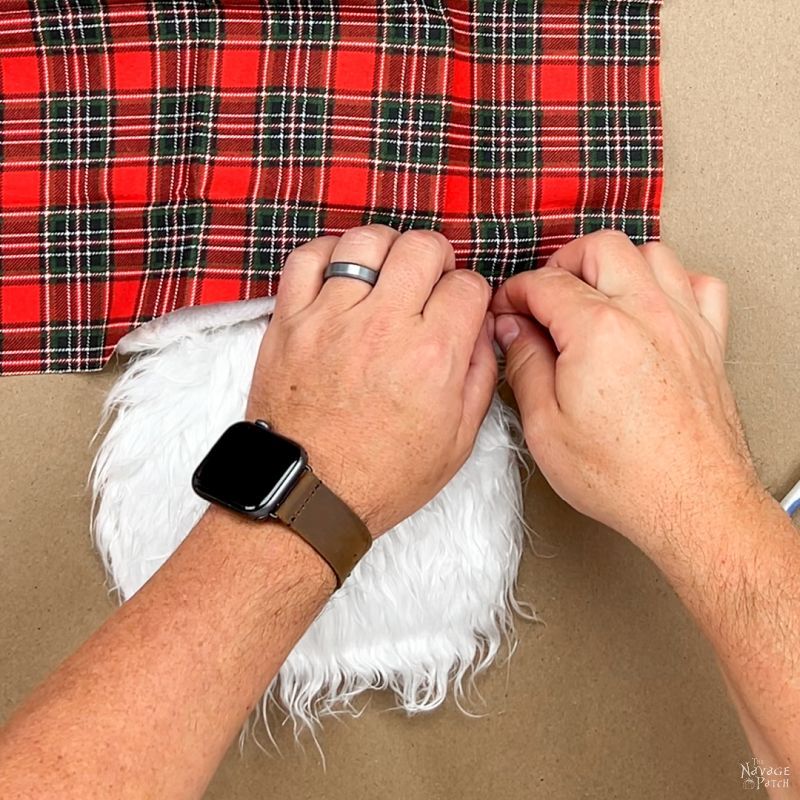
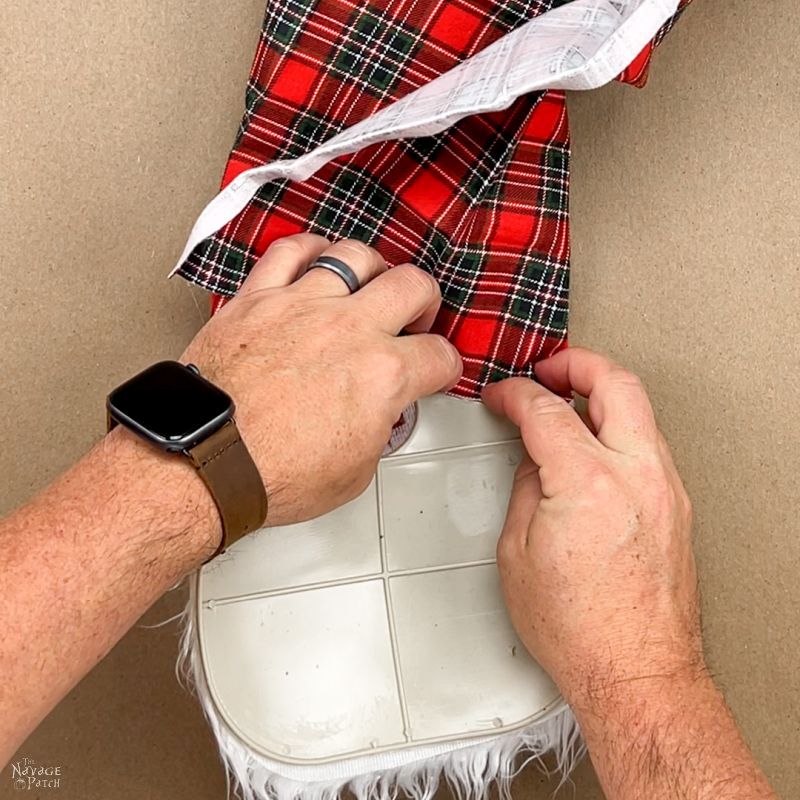
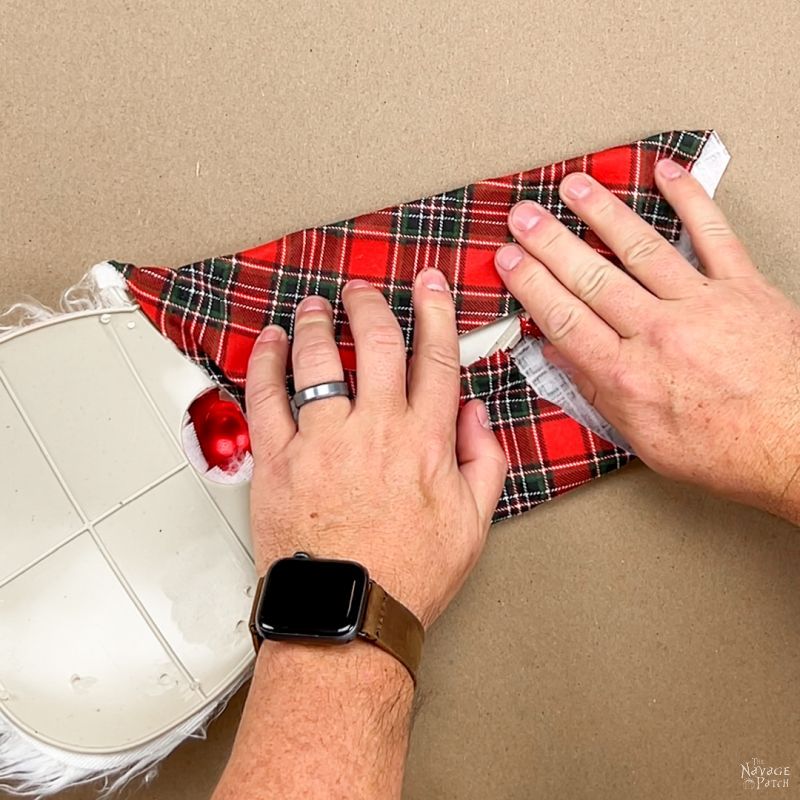
Next I unfolded some fabric and placed it over the tinsel hat.

Leaving some excess on the sides, I cut out the same curve as gnome Santa’s brim.

I pulled down on the brim, put a dab of hot glue and then pressed the fabric onto the glue.

I did this all along the brim. This secured the fabric to the gnome.
Then I went around again and hot glued any spot where the white brim was too loose. This time, I put the glue on top of the fabric.
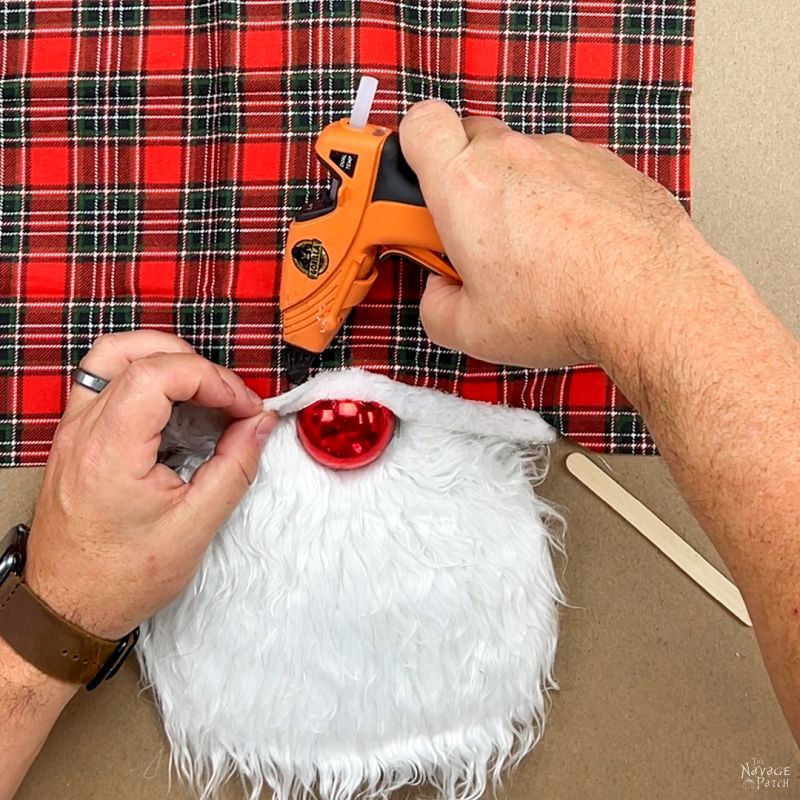
This made the fabric very well-secured to the gnome frame.

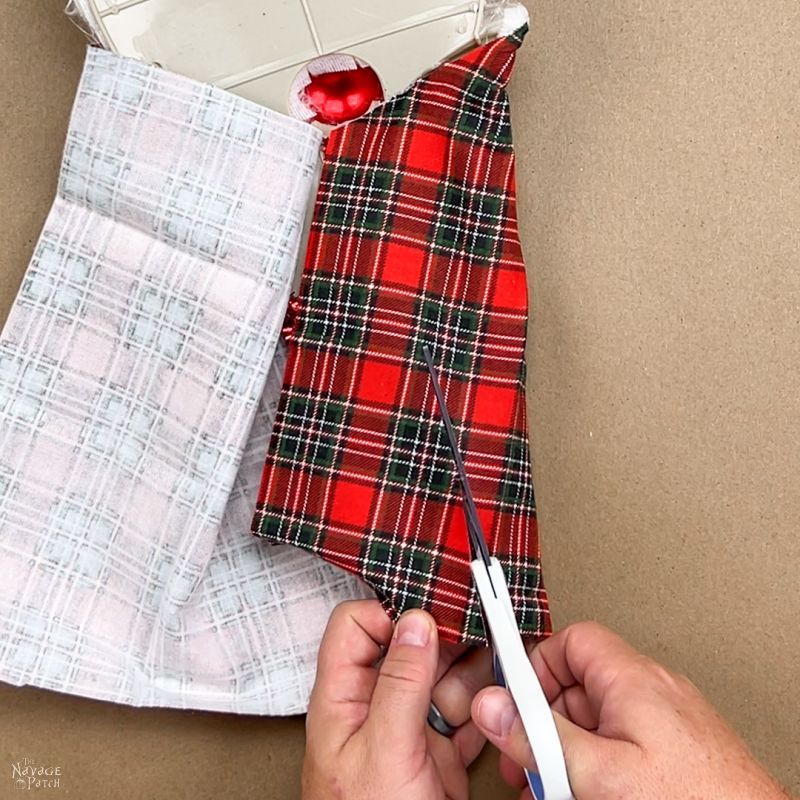
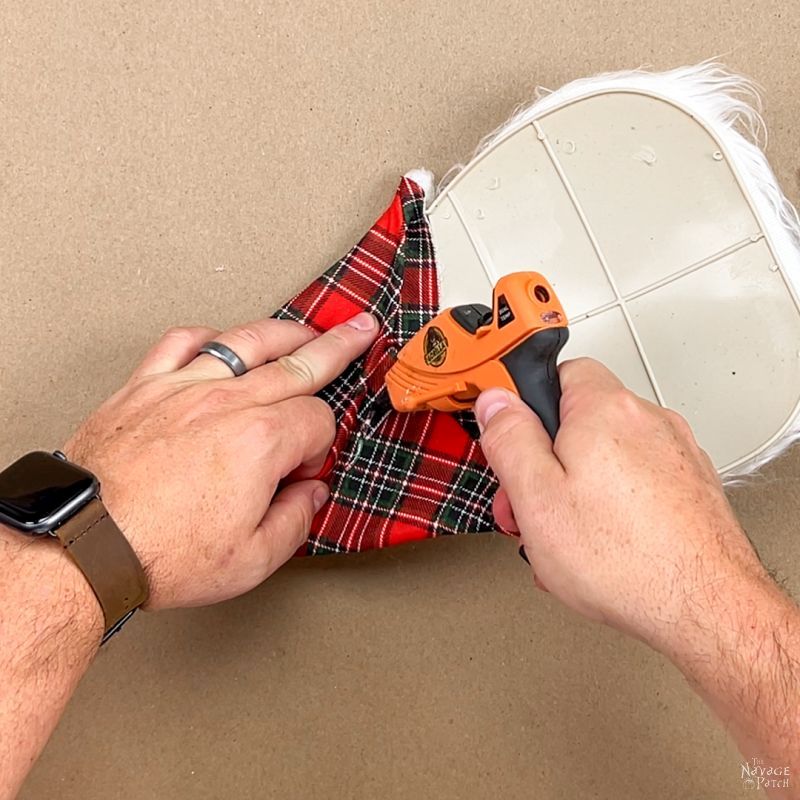
I flipped the gnome to work on tidying the fabric in back.

I pulled one side over…

Cut the excess…
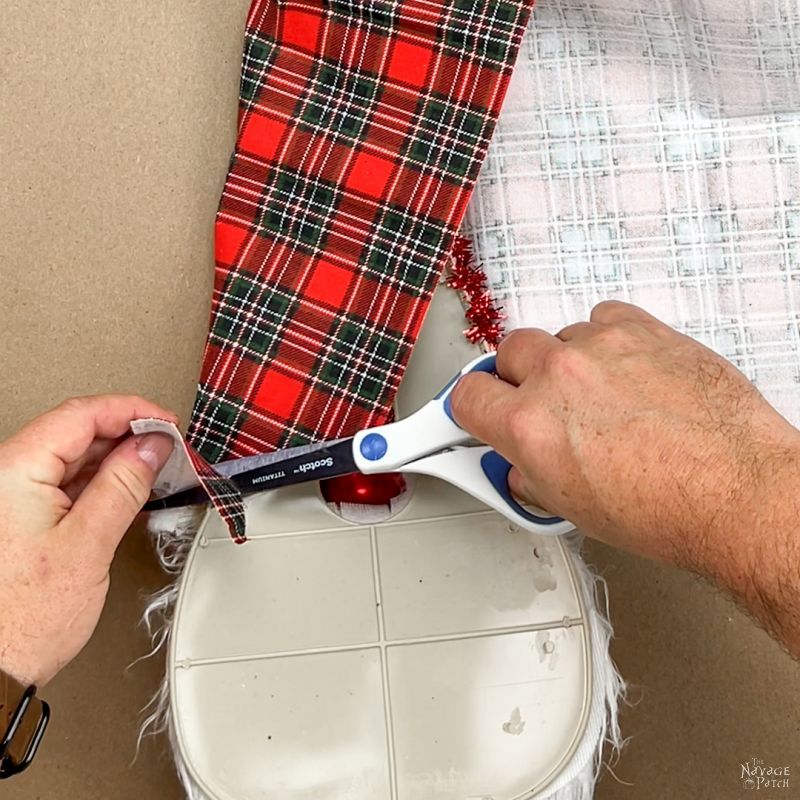
And then glued the bottom to the frame.
Ditto for the other side.
Then I cut the excess fabric from the top, leaving about an inch more than the height of the hat.

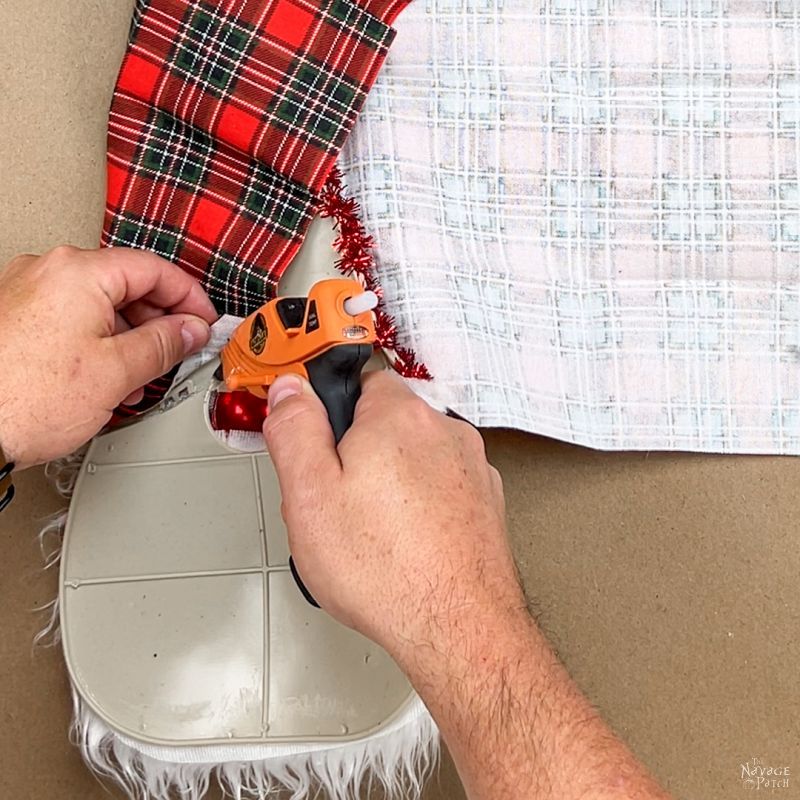
Next I cut the excess down the centerline for one side.

Then I cut the excess down the center for the other side.
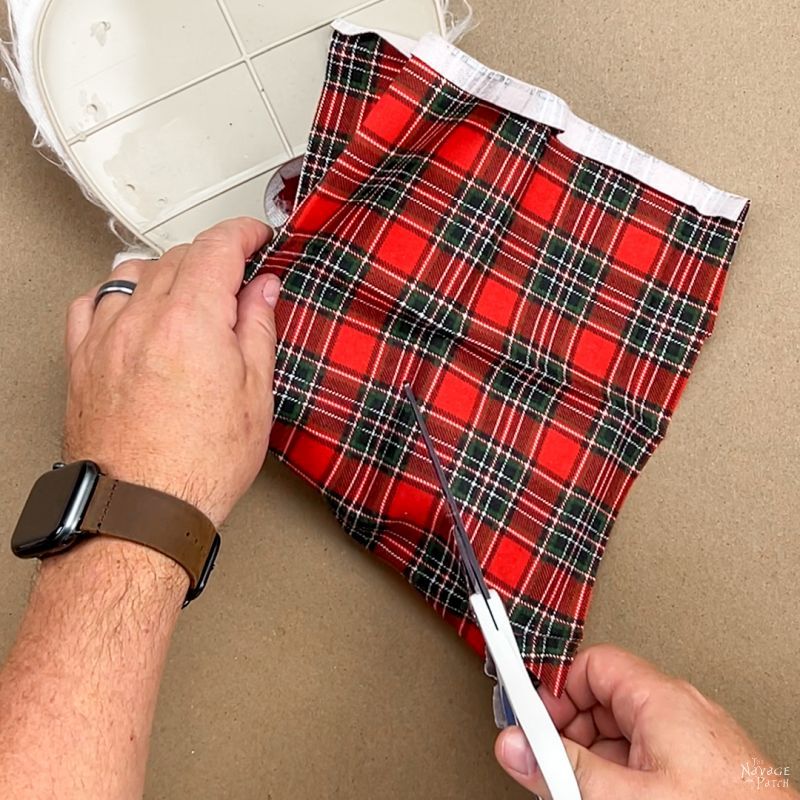
I then glued to two flaps down, one over the other to make a neat-looking backside.
Why a neat-looking backside, you ask?
Why not a crappy and messy backside, right? Isn’t that how backsides are supposed to be?

Well, I asked my babes that very same question.
“Who the hell is gonna look at the backside of the wreath??” I said, confident that she would see the time-wasting error of her plan.
“My babes,” she said, and I knew the argument was lost, “what if they want to hang it on a glass door?”
Damn woman thinks too much!
More DIY Christmas Decor Ideas
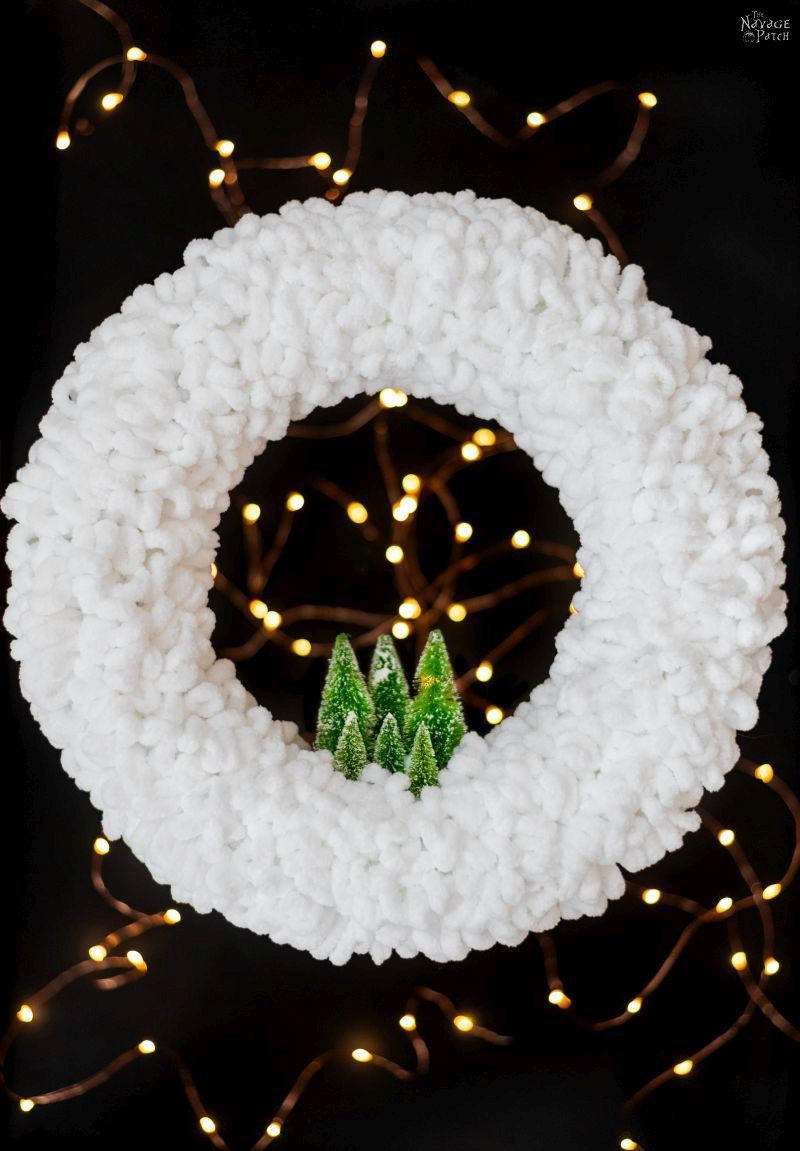


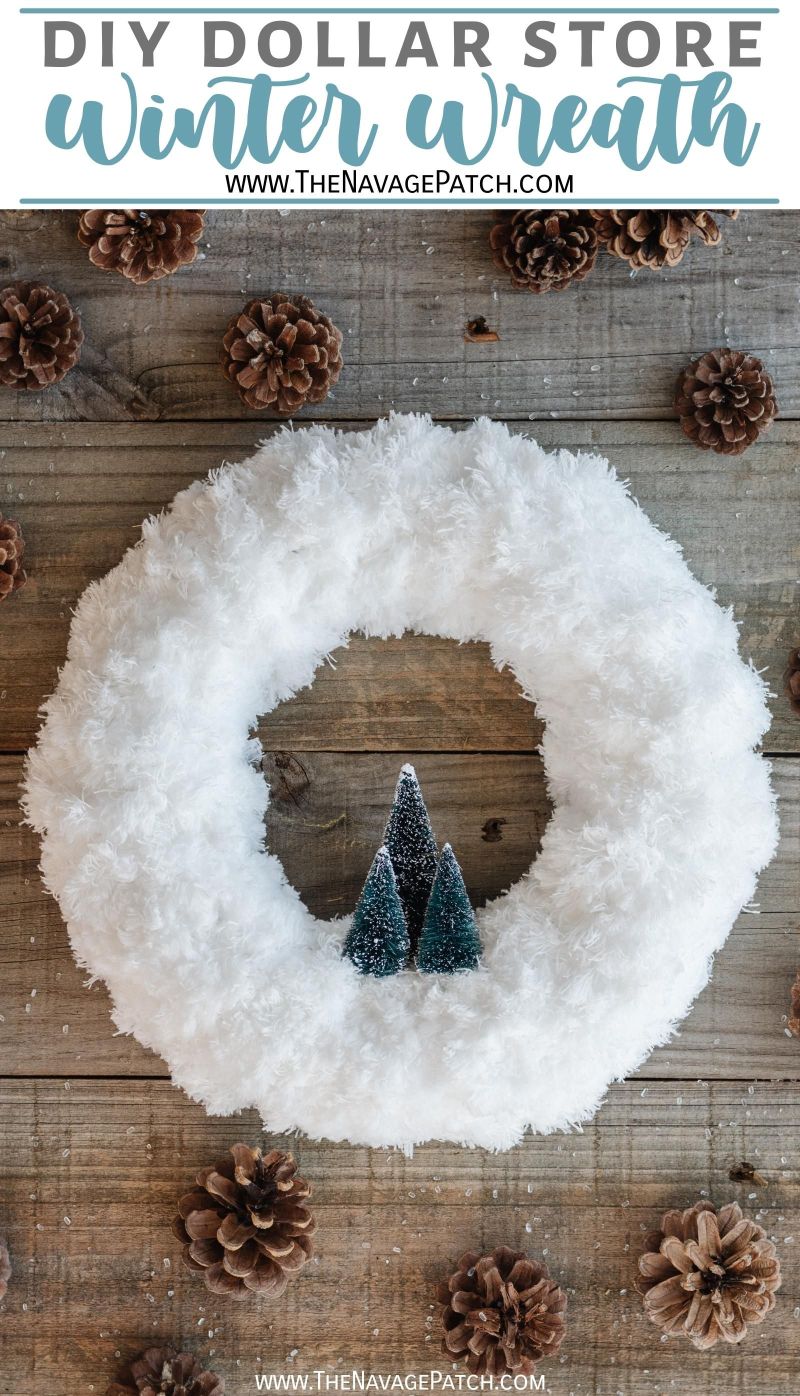

- DIY Winter Loop Yarn Wreath
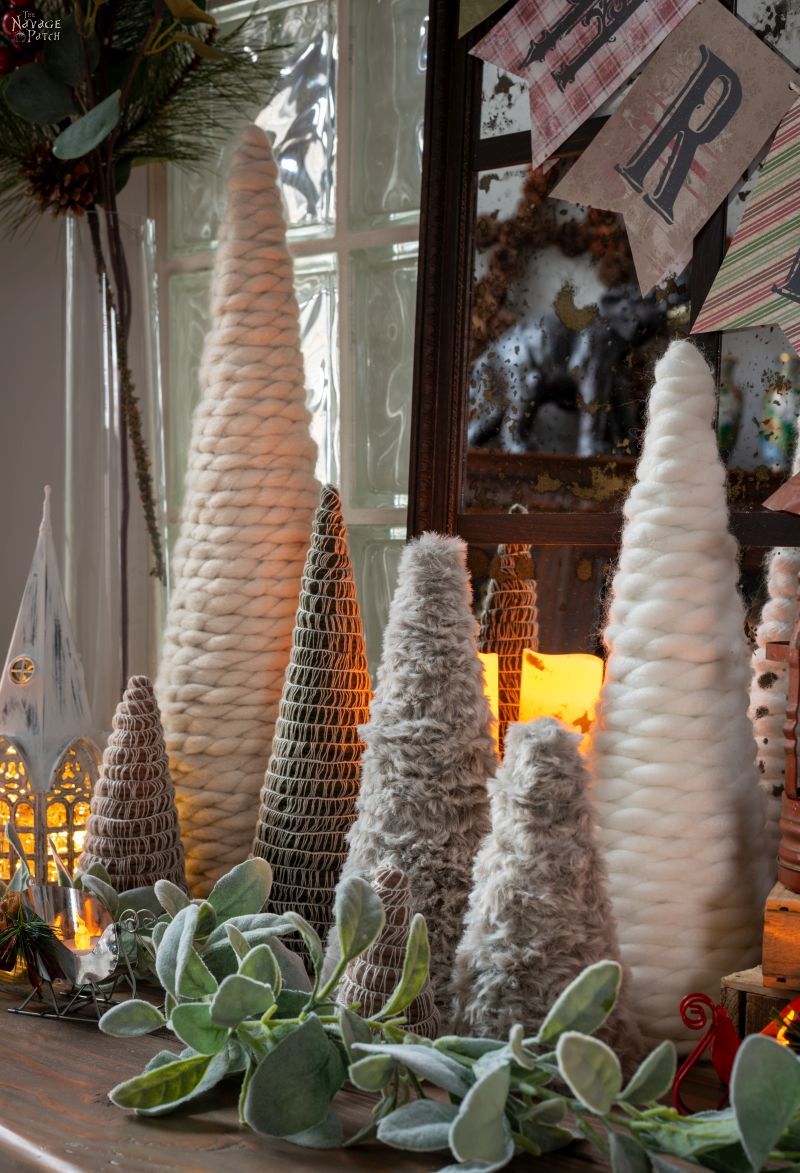
- DIY Faux Fur Trees
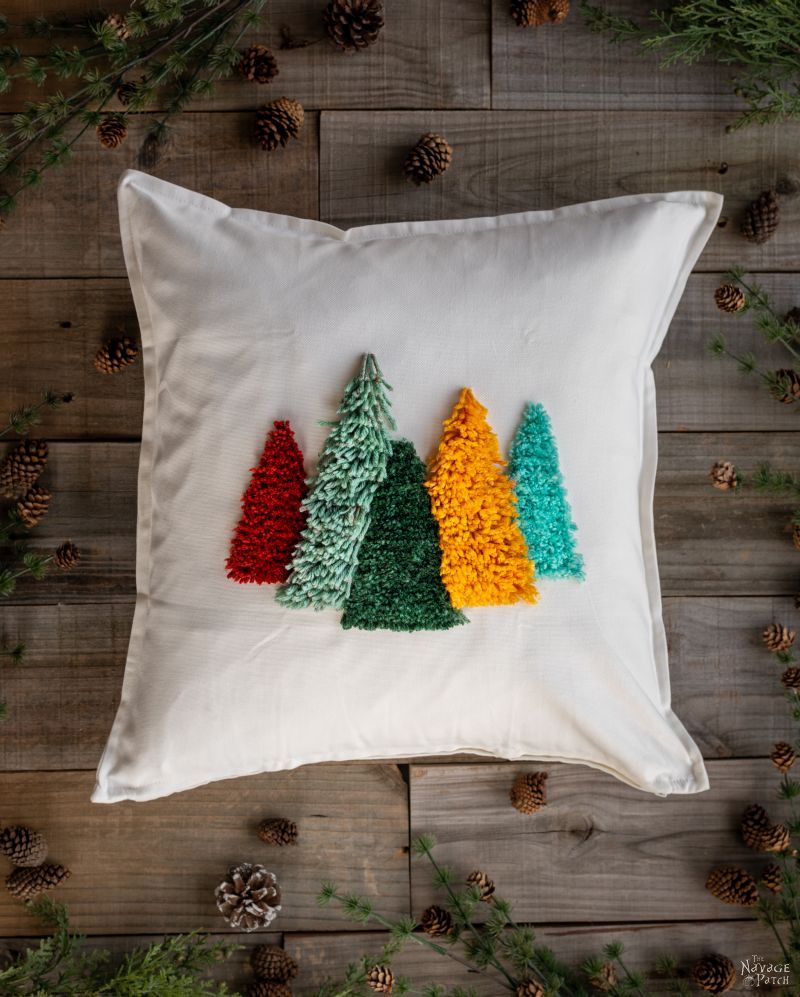
- DIY Shag Tree Pillow
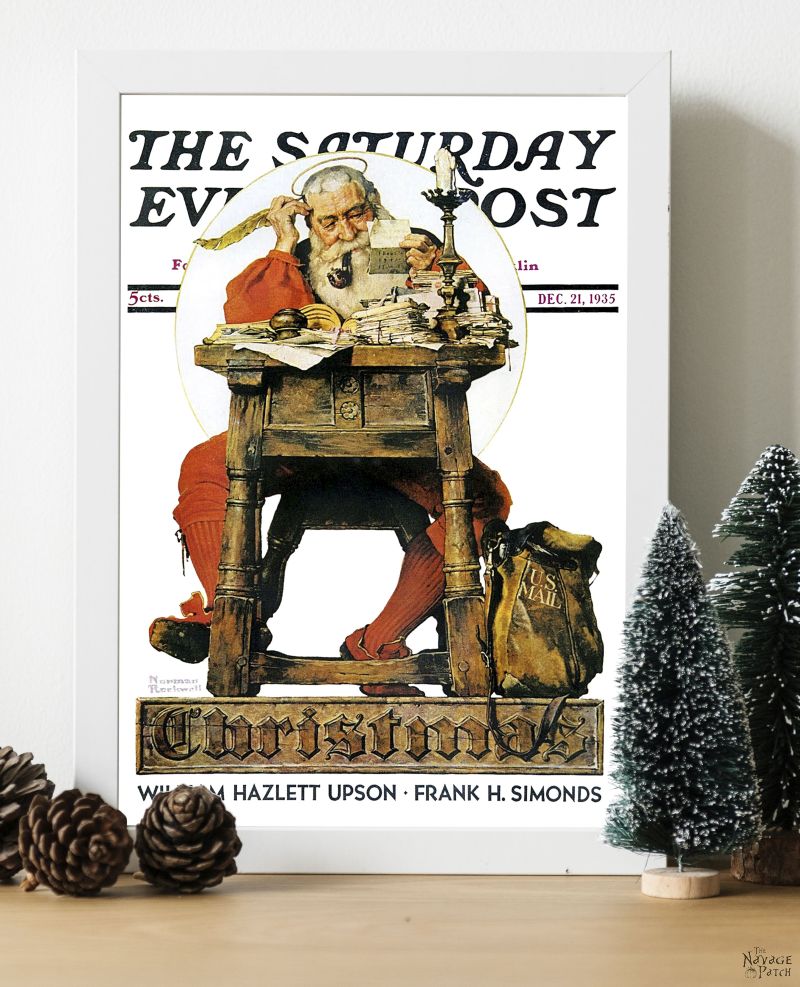
- Free Vintage Christmas Magazine Cover Printables
- DIY Christmas Decor: Faux Tree Repurposed 3 Ways
- DIY Faux Antique Brass Bells
- DIY Dollar Store Mop Wreath
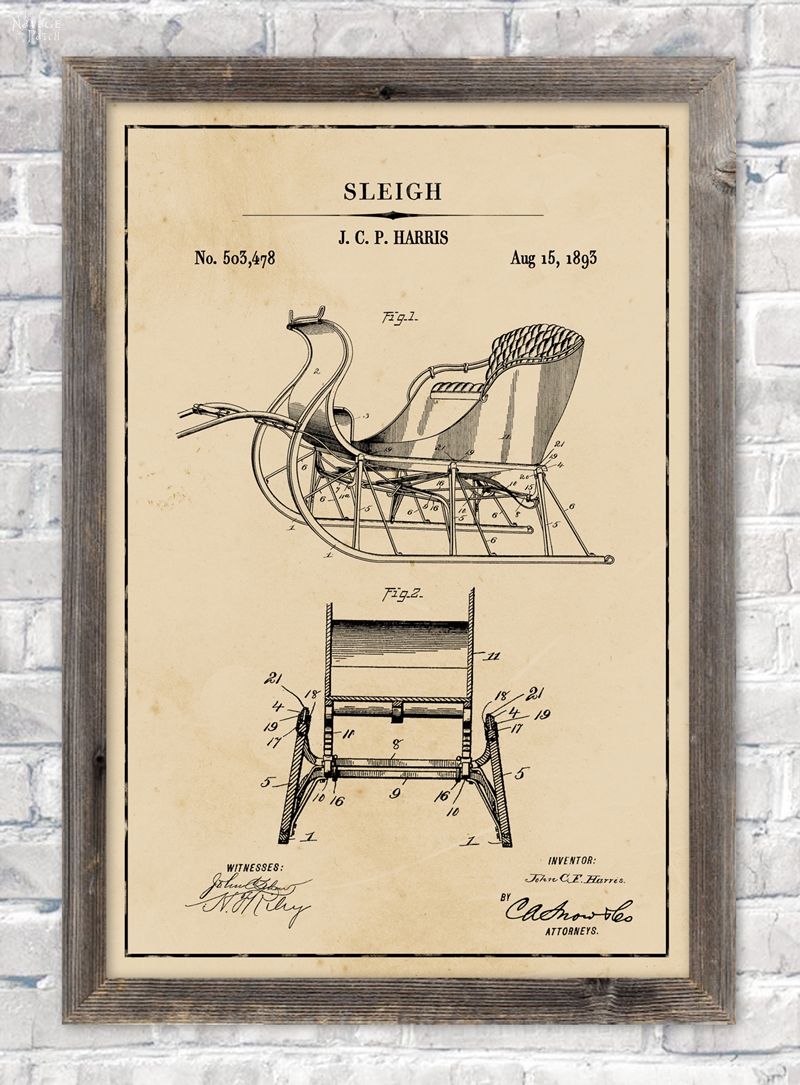
- Christmas Patent Wall Art And 18 Free Printables
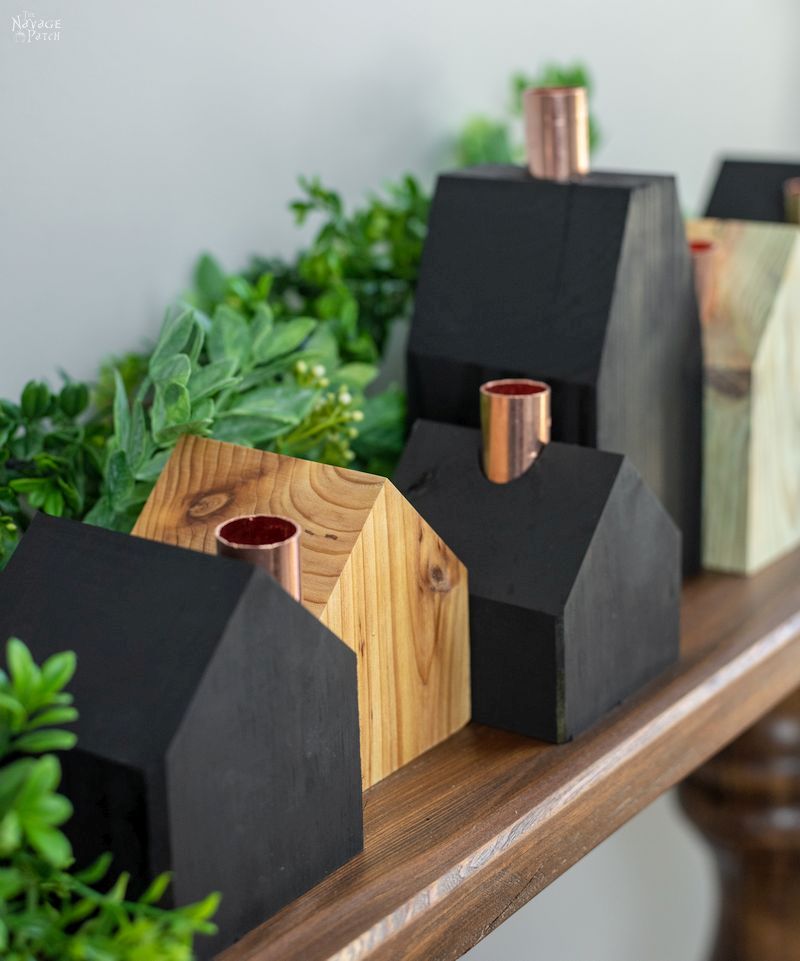
- DIY Wood House Candle Holders
- DIY Dollar Tree Snow-White Nutcrackers
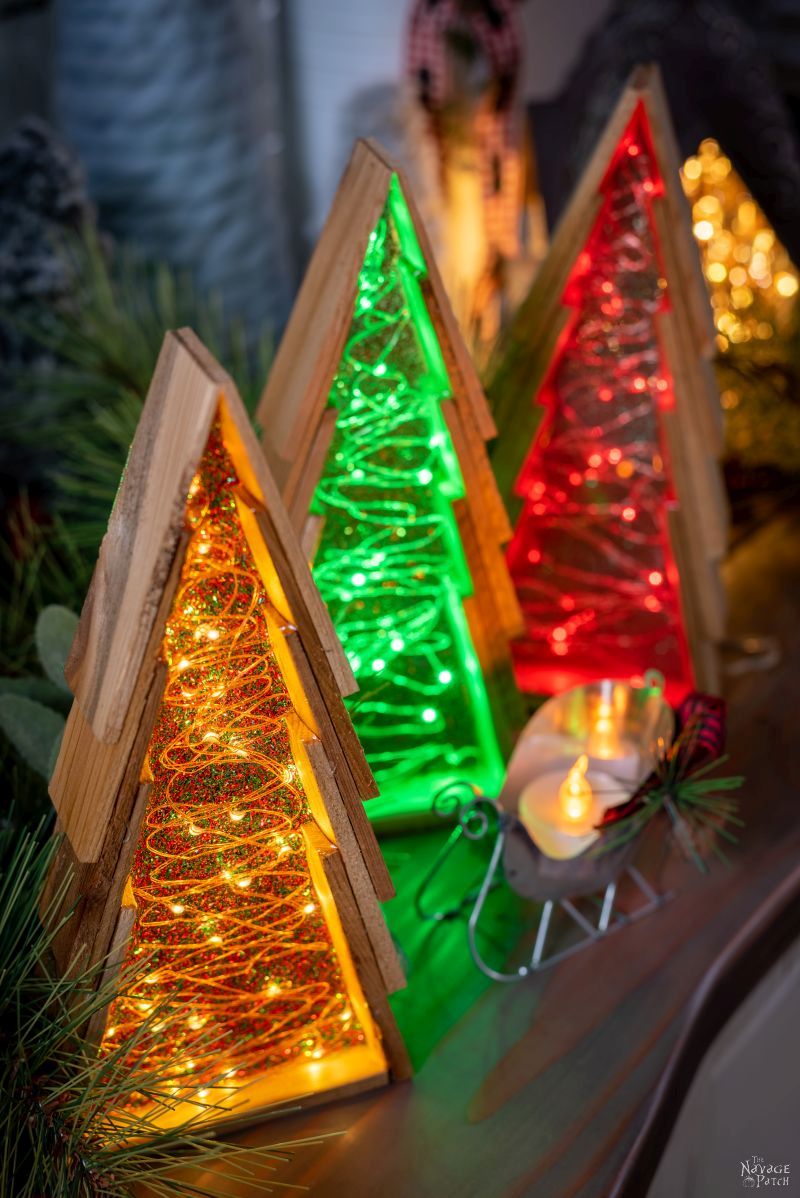
- DIY Epoxy Wood Shim Trees
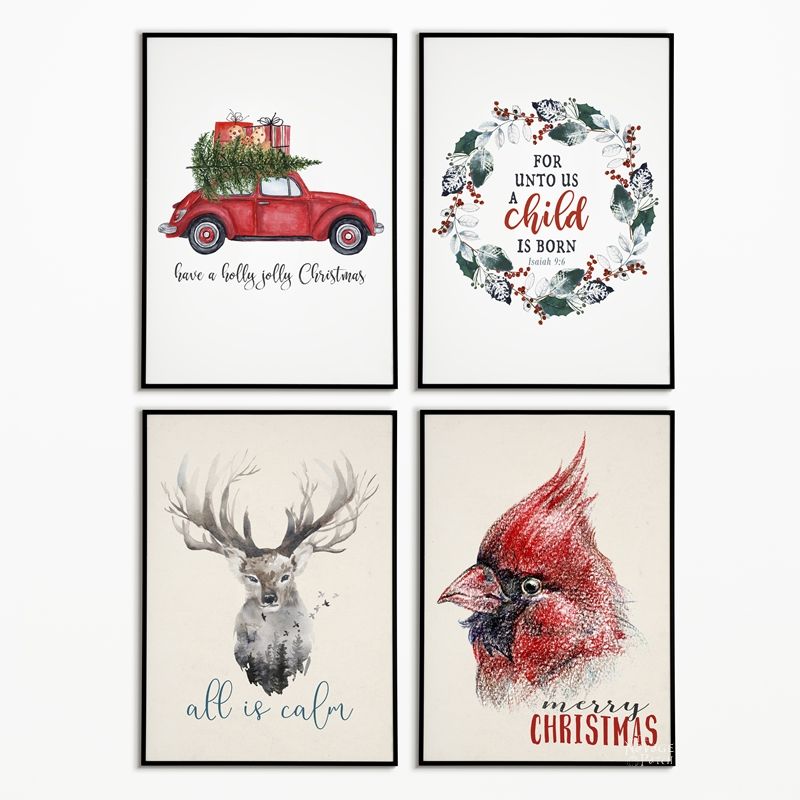
- Free Watercolor Christmas Printables (20+ BEAUTIFUL Holiday Prints)
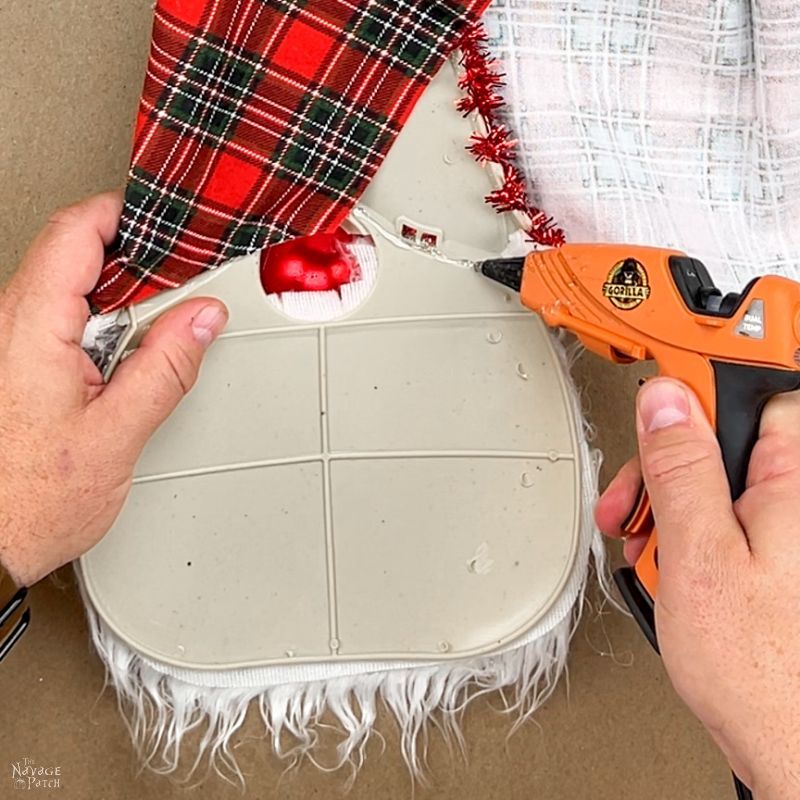
Anyway, you don’t technically have to make the backs as neat as I did unless you’re afraid someone might see them.

With my backside all neat and tidy, I put a little hot glue near the top and folded over the excess at the tip.

Back around front, I grabbed my puffy white balls…
o_0
…of yarn, madam! Puffy white balls of yarn! Mind out of the gutter, please!
And then I cut off their strings.

A little glue up top.

And then I glued the pom pom to the front of the hat (not the tippity top) and my gnome was finished.

Two more gnomes and my red-nose amigos were finished. Now they needed a place to hang out.

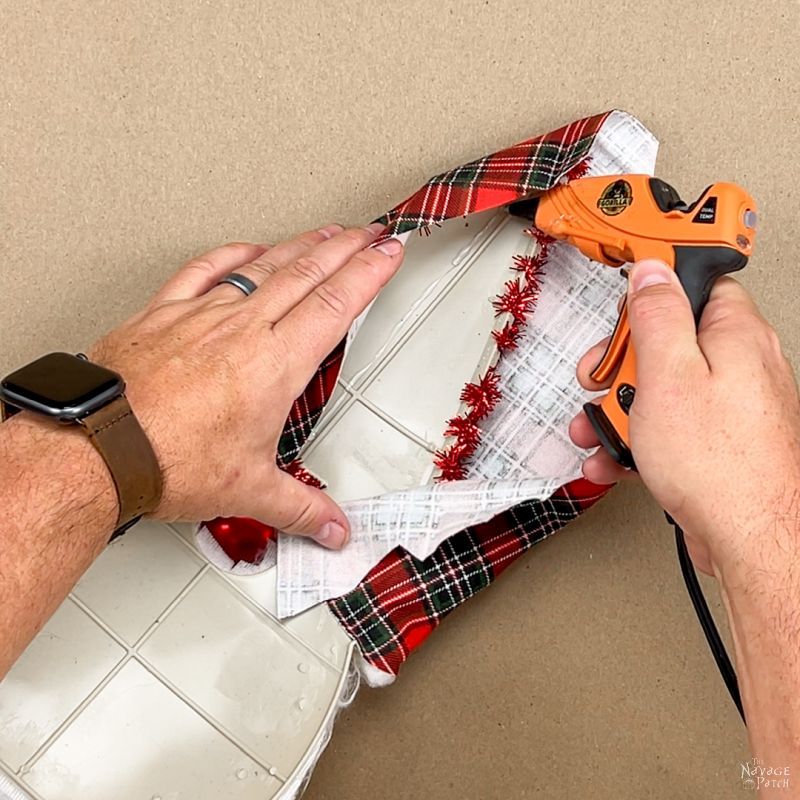
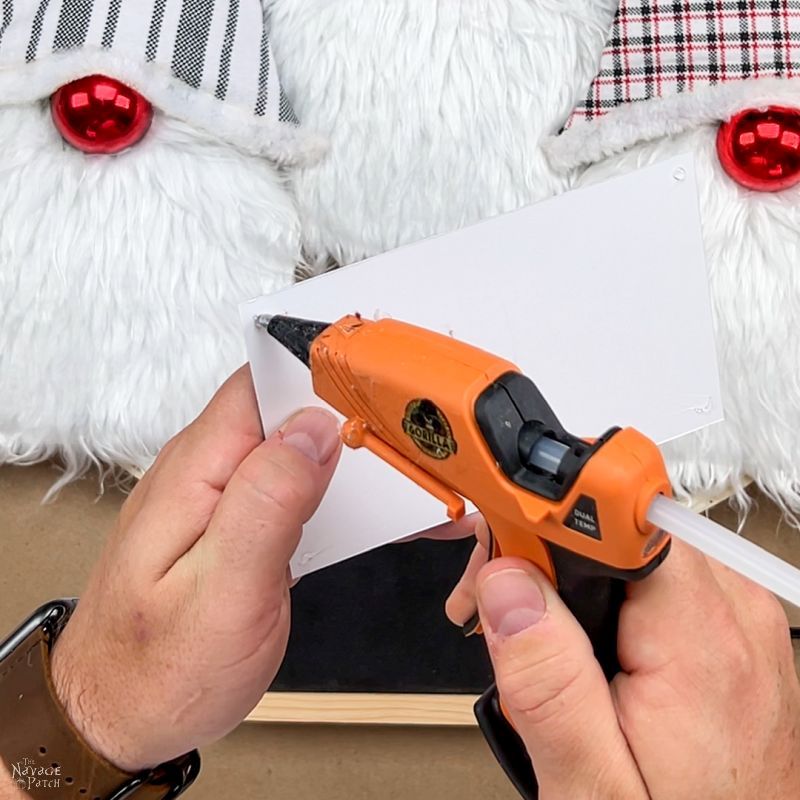
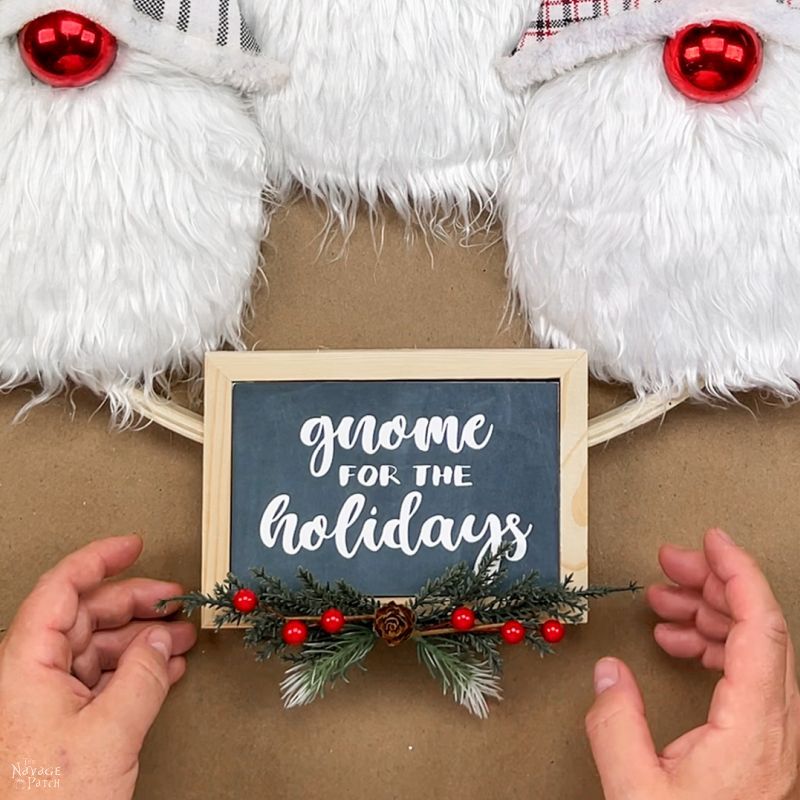
I pulled the stand off of the Dollar Tree chalkboard.


I put two big blobs of hot glue on the clamping part of the embroidery hoop.
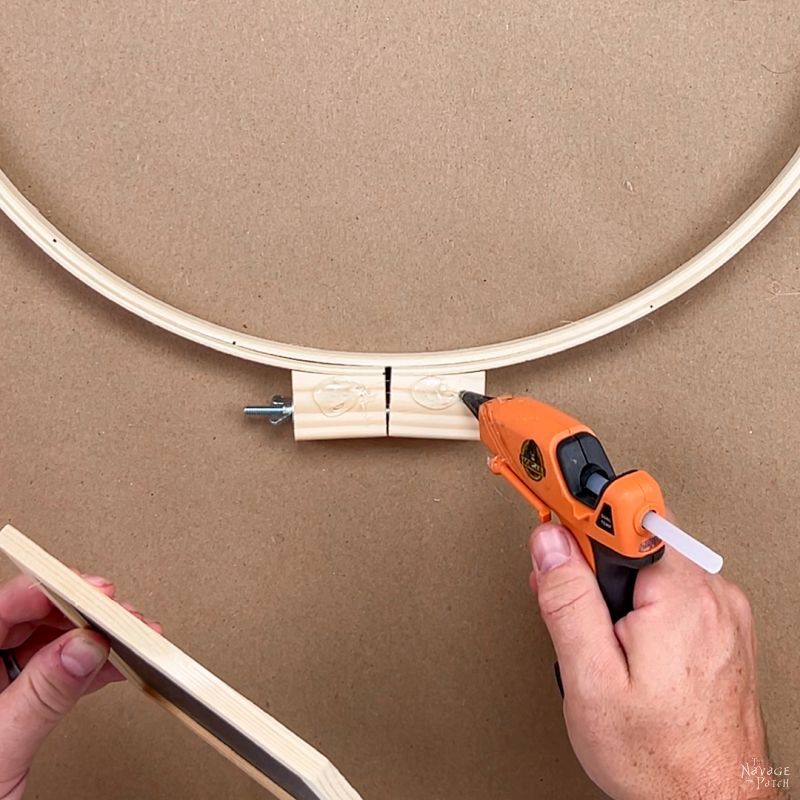
Then I glued the chalkboard to the hoop.

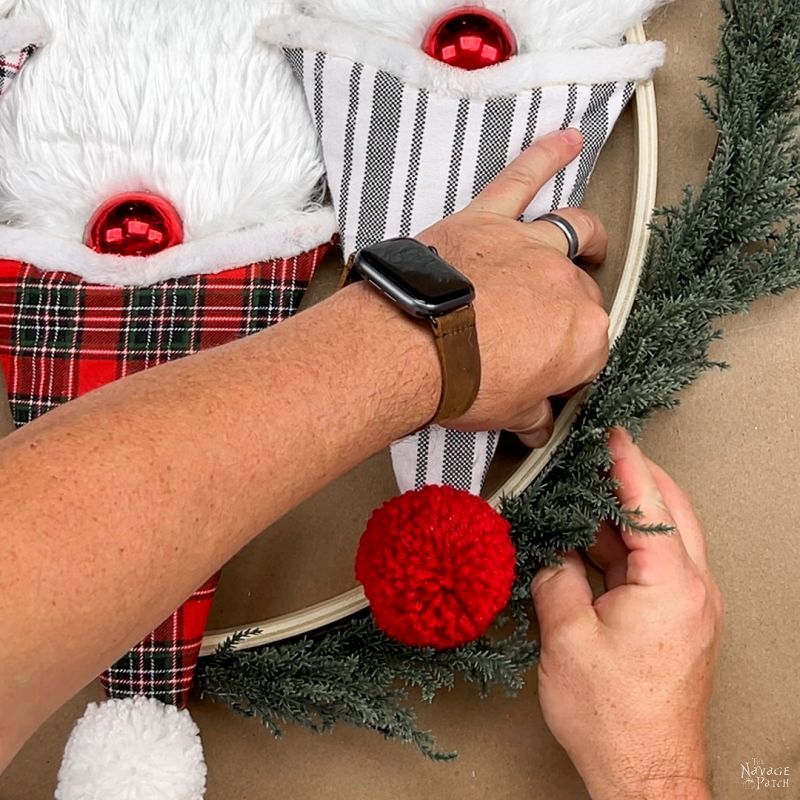
I positioned the gnomes how I wanted them.

Then it was a simple matter of securing them with hot glue at all the points they met with the hoop. Here:
There:

Don’t forget that place down there:

Now repeat for the right-side gnome.
Middle gnome gets a blast up top.
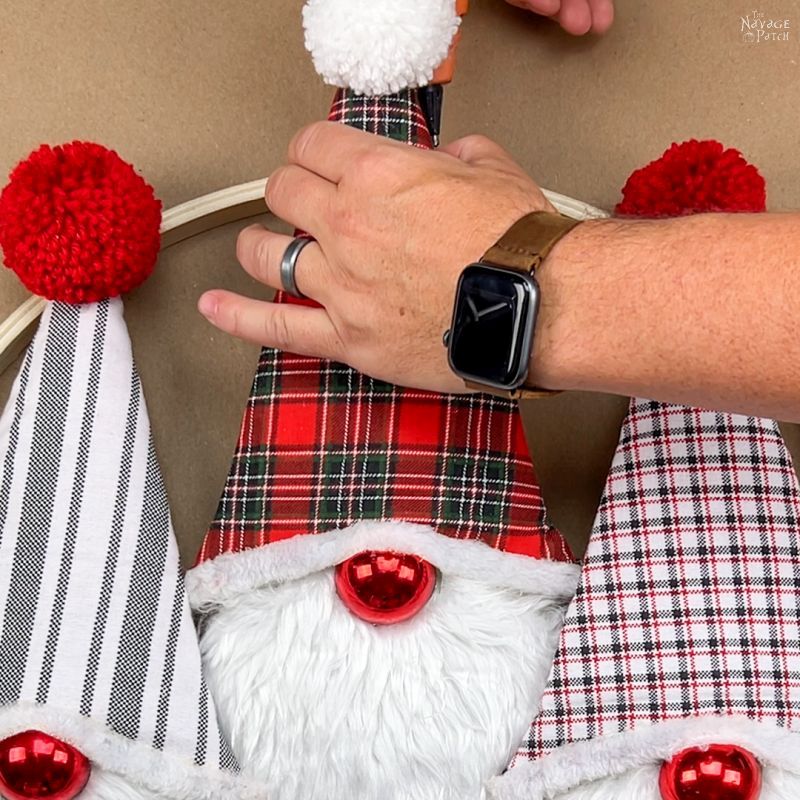
And then where the side gnomes overlap his beard.

Now, if you have good handwriting, you can write whatever you want on the little chalkboard. I do not have good handwriting, so Handan printed me a sign. We’ve included this at the end of the post because we think you’re special, and you deserve it!

Four dots of hot glue would hold it in place and let me swap it out if I want a new cutesy little phrase. I’m partial to “Chillin’ with my Gnomies” or “Gnome or Mister Nice Guy.”

So this was supposed to be the end of the project, but then Handan declared that it needed some green. Hey if my babes wants green, who am I to say no? She had a couple of these wreaths on hand (naturally) that she got at Target for $3 each.
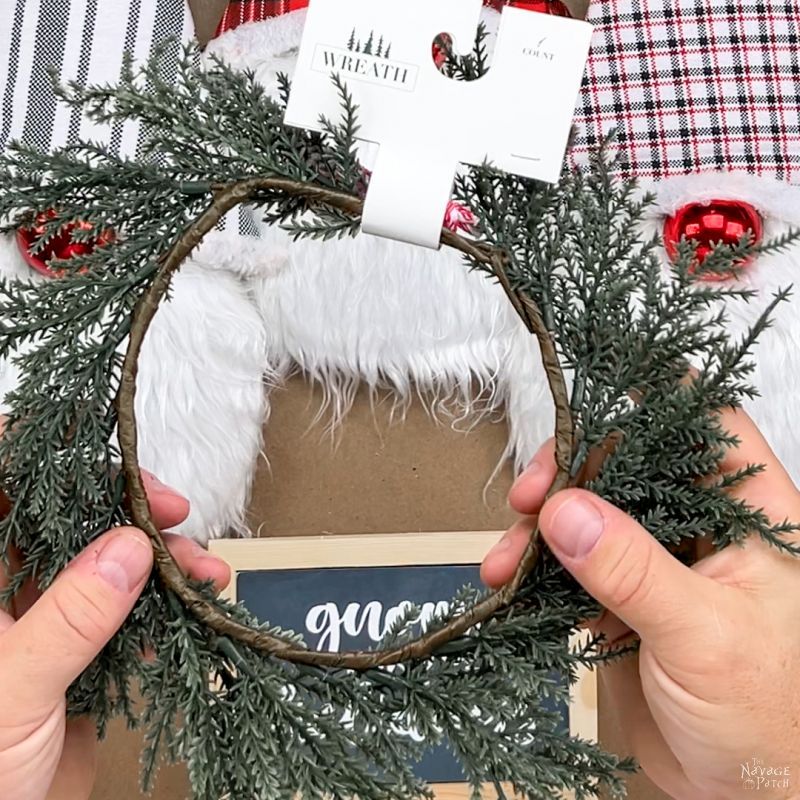
Those $3 wreaths come right apart. I’m tempted to say something like “it’s almost as if they want you to pull it apart,” but I’m afraid you guys will be like, “Oh, you didn’t know? Of course they do! That’s a convertible wreath, dummy!”
Well, how the hell am I supposed to know what a convertible wreath is? I’m still a stranger in this world, madam. Do try to cut me some slack!

I hot glued the end and stuck it to the hoop behind Red’s hat.

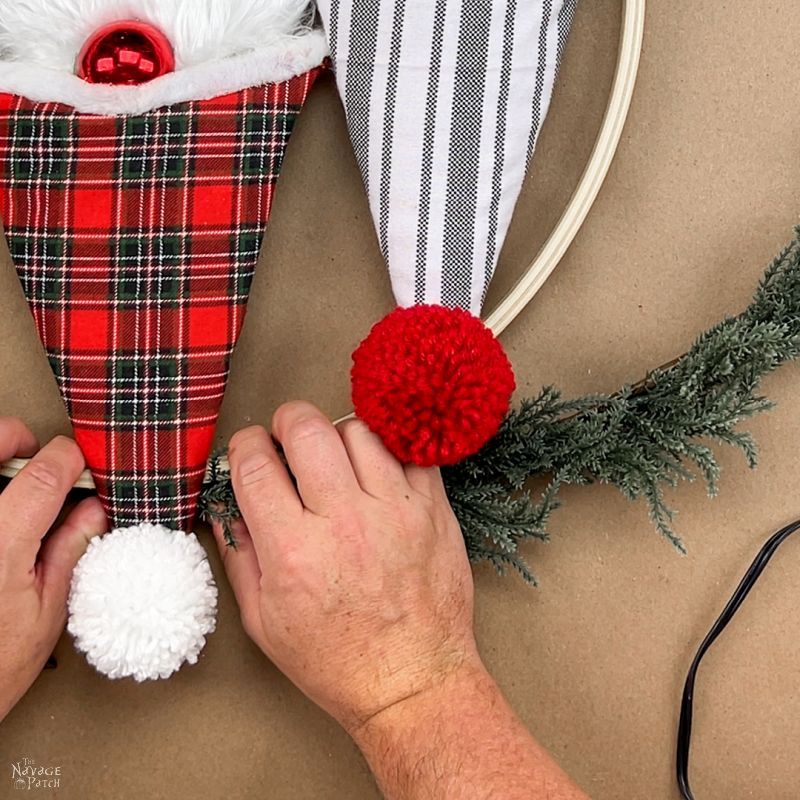
Then I worked my way down the wreath, gluing and pressing.


I repeated this on the other side with the other convertible wreath.
The final step was a little embellishment for the sign and for the hats. I made that embellishment – not bad if I do say so myself!
And with that, our DIY Dollar Store Gnome Wreath was finished and the three amigos were ready for some serious hanging around.


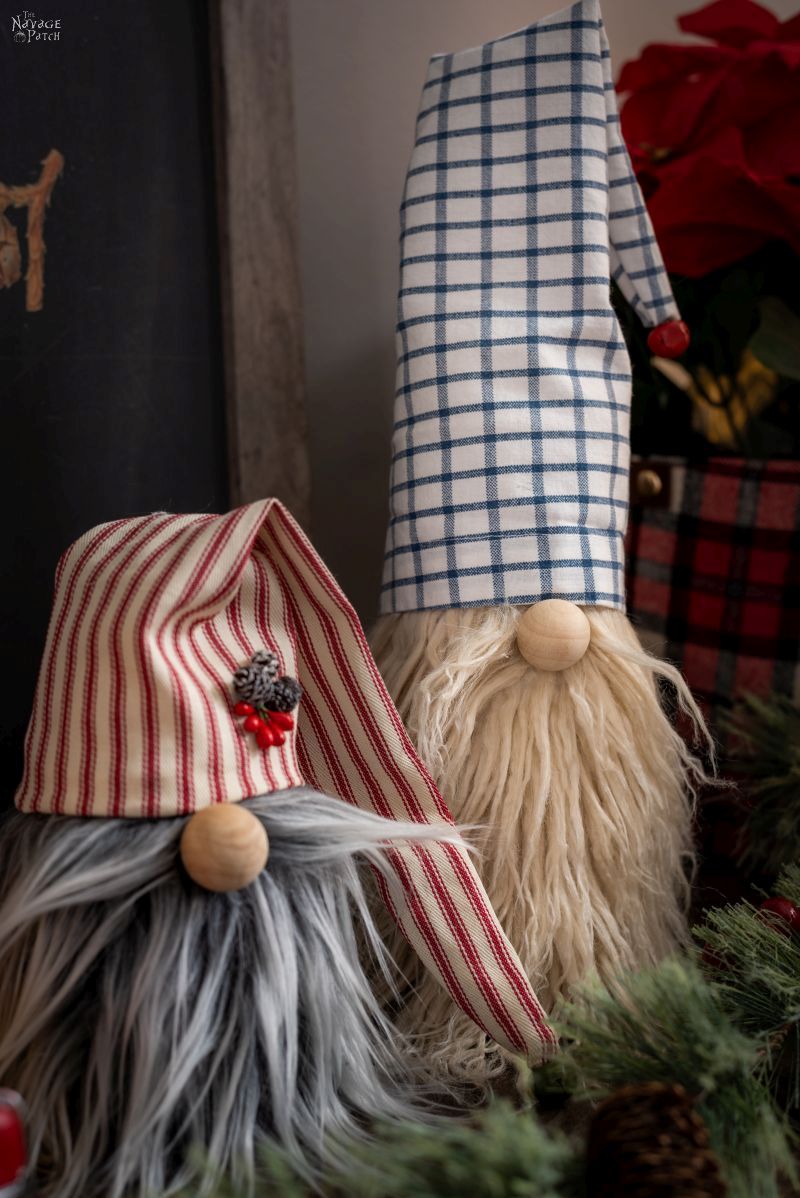
If you love gnomes as much as we do, be sure to check out our other gnome tutorials!

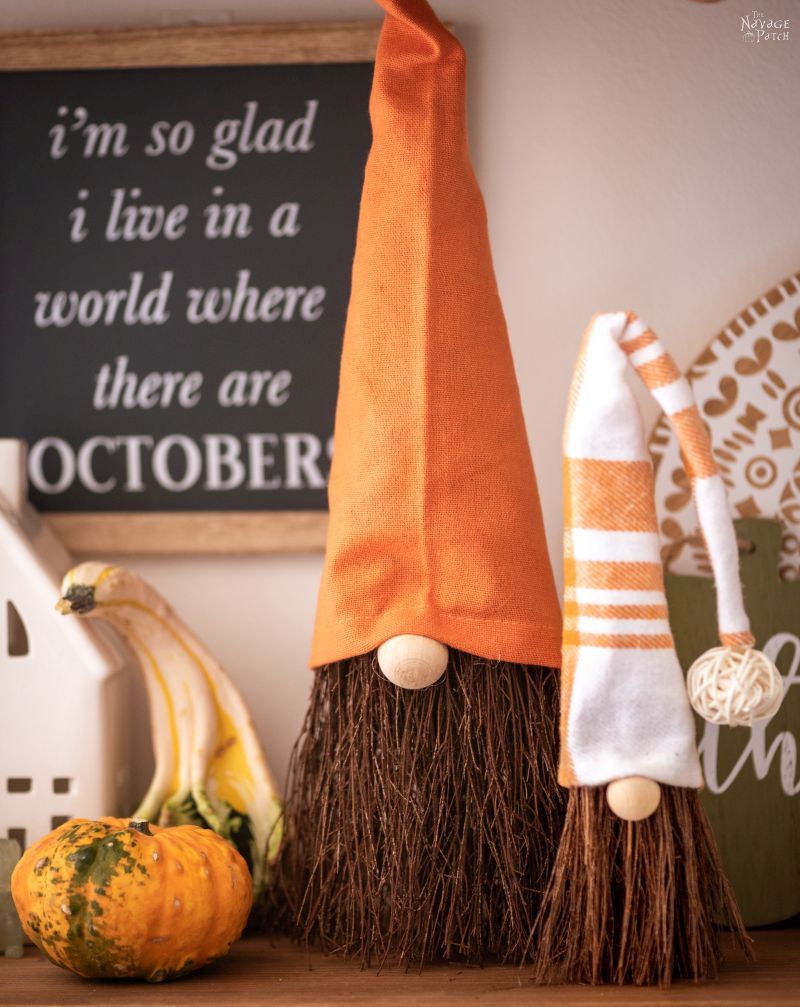
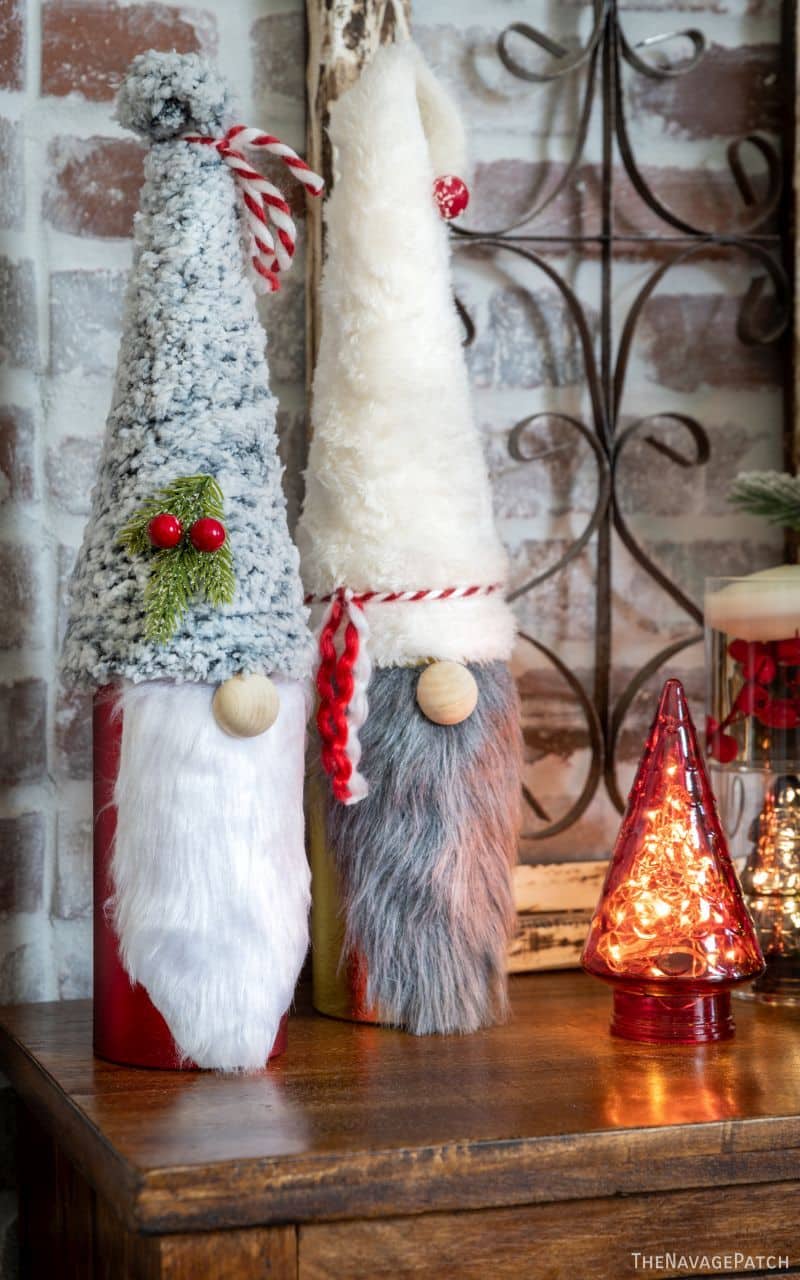

- DIY Dollar Store Lighted Mop Gnomes
- DIY Christmas Gnome Wreath
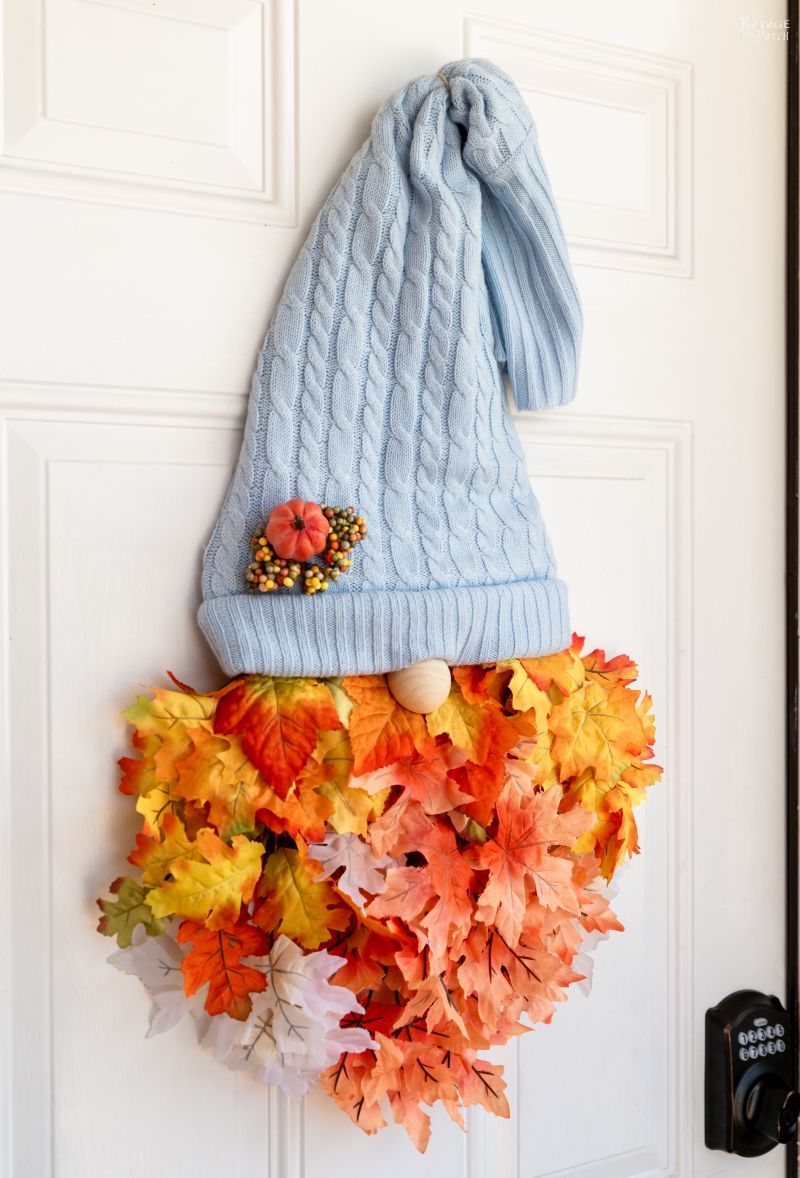
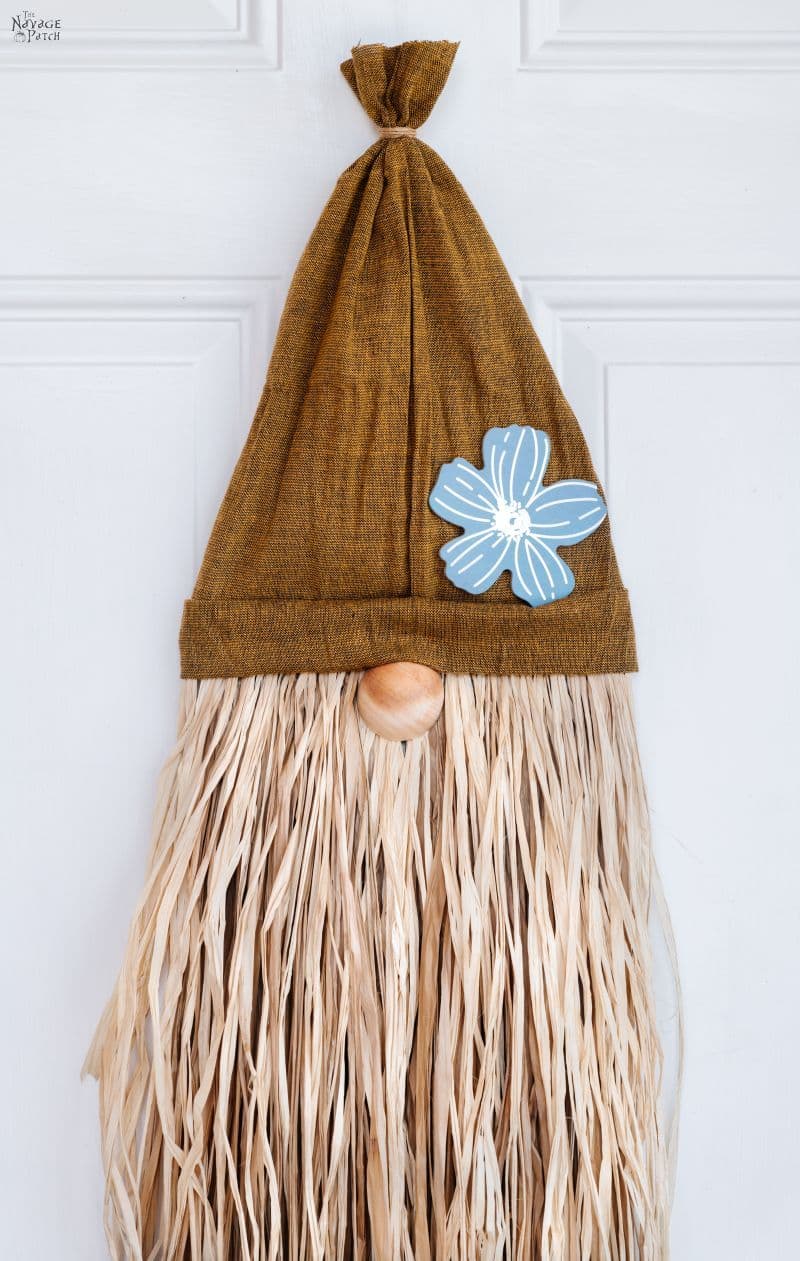
- Easy DIY Dollar Tree Fall Gnome Wreath
- DIY Scented Broom Gnomes
- Easy No-Sew Christmas Gnomes
- DIY Gift Box Gnomes
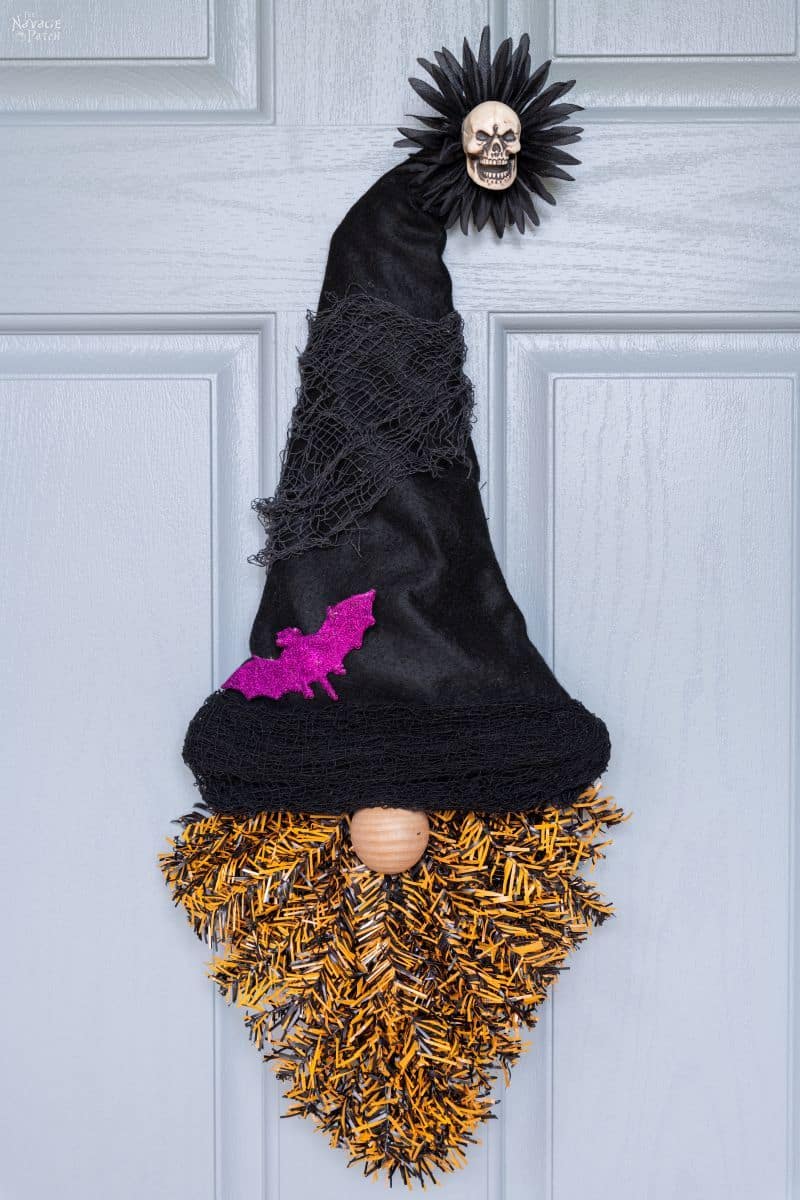
- Dollar Tree Halloween Gnome Wreath
- Cheap & Easy DIY Dollar Store Halloween Gnomes
- DIY Dollar Tree Christmas Gnome Wreath
- DIY Dollar Tree Scarecrow Gnome Wreath
We love to see our craft projects out in the wild! If you try this seasonal craft project, take a picture and post it on Instagram, be sure to tag us – thenavagepatch


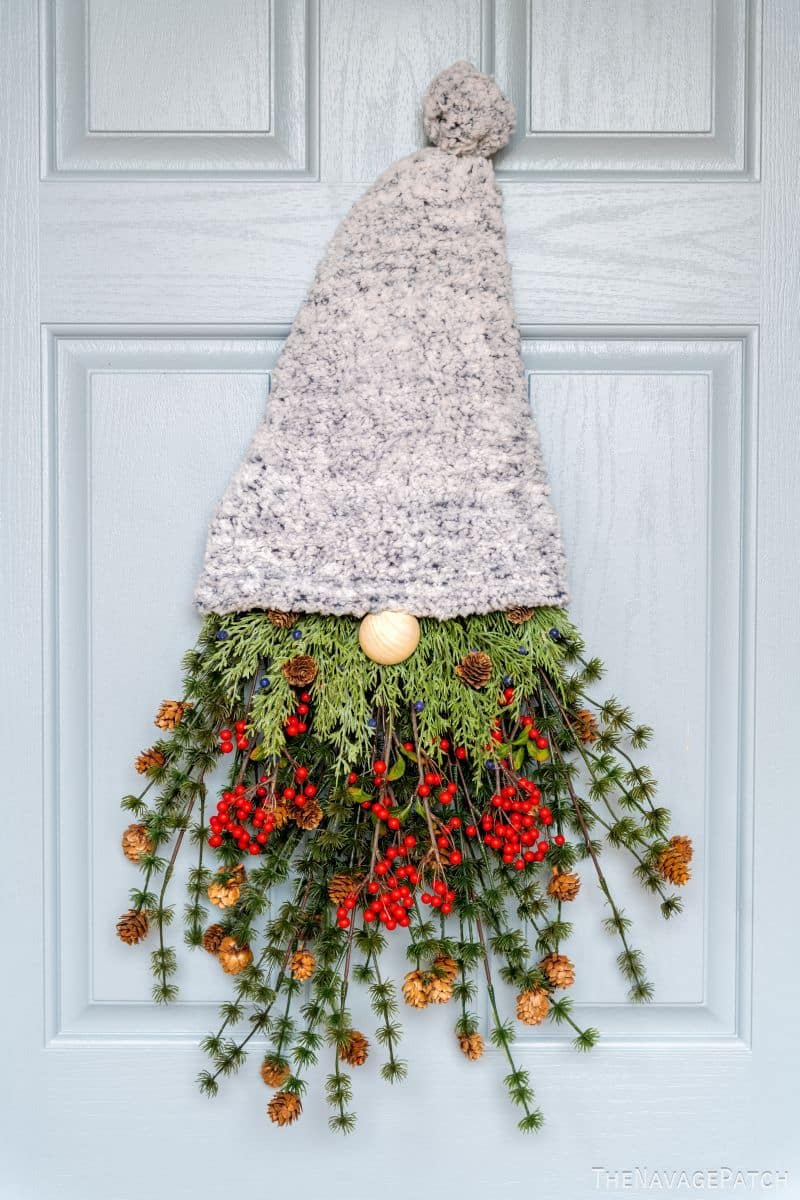
Do you like those antique brass bells in the picture above? Find out how we made them in our DIY Faux Antique Brass Bells post!

I admit I am not a big gnome fan BUT I absolutely LOVE your wreath! You and Handan come up with the best ideas! Now I need to run to the Dollar store lol!
Thank you, Pam! I know, I didn’t see this one coming – it turned out great!
This is adorable. I’m with Handan, one can never have enough gnomes. (But that may just be my Scandinavian heritage speaking.)
Oooh, you’ve got gnome blood running through your veins!
I have been a gnome fan since the early 1970’s, so this wreath is ab-so-lutely adorable. I am going to put one together right away so I can enjoy it til after Christmas. Thank you very much for the idea!
Awesome! I’m so happy to hear it, Carol. Enjoy!
This wreath is so cute!!
Good thing I’m picking up my daughter and we’re going to Dollar Tree today!
Hopefully they will have something. lol
I would have gone with Chillin with my Gnomies. That one is my favorite. lol
Good luck with it, Kathryn! 🙂
These are so cute and so cleverly done! If one isn’t careful, one could become gnome-mad. I so enjoy your projects! Thanks for the excellent directions, too.
Ha! We’re already gnome=crazy around here, Rebecca! 🙂
Amazing! You gave us so many wonderful ideas. You also gave outstanding step by step tutorial on how to make these fabulous gnomes. Yours are breathtaking. Thanks for sharing. Happy holidays
Thank you so much, Ivory! I’m so happy you like the wreath! 🙂
I have to say…..you are my favorite post! I have just started to follow you. You are funny and witty and……have the best ideas. I just made the wreath with loop it yarn. It is gorgeous! You are a breath of fresh air…I find that most blogs are all the same and (yawn) boring. Thank you to you and Handan for an enjoyable read with my coffee in the morning.
Well thank you so much, Jill! That is high praise, and we surely appreciated it! 🙂
Love all your gnomes! Love the lighted bottles wih gnomes and the gnome wreath.
Thank you so much, Barbara!
Gnome mista nice guy. :),
LOL!
I love your gnome wreath. So cute. Did you make your own pompoms? You two have the best ideas. Love your blog. Merry Christmas to you and your family.
We did make those pom poms, Nanci. Well, to be fair, Handan made them last Christmas season while we were watching movies one night!
I must be new to this too. What exactly is a convertible wreath?
LOL, I have no idea – it’s a term I made up for this post, but it fits, right? The wreath converts to a garland, so…convertible wreath! 🙂
That actually makes sense
How cute this is. Gnomes are the thing this year and I love them! Thanks for the great tutorial.
You’re so very welcome, Linda! 🙂
The gnomes look wonderful!! The extra decorations really takes them to the next level. I am also so glad you add those pictures at the end. I haven’t seen some of those craft so I must have joined a lot later than I thought. You know, BH&G (Before Handan & Greg). Thanks for all the great crafts and ideas you both share!!!
Thank you so much, Mona! BH&G – LOLOL! 🙂
I love your ideas and this one is so cute. Love how you embellished it. Great ideas all the time.
Thank you so much, Deborah! 🙂
Hey wanted to see if you could make this fur Christmas tree at a much lower price than $36. The link is https://www.target.com/p/northlight-14-gray-and-beige-triangular-table-top-christmas-tree-with-glitter/-/A-81632797#lnk=sametab.
Thanks!
Hi Mona, it’s a little too late for this year, but I’ve added it to our project ideas for next year. 🙂
Babes, I am confused, you keep saying apartment? I thought you bought a house when you made your move? Love the gnomes, love all Handan’s ideas, oh yeah yours too..
XO A
Arlie! You’ve been slacking! Scroll back to September, so you can read all about our move. Right now we’re in a corporate apartment. The FL house will happen in ’22 🙂
OMG!! SO PRETTY!!! LOVE LOVE!!!!
Thank you so much, Rosa!
Perfection! I have NOT been on the gnome train until this year when I came across your tutorials. Who can resist them now? You make them too adorable. Thanks for all the great ideas and all the other wonderful crafts throughout the year!
Welcome aboard, lol! 🙂
I wish we had a Dollar Store/Tree! The stuff they sell there is incredible! The closest we have are what we call “variety shops” where stuff is pretty cheap, certainly cheaper than most department stores, but still going to cost far more than $1. IF they sold these same items I think it would be about:
$4-6 per gnome
$8-12 for the embroidery hoop
$3-5 for the greenery
$4-6 for the blackboard
$5 for a small packet of glue sticks
Australian dollars, of course, but still a large difference! We definitely don’t get the range of cool items y’all do, either. Those “create a trendy decor item from dollar store items” challenges would be much harder here!
That’s so odd, Jay. Someone in Oz with an entrepreneurial spirit should open a nation-wide chain. It makes perfect sense given your proximity to China compared to ours!
I absolutely love gnomes! I love making them even more. Early this year I decided I had to sell them, due to lack of room. I am still making and selling them at craft shows. But, I wanted to share with you that I learned about your site through a client of mine who is a gnome lover too. She sent me your link and asked if I could make her a Gnome Wreath. I just love this wreath and I will be making more. I wasnt able to find the Dollar Tree Santas you used but I made a pattern out of foam board to attach the hat and beard. I love it. Sharing on Instagram and tagging you. Thank you for sharing these instructions.
Julie
Thank you so much, Julie! If you like gnomes, you’re going to love what we’ve got coming up this holiday season (starting VERY soon! )
I can’t wait to make some of these ! And I should have known it was you while reading ! Love your tik toks !!
Thank you so much and welcome to my written side! 🙂