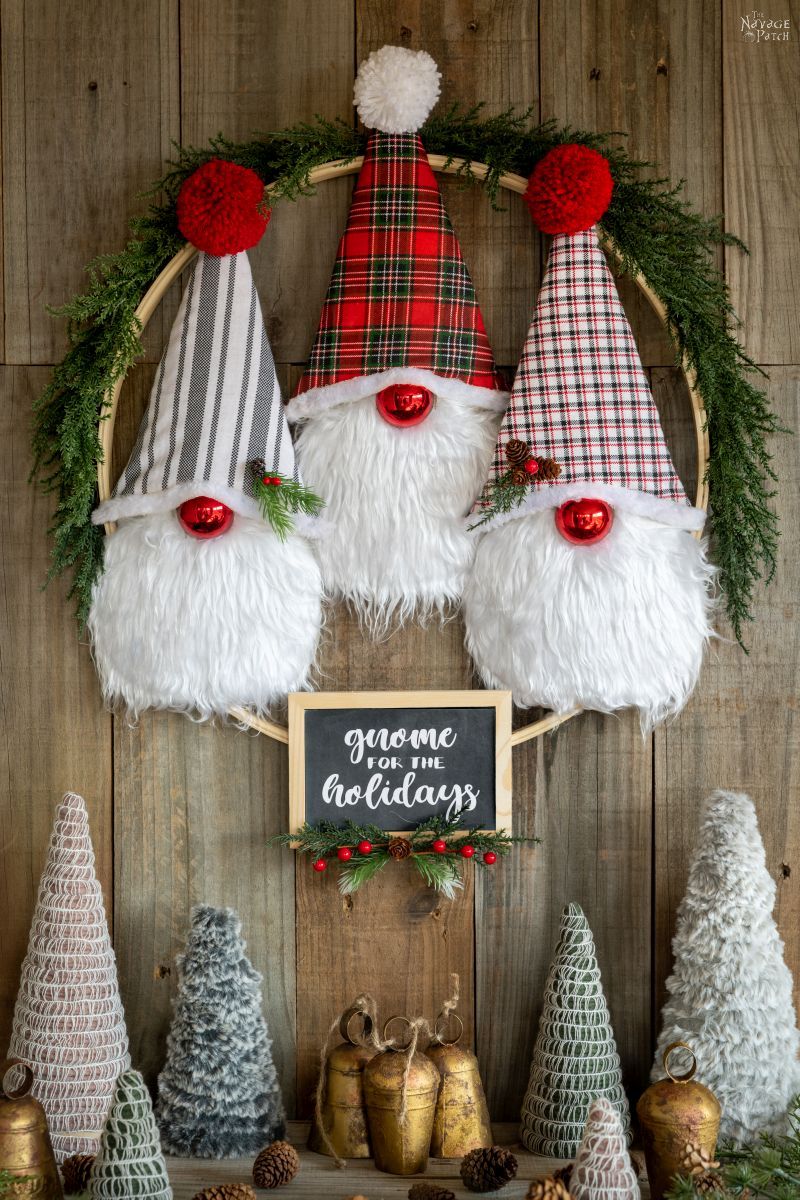
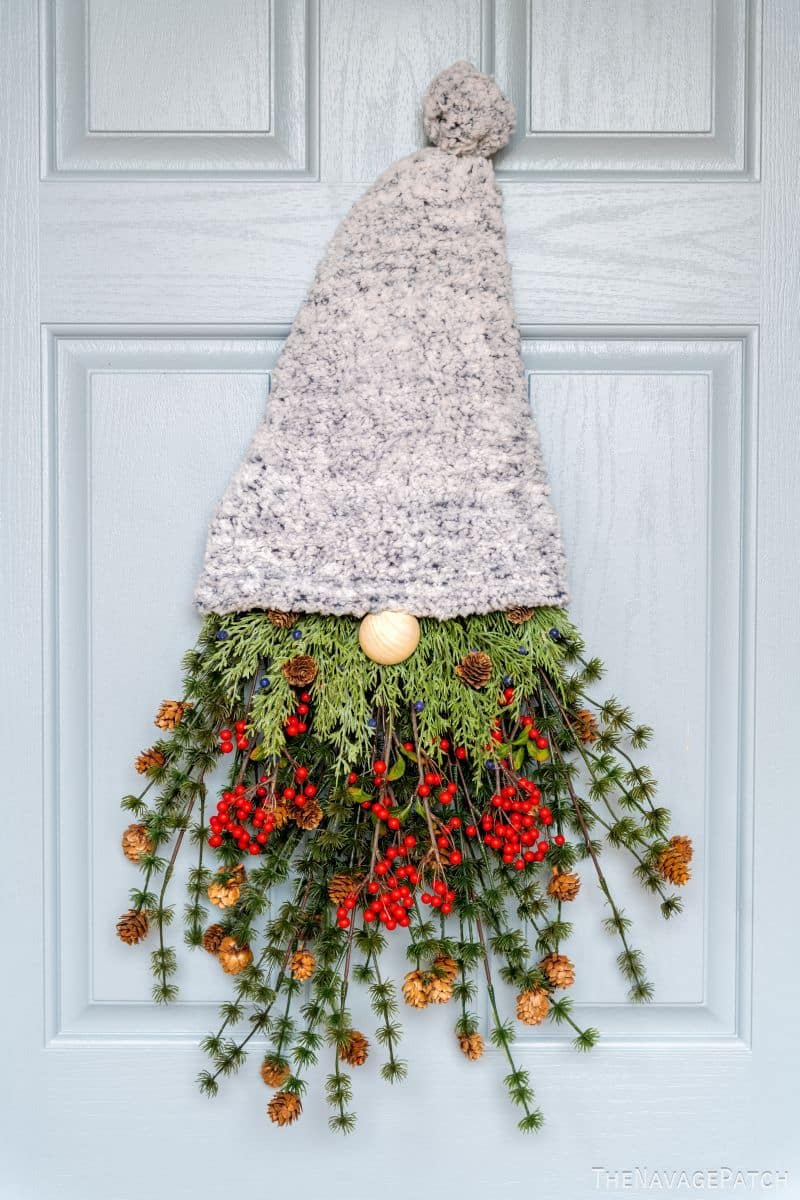
DIY Christmas Gnome Wreath
Learn how to make an easy Christmas gnome wreath from holiday floral picks and get the season started right!
Look, we all knew it would come to this, so don’t act so surprised.
I’m sure some of you breathed a deep sigh of relief after our last gnome project, thinking that surely after three years of gnomes, we’d reached our creative limit.
If you thought that, then madam, you don’t gnome us very well at all.
The gnomes have only just begun.

And while I respect your position if you are one of the handful of gnomeaphobes and gnome-knockers who frequent this blog, it is my intention to convert you to Gnomeism gnometheless. I intend to accomplish this through the tried-and-true method of brainwashing.
Yep, brainwashing! Parents have been doing it since the dawn of time! How else does the child of, say, a Cleveland Browns fan become a Cleveland Browns fan him- or herself? Good old-fashioned brainwashing!
Of course there are more nefarious uses for it, but we won’t get into those here because this is a happy place – a happy place and a happy home for the happy face of a happy gnome. Say it with me now: a happy place and a happy home for the happy face of a happy gnome!
Now close your eyes and say it one hundred more times.
There, see how it works? By 2023, you’ll be buying split wood balls by the barrel, scouring Etsy for Mongolian fur, and stocking up on dried beans!
Or you’ll start sending hate mail to my gnome, er, home. Could go either way.
But as we all know by now, I like to live dangerously, so let’s dive right into our first gnome of the Christmas season!
Christmas Gnome Wreath SUPPLIES LIST
Affiliate links are provided below. Full disclosure here.
- Dollar Tree tinsel hat wreath
- Assorted Christmas floral picks
- Zip ties
- Fabric for a hat – we used a Dollar Tree Plus Sherpa throw
- Split wood ball
- Hot glue gun
We love to see our craft projects out in the wild! If you try this seasonal craft project, take a picture and post it on Instagram, be sure to tag us – thenavagepatch
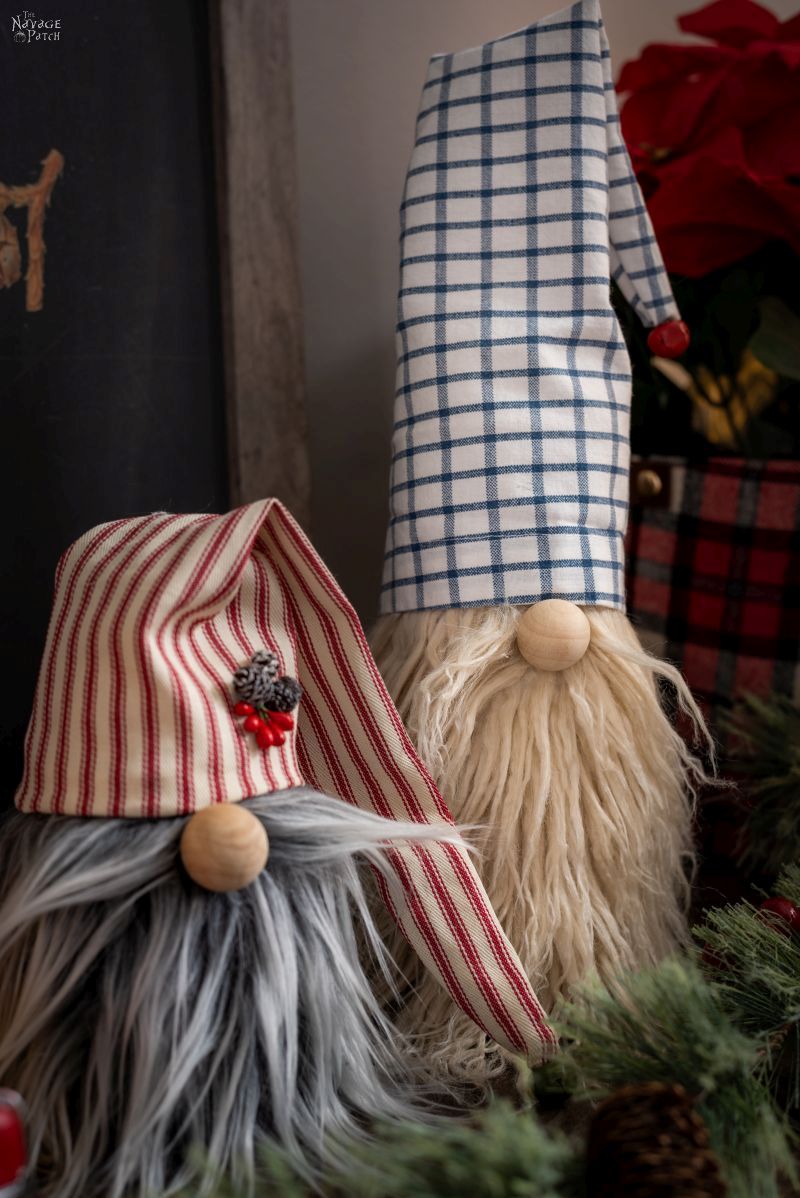
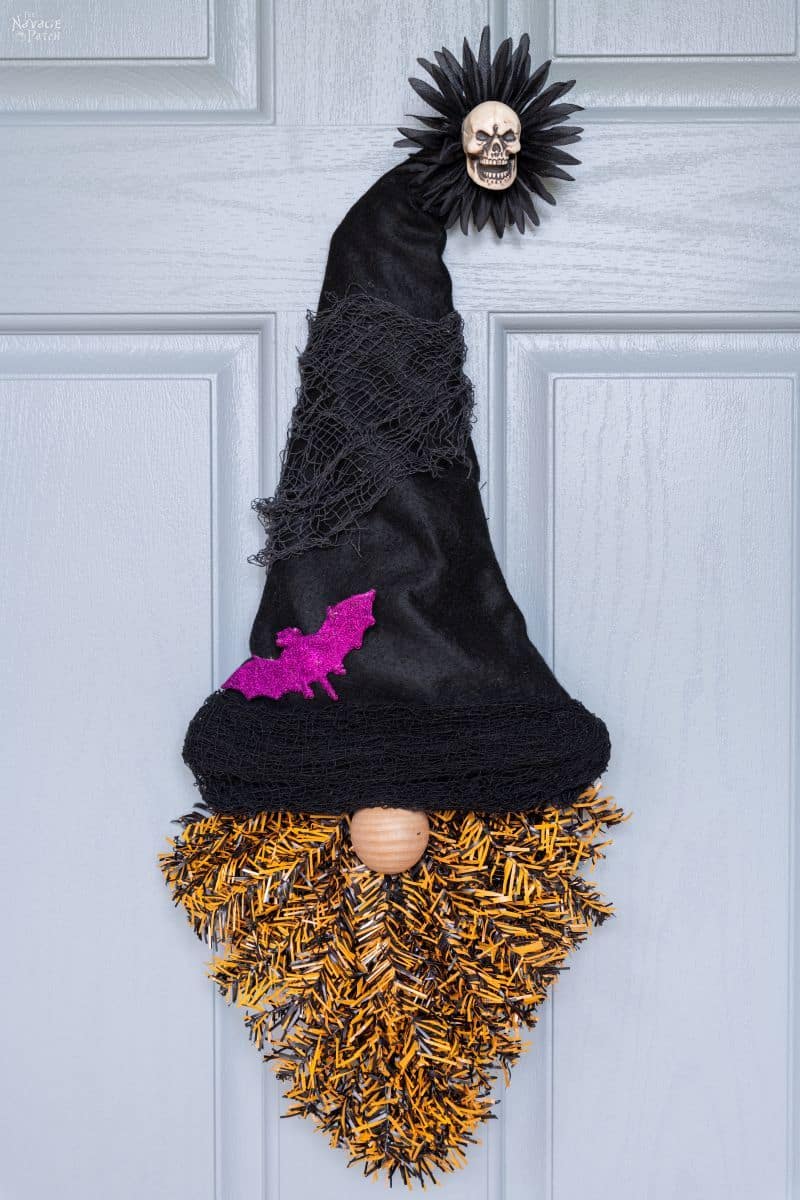
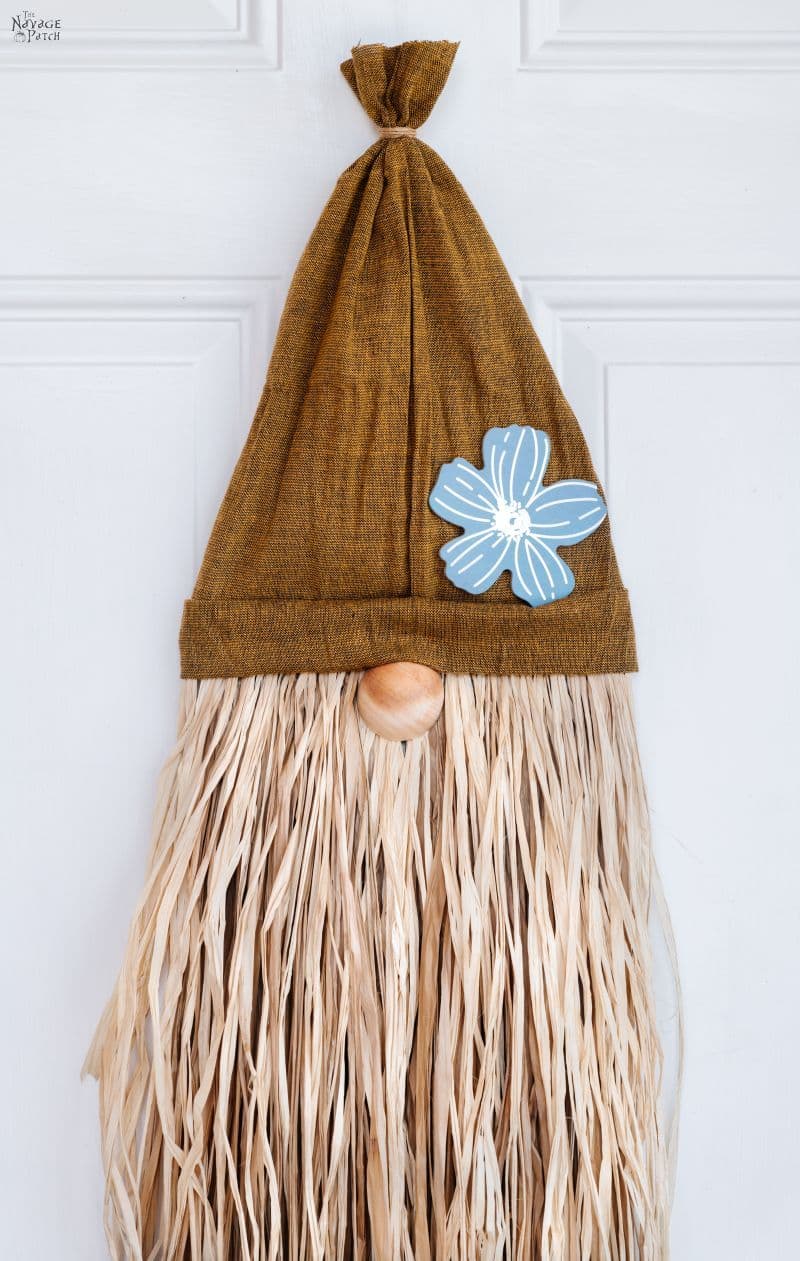
If you love gnomes as much as we do, be sure to check out our other gnome tutorials!

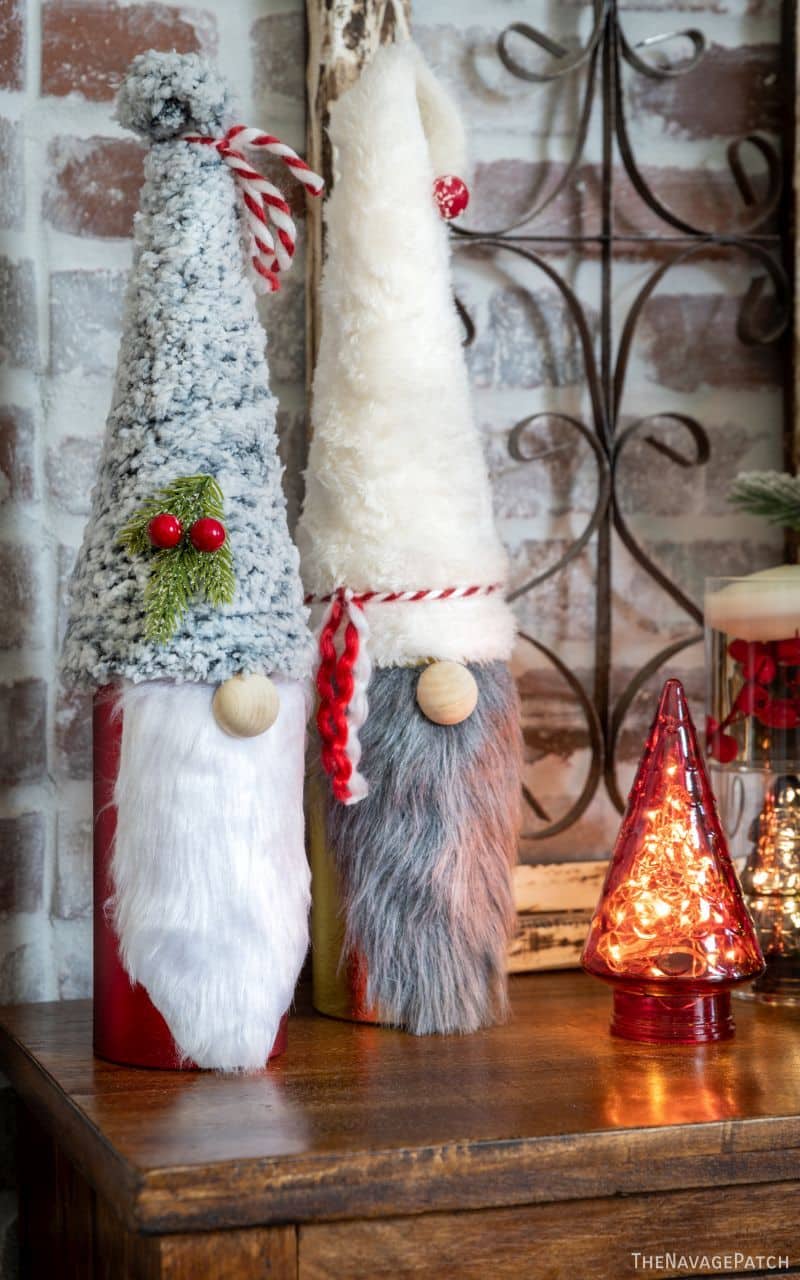

- DIY Dollar Store Lighted Mop Gnomes
- DIY Gift Box Gnomes
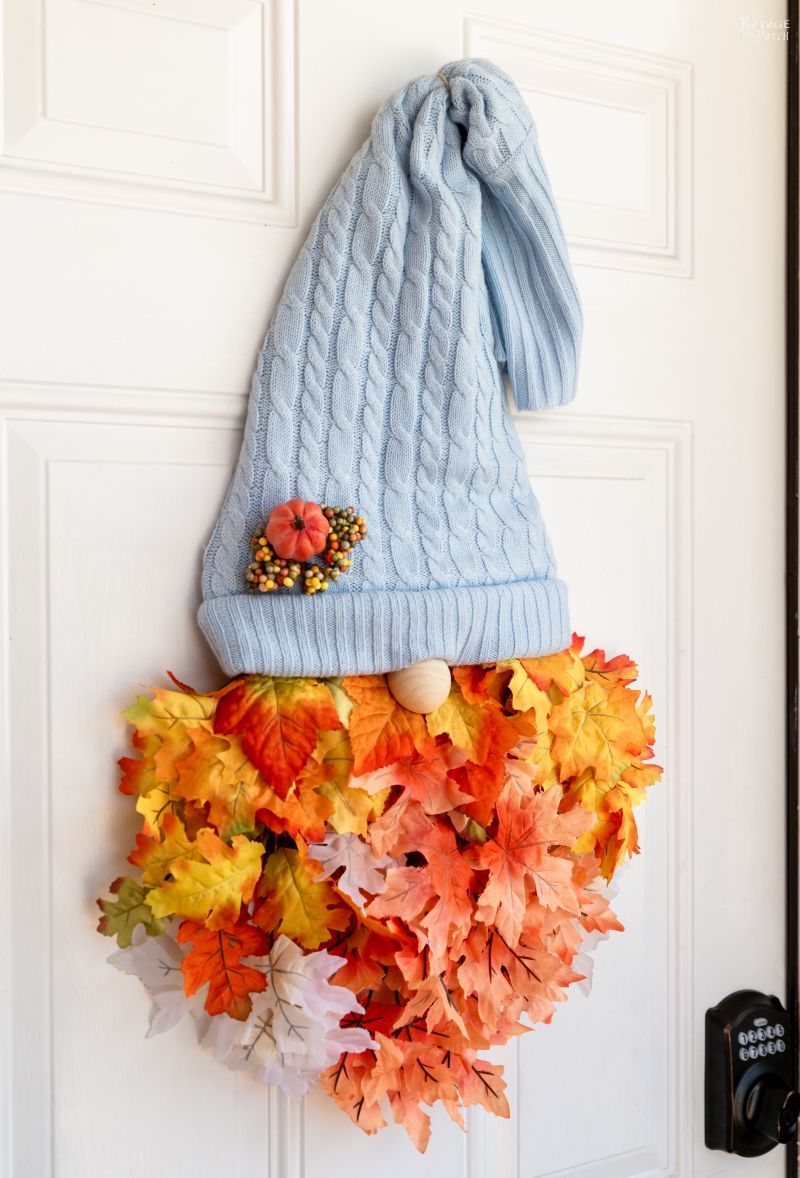
- Easy DIY Dollar Tree Fall Gnome Wreath
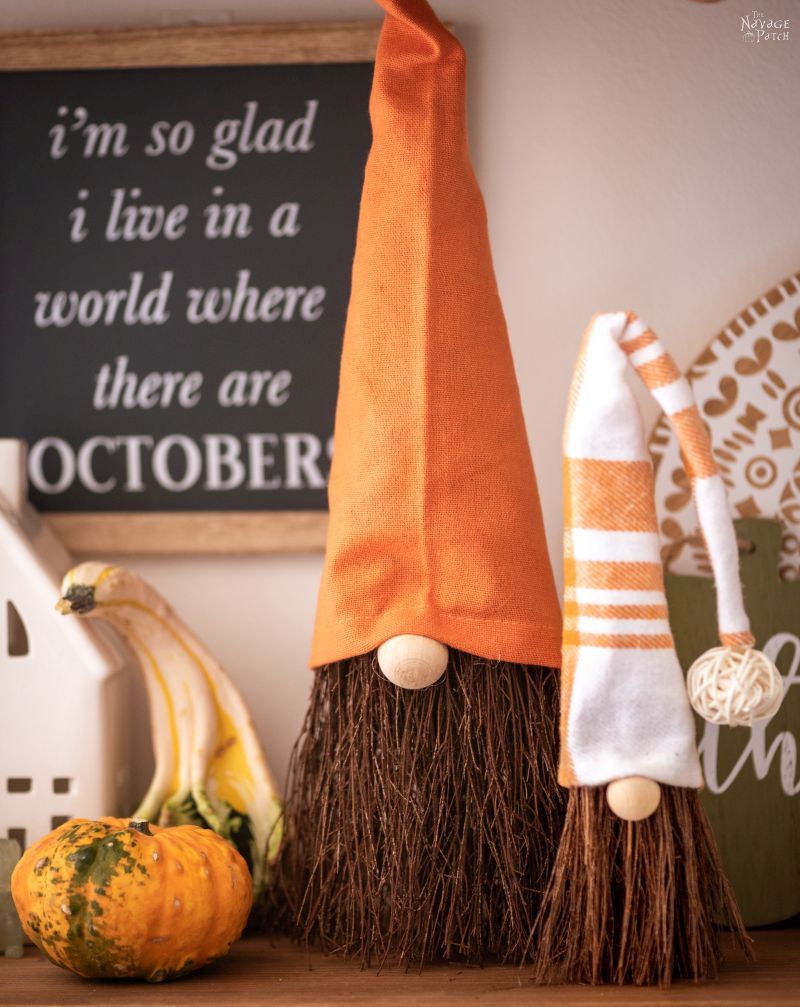
- DIY Scented Broom Gnomes
- Easy No-Sew Christmas Gnomes
- Dollar Tree Halloween Gnome Wreath
- DIY Christmas Gnome Wreath
- Cheap & Easy DIY Dollar Store Halloween Gnomes
- DIY Dollar Tree Christmas Gnome Wreath
- DIY Dollar Tree Scarecrow Gnome Wreath
Now, I suspect most of you will have to hit up Walmart or Dollar Tree or Target or Michaels or Hobby Lobby or Joann to buy the Christmas picks for this gnome wreath. Not me!
I’m lucky enough to have a wife who has provisioned us handsomely for the Craft Apocalypse. If the world ever runs out of crafting supplies, my babes and I can live out our days happily crafting from the dragon’s hoard of supplies and materials she’s been squirreling away since 2013.
If it’s a zombie apocalypse, we’re as doomed as the next schmuck, but a craftocalypse? We’re livin’ large!
Anyway, my point is that I didn’t have to shop for my holiday floral picks, because I found everything I needed stashed in plastic retail bags all over the house!
We’d already bought a few tinsel hats, because we’ll always need those, and we bought that sherpa throw back in August on our 5-state Dollar Tree truck-filling shopapalooza extravaganza. It was never destined to warm our tired old bones. Nope, when we bought that blanket in the sweltering August heat, we knew we’d be making gnomes with it.

Now obviously one stinkin’ little gnome wreath does not require an entire $5 sherpa throw, so before you go all Wastey Wanda on me, I assure you, we’ll be using the entire blanket for several Christmas crafts. Just like the Native Americans let no part of an animal go to waste, neither shall we waste that sherpa throw!
DIY Christmas Gnome Wreath Video Tutorial
Watch our short video below for an overview of our Christmas gnome wreath before you read the detailed step-by-step tutorial.
On Tiktok
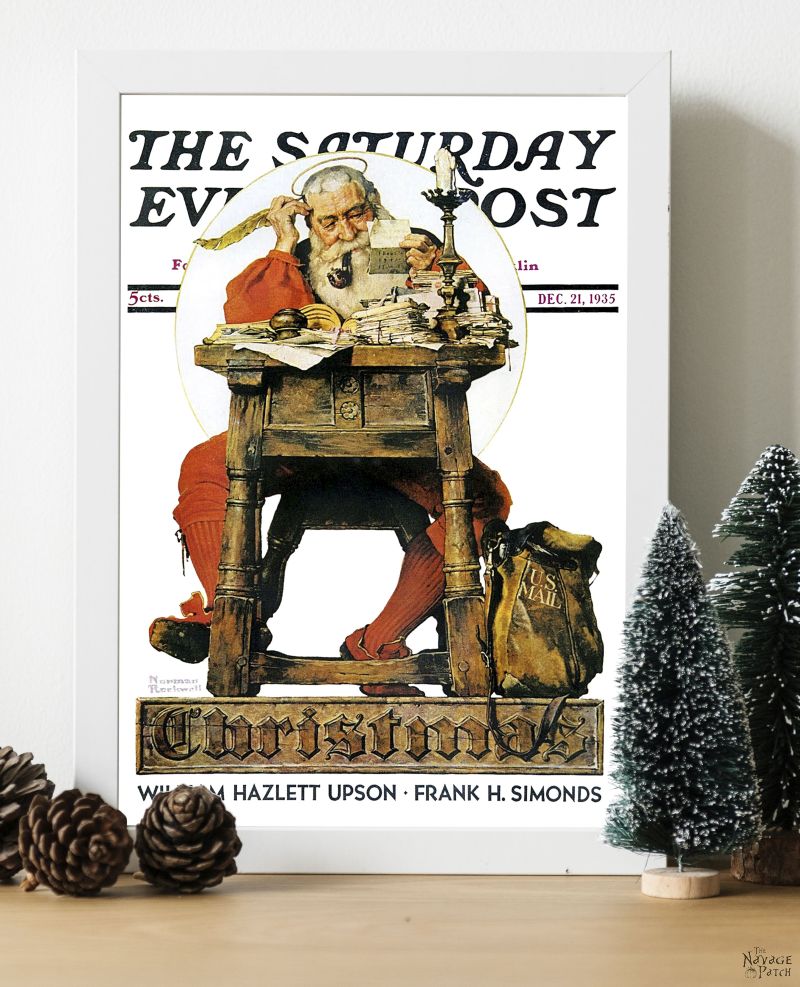
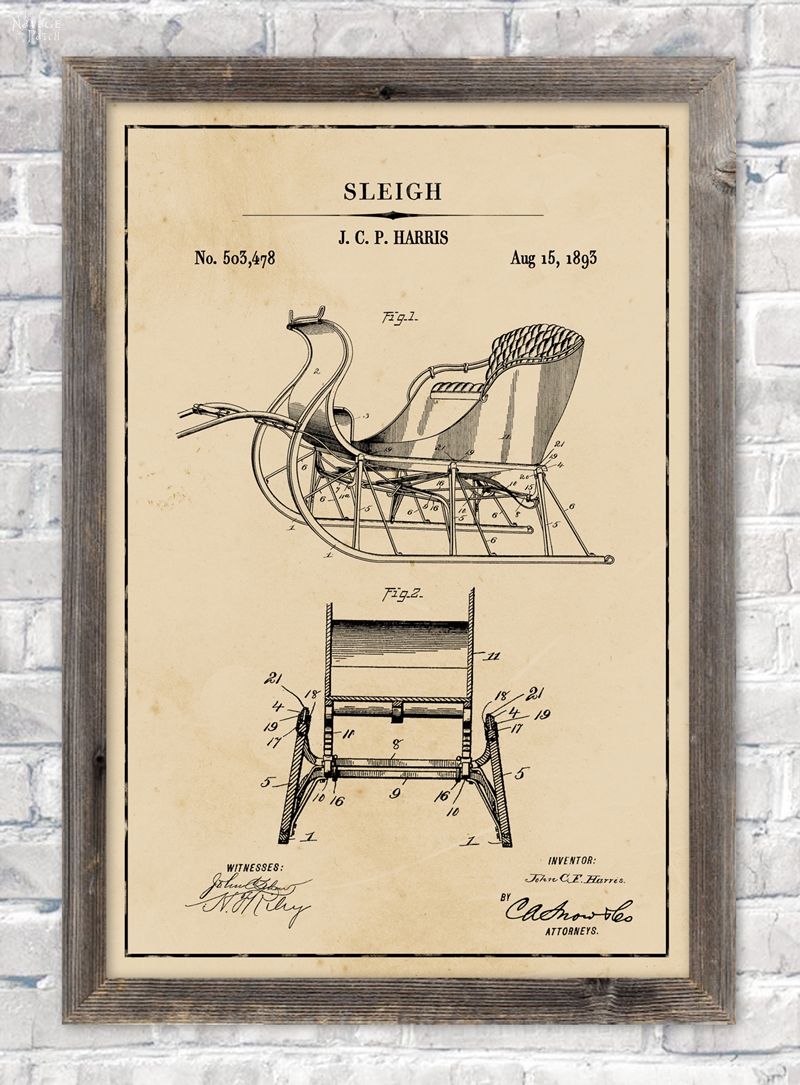
More DIY Christmas Decor Ideas

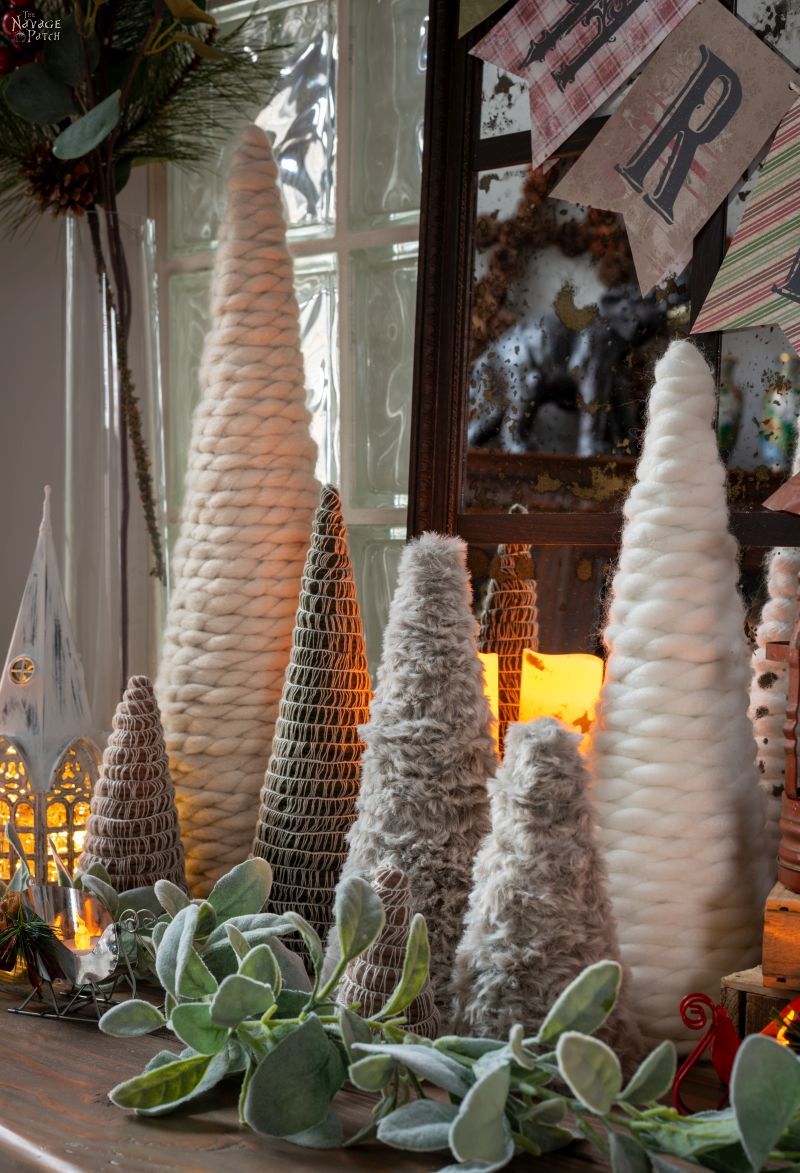


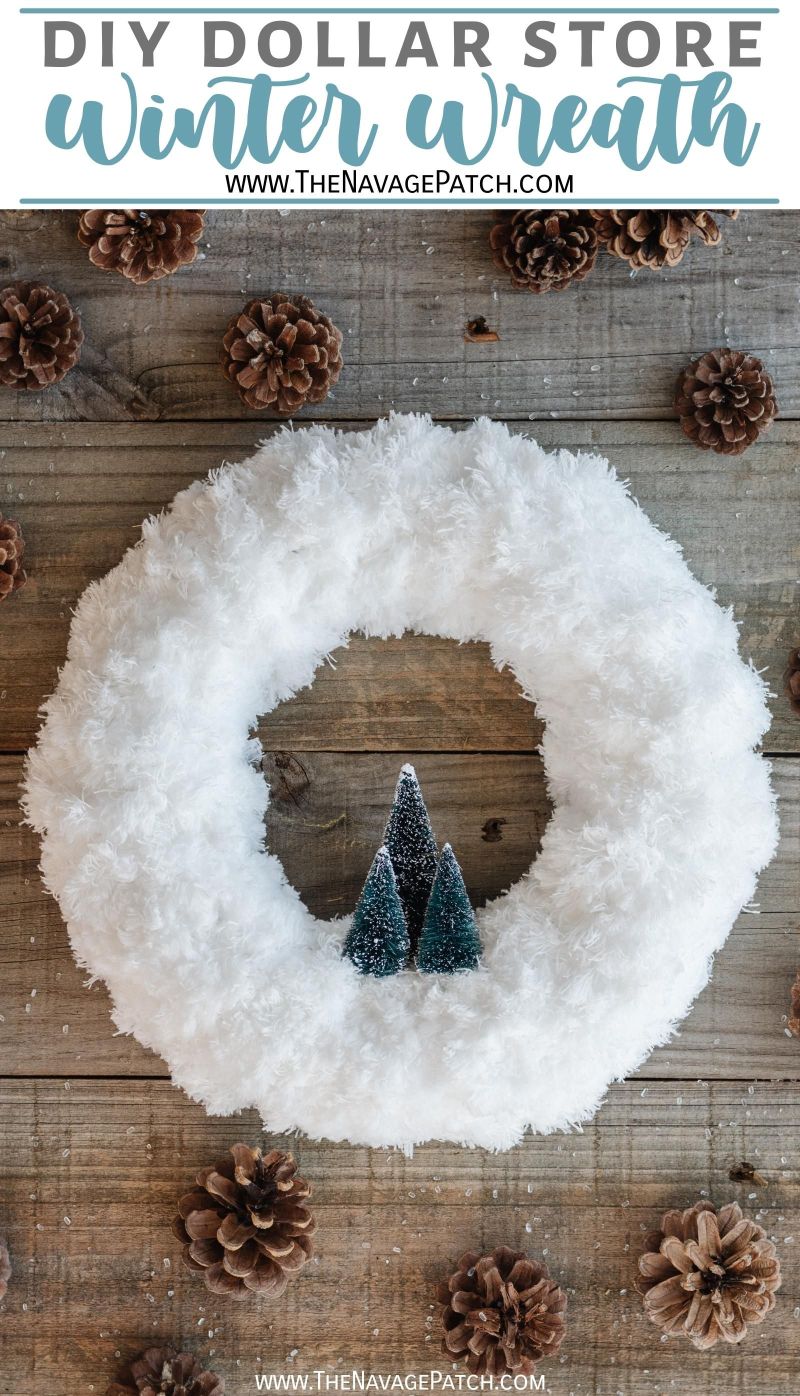


- DIY Winter Loop Yarn Wreath
- DIY Faux Fur Trees
- DIY Shag Tree Pillow
- Free Vintage Christmas Magazine Cover Printables
- DIY Christmas Decor: Faux Tree Repurposed 3 Ways
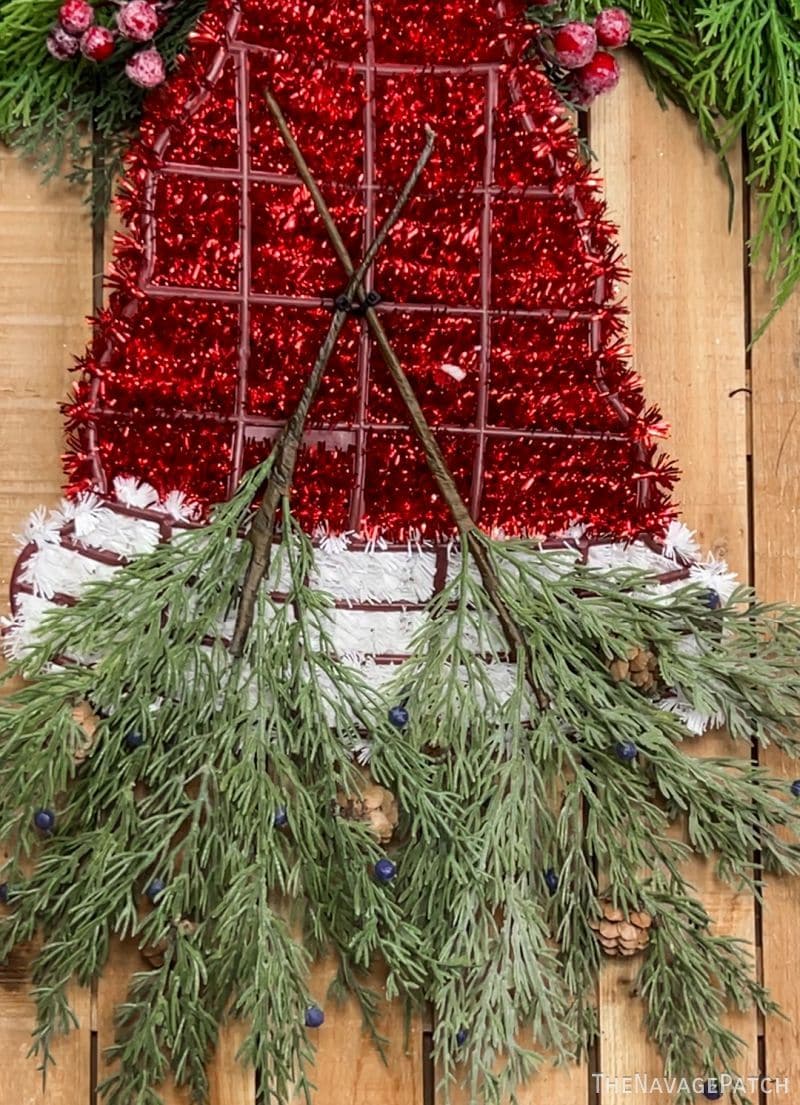
- DIY Faux Antique Brass Bells
- DIY Dollar Store Mop Wreath
- Christmas Patent Wall Art And 18 Free Printables
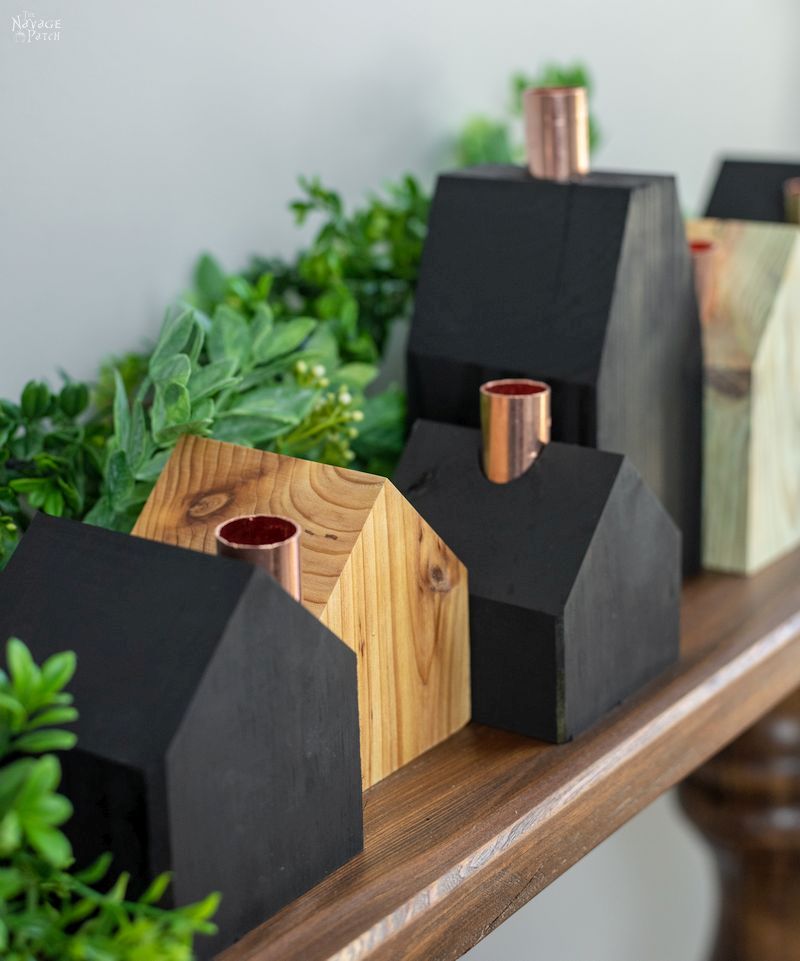
- DIY Wood House Candle Holders
- DIY Dollar Tree Snow-White Nutcrackers
- DIY Epoxy Wood Shim Trees
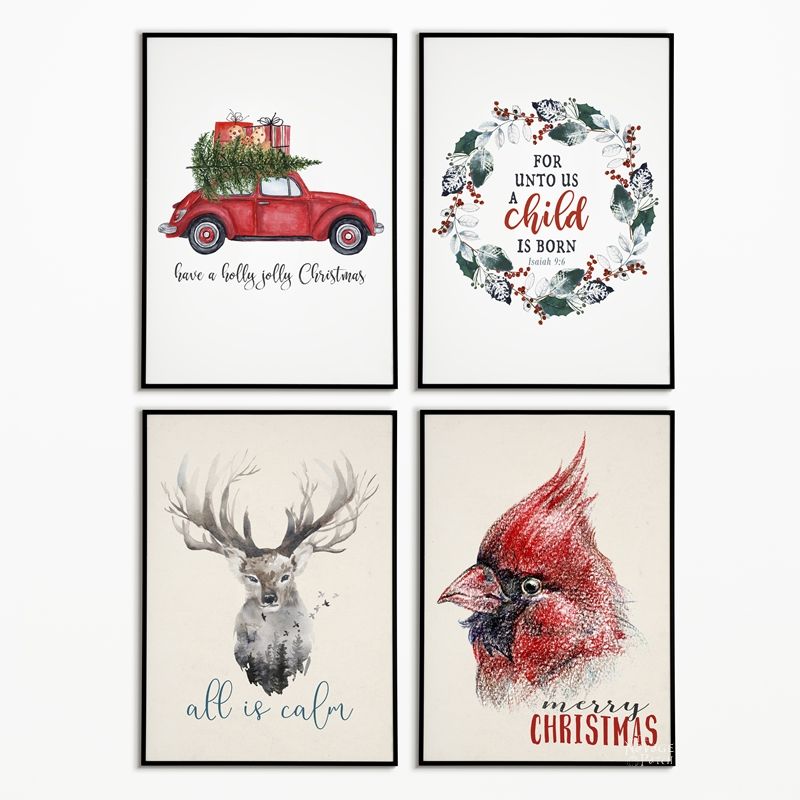
- Free Watercolor Christmas Printables (20+ BEAUTIFUL Holiday Prints)
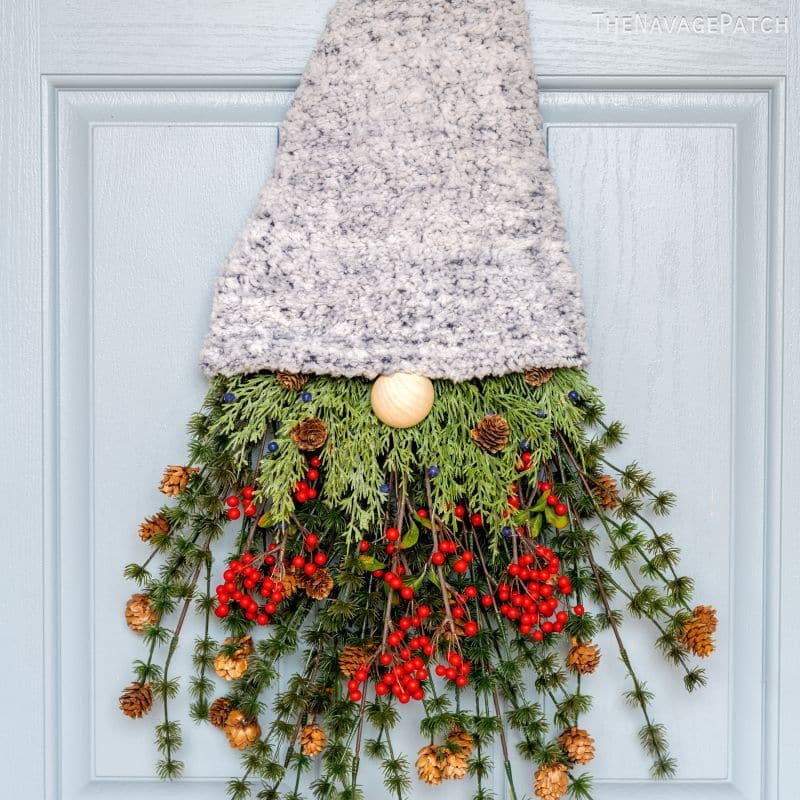
Christmas Gnome Wreath Tutorial
Got your tinsel hat?

Good! You can pull off the lettering and holly sprig if you’d like, then set the hat aside.
Step 1 – Arrange the picks
Next, arrange your picks in a suitably beardish manner. What does that mean? Well, I guess it means layer them starting with some big ones at the bottom. I used 5 for my bottom layer.

Next, add a little interest in the next layer. How about some red? Everyone likes red at Christmas! I used three red berry picks.

For the next layer, you may want to mix it up a little and bring in some new tones and colors. I really like these juniper (I think) picks. They’re a different shade of green, and I love the little blue berries that I’m assuming are juniper berries.

Step 2 – Attach the picks
Grab the stems and move your arranged picks to the side, then bring your flipped tinsel hat back into play.

Now, starting with the top-most pick layer (in my case, the junipers), lay them on the back of the hat and zip-tie them in place.
Do the same for the middle layer of picks.

And do the same again for the base layer of picks.
Don’t worry if they’re not perfect – you can arrange them when you flip it back over.
Step 3 – Make the hat
Cut a piece of fabric or blanket a little larger than the tinsel hat, then glue the bottom along the bottom edge of the hat. Since the sherpa throw I used already had a built-in rolled brim, I didn’t need to create one. But you can make one by folding up the fabric a couple of times and hot gluing it.

Next, flip your gnome wreath over and secure the fabric to the sides of the hat frame with hot glue.


Cut the excess fabric and secure the flaps with hot glue.


If you have excess material up top, you can tie it off with a rubber band.

And if you’re feeling a little extra, you can wad that excess fabric into a ball and hot glue it into a pom pom!

Make sure your glue gun is on low for this. I thought mine was, but it was actually on hot. Ouch!


Step 4 – Add a nose
Finally, flip your Christmas gnome wreath back over and glue on his nose.


To hang mine, I made a zip tie loop in the back and hung it on a stick-on hook.


I LOVE YALL’S LOVE OF GNOMES!!!! And your puns are pretty great too. Love this idea.
LOL, thank you, Lindsey! 🙂
I am not very big on the whole gnome thing, but this is super cute.
I am ready to decorate for Christmas. I love it.
Thank you, Nicolette! We’ll convert you yet! 😀
Super cute, and I’m normally not a fan of gnomes. What did you use for the nose?
Thanks, Amy! Split wood balls – linked in the supplies list! 🙂
Do you clever people ever think up any Thanksgiving decorations? I’ve seen a few fall ideas from you two, but not necessarily Thanksgiving stuff. It looks like your porch is already beautifully decorated for Christmas. Good Thanksgiving decor is difficult to find.
Hi Karen, we typically don’t do much for Thanksgiving decor, as we need to get a jump on Christmas even before Halloween for the blog. Halloween and Christmas are huge for us, and unfortunately that doesn’t leave a lot of room or time for Thanksgiving decor.
Well dang. How about Thanksgiving in May? Ha ha. I got all my friend gifts done this year in July, while watching all those annoying Christmas in July movies on the Hallmark Channel.
LOL, that’s impressive!
Thanks for the chuckle. I needed that today. Guessing jingle bells are up next?
My pleasure, Deb!
You have a DOLLAR TREE PLUS? I really just wanted to thank you for going through the instructions step by step in pictures. I get overwhelmed with videos. I could have been a rocket scientist if they would have instructed with step by step pictures.
Thanks so much to you and Handan.
Yes, Ceclia – Dollar Tree Plus’s are spreading fast, so you’ll probably have one too, soon enough!
So cute! I seriously love your door color–it’s a pop of color and a neutral when you need it to be. It looks great with every season.
I’m with Handan–I can’t go to Hobby Lobby during the Christmas “season” without wandering the floral picks aisle. I have no idea what I’m doing with them in the moment but eventually something calls for them!
Thank you, Kristi – that color is Stardew by Sherwin-Williams. I hear you about Hobby Lobby! 🙂
Well, Greg, I gnome you worked very hard on this and it’s really cute.
LOL, thanks, Toni! 😀
Thank you so much for this absolutely gorgeous gnome wreath. I Live in South Africa and we do not do the Christmas wreath thing here due to our crime rate. Here you put something outside one day and the next morning it will be gone. Fortunately this year I live in a gated complex and am going to make my version of this gnome for my door. Will have to do it with other things as we do not have the Dollar Tree type shop you guys are fortunate to have. I just LOVE gnomes.
Hi Cheryl, I’m happy to hear you’ll be making some outdoor decor this year! I’m aware of the situation there, and you must be thrilled to be in a gated community now!
Hi Greg!
I, for one, am hugely pleased that the gnomes have broken out of the constraints of the Christmas decoration bags and spread throughout the year!
Your versions, in particular, remind me of the ‘Nisse’ my Norwegian mum brought to our Christmas festivities – all hat and beard! Our tree was full of the little fellas, so no brainwashing required here!
I love the naturalistic twiggy beard. I can just imagine him skedaddling around Beste Far’s garden in the snow. 😁 Clare x
Hi Clare, yep, we love gnomes, so we make them any time of year when the fancy strikes. I’m so happy you like ours! 🙂
Whoa…you really broke out all the high-money words for this one. (I mean…shopapalooza extravaganza? Gnometheless? Craftocalypse? That last one is my fave and should be spoken aloud to really get the full effect, but now I want to use it all the time.) Be still, my creative-writing-loving-heart.
I love this woodsy gnome–he looks like he would be chillin’ with the woodland creatures at the winter solstice. That beard is really pretty.
LOL, thanks, Deb! I like to throw out some big ones from time to time! 😀