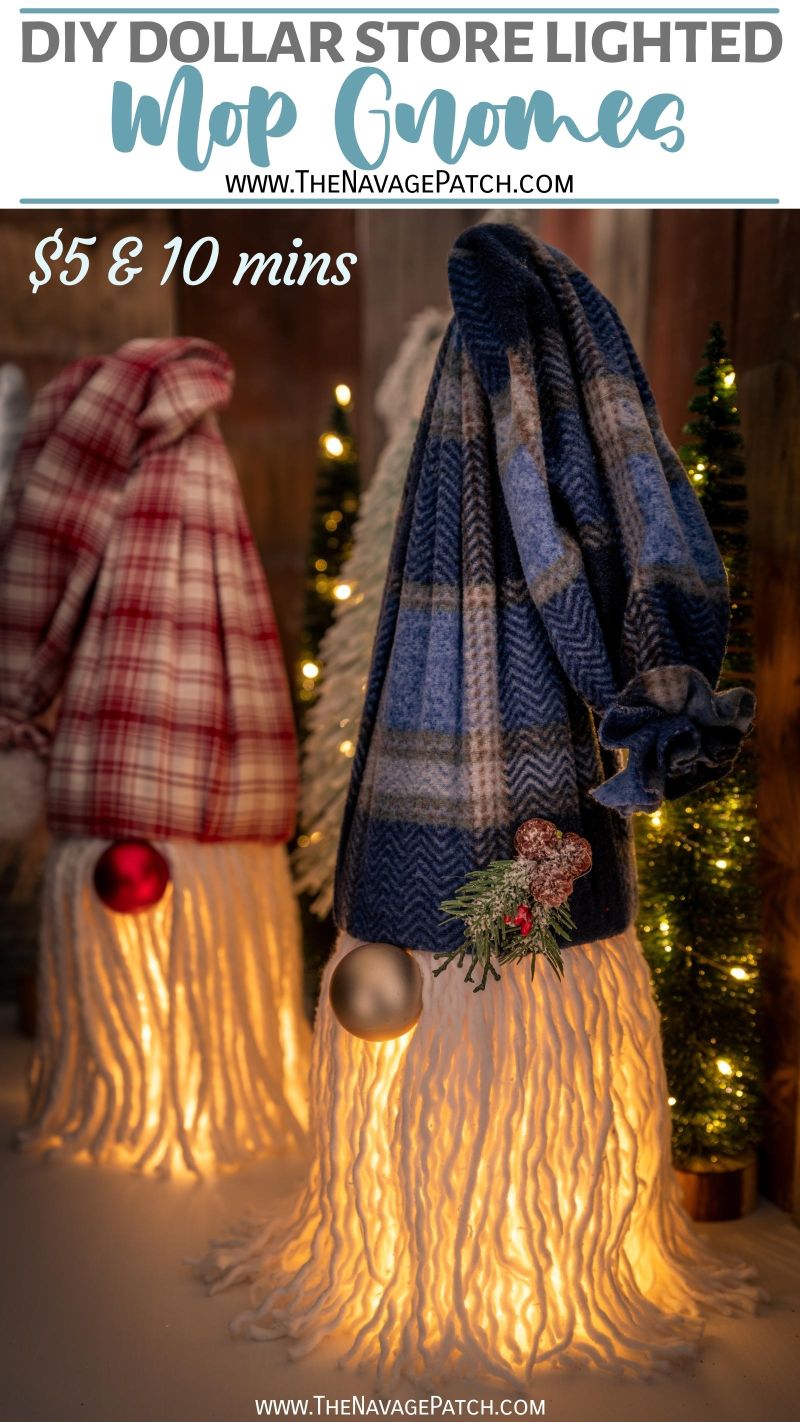
DIY Dollar Tree Lighted Mop Gnomes
These DIY Dollar Store Lighted Mop Gnomes are an inexpensive (for only 5 dollars), simple and brilliant (pun intended) take on standard mop gnomes!
America is about to have a dirty floor problem.
From Kotzebue, Alaska to Key West, Florida, there will be no escape from dust bunnies and mud tracks as the Great Mop Shortage of ’21 grips the land.
Dollar Tree will try its best to keep up with demand, but in the end, the crafters will win out over the cleaners. Already, shelves are being cleared of duster mops, as hordes of Crafty Cathies gobble them up to make mop wreaths.
The string mops have weathered this insanity thus far. While creative hands have been slap-fighting over those duster mops, no one has paid any attention to the humble and lowly string mops hanging right next to the duster mops. So while the dust bunnies have been quietly multiplying, at least the muddy footprints have been kept at bay.
Until now.
As of this moment, mopageddon is here. Go now, before it’s too late, and get your mops.
No, wait. Don’t go now! Stay here and read this post. Then drop a comment. Then run to Dollar Tree to buy all the mops.
Better yet, drive to Dollar Tree…it’s much faster than running. Running is for the birds.
Okay, look, I know what you’re thinking. Mop gnomes? He didn’t come up with that idea! I’ve seen them on Pinterest! Mopageddon indeed! Hmph!
But, madam, there’s something no one else has done with their mop gnomes…something we did.
We made them lighted mop gnomes! It’s a scientifically-proven fact that light makes everything better!
And because we prefer to pay less rather than more, we got all (well, most) of the supplies at Dollar Tree.
And because we prefer simple (stupid) over complicated, we made these lighted mop gnomes easy.
Just go on Pinterest and see how The Others make mop gnomes. You’ll see all sorts of mop-cutting and string-gluing and obscene amounts of time invested in a simple Christmas prop.
It shouldn’t have to be like that!
It doesn’t have to be like that.
Not only are these mop gnomes easy peasy chicken squeezy, but they look fan-tiddly-tastic. And did I mention each one only costs five bucks?
So let’s cut the yapping and get on with making some lighted mop gnomes!
DIY lighted mop gnomes VIDEO Tutorial
How to make lighted mop gnomes
Lighted Mop Gnomes SUPPLIES LIST
Affiliate links are provided below. Full disclosure here.
- String mop head (we got ours at Dollar Tree)
- Dollar store vase (we used these cylinder clear glass vases from Dollar Tree)
- Cone-shaped tinsel tree (you guessed it – Dollar Tree)
- Old flannel pajamas, sweater or fabric for the hat
- Scissors
- Small rubber bands (you can find them at Dollar Tree)
- Hot glue gun (you can now find them at Dollar Tree)
- Small Christmas tree ornaments (Dollar Tree sells sleeves of them)
- Battery-operated fairy lights (or you can use remote-controlled fairy lights, or you can use any style battery-operated lights from Dollar Tree)
- Poster putty or double-sided tape (Dollar Tree) – optional

Making the Dollar Store Lighted Mop Gnome Hat
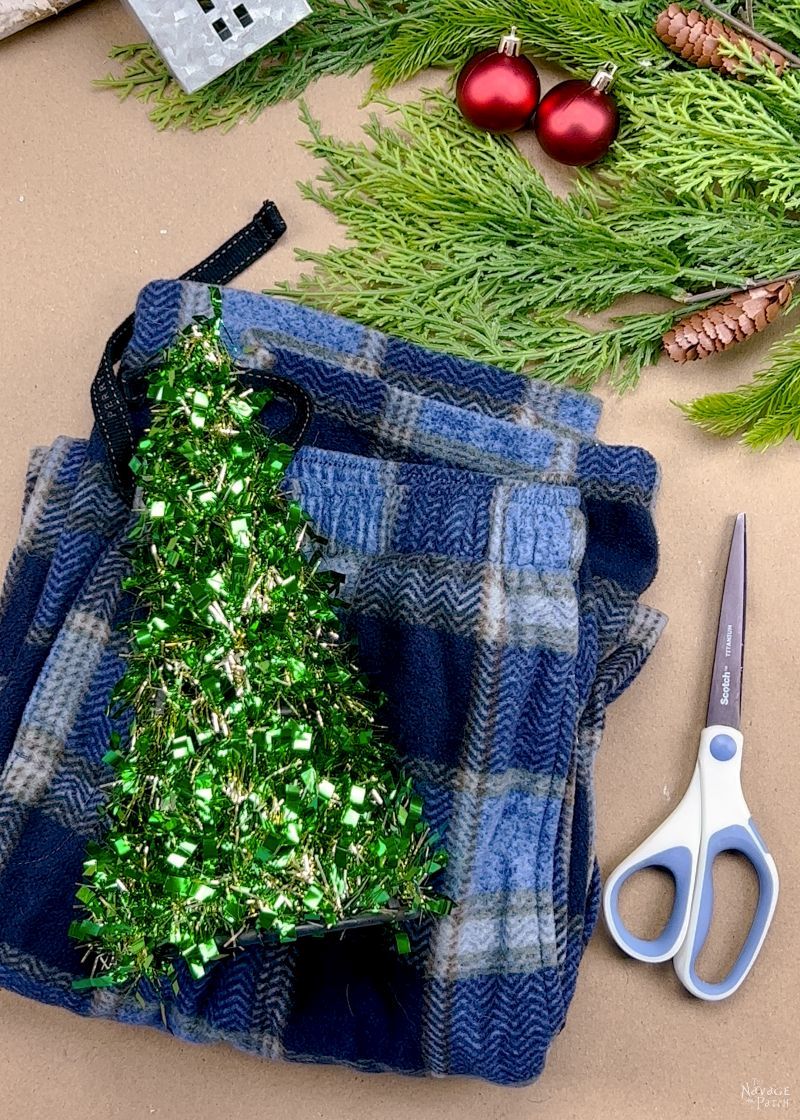
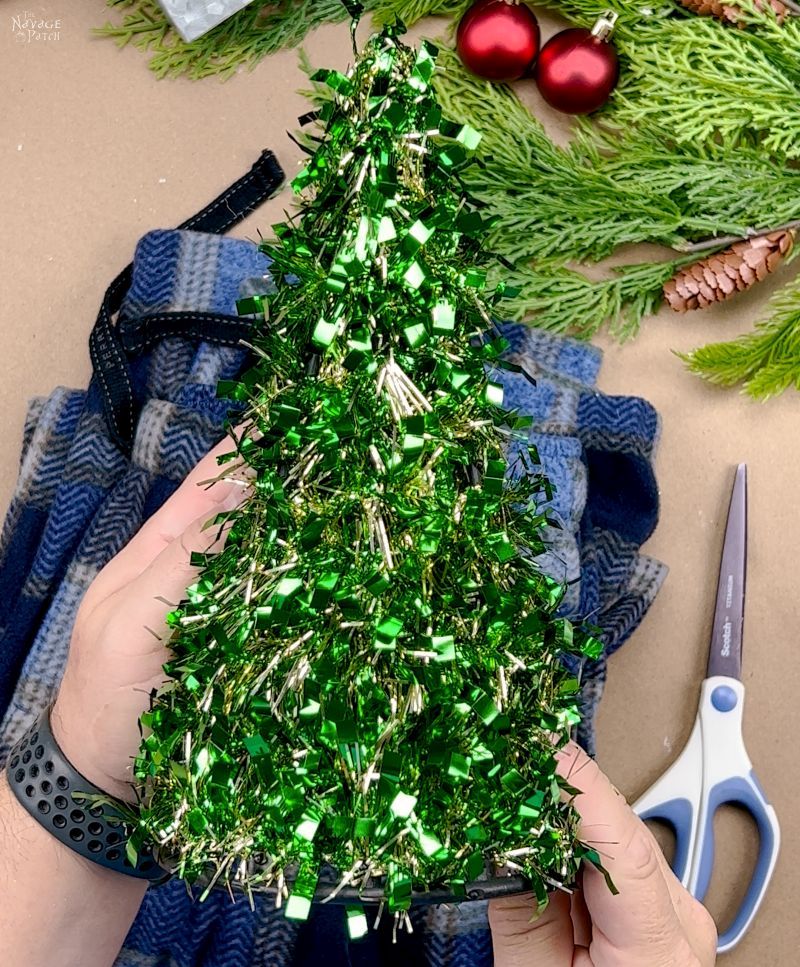
These Dollar Tree cone-shaped tinsel trees are the perfect framework for gnome hats. Oh, sure, you could make the hats the old-fashioned with by cutting and gluing (or sewing!) fabric, but really, why waste your time? This is an easy solution, and the results are fantastic!
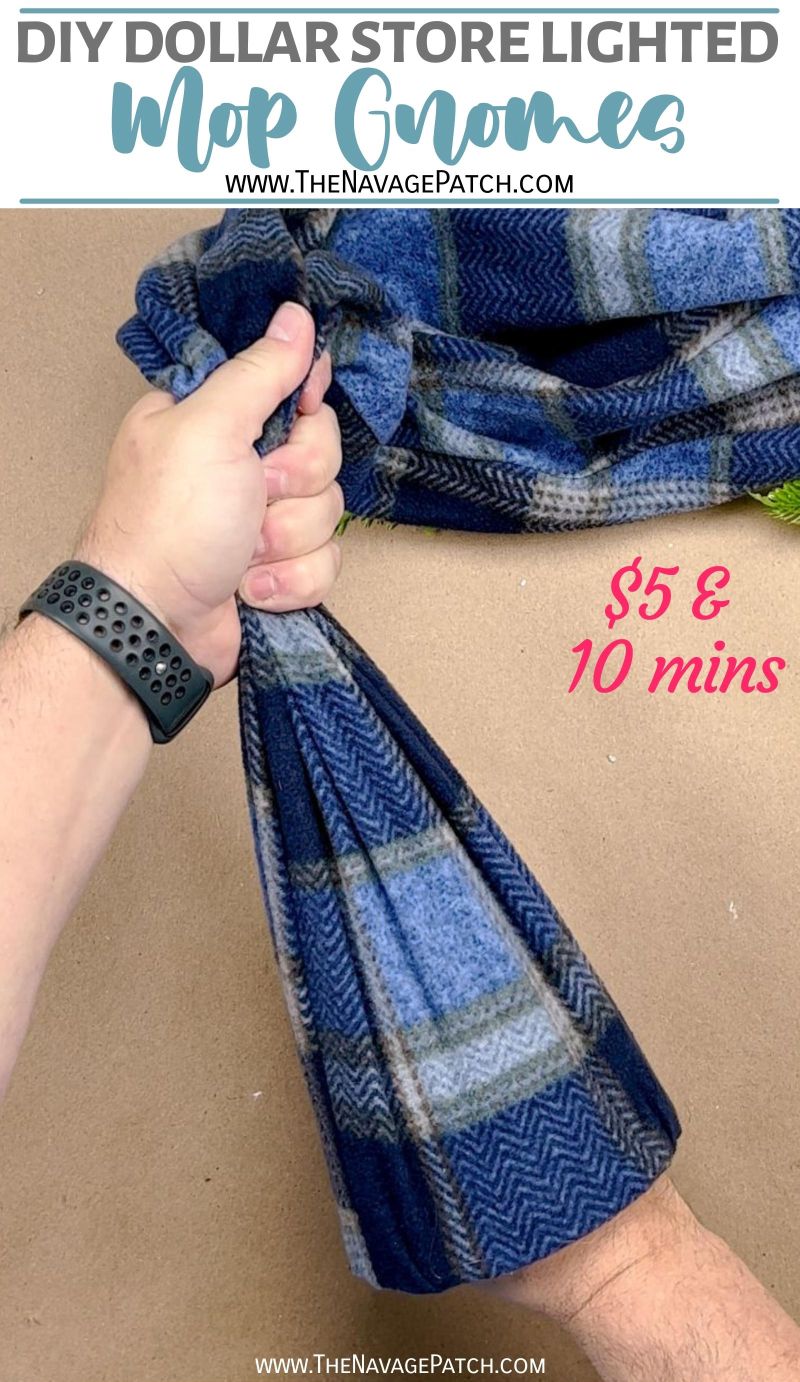
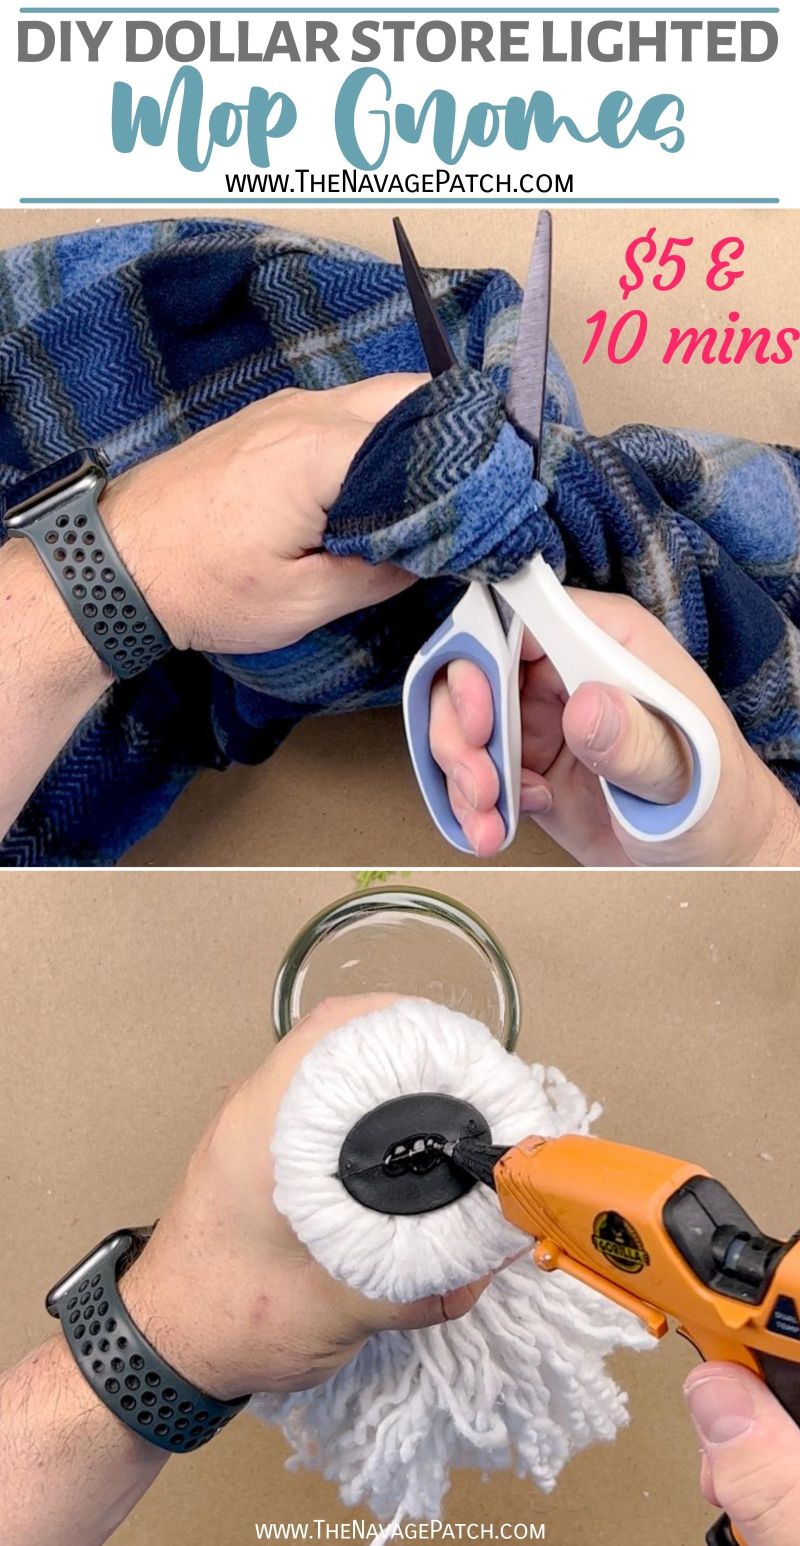
For the hat material for this particular gnome, I chose an old pair of flannel pajamas. Now before any Waste-not Wandas accuse me of ruining a perfectly good pair of pajamas for this project, I’ll gently inform you that these pajamas are nearly 10 years old, and they served me honorably and well during those long, cold Connecticut winters. But I’m Florida Man now, and I’ve put those cold-weather clothes behind me…except for the ones which might make good gnome hats – like these pajamas!
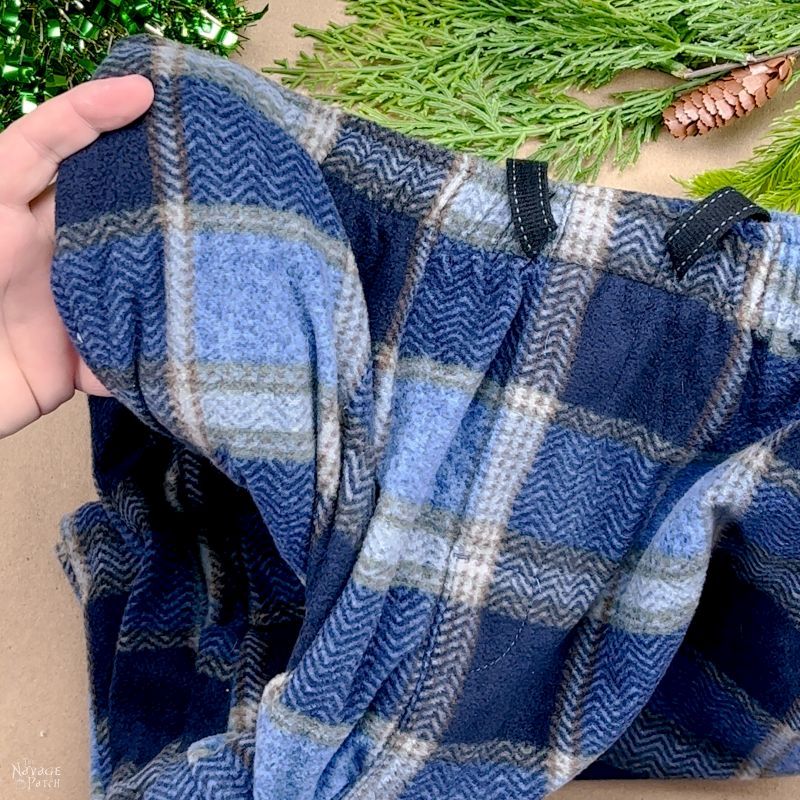
I just needed a leg, so I cut one off and saved the rest of the pajamas (pajama?) in our Gnome Supplies storage tub. Yes, we have a gnome supplies storage tub, and you should, too! It’s filled with all sorts of fabric and old pajamas and sweaters and bags of beans and Mongolian faux fur and all the goodies needed to make all kinds of gnomes!
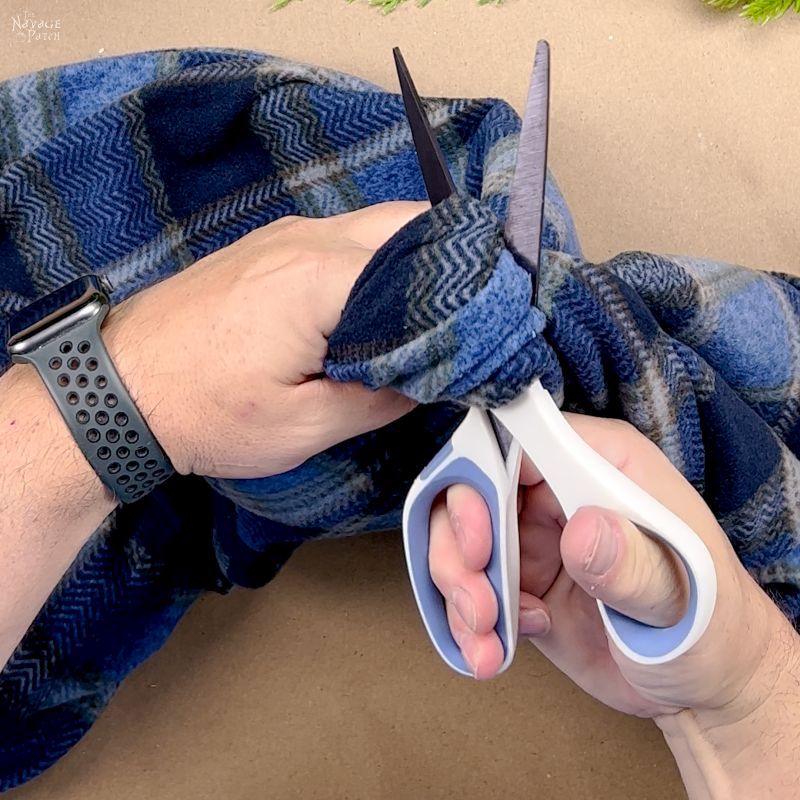
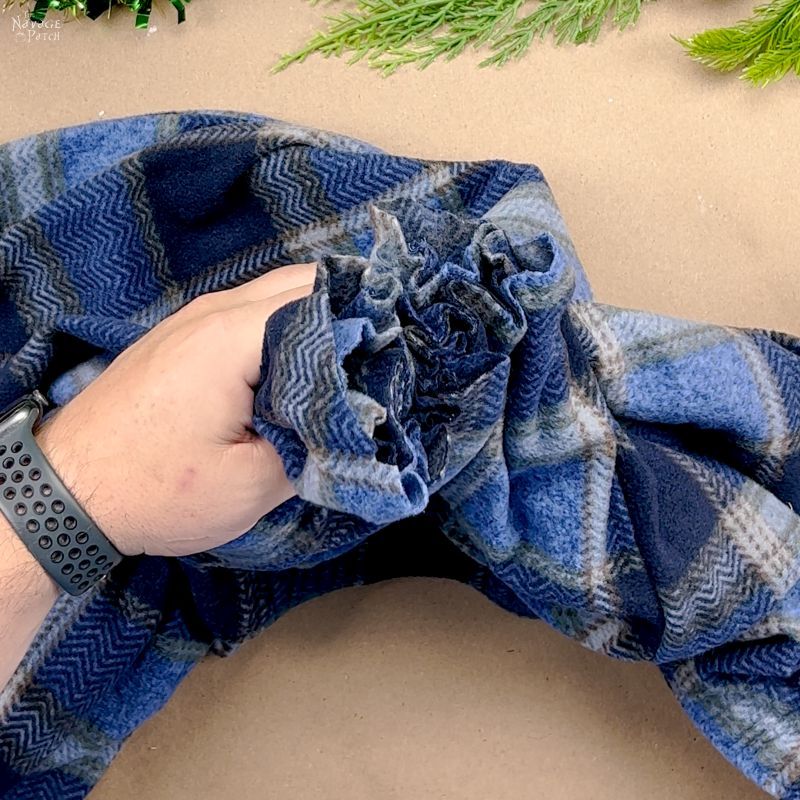
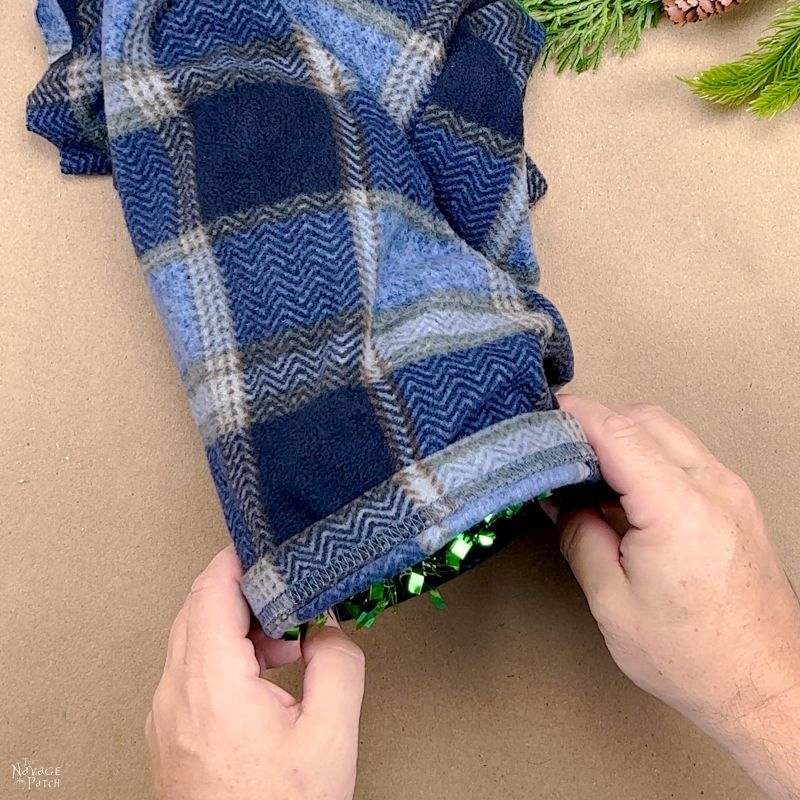
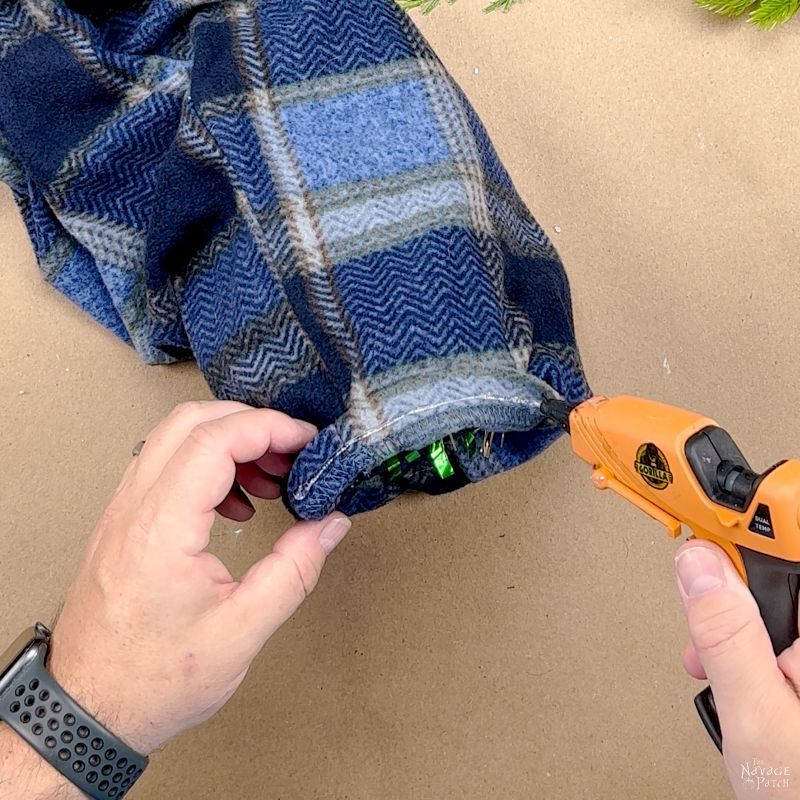
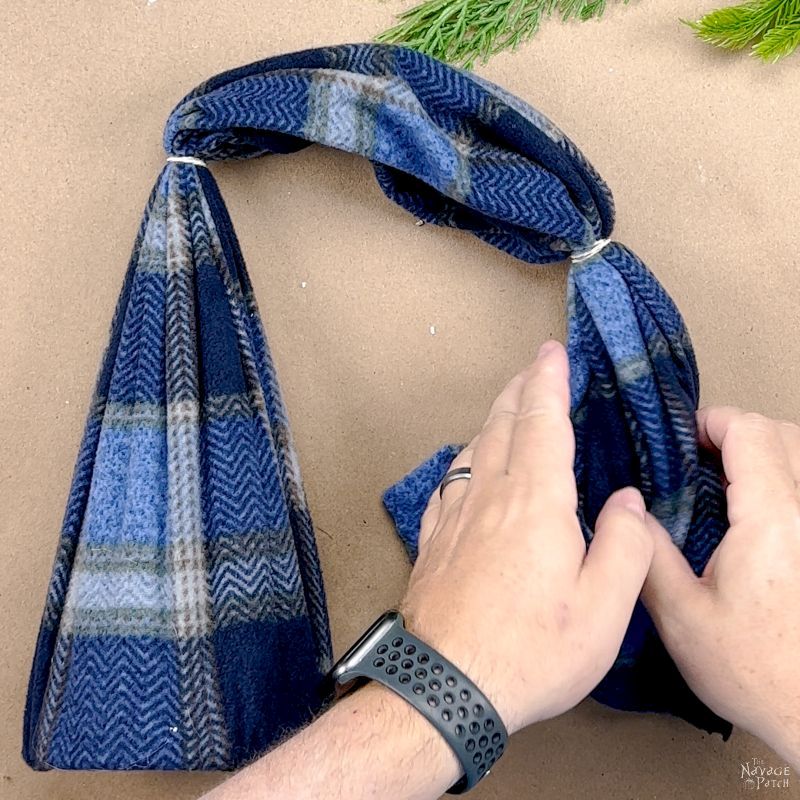
I then slid the pajama leg onto the tinsel tree with the hem folded up.
I ran a line of hot glue along roughly 1/3 of the circumference.
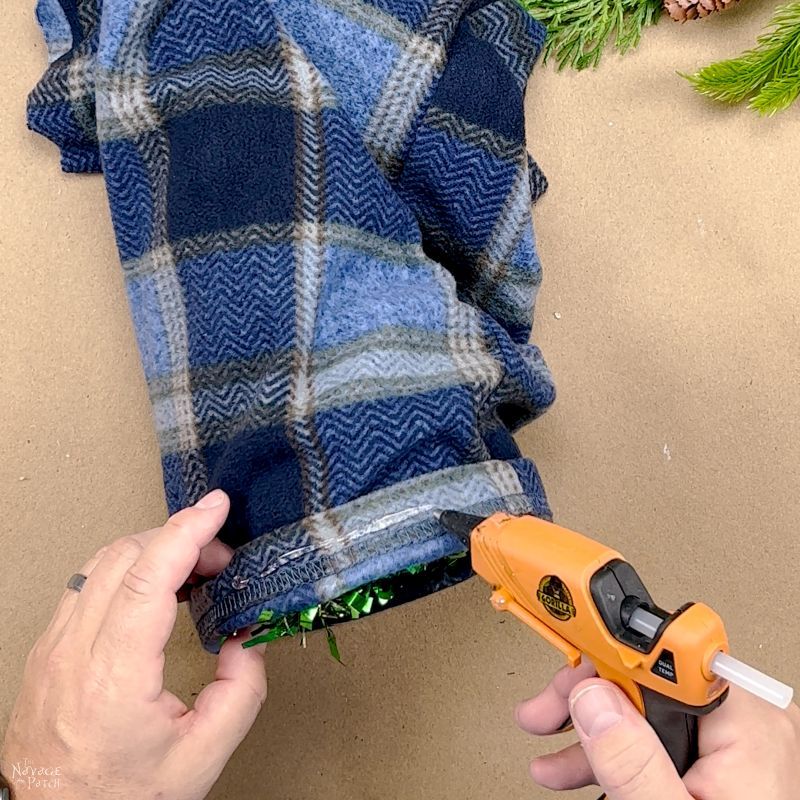
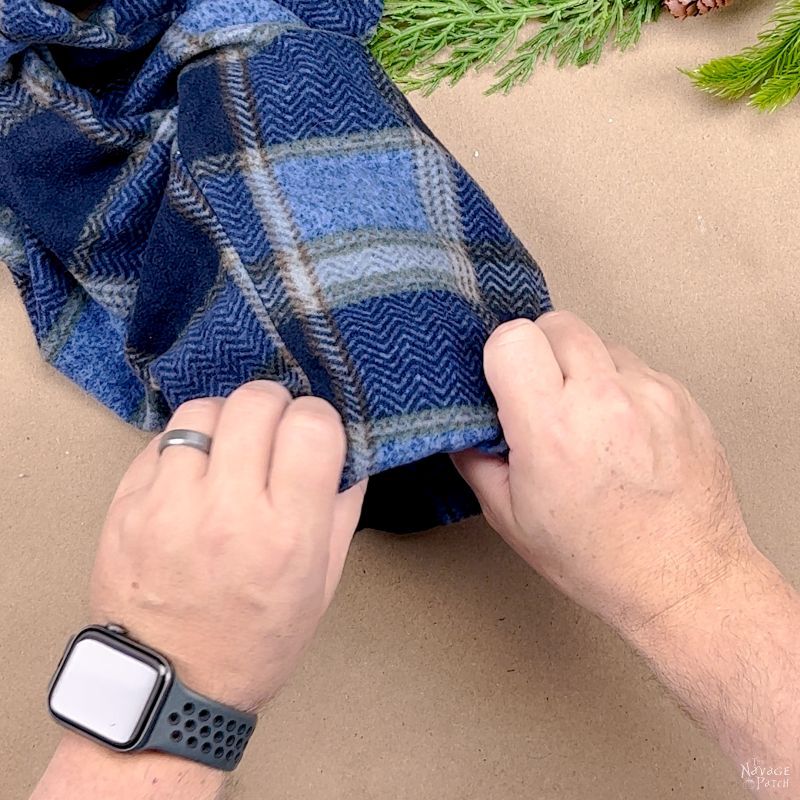
Then I folded the hem under the bottom of the tree.
If you love gnomes as much as we do, be sure to check out our other gnome tutorials!
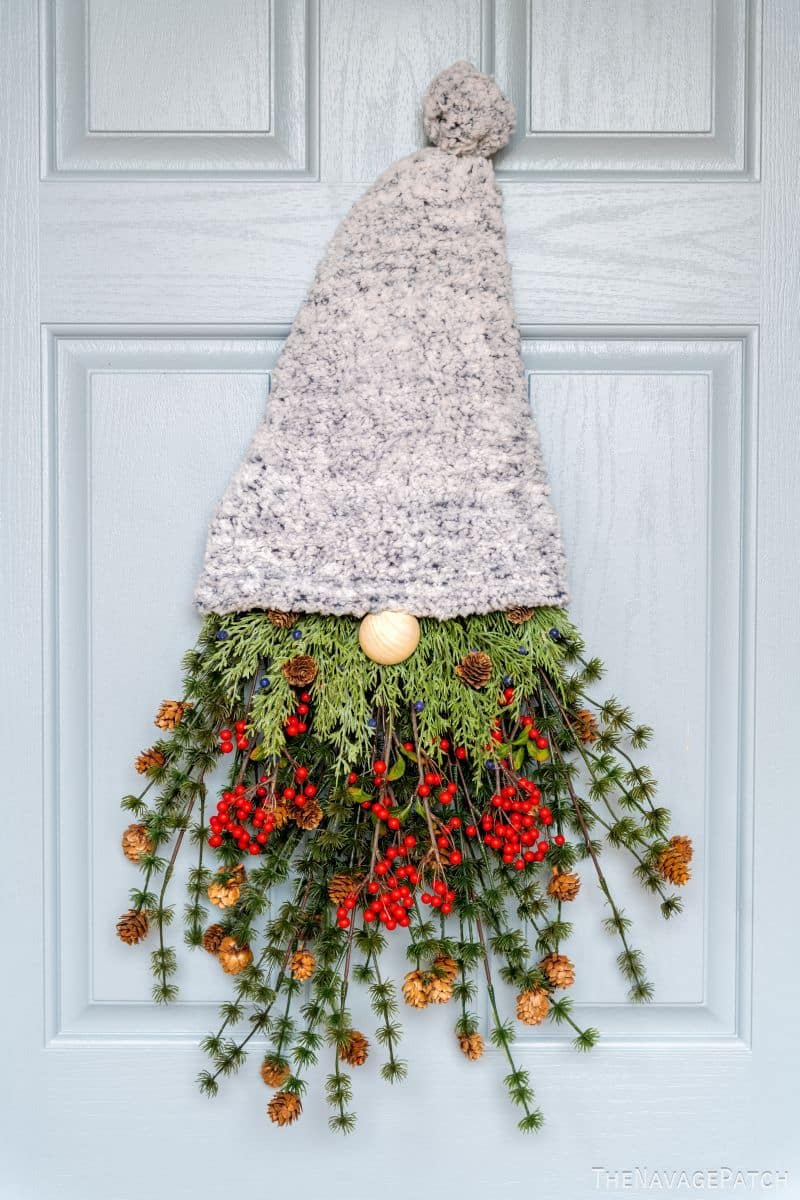

- DIY Christmas Gnome Wreath
- DIY Dollar Store Lighted Mop Gnomes
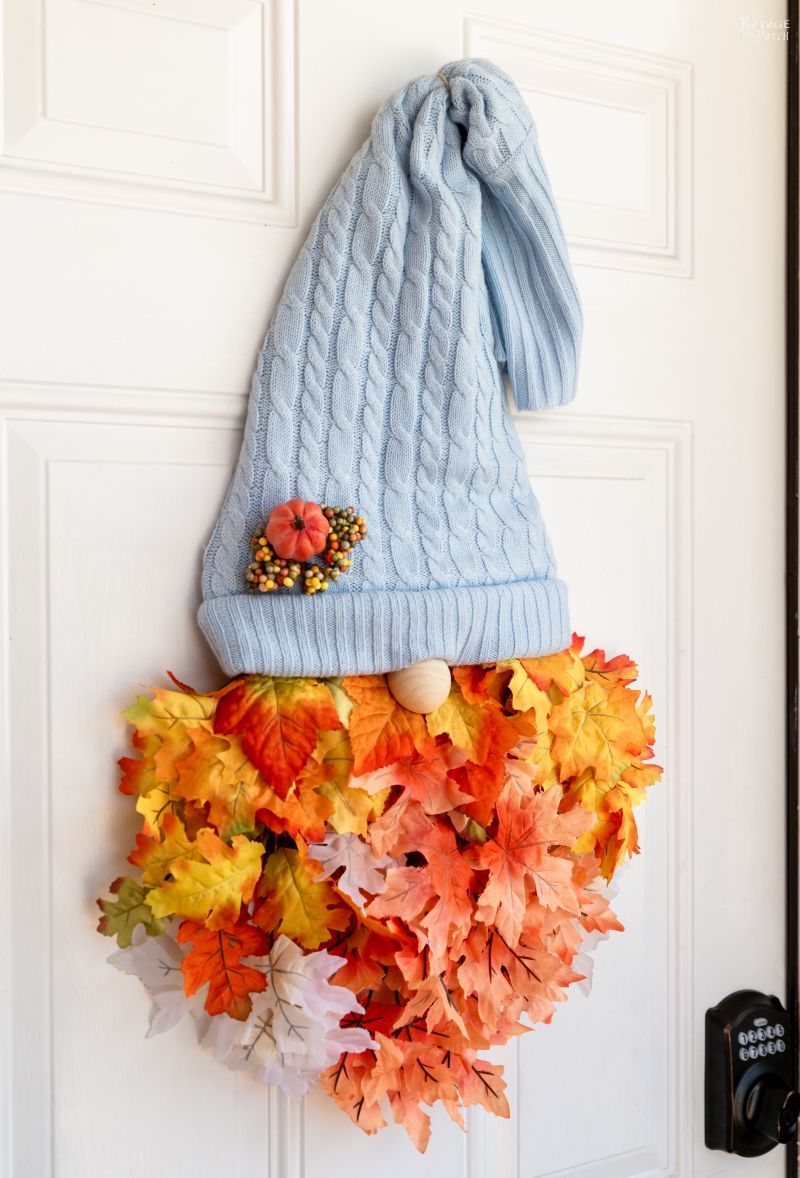
- Easy DIY Dollar Tree Fall Gnome Wreath
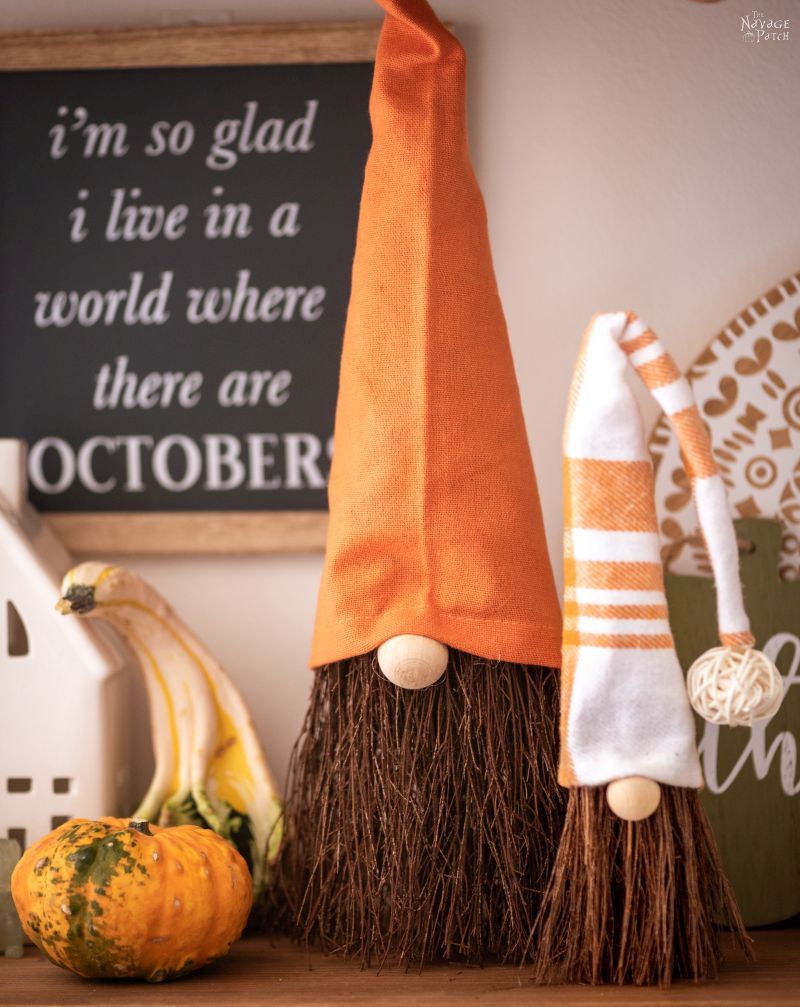
- DIY Scented Broom Gnomes
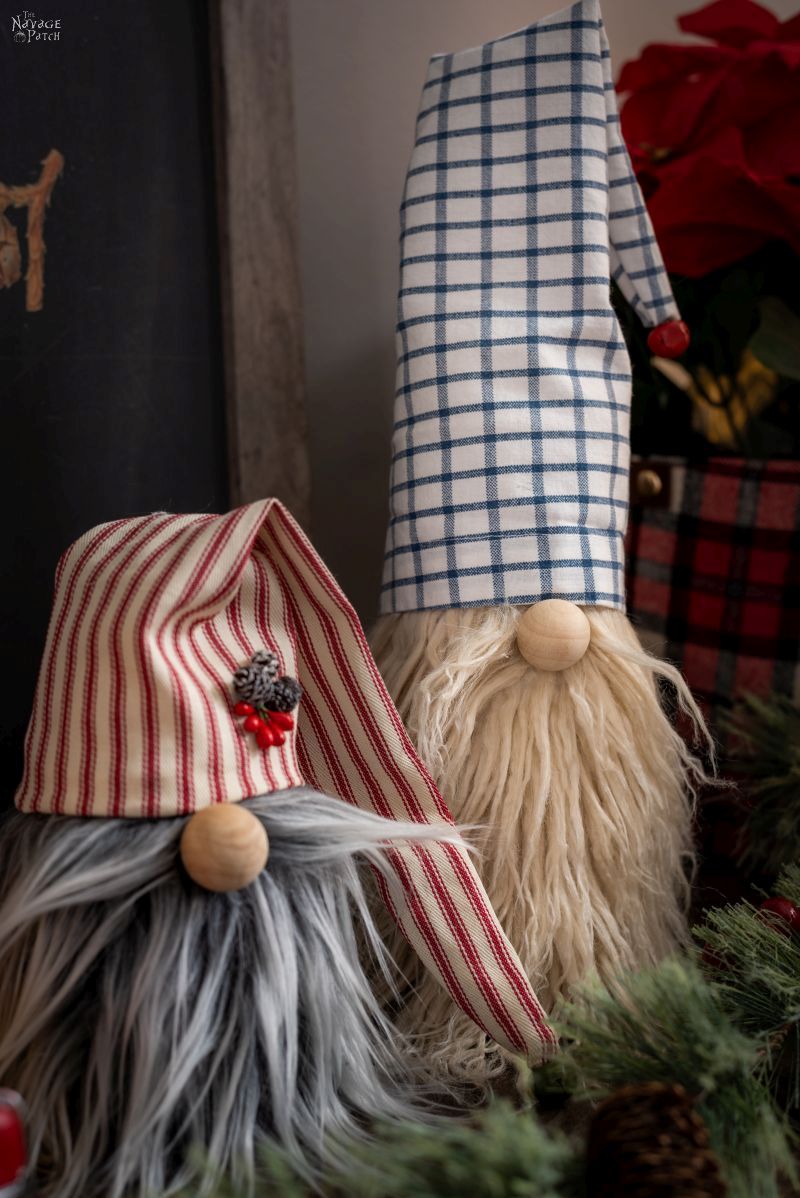
- Easy No-Sew Christmas Gnomes
- DIY Gift Box Gnomes
- Dollar Tree Halloween Gnome Wreath
- Cheap & Easy DIY Dollar Store Halloween Gnomes
- DIY Dollar Tree Christmas Gnome Wreath
- DIY Dollar Tree Scarecrow Gnome Wreath
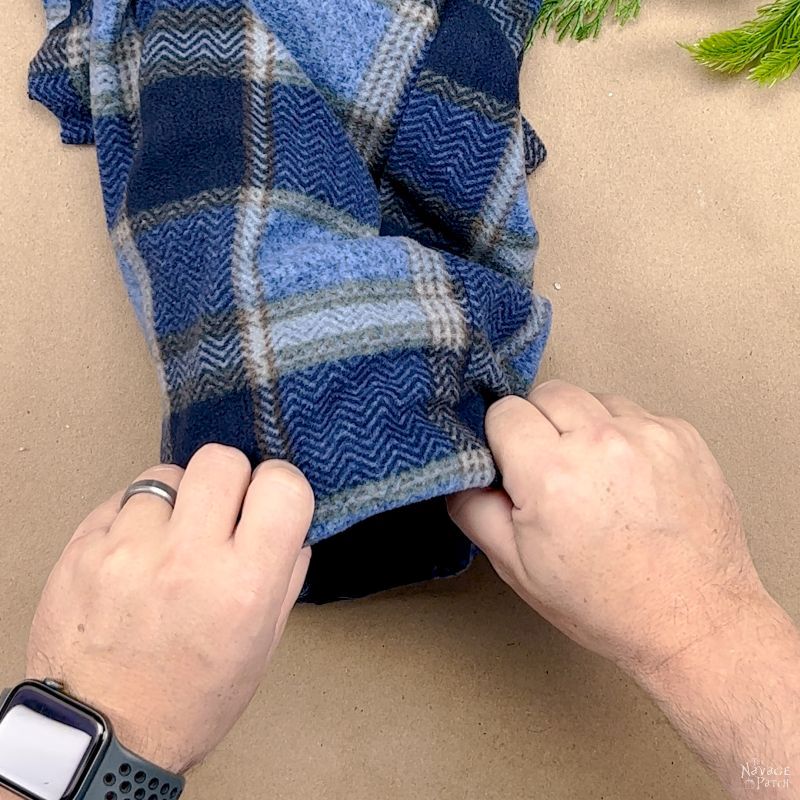
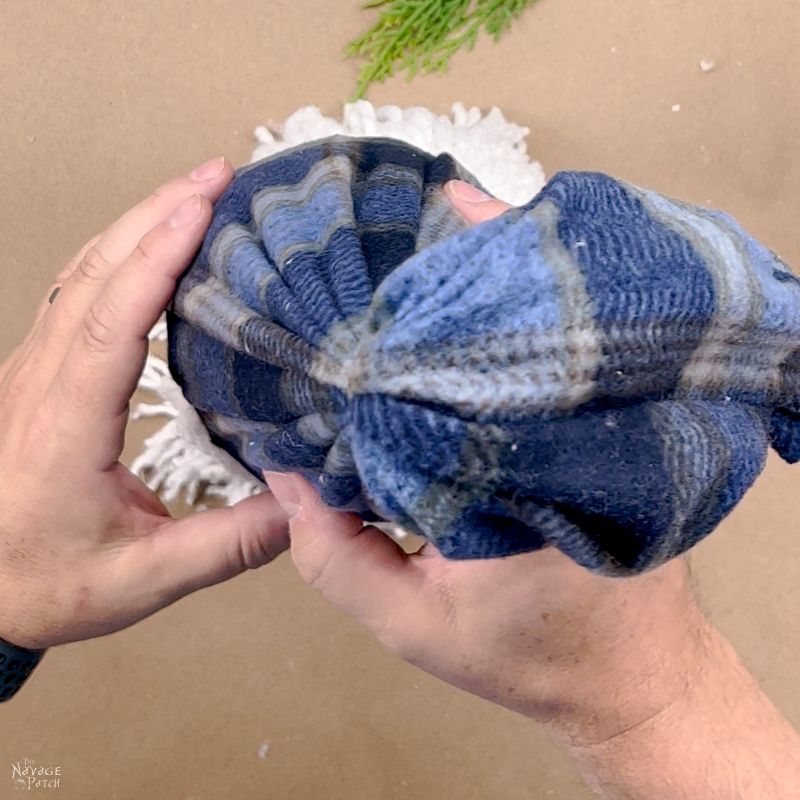
I repeated this two more times until I had the pajama bottom glued to the tree.

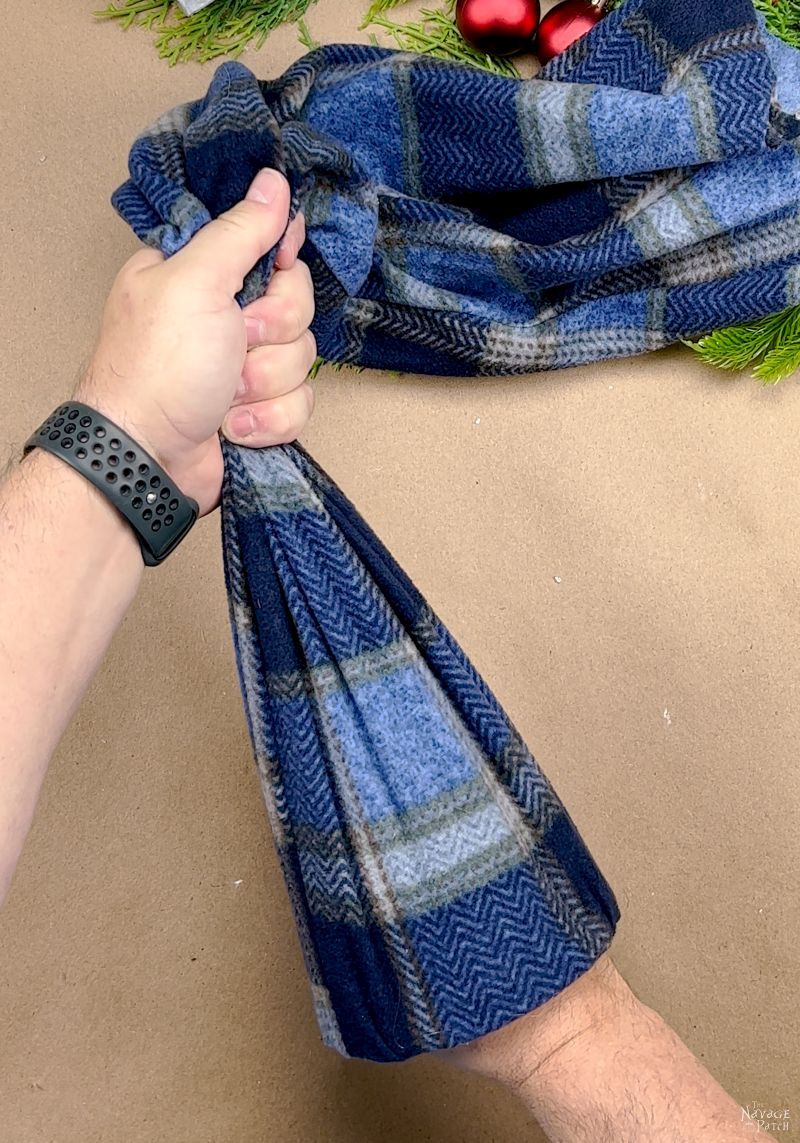
The tinsel on the tree is a little puffy, so I pulled the pajamas tight to flatten the gnome hat a little.
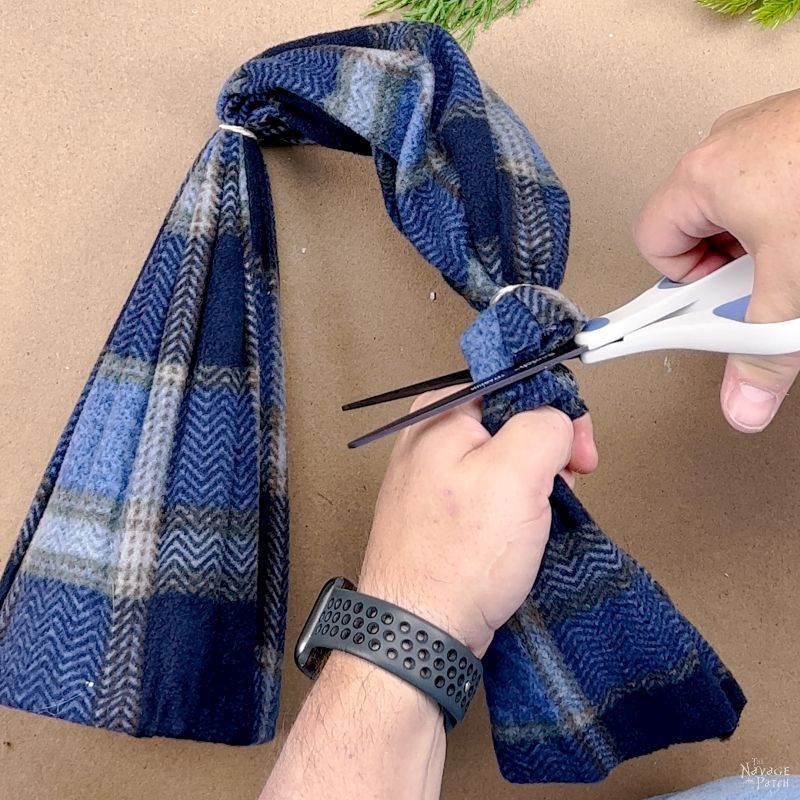
And then I secured the shape with a small rubber band.
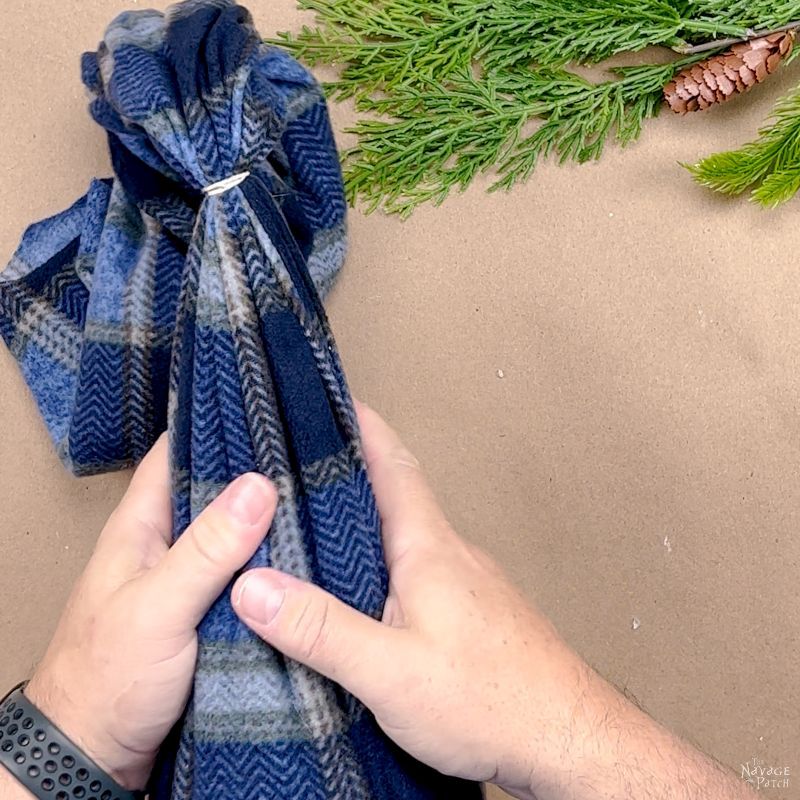
Next, I put another rubber band about where I wanted the hat to end.
And then I trimmed off the excess fabric.
Making the Dollar Store Lighted Mop Gnome Body
Now for the hard part.
I’m kidding! There is no hard part! (duh)
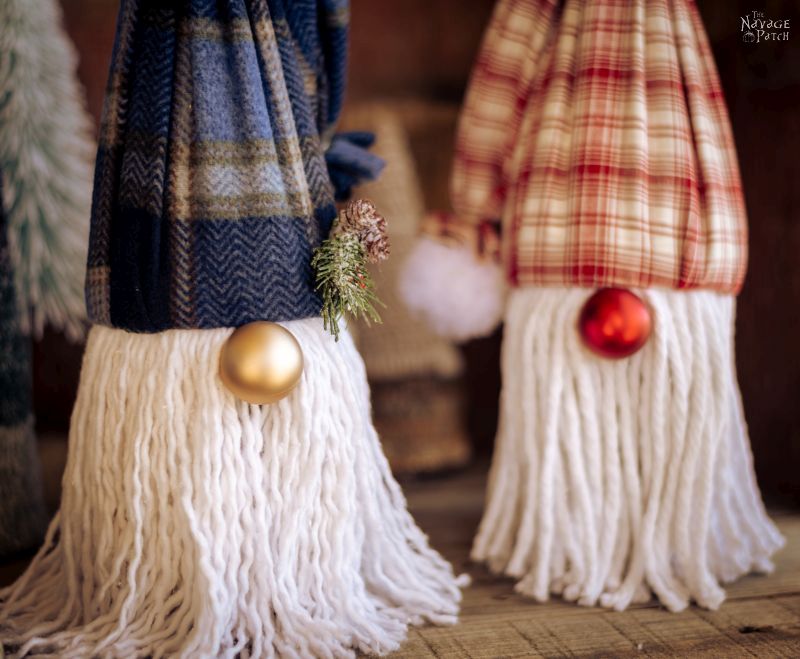
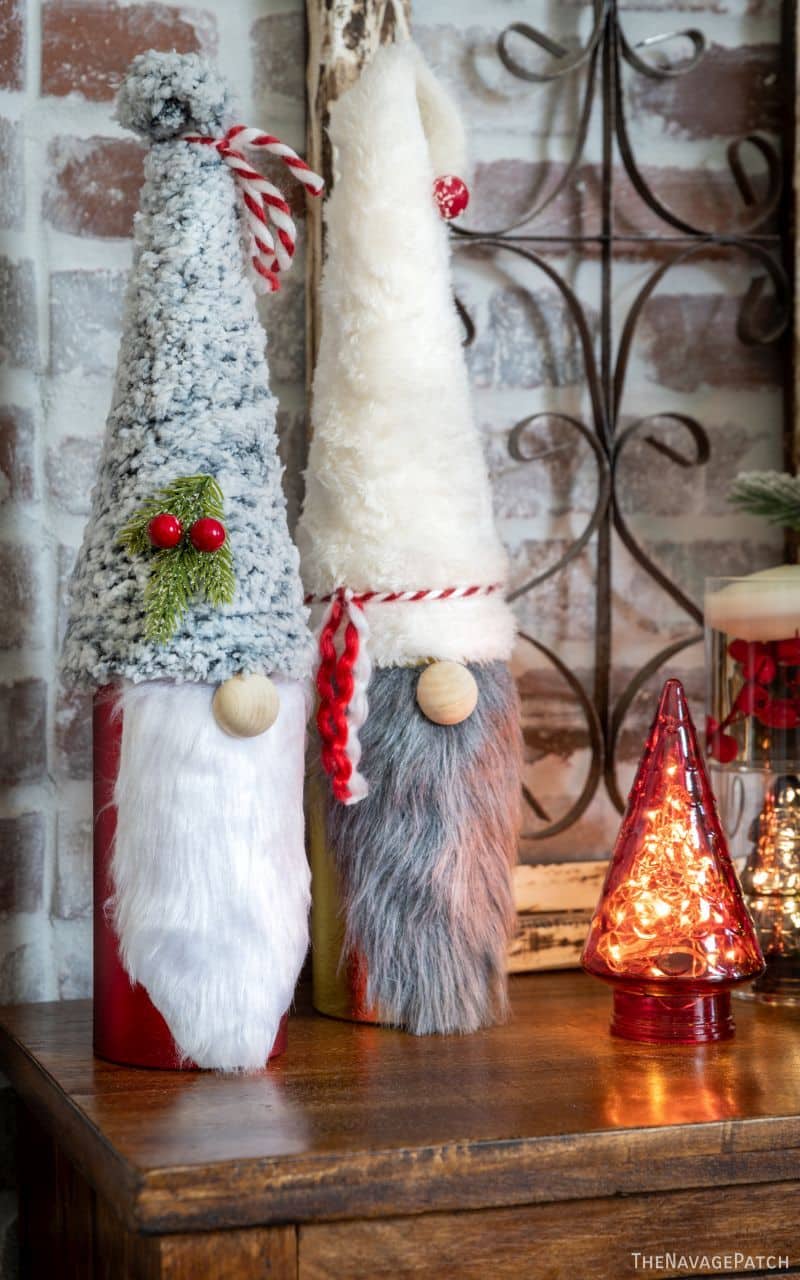
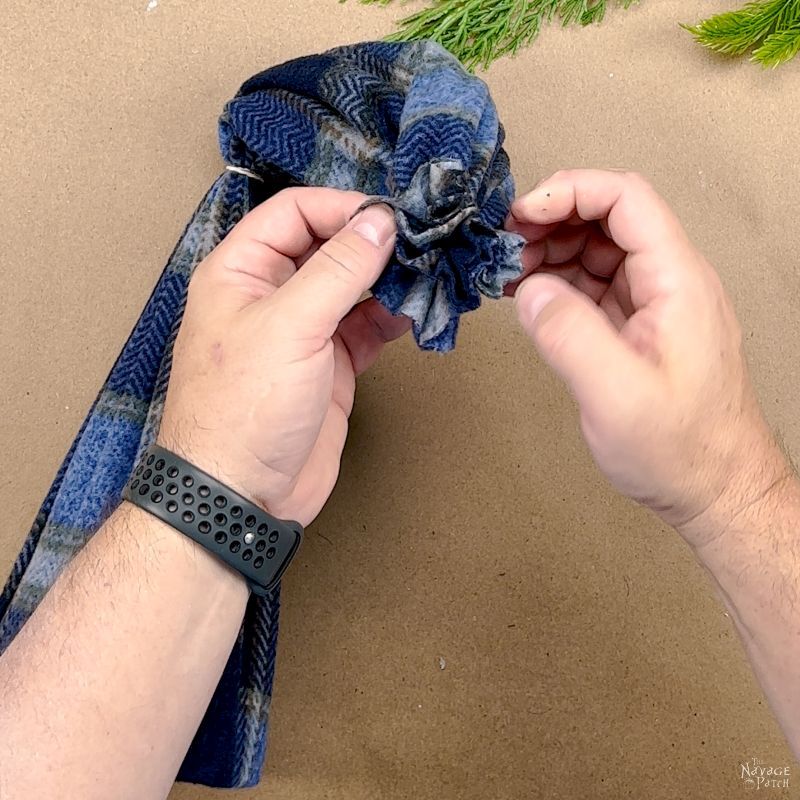
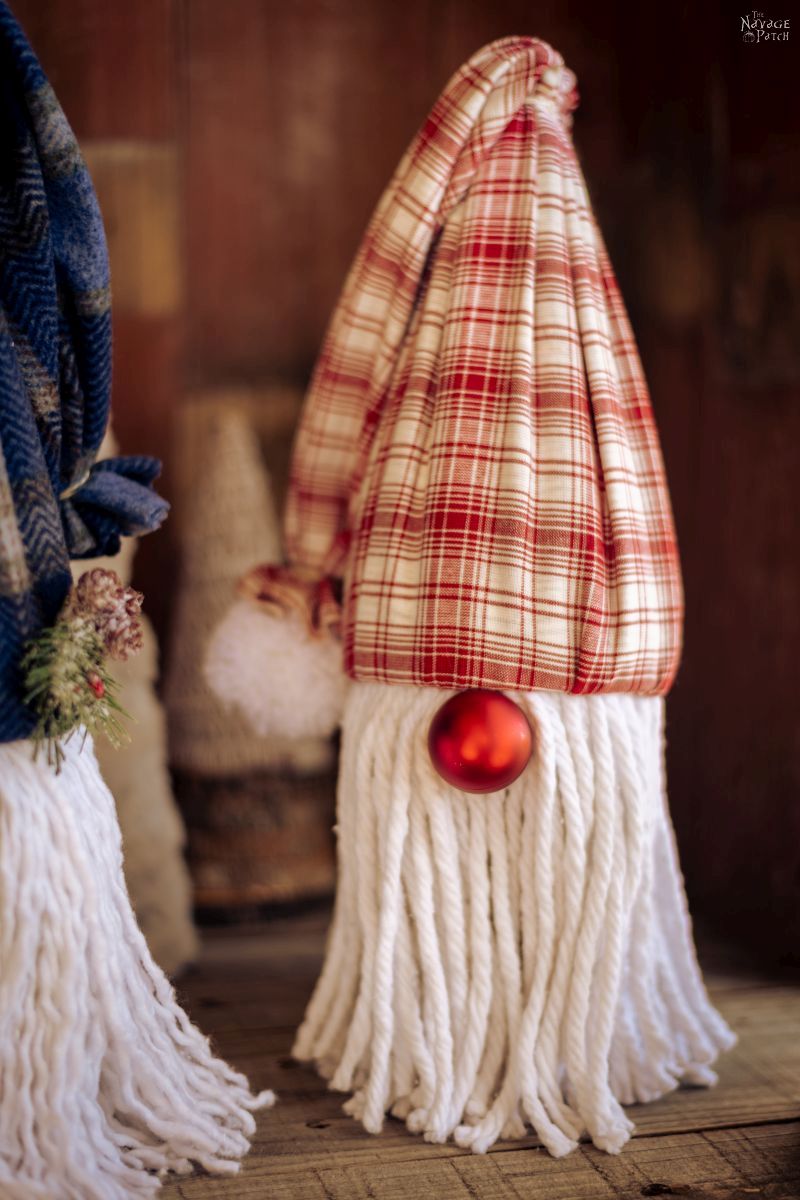
Okay, here’s the mop head. Now you can go one of two ways with this – and I made both ways, as you can see from the final pictures – you can leave the mop as-is…

…Or you can untwist the ropes to give your gnome a fuller-looking beard.
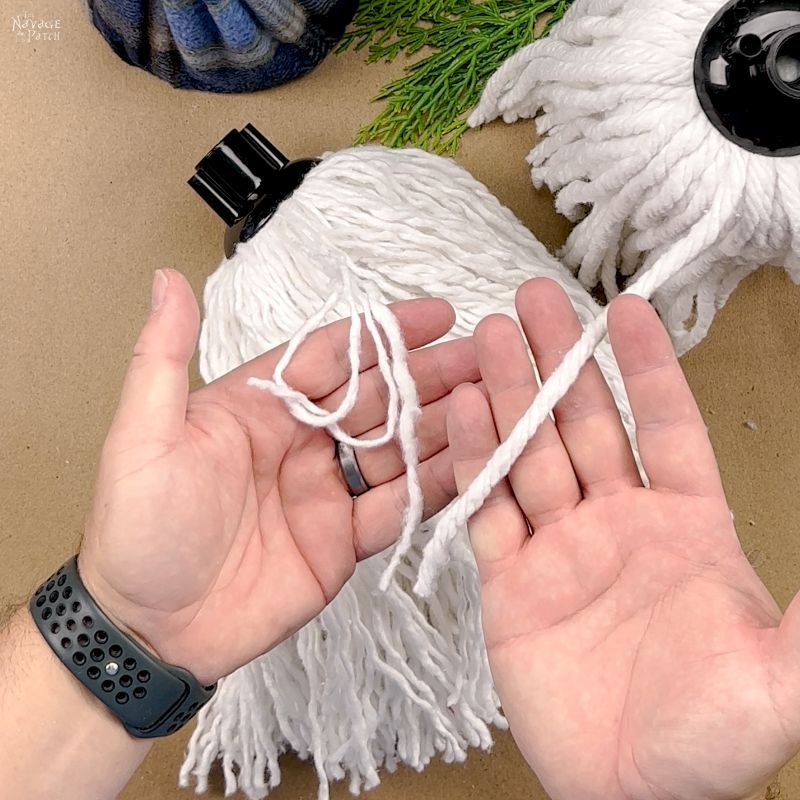
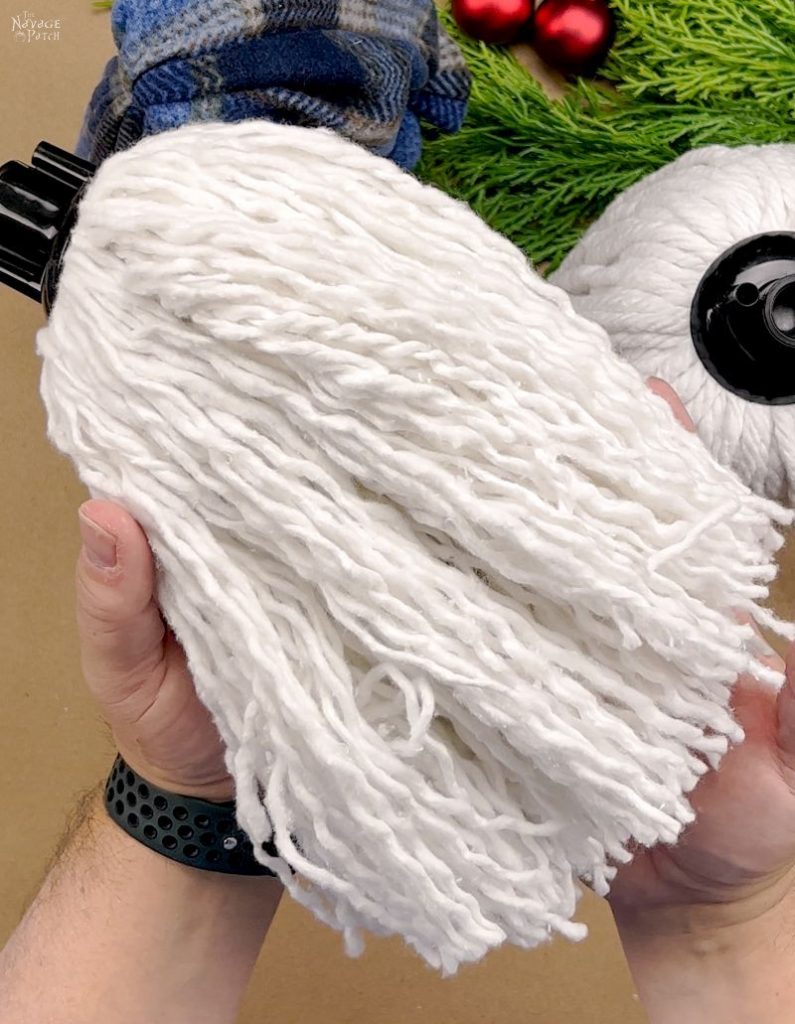
The untwisted mop gnomes look a little better, but untwisting those mop ropes takes a bit of time…which makes it a perfect kids’ activity!
With my mop head ready to go, I grabbed the glass vase and got ready to gnome.

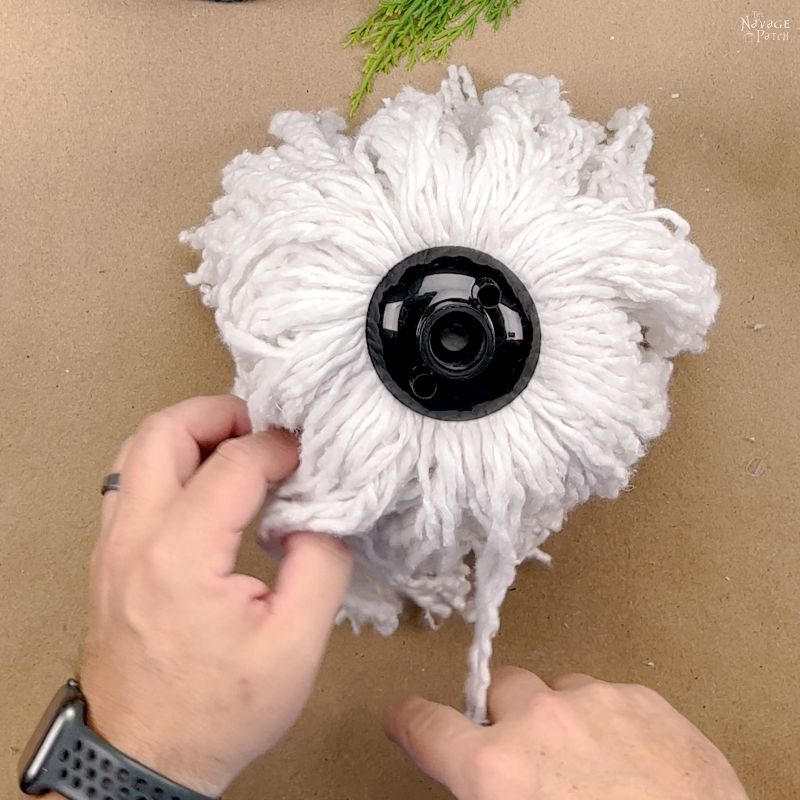
I flipped the mop over itself exposing the underside of the head and put a blob of hot glue on it.
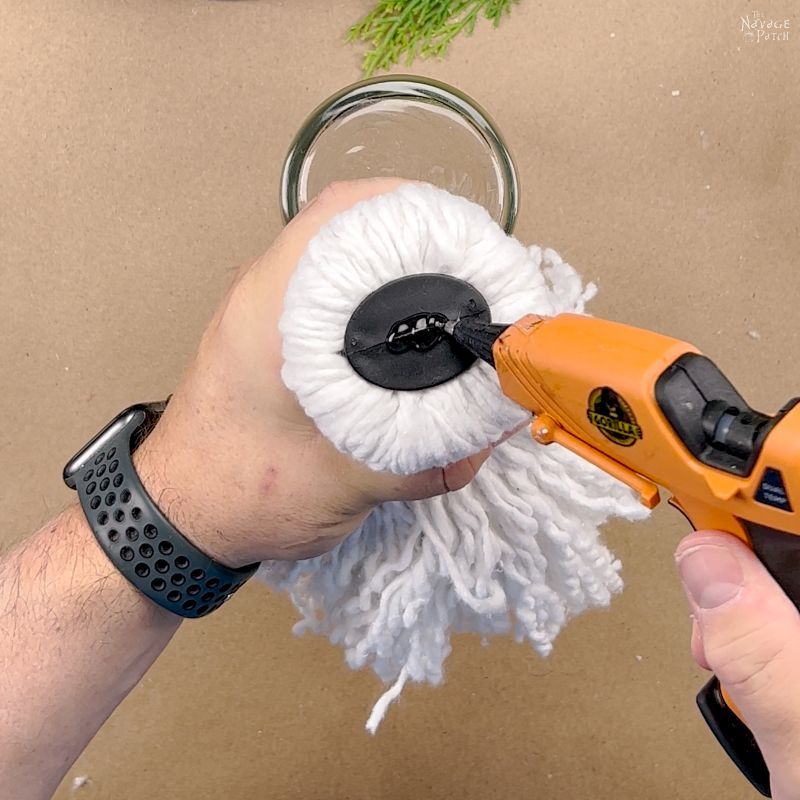
Then I pressed the mop head to the center of the vase.

If you don’t have a hot glue gun, you could also do this step with super glue (I’d recommend the gel kind, but any will work).
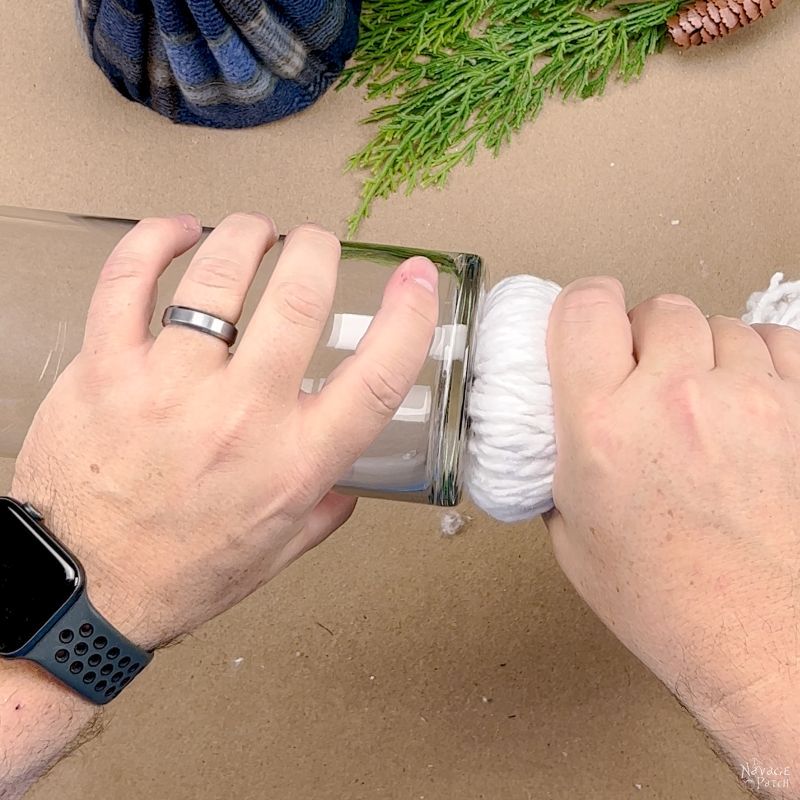
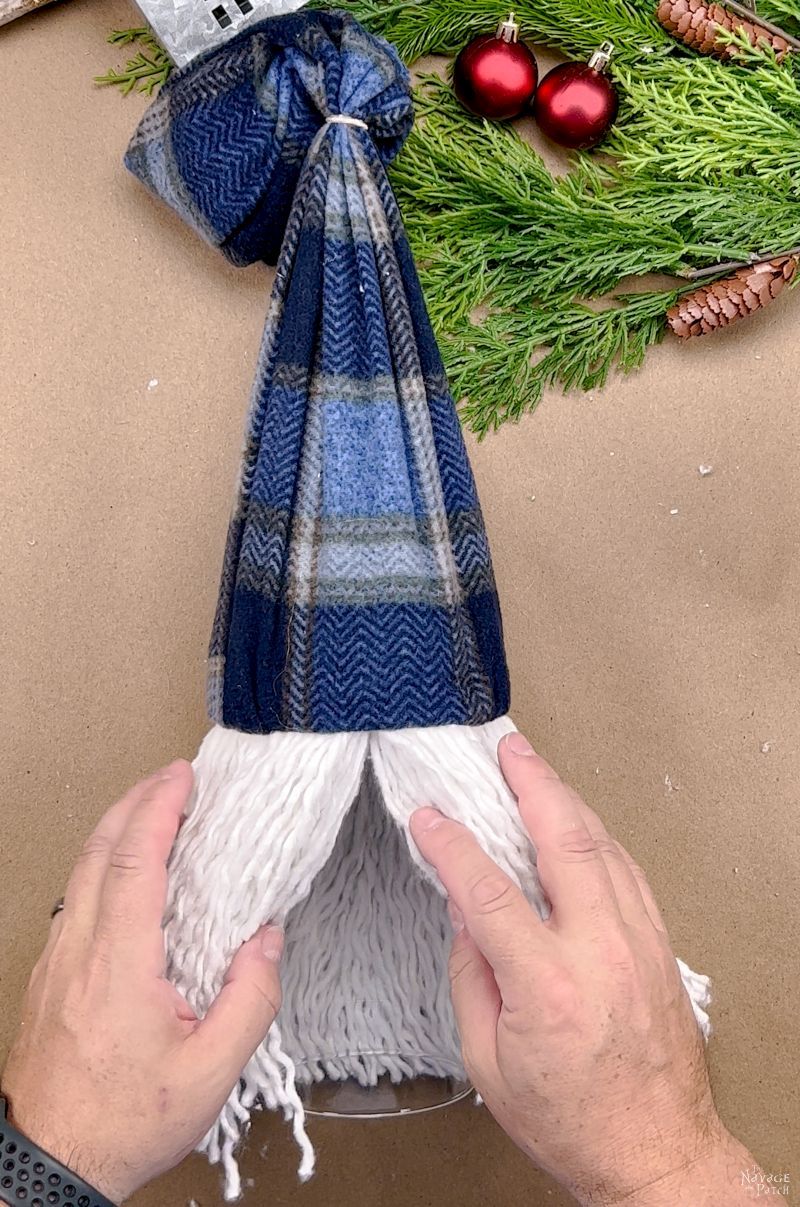
I then flipped the mop head over the vase and tidied up the beard a bit.
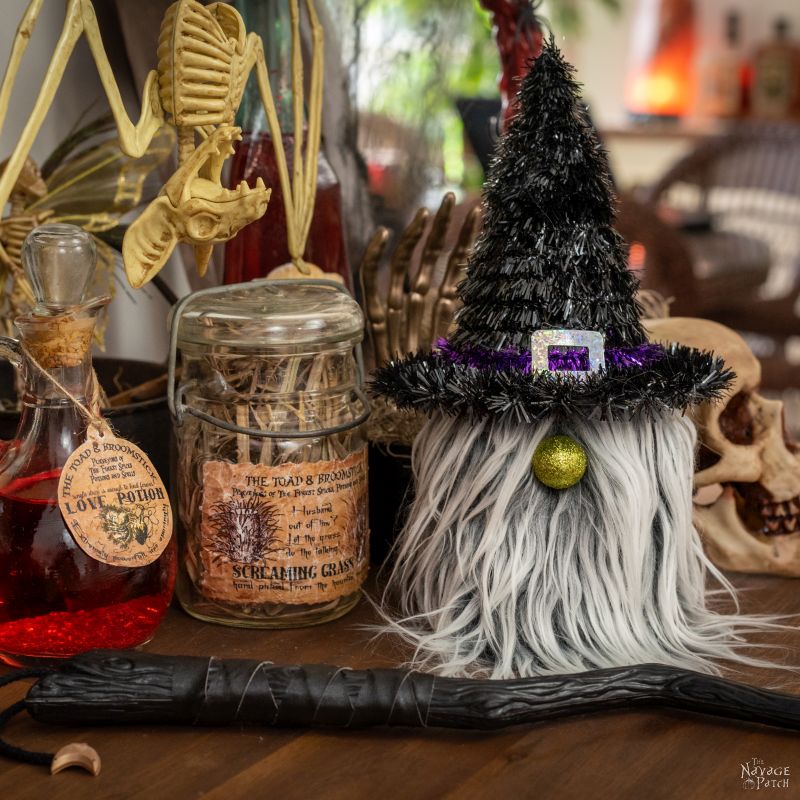
Next, I put the hat on my mop gnome. There was no need to glue it – it’s a perfect fit. It’s almost like these three Dollar Tree items were fated to be joined together one day. 🤔
I parted the beard to make room for his nose. Or maybe it’s a her. Who knows with these gnomes? They’re very secretive, you know.
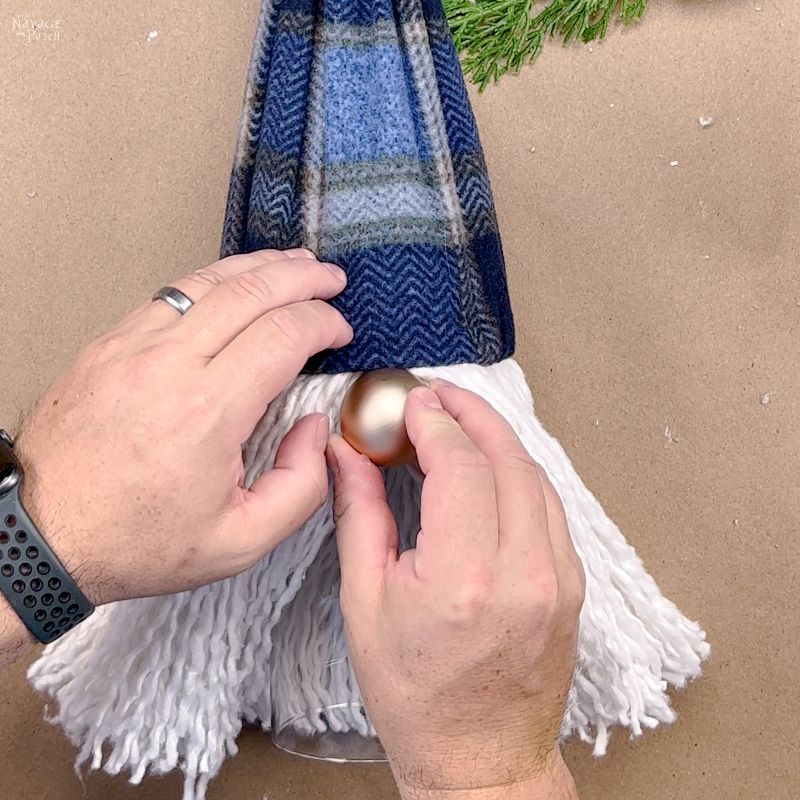
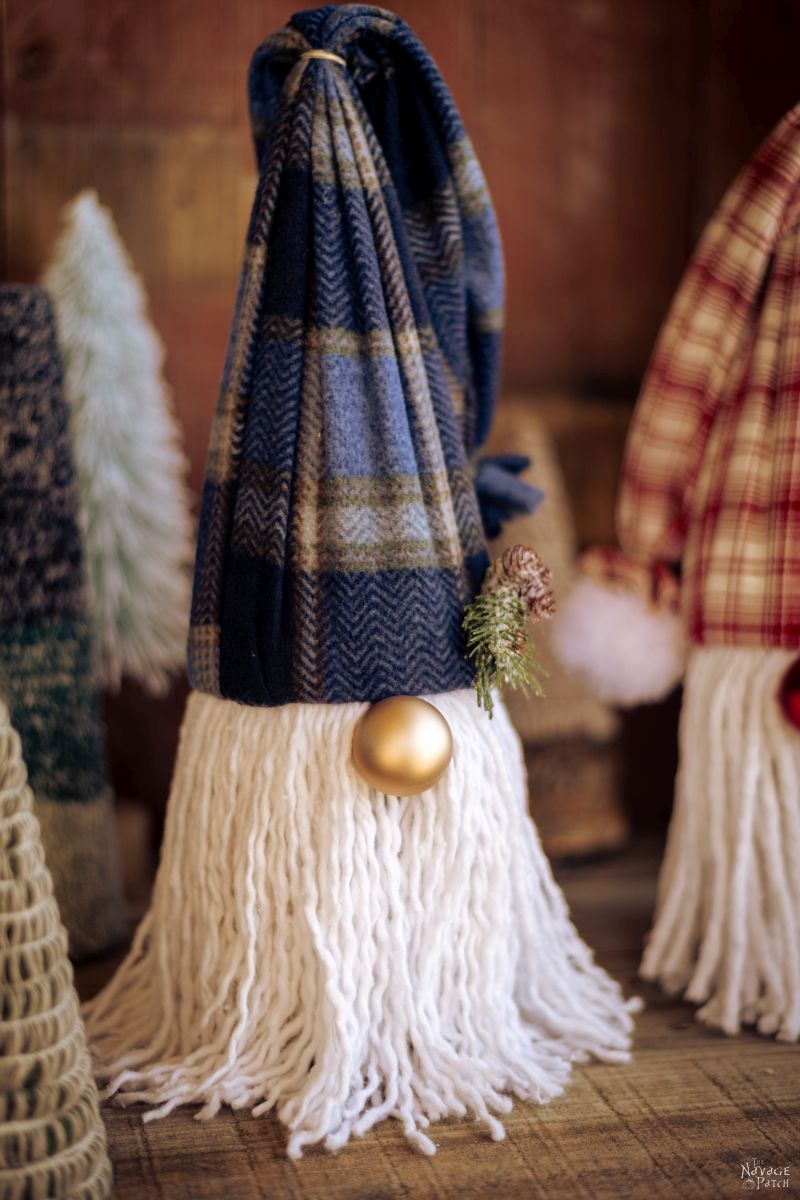
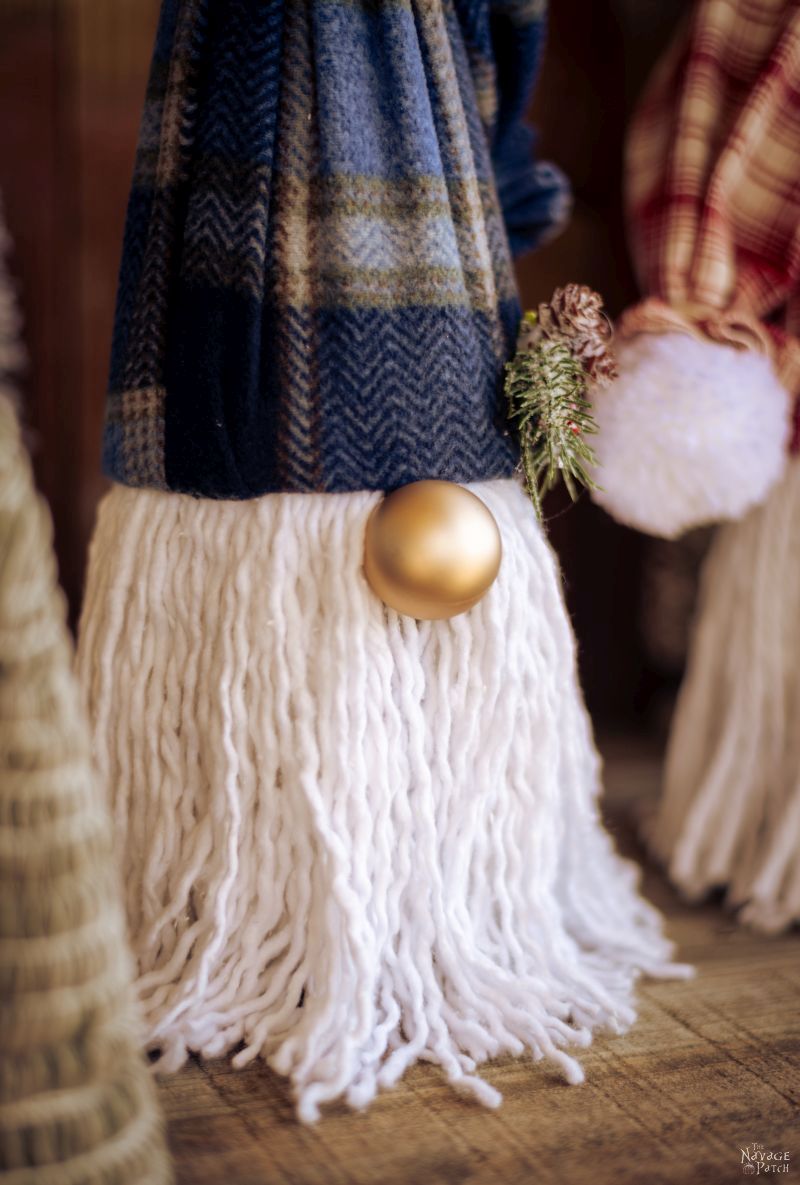
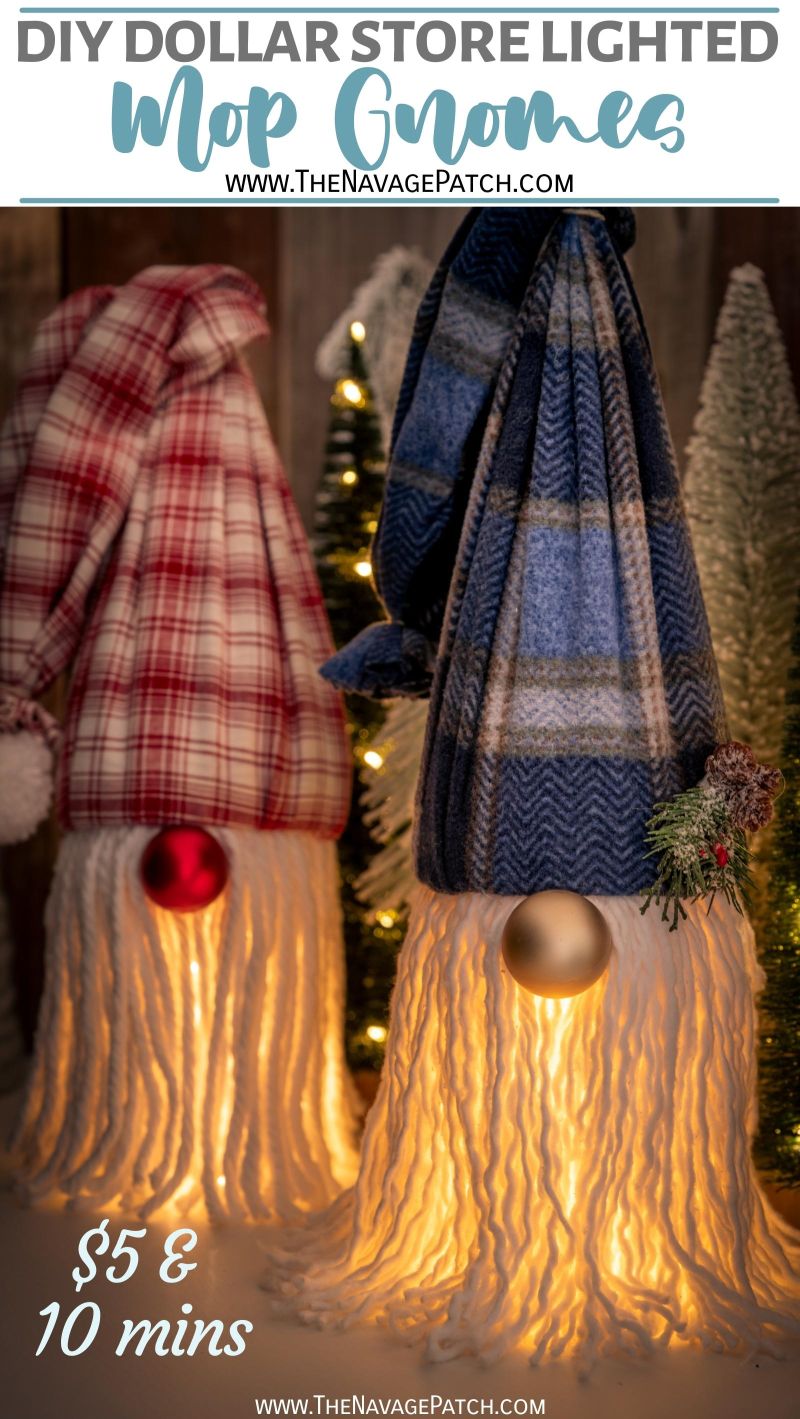
We like how this gold ornament looks with the white beard and blue hat. I put a little dab of glue on the stem.
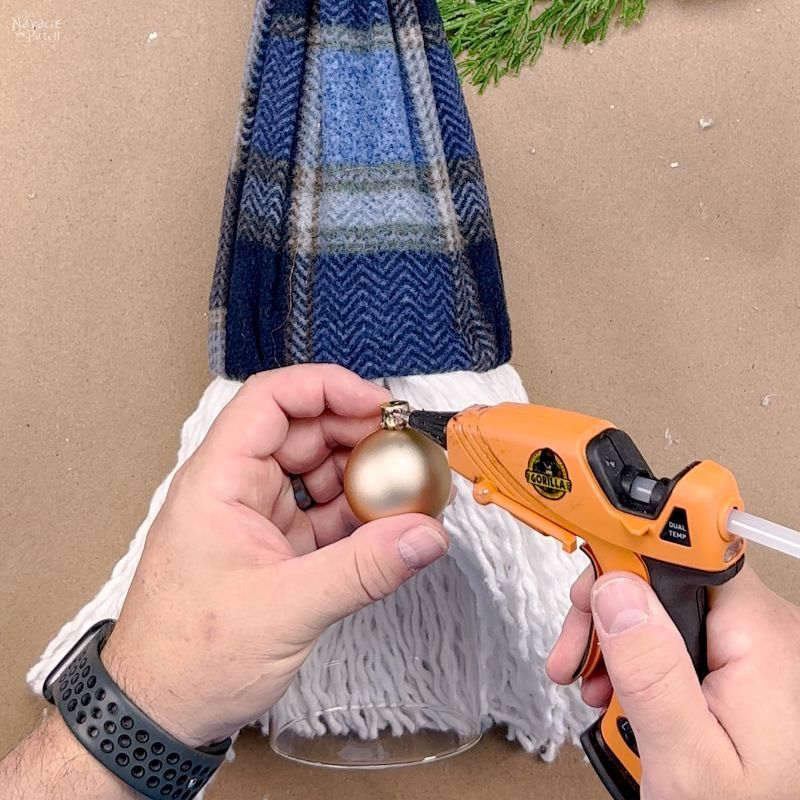
Then I glued it to the inside of the hat rim. Because the ornament will want to ride up on the mop strings and stick out too much, I also put a little glue on the backside and glued it to the glass.
Though in the end I kept his hair straight, you can experiment with mustaches, if you’d like. Styled facial hair is all the rage in Gnomeland these days, you know.

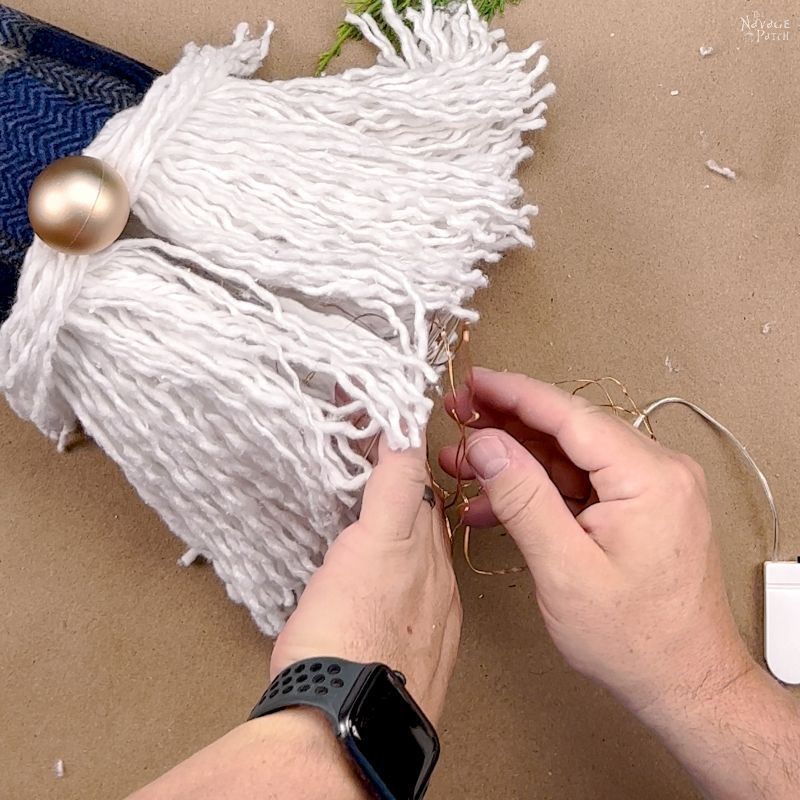
Next it was time for the lights!

I simply shoved the lights up his…vase.
o_0
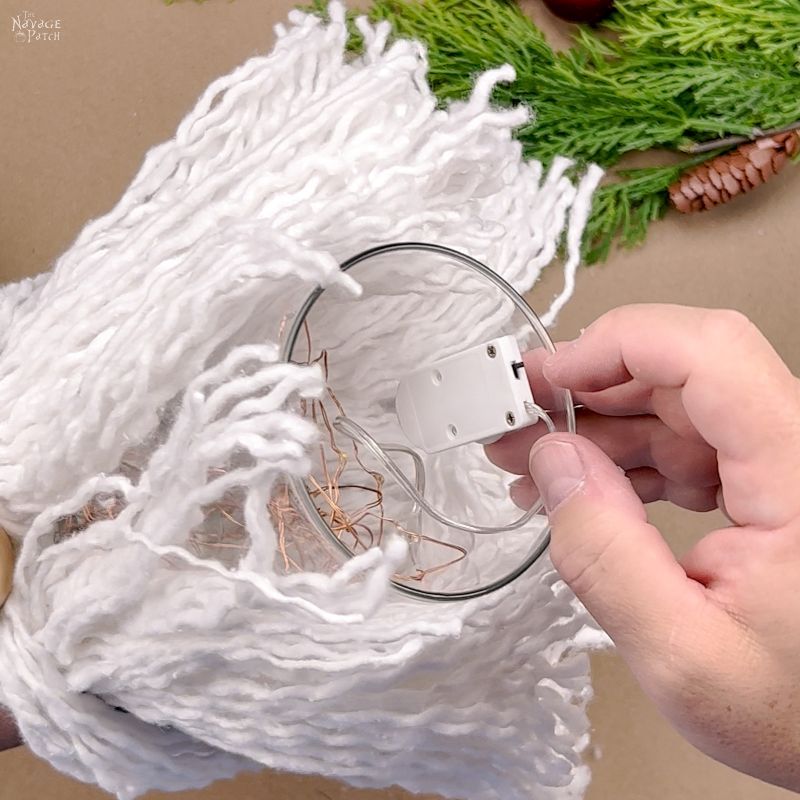
I used a little blob of poster putty to affix the light switch to the inside of the vase.

The moment of truth…

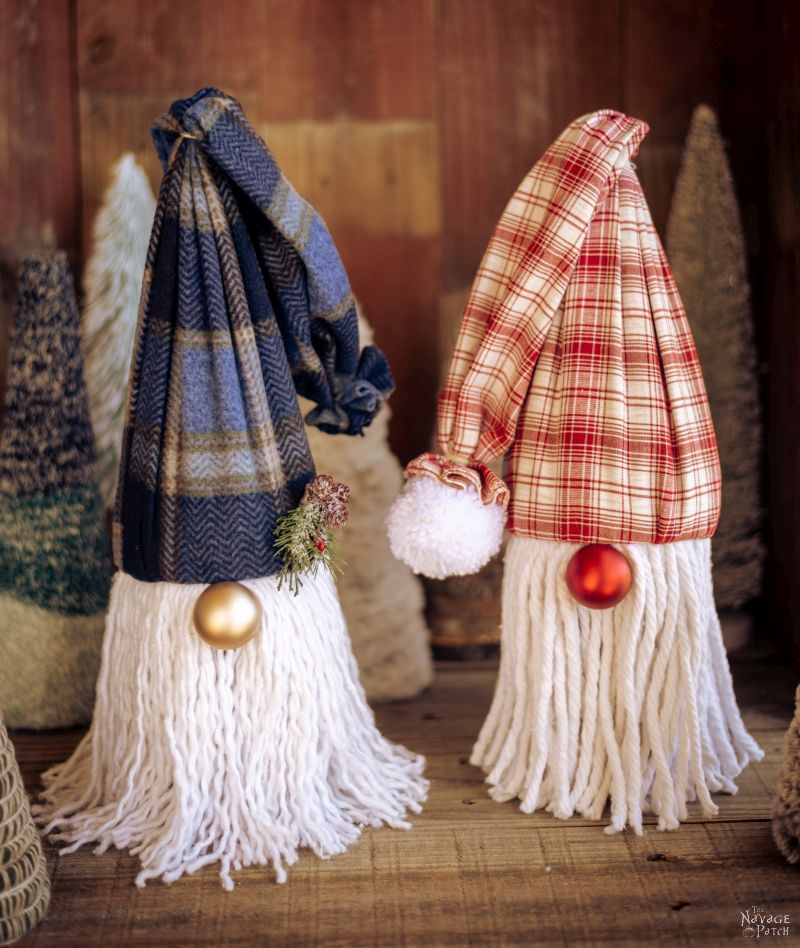
Let’s check them out! First in the daylight…
More DIY Christmas Decor Ideas


- DIY Dollar Tree Duster Trees
- DIY Dollar Store Mop Wreath
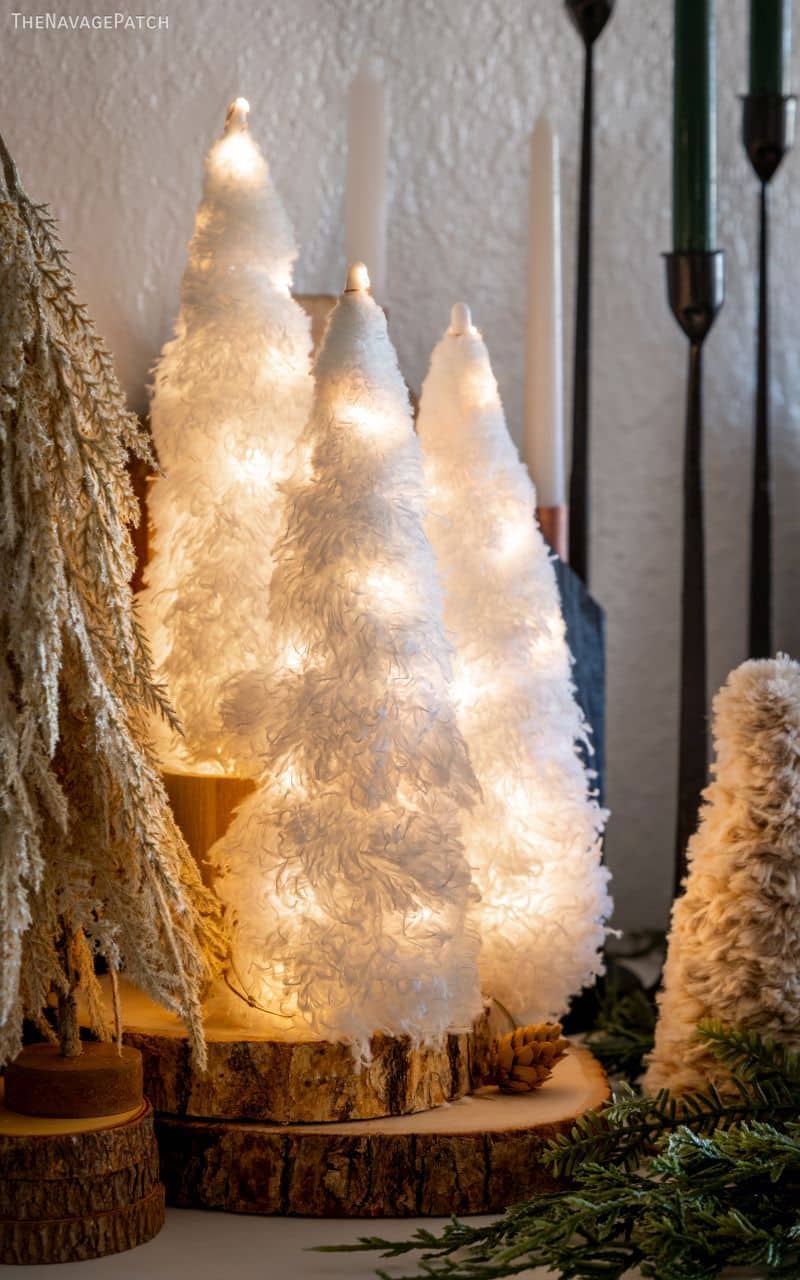
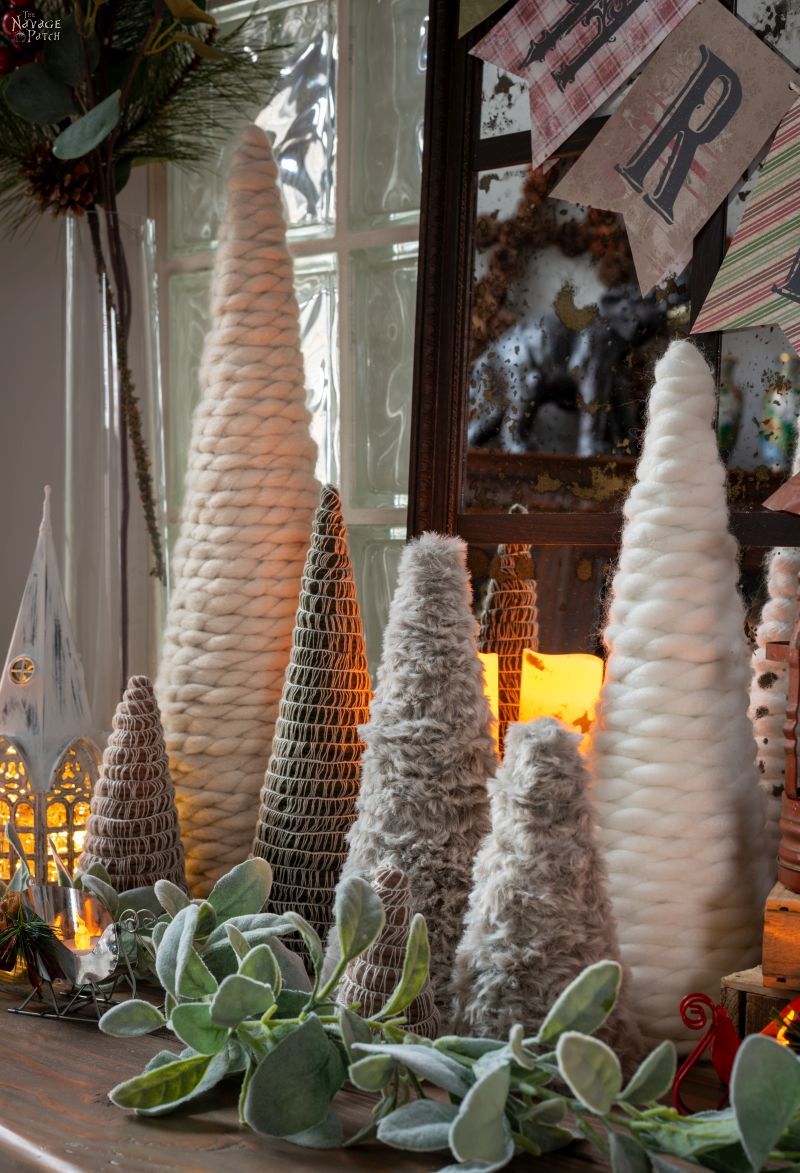
- DIY Faux Fur Trees
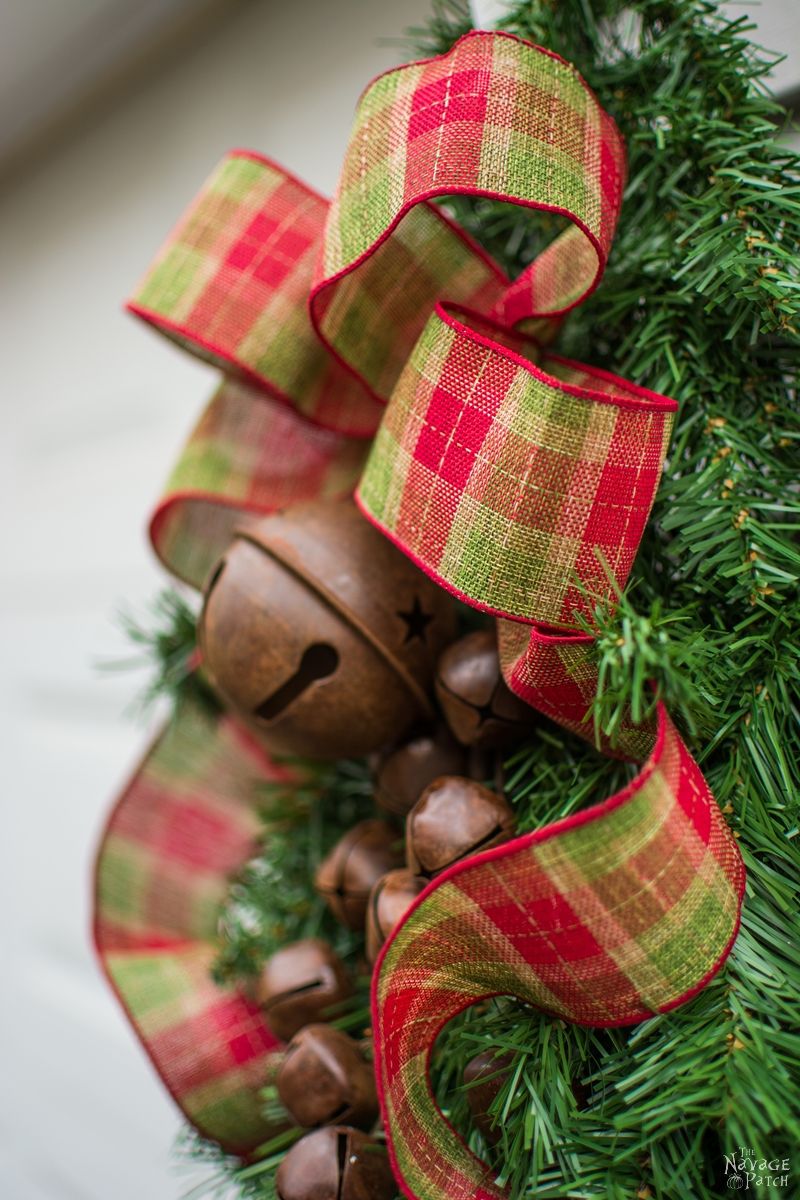
- DIY Faux Antique Brass Bells
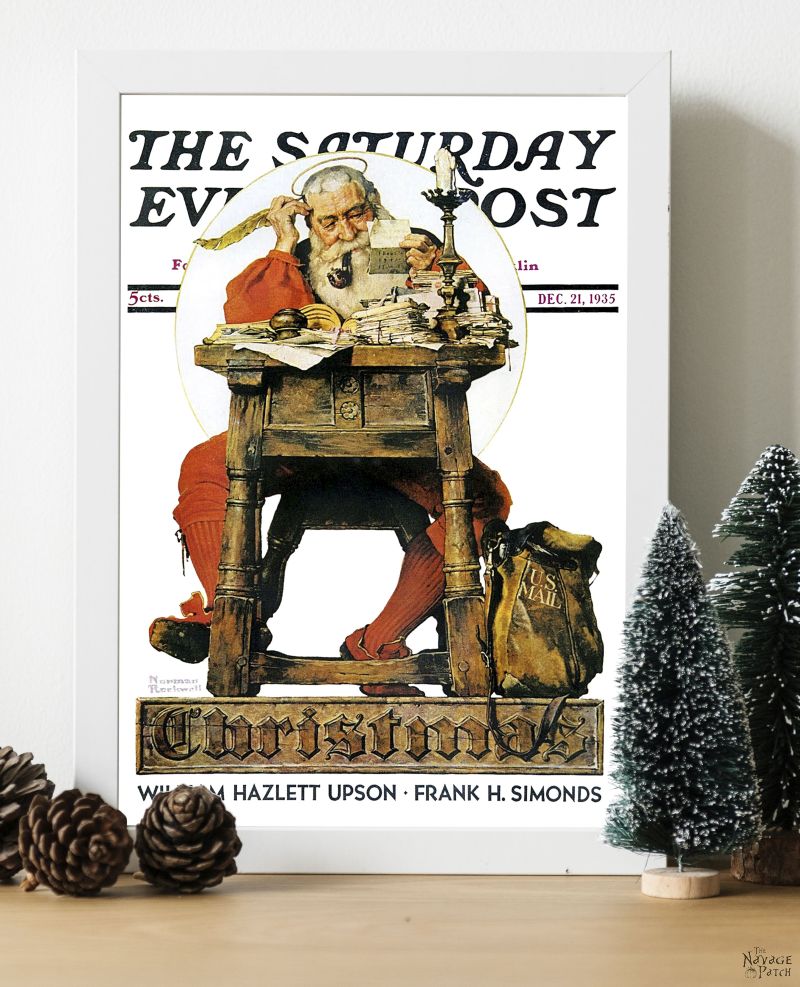
- Free Vintage Christmas Magazine Cover Printables
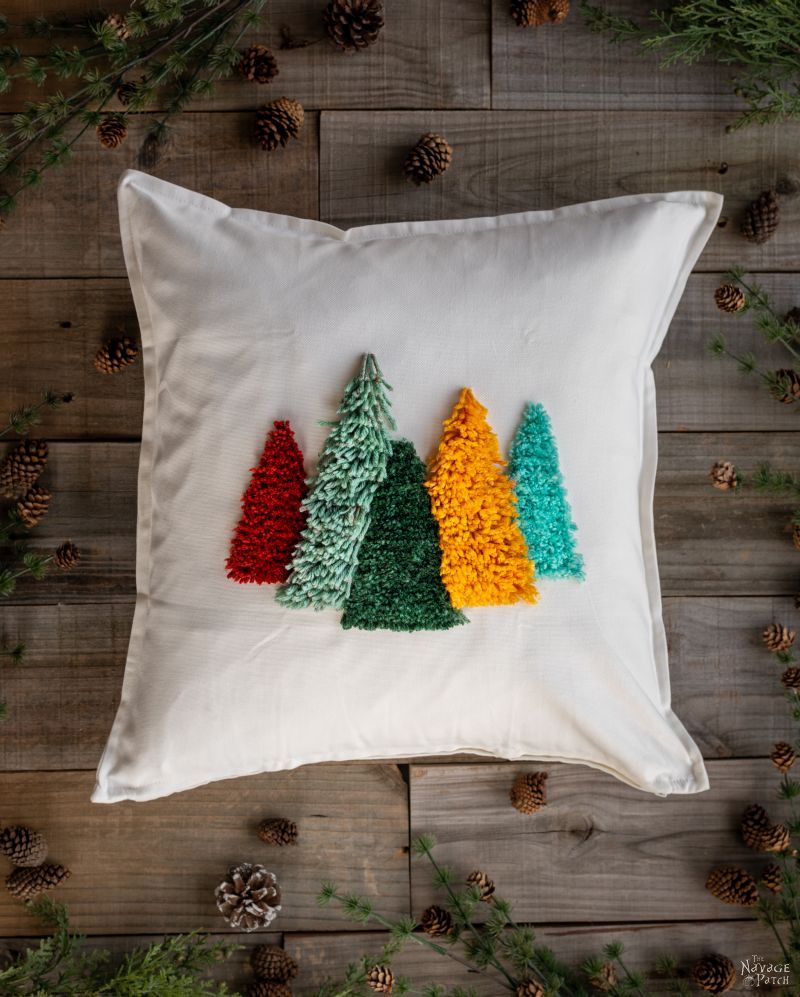
- DIY Shag Tree Pillow
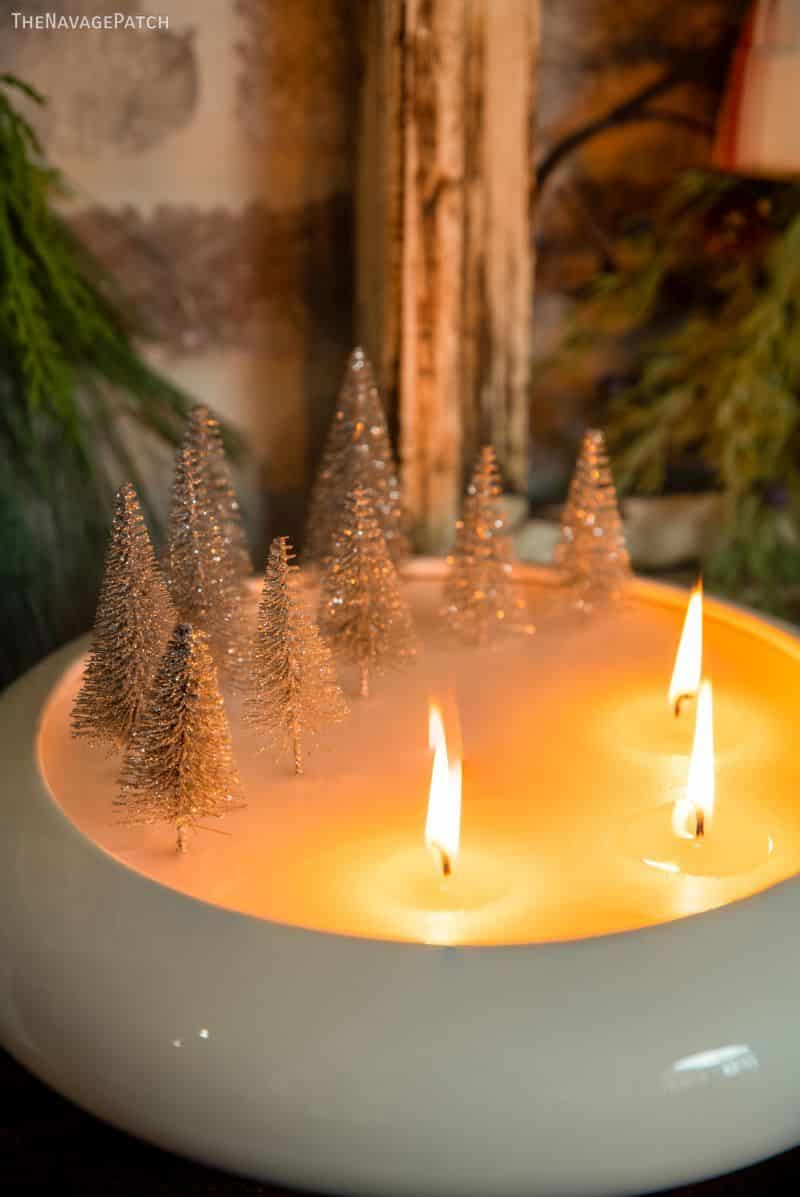
- Easy DIY Christmas Candles
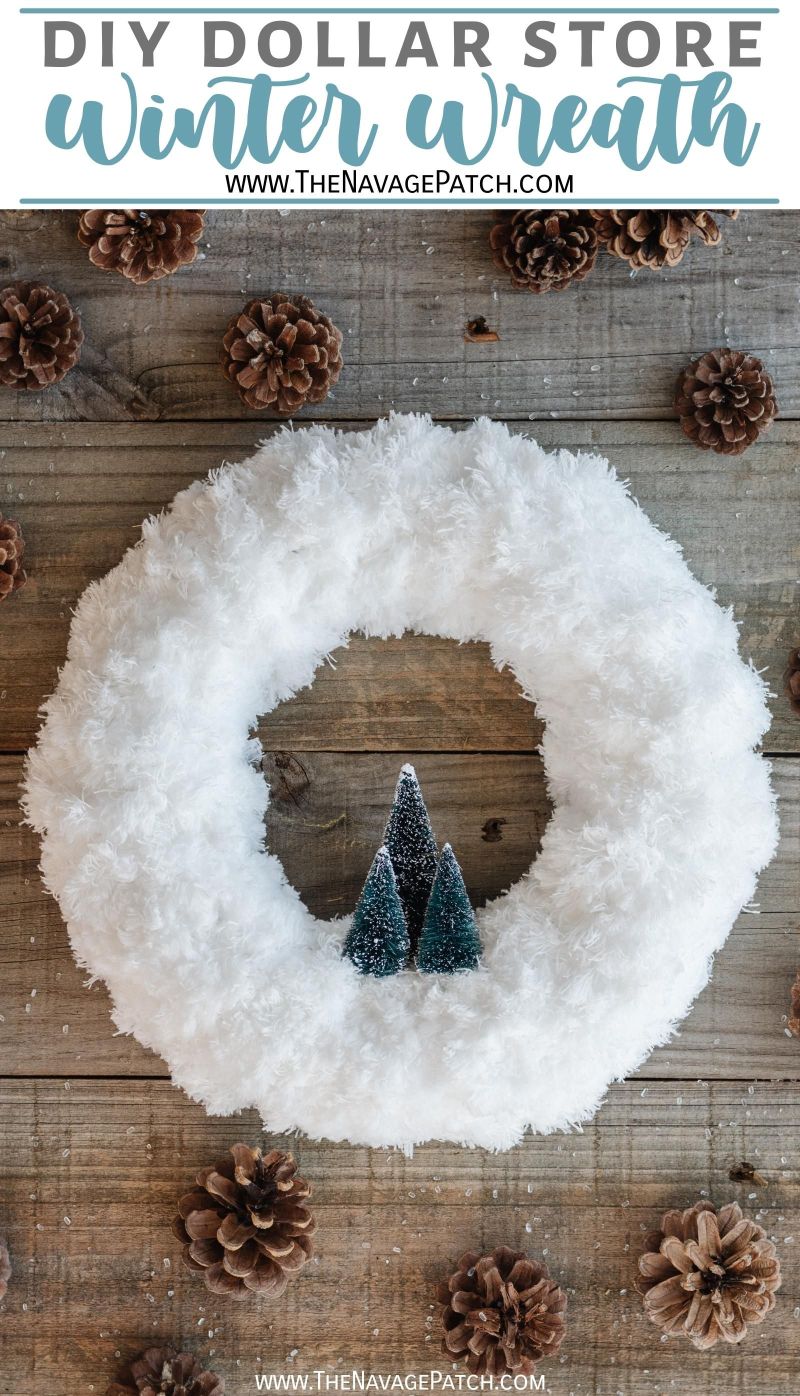
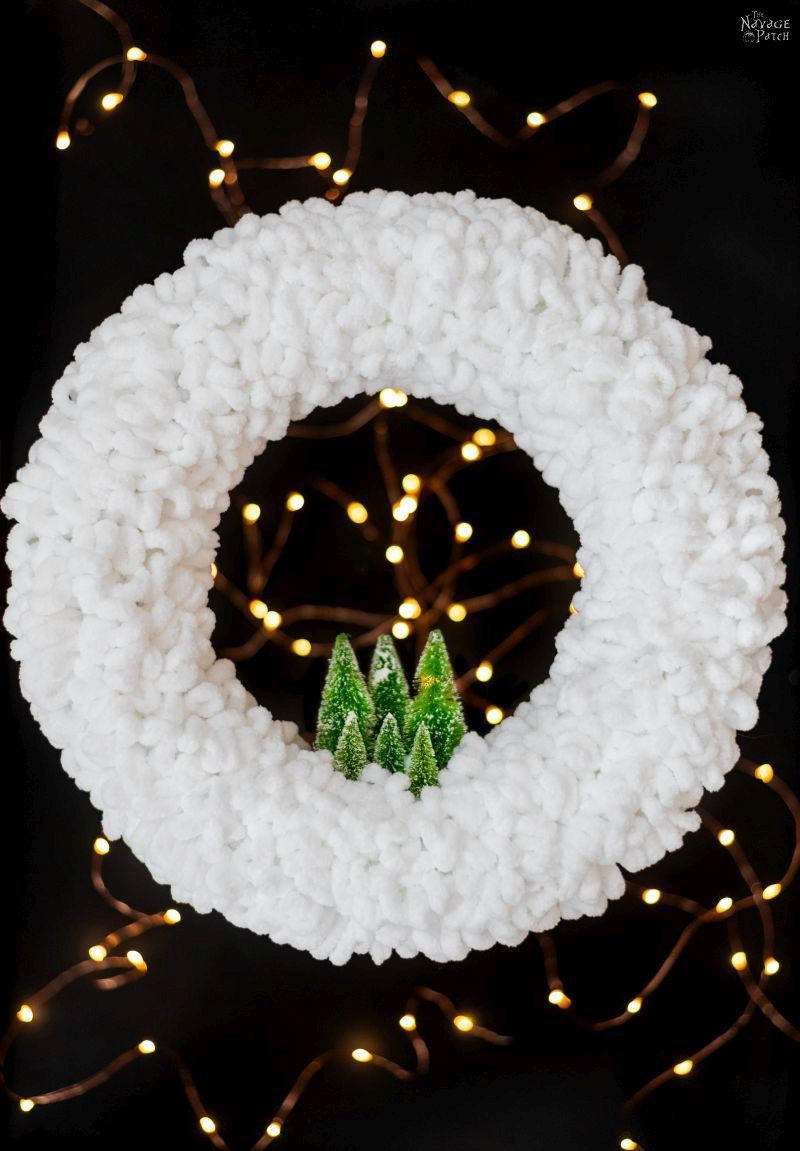
- DIY Winter Loop Yarn Wreath
- DIY Christmas Decor: Faux Tree Repurposed 3 Ways
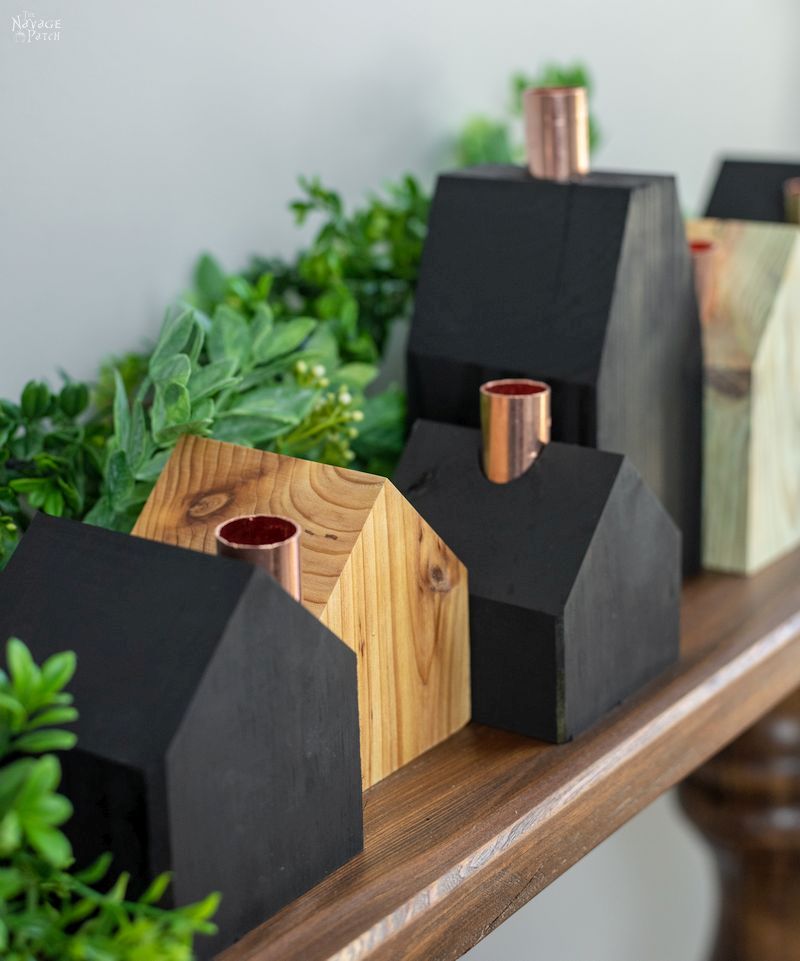
- DIY Wood House Candle Holders
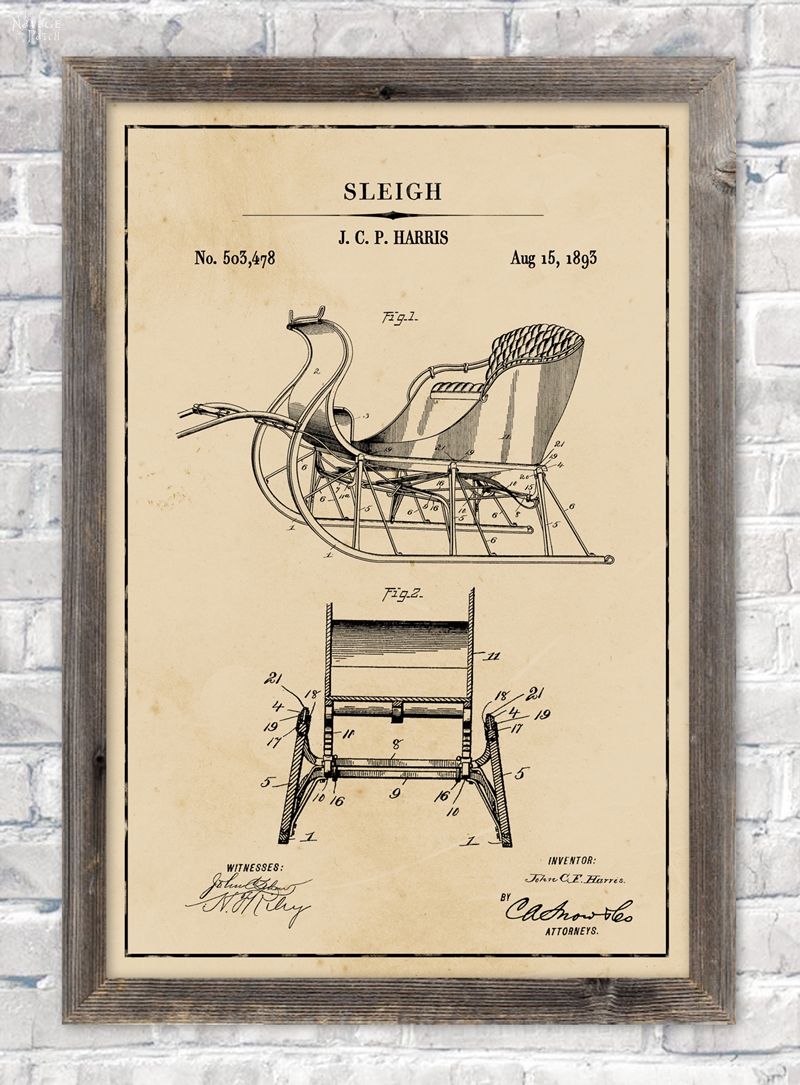
- Christmas Patent Wall Art And 18 Free Printables
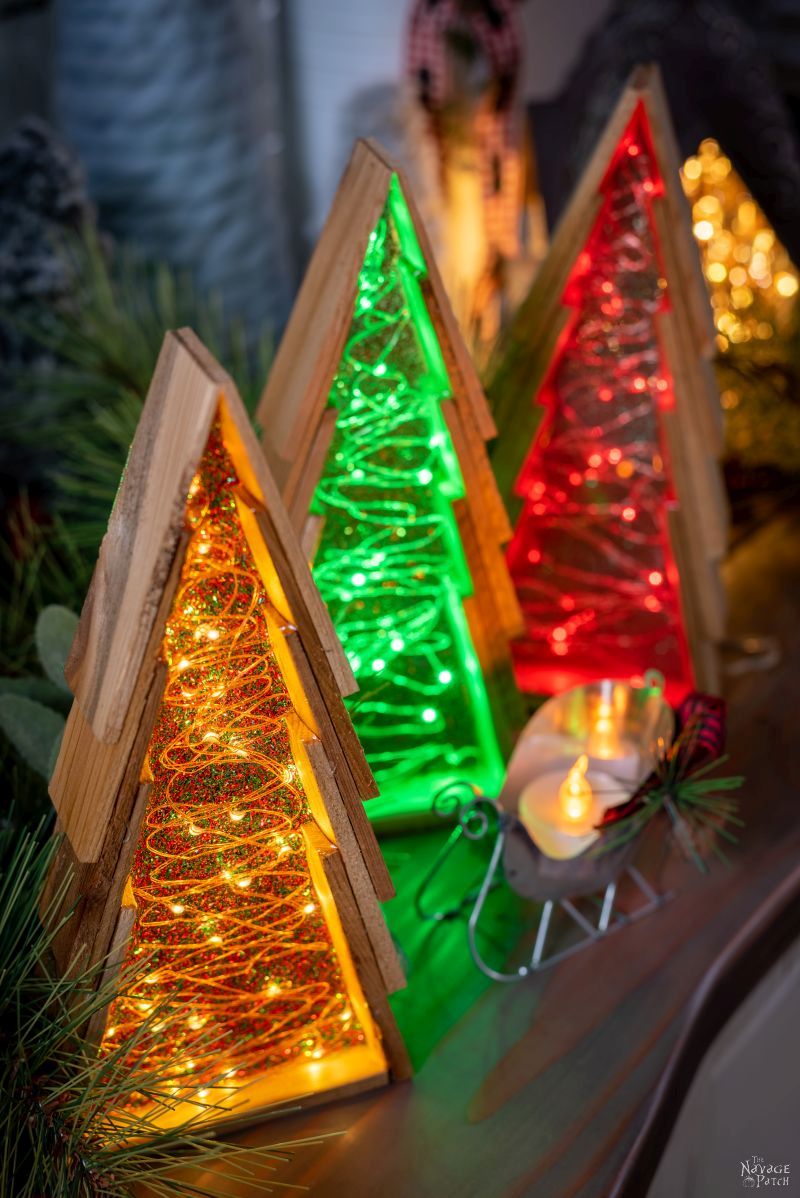
- DIY Epoxy Wood Shim Trees
- DIY Dollar Tree Snow-White Nutcrackers
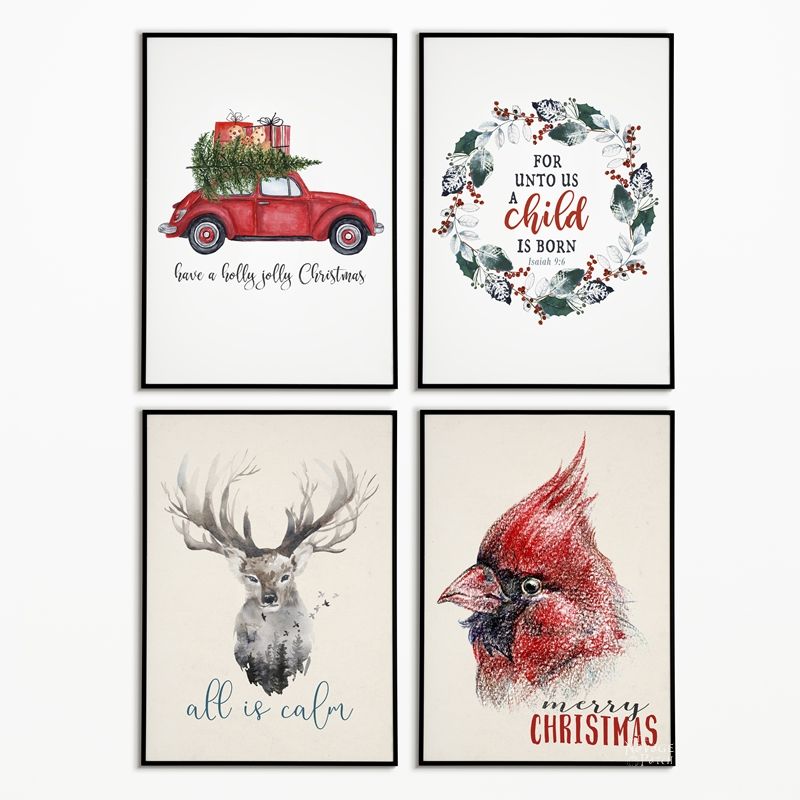
- Free Watercolor Christmas Printables (20+ BEAUTIFUL Holiday Prints)
And now all lit up…

We love to see our craft projects out in the wild! If you try this seasonal craft project, take a picture and post it on Instagram, be sure to tag us – thenavagepatch


So what do you think of our Dollar Tree mop gnomes?

Here are some more super cute DIY gnome ideas for you!
DIY Scented Broom Gnomes
DIY Christmas Gnomes
DIY Dollar Store Gnomes
DIY Dollar Tree Gnome Wreath

Share it on Pinterest & Facebook!
LOVE these gnomes!!!! Thank you so much for sharing all your fun, easy crafts with us. Enjoy your frappuccinos!!! 🙂
Thank you so much, Carol! We’re having so much fun doing it! 🙂
We drink a lot of coffee and have lots of creamer containers left. I thought about trying those for the hat part. Love the lighted idea, will have to try. Love all your ideas!!!!
Let us know if you try it, Jane, and send us some pics!
Too, too cute! Great-granddaughter and I will have a blast making them; thanks so much for sharing!
Happy to hear it, Nan! Have fun with your GGD!
I am always truly amazed at the things you two come up with…Brilliant! Keep those creative juices flowing!
Thank you, Jan, we certainly will! 🙂
Your humorous posts always make my day. And I’d love to see what you can do with some Swifer refills.
Hmmmm, Swiffer. We’ll have to give that a think!
Love them! Thank you for sharing! Happy Holidays to you and your family and hugs to the puppies!!
Thank you so much, Cecelia! We wish you the same! 🙂
Greg, I think these gnomes are so cute! I think I will speed over to the Dollar Tree and see is there are any mops left. I’m not really into gnomes, but these are lighted!!!!!!!! It makes all the difference in the world. Thank you.
It does make all the difference – light makes everything better! Happy hunting at DT!
These are your best gnomes yet. Love them! Thanks for the ideas.
Thank you so much, Geni, we love them, too! 🙂
These are Over the Top Gnomes! I tried to share and save them on Pinterest- neither of the Pinterest buttons has actually saved the Pin! I’ve tried a couple of times and then checked my “gnome board”- this sweet little gnome is Not there!
Now- the World will never know about these cuties! And that is a shame!
Hi Laura, thank you for letting us know about the Pin buttons. I checked the Pin buttons just now and they seem to working with no issues. Are you on your phone? If so, you need to tap on the picture (any picture) to get the Pin button to show. On desktop they readily show. I am not sure why it didn’t work when you tried them, but if you’d like to pin them now you should be able to 🙂
Thank you, Laura! We will make sure the world knows, lol! 🙂
You two are too smart for your britches!! I would never have thought of lighted gnomes or the way you constructed them. Love all the gnomes. Keep up the great crafts!!!
There’s only one smart on on this team and it’s not the one typing this response, lol! We’ve got more good stuff to come! 🙂
They look great but… please someone tell me what is this obsession with bloody gnomes?! Just when we Brits laughed them out of our gardens, they’ve marched stealth like across the pond, like a big-nosed, bearded army. They even infiltrated Halloween! 😀
LOL, we’ve always been a destination for British castaways and runaways! 😁
Thanks for this awesome Gnome idea. I love it.
You are so very welcome, Shirley! 🙂
Headed to my favorite Dollar Tree yesterday to pick up supplies. And what to my wondering eyes should appear but my Regular Tree had upgraded to Super Dollar Tree!! So excited to see all the new stock so a mere $20 later I headed home to make the gnomes and a bunch of other crafty things. Thanks for sharing all your wonderful ideas 😊
Ah, excellent news! I noticed yesterday that a regular DT in Suwanee had started a rack of $5 items. I think the transformation of all DTs has begun!
I love these! I have a couple of tall spaghetti sauce jars that I’m going to use.
Alas, my dollar tree has no little trees and I have no pajama bottoms! I am bottomless! Any suggestions?
Spaghetti jars are a great idea! You can find really cheap bottle brush trees at Target dollar spot. For the hat – any material will do – as long as you like the pattern!
This is the first time I have seen one of your posts and so happy I saw it. Love your ideas, instructions and humor! I enjoy making gnomes (and all other crafts) and look forward to seeing more of your ideas. Thank you!
Hi Pat, welcome to our blog! We’re so happy you found us and hope to hear from you more in the future!
Wow ,j’adore bricolage aussi simple a faire. Merci beaucoup. Très beaux
Merci beaucoup, Carole!
These are adorable! I’m having trouble finding the vases. How tall are they?
Thank you, Dawn! The vases are 7 inches tall. You could use a drinking glass, mason jar, cloche or hurricane vase in case you can’t find the same ones we used.
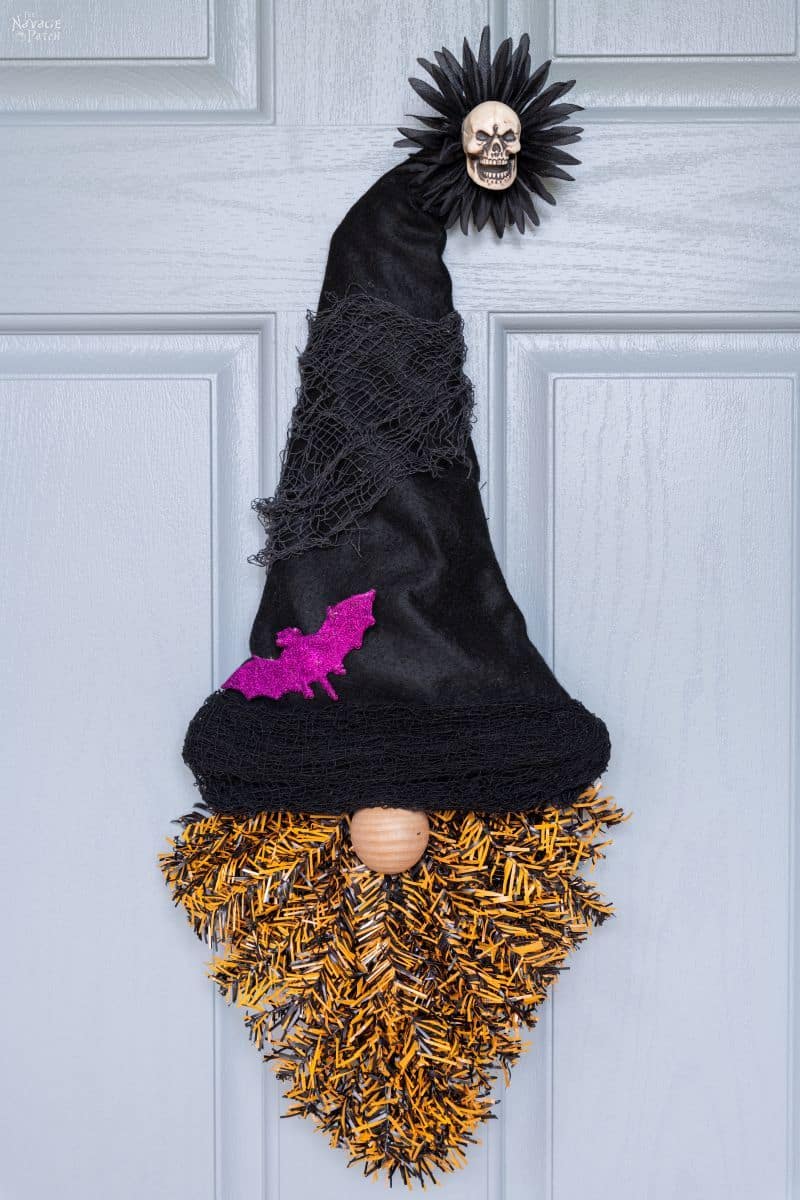
Instead of a gnome I made cousins it for Halloween then will change it out for each holiday
That’s smart!
Love the light gnomes they are beautiful so easy to make.
Thank you, Patricia! 🙂
It looks like the black part of the mop is flat when glued on, Dollar tree mop heads have a higher part in the middle. Do these get cut off somehow?
Hi Deb, that’s the underside of the mop! 🙂
I love this idea but I’m having problems finding the lil Christmas tress ! Mayb a funnel would work? Can’t wait to make make these !
Thanks, Dawn! Another reader also couldn’t find them, so she substituted Styrofoam cones, and they turned out great! Yo might also try cardboard cones, as they would be hollow. Good luck!
I LOVE your gnomes! I’m fixing to make the lighted mop gnome now!! Thank you so much for sharing!!
Thank you so much, Theresa – Have fun!
I can’t find the video to make the DYI Gnome with Christmas trees and glass cylinder. Please help!
Hi Marsha, thank you for alerting me to the fact that I forgot to share the video here on our blog. I just added both Tiktok and Instagram videos to the post, so now you can watch on those apps whichever you have 🙂