DIY Dollar Store Gnomes
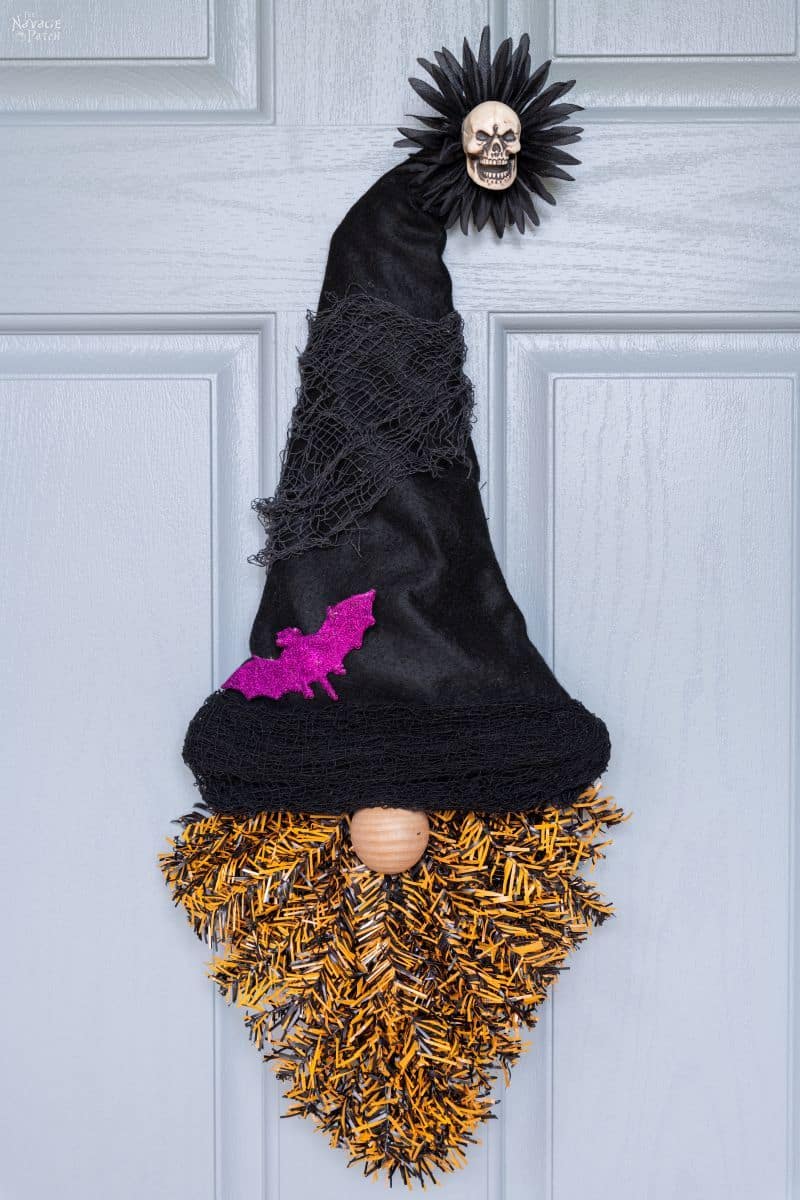
DIY Dollar Store Gnomes are super easy to make, and with Dollar Tree’s ever-expanding Halloween section, you’ll find almost all the materials you’ll need to make these fun little witches.
It has been scientifically proven by an elite team of Finnish scientists working from a remote research station in the farthest reaches of Northern Lapland that human beings (and the She-Folk in particular) are hard-wired to love gnomes. They discovered that the combination of scraggly beards, bulbous noses and pointy hats had the same effect on the human psyche as little fluffy bunny rabbits.
So it should come as no surprise that humans (and the She-Folk in particular) have sought to decorate their homes and gardens with gnome statues and soft, hand-sewn gnomes. In recent years, there’s been a noticeable trend of humans (and the She-Folk in particular) making their own gnomes.

This DIY gnome trend has evolved over the years. The She-Folk (being naturally more intelligent and resourceful than the He-Folk) have found ever easier and cheaper ways to make their favorite mythical creatures. The needle and thread have given way to the glue gun. And making their stout little bodies has never been easier. You need look no further than our post about DIY Christmas Gnomes to learn about the secret to easy gnome bodies!

But as simple as those Christmas Gnomes were, we’ve come up with and even cheaper and easier way to make them for Halloween!
Yep, as you may have guessed from the post’s name, these DIY Dollar Store Gnomes (specifically for Halloween, though they can be made for any season) are made (almost) entirely from Dollar Tree materials. The only thing you’ll need to buy separately is the craft fur, and that’s because Dollar Tree does not (yet!) offer any sort of faux fur. But Handan and I have been reconnoitering many of the Dollar Tree stores in the North Georgia area, and we’ve noticed that the Craft Corner section grows bigger and better each month. I’m telling you, it is only a matter of time before they find a source for some cheap craft fur, and then they’ll give Michael’s a serious run for their money.

When I first sat down to make these gnomes, I listened to my babes blab and blab about how easy they were going to be. As she babbled, she walked around behind me and placed something on my head. Continuing her incessant blathering, she reached into her pocket and pulled out her phone, whereupon she pointed the infernal thing at me and fired off a photograph. She then continued her verbal assault by asking “Does my babes know what the easiest gnome is? Hey? Hey? Does he? Hey? Hey?”
I squinted at the loon. What was she getting at? This was some sort of trick question. There was no one particular Dollar Store gnome that was easier than the others. They were all easy enough to be handily made by a rum-soaked monkey!
Nevertheless, I ventured a guess. “Ummm, the one with this hat?” I said and picked up one of the myriad witch hats we bought for the project.
“Nooooooo….” she said, smiling. “Who is the easiest gnome?” Then she pointed, and it all became clear.

Yep, old Doofus McGillicuddy, your long-suffering author. I’m the easiest gnome.
If you love gnomes as much as we do, be sure to check out our other gnome tutorials!
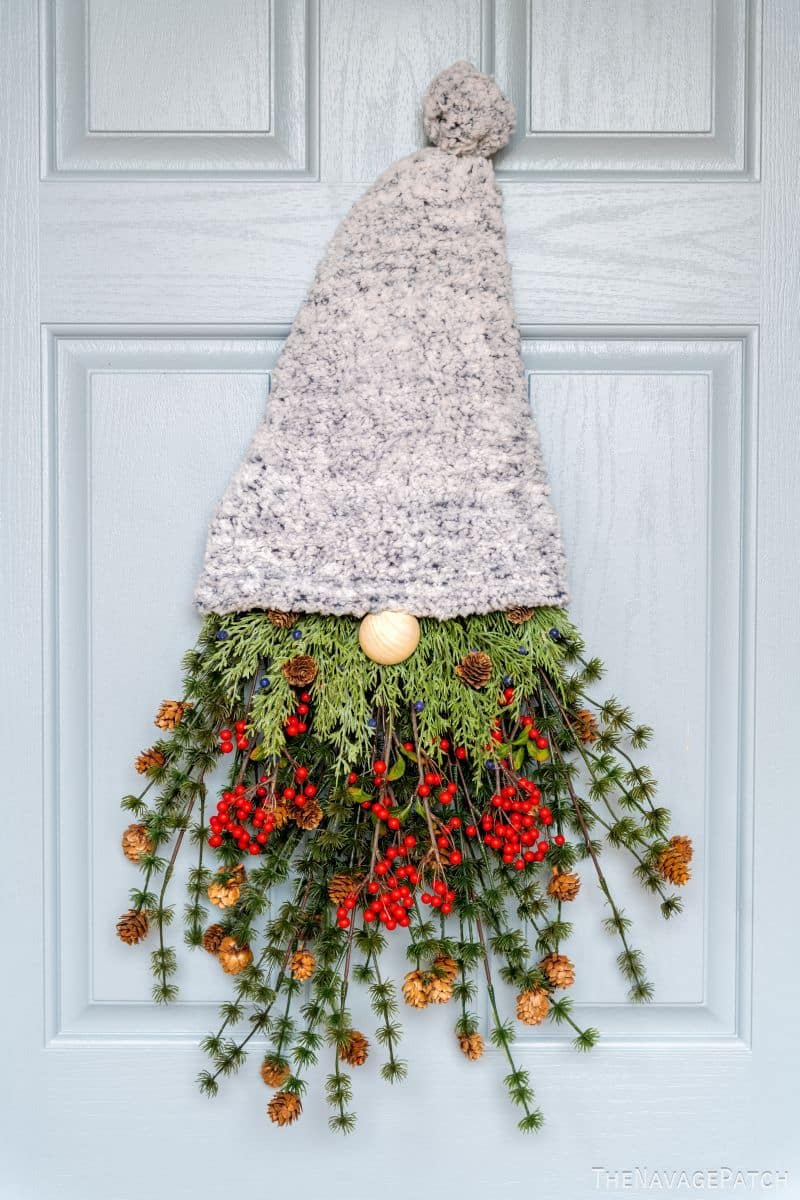

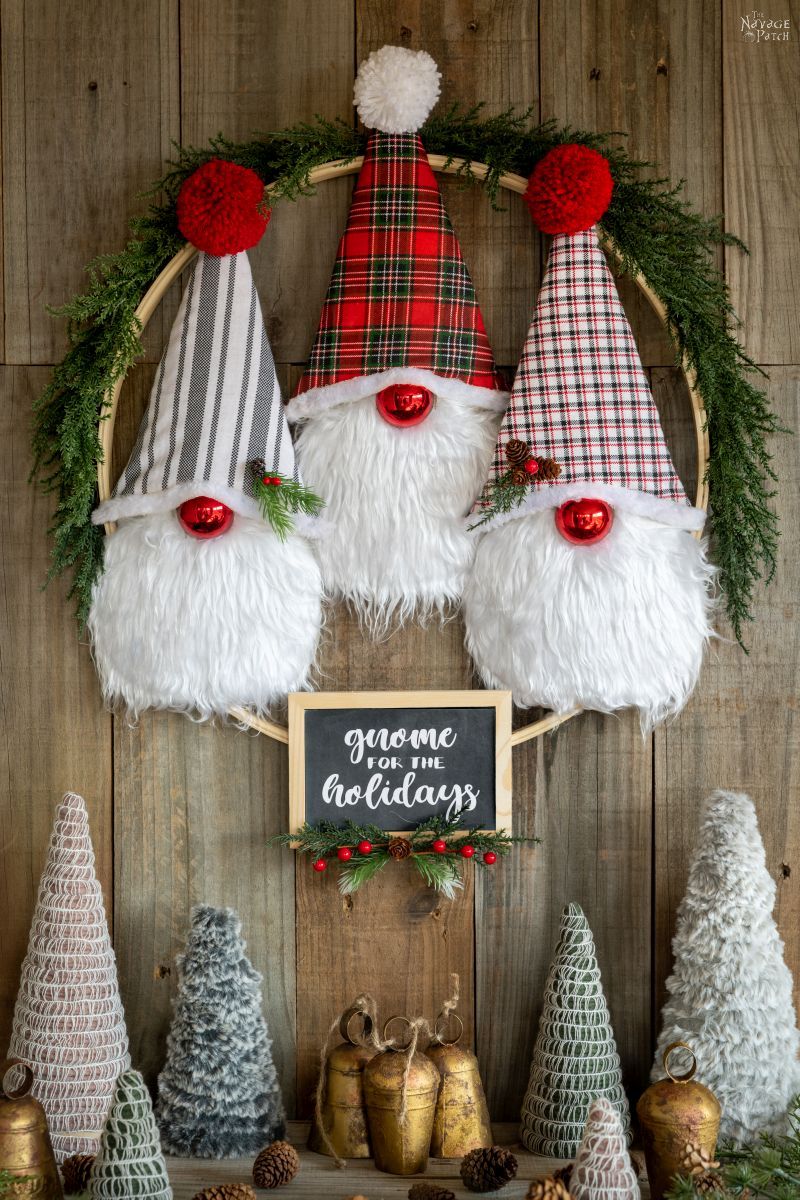
- DIY Christmas Gnome Wreath
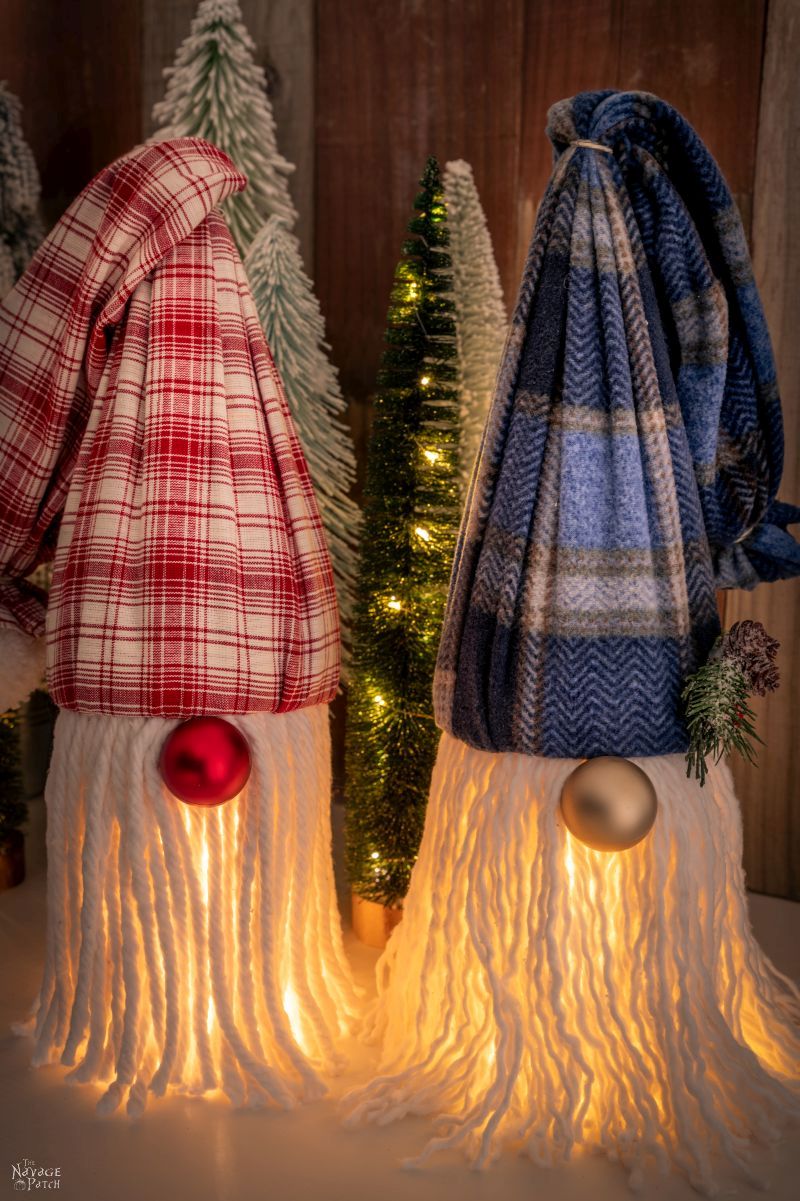
- DIY Dollar Store Lighted Mop Gnomes
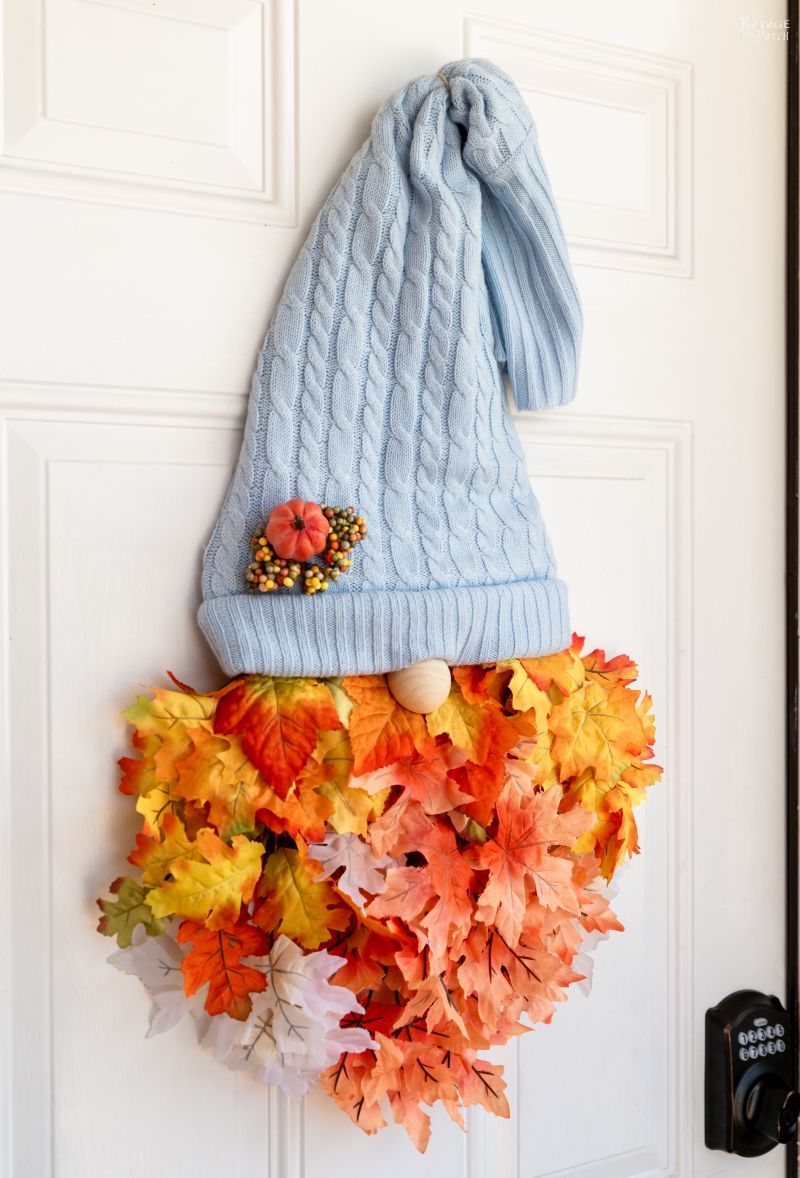
- Easy DIY Dollar Tree Fall Gnome Wreath
- DIY Scented Broom Gnomes
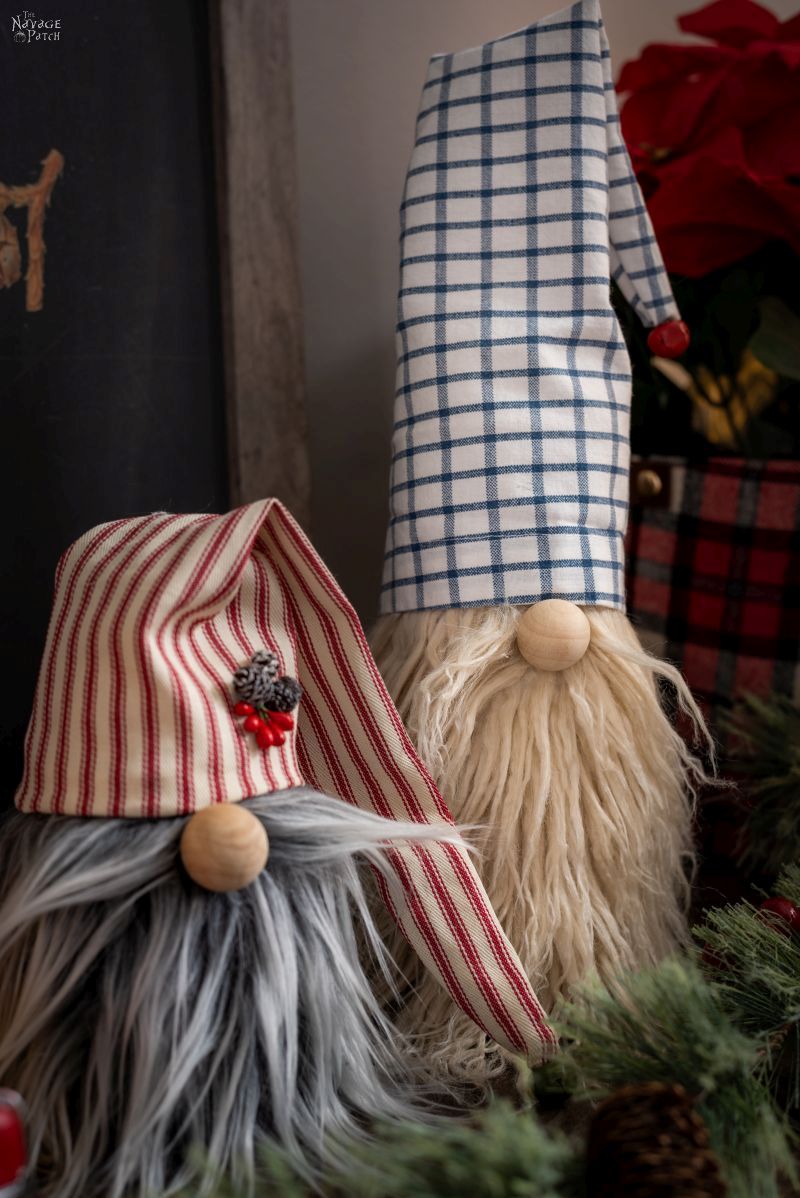
- Easy No-Sew Christmas Gnomes
- Dollar Tree Halloween Gnome Wreath
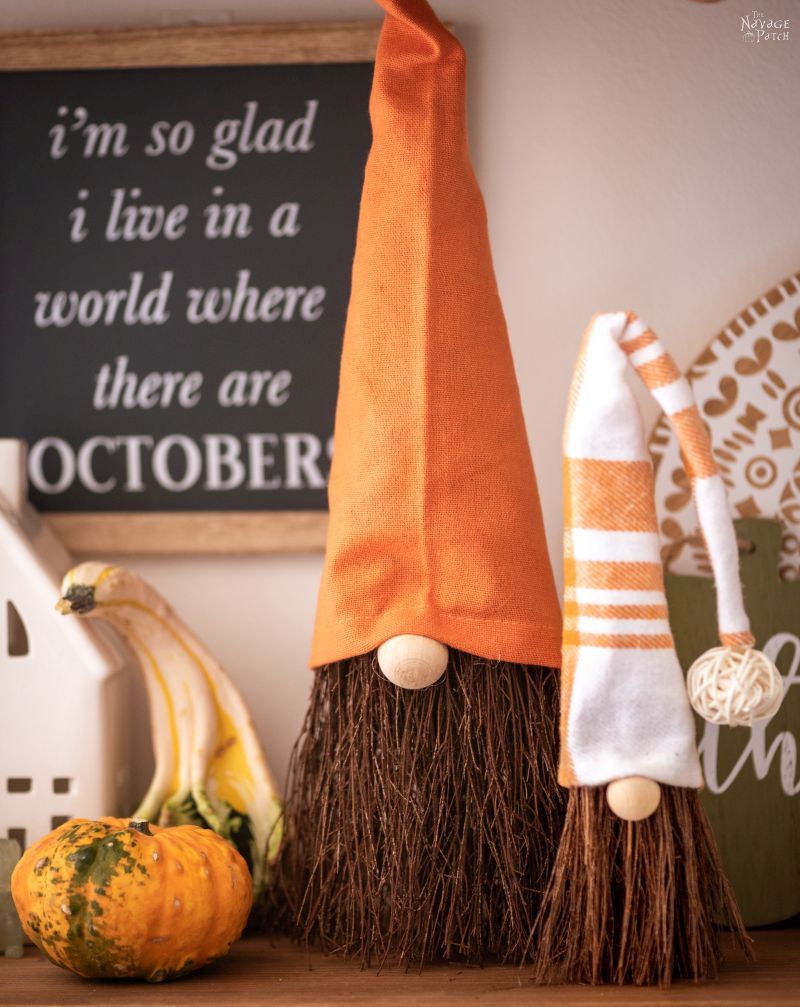
- Cheap & Easy DIY Dollar Store Halloween Gnomes
- DIY Dollar Tree Christmas Gnome Wreath
- DIY Dollar Tree Scarecrow Gnome Wreath
Look, I’m all for kidding around, but I had work to do! These gnomes weren’t going to build themselves!
Let’s get to it!

DIY Dollar Store Gnomes
We have both the step-by-step picture tutorial and the YouTube video tutorial for you. We encourage everyone to give it a watch, and please subscribe to our YouTube channel. I’m going to put a lot of effort into video in 2021, and I’ll even be making some “talkies” as opposed to just music and captions! Once again, please watch the video, and click “Subscribe” at the end! 🙂

SUPPLIES LIST
Affiliate links are provided below. Full disclosure here.
- Dollar store athletic socks
- Bags of beans (If you can’t find any at your Dollar Store, you can find them in any grocery store for about a buck)
- Scissors
- Rubber bands
- Polyfill (optional) – for making taller gnomes (You can get Polyfill from Dollar Store pillows and use the pillow cover for a hat)
- Mongolian fur, alpaca fur or craft fur. Mongolian and alpaca fur look better, but they’re more expensive, so you may decide according to your budget. In case you want to know where we found our Mongolian or alpaca fur, we used this two-tone gray Mongolian fur, these taupe and latte color alpaca furs, and this beautiful white fur.
- Razor blade or X-ACTO knife
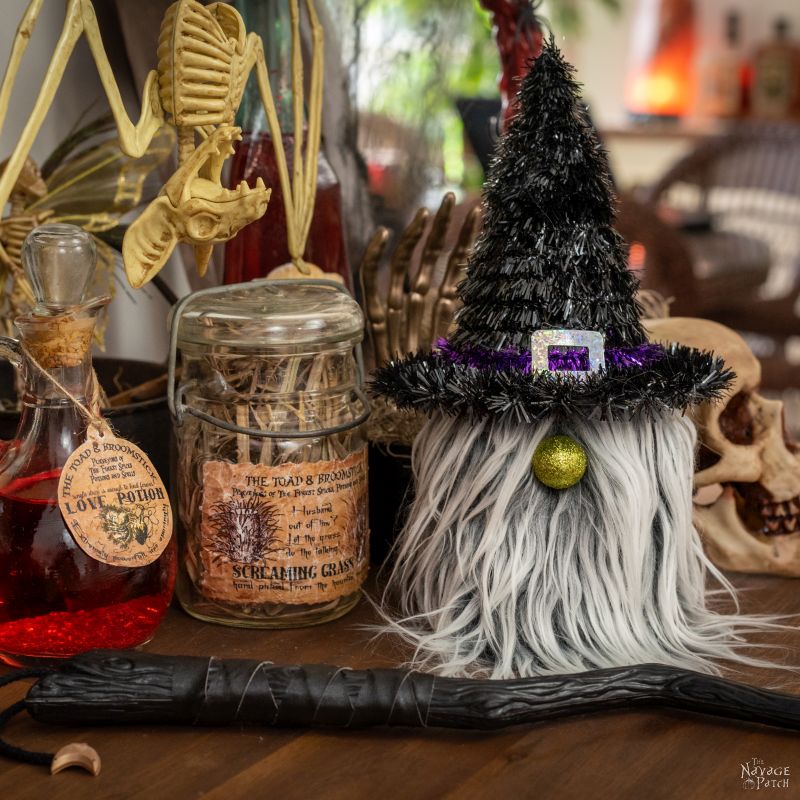
- Dollar Store Halloween glitter balls for the gnome noses
- Dollar Store Halloween accessories and decorations for the gnome hats – go nuts with this! Almost anything can be used to make these Dollar Store Gnomes!
- Hot glue gun


DIY Dollar Store Gnomes Video Tutorial
DIY Dollar Store Gnomes Tutorial
Ah, the Great Beans of the North! But…Northern what? America, Mexico? Canada? Tasmania?

Take that sack of Great Northern Beans and shove ’em right into that Dollar Tree sock. I wonder why they’re so great. Maybe they make you fart less than those pesky Southern Beans?

Good job! You’ve got yourself a sack-in-a-sock!

Find a suitable rubber band for securing your sack-in-a-sock. Better yet, find two. Fling the first one at your SO and then blame it on the dog.

Kinda looks like a black bean tamale…

Trim the excess sock from your sack.

Select some craft fur. We have an assortment left over from last year’s DIY Christmas Gnomes, and we bought some new stuff just for these Halloween gnomes.

Lay the fur on the table and measure by wrapping it around the gnome.

You want this much fur – just so it meets at the gnome’s backside. The craft fur backing should almost reach the bottom of the gnome body. You want the beard to be able to flow away from the gnome.

I cut a semi-circle for the beard. Remember that you’re making facial hair for a gnome, not body hair for a sasquatch.

Gently and carefully cut through the backing with a razor. Be careful not to cut too deeply, or you’ll chop off his fantastic beard hair.


Pull the fur apart. Ahhh, so satisfying!

Run a line of hot glue along the top edge of the beard.

And wrap that sock gnome up like burrito.


Ta-da! You’re almost done!

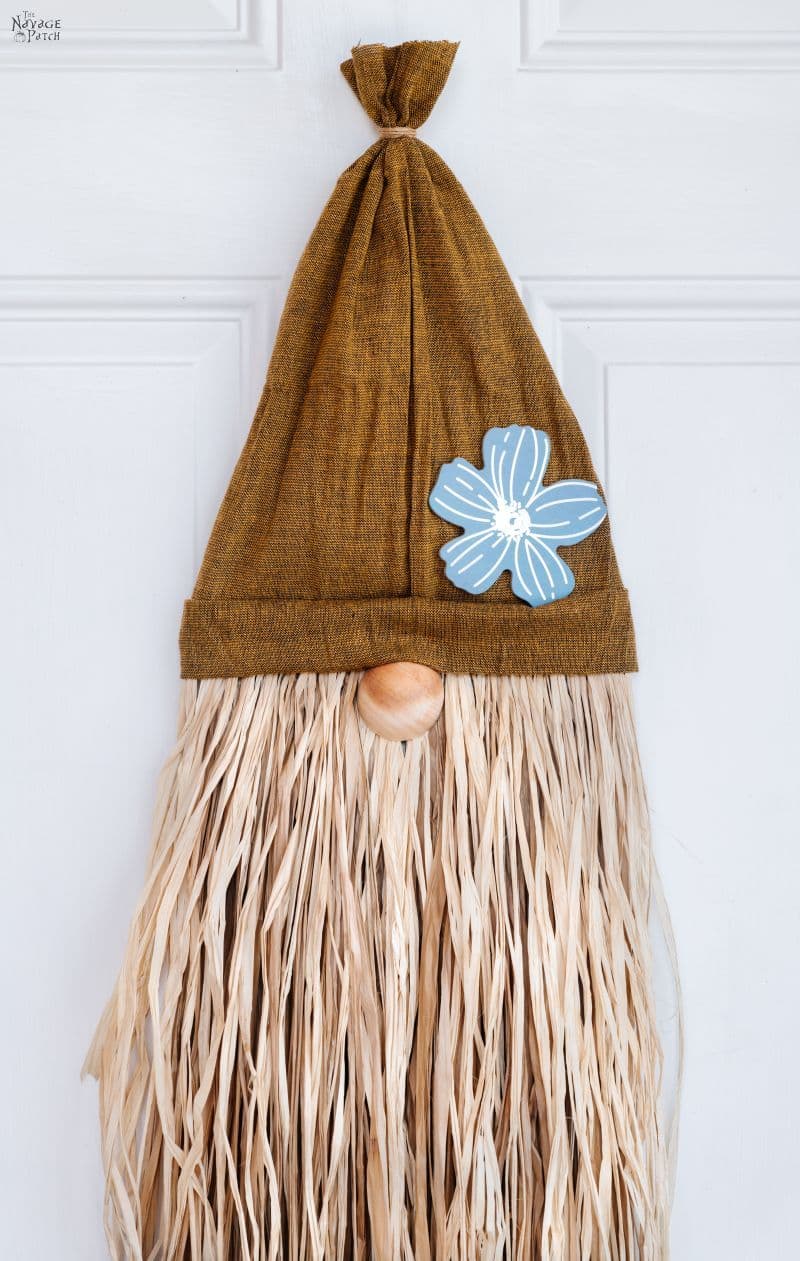
Now, pick a hat. You could use one of the rigid conical ones they sell – we made many with those (see our video) – or you could cut the hat off of one of the Halloween hair bands, as shown by the man with the dainty hands in the pictures below.


Once your witch hat is free and clear (and you’ve checked that it fits on your gnome), put some glue on either the hat or the sock and stick that sucker in its place!


Find a spot for your gnome nose, and then clear the fur from that spot.

Put a dab of glue on the nose (we used glitter Halloween craft balls) and press it in place.


That’s it! You’ve done it! I told you it was easy!

With all the different Dollar Store accessories and decorations, you don’t even need to make hats anymore (though you certainly may). If you want to learn how to make a hat from fabric, please check out our DIY Christmas Gnomes post.
Here are just some of the supplies we bought (yes, we overbought, but any extras will be exchanged).


These DIY Dollar Store Gnomes are just so ridiculously easy. Each takes no more than 5 minutes to make, and you can customize them to your heart’s content.

Here’s the crop of gnomes we made. My babes even got in on the action. She made the one with purple bat wings!
Oh, you’ll see that they all have those glitter craft ball noses except for one. I saw a witch at Dollar Tree with a perfect nose, and I couldn’t resist. Here’s the witch after I removed her hot-glued nose.

You’ll recognize her nose in the pics below!


I thought I recognized this prop that Handan put in the display…

Yep, a Greg Navage original work of art from 1980.


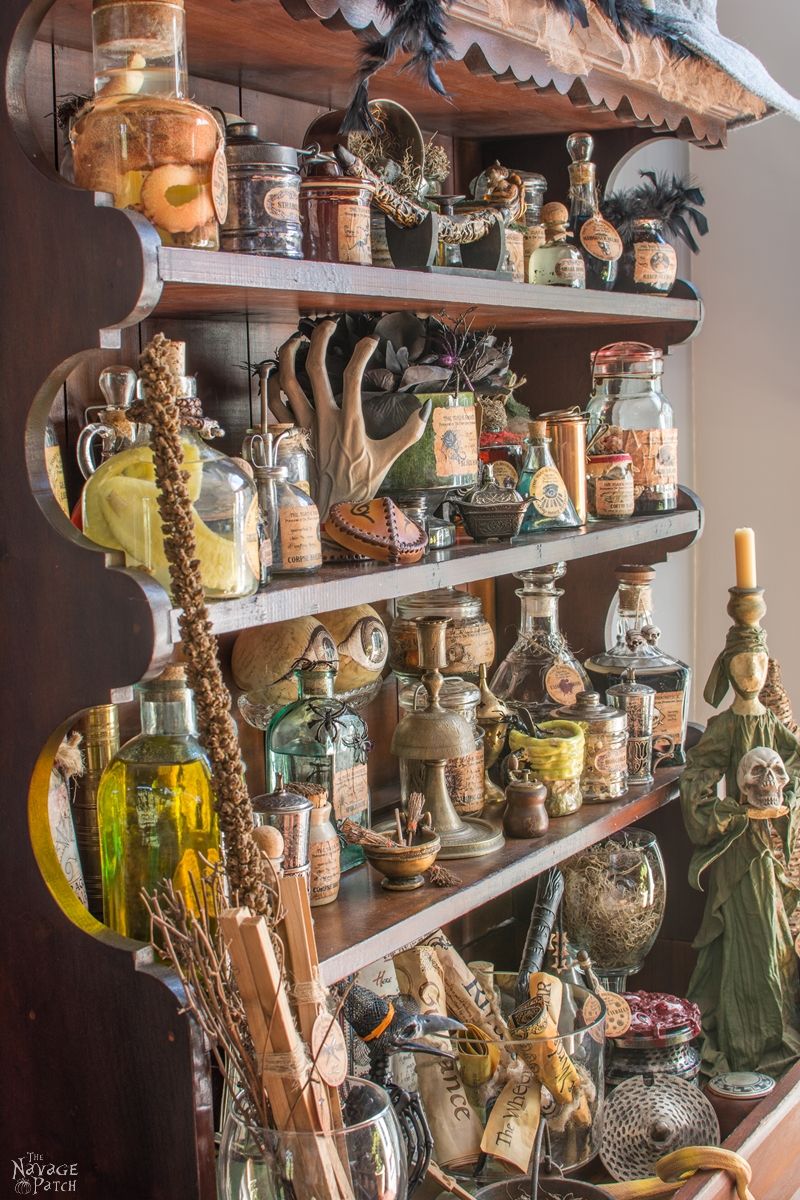
In case you are wondering about the potion bottle labels you’ve seen on our Halloween Apothecary Jars, you can find them here and here. In the first Halloween Apotehcary Jars post we are sharing 80+, and in the second post we are sharing 55+, and yes – they are all FREE for our subscribers!
While you’re at it, you might want to check out Handan’s Magical Floating Potion Bottle post too – you’ll love watching the little ones oohing and aahing over it!


We love to see our DIY Halloween decor out in the wild! If you make this Halloween DIY decor for your home, take a picture or video and post it on Instagram, be sure to tag us – thenavagepatch
More Easy DIY Halloween Decor Ideas
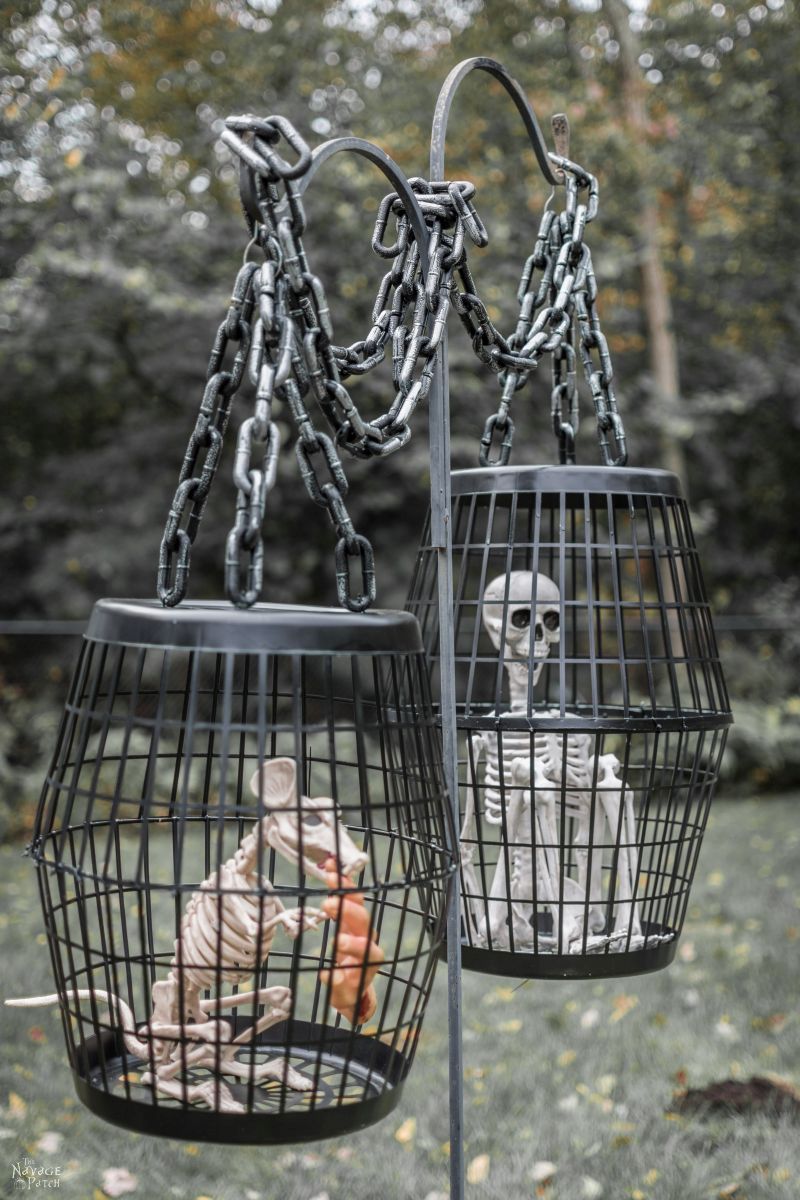
- Hanging Cage Halloween Prop
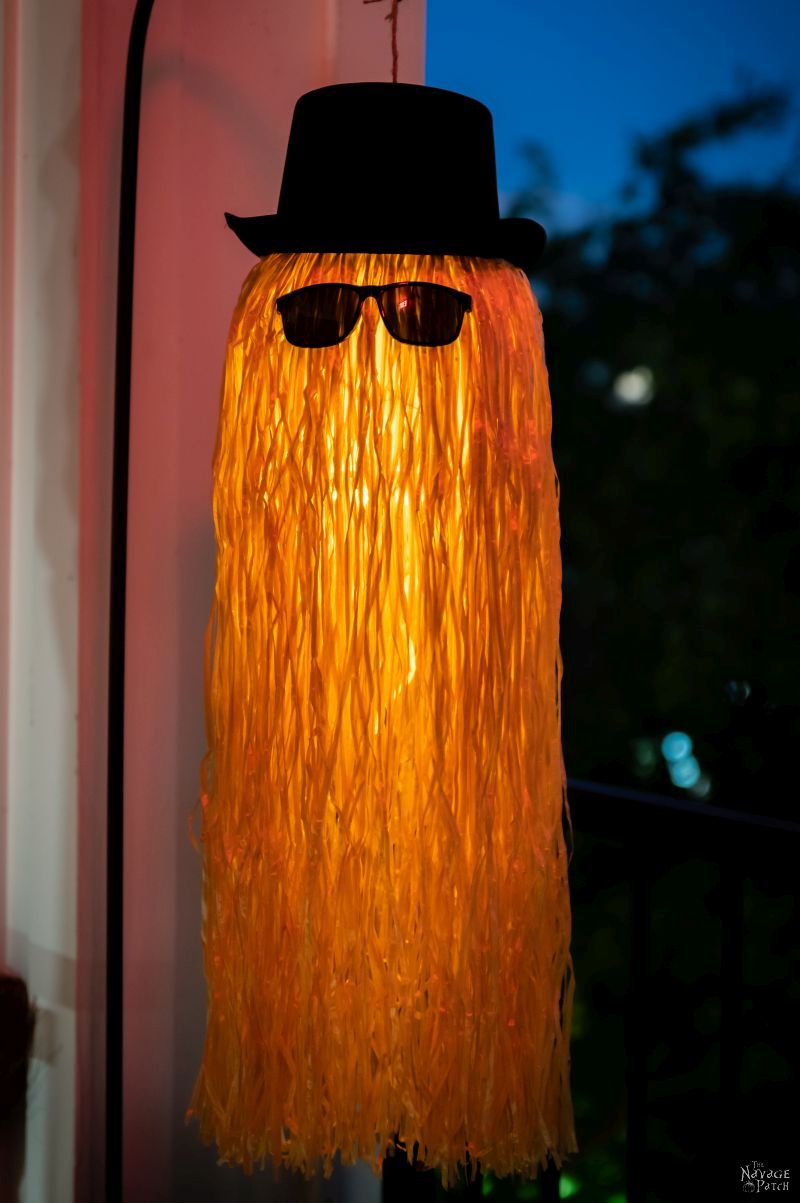
- DIY Cousin Itt Pathway Light
- Free Vintage Movie Monster Printables
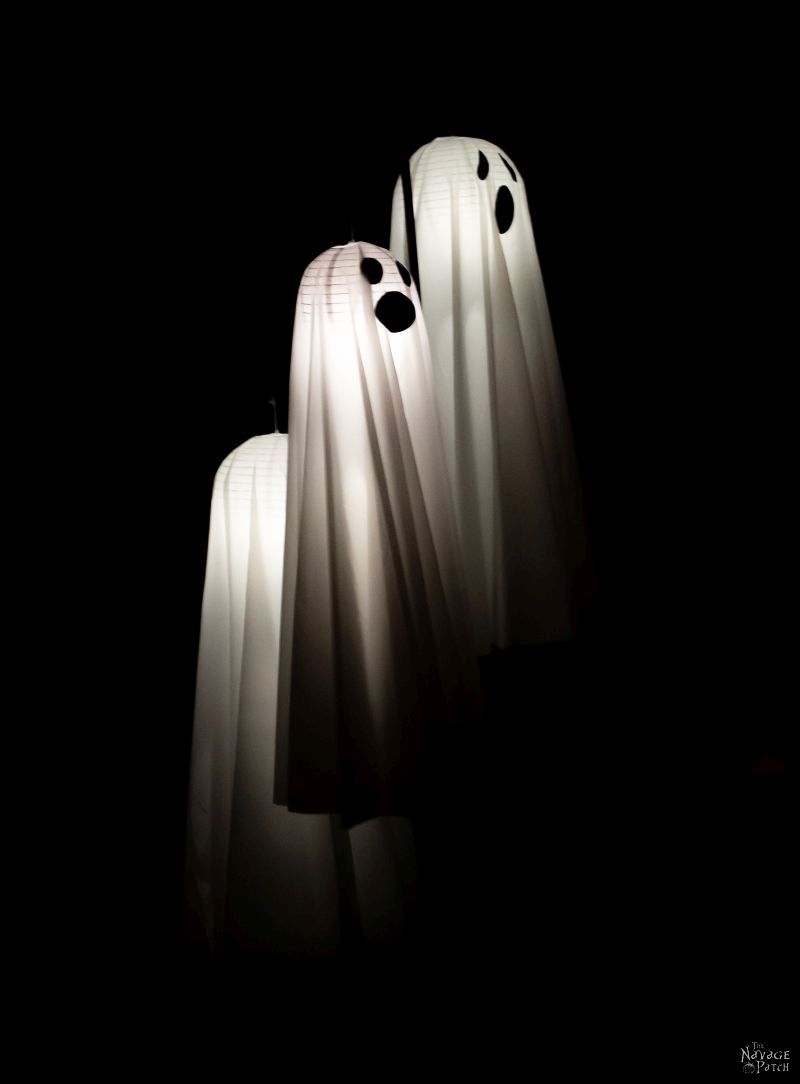
- Easy Lighted Hanging Ghosts (A Dollar Store DIY)
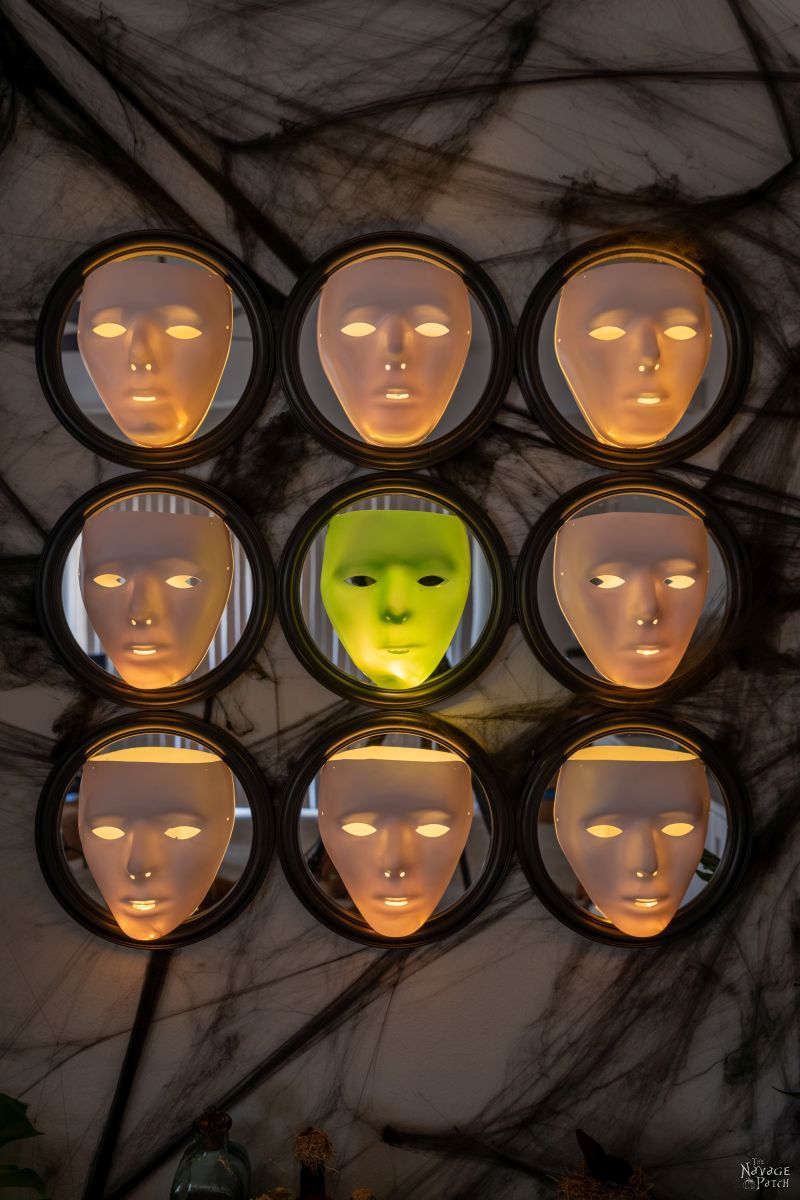
- Gallery Of The Faceless – Easy Halloween Wall Decor
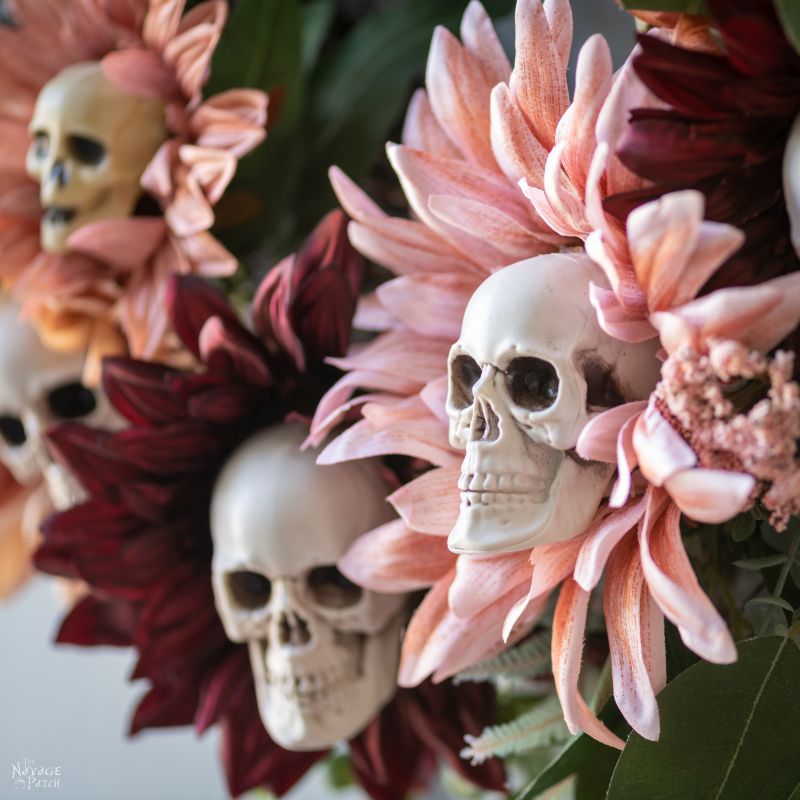
- DIY Skull Sunflower Halloween Wreath
- DIY Lighted Witch Hat (Grandin Road Inspired)
- Apothecary Jars And Free Printable Labels
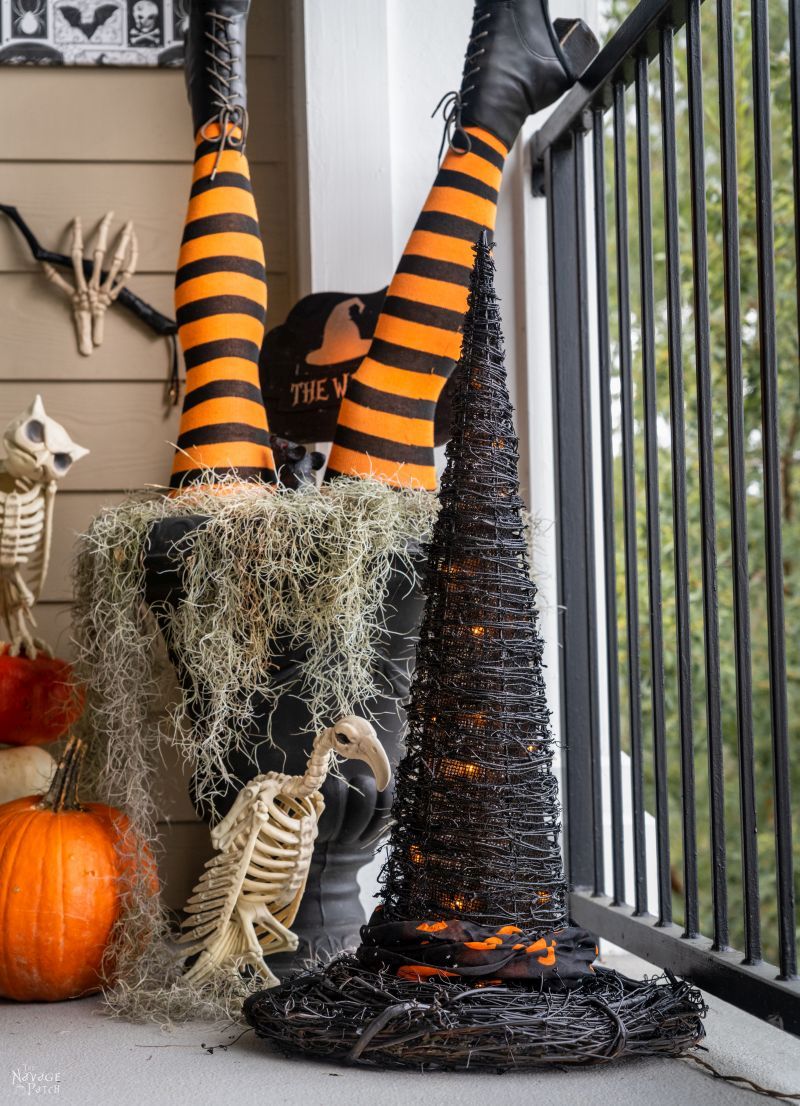
- DIY Witch Legs (Grandin Road Inspired)
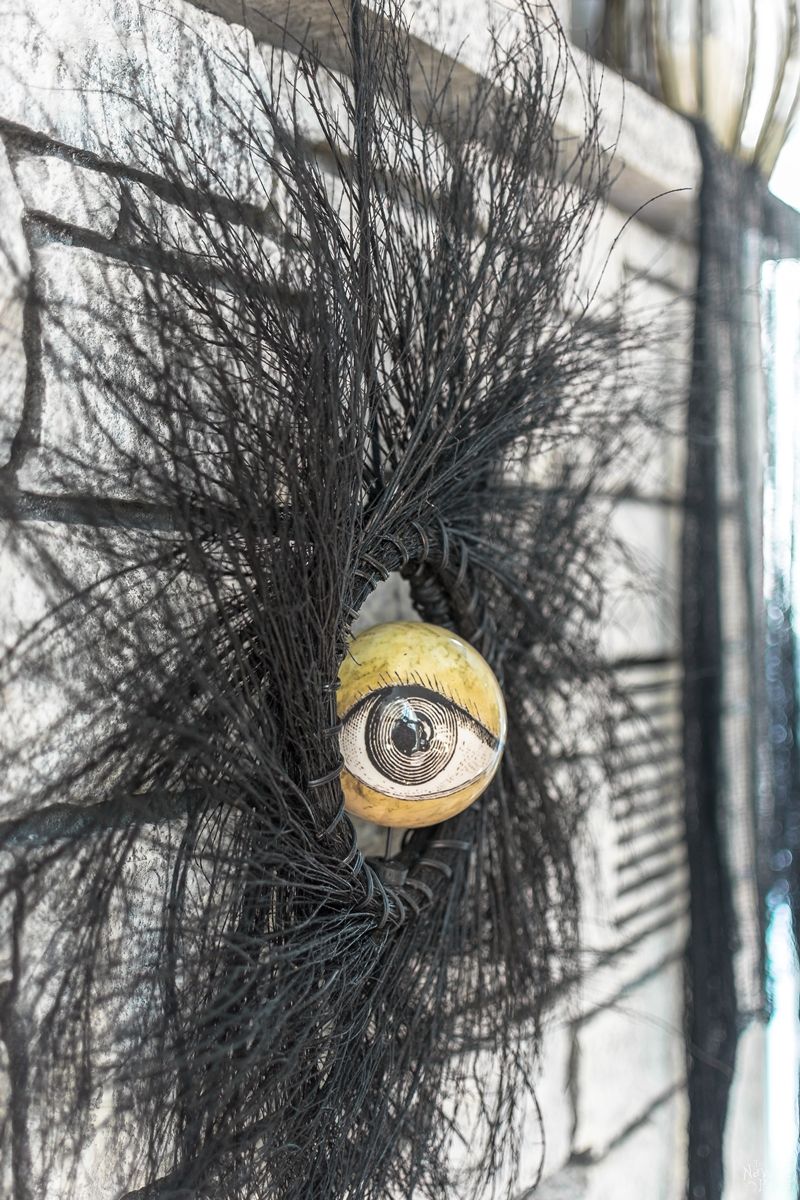
- Eyeball Orb Halloween Wreath
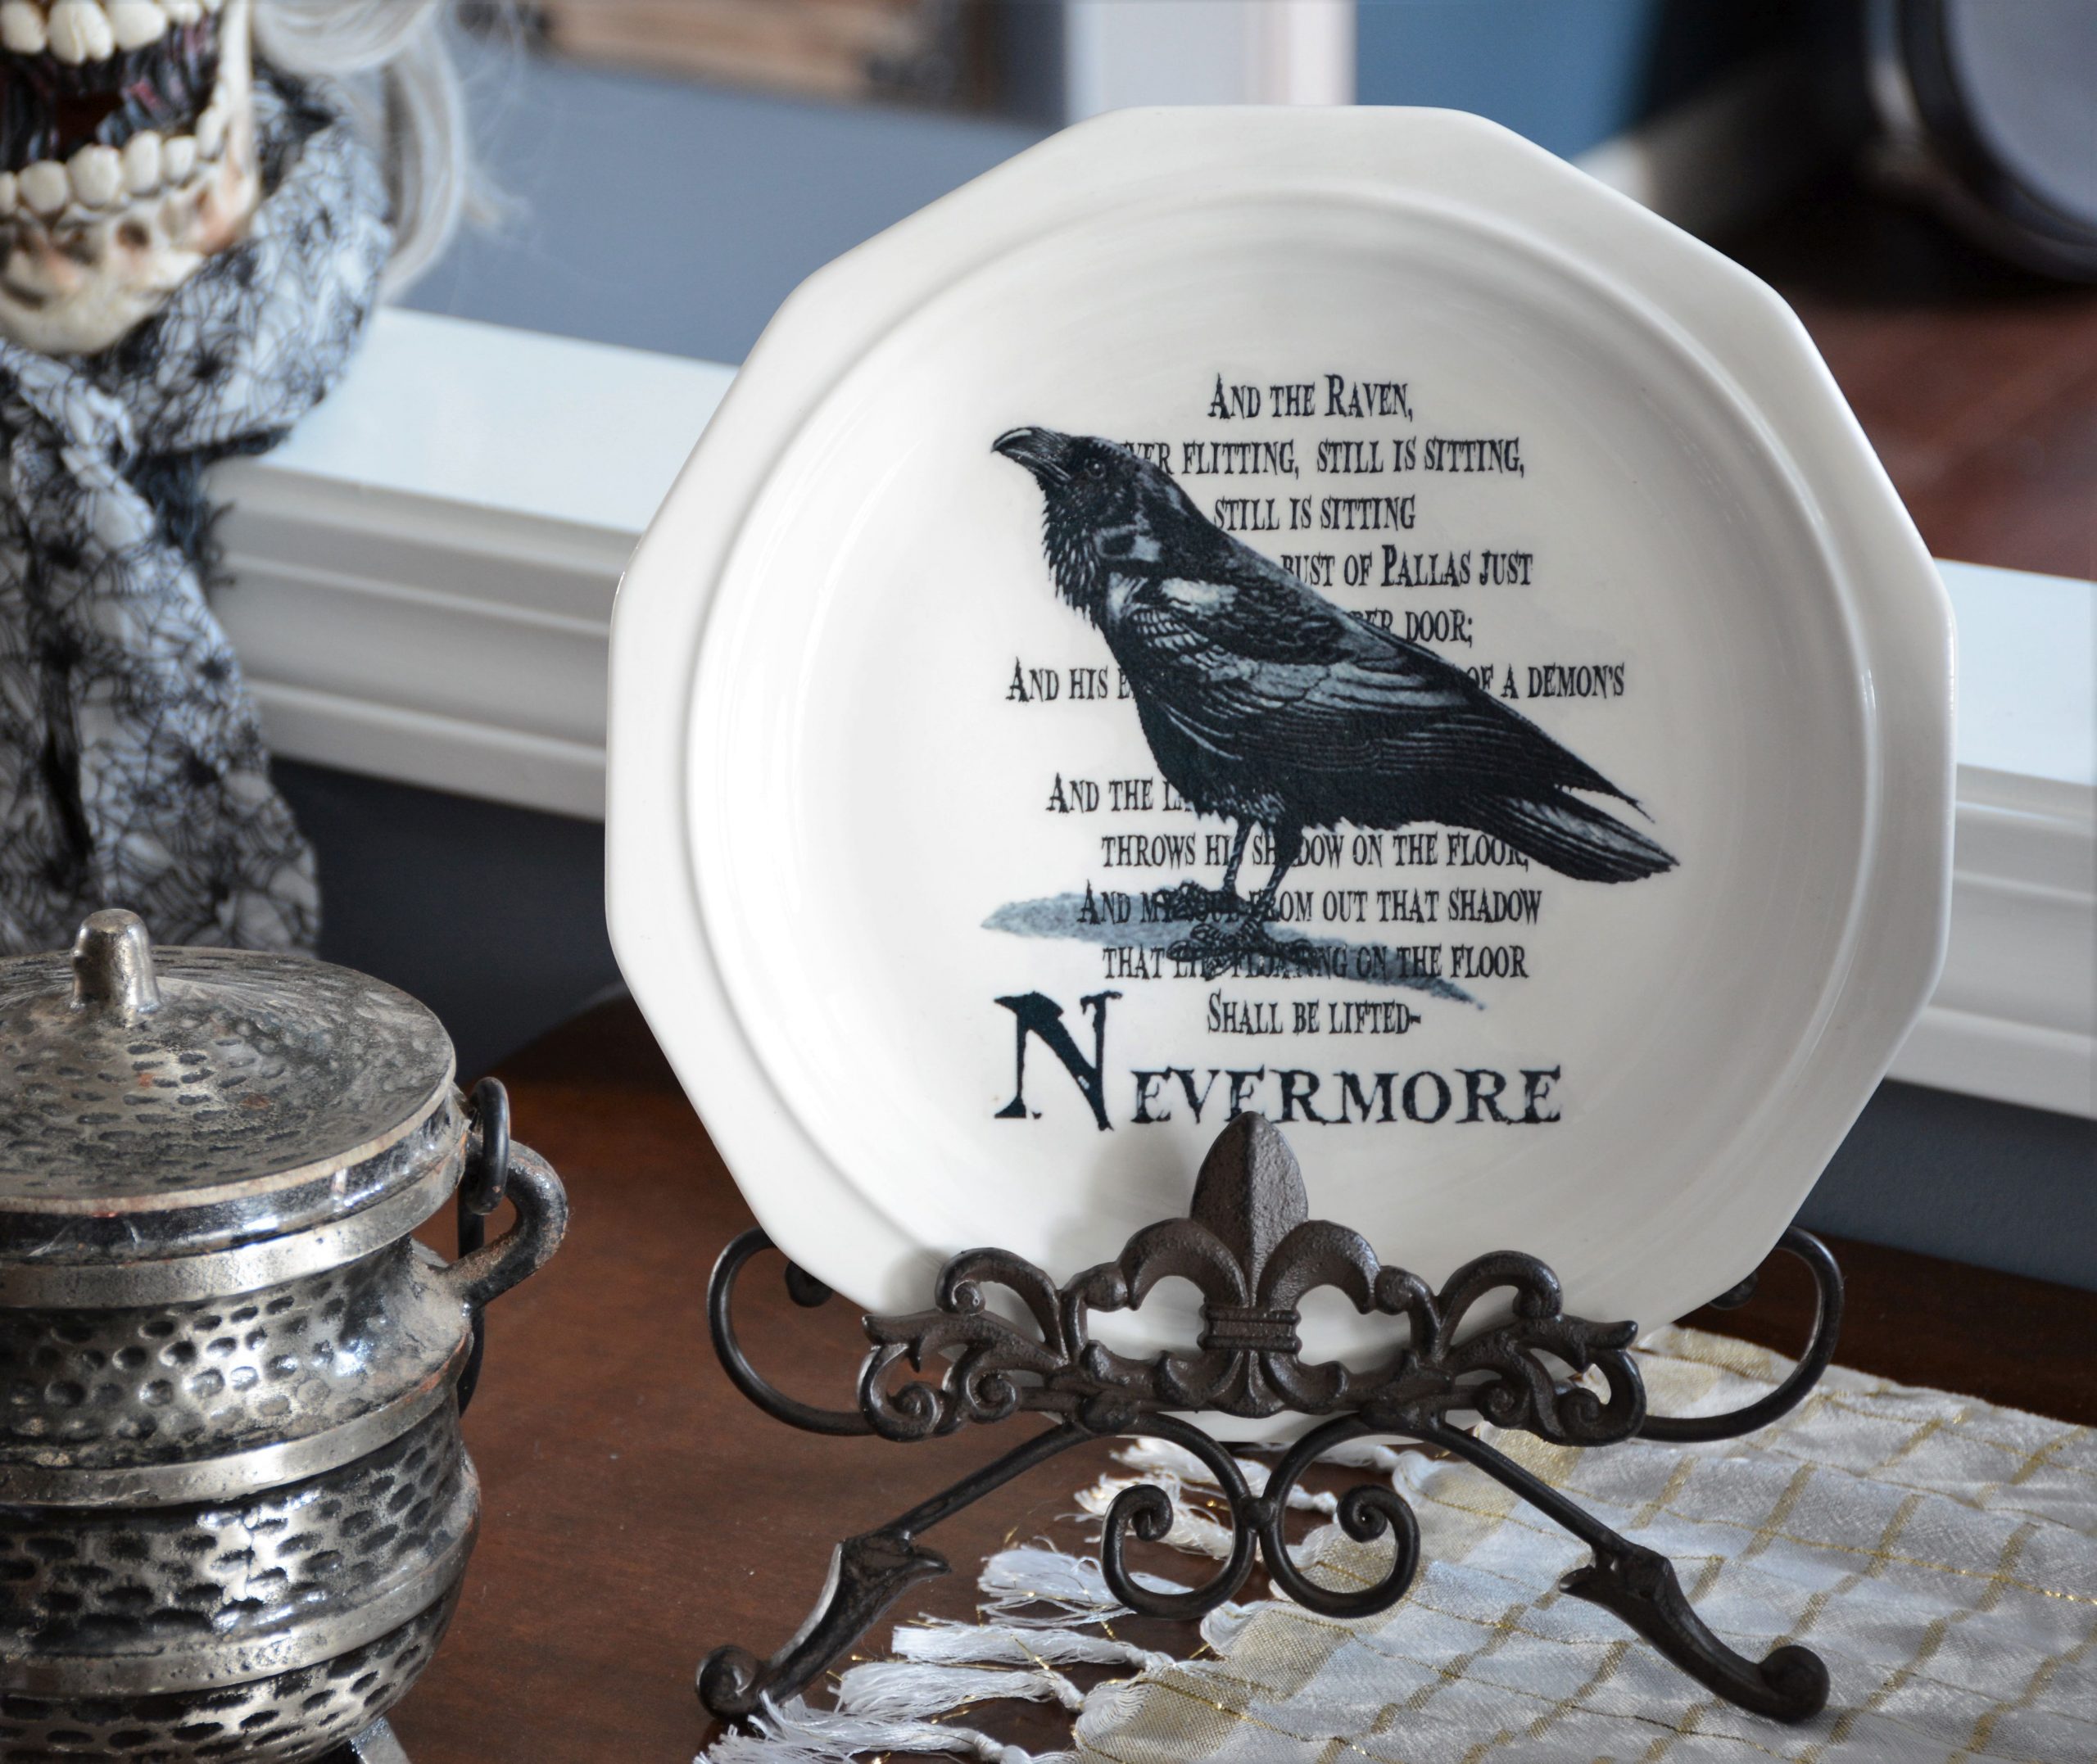
- Dishes Of Darkness: Pottery Barn Inspired Halloween Plates


Do you like our DIY Dollar Store Gnomes? Which ones do you like best? Will you be making some for your home? Let us know in the comments!
Share it on Pinterest & Facebook!


These little Gnomes are adorable : )
Thank you, Melissa!
So, I saw the title of the post and thought, “Hmm, I am not a real fan of gnomes”, but clicked the link anyway (your posts are always amusing, even if the project is not for me). But I will admit, you both won me over with this post, and I am off to the dollar store to make a swarm of these to add to The Halloween decor & to share with some friends. Thanks, again, for the inspiration!
That’s awesome, Sharon! I’m so happy to hear we won you over, lol! 🙂
Love these … and love reading Your comments. Put a smile on my face this morning. I’m going to make these with my grand children. Thank you
They’re so fun and easy, Cheryl – you guys will have a blast!
Well, if these aren’t the cutest things. I love all the creative ways you dressed these little guys up!
Thanks, Autumn! 🙂
These are so cute!!
The dollar store mop heads make good beards. They even have black and white ones!
Thank you, Cindy. Great idea about the mop heads!
Cute! I was just looking for a “gnome” pattern last night! This is perfect.
FYI, since you mentioned Finland, gnomes are called “tonttu” (TÁN-too. My heritage is 100% Finnish!
Oh, cool! I love that name! 🙂
Thank you so very much for the “Gnome” pattern. Your “gnomes” are so “cute”. Look forward to your email esp reading about your new home, crafts… Thanks again.
You’re very welcome, Debbie!
I will never make another gnome without thinking of this email. I like the bag of beans to use better than poly fill. Kind of expensive. You make me laugh when there is no other reason to.
Thank you, Jody! I hope I can keep you laughing through these crazy times! 🙂
I love these gnomes! So cute! And I just read your kitchen reveal. Handan has great taste!
It makes me so happy to see you both back online with some regularity. Your posts make me smile and I look forward to all the changes you will make to your fabulous new home.
Thank you, Jennifer! We are back now, and I hope we’ll be better than ever! 🙂
These are so cute! They look similar to Cousin It on the Adams family shows and movies.
LOL, you’re right! Have you seen our DIY Cousin Itt post?
Cute! They would mix so well with my homemade pumpkins! I bet I could make cute witch noses complete with warts with air dried clay! Your tutorials are always so easy to follow!
Ah air clay! I need to get some of that! It would be so easy to make all different shapes for their noses!
Instead of returning the extras, why don’t you make some to give out at Halloween? Kind of a welcome from the fun people of the neighborhood.
Oh we already made some for the young ones on our road (they have no idea of the surprises waiting for them)…and then some. And we have the ones we’re keeping for ourselves. So that’s why Greg was saying we’ll be exchanging the rest of the Dollar Store Halloween decor with the Christmas goodies 😉
Ahhh great minds think alike. Be sure and post Halloween night pics. I can’t wait to see them.
These are great! Easy to make, and they are adorable with the mini witch hats! Thanks for sharing!
Thank you, Jaime! So glad you’re liking our little crafts! ?
fun fun fun~!! I spent some time this morning looking at fall/hallowe’en gnomes on Amazon, refusing to spend that much when I knew I could do it. And thanks to you, I now have a clear plan how to do it easily. I am so excited to make some fall and hallowe’en ones, and of course, Christmas, winter, Valentines (aka my birthday so they will be a combo of Val and BD)Easter, spring……..I will need to get some fur, but I will do that tomorrow at a local fabric store…the rest I mostly have, being a craft hoarder. But hey, who did everyone come to during quarantine when they needed something they couldn’t get in a store…that’s right, ME!!!thanks for sharing your brilliant idea.
Hi Sonja, I’m so happy you found us! Gnomes are addictive- you’ll be making more than you thought lol! I know what it’s like to be with a craft supply hoarder. Handan has several rooms full! Happy gnoming!
I am smitten with your gnomes! How about some ideas on how to make ‘girl’ gnomes?
I LOVE this post. And I enjoy reading about all your adventures. You are an amazing couple. Enjoy your new city!! Thanks!!
Thank you, Lisa! We are loving it here! 🙂
Your DT Halloween Gnomes are amazing! I think I’m going to get some supplies, invite the little neighbor girl over, and have a gnome making party. I know she will love it!
Sounds like a perfect plan, Dianne! 🙂