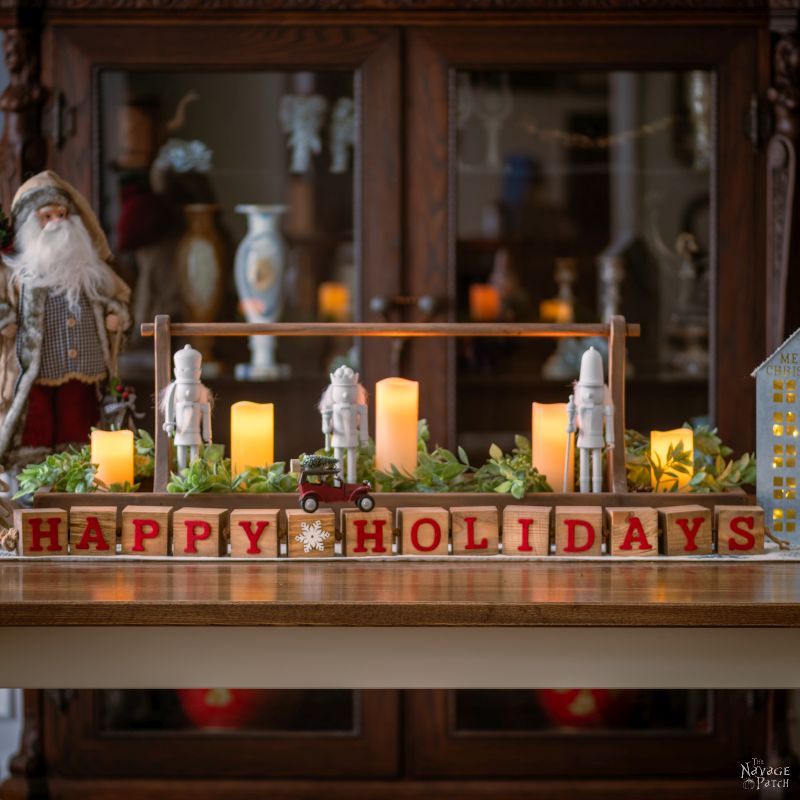
DIY Decorative Holiday Blocks
Our DIY Decorative Holiday Blocks are not just for Christmas: turn the blocks around, and you’ve got yourself some Halloween decor!

Dadgummit, she did it again!
She got me playing with blocks! And wood letters! And getting craft paint all over my hands!
Just when I thought I’d graduated from kindercrafting and could finally toddler-wobble into the world of manly crafting, along comes Captain Hookette to smack me back down to Neverland.
“Hey babes,” she said. “Do you know what you’ll be making for me?”
(what am i, a mind-reader?)
“No, my babes,” I said.
“You’ll be spelling out “Happy Holidays” from Dollar Tree blocks and letters,” she said.
Blocks!
Letters!
Gah! Where are my snub-nosed scissors and paste, woman?!?

“But it’s not all blocks and letters, my babes,” she said. “You’ll need to drill a hole through every block for the rope.”
Holes, eh? Drill, will I? Rope, does it?
Alright…okay…this first-grade fandango was starting to look a little less Romper Room and a little more Roy Rogers.
Just my speed.
She explained what she wanted:
Blocks, drilled and stained.
Letters, painted and glued on blocks.
Rope, run through blocks and knotted.
“And that’s not all, my babes,” she said. “We can use it for Halloween, too. On the back you’ll be gluing the letters for Trick or Treat. That’s why it’s “Happy Holidays” instead of “Merry Christmas. They both need fourteen blocks, including the spaces.”
“Ho-kay, my babes,” I said. “One block-rope-Christmas-Halloween thingy coming right up!”

So. If you own a table saw, you can make the blocks from a 4×4, and save yourself a few bucks. But honestly, that is so much work, that even though I do own a table saw, I decided just to use Dollar Tree blocks. Yes, they are overpriced at $1 each, but they save a ton of labor, so I call it $14 well spent.
The letters came from Dollar Tree. You’ll need 3 packs, so that’s 3 bucks.
We had plenty of Christmas and Halloween embellishments on hand, but if you need to buy them from Dollar Tree, that’ll be another 2 dollars.
The twisted Manila rope is about 1/4 inch (6-7mm) thick, and you’ll need about 6 feet of it, just to be on the safe side. 25 feet will run about $8.
The total cost of these decorative holiday blocks (not including paint and hot glue sticks) is anywhere from $3 to $27, depending on what you have on hand. Since we already had a stockpile of letters, embellishments and rope, our only additional cost was $14 for the blocks.
Because of this cost, I’m not going to be squawking about oooooh, look at my Dollar Tree craft blah blah blah!
Nope. $27 buys a lot of things, but it doesn’t by Dollar Tree Craft bragging rights.
That said, you won’t find anything as nice as these decorative holiday blocks for $27 in a store, so though it’s not the cheapest Dollar Tree craft, it sure beats buying something similar made by someone else!
Besides, my babes wanted it, and now that it’s finished and on display, it makes her smile every time she walks by.
And I can’t put a price on that.
DIY Decorative Holiday Blocks SUPPLIES LIST
Affiliate links are provided below. Full disclosure here.
- 14 wood blocks measuring about 2 1/4 inches on a side (we got ours from Dollar Tree)
- 3 packs of Dollar Tree wood letters
- 6 ft length of 1/4 inch twisted Manila rope
- Christmas and Halloween embellishments
- Red, white and black paint (spray paint is easiest, but any will do)
- Drill and 5/16 inch bit
- Straight edge
- Pencil
- Stain of your choice (we used Minwax Special Walnut)
- Hot glue gun


More Easy DIY Halloween Decor Ideas
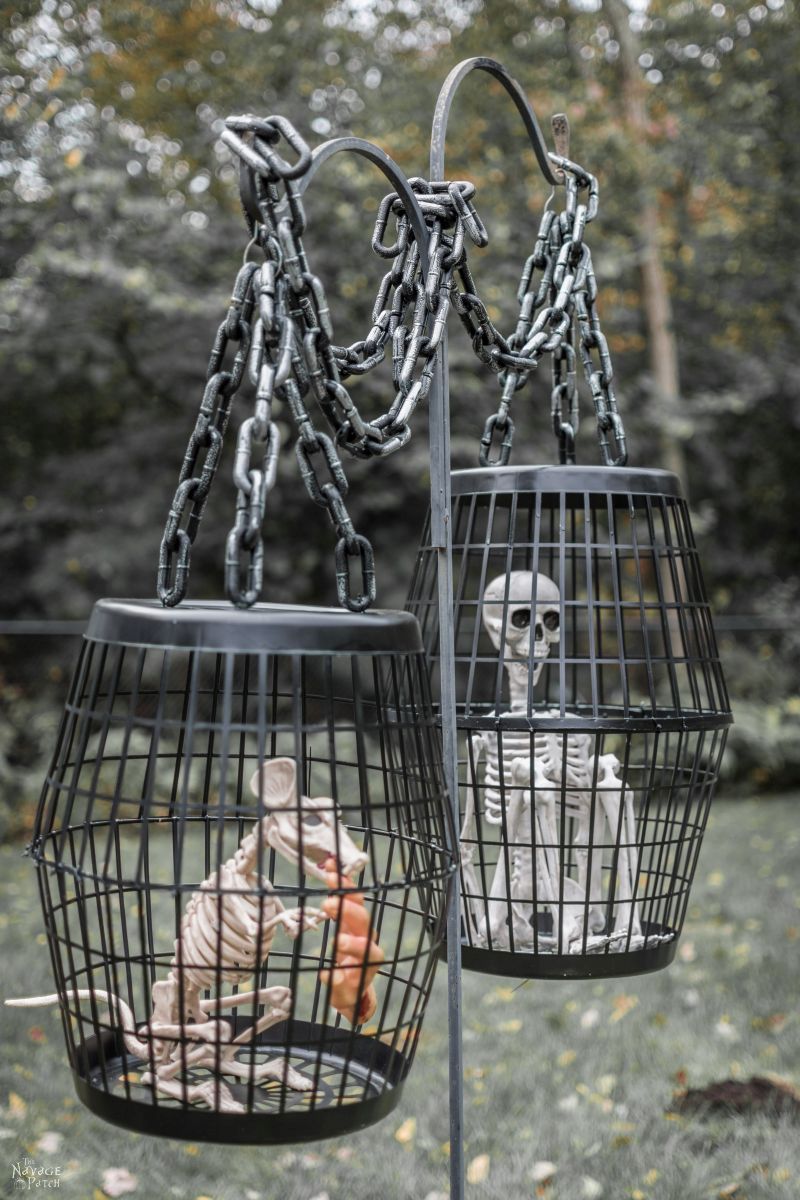

- Hanging Cage Halloween Prop
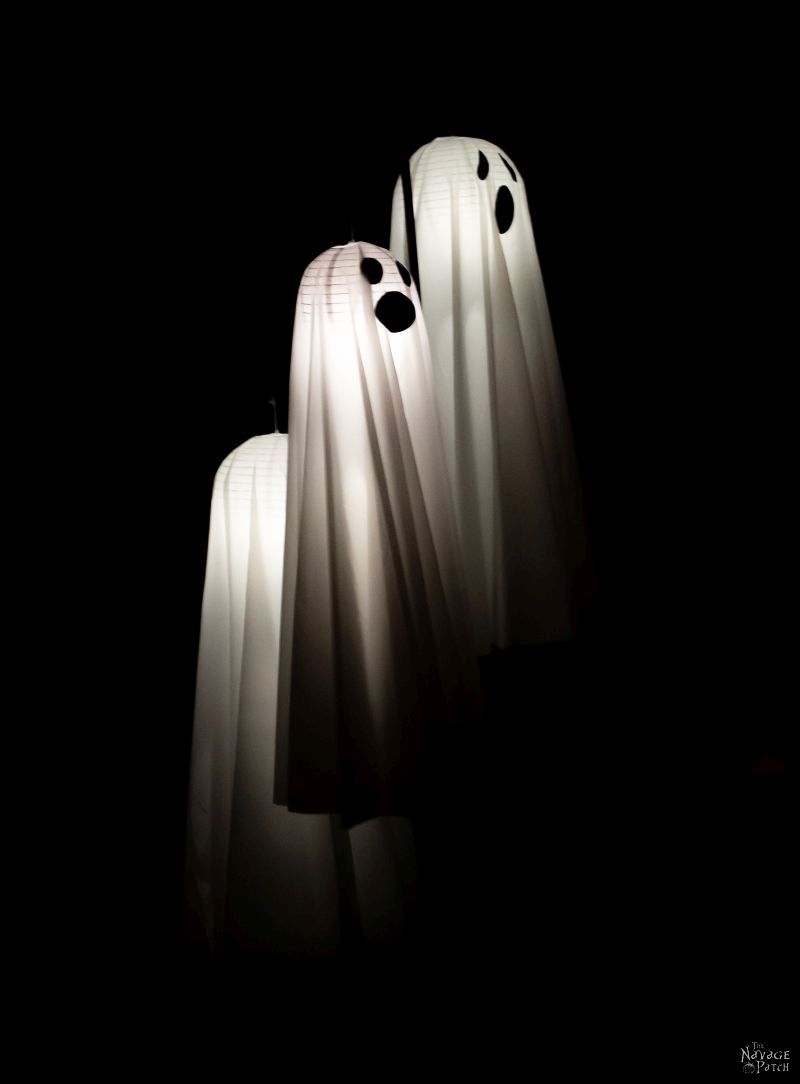
- Easy Lighted Hanging Ghosts (A Dollar Store DIY)
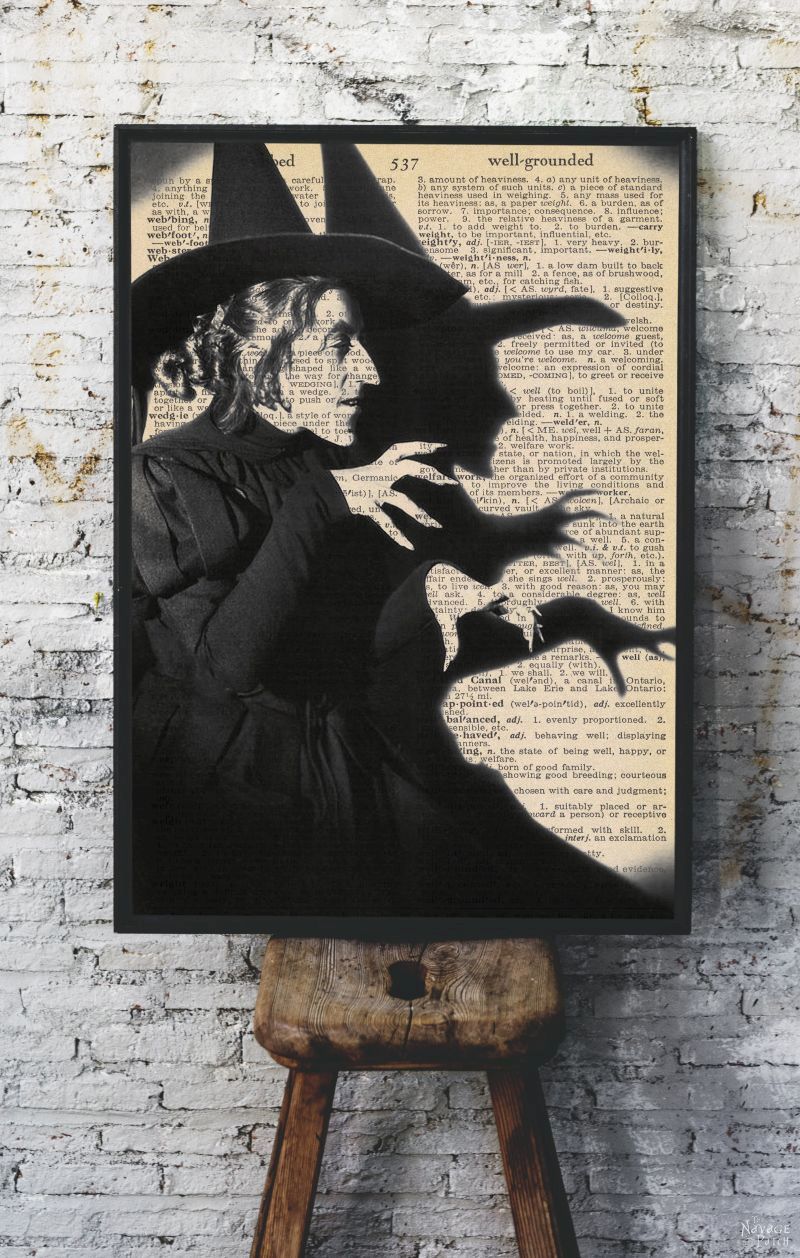
- Free Vintage Movie Monster Printables
- Gallery Of The Faceless – Easy Halloween Wall Decor
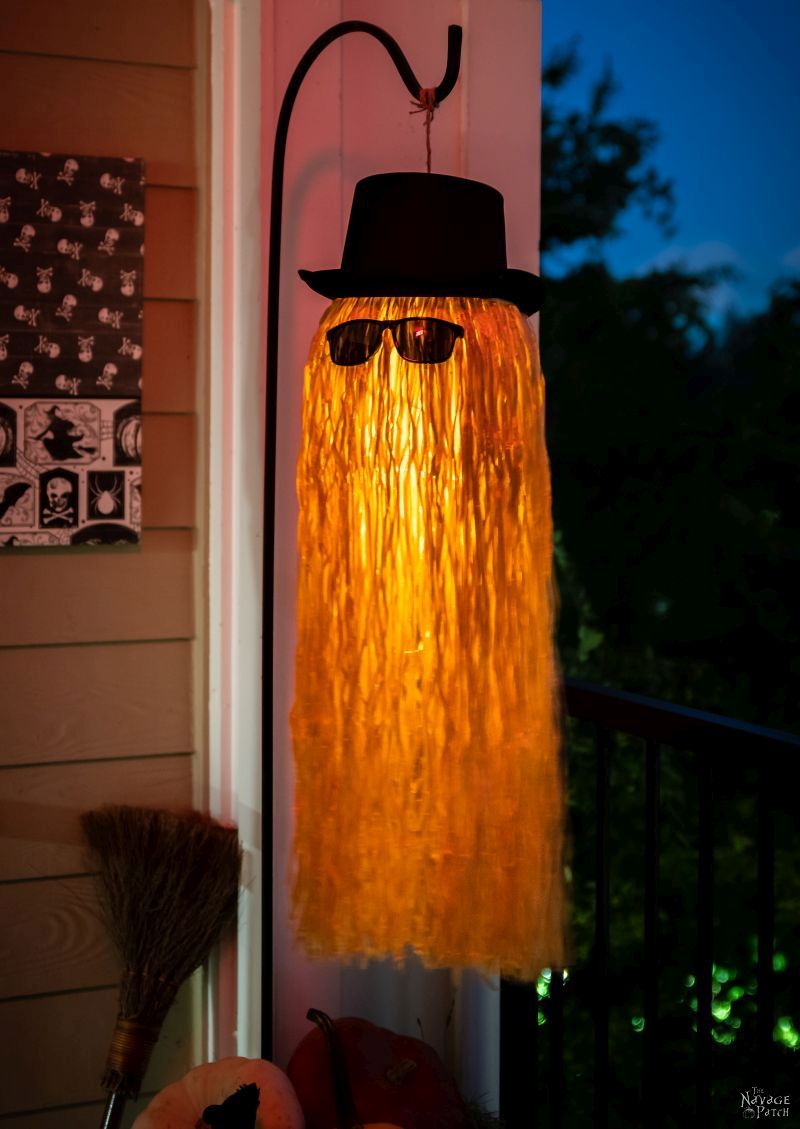
- DIY Cousin Itt Pathway Light
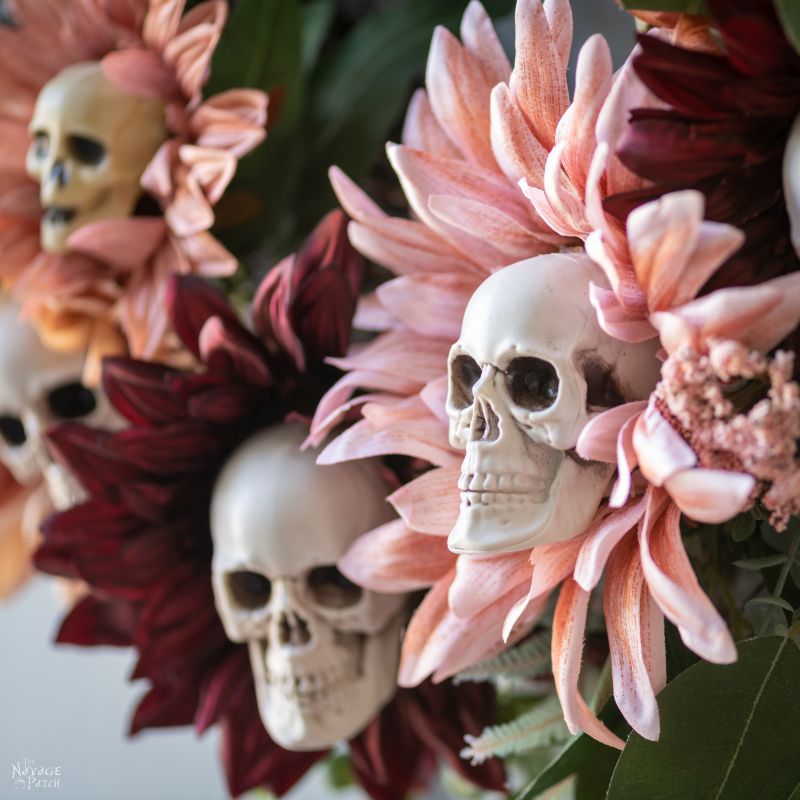
- DIY Skull Sunflower Halloween Wreath
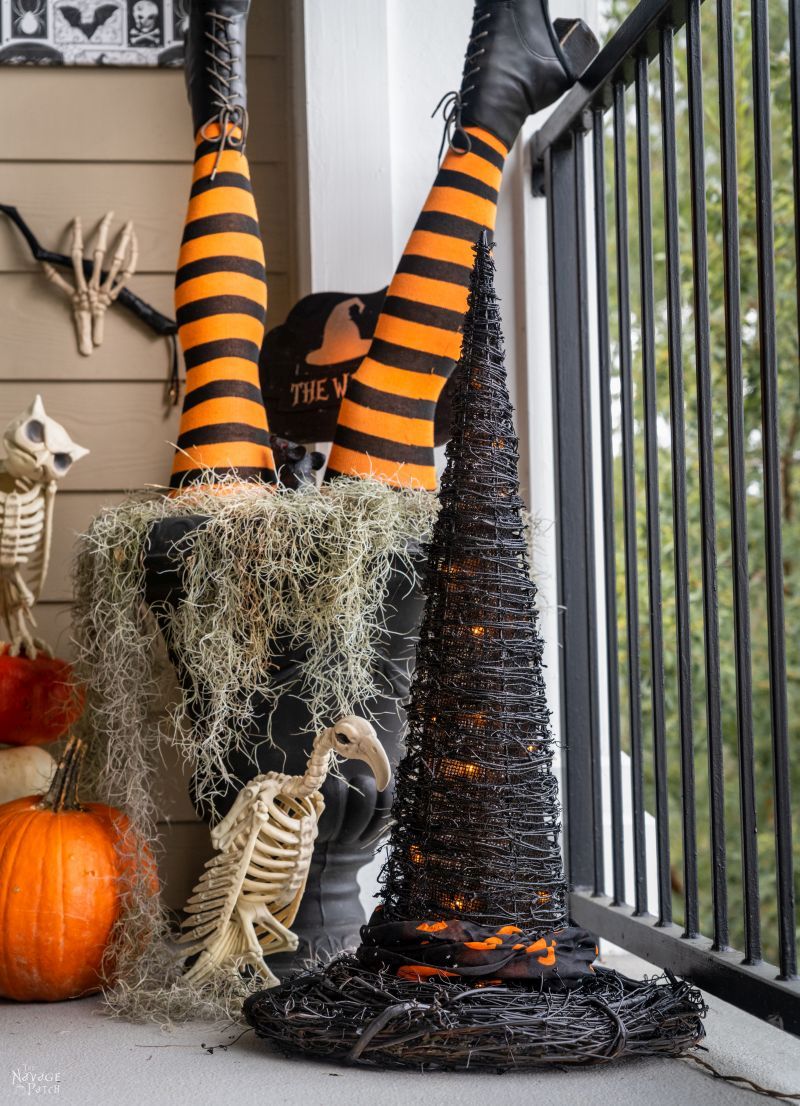
- DIY Lighted Witch Hat (Grandin Road Inspired)
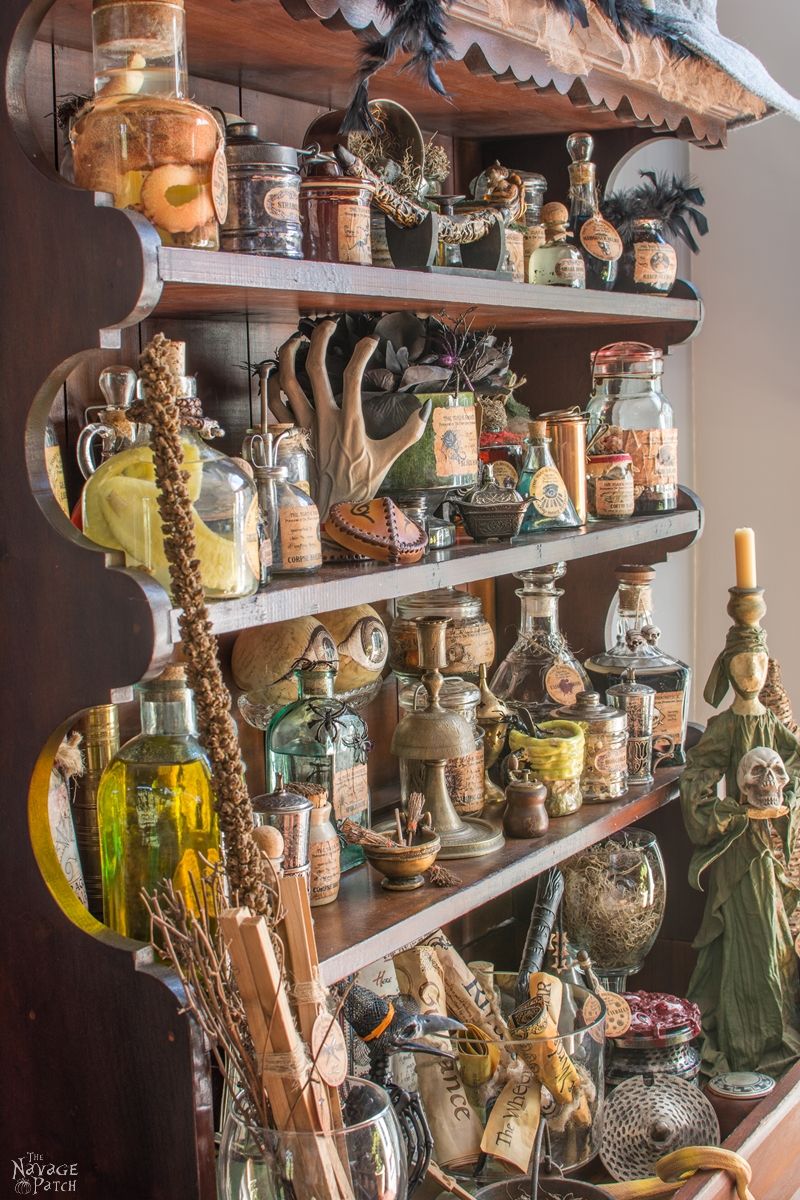
- Apothecary Jars And Free Printable Labels
- Floating Potion Bottle
- DIY Witch Legs (Grandin Road Inspired)
- Eyeball Orb Halloween Wreath
- Dishes Of Darkness: Pottery Barn Inspired Halloween Plates
DIY Decorative Holiday Blocks Tutorial
I used a straight edge and pencil to mark the center of each cube.

I happened to have on hand a dowelling jig that accepted 5/16 inch drill bits, so I rigged up a system with clamps that made it easier to drill perpendicular to the face of the wood block. This is entirely optional. The holes can be drilled just by eyeballing. If the hole on the other end is not perfectly in the middle, it doesn’t matter much. Remember: wood blocks and letters = Romper Room = don’t worry about it!

Here are my drilled blocks, ready for stain. By the way, you don’t have to stain them if you like the raw wood look. Totally up to you!

Disclosure: this is not a can of Special Walnut! This is a 50/50 blend of Special Walnut and Golden Oak. We wanted something a little lighter than straight up SW.

Perfect color!

While the stain dried (I gave it overnight), I turned my attention to the letters.

I’ve painted many letters in the past and for this project, and I can tell you unequivocally that spraying is much easier. But my babes likes the DecoArt Rouge red shown below.
And if my babes wants DecoArt Rouge red letters, my babes is gonna get DecoArt Rouge red letters!

It was a messy affair, but not without its nostalgic charms. I kept waiting for Handan to serve me some Graham Crackers and Juicy Juice, but alas, I got nuthin‘ but red fingers!

I painted both sides to prevent the letters from warping. Note, I do not paint both sides when spray painting, as the letters don’t get as wet.

While the red dried, I took the Halloween letters outside and sprayed them black. I then sprayed the embellishments white.
The next day, I brought my blocks upstairs and fired up my hot glue gun.

In the picture below, all of the holes are on the sides of the blocks. I laid out the letters…

And then I glued each one in place.


The Christmas side was finished…time to work on the Halloween side.

There are two ways you can go about this. If you want to spin each block to reveal the other side, then you will start the “T” of “Trick” on the same “H” from “Happy.” But you will need to make sure that the “T” is upside-down relative to the “H.” It sounds a little wonky, but just picture spinning the block, and you’ll see what I mean.
Now, the other way of doing it (and the way I did it) is to make the lettering so you turn the entire string of blocks around (like a fan blade or propeller) to display the other side. When doing it in this manner, The “T” of “Trick” will be on the same block as the “S” of “Holidays,” and both letters will be rightside-up relative to each other.
Since I couldn’t fit the whole string in the camera frame, I’ll show you with the “Happy.”
I’ve turned the blocks so the letters are facing forward, just as it will be when displayed.

I then rotated all the blocks clockwise 180 degrees.

So now the letters are facing away from me.

I then rolled the blocks away from me so those letters were against the mat.

Then I started with the Halloween lettering.
Just to repeat – it’s better to do this with the entire string of blocks, or you may get the sequence screwed up, as I almost did my first time!

Here’s the layout…

The “S” of Holidays” – in other words, the last letter of the Christmas side…

…is the first letter of the Halloween side.

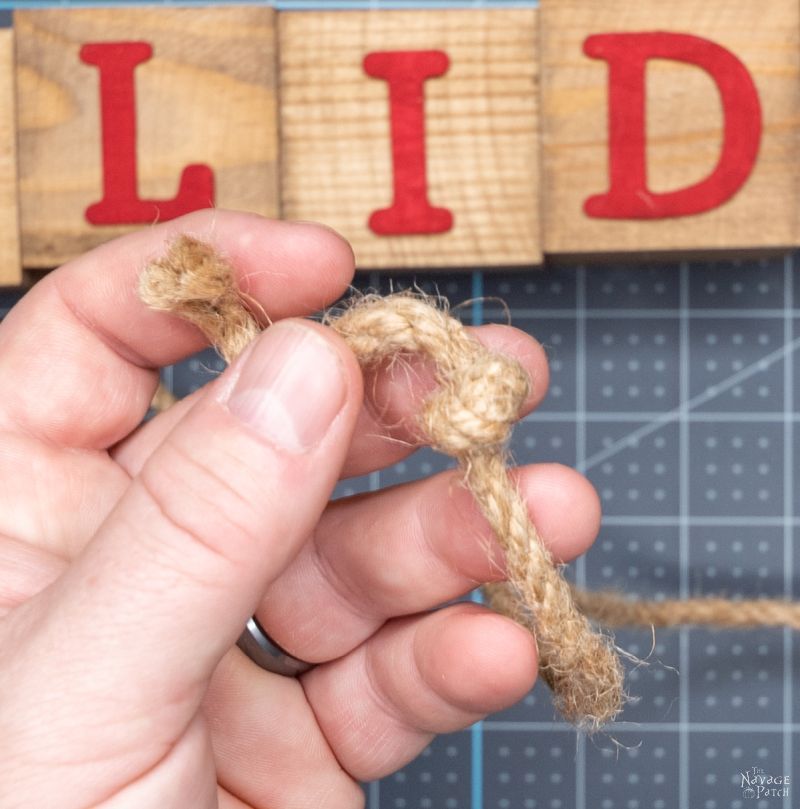
With all the letters glued, I prepared the twisted Manila rope.

I tied a knot in one end.
Here’s the big problem with this kind of rope. Nothing frays like twisted Manila! There’s no way I’d be able to thread this rope through the blocks.

Handan saw what I was about to do and declared that there was a much easier way. She opened a drawer to fetch me some tape.
“Clam it, woman!” I said. “I know what I’m doing!”
She eyeballed me but said nothing.
I made a nice clean cut.


And then I put a small dab of hot glue – just enough to hold the three strands in place.

It worked like a charm! Yeah, you could go with my babes’ method and tape the end, or you could be a hero, and use hot glue lie this guy [thumbs pointed at my chest]!
Your choice, madam. Your choice.


I tied a knot just after the block.

Then I threaded the rope through the next block and tied another knot. I repeated these steps until all the blocks were strung together.

That’s it! This string of decorative holiday blocks was finished, and my babes was happy.
A win all around!

We love to see our craft projects out in the wild! If you try this seasonal craft project, take a picture and post it on Instagram, be sure to tag us – thenavagepatch


What do you think of my babes’ idea? Is it something you’d make, or does the $27 price tag make you want to run and hide?

But that $27 gives you a beautiful decor piece that you can put out in October (or September) and leave out until January!

Remember this guy? In case you missed it, check out our DIY Dollar Tree Snow-White Nutcrackers post! Now that was a true Dollar Tree craft!


Once again your “Babes” had a great idea and you executed it well. I really like that it can be used for 2 different seasons. Merry Christmas!
Thank you, Madeline – Merry Christmas to you!
Hate to rag on you, but it would have been much easier to thread the blocks and *then* add the lettering 😉 🙂
True, but I never claimed to be a smart man. 🙂
OMG you two are just amazing!!! Its late in the game for this now. But must remember for next year!!
Thank you, Olga! 🙂
I just found this post – too late now, but I pinned this Christmas project for next year. I think I might skip the holes and rope. I like the flexibility of being able to position the blocks freely – maybe even put “Happy” on top of the “Holidays” blocks. Anyway I love this simple project and my favorite part was the picture of you in Kindergarten – I actually laughed out loud! Happy and Healthy New Year to all of you!
Thank you, Leslie! I’m glad I could make you chuckle! 😀