DIY Dollar Store Halloween Canvas Art
Keep it simple! This DIY dollar store Halloween canvas art is a clever hack that’ll get you in the Halloween spirit in no time!
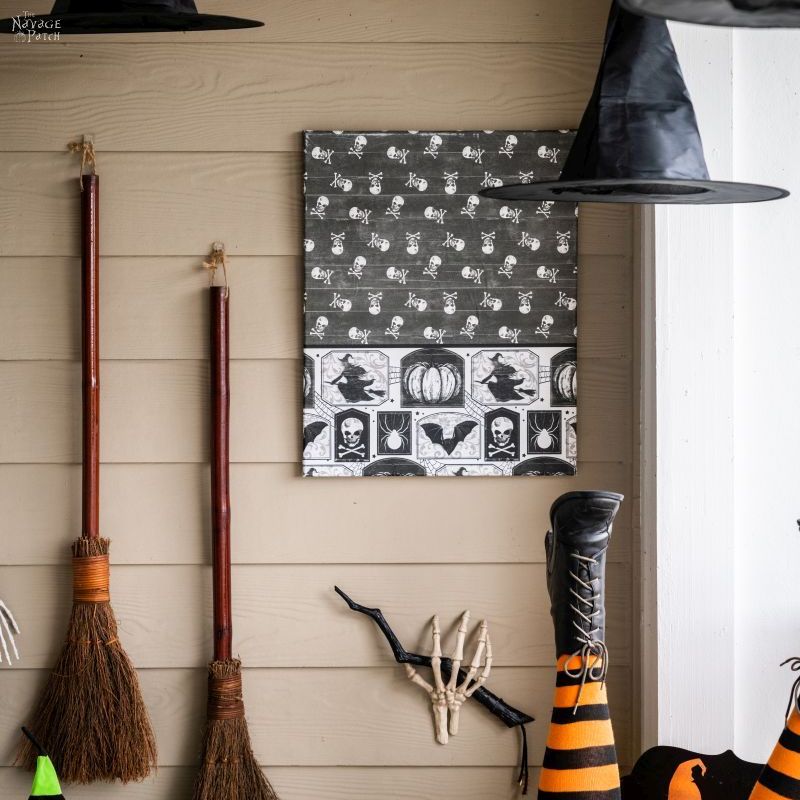
It’s getting kinda old, ya know?
Look, it used to surprise and shock me when my babes would make awesome crafts and decor from random crap.
It even used to get my dander up – back in the days before I learned to trust her judgement. To hear the things she asked me to do! Yeesh, you’d have to be a card-carrying member of the Howling Quack Society to think of doing some of the things she’s cooked up in her overheated squirrel brain!
But after seeing her success, time and time again…yeah, it no longer has the impact it once had. It’s almost…expected, I guess.

I don’t know, maybe I should get her a fat load of garbage and see if she can turn it into a farmhouse platter or a boho ottoman or something.
Oh, and I don’t mean “garbage” like “let’s go junking and see what cool overlooked treasures we find!” No.
I mean, I’m gonna find the nearest landfill, and go schlepping through hills of rotting banana peels and fish heads so I can fill a contractor bag with stinky, oozing actual garbage, because I think my babes needs a real challenge for a change!
Because I should be amazed at what she thought to do with one of the humblest items at Dollar Tree. An item that no one thinks twice about. An item that’s literal sole purpose in life (besides looking good) is to catch crumbs and spilled drinks!
Who thinks of turning a disposable table cover into wall art fer cryin’ out loud!
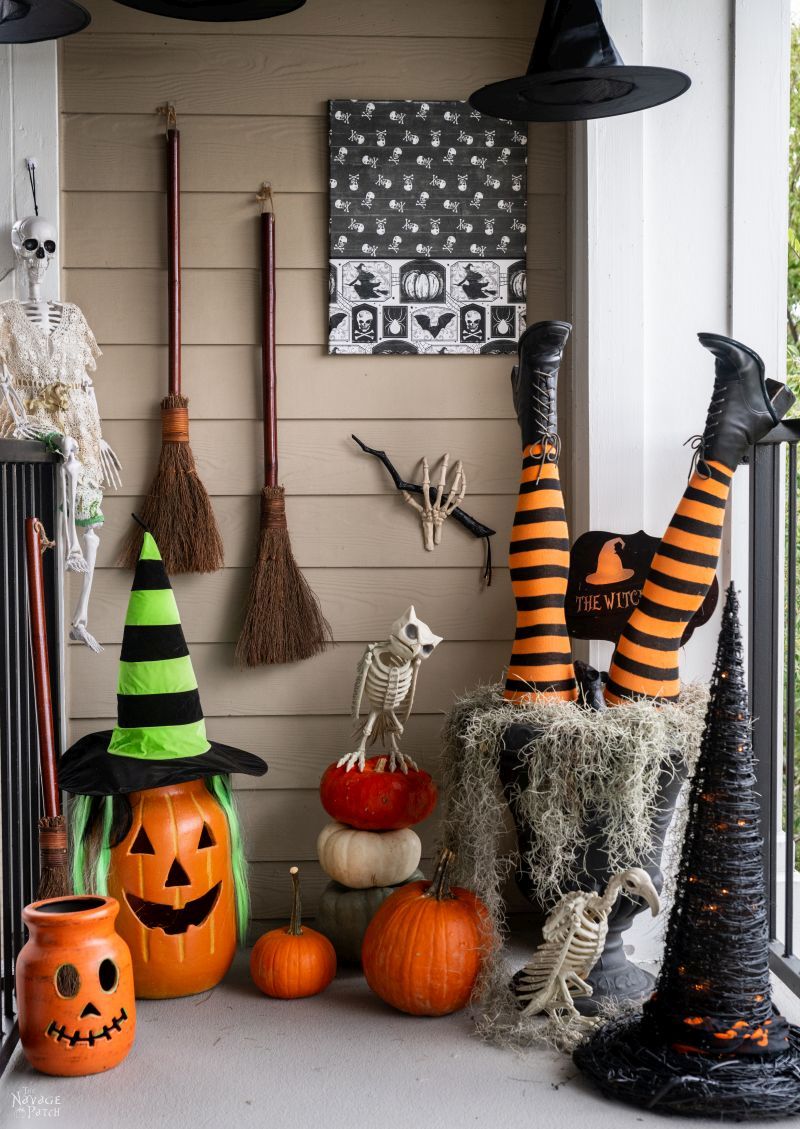
Oh, sure, if it was a fancy hand-woven tablecloth made by Yaghan artisans from berry-dyed guanaco fur in the southernmost reaches of Tierra del Fuego then, yeah, mount that sucker on the wall.
But this is a whisper-thin disposable table cover we’re talking about here! It wasn’t made by human hands – it was belched from a great machine somewhere deep in the heart of Guandong Province in China! You don’t make art from it!
You drop orange-frosted cupcakes on it.
You spill Juicy Juice on it.
And then you crumple it up and toss it in the trash!
The nerve of that woman I call “my babes!” What won’t she make me craft with?!?
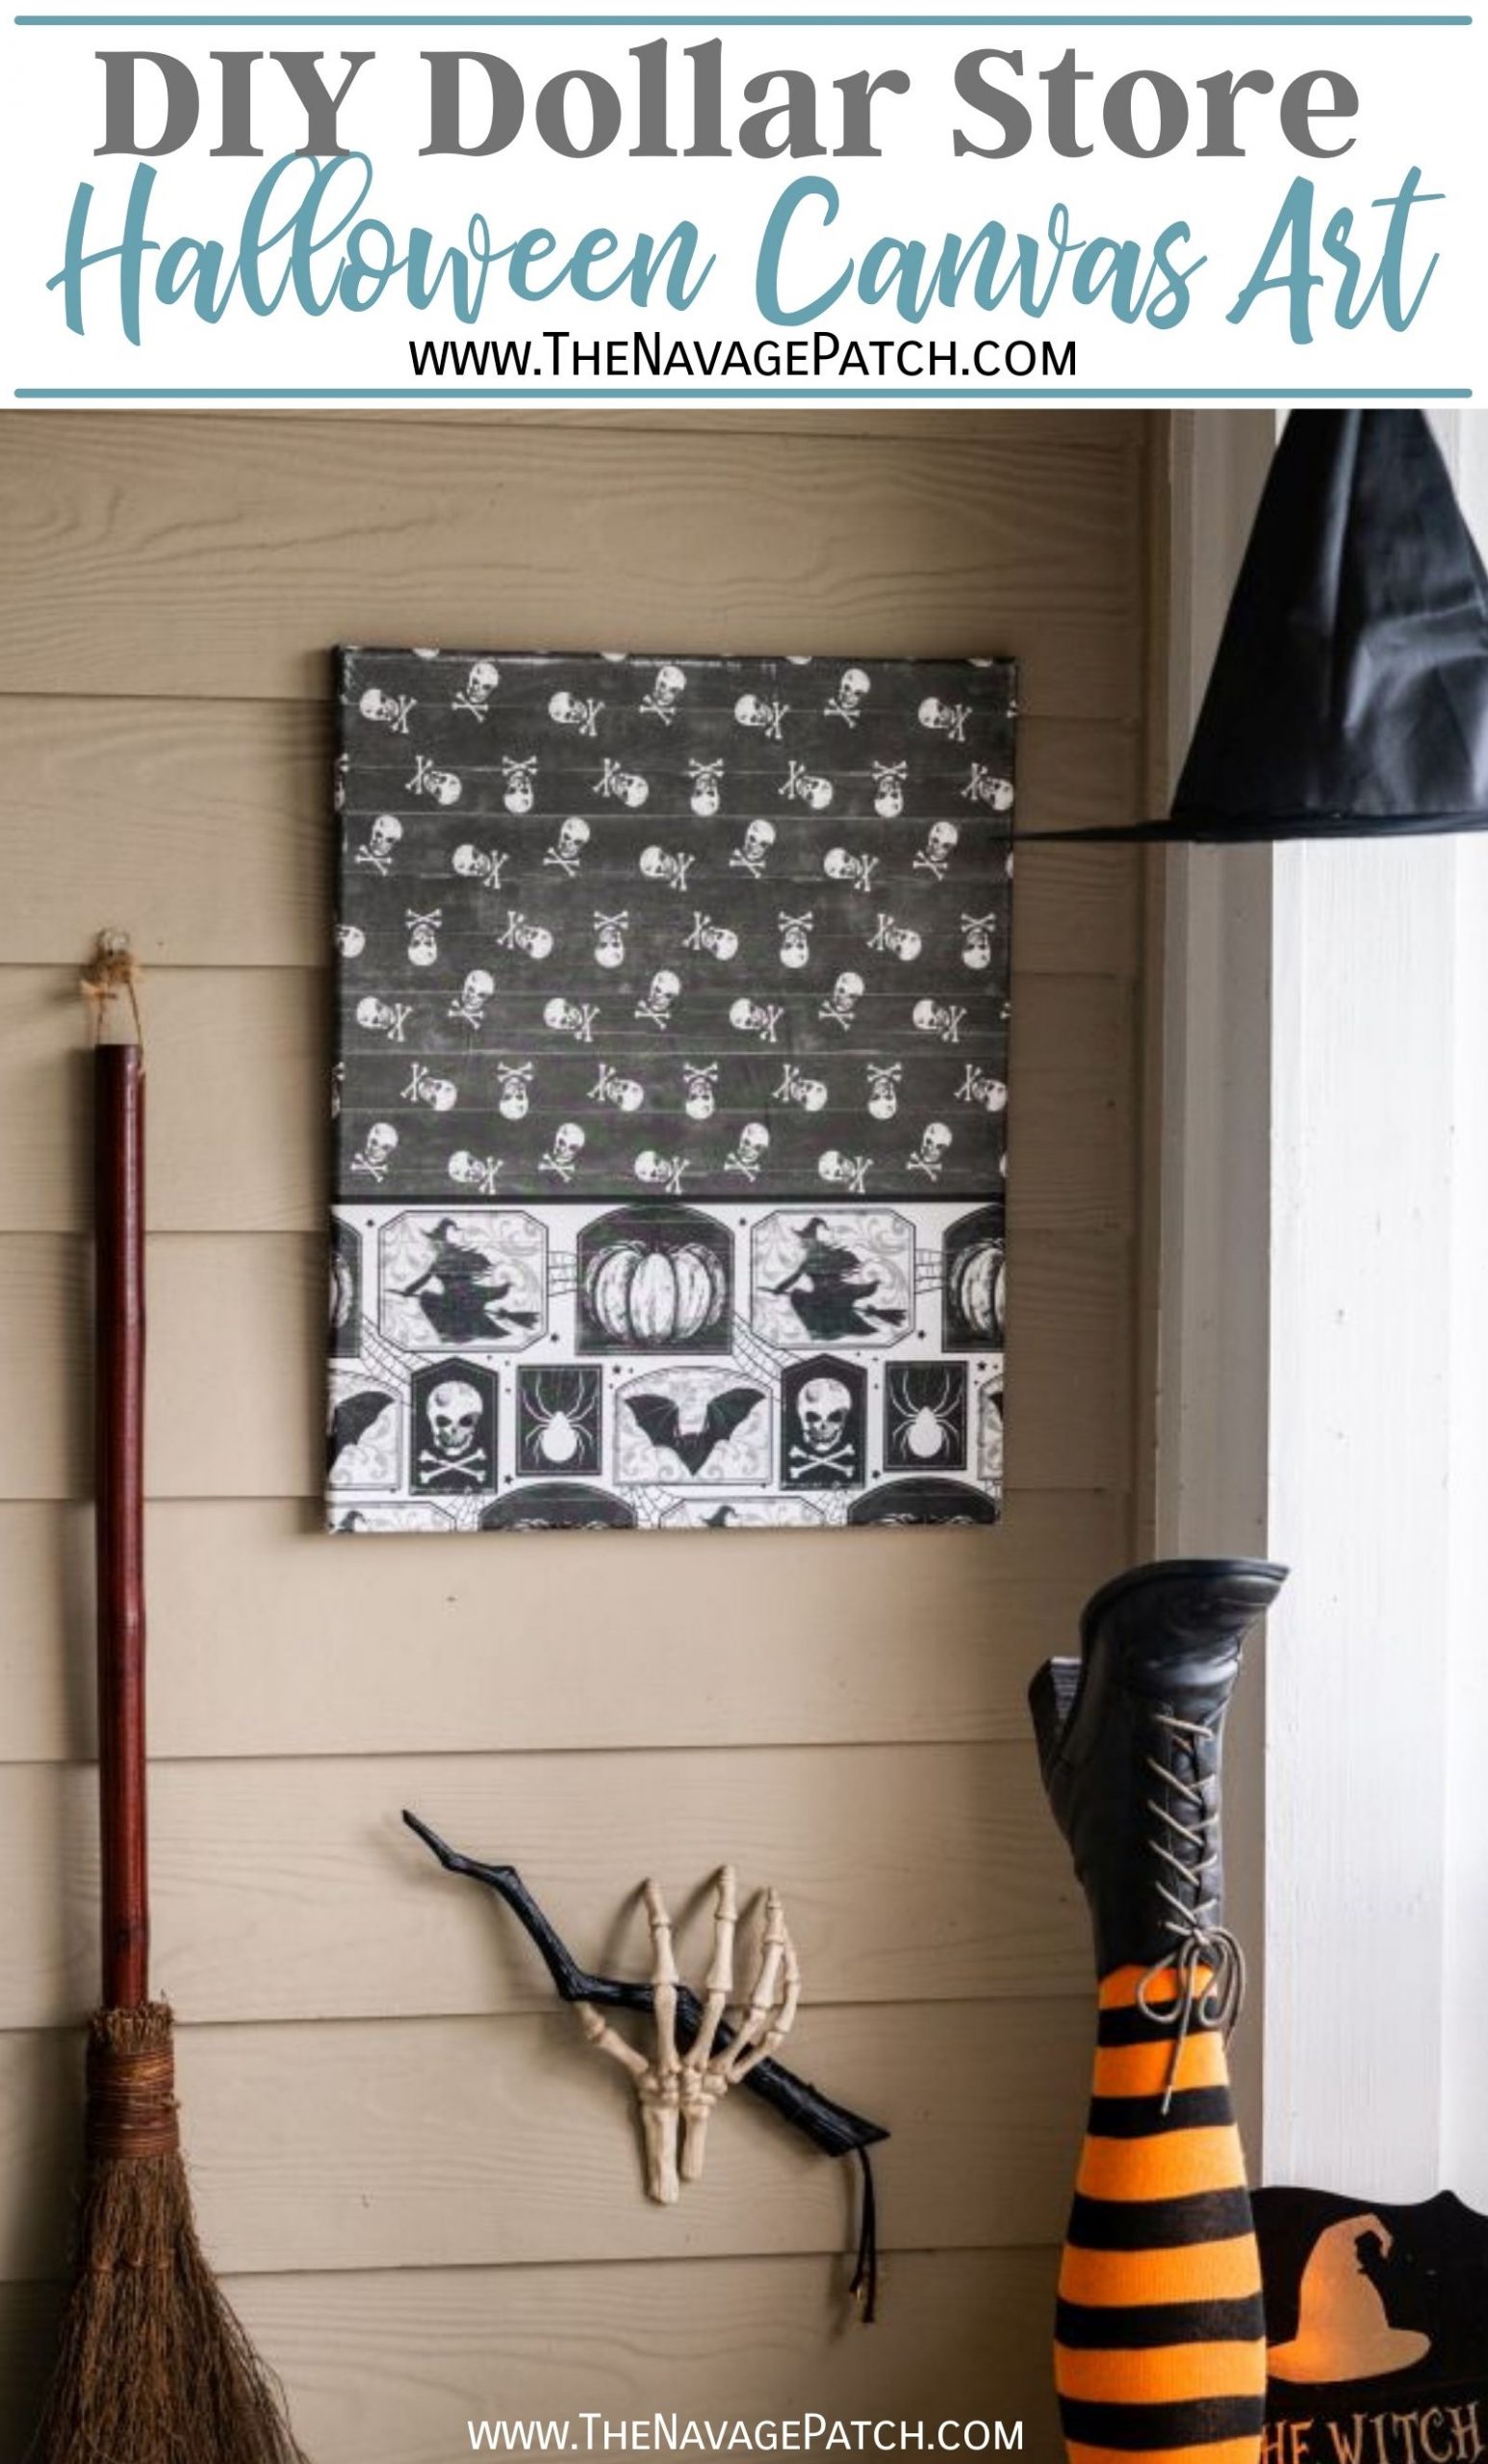
Hey, wait a minute…
Do you see what she did?
She got me all fired up again about her crafting material choices!
Okay, so maybe I don’t need to fill up a sack of stinking chicken bones and old parmesan rinds, because my old lady can still surprise me! [Old lady, hmmm? Tell me again, which one of us is in his fiftieth year? -Handan]

Dollar Store Halloween Canvas Art SUPPLIES LIST
Affiliate links are provided below. Full disclosure here.
- Stretched canvas – we got a 2-pack of 11×14 frames for $5 at Five Below, but you can also find them in Dollar Tree (smaller ones), Michaels and Amazon
- Dollar Tree Halloween table cover
- Scissors
- Mod Podge
- Chip brush
- Scotch tape

More Easy DIY Halloween Decor Ideas
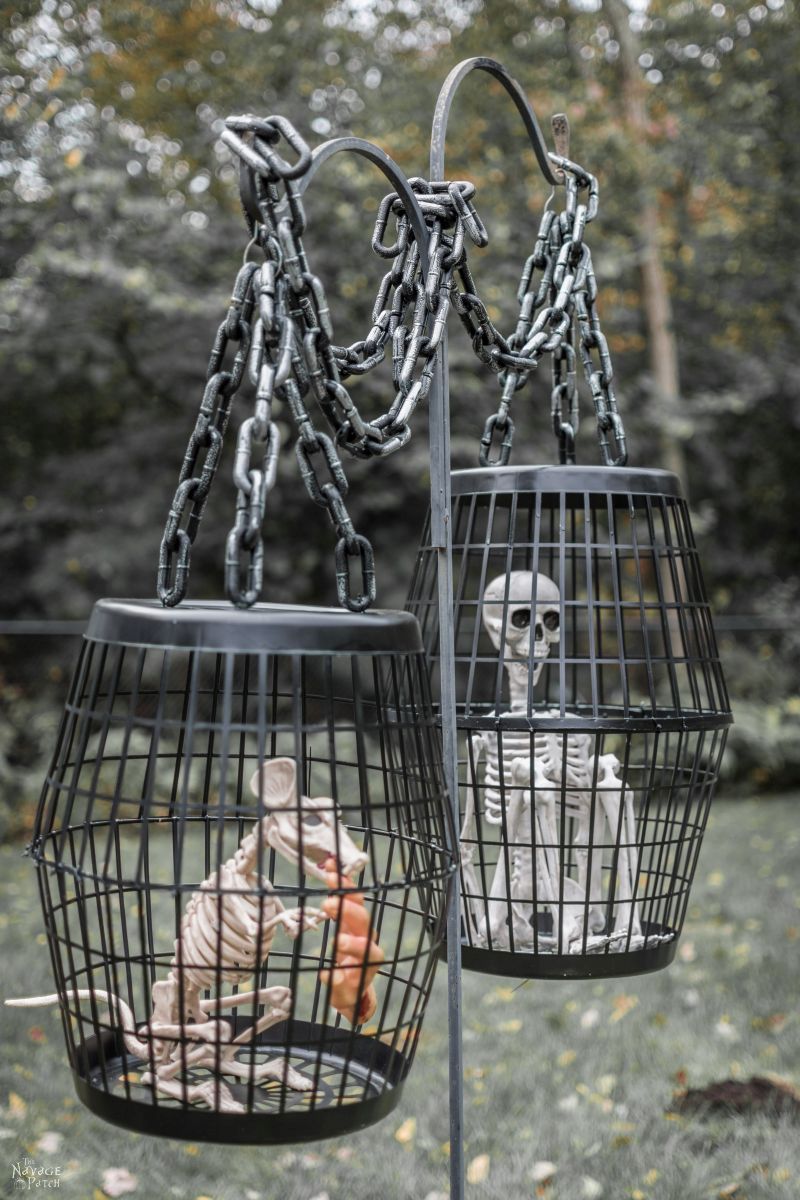
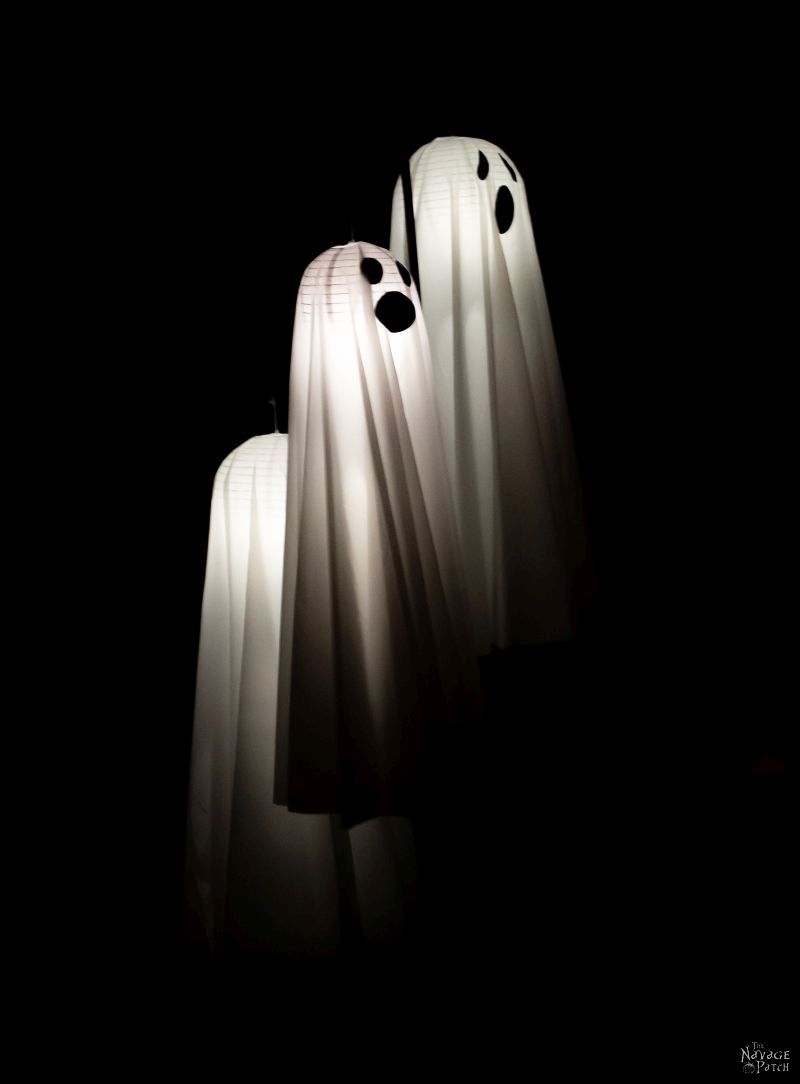
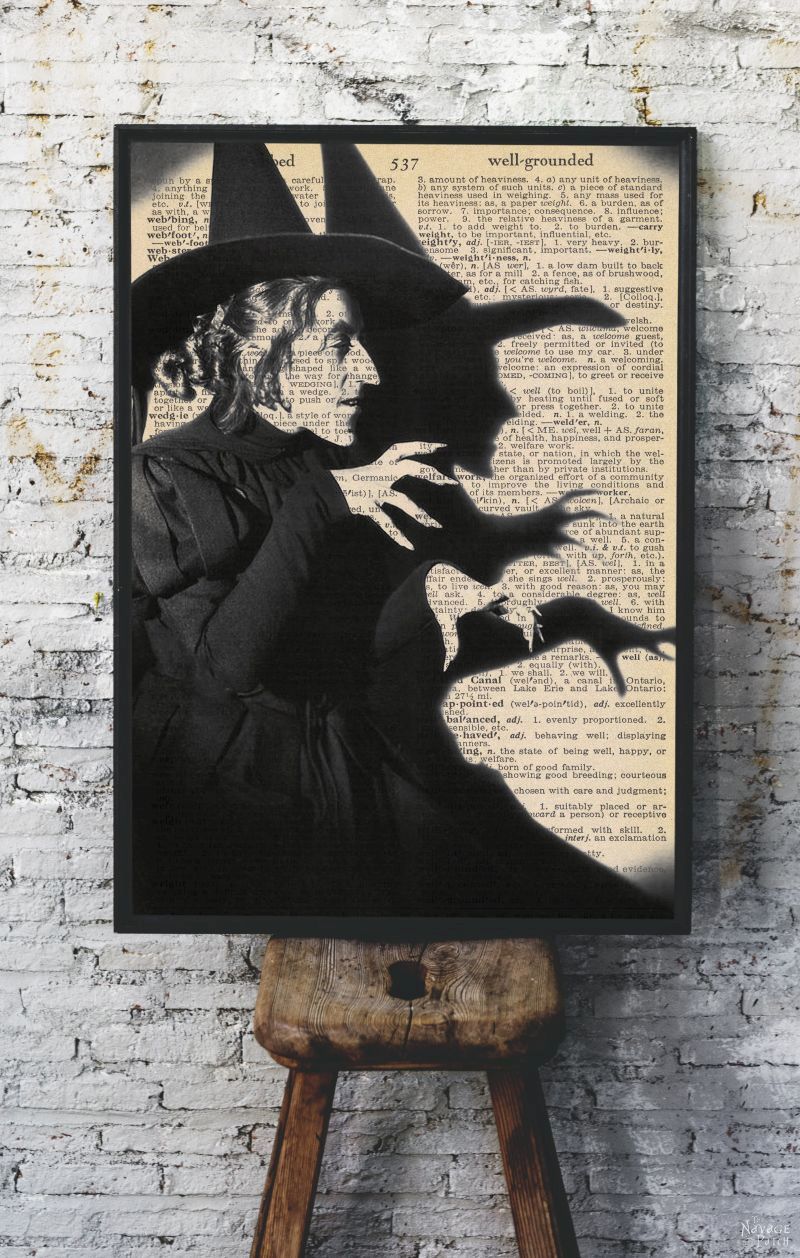
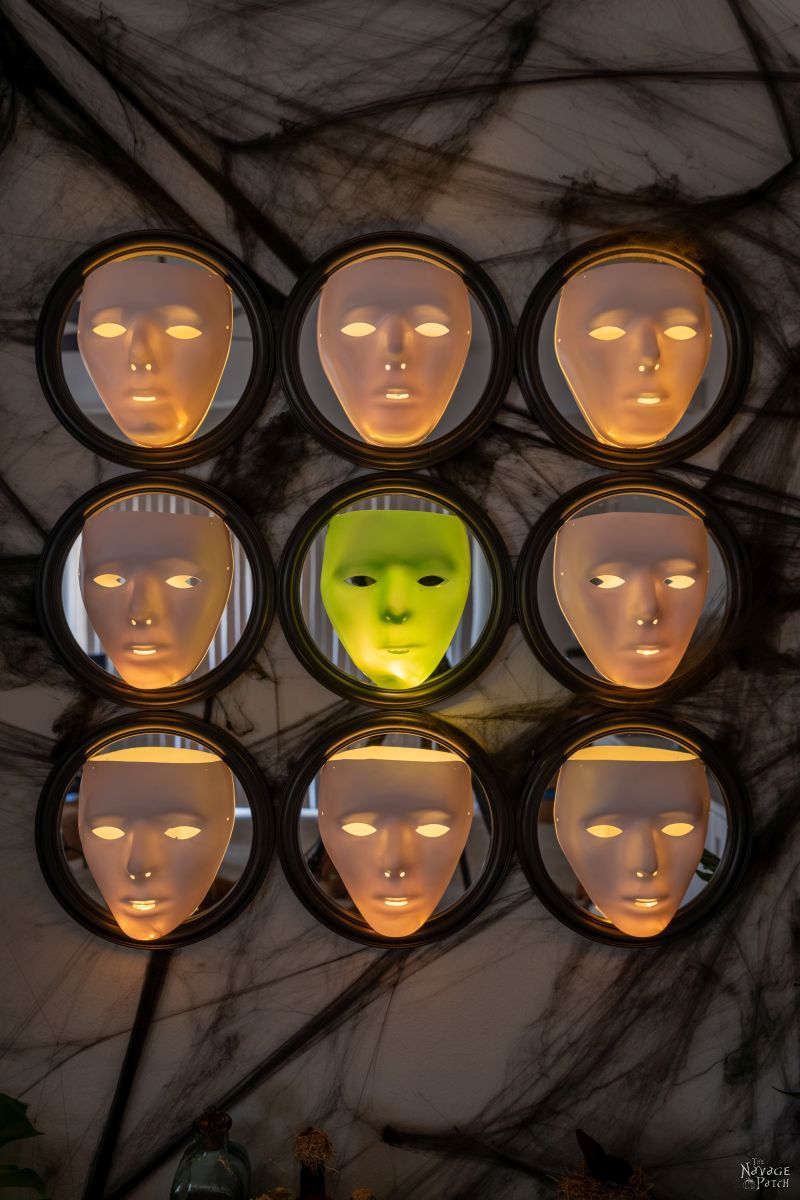
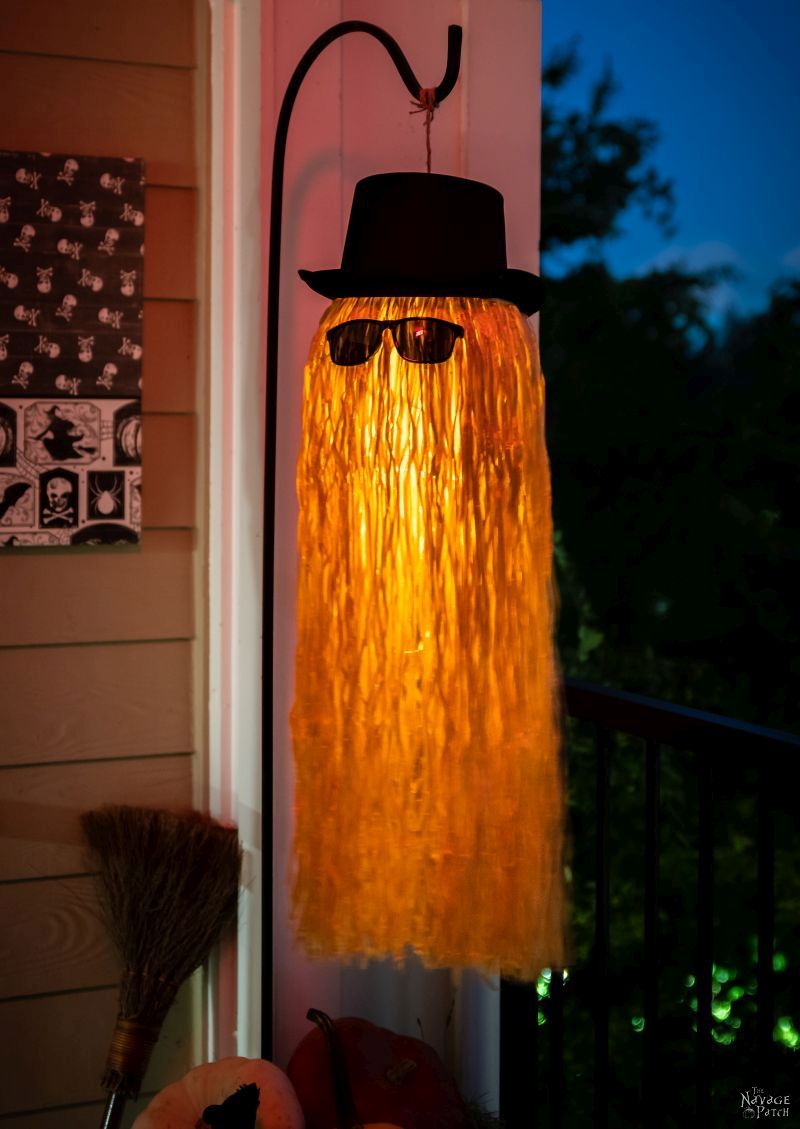
- Hanging Cage Halloween Prop
- Easy Lighted Hanging Ghosts (A Dollar Store DIY)
- Free Vintage Movie Monster Printables
- Gallery Of The Faceless – Easy Halloween Wall Decor
- DIY Cousin Itt Pathway Light
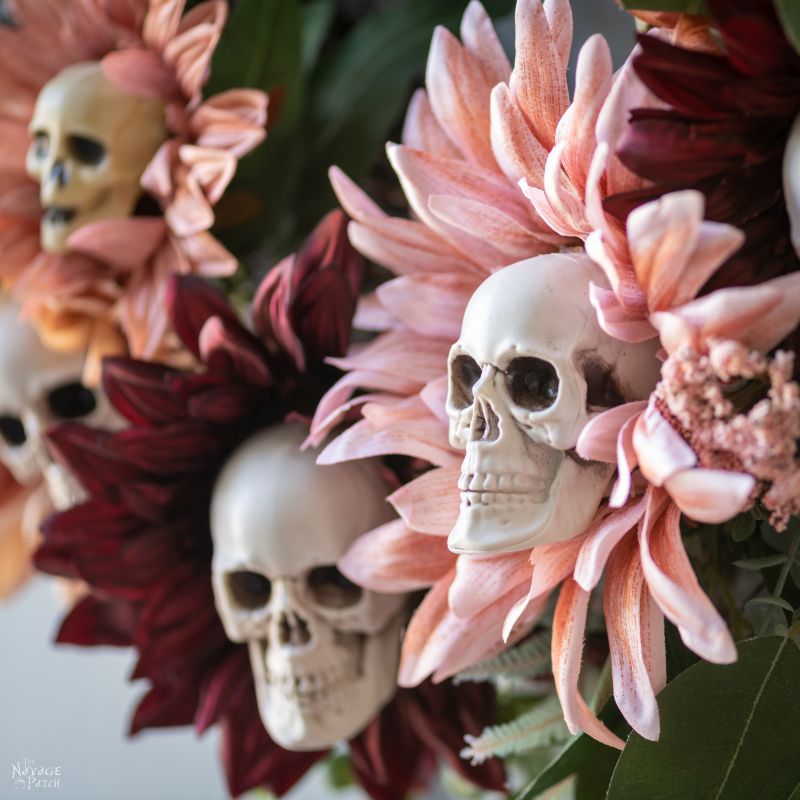
- DIY Skull Sunflower Halloween Wreath
- DIY Lighted Witch Hat (Grandin Road Inspired)
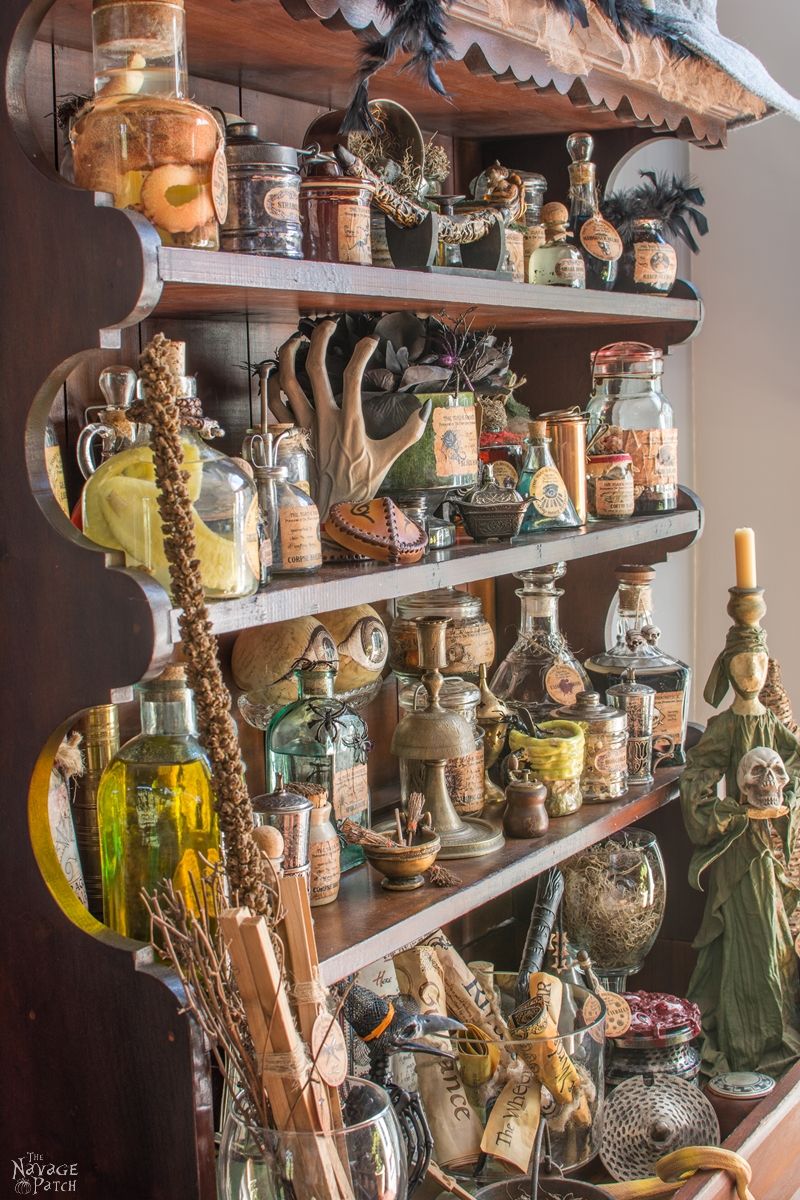
- Apothecary Jars And Free Printable Labels
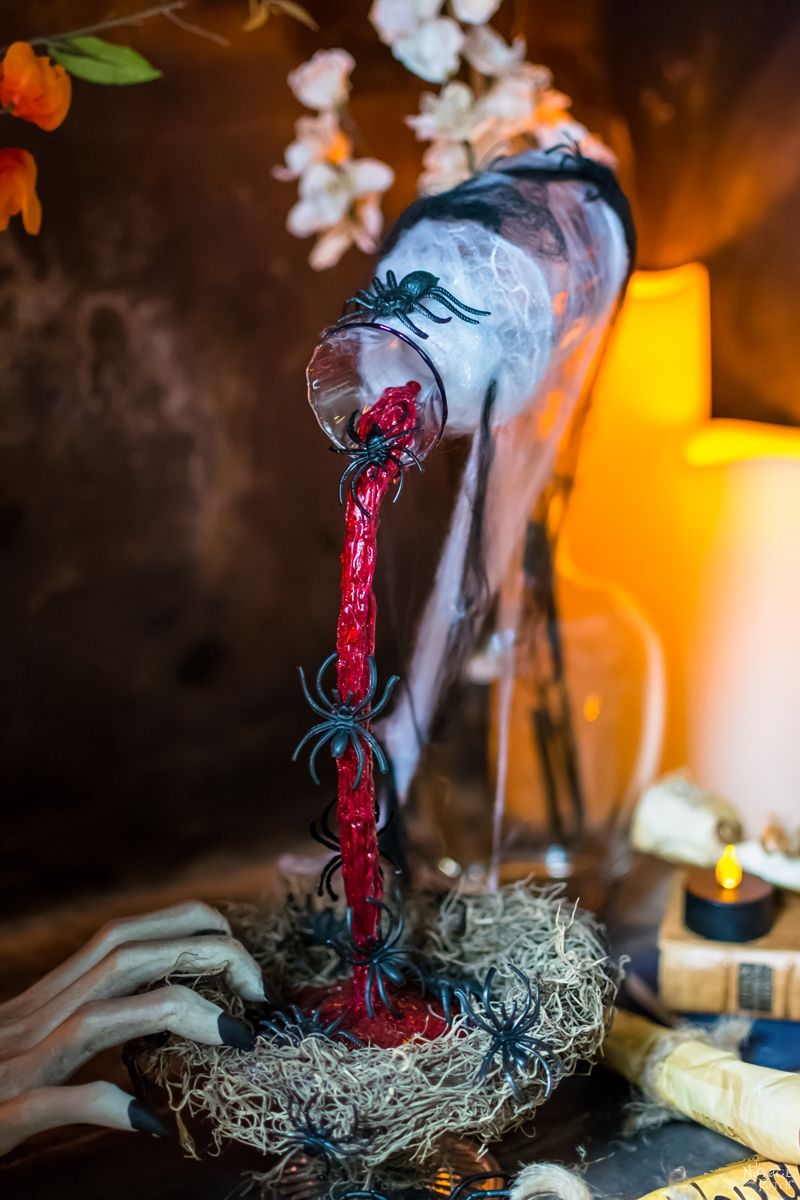
- Floating Potion Bottle
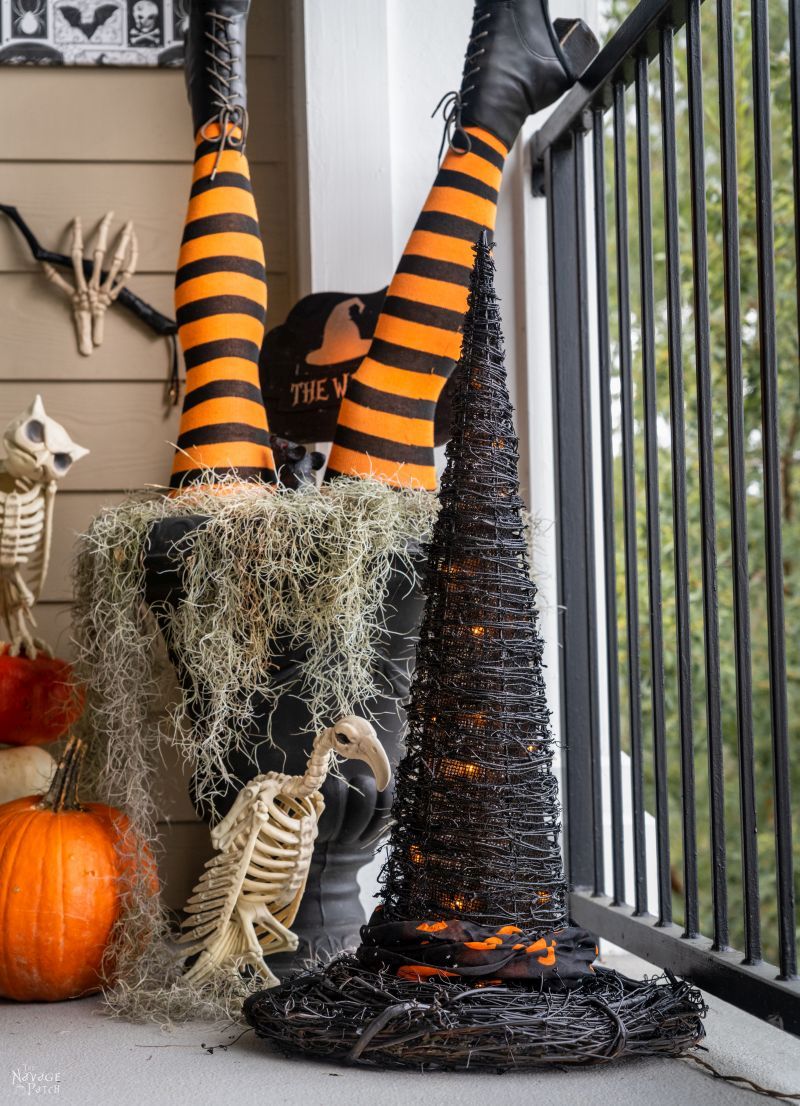
- DIY Witch Legs (Grandin Road Inspired)
- Eyeball Orb Halloween Wreath
- Dishes Of Darkness: Pottery Barn Inspired Halloween Plates
DIY Dollar Store Halloween Canvas Art Video Tutorial
You may want to watch our short video below for an overview of our Dollar Store Halloween canvas art before you read the detailed step-by-step tutorial.
DIY Dollar Store Halloween Canvas Art Tutorial
These table covers are big enough to make several of these artistic masterpieces, but we limited ourselves to just one, as that’s all we have room for in our scaled-down Halloween display this year.
The first step was to determine which part of the pattern we wanted to display. Once we had it laid out how we wanted, I trimmed off the excess all around, leaving about 2 inches of overhang all around.

I used Mod Podge to glue the table cover to the canvas.

I started by dipping the brush into the Mod Podge and then brushing the canvas. Handan eyeballed me a for a minute and then greatly eased my job by saying, “my babes, just pour it on the canvas.” Well, that certainly sped things up!

I quickly distributed the glop of glue, making sure to brush the adhesive onto every square centimeter of the canvas.

Next, I laid the table cover onto the canvas. Note: this can be done by one person, but it’s a little easier with two people holding it tight from the four corners and lowering it into place.

I smoothed it all out with my hands.

After smoothing the front, I flipped the canvas, folded the excess flaps over and taped them down. Since these table covers are water-resistant, you can hang it outside, but be advised that you’ll want to upgrade from Scotch tape to something stronger if you plan on doing so.
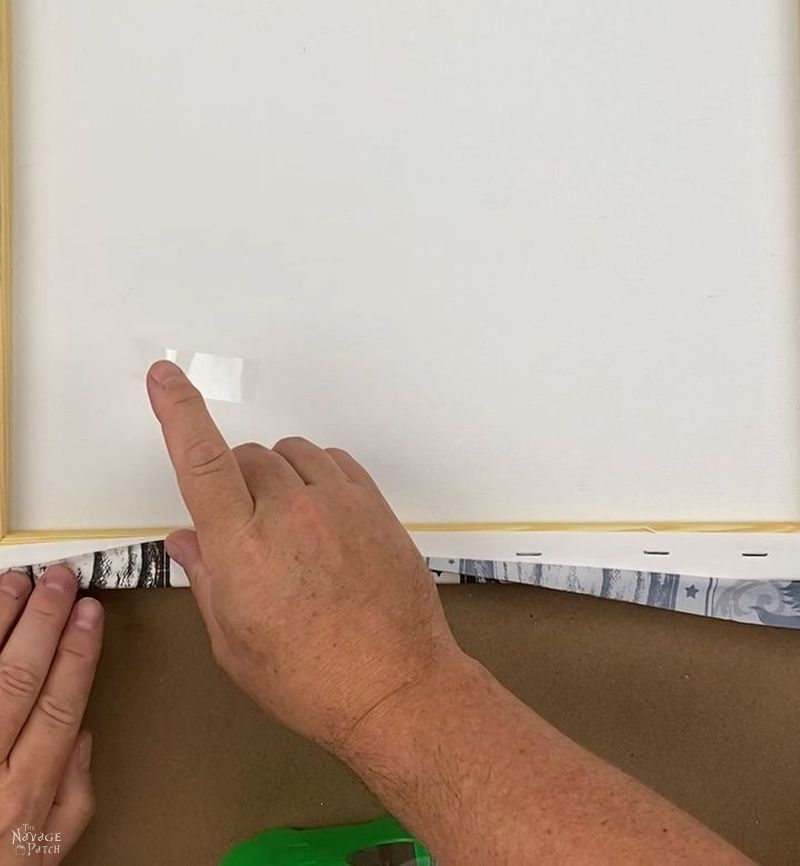
Not one to miss a good taping opportunity (and seeing I’m all left thumbs when it comes to taping), my babes couldn’t help but jump in and help.

She calls it help, I call it hand shaming. Look at her slender and graceful fingers!
They make my hands look like two Virginia hams festooned with Jimmy Dean sausage links!

After a time, I shooed her away so I could finish up.

But she just couldn’t resist getting those dainty little ladyfingers all up in my business!

And that was all it took to make a versatile, indoor/outdoor work of Halloween art!

Not bad for a lowly table cover, eh?

We love to see our DIY Halloween decor out in the wild! If you make this Halloween DIY decor for your home, take a picture or video and post it on Instagram, be sure to tag us – thenavagepatch
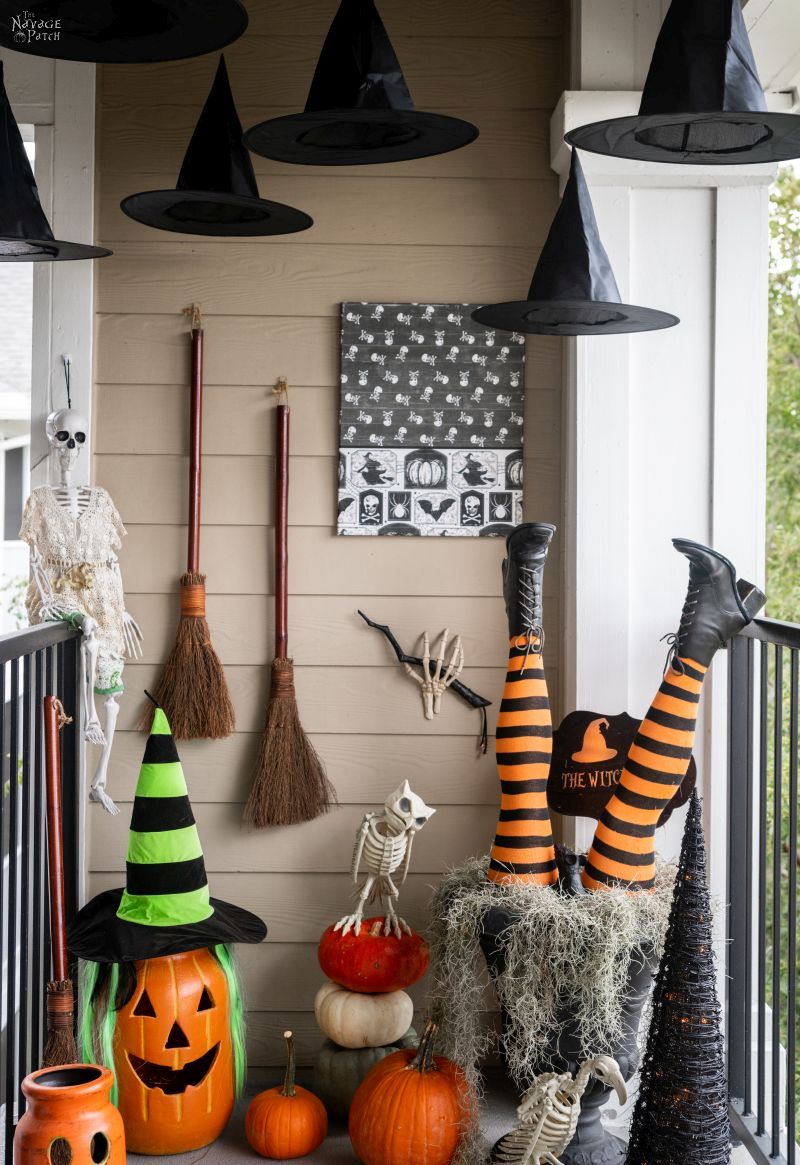
Though the $5 Dollar Tree Plus version of that owl skeleton seems to be sold out, you can still get a much better-looking one on Amazon!


Share it on Pinterest & Facebook!


Well isn’t that the simplest and most ingenious décor idea ever… I have a feeling I might be doing this for many different holidays… ( quickly walks away muttering to herself , “Why didn’t I think of that!!!”…)
Thank you, Carol! Handan is full of those “why didn’t I think of that” ideas! 🙂
LOL!!! Ditto here – I will be stealing this one too!! 😂
Steal away! 😂
Cool idea!! I’ve done a similar, though temporary, thing at Christmas. I cover the pictures hanging on my wall with Christmas wrapping paper and bows. Then at the end of the season…can be as late as Jan or Feb if I choose snowmen theme…simply remove the paper and I’m back to my usual prints.
Question: Could you use a staple gun, rather than tape?
Thanks, Laura! I like your wrapping paper idea! And sure, you could totally staple them. I just used Scotch tape, as it was right next to me, lol!
Does she ever do any crafts herself or does she just come up with ideas for crafts?
Hi Curios Person, I do craft myself too, and I used to write/blog about them back in the day. But these days I prefer coming up with the ideas, then showing my babes how to bring those ideas to life. If he is successful with the end result, then that idea becomes a post on our blog. The idea behind that is if Greg (who never did a single wreath or small craft in his life before) can make it, then anyone can make it ;-).
By the way if you’d like to see my old posts please click the link below:
Handan’s DIY & Craft Projects
Great DIY! as I was following along your post, I wondered (as a separate diy idea) if you remove the white canvas…. and stretched the tablecloth around the wood frame… then stapled or taped it tight….. and added some tiny string lights behind and hang it up….. that might look cool too!
Thanks!
Thank you so much, Jess! The only concern about removing the canvas would be that these table cloths are so thin that they may tear without the canvas backing. But adding lights is a great idea, and because the canvas is white the lights would glow through the canvas. 🙂