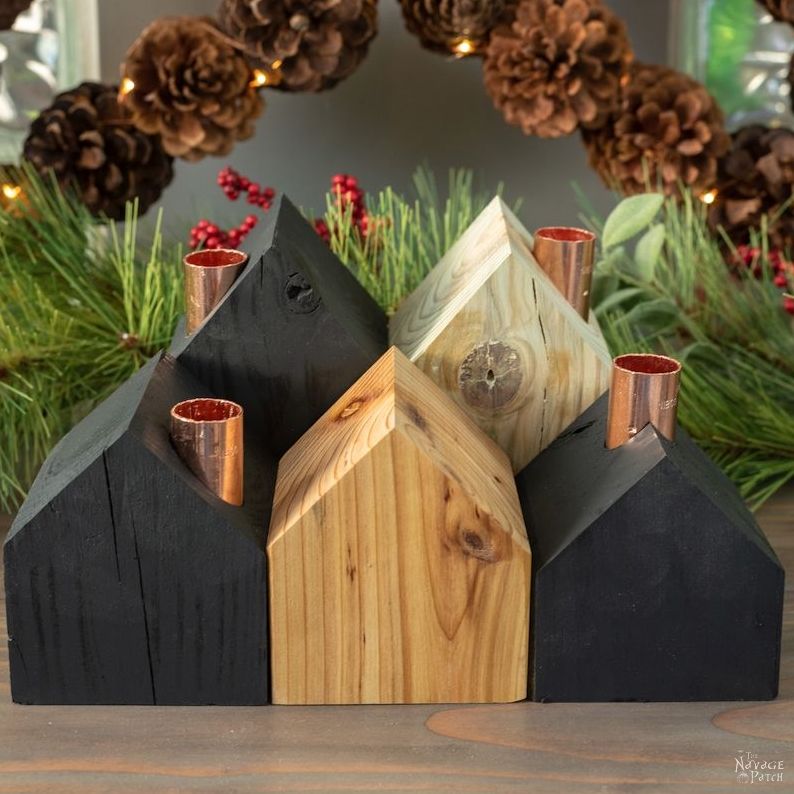
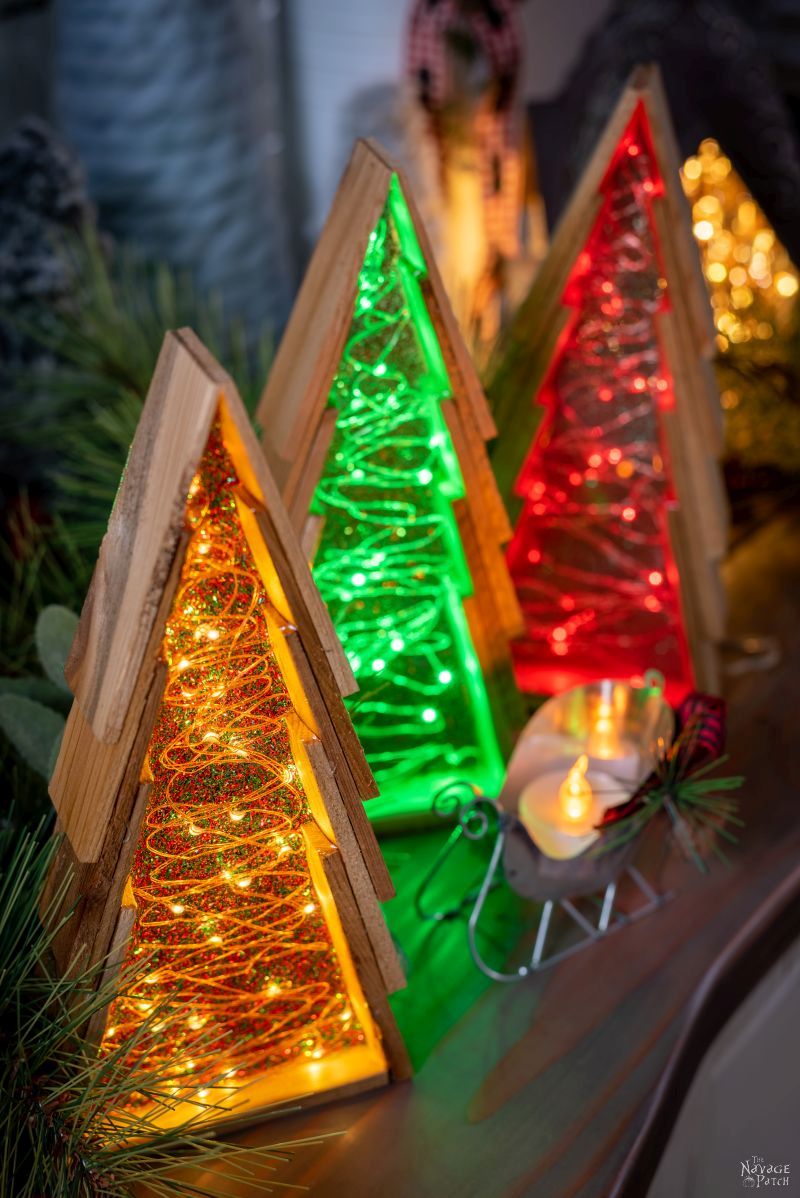
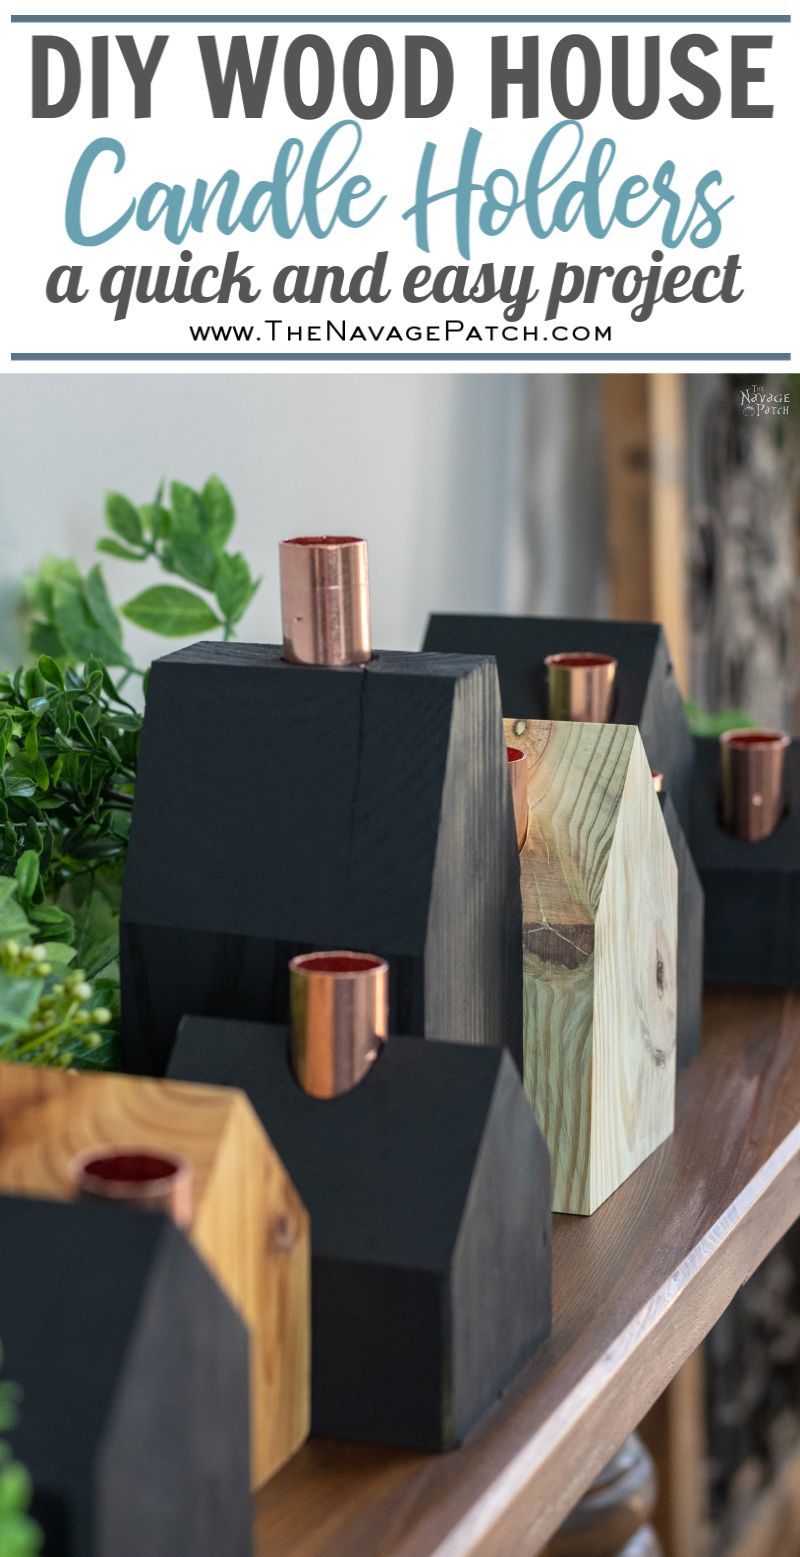
DIY Wood House Candle Holders
These DIY Wood House Candle holders are rustic and beautiful. They’re so easy to make, you’ll want to create your own little wood house village!
There’s something about winter and Christmas up here in New England that gets people all nostalgic for little hamlets full of tiny houses with their stone chimneys throwing smoke up into a gentle falling snow. When the first December snow (which we’re still waiting for, thank you very much) falls and hides all the leaves that never got raked, covers all the garden ornaments that were never put away (*ahem*), and buries the wood pile that never got tarped, people get wistful for some intangible Christmas of yesteryear when all was good and everyone was nice.
Me?
I don’t think such a time ever existed, but I see the allure.
Handan, though she’s only been in America since 2013 and an American since 2018, is not immune to winter’s warm seduction.
Just the other day, I caught her gawking at some wooden house candle holders while looking for DIY gift ideas online. She said they reminded her of a little village.
She said she wanted some.
She said I could make them for her.
She said they’d be easy.
And you know something?
She was right!
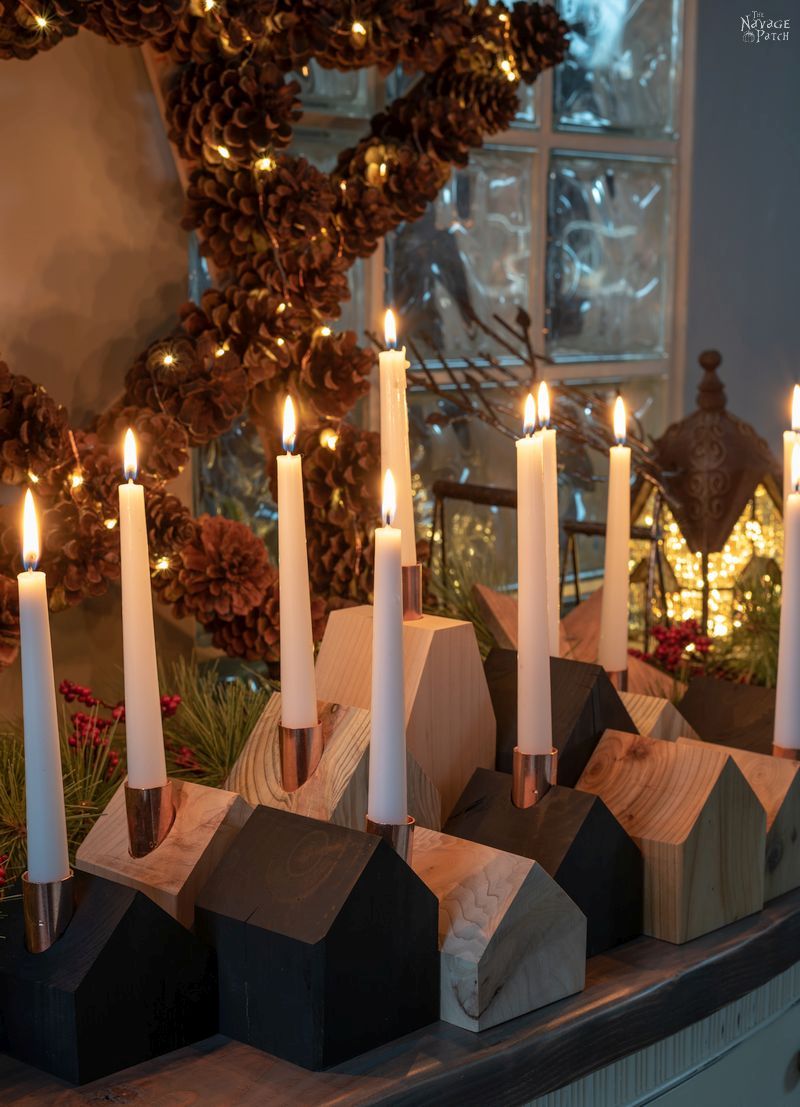
They are ridiculously easy, and they look amazing!
She wanted a whole bunch of them so we could use some, and the rest she could give away as gifts.
Hey, if my babes wants of village of DIY wood house candle holders….ahhhhh, you know the rest.
Let’s take a gander, shall we?
DIY WOOD HOUSE CANDLE HOLDERS SUPPLIES LIST
Affiliate links are provided below. Full disclosure here.
- 4 x 4 lumber (pine, cedar or pressure-treated pine)
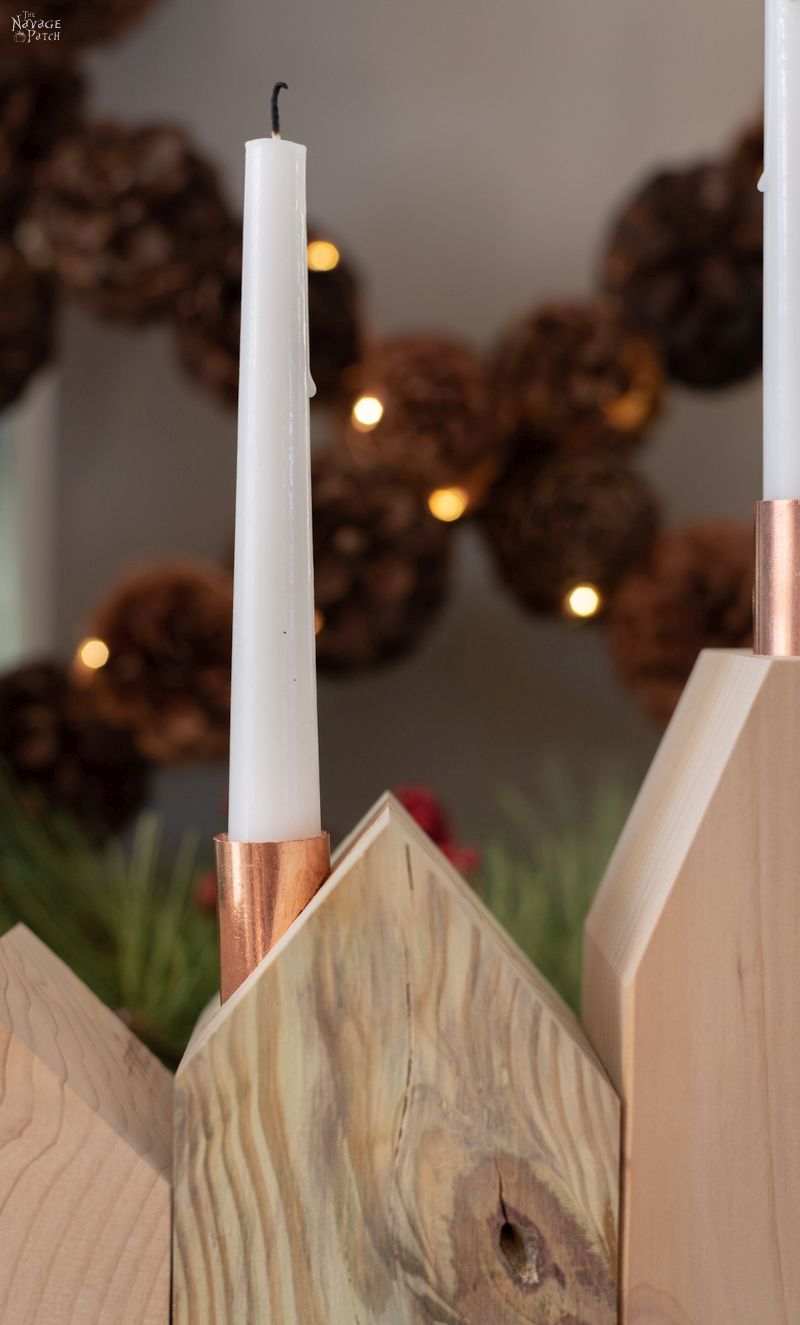
- 3/4 inch copper couplings (one for each house)
- Speed square
- Miter saw (or band saw)
- Drill
- 1 inch Forstner drill bit
- Sandpaper
- Flat black spray paint
We love to see our craft projects out in the wild! If you try this seasonal craft project, take a picture and post it on Instagram, be sure to tag us – thenavagepatch
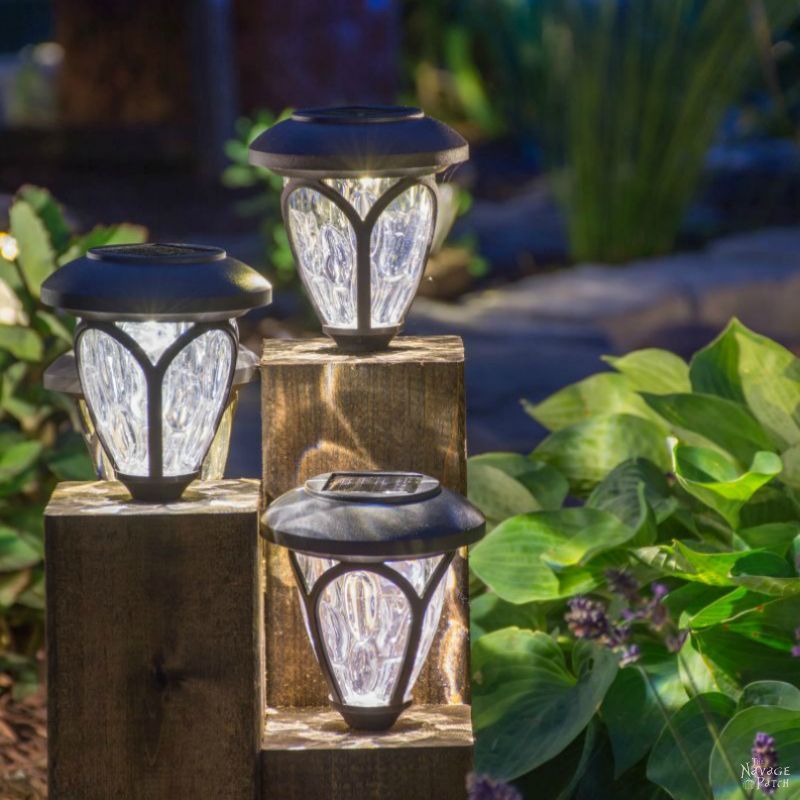
For the natural wood houses, I used some 4×4 cedar scraps I had left over from the spring of 2016, when I made our DIY cedar cube solar landscape lights. Remember them? They’re still going strong!
For the black-painted houses, I used a couple of pieces of 4×4 pressure-treated pine scraps left over from the farmhouse trestle table I built for our deck last summer.

DIY Wood House Candle Holders Video Tutorial
Watch our short video below for an overview of our DIY wood house candle holders before you read the detailed step-by-step tutorial.
On Tiktok
More DIY Christmas Decor Ideas
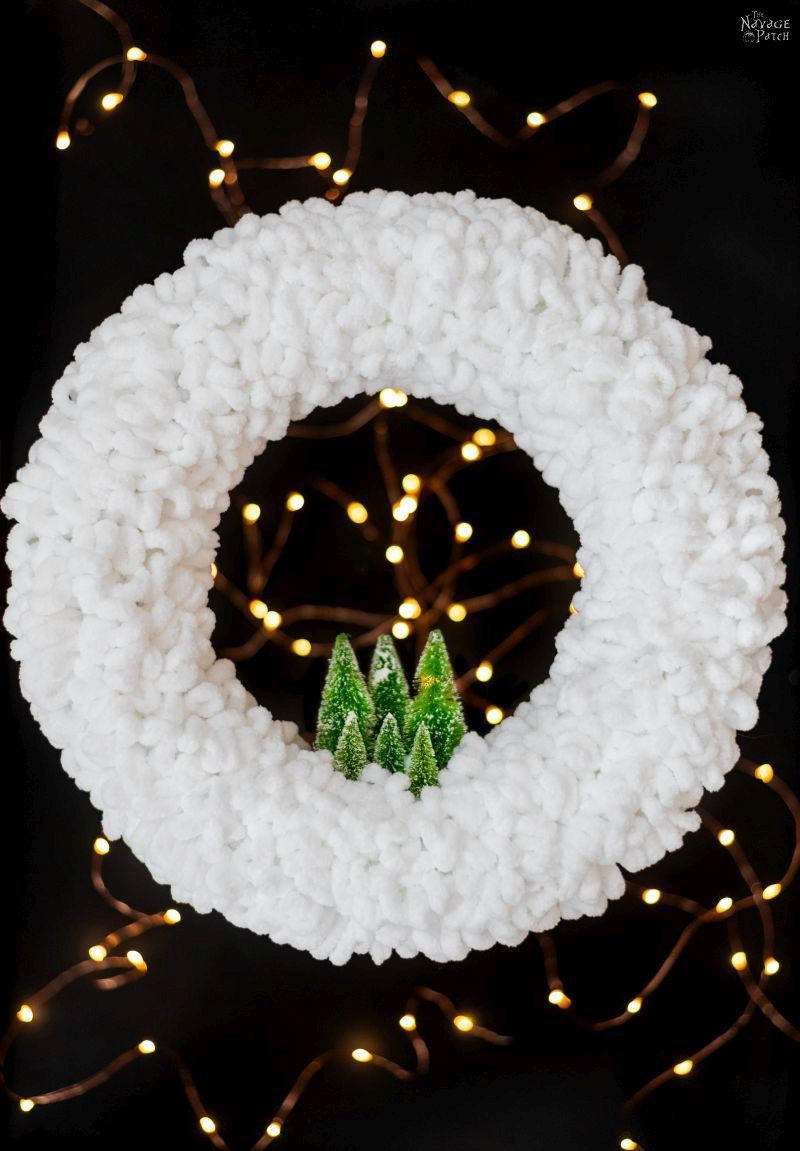


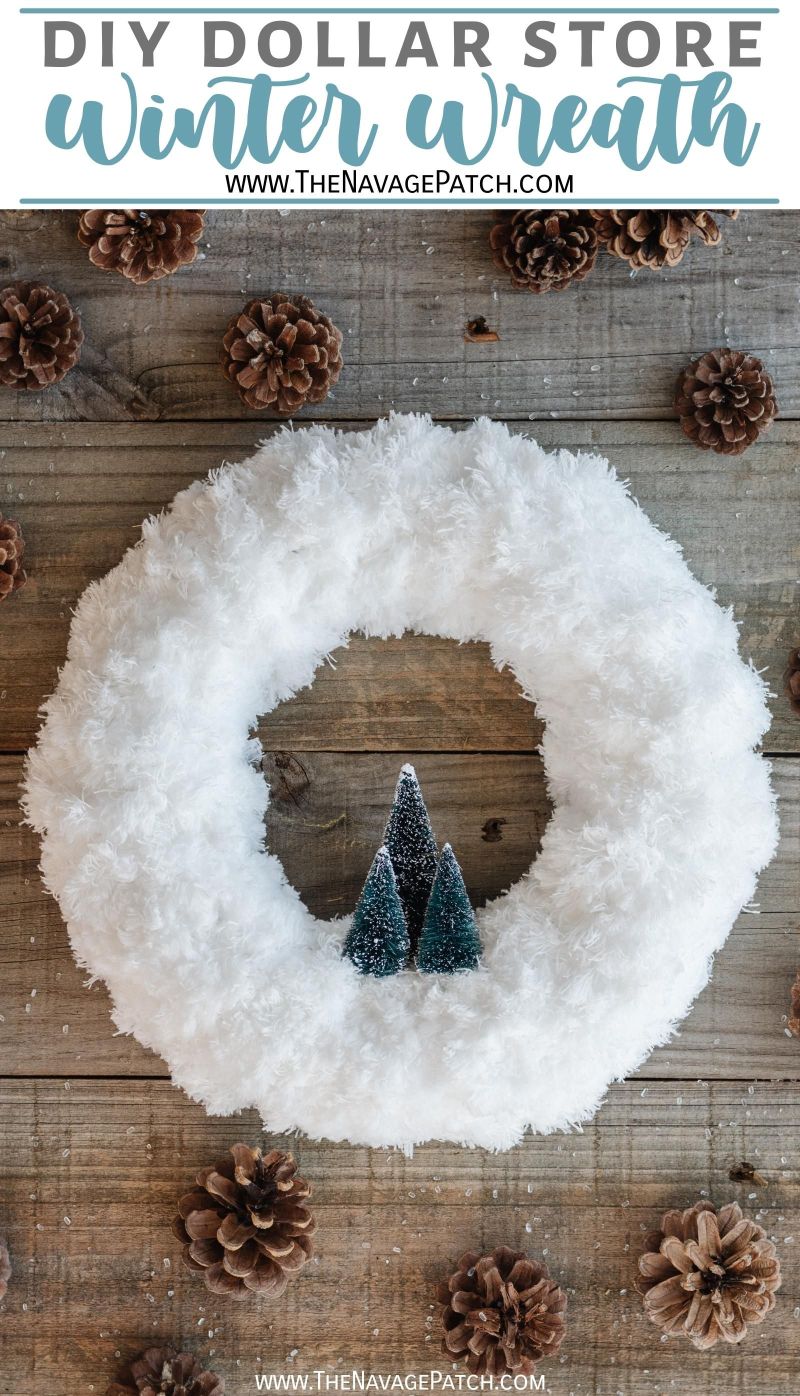

- DIY Winter Loop Yarn Wreath
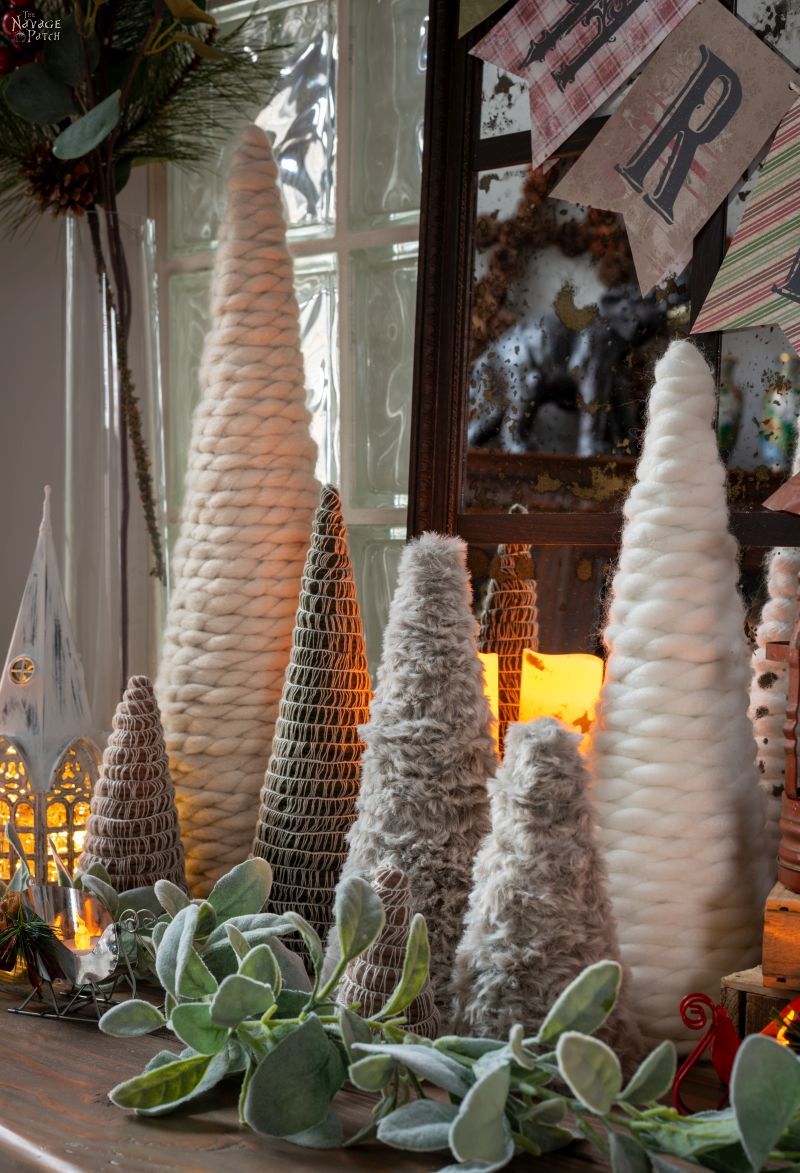
- DIY Faux Fur Trees
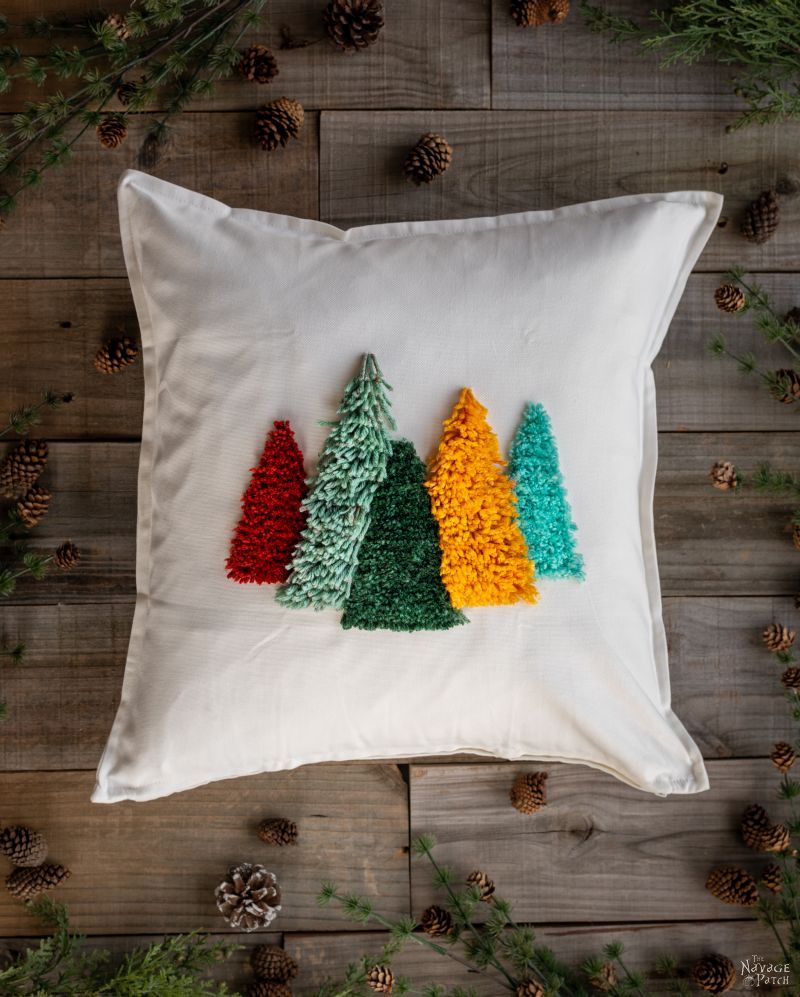
- DIY Shag Tree Pillow
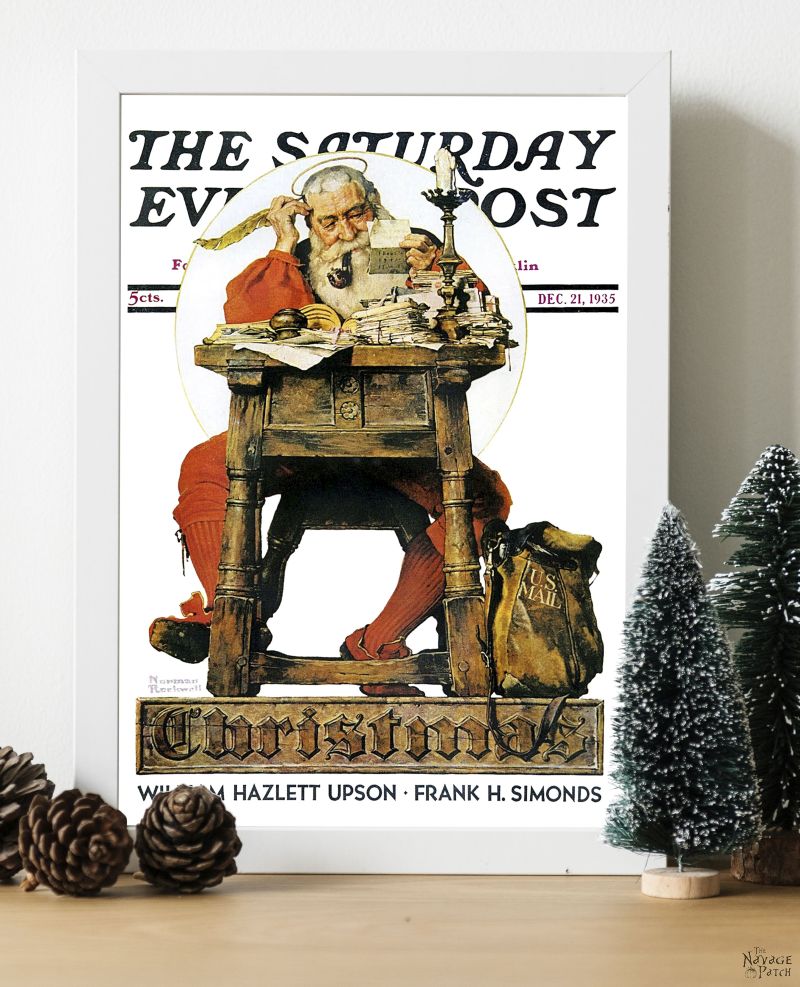
- Free Vintage Christmas Magazine Cover Printables
- DIY Christmas Decor: Faux Tree Repurposed 3 Ways
- DIY Faux Antique Brass Bells
- DIY Dollar Store Mop Wreath
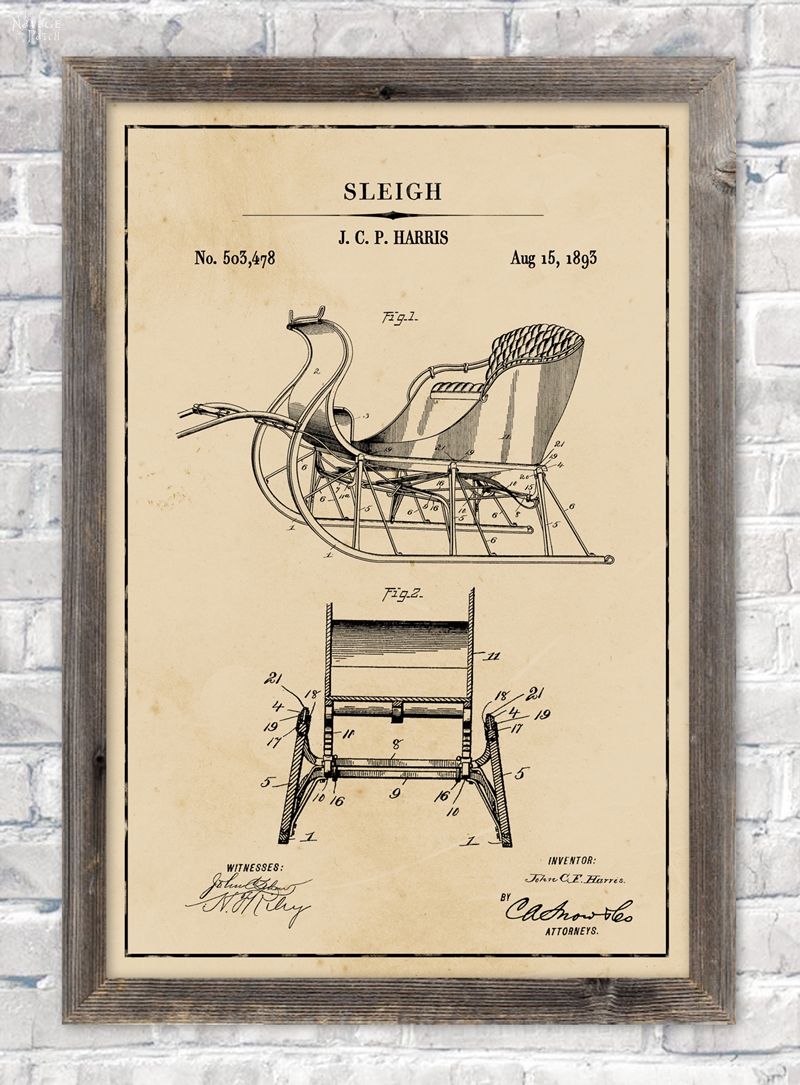
- Christmas Patent Wall Art And 18 Free Printables
- DIY Wood House Candle Holders
- DIY Dollar Tree Snow-White Nutcrackers
- DIY Epoxy Wood Shim Trees
- Free Watercolor Christmas Printables (20+ BEAUTIFUL Holiday Prints)
DIY Wood House Candle Holders Tutorial
I first cut a few lengths of 4×4.
Each length would make two houses. When cutting the angled roof cuts, it is safer to have a bigger piece of wood to hold onto, so each end of the wood would become the roof of a house. I marked the midpoint of the width.

Then I drew a 45 degree roof line using a speed square.

I did this on both ends of the piece.
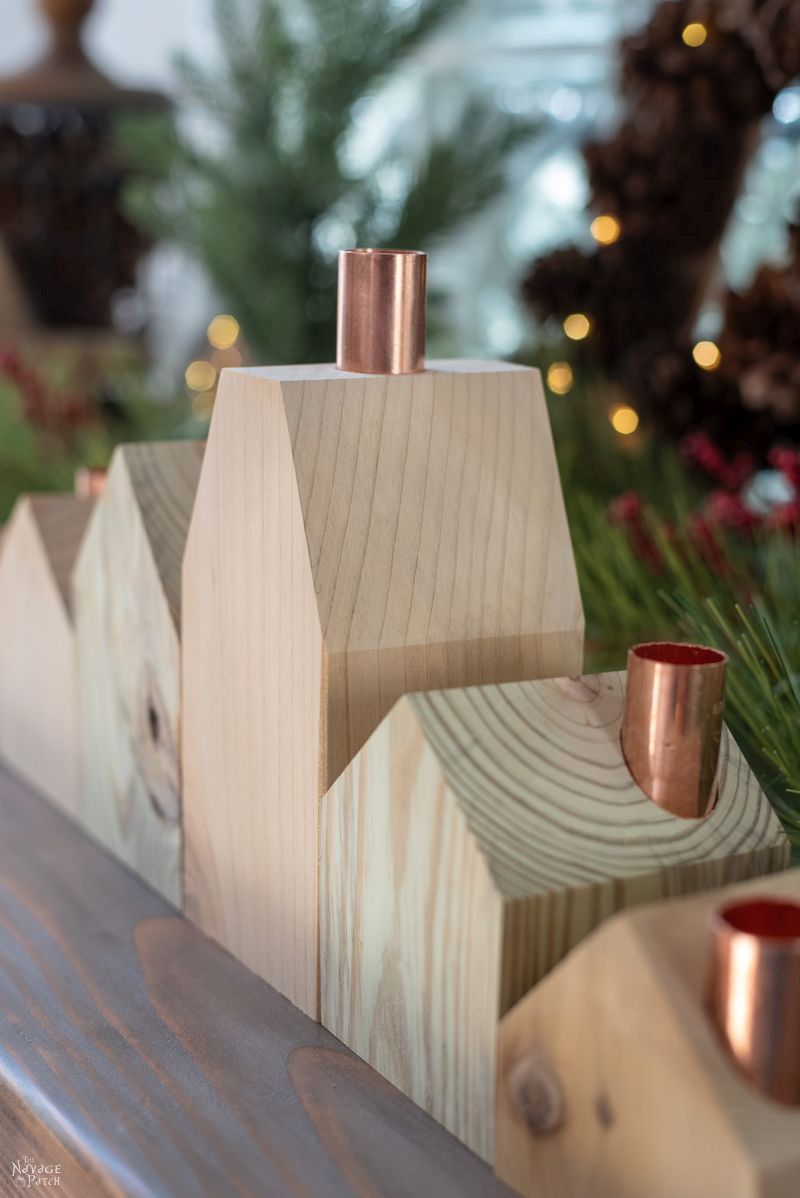
Before cutting the angled roof, I first marked where the copper chimney would go. It is far easier to drill into a flat surface than an angled one, and with a 1-inch Forstner bit, I’d say it’s impossible to drill into an angled surface with a hand drill.
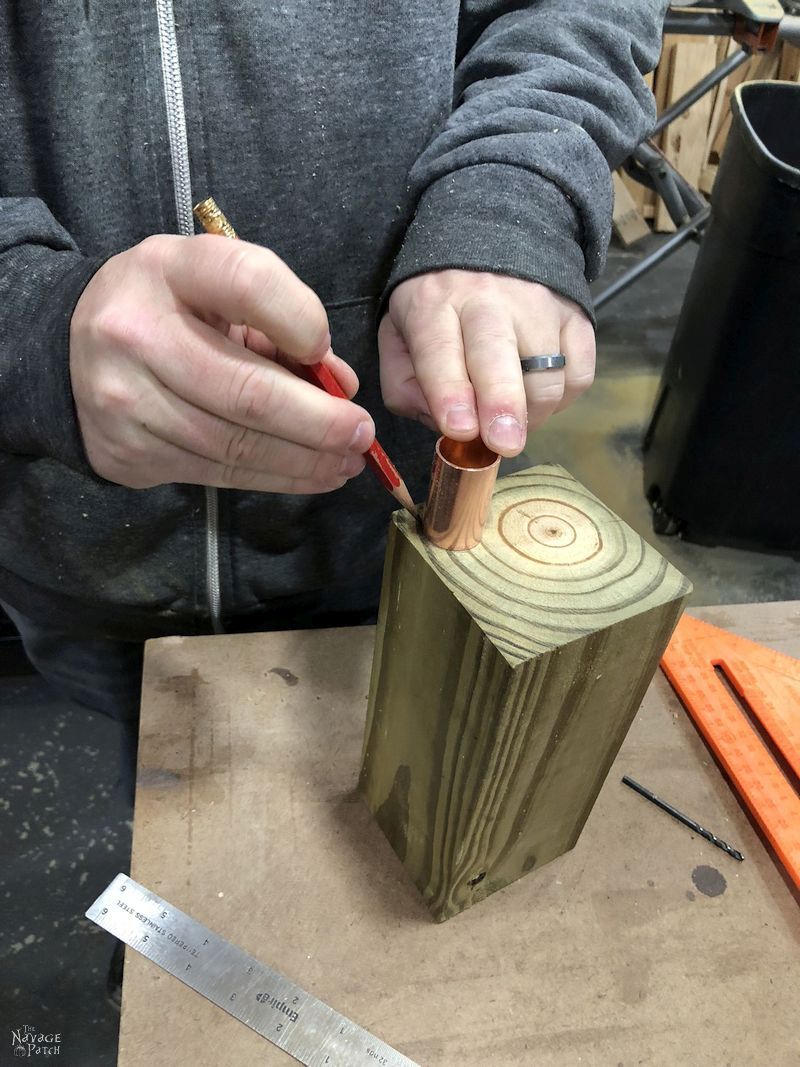
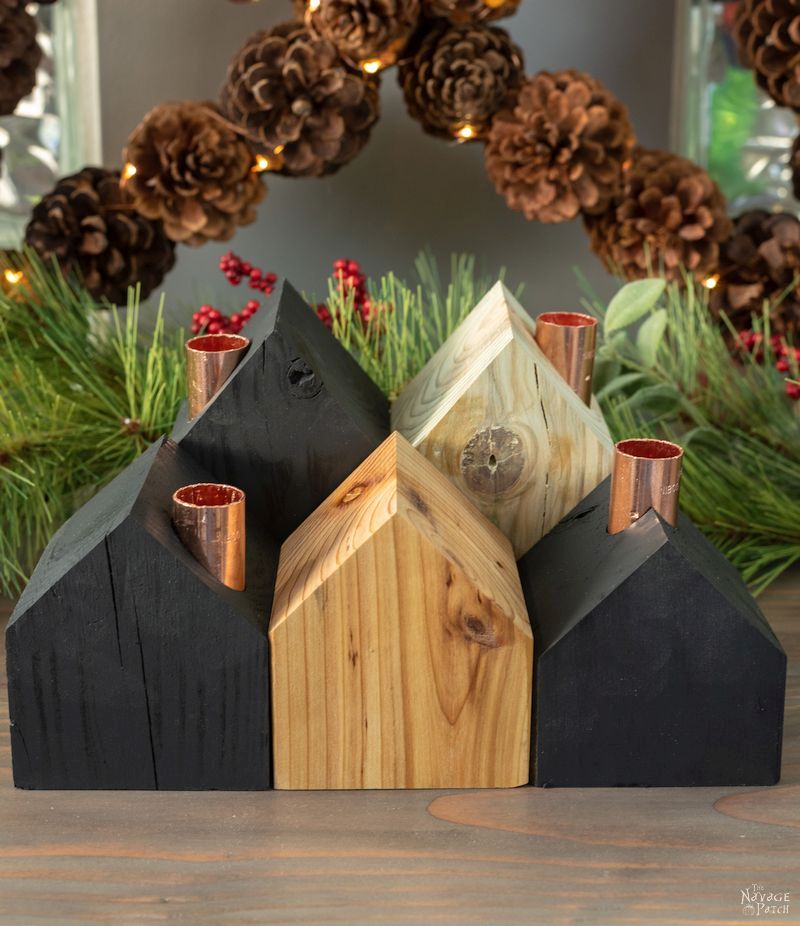
I marked the chimney on both ends of the piece. I varied the placement of the chimneys for each house.
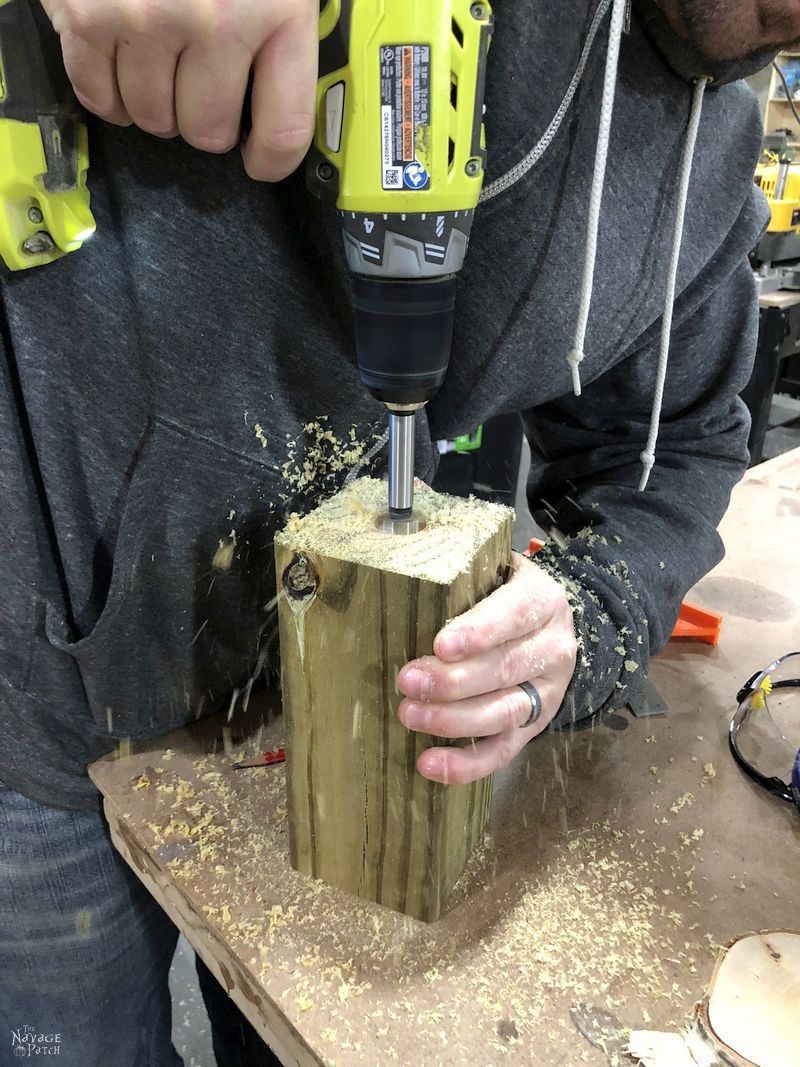
Next, I drilled the chimney holes.
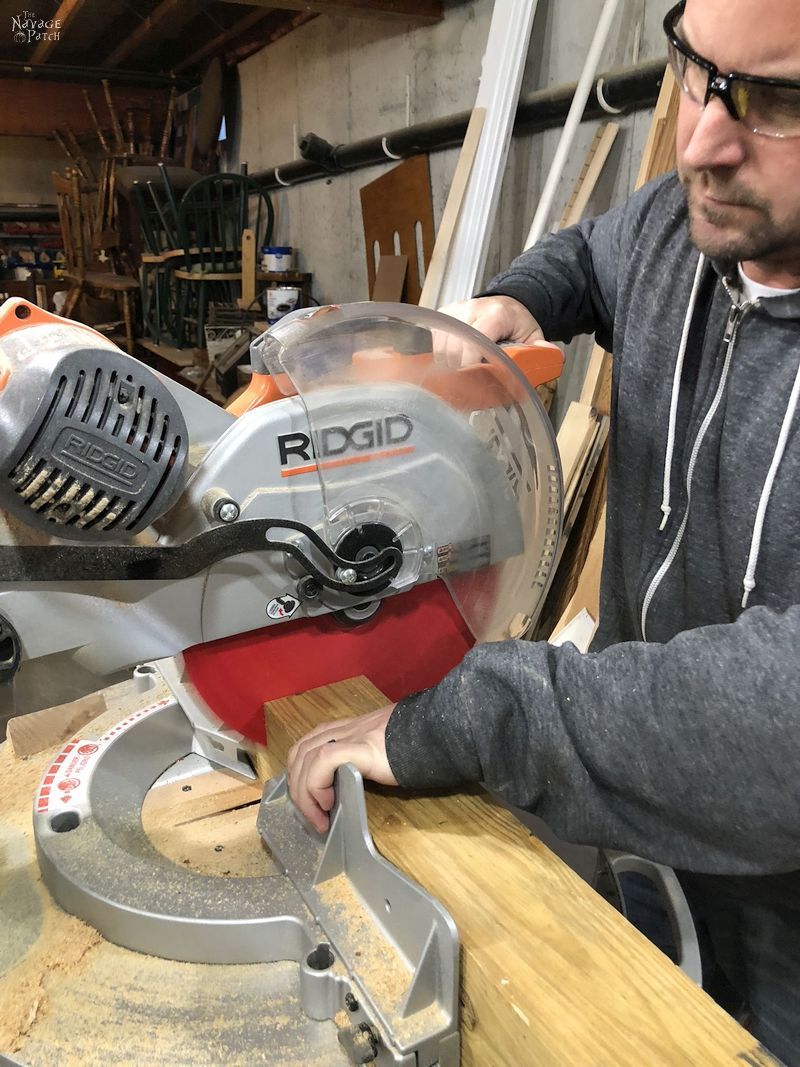
When all the chimney holes were drilled, I set the miter saw to 45 degrees and made the roof cuts.
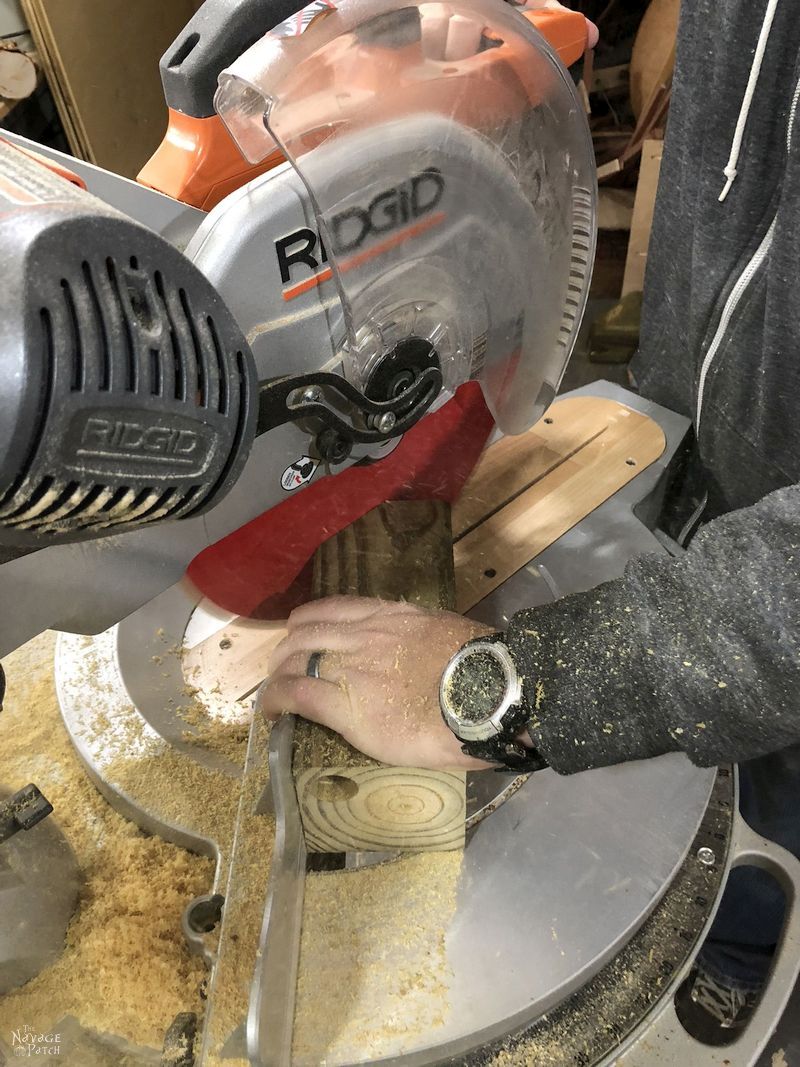


This is what I had after making 4 roof cuts.

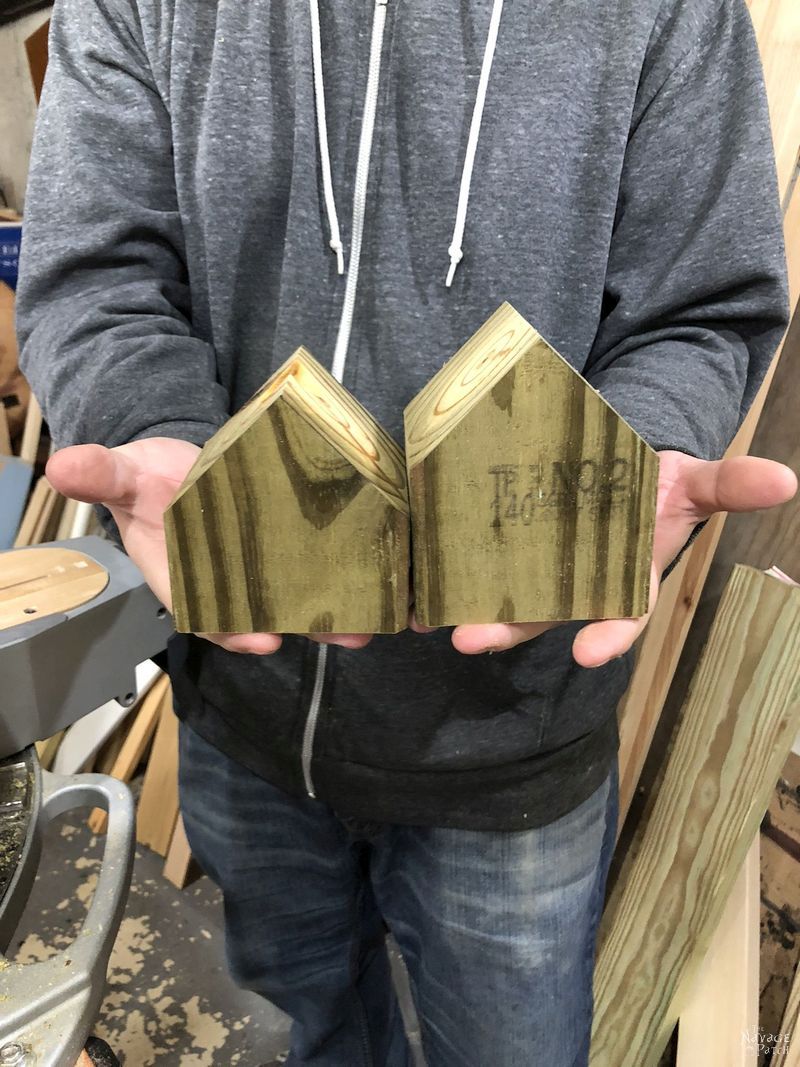
From here, I only needed to cut the piece in half, and I’d have two houses. I cut some equally in half and for others, I made one big and one small.

Two houses done, many more to go.
All in all, I made 8 houses from the pressure treated pine and 6 from the cedar. I left a couple of the smaller cedar houses without chimneys, just to mix things up.
The pressure-treated pine had really cool grain and a nice green tint from all the wonderful chemicals it had been injected with, so I kept the 2 most interesting aside and painted the rest.

I left all of the cedar alone except for one that I sprayed with shellac just to give it a warm look to contrast with the others.
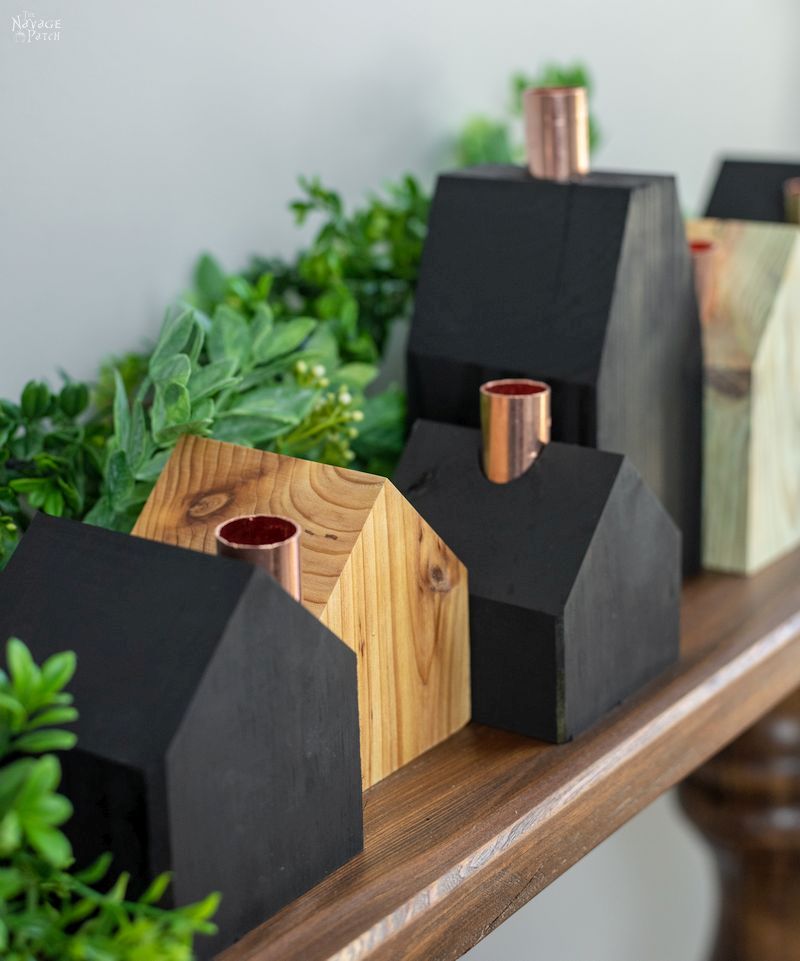
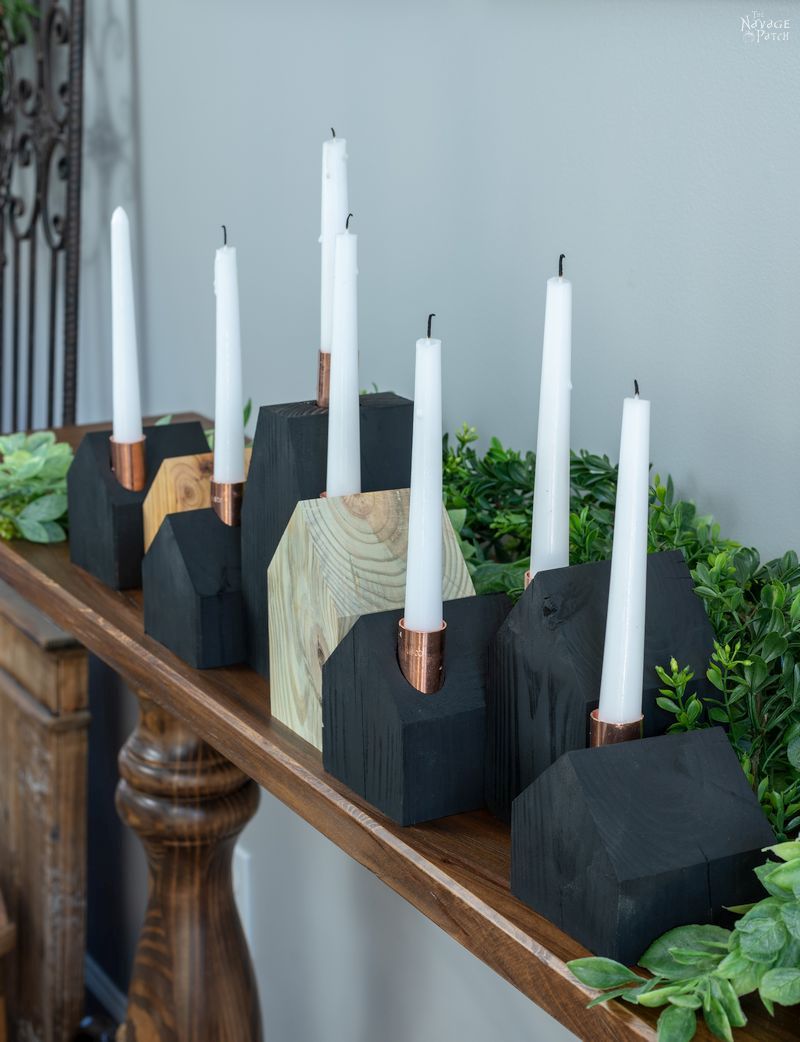
And that’s it! My DIY wood house candle holders were done and ready to be arranged into the little New England village that Handan had been dreaming of!


Share it on Pinterest & Facebook!

Really cute and simple! I wonder if you dripped some wax or even hot glue along the roof line of some of them if it would look like ice cycles forming?
Thank you, Kat! I love the hot glue/wax idea!
These are so freakin’ cute!! I won’t be able to do them for this year, but look out next year!
Thank you, Linda! I hope you make them! 🙂
Those look so nice! Thanks for sharing. Hoping I can figure out where to put some!
Thank you, Lynn! 🙂
Beautiful, Greg! I love the copper chimneys and the varied heights. Nice candleholders! I think I’d like a few of them stained in walnut, or perhaps oak! I love that pine cone star above the houses! You’re a good hubby!
Barbara, I keep telling Handan that every day. 🙂
I love your backyard. It looks so professional! I could spend forever out there. Love everything you two do. Happy Holidays!
I tried to spend forever out there once, but Handan called me in to work. Ah, well…
wow you guys, just when i think you can’t make me get any more gaga over something you do I love these too, xx
Well, thank you, Lady Gaga! 😀
Damn you, Greg, now something else really cute I will have to make right now because of course, I have all the scraps and copper. No, seriously, these are great and I can’t thank you enough for all the projects and inspiration you have sent my way. Happy holidays to all of you!
Thank you, Pam! What else you got lying around there? Silver? Gold? Gemstones? Send some our way, so we can uhhhh find a way to DIY them. 😀
You know that Handan is just beside herself with wanting to paint little Windows and Doors on those!!!!!
LOLOL, you’re totally right, Cheryl!
They do look easy to make and they are beautiful with the candles burning………Hmm I wonder if I can convince my friend to make me a small village.
Georgia, if a friend is making them, I’d go for a medium-sized suburb 😀
Adorable! I can imagine simple stenciled windows/doors on them, too, but simple is good! Hope you and yours have a lovely holiday season!
Thank you so much, Kathy! Handan and I wish the same for you!
Simple yet perfect! I love the copper against the black! I think you need to open an online store soon!
Hmmm…just like me! LOL 😀 Giselle, I barely have enough time to make projects, write posts and drink martinis. If I had to run a shop? Handan would never see me. Wait a minute. She might enjoy that! Oh, crap…
I thought for sure you were going to paint doors and windows and trim and more! But I really like the simplicity. Oh how I wish I had the time to play…..
In the old days, I probably would have installed real miniature glass, hollowed them out and stuffed lights in them. But these are the days of Simple Stupid, lol! 😀
These are adorable. I don’t know if I could resist covering them all in fake snow. A perfect little tiny village!
If I sprinkled them with sand and poisonous spiders, would it qualify as an Outback Village? 😀
Please remind everyone that pressure treated wood should not be taken indoors due to the off gassing of arsenic
Hi Nicky, thank you for your concern! However, pressure-treated pine (at least the stuff available to consumers at Home Depot and the like) is no longer treated with Chromated Copper Arsenate and hasn’t been since the end 2003. Pressure-treated lumber is now treated with alkaline copper quat which is not considered hazardous by the EPA. Thank you for bringing up this matter so I could set the record straight! 🙂
These are so cute! You are right these would be so simple. I love the copper chimneys.
I will have to remember drill a hole before cutting an angle. Silly me I don’t know how many times I try to drill on an angle. Lol.
Thank you so much, Linda! Merry Christmas to you and your family!
Do you have directions for making the pine cone star…like make 5 triangles and connect them together? Hot glue or wire the pine cones on? It is lovely and I have lots of pine cones.
Hi Elaine – we do indeed! Check out that post right here –> https://www.thenavagepatch.com/diy-lighted-pine-cone-star/
thank you
Your “candle village” is very unique! Love them!
I also am interested in knowing how you did the pine cones with the lights!!
Very Nice!!
Thank you so much, Cathey! You can read the lighted pine cone star tutorial right here! —> https://www.thenavagepatch.com/diy-lighted-pine-cone-star/
Oh my, these are the cutest! How neat would they be in a winter tablescape? Oh and maybe a couple of other colors too? Ach, so many ideas, not enough time.
Maybe I can convince my brother-in-law to cut the pieces and drill the candle holes. I wonder, does the copper come in a wider size? Like wide enough for a tea light to fit in?
Hi Kathy, you certainly can get copper couplings in 1 1/2 inch diameter (tea light size)! Home Depot probably carries them, and here’s a link to find them on Amazon: https://amzn.to/2SI2ljf
Fyi…I have been making these for yeeeers and drill my holes after cutting the pitch. Paddle bits are what I use and very easy to drill on an incline. Love your tutes, btw.
Good, tip! Thanks Mechelle!