DIY Twisted Candles
DIY twisted candles are so fun and easy to make, you may find yourself with a kitchen full of them if you’re not paying attention!

“Hey Babes!” The voice preceded the woman, as is often the case. My ears pricked up, and my eyes instinctively scanned the room for an escape route. The wailing call had come from the garage, signaling the arrival home of my babes from work. Usually the hey-babesing didn’t start until she’d let herself into the house. Usually the only sounds that wafted in from the garage were the last remnants of her front-seat singalongs after turning off the engine.
Something was up.
Again, “hey Babes!!” Dammit, it must be important.
I wiped my hand down my mouth and weighed my options. I could run – there was always that. But she was currently occupying my best exit. I could hide – a juvenile response, perhaps, but effective when executed competently. Or I could stay and face the…the what? I didn’t have any information beyond the volume and intonation of her voice.
One thing was certain. She wanted me to do or make something. “Hey babes” has only two meanings, the most common of which is work for Yours Sufferingly. The tone wasn’t right for it to be the other meaning. No one wants to hear that “hey babes!”

So it wasn’t necessarily a bad thing waiting on the other side of that garage entry door. I just didn’t have enough information.
I decided to throw caution to the wind and stand my ground. Let the fates bring what they may.
The door flew open as if possessed of its own will.
A frisson of fear ran from the tip of my head down my spine.
Still, I held my ground.
There, framed in the doorway, stood my babes – her curly hair framing a face with eyes alight and mouth open in a terrible vicious wonderful smile.
“My babes,” she said, softer but no less excited, “do you know what you’ll be making tonight?”
I already knew the answer – chicken caesar salad. I’d bought anchovies for the occasion that very morning. But somehow, I didn’t think she was asking about dinner.
“Ummmmm…” I said.

She stepped over the threshold, and I stumbled backwards a few steps.
She pressed her case. “Does my babes know what he’ll be making tonight? Hey? Hey? Does he? Hey?” she said.
I turned and hightailed it into the kitchen, putting the island between us. A half ton of rock should slow her down – her and whatever hare-brained scheme she’d cooked up.
“My babes!” she said and deposited a large package of dinner candles on the island, “you’re going to make twisted candles!”
Twisted candles?
I rolled the words around in my head. The idea didn’t sound half bad, actually.
“Twisted, eh?” I said, edging closer to my babes. “Tell me more.”
She then told me the tale of Lex Pott, the Dutch artist and sculptor who started quite a trend with his twist candles. Nordstrom sells a single Lex Pott candle for $40.

Forty dollars!!
And people actually buy it!
Why on earth would you pay forty dollars for something you could make for less than one dollar? It annoys me when people profit so egregiously on the ignorance of others.
I looked at the box of candles, then up at my babes. Forty dollars, indeed!
“Let’s make some twisted candles, my babes!” I said, and she smiled her biggest smile.
DIY Twisted Candles

You like simple? I mean like really stupid simple? Yeah, me too. Then you’re going to love this project! All it takes is dinner candles and warm water…and maybe a straight-sided glass, if you have one.
At first, I couldn’t believe it. Warm water? It seemed like nonsense! The water needed to be hot! Like really hot. I was sure of it! So I did what any sane man with a sous vide machine would do: I got the tap water as hot as it would go, filled a wide pot, took its temperature (125 degrees), and then set the sous vide to maintain that temperature. I deposited several candles in the water and declared to Handan, Baris, Penny, Pepper and anyone else who may have been listening (Alexa) that it would take at least 15 minutes for the candles to become sufficiently pliant.
Why 15 minutes? Why 125 degrees, for that matter? Did I have an inside scoop on this process?
Heck, no, madam! As men have done since the dawn of time, I was flying blind and fueled by bullshit.
Fifteen minutes later, I checked the pot and discovered a gruesome, waxy mess. It seems candles don’t need much heat to turn into mush.
Perhaps it was time to try it the way my babes originally told me. I dialed back the heat to very-warm-but-not-hot-enough-to-be-uncomfortable. And guess what?
It worked.
Check out the video below to see how I made three different twisted candles. There’s also a written tutorial for those more inclined to read.
DIY Twisted Candles Video Tutorial

DIY Twisted Candles Tutorial
We found the easiest way to heat the candles and work them in the water was to use a baking dish. Fill it with very warm water.

Place a candle in the water. You can add a few candles at a time so the others soften as you work on the first. As long as the water isn’t too hot, the candles sitting in the water will be fine. Let the candle soak for about two minutes before rolling or shaping.

Using a Dollar Tree glass vase, I started gently rolling the candle. You don’t want to press too hard, or the candle’s skin will rupture. Yes, these candles have a skin of wax that is different than the wax inside. It must be part of the technology that makes them dripless. Slow and steady wins the race here. I tried rushing a few of them, and they all ended up with ruptured skins. At that point, the candle is only good for melting down to make DIY scented candles!
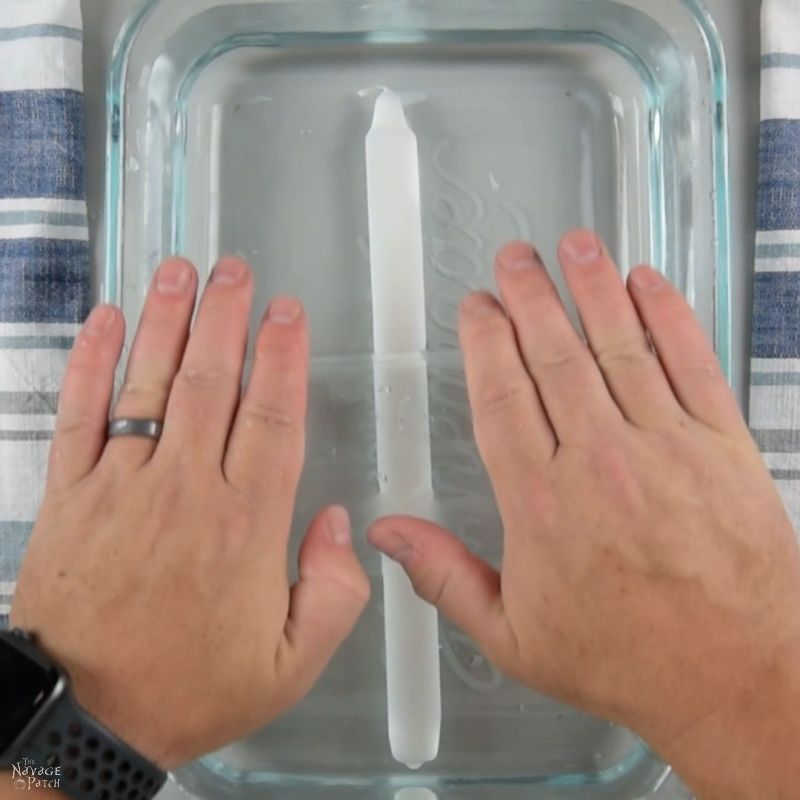
Flip the candle frequently, checking your progress each time.
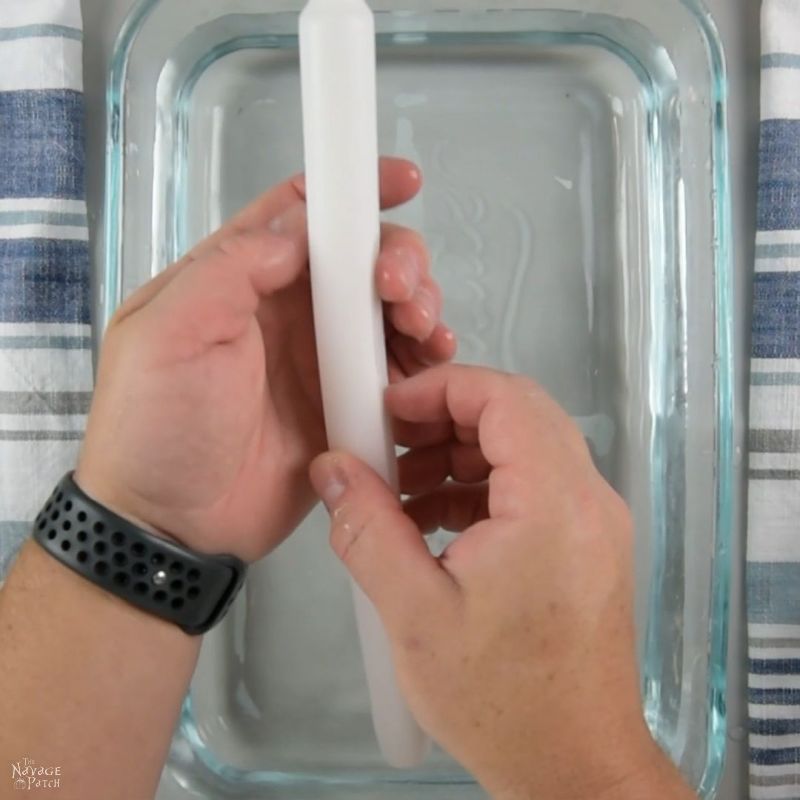
Soon, you’ll see the candle flattening under the roller. Resist the urge to rush this process.

Keep checking your progress. The candle pictured below is nearly ready for twisting.

Just a few more rolls…

You don’t want to roll too thin. Once you’ve reached the thickness pictured below, grab both ends and start gently twisting in opposite directions.

As with the rolling, twist slowly. The wax is incredibly pliable and forgiving if you work it nice and easy.

Keep twisting as much as you want.

For this candle, a simple half-twist looked elegant, so I left it there.
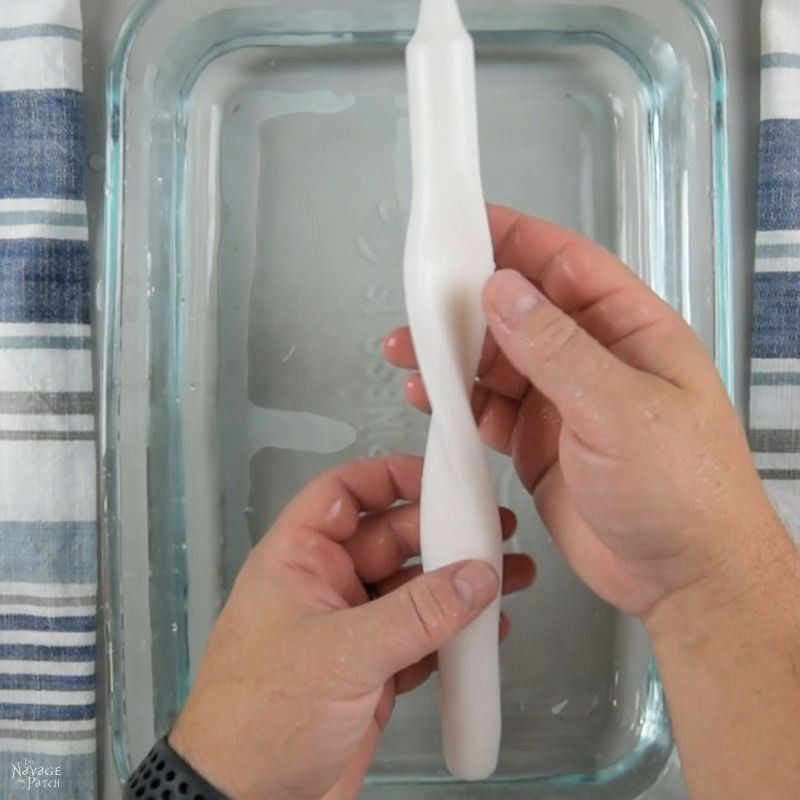
And that’s it!

You can dunk the candle in cold water to set the shape. This is especially useful for more complicated shapes or if you rolled out thin sections of candle.

Tip: you many be tempted to save money by using Dollar Tree candles. Don’t! We tried them, and they don’t work. The wax they use is different, and the candles do not become pliant with warm water – they just snap in two if you try to bend them. If you buy candles in bulk, you can get the cost of each candle below $1.
If you’re able to, please watch the video above – I show how to make the candle below, as well as the one above and one other. They’re all so easy and fun to make!

I got the blue in the candle below by dipping parts of the finished candle in melted blue wax.


For others, I dipped the candles in blue wax before shaping.


The possibilities are pretty much endless with these DIY twisted candles!
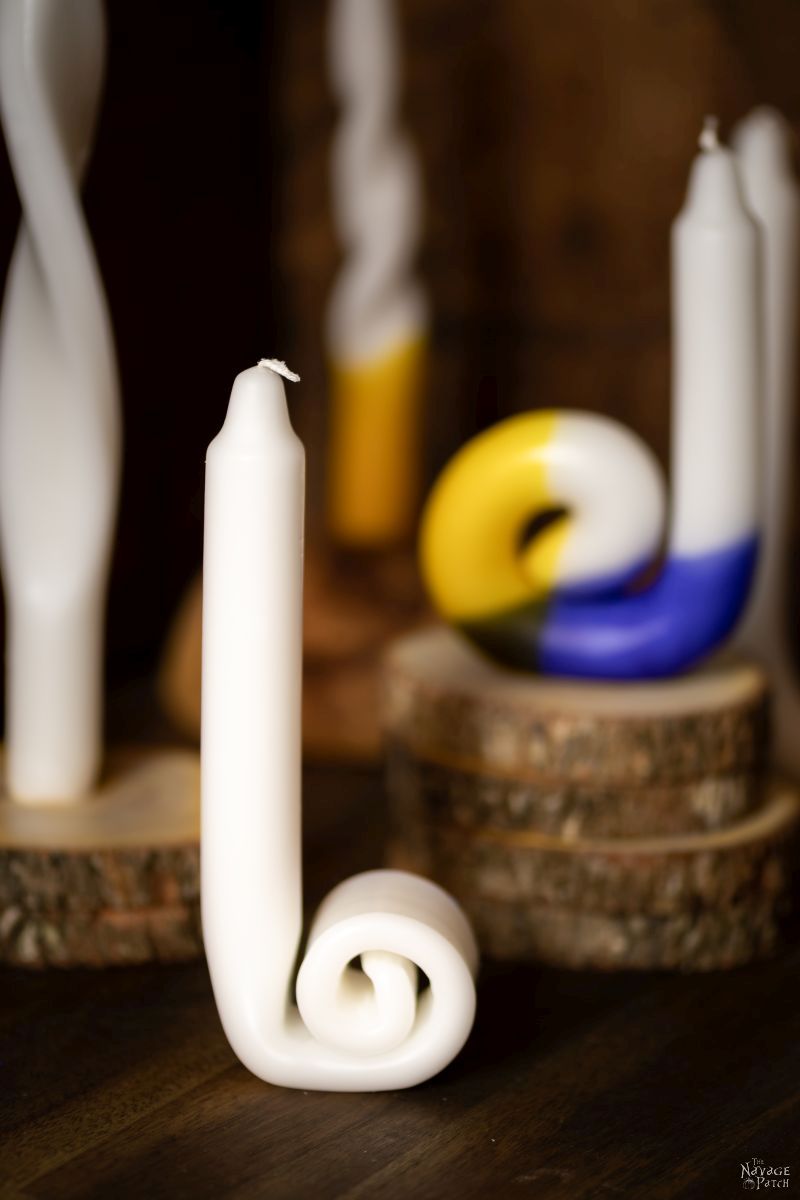
We now have a kitchen full of twisted candles. It’s time to light ’em up!
We love it when you share our posts on Facebook and Pinterest!


The trusted candles are so neat! I’m gonna try it tonight. Where did you get the candles that you used? You said not to use Dollar Tree candles, but what exactly do I need to look or look out for?
Thank you, Charity! I linked to them in the post! 😉
Twisted not trusted……. stupid auto-correct.
Thanks, that looks like fun.
It is, Olga! 🙂
In final picture is the W made by attaching two candles? These are great.
Attaching 3, actually. That one was a bit tricky to get them to stay. We used toothpicks and a little bit of melting the wax on each end.
This is definitely a “can do”. Thinking of custom colors for Christmas gifts. One thing, I tried to watch the video and just couldn’t stand that music!!!! Please leave that out next time. Bet you don’t have one single person asking you to put it in the video. I want to hear you without being distracted. Thanks a bunch!
Okay, I hear you! I just found out that nobody likes the music. Consider it gone! I’m re-working the video now, and the “clean” version will be uploaded shortly. Thanks for your input, Linda! 🙂
Great project!
Thank you, Kathy!