DIY Wood Bead Pumpkins
These DIY Wood Bead Pumpkins look great as part of an autumn or Thanksgiving tablescape or on their own in a fall display.

Does anyone not love pumpkins?
Is it even possible?
Now, I’m not talking about pumpkin spice here or pumpkin pie or anything pumpkin flavored. The taste and texture of pumpkin (real or artificial) are not for everyone, and there will always be some weirdos out there who don’t like it.
No, I’m talking about actual (orange or yellow or green) pumpkins.

If someone told me they didn’t like pumpkins, I’d naturally have to assume that they despised puppies, kittens and sunsets and were a card-carrying member of the Curmudgeon Club.
There is a universal lovability to the pumpkin. They are often imperfectly-shaped things festooned with warts and topped with gnarled stems. But it is this imperfection and the infinite variation in shape, size and color that makes them so endearing.
Handan is a sucker for pumpkins. She even incorporated one into our logo!
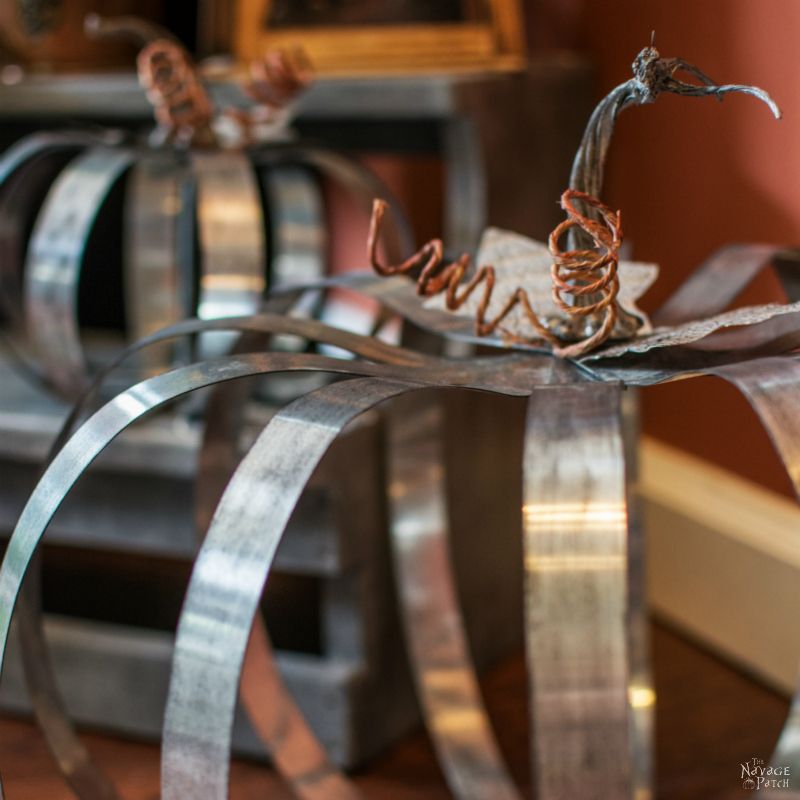
Over the years, you’ve seen many of her pumpkin creations. The first was her Pottery Barn knockoff metal pumpkins.
The next year she made these popular little sisal twine pumpkins.
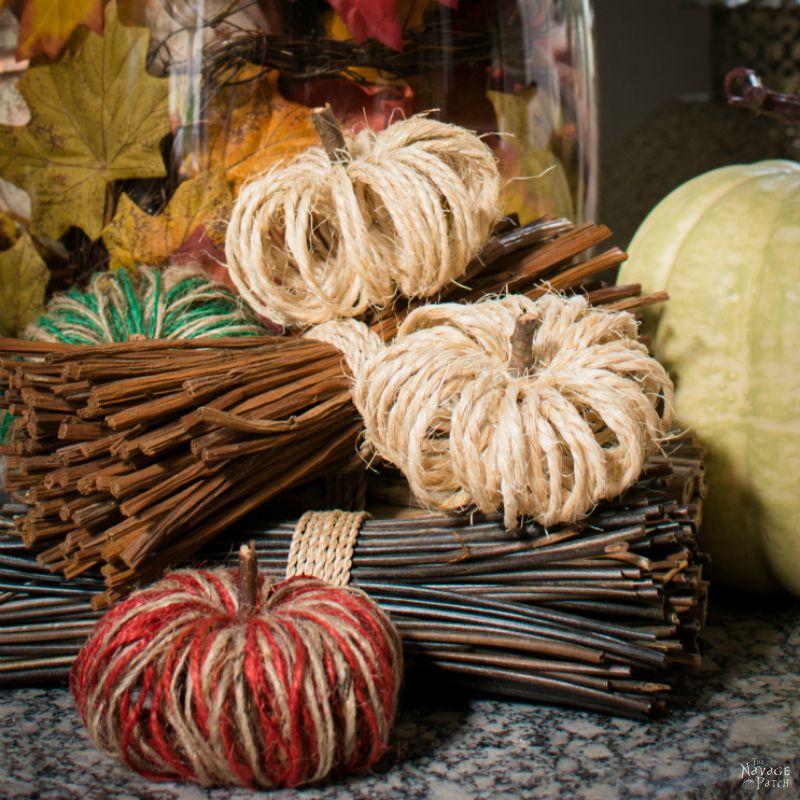
And just recently, we made a bunch of yarn pumpkins.

Yep my babes has pumpkin seeds flowing through her veins.
With that in mind, it really came as no surprise when she started gathering supplies for our my latest project.
She had a notion to make wood bead pumpkins. Oh, she didn’t come up with the idea for a beaded pumpkin. It’s been done.
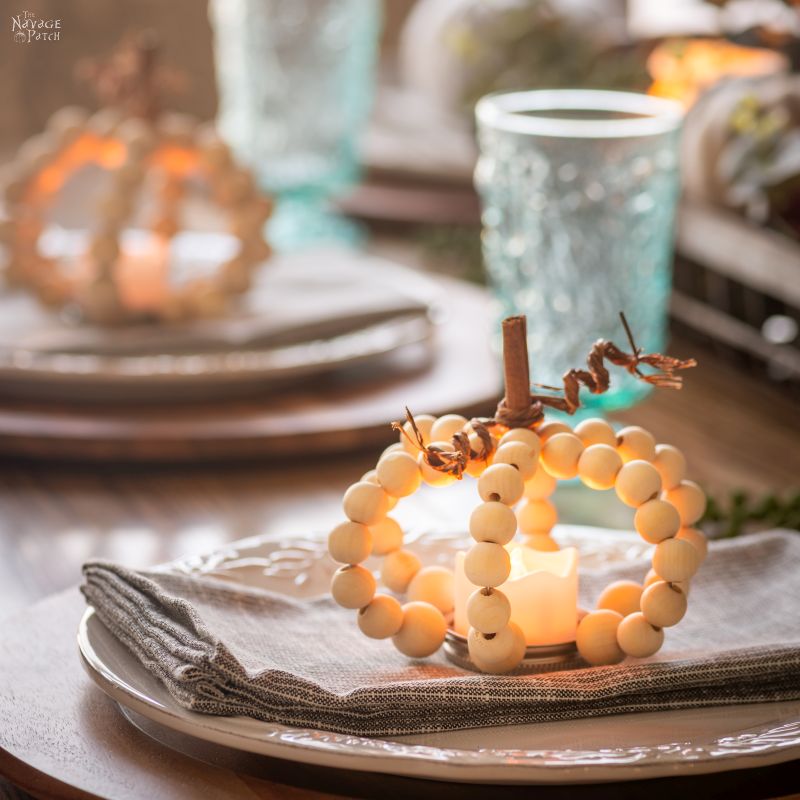
But she had an idea to make it a little different. Handan came up with a way to make these wood bead pumpkins with the lids from mini mason jars, and those lids would act as a candle holder for small flickering LED tealights.
And that made all the difference.
Though our wood bead pumpkins look great on a display shelf, we also like to use them as a part of our fall-inspired table setting.
If we were having company this Thanksgiving (distance prevents it this year), we’d give them out as meaningful party favors. They’re quick and easy to make, and it’s not too much trouble to fill a table with them.
Why meaningful?
Well, because of their little tea lights, they make my babes think of Rumi – specifically this quote:

So there ya have it: a quick and easy craft that does triple duty as a decor piece, a pre-dinner plate-squatter and a meaningful party favor.
What more could you possibly want from a craft?
Okay, enough of my blabbing. Let’s see how it’s done!
Oh, by the way, many of you have been asking when I’ll start making “talkie” videos. Well, your wait is over. Be sure to watch the video tutorial for the debut of The Navage Patch Talkie! 😆

DIY Wood Bead Pumpkins

- Mini mason jar lids – Amazon carries this 12-jar set. Michaels has single ones and also has this 12-jar set. If you don’t have Michaels nearby, then you can try Walmart or Target, as both carry this 4-jar set.
- Assorted craft beads – 14mm and 18mm
- Wire
- Vine-wrapped wire
- Wire cutters
- Pliers
- Permanent marker (I use this incredible one -way better than a Sharpie!)
- Cinnamon sticks
- Flickering tealights
DIY Wood Bead Pumpkins Video Tutorial
DIY Wood Bead Pumpkins Tutorial
The first step is to mark the lid with 6 equidistant dots with a permanent marker. I’m going to stop here for a moment so I can tell you about the absolute best permanent marker I’ve ever used. It’s made by Milwaukee (you’ve probably seen their power tools at Home Depot), and it’s billed as a jobsite marker that can write on any surface. And it does! This marker blows the doors off a Sharpie, so do yourself a favor and stock up! I use them for the 3 Cs in my life: construction, crafts and cooking. It’s great for freezer bags – even ones that are already frozen and wet!
Okay, sales pitch over. Back to the wood bead pumpkins. So yeah, use your marker to mark 6 dots, evenly spaced around the inside of the rim.

You can see in the picture below that I tried to mark along the screw-top groove whenever possible. Once you have your marks, use the awl and a hammer to gently tap a small hole in the lid.

Depending on where you’re working, you may want to put a cutting board underneath the lid so you don’t damage a counter or table.

Just a tiny hole is all that’s needed.

Once you’ve made your 6 holes, put the lid aside and cut 6 lengths of wire about 10-12 inches long.

Thread the wire through the holes and twist.

It’s easier to use a small pair of pliers for the twisting.


Now, for the beads, you have a few options. I made some pumpkins with all beads the size of the larger beads shown below, and I made some with the mixture of larger and smaller. Handan and I prefer the look of the pumpkins made with one larger and seven smaller beads. We tried one large and eight small, but it just didn’t hold its shape very well, so if you’re going to make a mixed bead pumpkin, one large and seven small seems to be the magic number. Otherwise 7 large beads also worked well.
Michaels sells two types of bulk beads in assorted sizes: 18mm-24mm and 10mm-14mm. To make the same pumpkins as we did, you’ll need both packs of beads. Grab (6) 18mm beads from one and (42) 14mm from the other. You can also order them from Amazon, here for the 14mm and here for the 18mm. Strangely, there is no combo pack that includes both the 14mm and the 18mm. Of course, you could always just buy a different assortment and play around with bead sizes.
Anyway, start with the larger bead and feed it onto a wire and then follow up with 7 smaller beads. Fold the top of the wire over to keep the beads in place and then repeat for the other 5 wires.

Grab two opposite wires and twist them together, leaving about a pinky-space between the bottom of the twist and the top bead.

Grab another set of wires and repeat.


It’s easier to twist with pliers.

And finally, bring the last pair together. You can see in the picture below about how much you should twist each pair.

The picture below show the proper amount of space to leave between the bottom of the twist and the beads. If you leave too little space, you won’t be able to join the pumpkin together properly. If you leave too much space, too much the wire will show once you’re finished with the bead pumpkin.

Next, bring the 3 pairs together as shown in the picture below. The 6 top beads should have enough room to form a snug circle.

Twist all the wires together. Start with your fingers and finish with the pliers.

You want the twisted wires to be about an inch in length.

Trim the excess with wire cutters, and set the wood bead pumpkin aside.

Time to work on the stem and leaves. Wrap the vine-wrapped wire around a pen or pencil about 8 times, then cut.

Slide the coil off the pencil and open the middle a bit.

Wrap the middle around a piece of cinnamon stick. Be sure to pick a cinnamon stick with a hole large enough to slide over the twist of wire sticking out of your pumpkin. If the cinnamon stick looks too long, you can trim it with scissors or wire cutters.

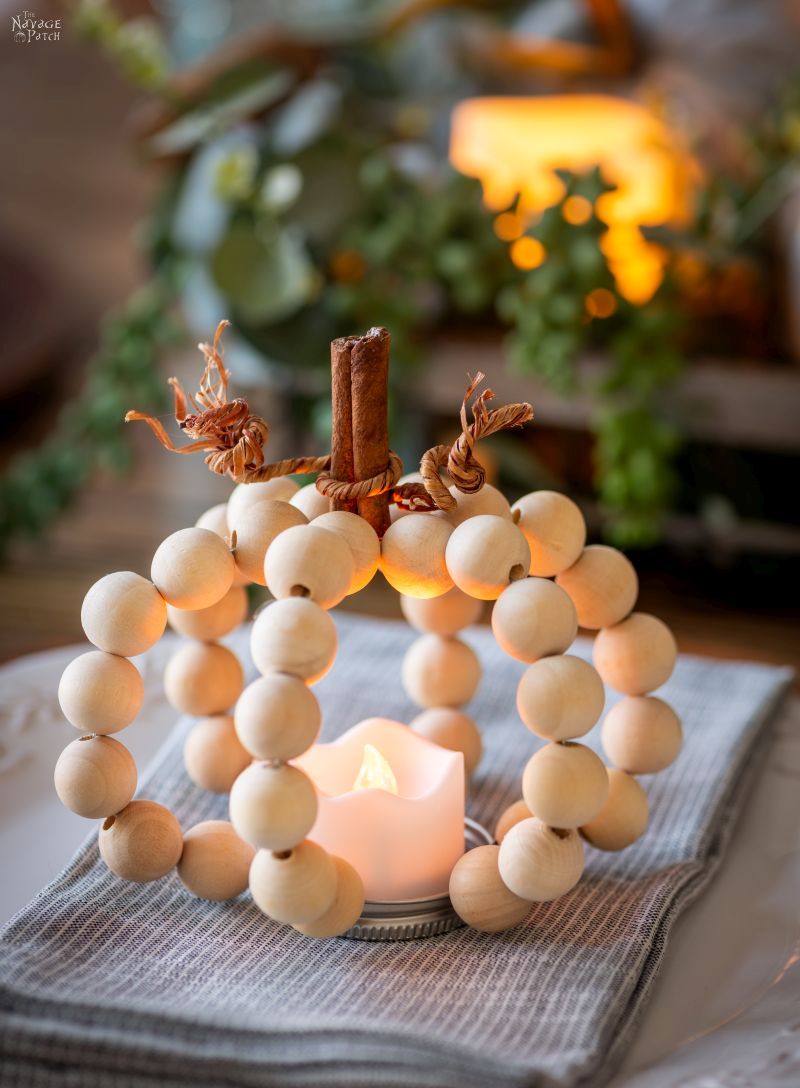
Slide the cinnamon stick stem over the twisted wires and arrange the vine-wrapped wire to your liking.


The final touch is a flickering tealight.

And that’s it! Your wood bead pumpkin is finished and ready for display!

Here are the ones with one large and seven small beads.

And here are the one with seven large beads.


We think both versions look great! What do you think?


We love it when you share our posts on Facebook and Pinterest!


Really, really cute. As always, I can’t wait to make some, and the quote makes them even more special. I hate to be this persnickety, but you are usually so detail oriented that I can’t believe you left the lid silver. A quick spray of brown for soil would take this from 99% to absolutely perfect!!
Thank you, Thea! It wasn’t an oversight – we like the look of metal and raw wood! 🙂 But you can make these in any way that suits you. Paint the lid or don’t, use black wire, use darker wood beads – it’s all good!
Gosh! Super cute!
Thank you, Audra!
These are adorable! My daughters and I will have to make these for the table settings this year.
Thank you, Carolyn! Have fun making them! 🙂
You guys come up with the greatest DIYs!! It’s also nice to put a ‘voice’ to the face. LOL…. but I’m wondering when we’ll be able to see and hear your adorable wife!!! Keep up the good work.
Carla
Ahhh, she’s a chicken! bok bok bok BaGAWK!
Cute craft, I like the natural wood tones with the metal lid. Well done on your first talkie/talk over.
Thank you, Madeline! I expect Hollywood to come knocking any minute now. 😀
Absolutely Adorable Y’all! Love it and y’all too?
Thank you so much, Kim! 🙂
Ok Greg another cute project but I need one question answered what gage wire did you use? I always have a hard time guessing at wire gage or is gauge. Cant wait to make some once I know what size wire
Hi Judi, we used 24 gauge, but 22 gauge would work equally well. 🙂
Thank you for answering I checked this before heading to the store going to get started when I get home. Hope the look as cute as yours.
Excellent video Greg!! It was very helpful.
I am having a luncheon for some gals this next weekend. I’m going to put this on their place setting for them to take home. Thanks for the great idea.
Thank you, Lori! Good luck with your pumpkins and your luncheon! 🙂
Love this project. Can you advise how many strands and beads per strand if you use a wide mouth jar lid? Thank you!