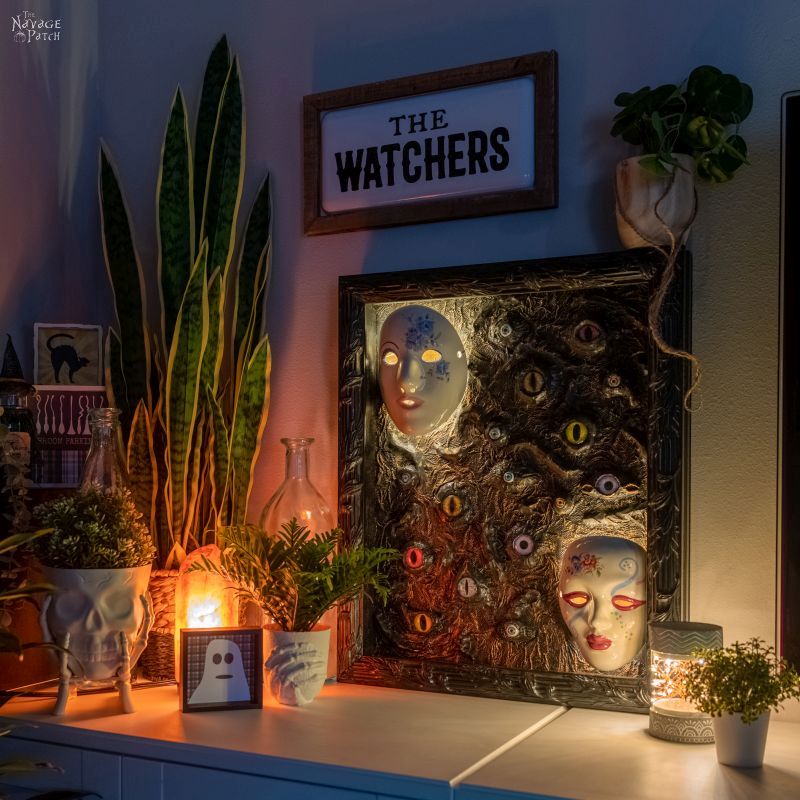
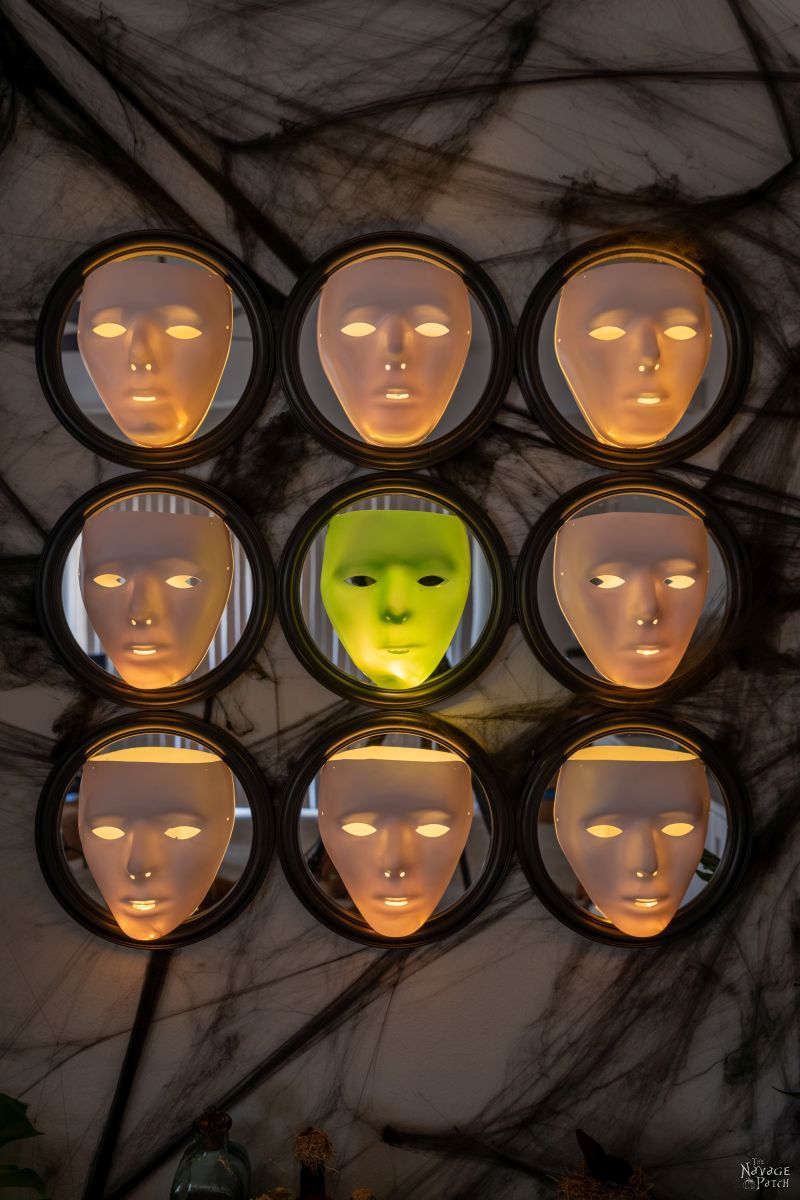
DIY Spooky All-Seeing Eyes
These spooky all-seeing eyes will give you that “I’m being watched” feeling all season long! Creepy DIY Halloween decor at its finest!
This is a project that has been lurking in the shadows for the last four years, just waiting for the chance to be seen. It’s a project that has moved from Connecticut to Georgia to Florida, patiently biding its time as it’s been jostled and jolted in POD and U-Haul alike.
You may wonder why we’ve kept it under wraps for four years.
Is there something wrong with it? Is it not up to our standards?
No and no, madam.
It’s just…here’s the thing – Halloween and Christmas are our two favorite times of the year, and when it comes to crafting and DIY decor, my babes goes a little insane in the membrane with ideas. She’ll fire off like 3 or 4 project ideas at me, and while I’m still trying to wrap my head around number 2, she’ll erupt with several more.
Now, sometimes these ideas don’t make it past the larval stage, but more often than not, they get to the materials-gathering stage, and from there many make it into full production. Once a project is produced, it’s a near certainty that I’ll be photographing it and then writing about it.
But every so often…every once in a while, a project gets to the very last stage – like I’m about to plop my ass down and lift finger to keyboard – when Handan flies off into another frenzied brainstorm and does a Navage Patch equivalent of “Stop the presses!”
These are the times I fold my hands and give a non-committal smile and ask just what on earth she has in mind. In 2017, she derailed this all-seeing eye project because she had the sudden inspiration to make our hanging cage Halloween prop with those two lovable boneheads, Skully and Ratface.
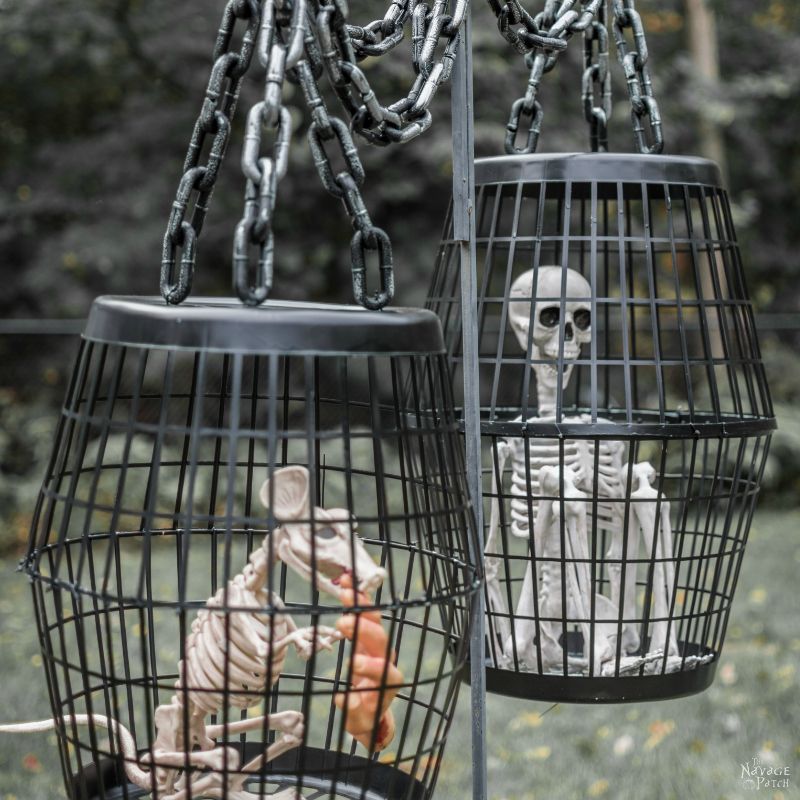
And I’m not here to argue that decision! Skully and Ratface went on to become our most popular Halloween post and our 10th most popular post of all time!
The “all-seeing eyes” was a great project. It’d get its due in 2018, right?
Well, about that…
or 2019?
Ummm…
2020? C’mon!
Okay, look – I almost wrote about them last year. I even had a great tie-in from Handan’s few months spent living alone in an Atlanta studio apartment while I toiled away packing the Connecticut house. Now this is funny, so listen up.
The units in Handan’s apartment complex were joined by a covered breezeway. Upon exiting her studio, were you to look to your right, down about 30 yards or so, the breezeway ended in a wire mesh “window” that looked slightly down into a parking lot.
One day as my babes left for work, she noticed a car parked right outside the breezeway.
Inside the car sat a man wearing a mask. He stared at Handan, unmoving as she locked the door and headed down a different hallway towards the elevator.
She was creeped out, and rightly so! But she put it behind her and went about her day.
When she returned from work and got to her door, she had another look down the hall.
The man was still there, masked and staring into her.

At this point, she was a little freaked, but he was outside, she was inside and there was a locked door between them. Still, her mind drifted to the murder that took place in this very apartment complex a couple of years before her arrival.
The next morning, my babes left for work, and the masked creep was again staring at her from outside the mesh window. And again that night his faceless stare was there to greet her after work.
This went on for over a week, and my poor babes suffered through this terror alone – she didn’t tell me…at least not yet.
And her terror was real. Each day, she was more and more scared, but she didn’t want to look like a bukbukbuk chicken, so she internalized her fear.

Finally one morning, she screwed up the courage to pull out her phone and take a picture of her silent tormentor so she could send it to me and tell me of her terror.
And that is when she discovered the truth about the masked man in the car outside her apartment.

Of course, when she told me, I laughed and laughed and laughed….and then, fearing for my own safety and well-being, I added, “Poor my babes. What a terrible thing you went through. Poor my babes.”
So that hilarious terrifying ordeal Handan endured brought masks back into our minds when Halloween 2020 rolled around in Suwanee.
But still, I didn’t get the chance to write the post, as my babes kept thinking of new projects for me to do and write about.
Well, this year’s the year, sister! This year, we’ve got two great mask projects for you. This one is just the beginning! We’ll have the next one for you later in the week, and it’s a doozy!
Now, this project was done back when my babes was still actively making most of the craft-type projects, while I focused on the bigger stuff, so you’ll be seeing her hands, not mine. And forgive the low-quality process pictures – they were snapped by me on an old point-and-shoot, and they are not up to our current quality standards.
But they show the process, and the final piece is well worth it!
Let’s check it out.
diy all-seeing eyes SUPPLIES LIST
Affiliate links are provided below. Full disclosure here.
- Old ornate picture frame (we got ours on sale at Hobby Lobby for $4)
- 1/8 or 1/4 inch plywood
- Glass eyes
- Air clay
- Black paint
- Adhesive (we used E-6000, but super glue or construction adhesive would work just fine)
- Paper towels
- Mod Podge
- Liquid Leaf
- 2 Porcelain or other creepy masks (we got ours from a thrift store)
- Electric staple gun or other means to secure backing to frame

More Easy DIY Halloween Decor Ideas
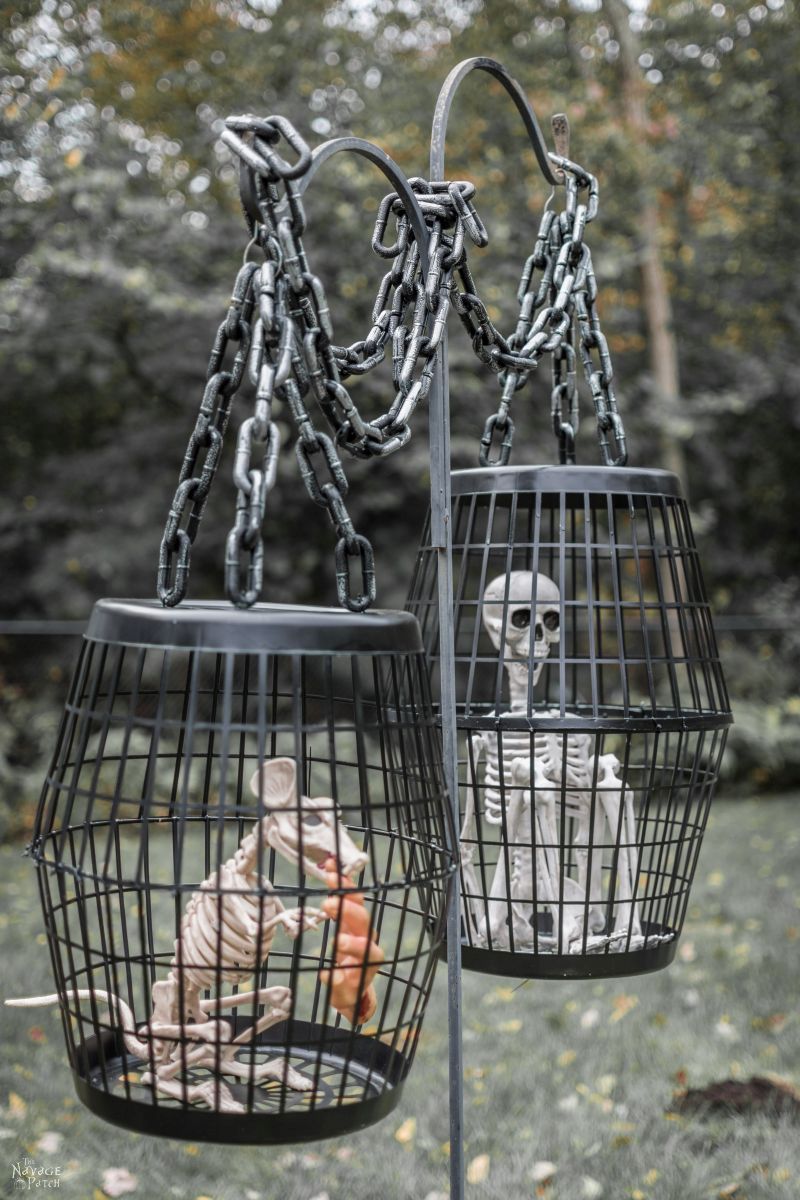

- Hanging Cage Halloween Prop
- Easy Lighted Hanging Ghosts (A Dollar Store DIY)
- Free Vintage Movie Monster Printables
- Gallery Of The Faceless – Easy Halloween Wall Decor
- DIY Cousin Itt Pathway Light
- DIY Skull Sunflower Halloween Wreath
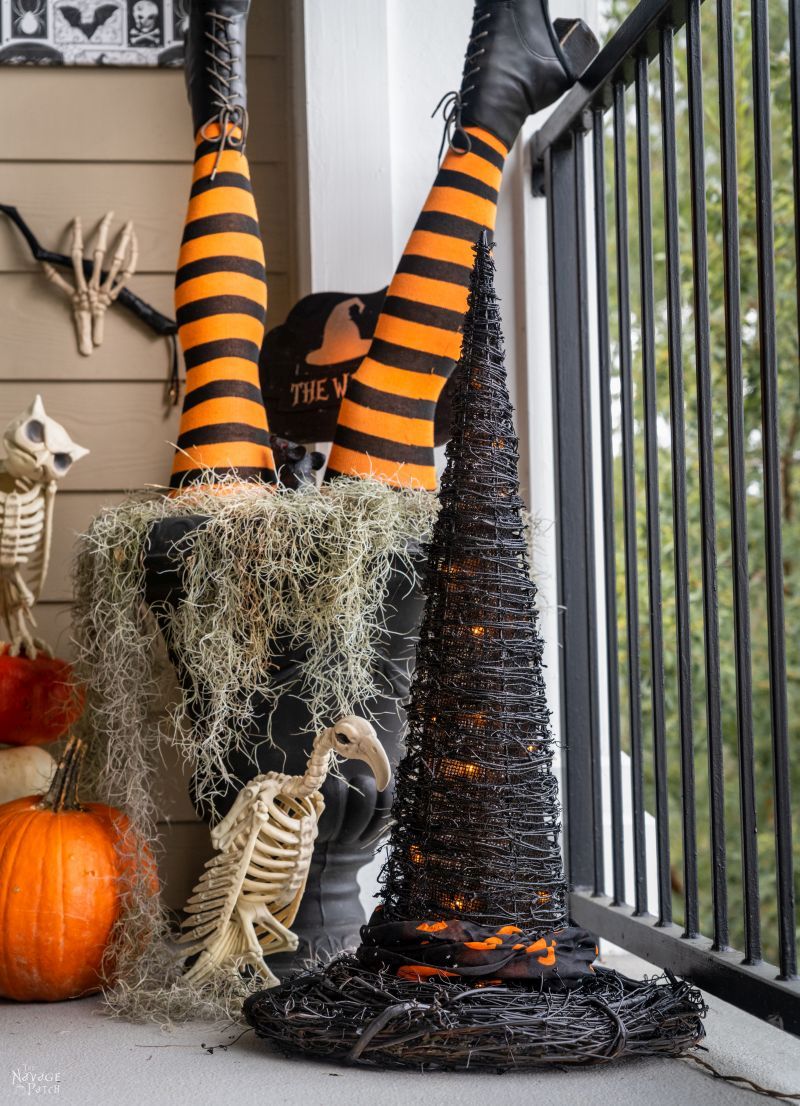
- DIY Lighted Witch Hat (Grandin Road Inspired)
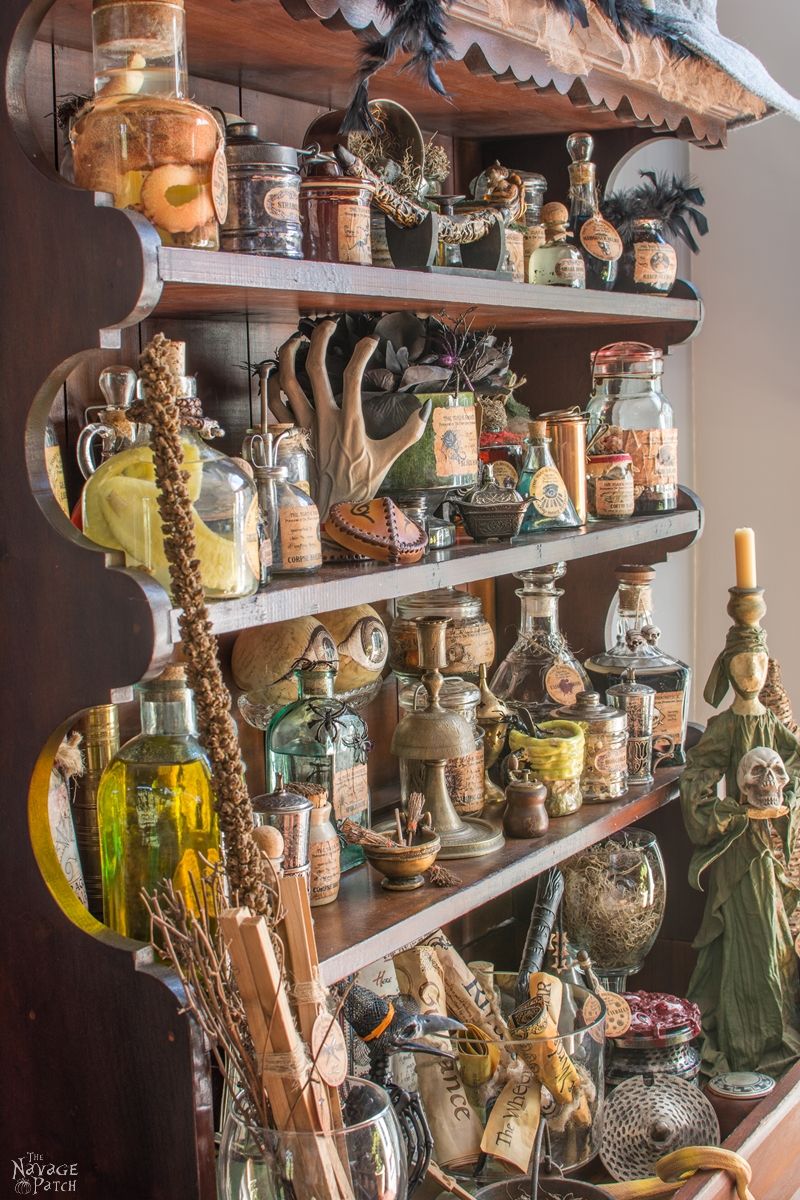
- Apothecary Jars And Free Printable Labels
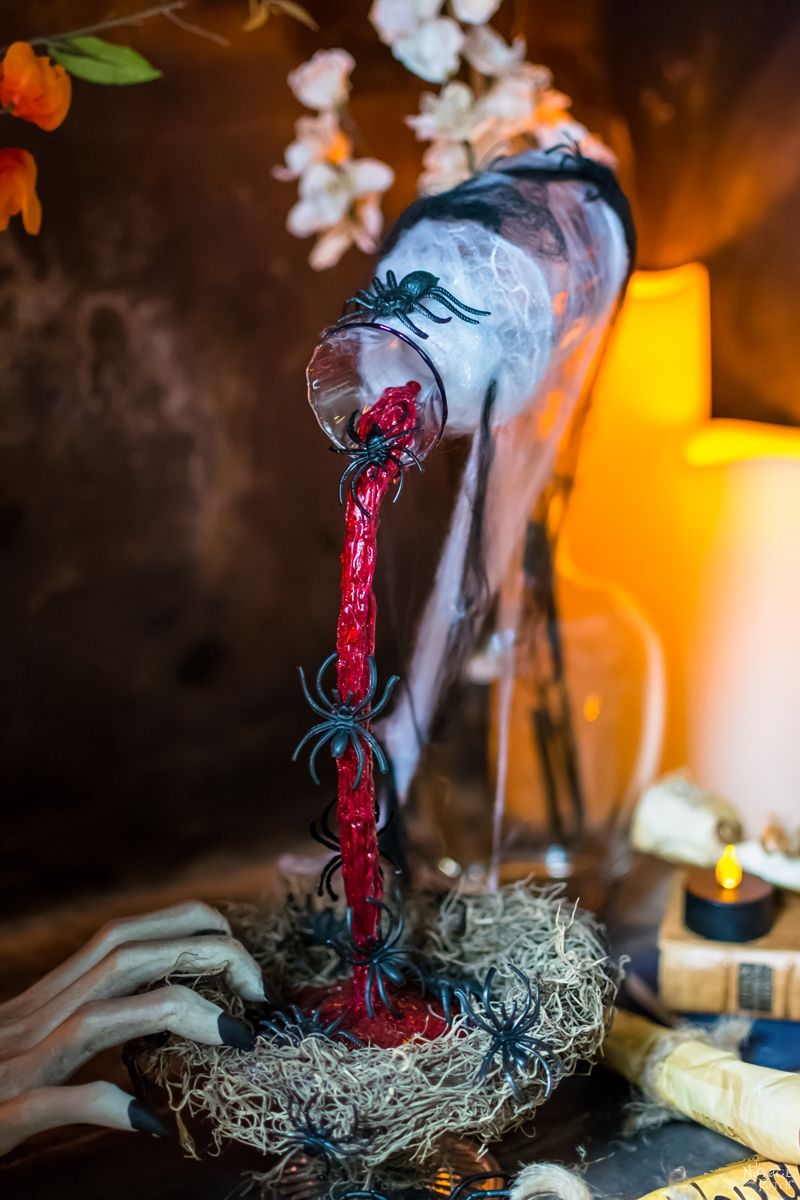
- Floating Potion Bottle
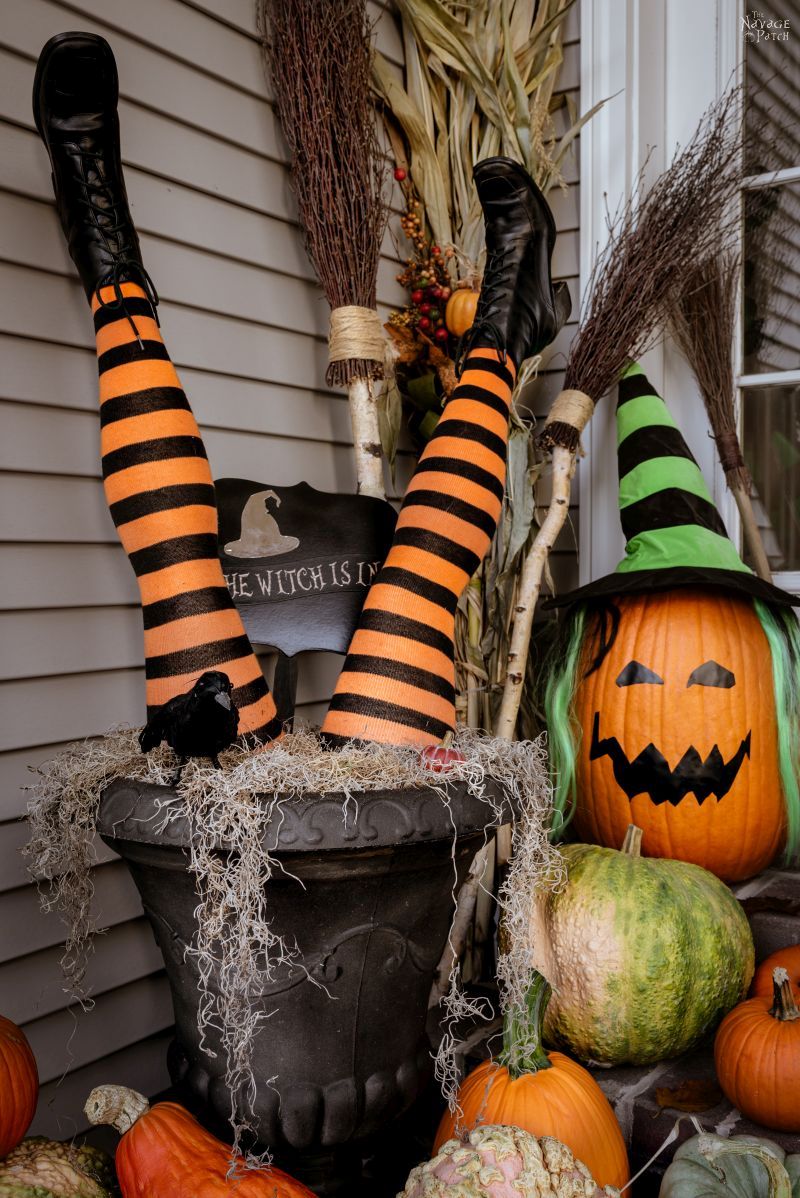
- DIY Witch Legs (Grandin Road Inspired)
- Eyeball Orb Halloween Wreath
- Dishes Of Darkness: Pottery Barn Inspired Halloween Plates
DIY All-Seeing Eyes tutorial
The frame Handan found on sale at Hobby Lobby was perfect for this project – heavy, black(ish), creepily ornate – it’s like it was made for Halloween!

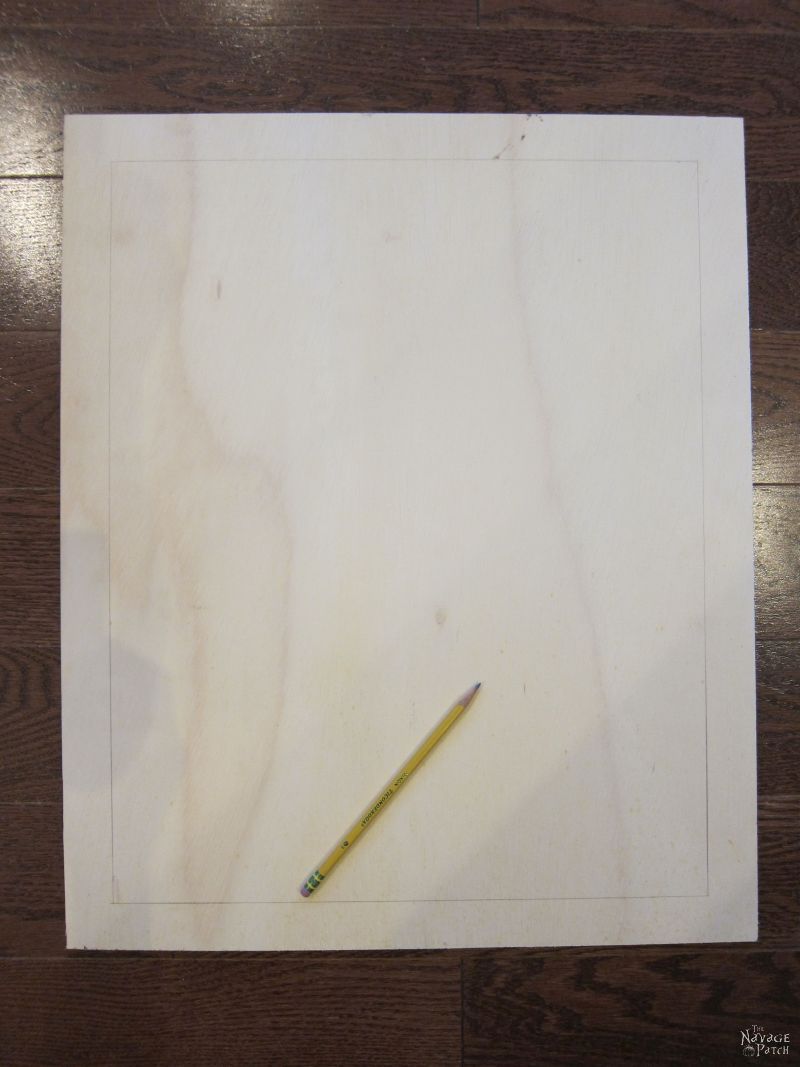
I cut a backing for her from 1/4 inch plywood.

She placed the frame on top of the backing and then traced around the inside edges with a pencil.

This outline showed the border of her work area.
She laid out the masks and glass eyes to get an idea of placement.

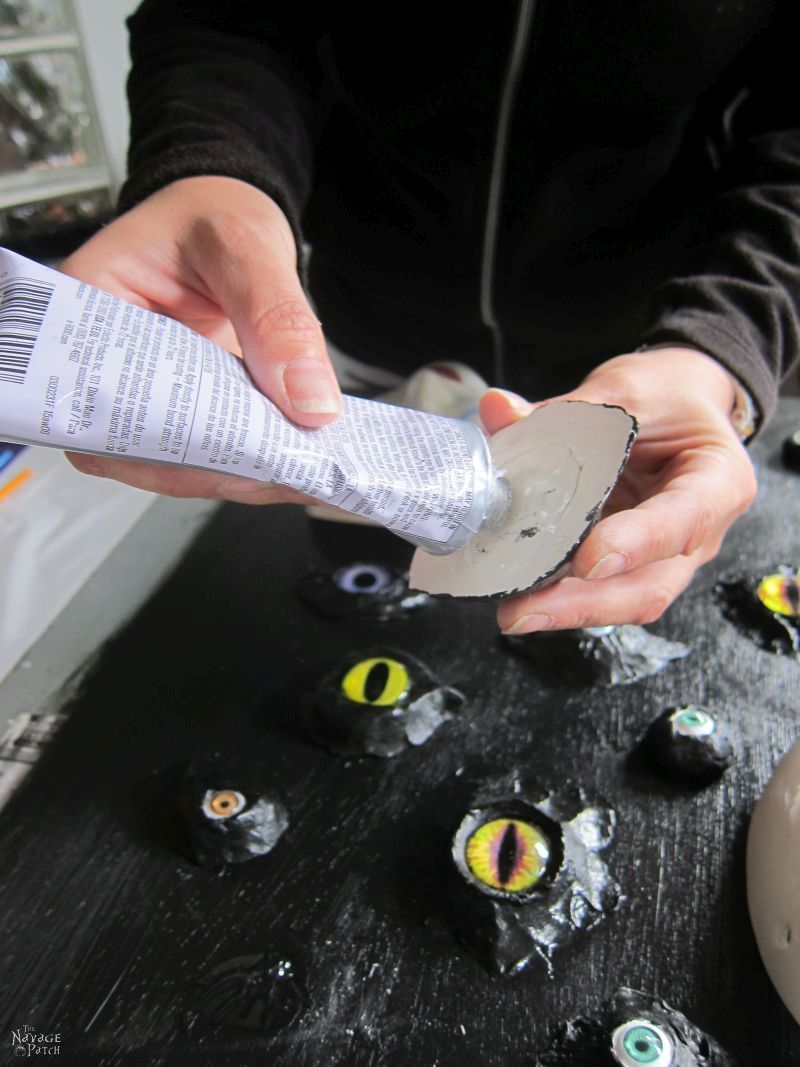
Then she sculpted eye sockets from air clay for each eye.
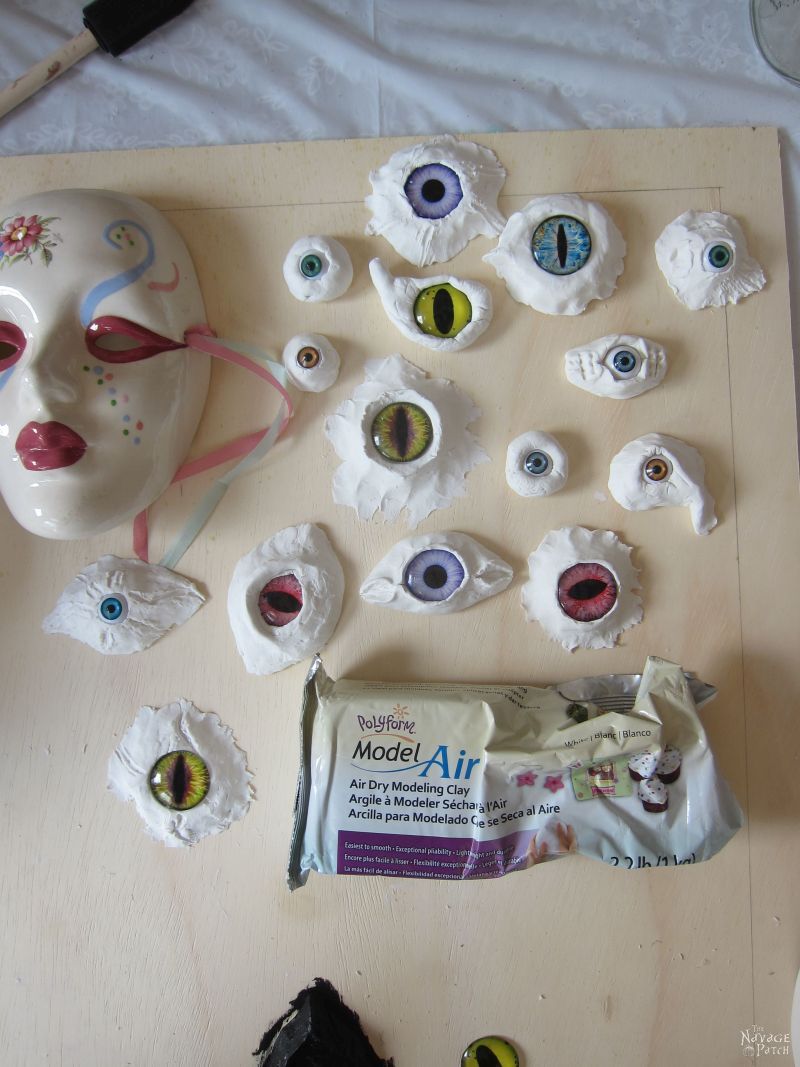
When the air clay had dried and hardened, she painted the eye sockets black.


After painting the eye sockets, my babes turned her brush onto the plywood.

She used E-6000 glue to stick the sockets to the backing.

Now, eyeballs popping out of black plywood is all well and good, but you know what’s better? Eyeballs popping out gross, scaly, leathery skin!
Unfortunately we were fresh out of creepy crafting skin, so my babes had to use the next best thing – DIY faux creepy crafting skin made from paper towels and Mod Podge!

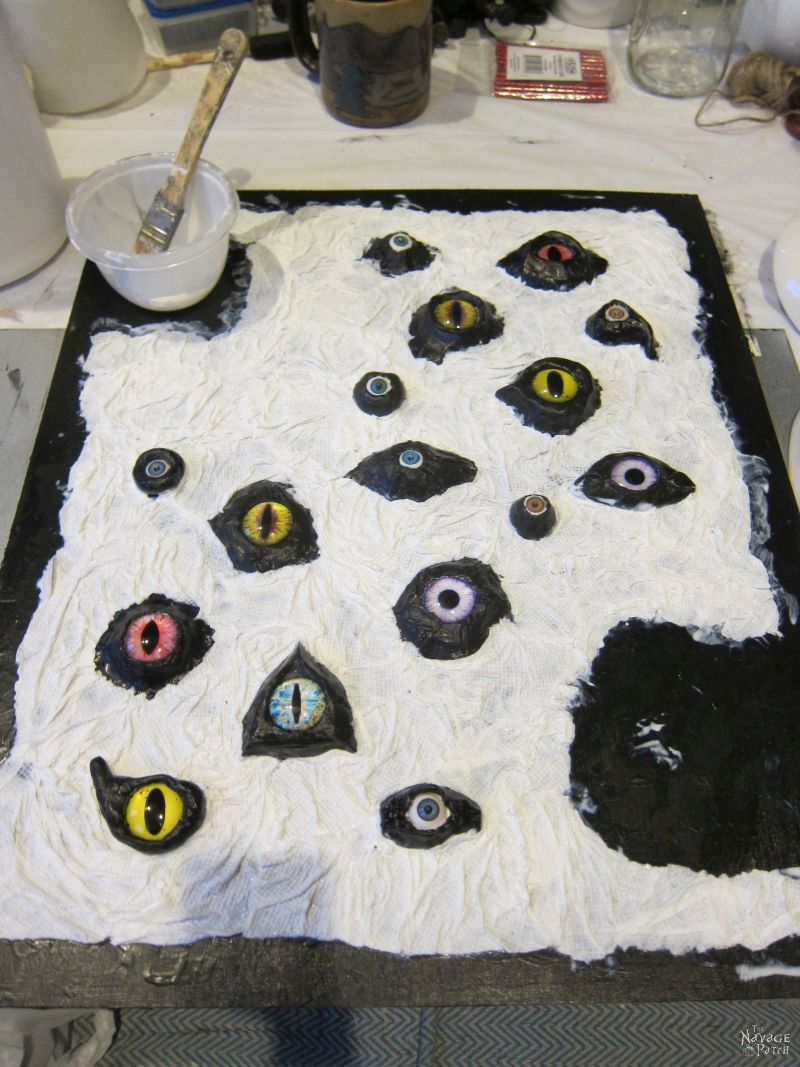
Using water-thinned Mod Podge, she first applied some to the board…

Then she added strips of torn paper towels and bunched them and rippled them here and there to give the effect of ancient leathery skin. After building up a section of skin, she brushed over it again with the diluted Mod Podge to make the paper towels were saturated with glue.

Here’s how it looked wet.
And this is how it looked when the Mod Podge had dried and turned clear.

Handan painted faux skin black and placed the frame on the backing board. She also placed the masks to get a sense of how things were progressing. We both agreed that though it looked good…it wasn’t quite creepy enough. The skin wasn’t as gruesome as it could be.

She decided to add some more air clay to give the skin more depth.

Randomly-placed and oddly-shaped subdermal protrusions are always creepier than plain-old flat wrinkled skin!

When the air clay had dried, my babes painted the new additions black.

Now, everyone knows Halloween and black are like two peas in a pod. But you know what’s even better? Halloween and black and metallic coppery gold. That’s the chocolate and peanut butter connection right there!
Handan used Liquid Leaf and brushed it on very lightly and gently.

Just a small dip…

Then press off the excess.

And then brush it on like this.
After the Liquid Leaf, my babes put the frame onto the backing, flipped it over and secured the backing to the frame with staples.

Then she painted the backing, including the sides of the plywood and sides of the frame.

When the back had dried, she flipped it over, installed two screws to hang the masks and then painted the front and inner sides of the frame black.

The next step was to add fairy lights behind the masks. First she coiled them into loops that would be hidden behind each mask.

She attached the fairy lights with duct tape.


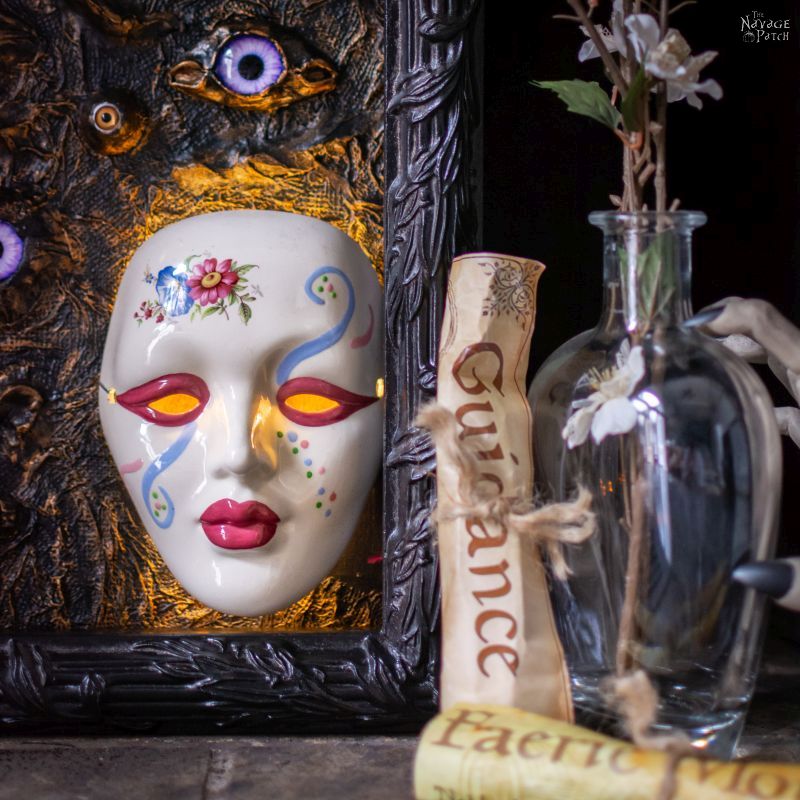
Finally, she added a strap from which to hang the mask.

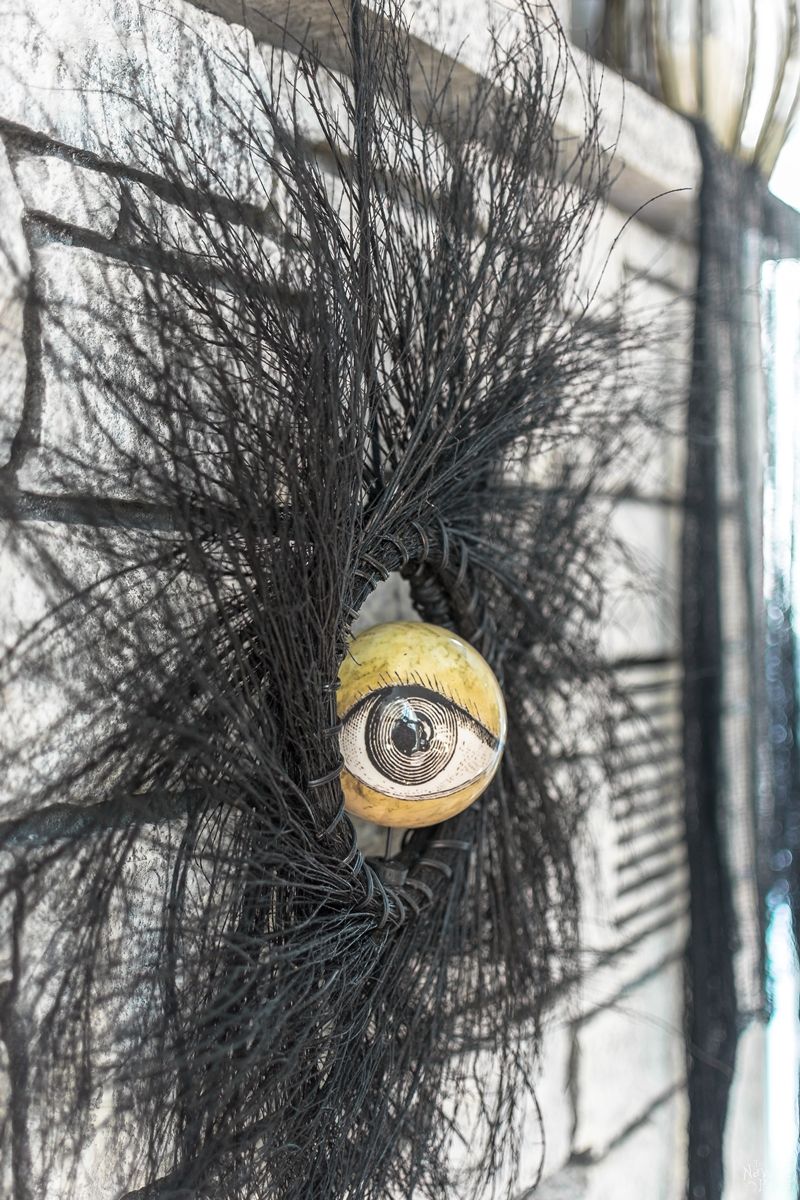
She hung the two masks and her creepy all-seeing eyes (and eyeless masks) project was finished!


OMG! Wow I love that!! My mind is whirling with Ideas. you two come up with some of the best creative fun.
Thank you, Olga! 🙂
I am thinking this technique will be fun for a dinosaur or dragon eye art as well!!
I laughed hard about the masked man in the car. I swore there was a man lurking outside in the bushes at my friend’s apartment. Turns out, it was an actual bush that needed trimming. 🙄😂
Oooh, yeah, dragon eye art would be awesome! LOL, our imaginations can do some pretty wonky stuff to us! 😀
Good job
What’s nice is this has high impact and can go into storage
and not take up much room
Agreed! Thank you!
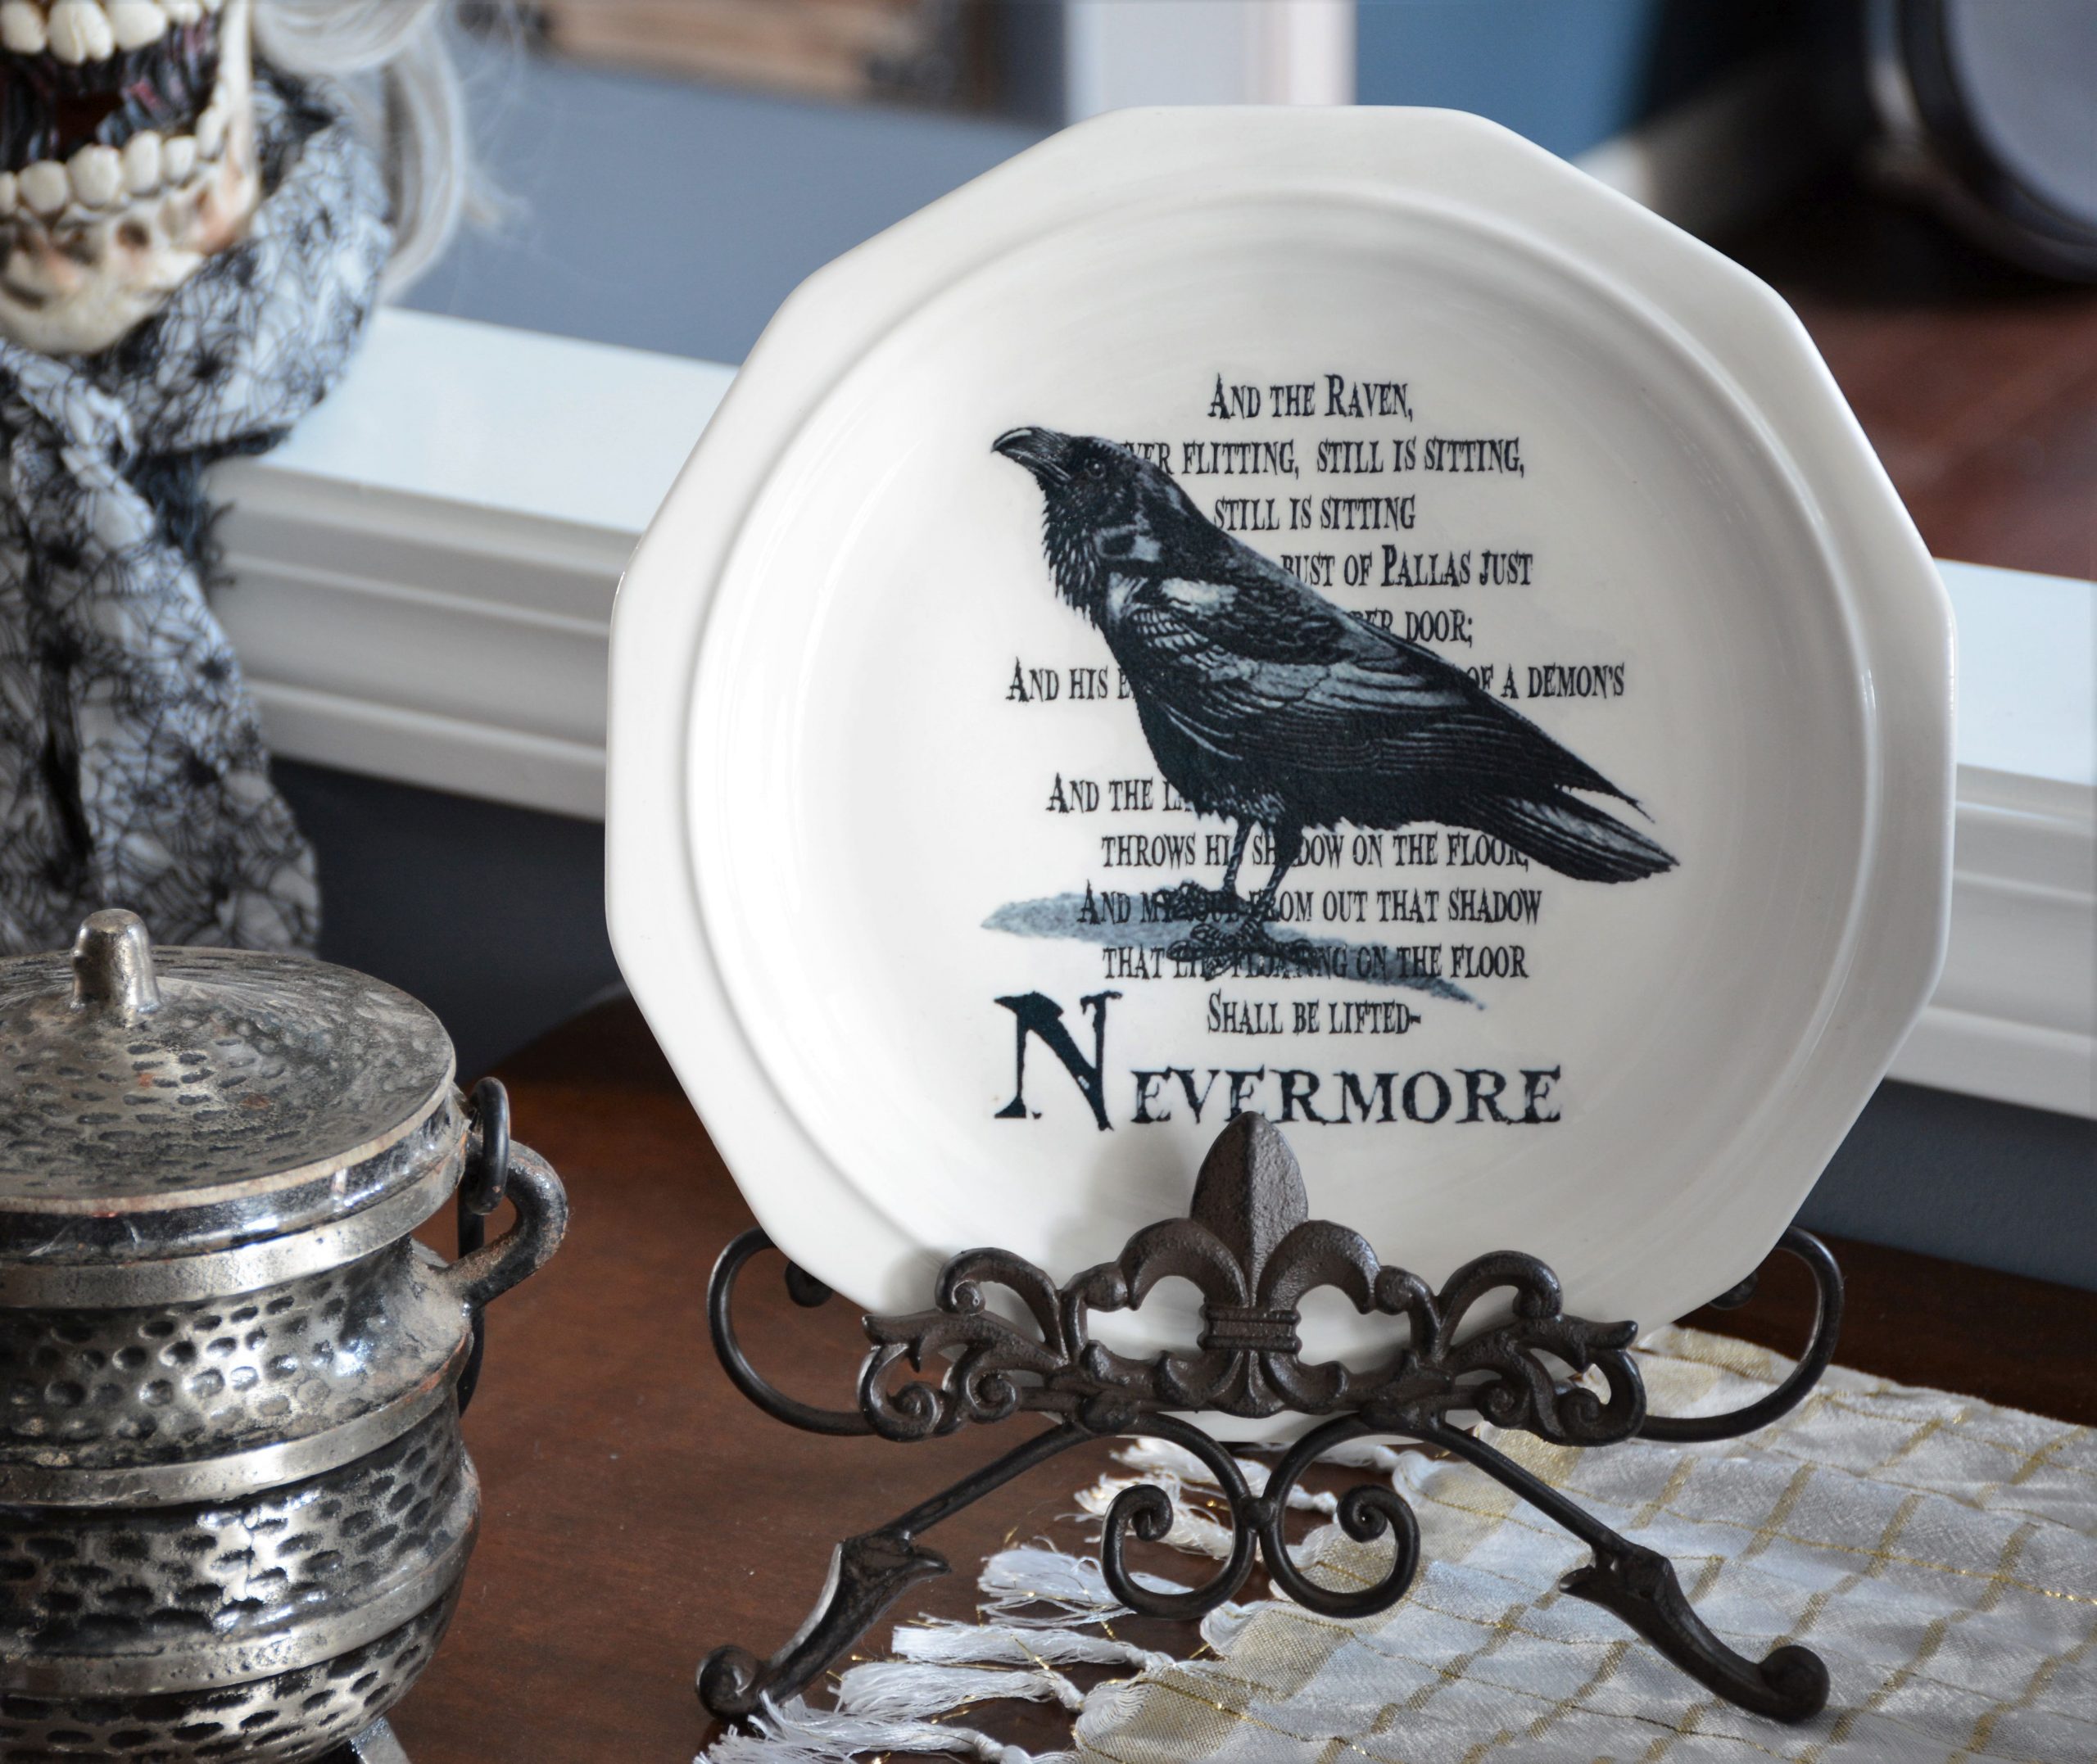
Ooh, this is creepy fun. I can imagine using it on spaces like the risers on the front porch steps or the bottom half of a front door for Halloween night. And what a great project for kids to help construct! I see that you have a “pet” raven–my office has one named Edgar. Perhaps they are related, from the Joann’s Fabrics side of the family?
LOL, that raven has been kicking around for years. Not sure where Handan got it or what he’s up to these days, but he can often be found with an eyeball in his beak! 😀
Thousands of Mike’s apart, it seems like Handan and I were eyeballing at the same time! In 2016, I made one almost identical, but without the masks. I like the idea of lighting it up – that would be totally cool for the wall where it lives all year… love it!
“Mikes?!” MILES, thousands of miles apart… 🙄😂
Sue, a line drawn between the UK and Florida will almost certainly pass through Ireland, so there are at least a few thousand Mikes between us, lol! You know Handan is a Turk, but she learned English by spending her youthful summers in England, so maybe you guys are secret sisters?? I just looked at all the awesome Halloween projects on your blog, and you guys definitely share a spooky mindset!
I love this idea. Between your idea and your follower Deb’s I may try to make one and attatch to the bottom of my front door. I made a giant eyeball plant sort of like the man eating plant in Little Shop of Horrors with various other eyeball plants. Just need to convince hubby to get the eyeballs for me 🙂
Ooooh, that eyeball plants sounds awesome! I think hubs will do it with the right motivation. Have you tried a martini? Works on me every time, lol!