Easy DIY Dollar Tree Halloween Planters
These super easy DIY Dollar Tree Halloween planters are the perfect way to display some faux greens in your house this Halloween season!
You know what I’m liking more and more these days?
Simplicity.
Let’s face it, life around here has been a little complicated since we uprooted from Connecticut to settle farther south. And now we’re doing it all again.
Not that I mind, mind you. I’m happy to be drifting southward – I’m drawn to the heat like a moth to flame.
But coordinating these moves, packing, unpacking, building, painting, fixing…they’re all part-and-parcel with the relocations, but they’re all the sworn enemy of simplicity.

So I have to take it where I can find it – simplicity that is. And if I can find it in a craft, so much the better. Because if it makes my life easier, it will also make your life easier!
I’m so tired of complicated things, especially crafts. But there’s a corollary to the statement. Simplicity for simplicity’s sake is not the goal either. We constantly strive for simplicity that yields high-end, beautiful results.
Now, I know there are many of you out there that actually enjoy complicated crafts and projects, and I get it! I really do! I was like you once! But time has become such a precious and sacred commodity, that I can no longer afford to spend days or weeks or months (yes, I’ve had projects like that) on something that will give very little return on my time. The classic example is this drop-dead gorgeous waste of my time.
It took me months to make, and the resulting blog post was a fizzle in a rainstorm. And frankly, it never really fit in with any of our decor. It has spent the last several years in storage, and I’m currently trying to sell it in Georgia for a price that values my labor at mere pennies per hour.
Maybe if I ever live long enough to retire and make enough money to squander my time again, I can think about creative boondoggles like the one pictured above, but until then, I’m looking for quick and easy, sister.
But as I stressed before, quick and easy…simple…doesn’t have to mean cheap-looking or tacky.
I guess the shining example of that idea would be the Snow White Nutcrackers we made last Christmas.
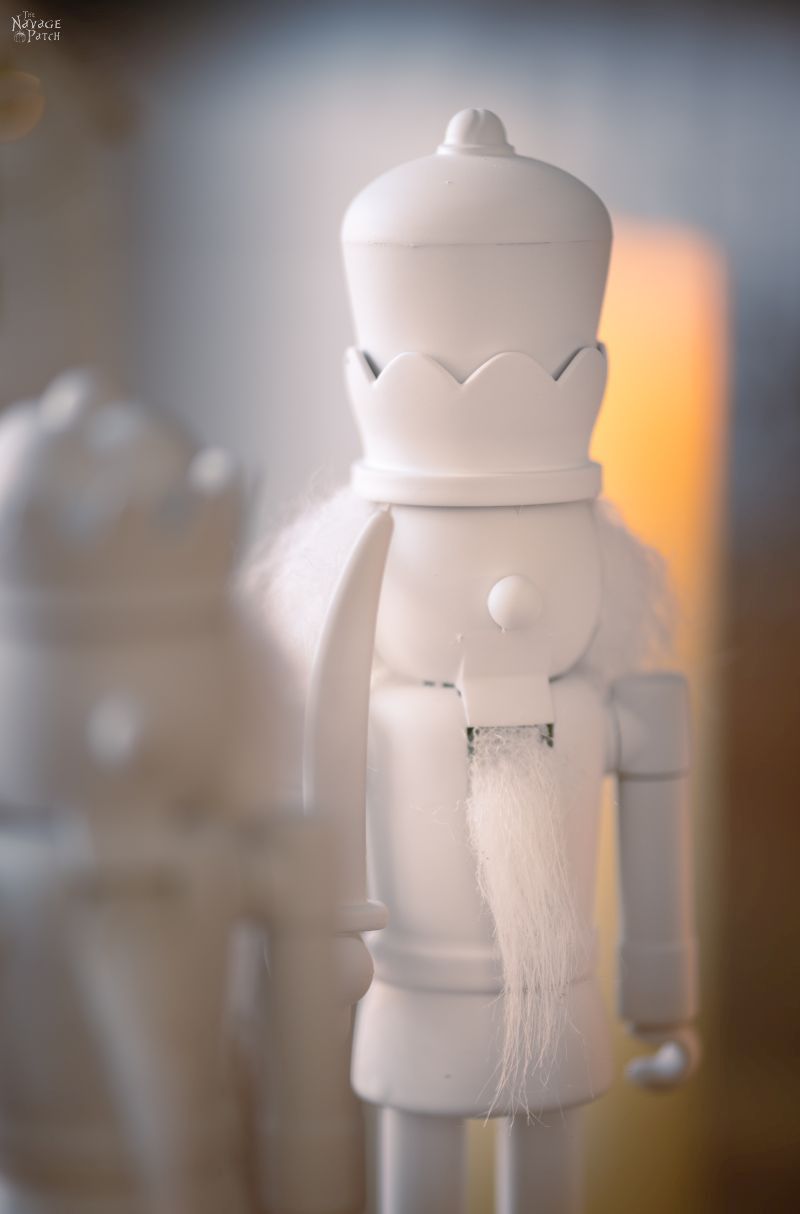
And what I’m going to show you today is even easier than those simple and beautiful nutcrackers.
Seriously, these Halloween planters are so simple – so uncomplicated – that I’m going to show you two different ones, because just showing one would seem…I don’t know, like a bit of a blogging rip-off, I guess!

DIY Halloween Planters SUPPLIES LIST
Affiliate links are provided below. Full disclosure here.
- Dollar Tree skull bowl (we found ours at a Dollar Tree Plus for $3, but you can also find them online at Family Dollar)
- Off-white or white spray paint (we used French Cream)
- Dollar Tree stemless plastic Halloween Goblet
- Off-white or white latex or craft paint
- Baking soda
- Chip brush
- Faux plants

More Easy DIY Halloween Decor Ideas
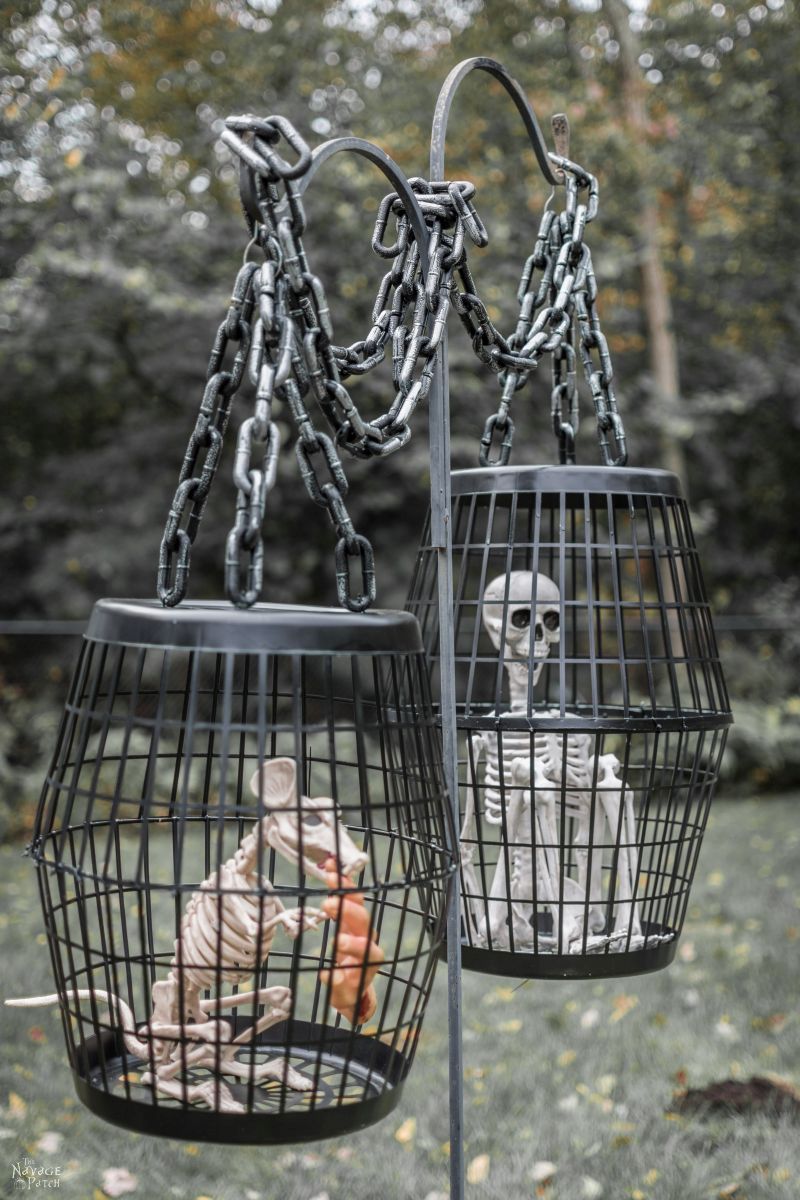
- Hanging Cage Halloween Prop
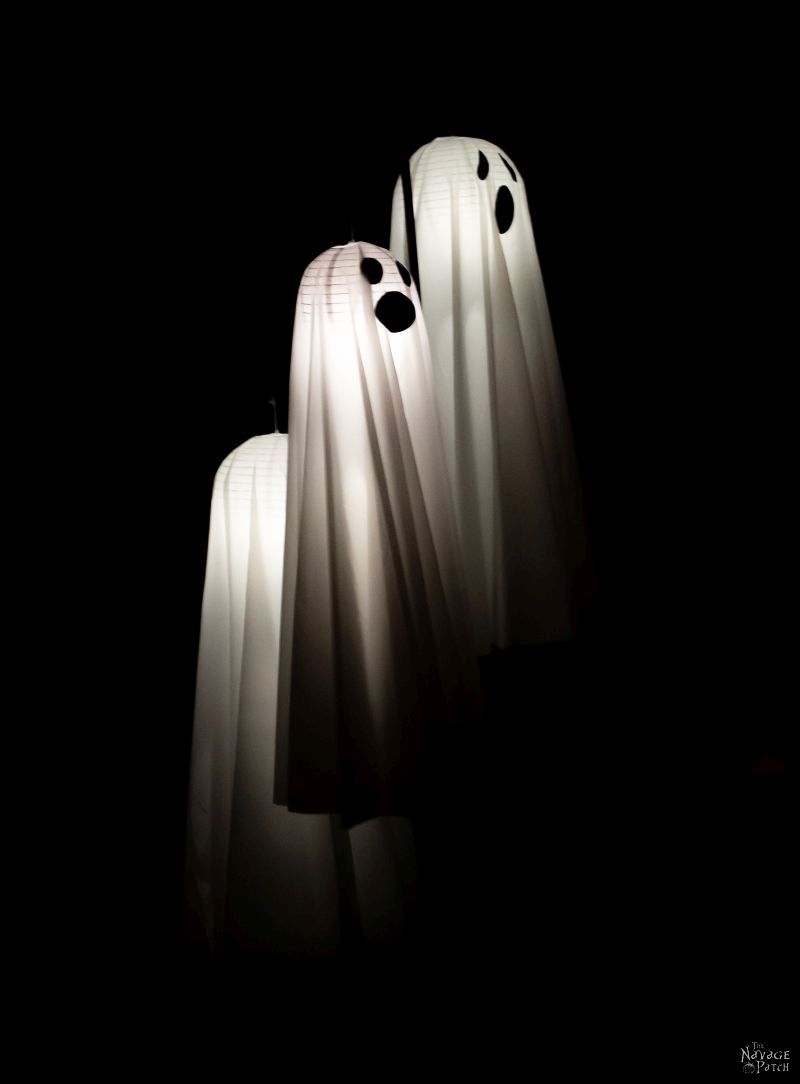
- Easy Lighted Hanging Ghosts (A Dollar Store DIY)
- Free Vintage Movie Monster Printables
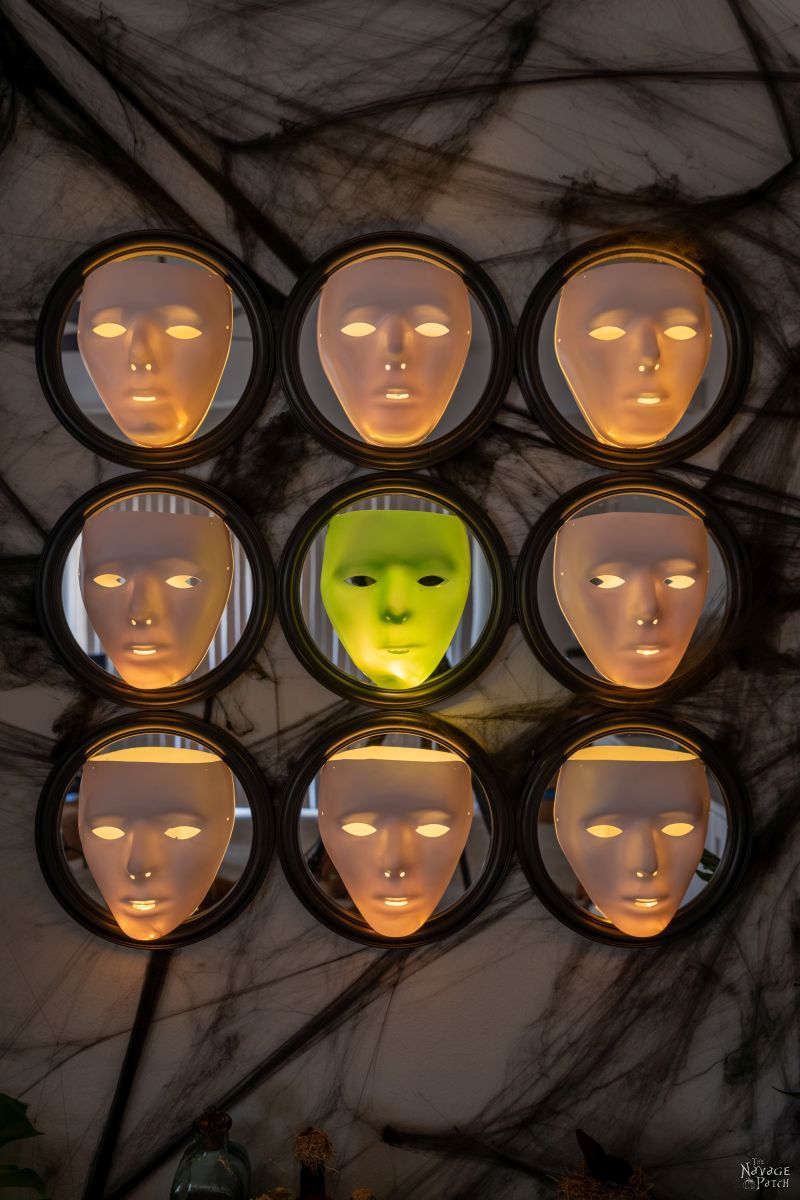
- Gallery Of The Faceless – Easy Halloween Wall Decor
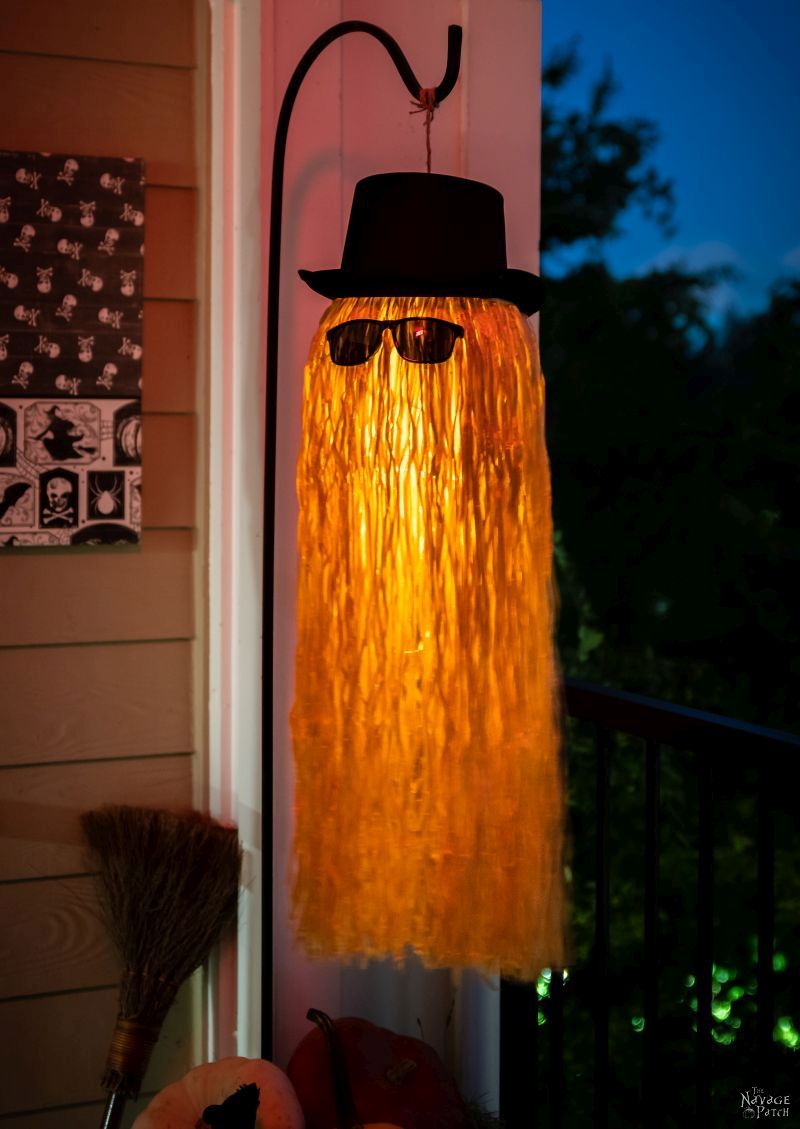
- DIY Cousin Itt Pathway Light
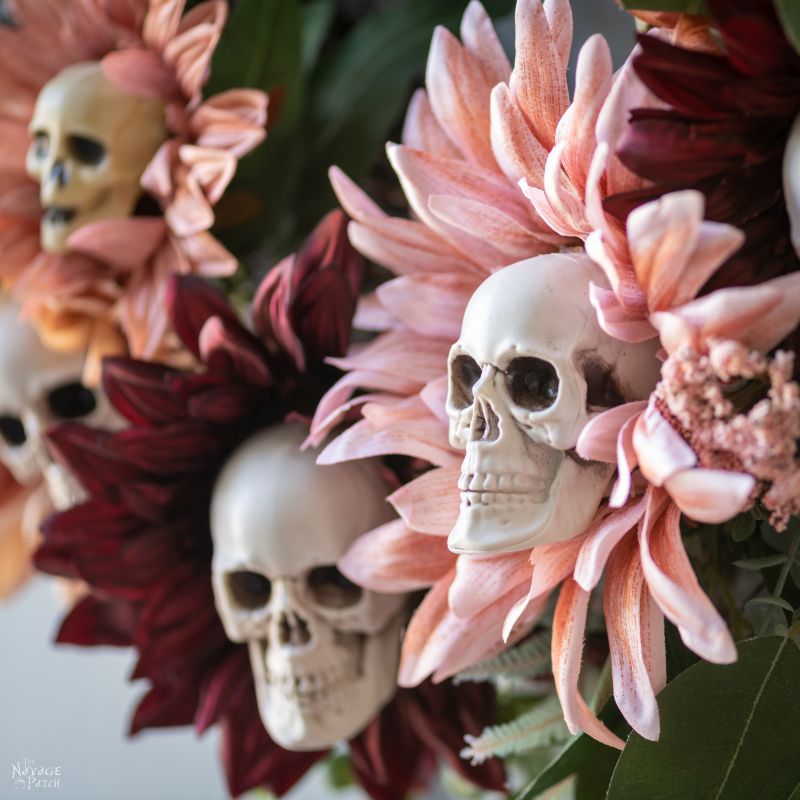
- DIY Skull Sunflower Halloween Wreath
- DIY Lighted Witch Hat (Grandin Road Inspired)
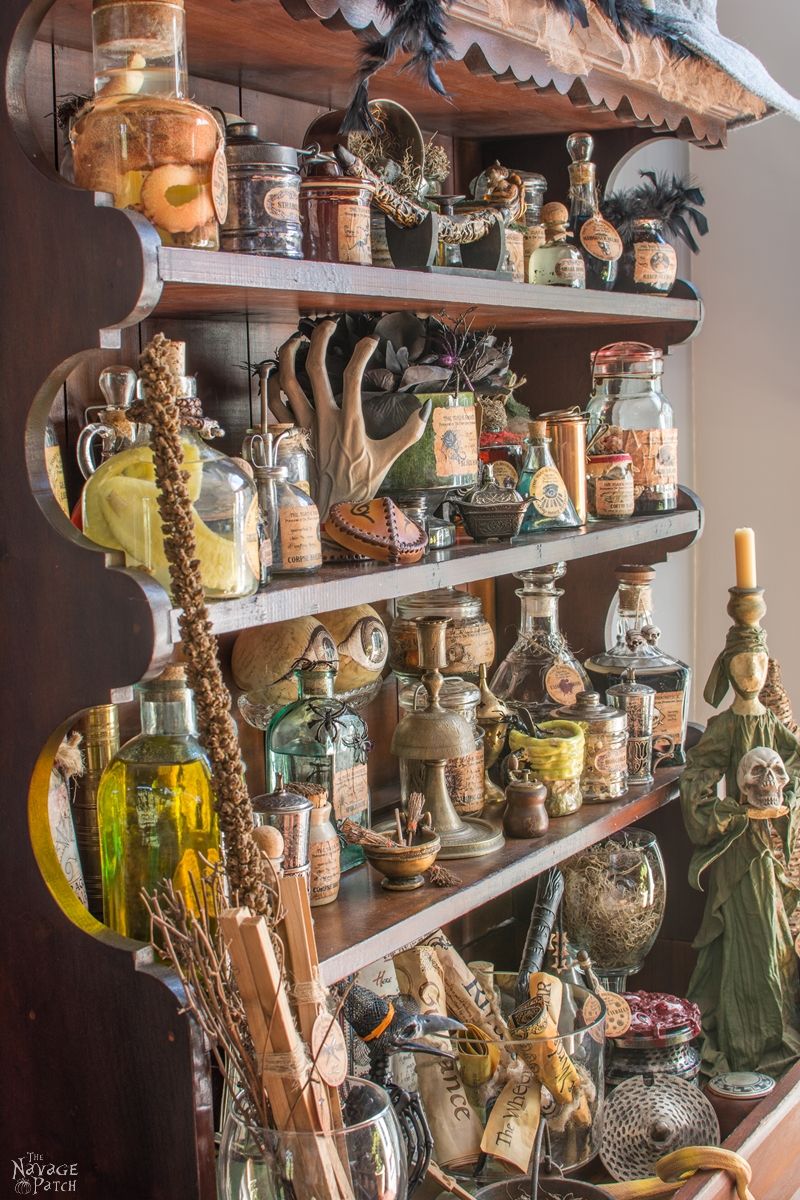
- Apothecary Jars And Free Printable Labels
- Floating Potion Bottle
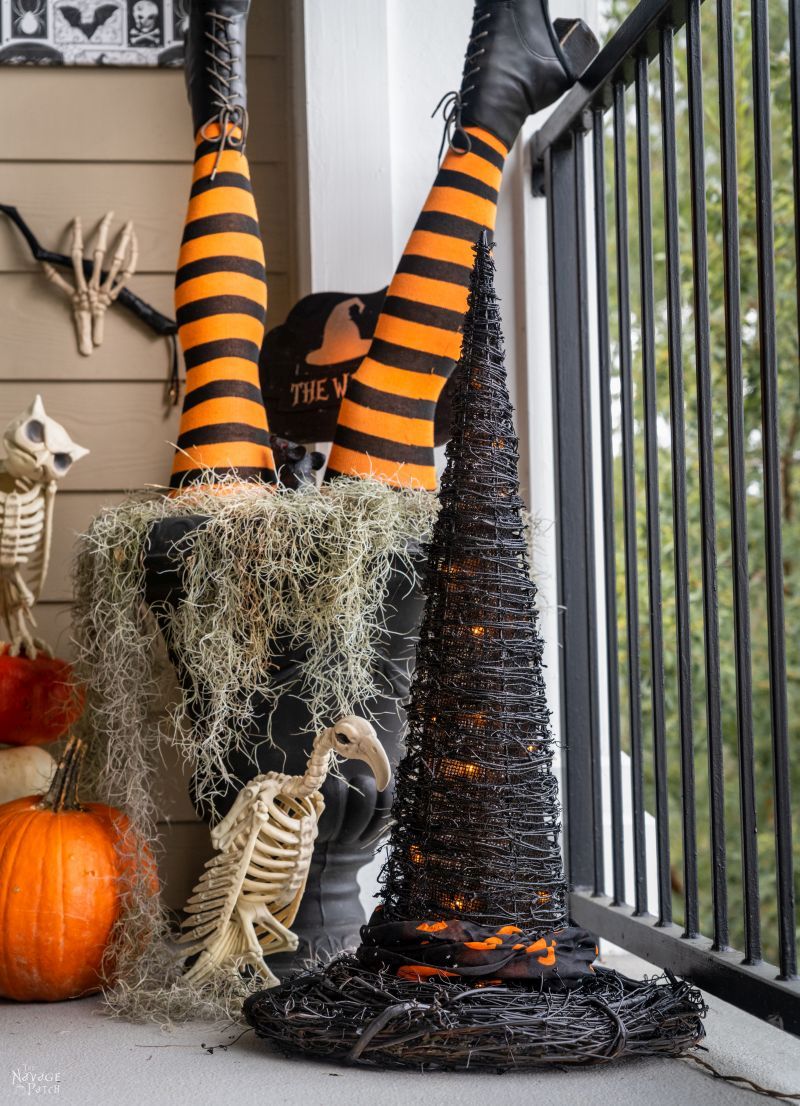
- DIY Witch Legs (Grandin Road Inspired)
- Eyeball Orb Halloween Wreath
- Dishes Of Darkness: Pottery Barn Inspired Halloween Plates
EASY DIY Dollar Tree Halloween Planters video Tutorial
You may want to watch our two short videos below for an overview of our DIY Dollar Store Halloween planters before you read the detailed step-by-step tutorial.
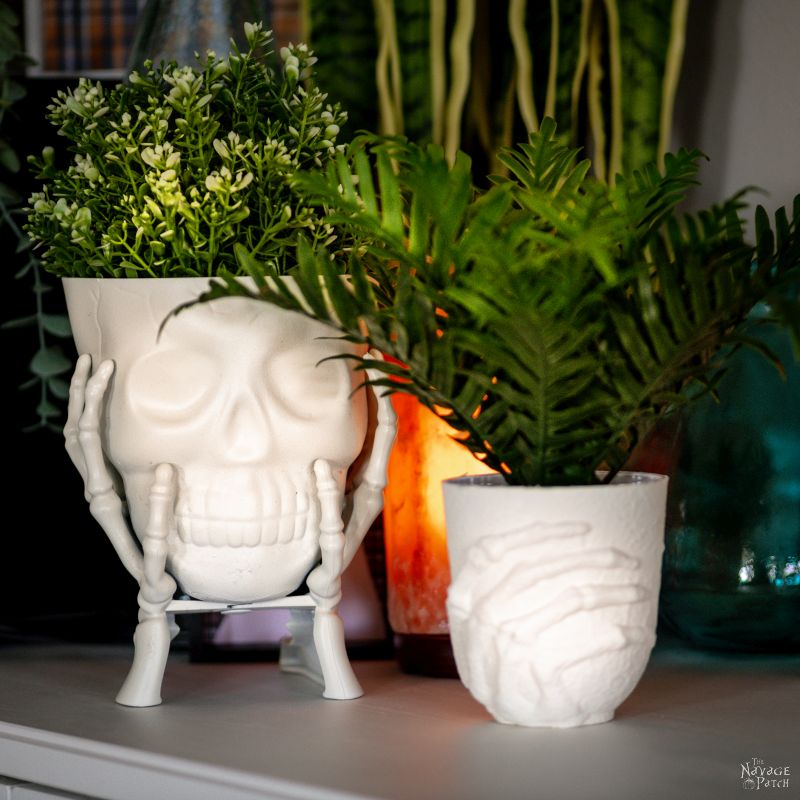
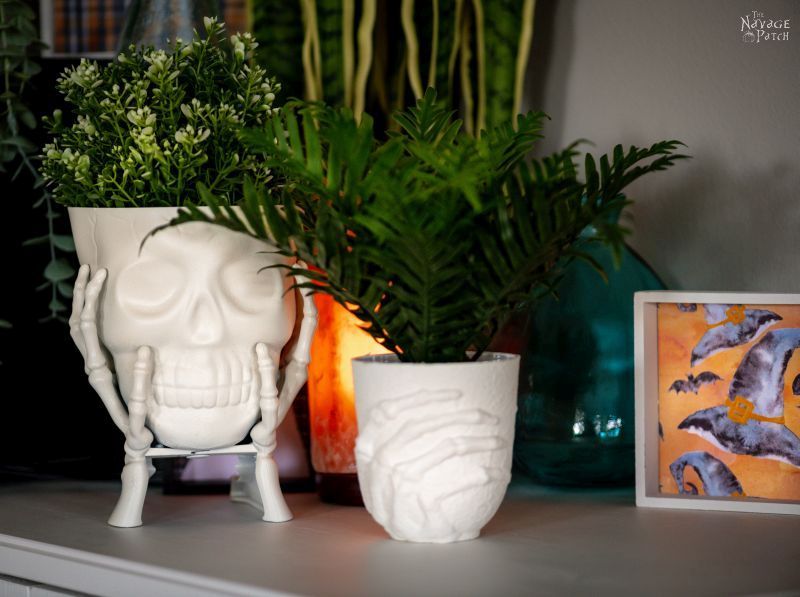
DIY Dollar Tree Planter from Skeleton Goblet

Let’s start with the “harder” one first. It’s the one that uses the goblet.

Okay, do you have your supplies ready? This won’t take but a moment, you know.

First I mixed up some thick textured paint. To do that I poured some off white paint onto a plate (you can use a bowl or whatever you like). I made my own off white by combining some leftover wall paint with some beige sample paint we bought a few years back.

To the paint, I added a 2 or 3 tablespoons of baking soda. Depending on how much paint you poured, you may need a little more or less. The goal is a very thick paint that won’t smooth and level itself when applied.

I mixed my textured paint with a wooden craft stick until it was nice and thick, but still paintable and spreadable.

I applied the textured paint with a chip brush. No need for thin coats here! Just glop it on and brush it around to cover a small area…
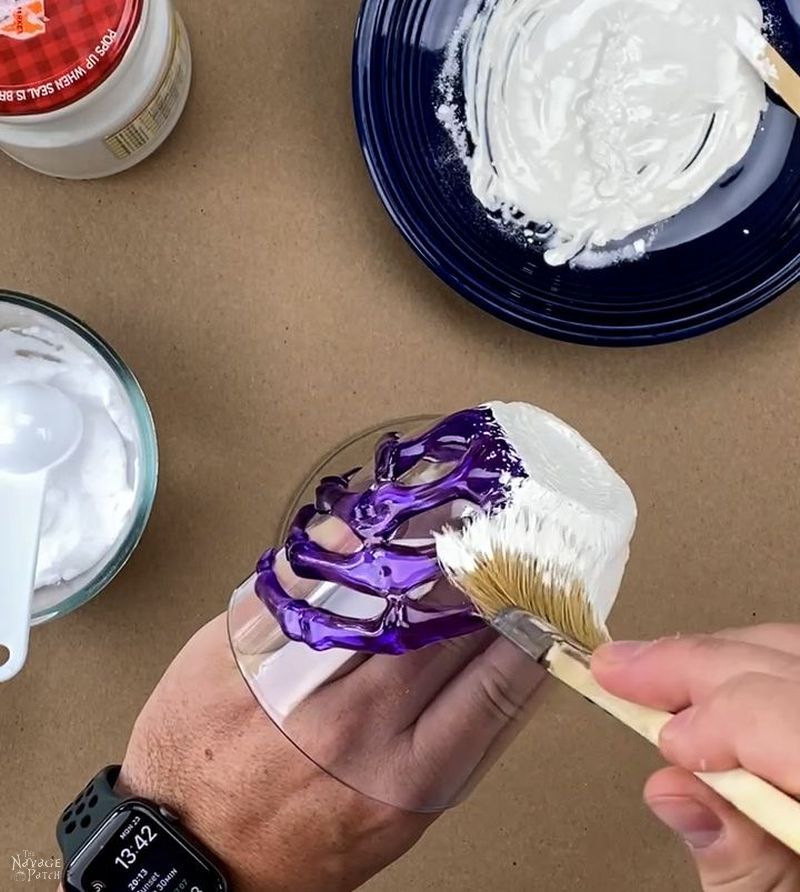
Then jab the brush straight up and down on the paint to create the textured effect.

If your paint doesn’t hold the textured shape, simply add more baking soda to your paint dish and try again.

To paint the rim, I placed the goblet on a piece of glass, held it down with a dowel, and painted around the rim area.

I let the goblet dry for a few hours (the thick paint takes longer), and then I inserted a small faux plant.

I really love the way this Halloween planter looks – much classier than the original goblet!

We love to see our DIY Halloween decor out in the wild! If you make this Halloween DIY decor for your home, take a picture or video and post it on Instagram, be sure to tag us – thenavagepatch
DIY Dollar Tree Planter from Metallic Skull Bowl
Okay, now for the really easy one! This one takes the cake for Easiest Project of All Time here at The Navage Patch, but don’t be duped by the simplicity! We think it looks awesome, and it’s been on display (with its little brother above) in both our Georgia home and now in our Florida home. When we make things from Dollar Tree materials, we use them!
So yeah, about that skull planter…
Get yourself one of these:

We paid $3 for it at our Dollar Tree Plus.

But as most of us don’t have a DT+ (we no longer do), you can buy this bowl from Family Dollar’s website (I think DT owns FD). No word on if Family Dollar has these in their stores, but it’s worth a look-see if you live near one.
And here’s the sum total of work you’ll put in: take it outside and spray paint it with the off-white color of your choice. We used French Cream.

That’s it! You’re (almost) done!

The final step is to find a fun faux…whatever!

Stick it in the skull and call it a day!


How easy was that?


Share it on Pinterest & Facebook!

Brilliant, simple, cheap, spooky and sophisticated! You’ve done it again.
Thank you so much! 🙂
That’s just genius!
Thanks, Leslie! 🙂
Thanks for the great idea! BTW: Krylon makes a coarse stone spray paint that would simplify this process tremendously 😉 Krylon Coarse Stone Texture Finish
Ah yes, I’ve used their stone spray paint, and it does look great! It’s definitely another option! I still give my vote for paint + baking soda because it’s the cheapest option for us. We have tons of leftover paint in the basement and more than enough baking soda. 🙂
Love it! I love unique planters and these fit the bill perfectly. We don’t have Dollar Tree here, and Halloween is a far less celebrated thing, but we do get some decorations these days that I might be able to turn into something cool!
Such a shame you guys don’t get into the creepy spirit like we do here. As far as fun holidays go, it’s definitely tops!