DIY Dollar Tree Halloween Lights
These DIY Dollar Tree Halloween Lights are easy, cheap, and they look like something that would sell for 10x the price in a store!
Well, sometimes you just get lucky I guess.
I mean, there I was toiling away on a spooky Halloween chandelier for my babes when I was informed in no uncertain terms that the lighting I was toiling on was:
- Not spooky enough
- Not big enough
- Not even a chandelier
You know, when I become supreme dictator of the world, the first thing I’ll fix will be all the ridiculous, redundant and entirely irrational words for home design elements. Why do we need more than one word to describe a light that hangs? Why can’t a chandelier be a pendant and vice-versa? When I’m boss, they’ll all be called hanglights, and the world will be a better and happier place – at least for the men who will be freed from the shackles of trying to figure out what the hell their wives are talking about 90% of the time.
Anyway, as I was saying, sometimes you get lucky. Because even though my first attempt at a Halloween chandelier for our outside front entryway was a big fat failure, it was also a rollicking success!
Apparently I made pendant lights, not a chandelier.
Big whoop.
Toe-may-toe, toe-mah-toe, amirite? They hang. They light. Hanglights. End of story.
Look, you should really watch the following video to get up to speed. I posted it on Tiktok two nights ago, and, well, it went a little viral. Yay me. I think it’s time I go glove-slap Steven Spielberg and challenge him to a duel.
DIY Dollar Tree Halloween Lights VIDEO Tutorial
Though I may not have satisfied my babes’ desire for a a spooky Halloween chandelier (hanglight), I did make something cool and creepy enough to stand as its own Halloween project.
So, two birds with one stone.
Or, victory snatched from the jaws of failure.
I’m still working on the chandelier – and I have to finish it soon, because there are a few hundred thousand TikTok watchers who’ll be calling for my head if I don’t serve up Part 2 PDQ.
But until then, here’s a creepy little appetizer – something to tide you (and TikTok!) over until the chandelier main course.
DIY Halloween Lights SUPPLIES LIST
Affiliate links are provided below. Full disclosure here.

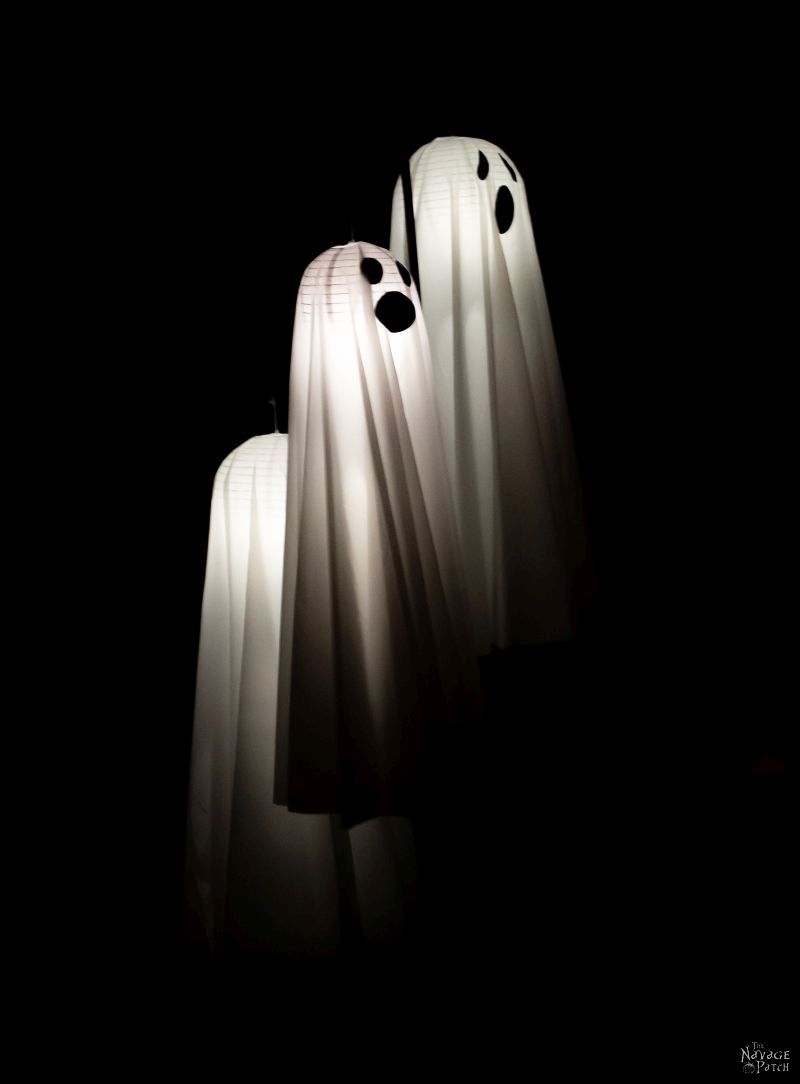
More Easy DIY Halloween Decor Ideas
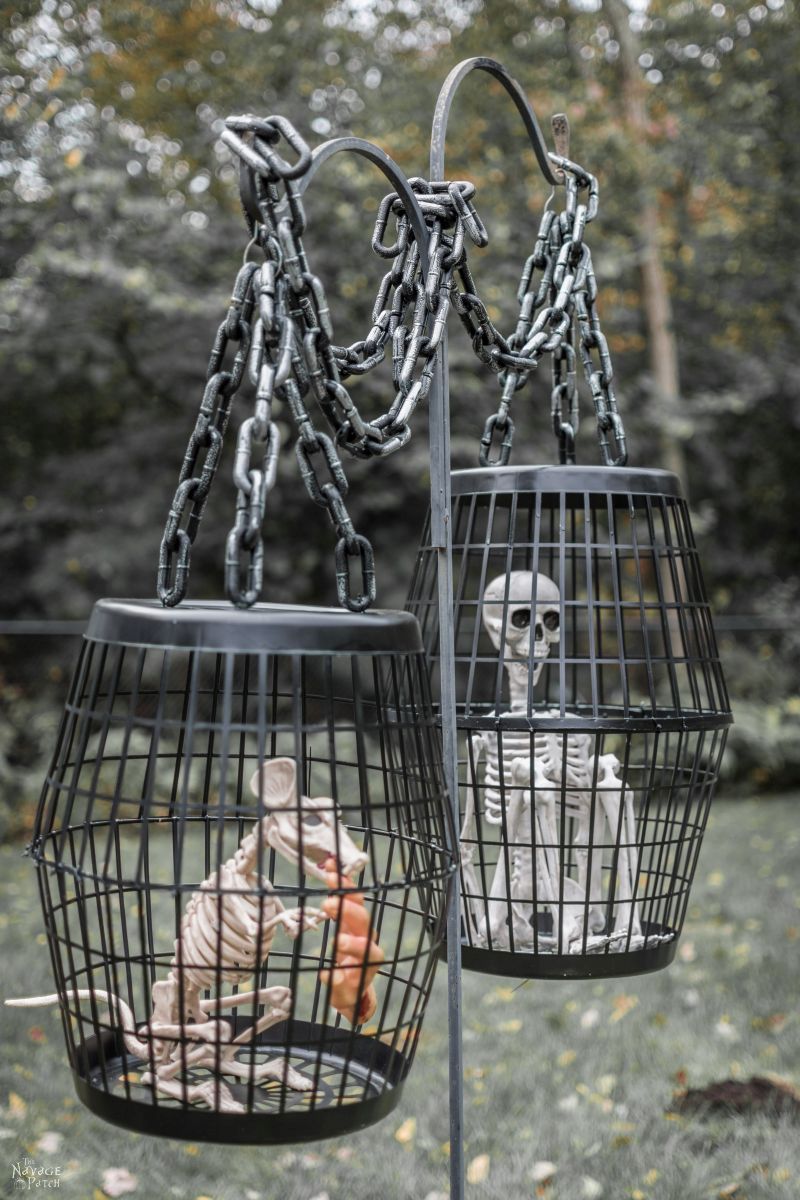

- Hanging Cage Halloween Prop
- Easy Lighted Hanging Ghosts (A Dollar Store DIY)
- Free Vintage Movie Monster Printables
- Gallery Of The Faceless – Easy Halloween Wall Decor
- DIY Cousin Itt Pathway Light
- DIY Skull Sunflower Halloween Wreath
- DIY Lighted Witch Hat (Grandin Road Inspired)
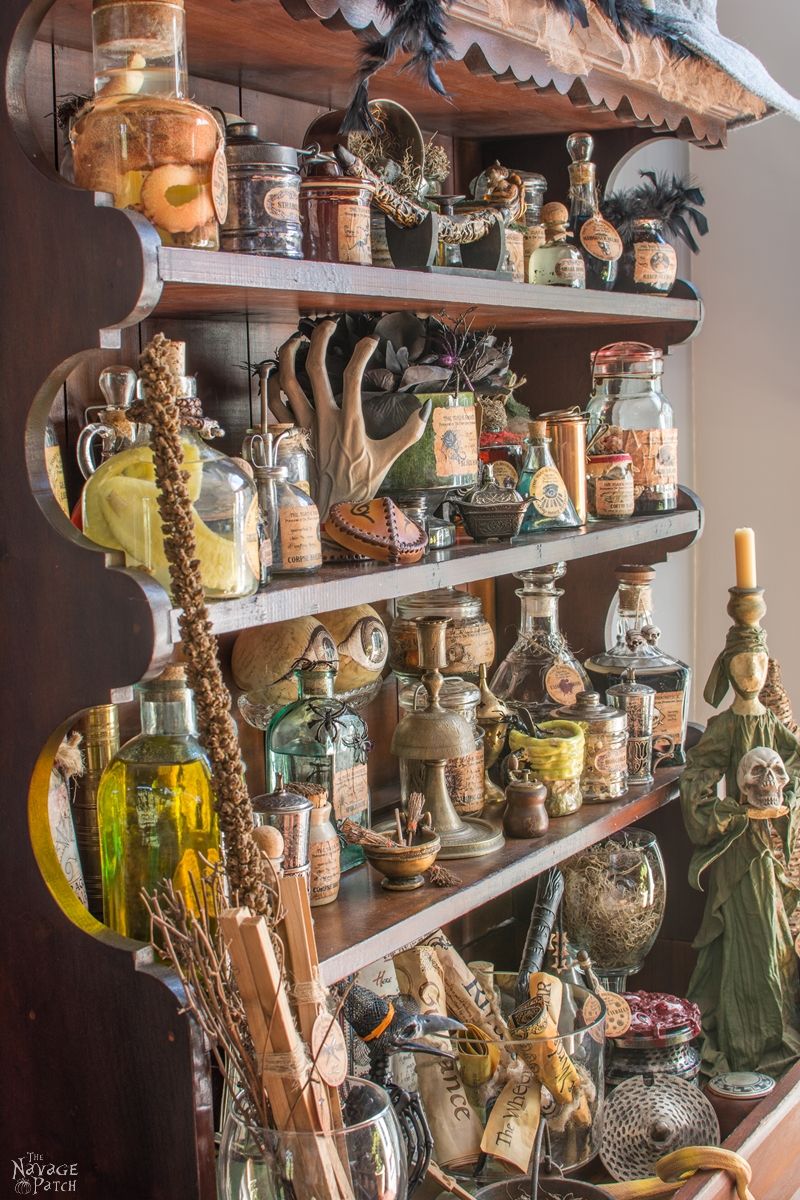
- Apothecary Jars And Free Printable Labels
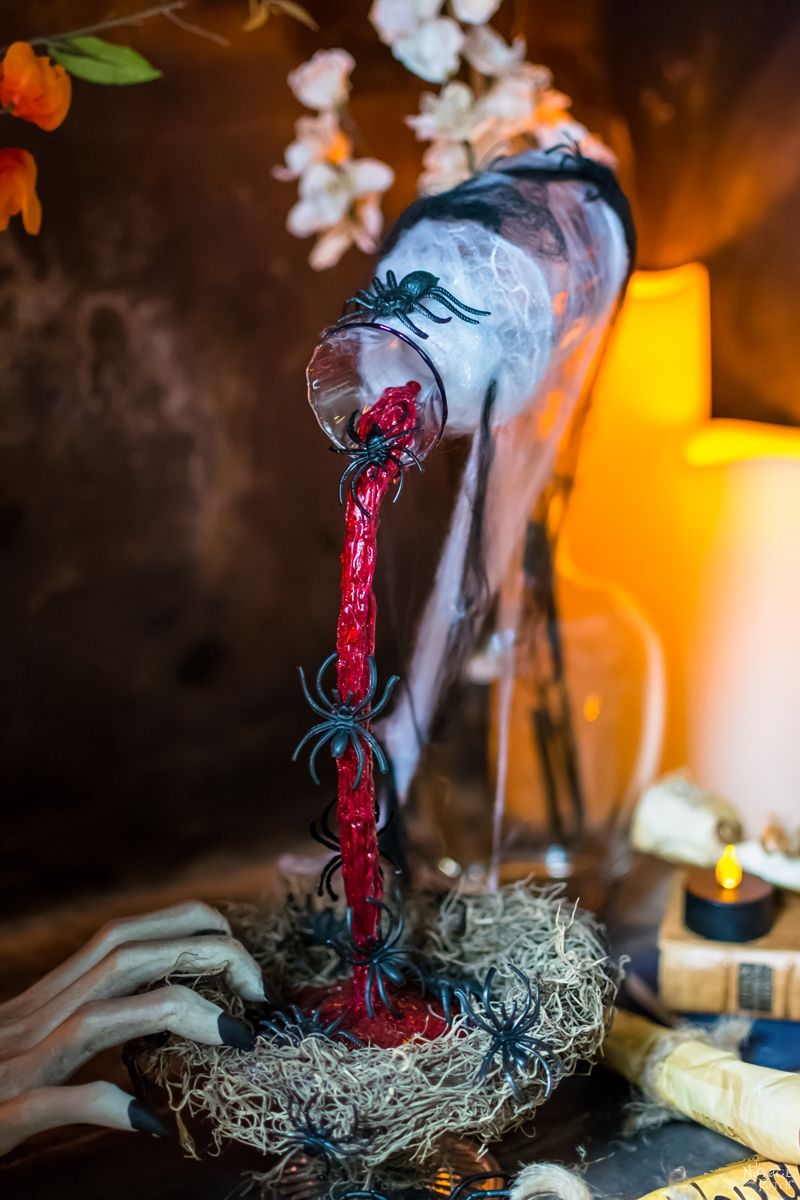
- Floating Potion Bottle
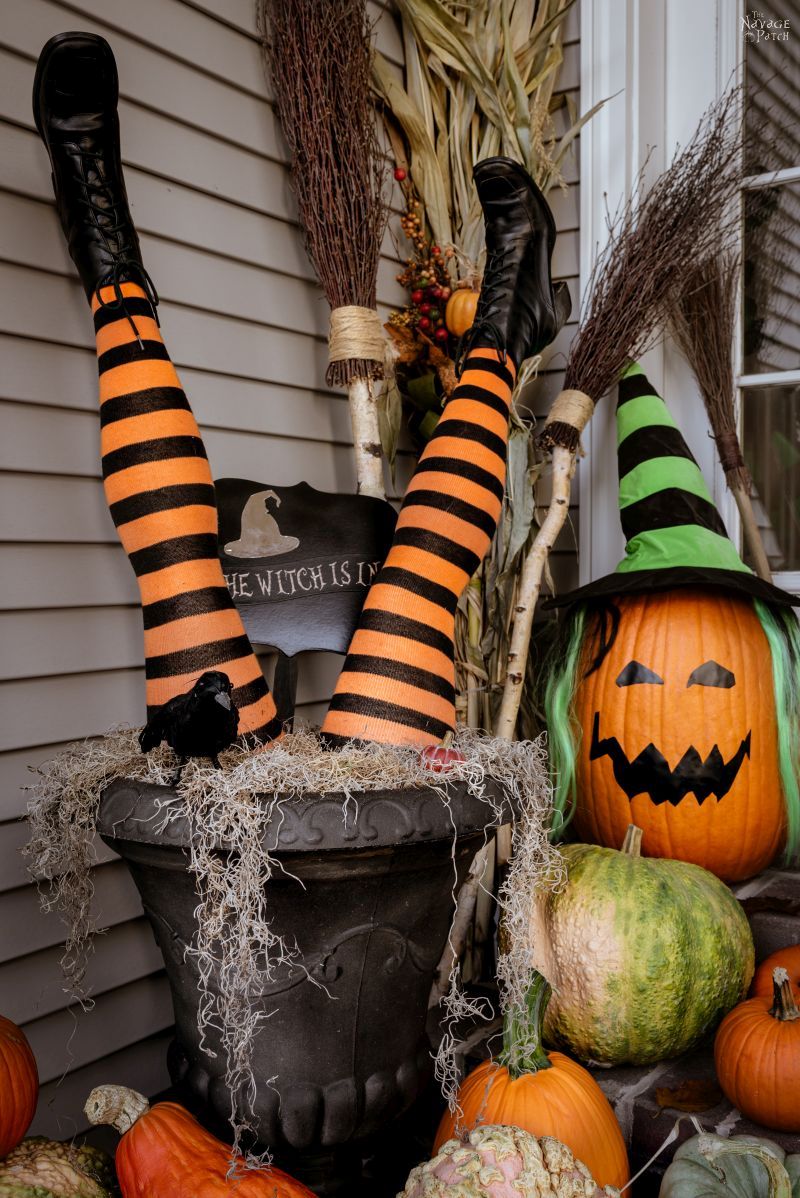
- DIY Witch Legs (Grandin Road Inspired)
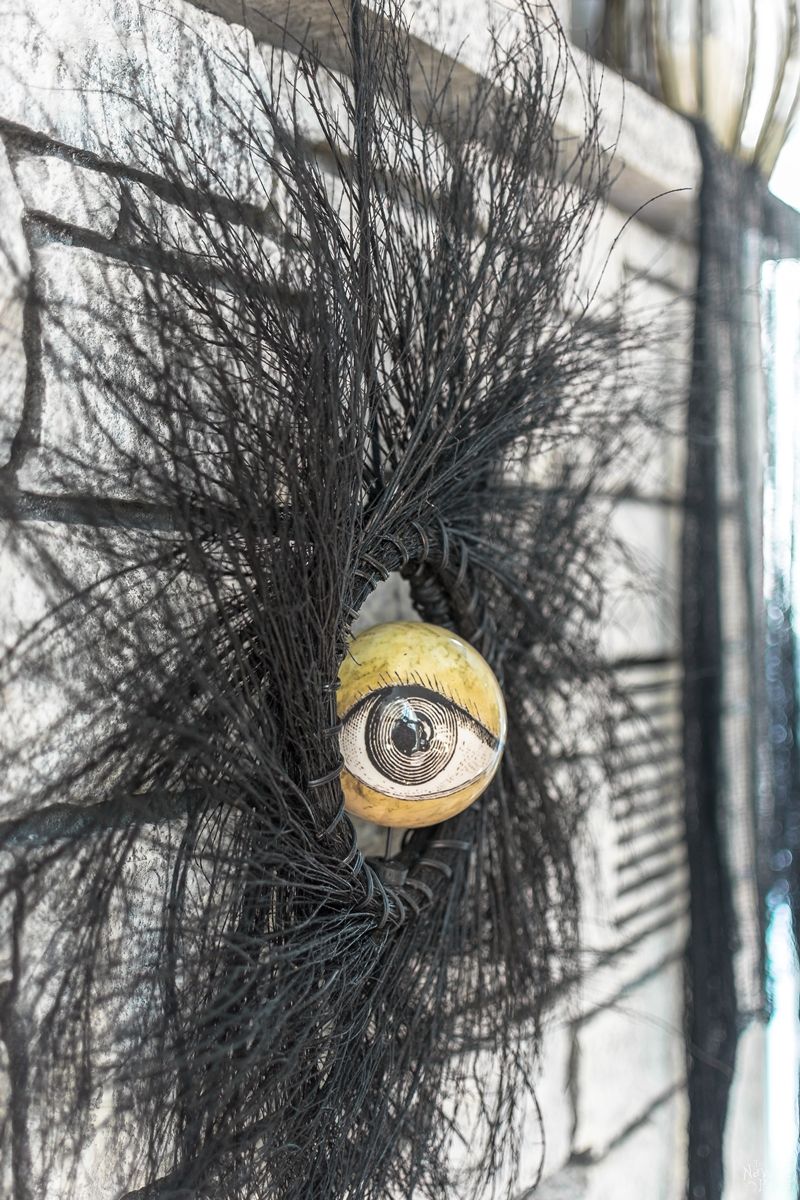
- Eyeball Orb Halloween Wreath
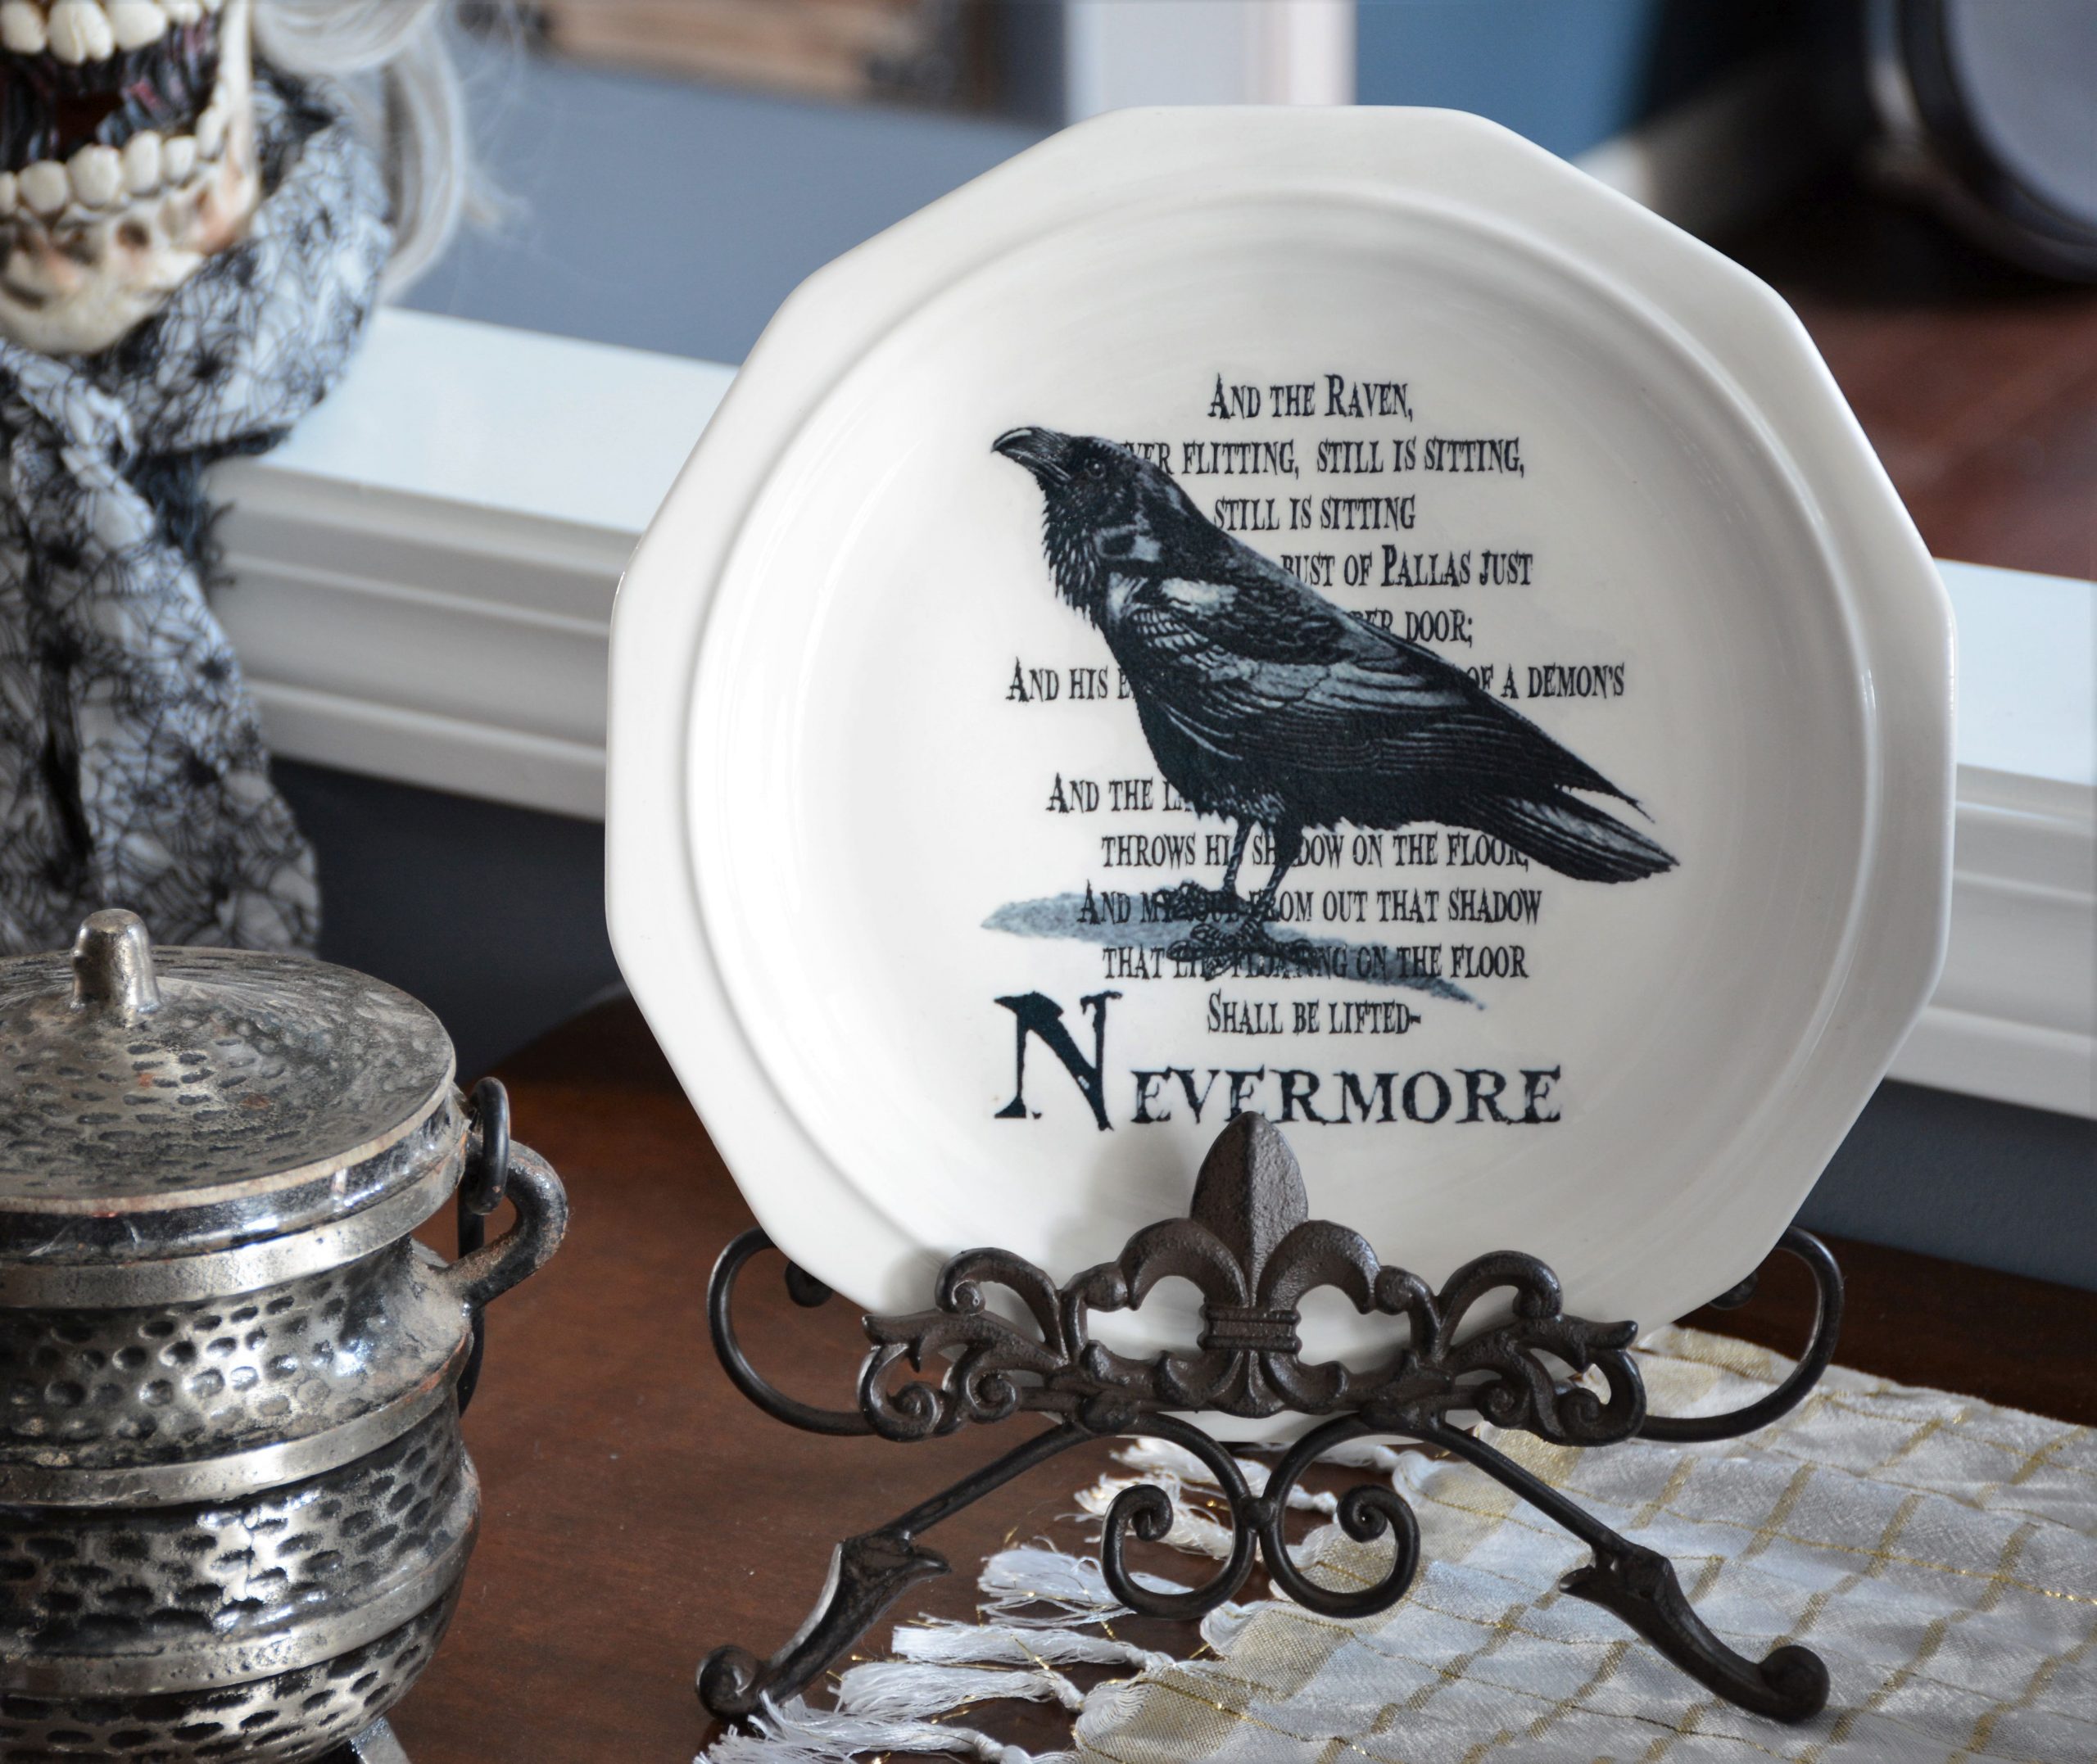
- Dishes Of Darkness: Pottery Barn Inspired Halloween Plates
We love to see our DIY Halloween decor out in the wild! If you make this Halloween DIY decor for your home, take a picture or video and post it on Instagram, be sure to tag us – thenavagepatch
DIY Dollar Tree Halloween Lights
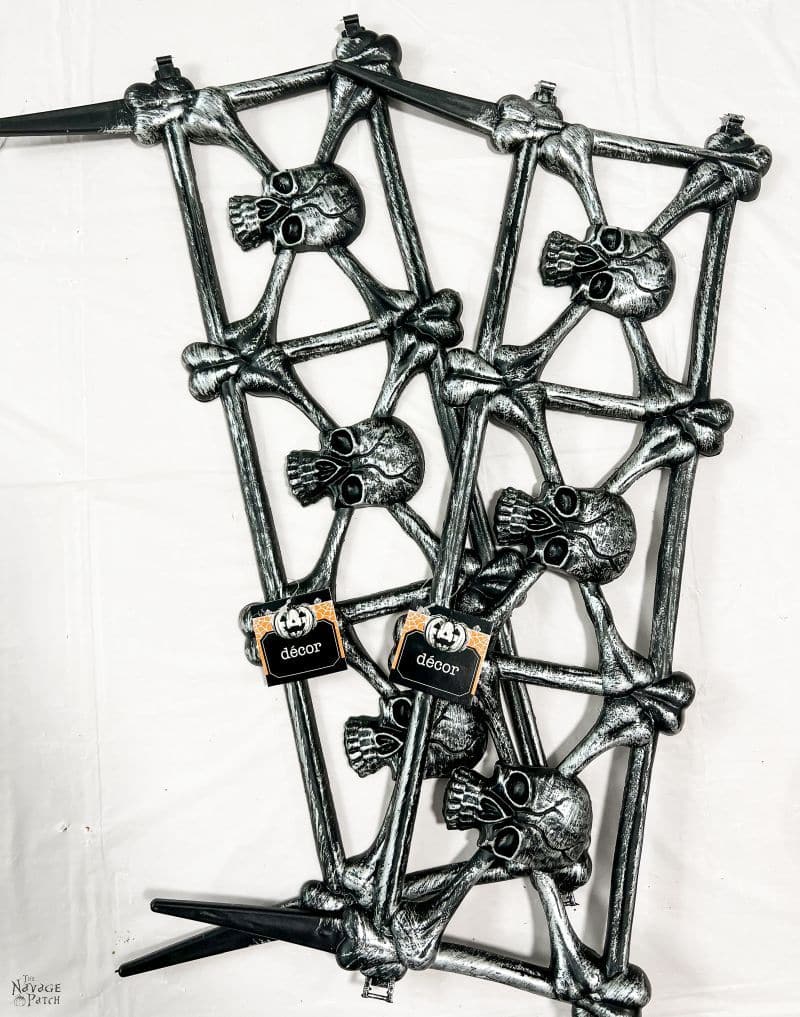
Step 1 – Cut off the spikes
Since I wouldn’t be sticking the skull fence in the ground, I didn’t need the ground spikes. I cut them off with small crafting scissors, though crafting shears would make the job even easier.


Next, I cut off the four connector tabs – two on each side.


Step 2 – Make a prism shape
I wanted to make the fence into a prism shape, so to do that I gently worked the plastic back and forth until it could bend easily into shape.

This plastic is a bit brittle, so bending it directly into a prism may work, but it also may break. By gently bending back and forth, increasing the amount of bend each time, I warmed the plastic and allowed it to take a new shape easier.

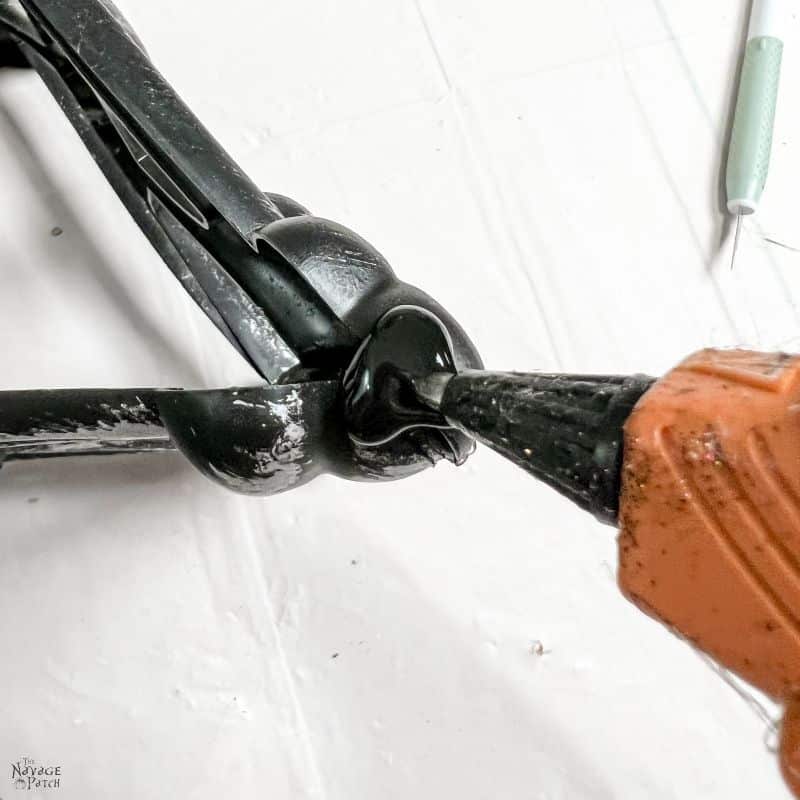
Step 3 – Glue
When in its prism shape, there is one side that is a bit bigger than the other. The bigger side is the one I filled with hot glue and then inserted the smaller side into.

I used a lot of glue in there. And remember, if you live someplace very hot or very cold in October, you’ll want to use high temperature hot glue sticks.


Even with low temp glue sticks you should be okay because this craft uses a lot of glue on the joints, but to be safe, you can use high temp sticks if there’s any doubt, or you can reinforce with black zip ties.

Step 4 – Fill the gaps
You’ll notice some gaps from the trimming process.

This is nothing to worry about – I easily filled them with black hot glue.

Don’t worry about using too much glue – all will be covered up in the end!

Step 5 – Make another prism
I let the glue cool and repeated the process on another section of fence.
Two prisms ready to stack.

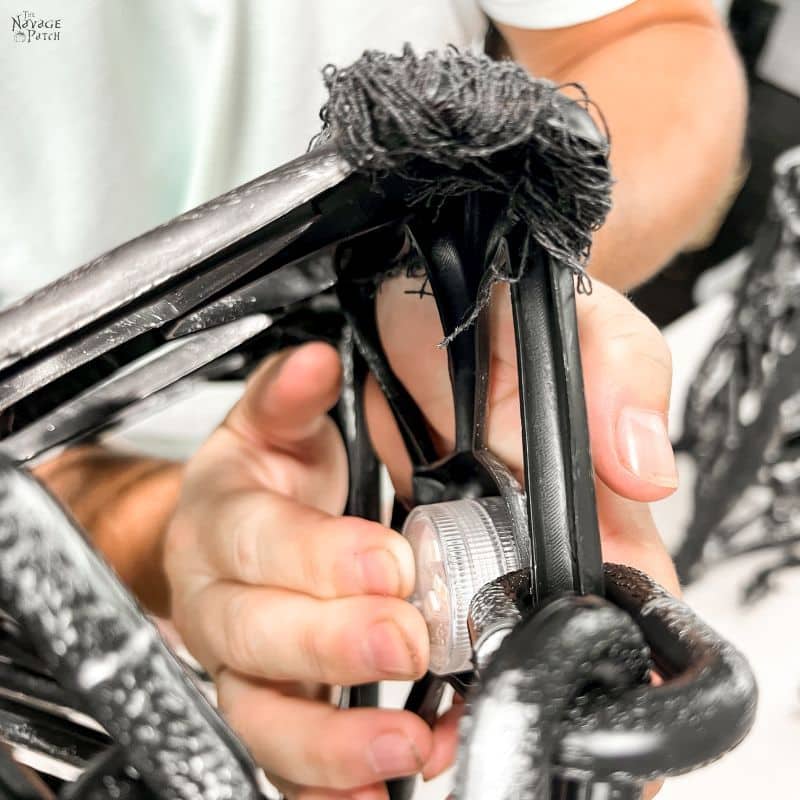
Step 6 – Stack and glue
I stacked the two skull fence prisms, and my Halloween light started to take shape. I put some hot glue on the corner with the seam and then worked around to the other two corners, lifting each a little and squeezing in some hot glue.

After letting the glue cool for a bit, I went back around and reinforced each joint with a little more hot glue.

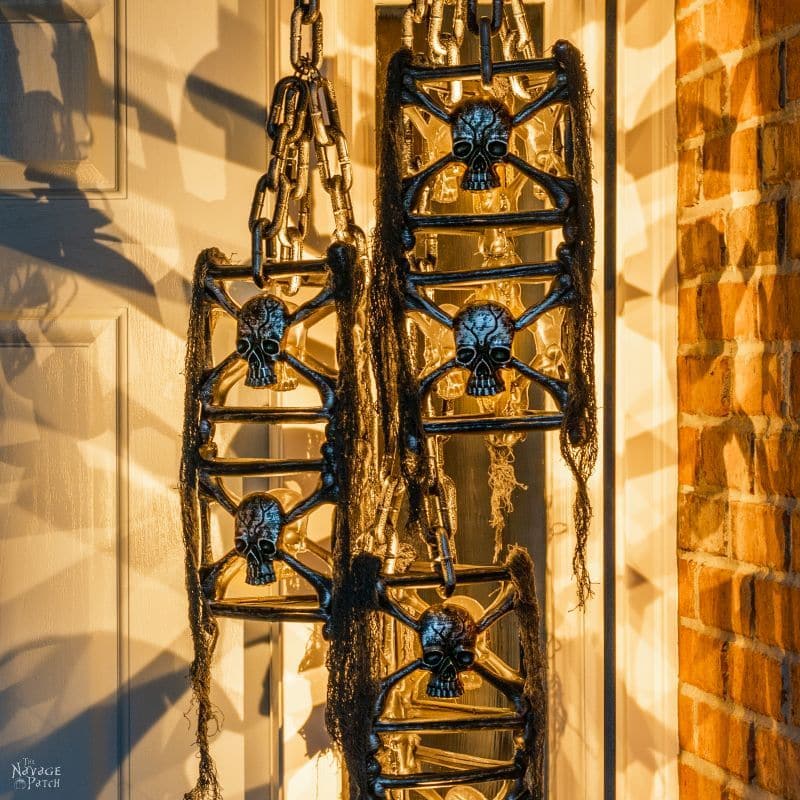
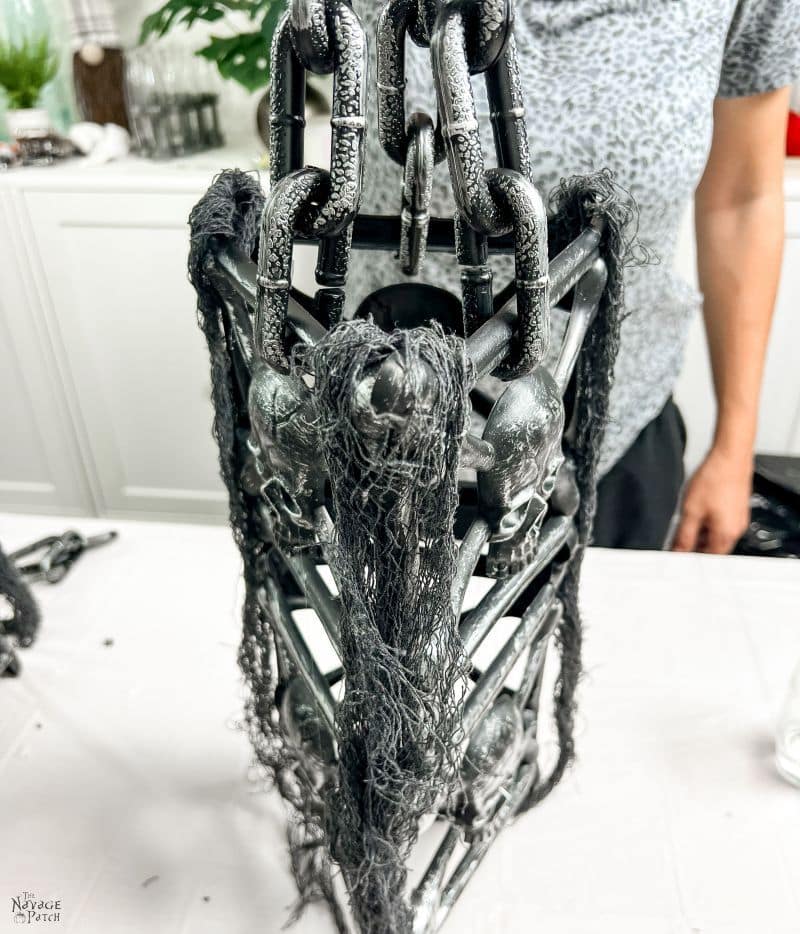
Ready for chains and lights!

Step 7 – Add chains
I removed 3 sections of 4 links from my Dollar Tree chain and another longer section of links. How long depends on where you’ll hang it from.
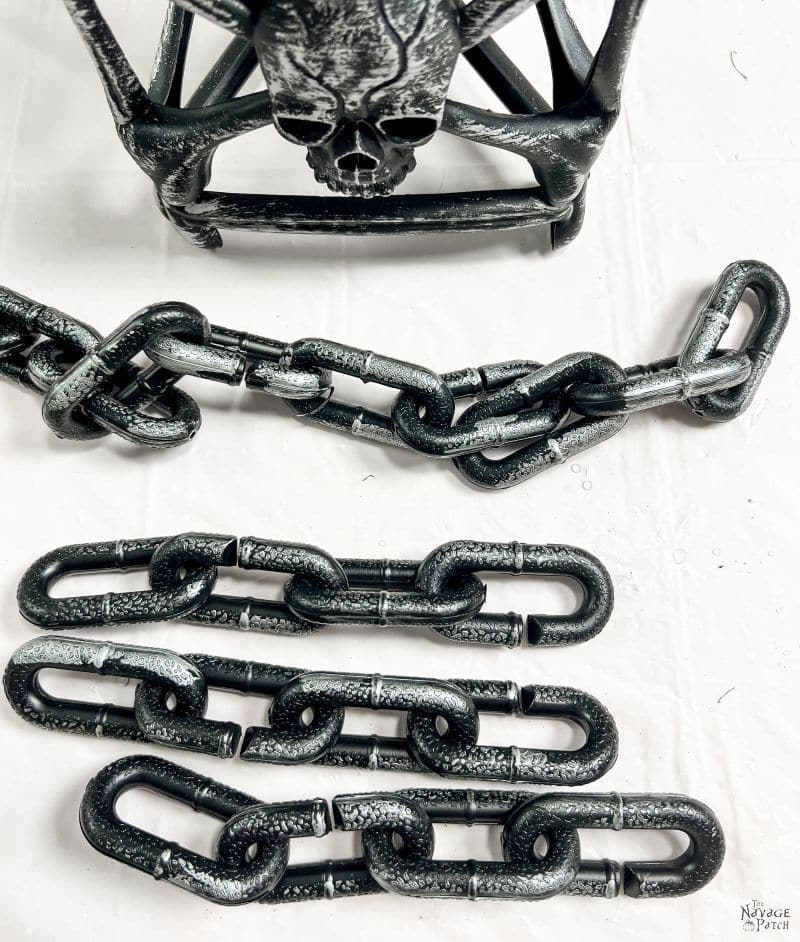
Then I connected the three short lengths of chain to the three top sides of the pendant light.


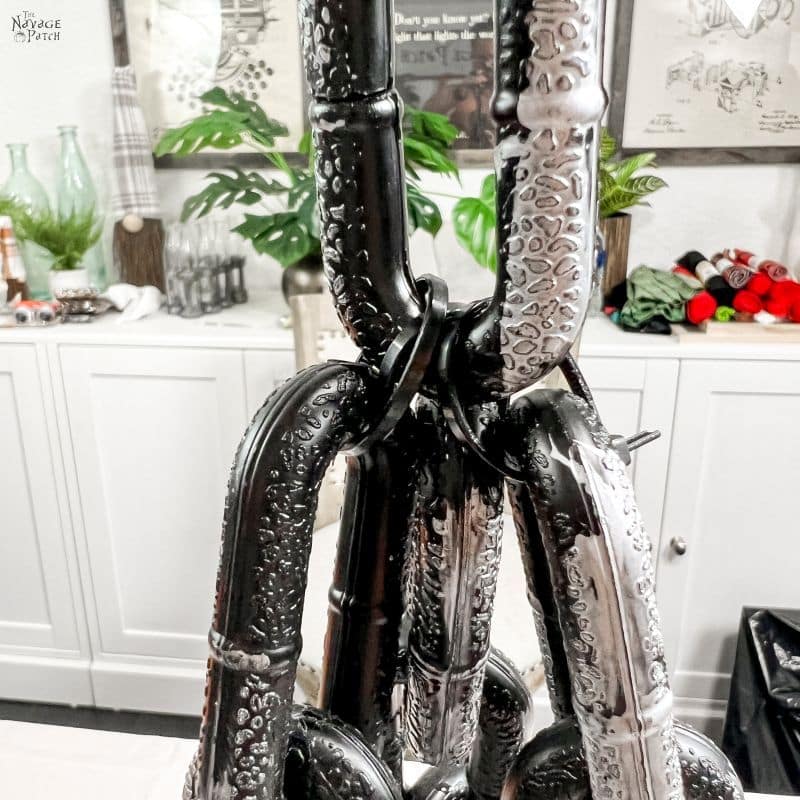
Next, I made loops from black zip ties at the top of each 4-link chain section.

The zip tie loops act as thin chain links, and they allowed me to connect the three 4-link sections to the longer section that the light will hang from. The chain links are too thick to connect three on one, but it’s no problem with zip tie loops.
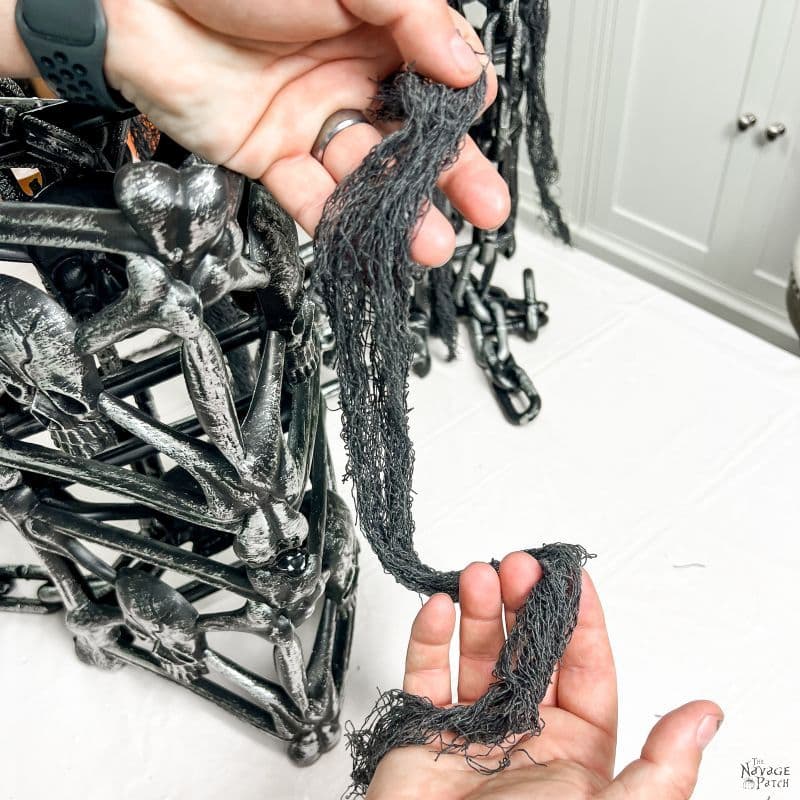
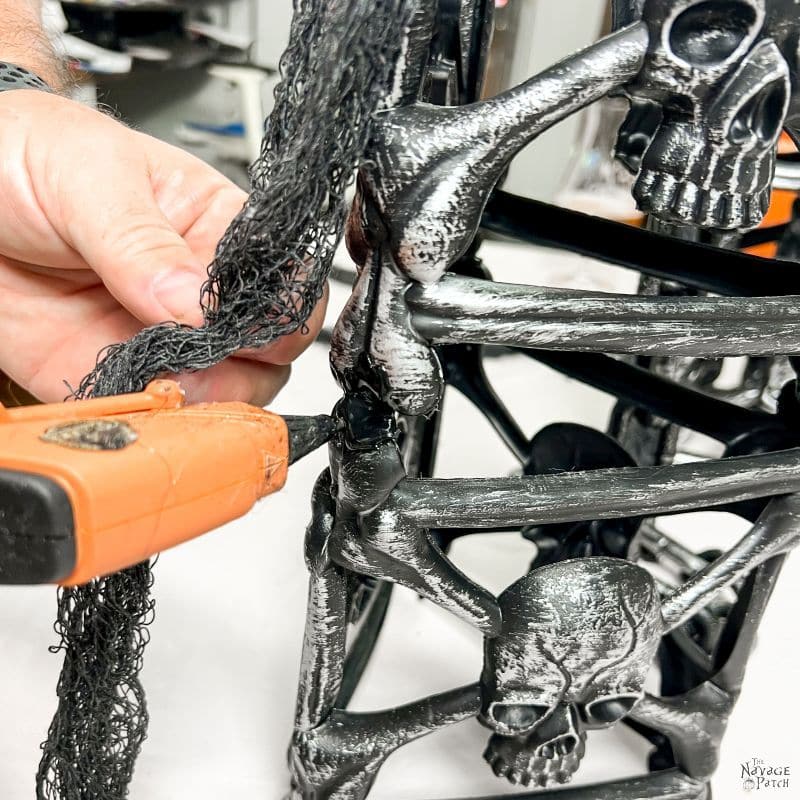
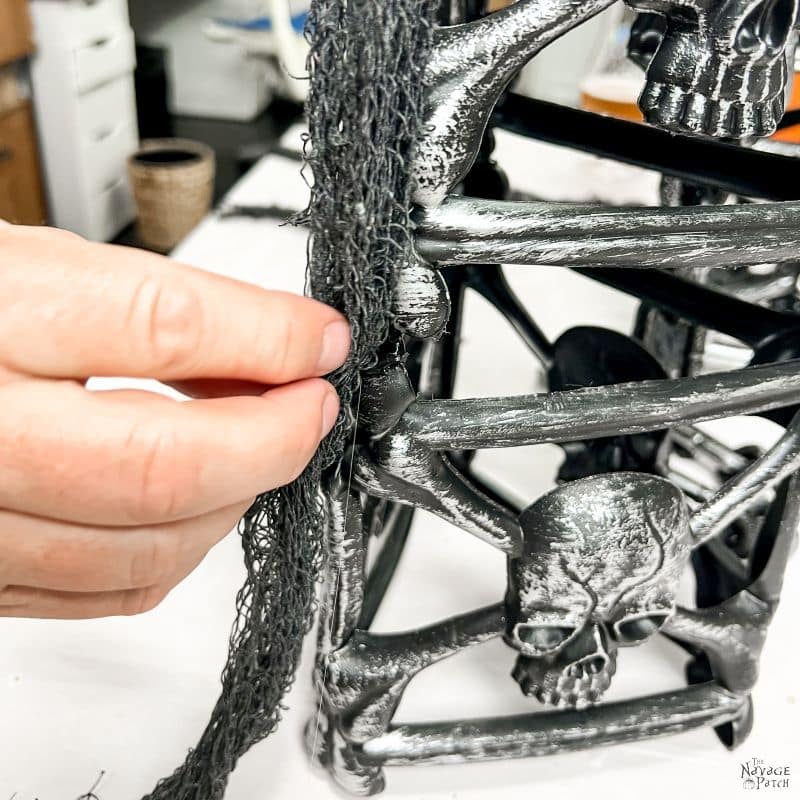
Step 8 – Add creepy cloth
I cut 3 lengths of creepy cloth for each lantern.

I hot glued them at the top corners by putting a little bit of glue behind the joint and pressing the cloth in place.


Then I put a dab of glue at each middle joint and pressed on the creepy cloth.

Step 9 – Secure the chains
To keep the chains from sliding around on the lights, I first found the best balance point, and then I glued the first links to the lantern.


Since the fence doesn’t fold into an equilateral triangle, the best balance point for the chains is shown below. The front chain is in the middle, but the back two chains closest to the glued seam are shifted a little bit towards the seam.
Step 10 – Add the lights
This is the backside of a remote-controlled LED tea light. This is the side that will be glued.

This is the front side – this will emit light in all colors.

I attached the lights to the lantern with hot glue. Since these lights unscrew, there’s no issue with gluing them on. I’ll still be able to replace the batteries when needed.

Since the back of the skull is concave, it needs a lot of hot glue.

I attached two lights per lantern to the back of the front-facing skulls.
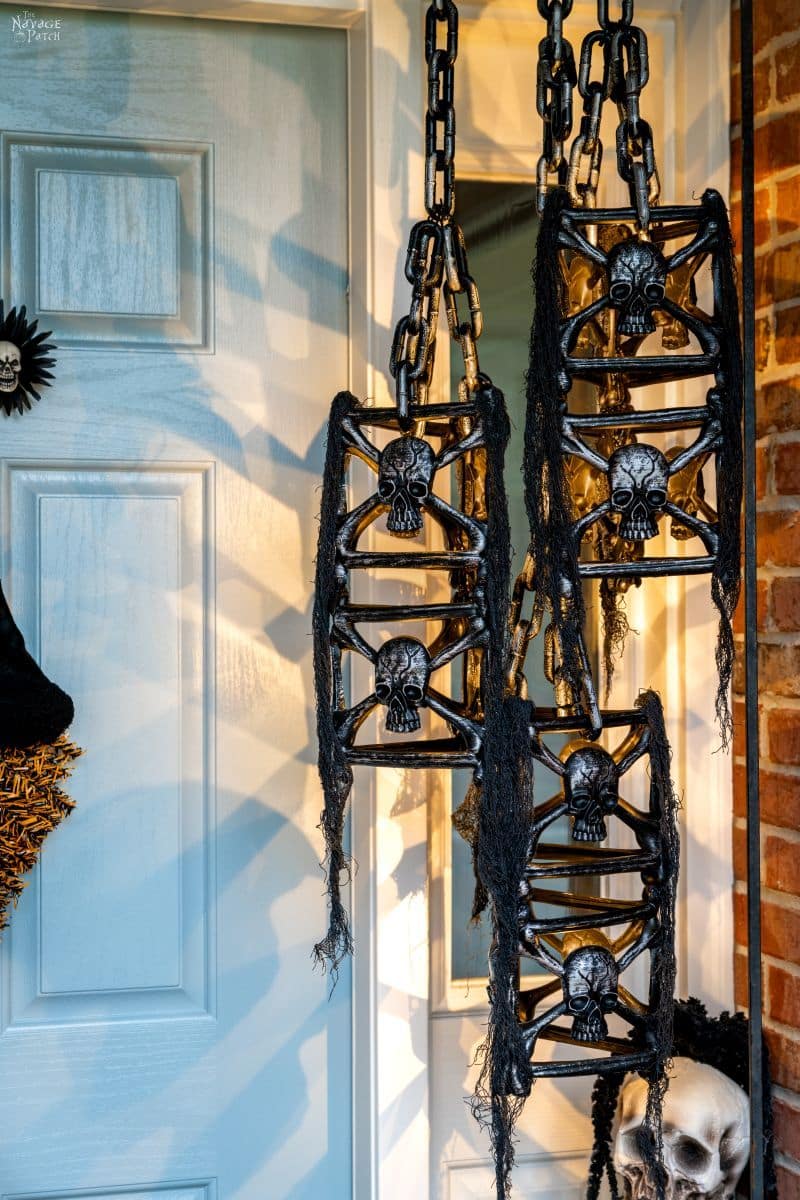
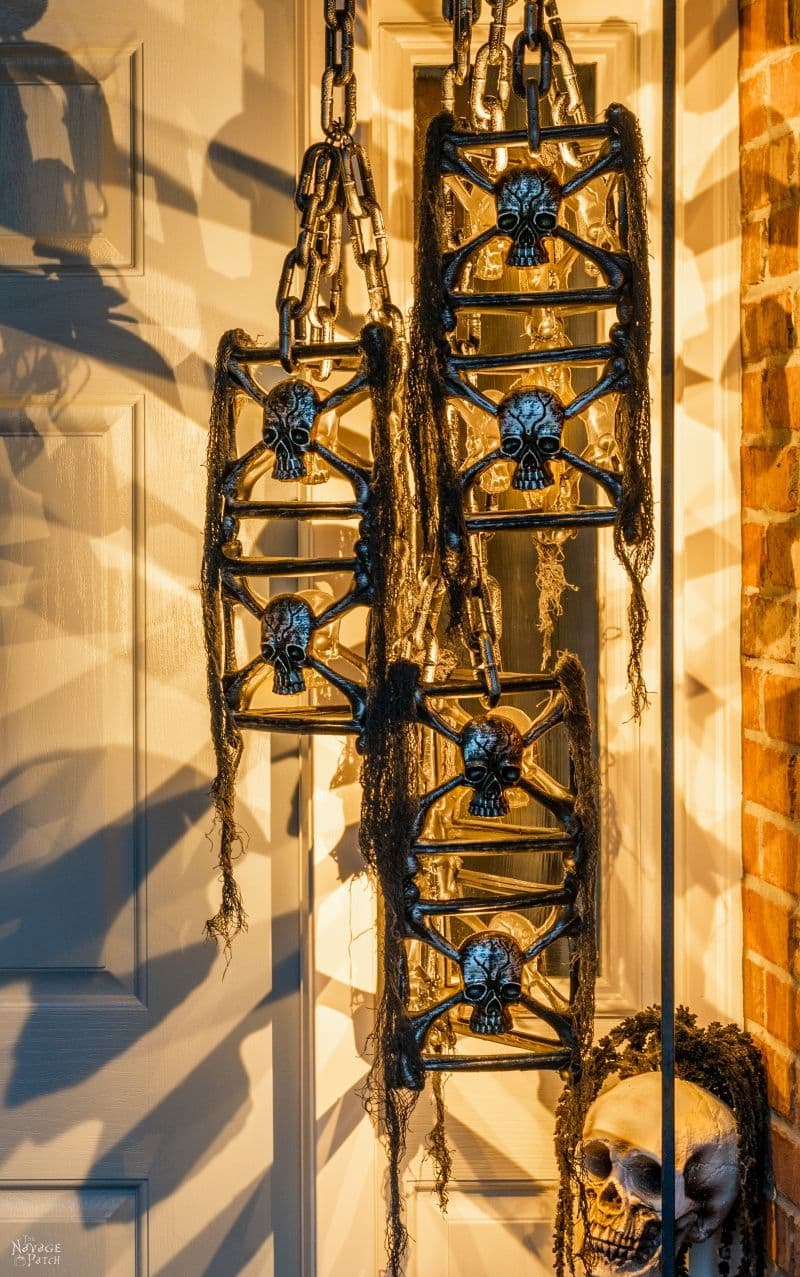
With the lights installed, our DIY Dollar Tree Halloween lanterns were ready for action!
First some daylight shots.


And while waiting for nightfall, I made one more lantern.

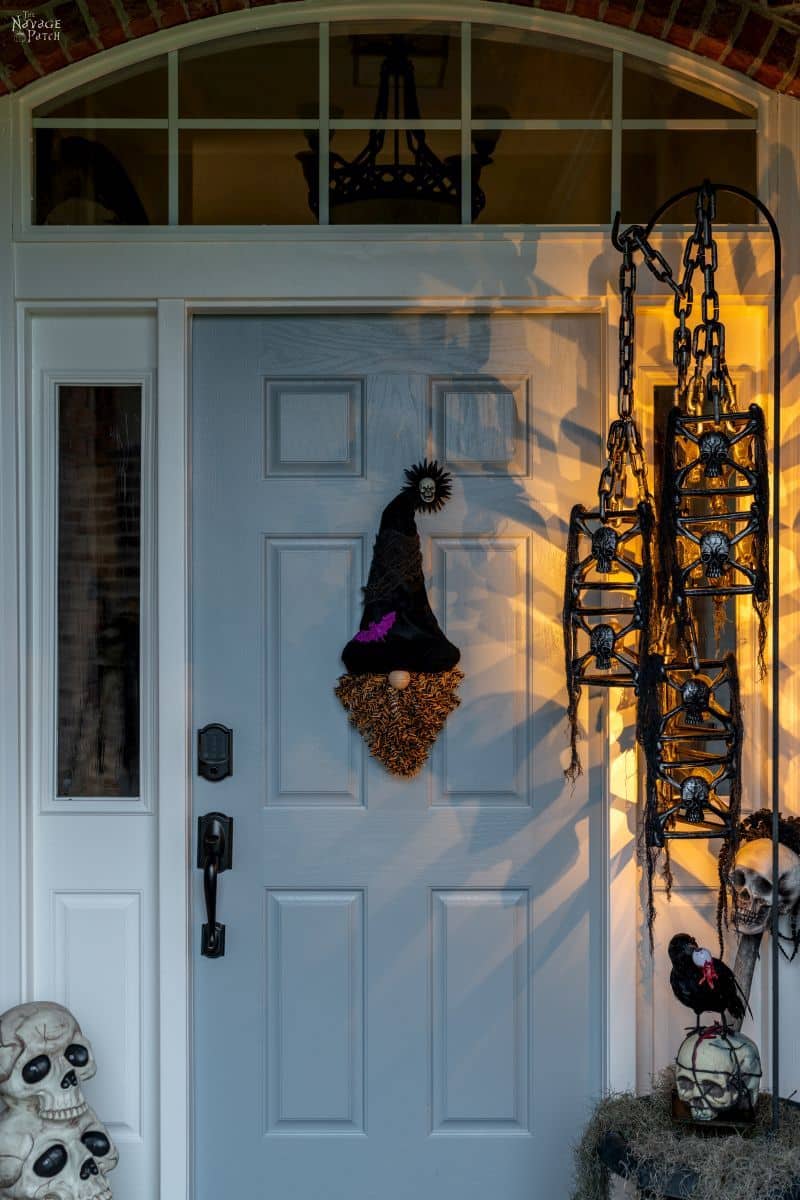


If you like that Halloween gnome wreath hanging on our door, I’ll be posting that tutorial later this week!
Some might want to call it a pendant, a chandelier or even simple a light for that matter, I would just call it the most awesome accessible Halloween craft I’ve seen this year. I can already see my husband rolling his eyes when I tell him that I really, really need to add this great thing I saw on that blog I always talk about to our Halloween décor😇
LOLOL! Thank you so much, and have fun making it! 🙂
https://pin.it/1teCwdA have been working on recreating this, and it uses the dollar tree fences you were buying in the video. Not sure if this is a chandelier or not, but it may inspire you in a different direction. And I love your pendent lights anyway!
Hehehehe…have you been watching our Instagram stories from the last two days? 😉
No, but I have now, just fantastic!!!
A year ago someone told me to fill pvc pipe with sand heated in a pan which makes it easy to bend without creasing into great shapes. I made a fancy chandelier! I added small terra cotta pots where the candle style lightbulbs screw in. Yup, I even wired it for bulbs! If course I had to add some crystals. I’ve now made about half a dozen of these. It’s addictive. Now that I’ve learned how to bend pvc pipe is my new favorite craft supply!
Wow, that’s a great idea, Zoe! Thanks for the tip!
If Handan wanted a chandelier, you had the perfect Halloween monstrosity already installed!! 😂😂
I really like these. Aren’t the little lights great? So useful! Especially since they’re remote controlled instead of having to try reach into your lights just to switch it on 😭 I know you’ll be using them for a bunch more projects, I can see it now!
You are so right about that, Jay! We’ve already used them in another Halloween project, and they’re sure to get a workout during Christmas as well!
Absolutely love it
Thank you!
I love Halloween! And I love all your projects!
Thank you so much, Debra! 🙂
Incredibly clever. You envision an end result from ‘stuff’ that I’d never dream of using in that way. I’m not into skulls and such, although the skeleton crow is such a hoot, love that!! I don’t decorate ‘scary’ for Halloween, but I sure admire the creativity and effort that others put into it. I always learn something from your videos no matter the theme. I gotta say one more thing before this becomes a book; chandelier or whatever, the shadows that your hang-lights create on the door and wall behind it is tuh-dye-for. Brilliant.
I know, right? I wasn’t expecting shadows that cool. I love the skull shadow!
These are really cool, but yeah, I’m waiting on that gnome wreath tutorial. I was going to make the gnome wreath with the luau skirt for the beard, but by Dollar Tree is out of them for the season!
Halloween gnome wreath coming this week, Melinda!
You’re a genius! This project is genius!
Thank you, Miss Julie! 🙂
Brilliant. Sorry I’m late to the party. I have to save your emails and videos until I have time to enjoy them without interruption. Love all things Halloween but the more spooky, the better.
Oh, you’re going to LOVE what we have in the pipeline, Karen! And if you’re on TikTok, look us up there, because they’re already posted! 😀
OMG, the Instagram guy who was holding this in the yard!!!! When is that coming!?!?! You’re q genius and i love your writing, thank you!
We didn’t DIY him! He’s a Lowe’s creation – we just put him together! 🙂