DIY Fairy Skeletons
These super simple DIY fairy skeletons are the perfect whimsical addition to your Halloween display. Make a whole gang – they love company!
Psychiatrists, spiritualists and self-help gurus have been telling us to get in touch with our inner selves for decades. I’ve always looked askance at such suggestions. All this gag-inducing talk of nurturing our “inner children” sounded like a bunch of hippie-dippy new-age gobbledygook.
But then it hit me!

Those bespectacled head-peelers and patchouli-wearing spiritualists were really onto something!
They may have been speaking figuratively or metaphorically, but what if we just take them at face value, and get in touch with our true inner selves?
I’m talking about the inner self that allows you to stand up. The one that protects your heart, and the one that surrounds that blob of jellied oatmeal between your ears.
Yep, it doesn’t get more “inner self” than a skeleton – it’s the literal definition!

So this year, we’re embracing our inner selves and our inner children by playing with skeletons of all sizes!
And what better way to play than to spruce them up and make them into fairies? You won’t believe how easy it is, and lemme tell you, they’re a hit!
But it gets better! To top it all off, we made an animatronic fairy skeleton king! Or…queen. I’m not exactly sure. It’s a little hard to tell after the postmortem weight loss. I suppose I could count ribs or something like that, but I’m not sure gender matters as much to a skeleton as it does to us electric meatbags.
Quing, maybe?
Let’s get to it – the fairies want to come out and play!
DIY Fairy Skeletons SUPPLIES LIST
Affiliate links are provided below. Full disclosure here.
- Skeletons – we used three 3-foot and one 5-foot (this 5-ft from Walmart is cheaper)
- Gold spray paint (we also used Champagne Bronze)
- EL-wire fairy wings
- Flappy fairy wings
- Zip ties
We love to see our DIY Halloween decor out in the wild! If you make this Halloween DIY decor for your home, take a picture or video and post it on Instagram, be sure to tag us – thenavagepatch
Fairy Skeletons VIDEO Tutorial
Watch our short and fun video below for an overview of our DIY Fairy Skeletons before you read the detailed step-by-step tutorial.
Watch Our Tutorial On YouTube
On Tiktok
More Easy DIY Halloween Decor Ideas

- Hanging Cage Halloween Prop
- DIY Dollar Tree Halloween Lights
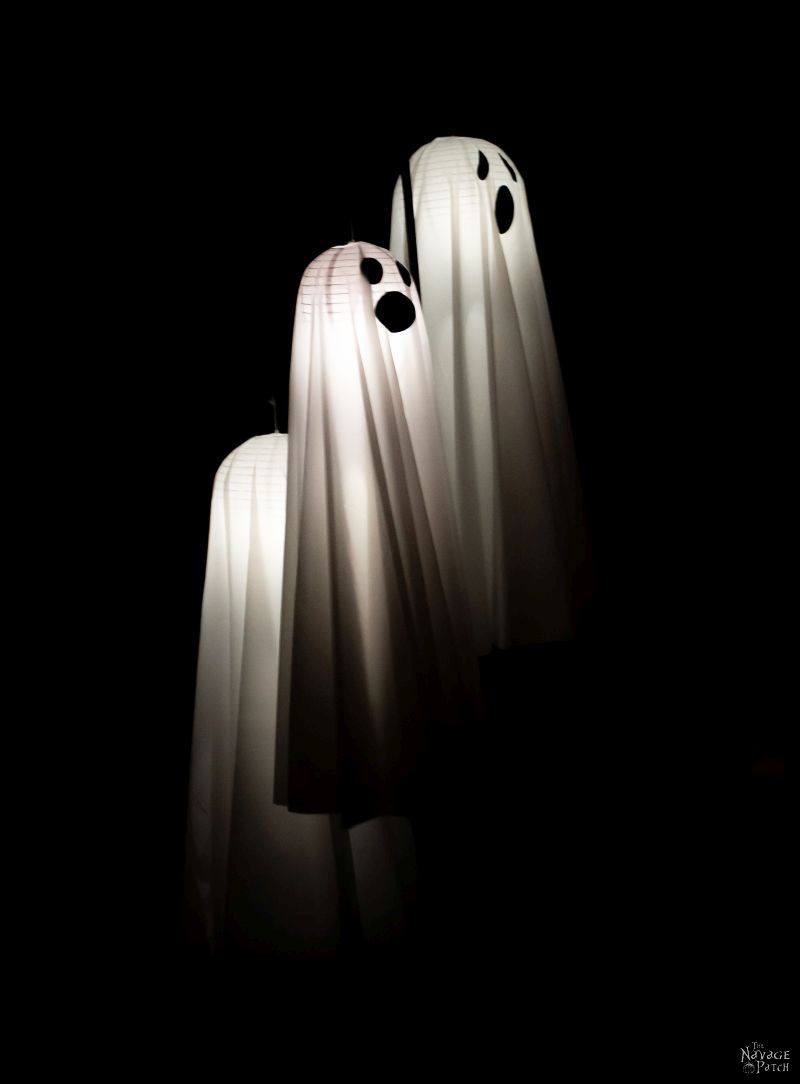
- Easy Lighted Hanging Ghosts (A Dollar Store DIY)
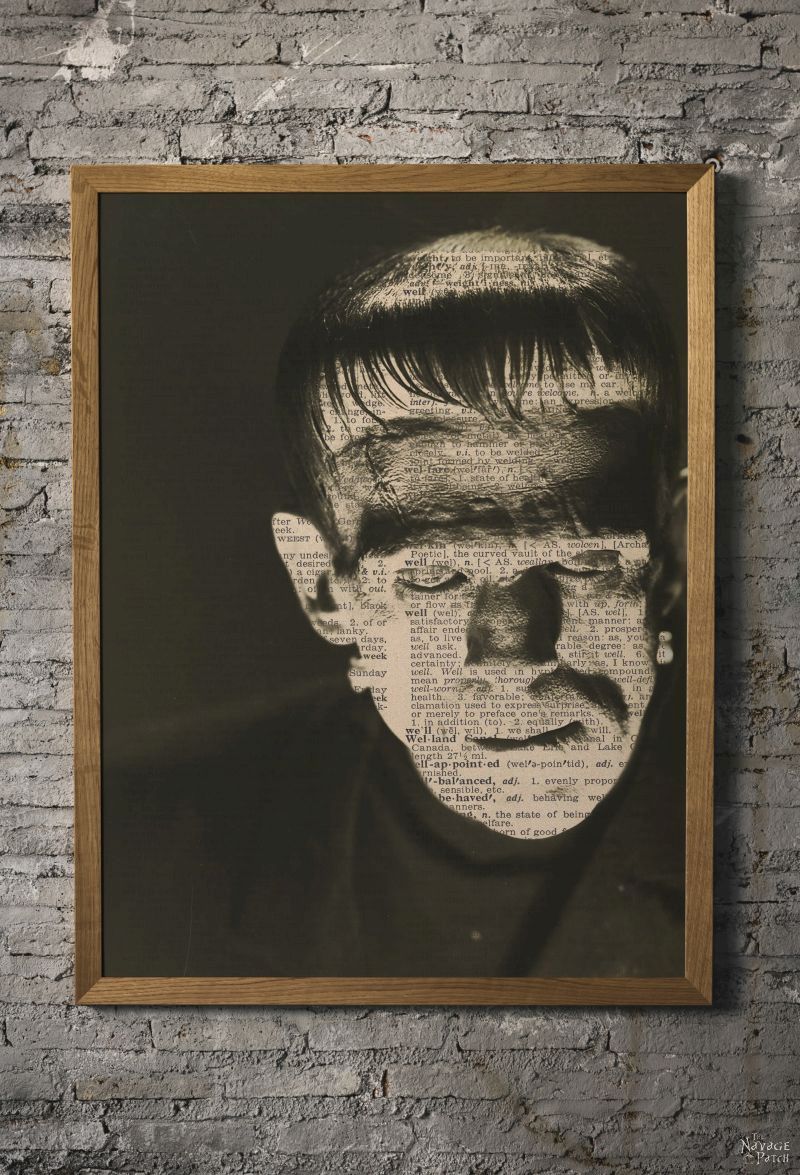
- Free Vintage Movie Monster Printables
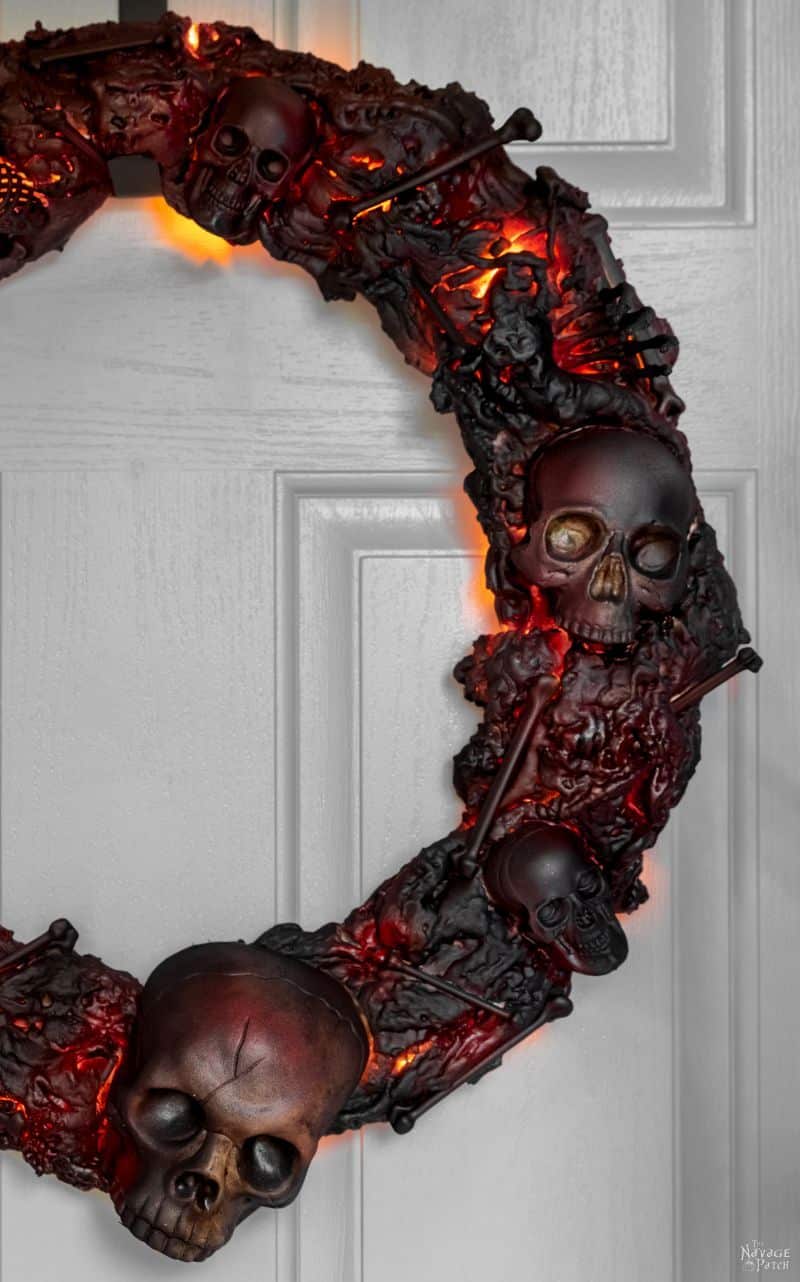
- DIY Halloween Fire Wreath
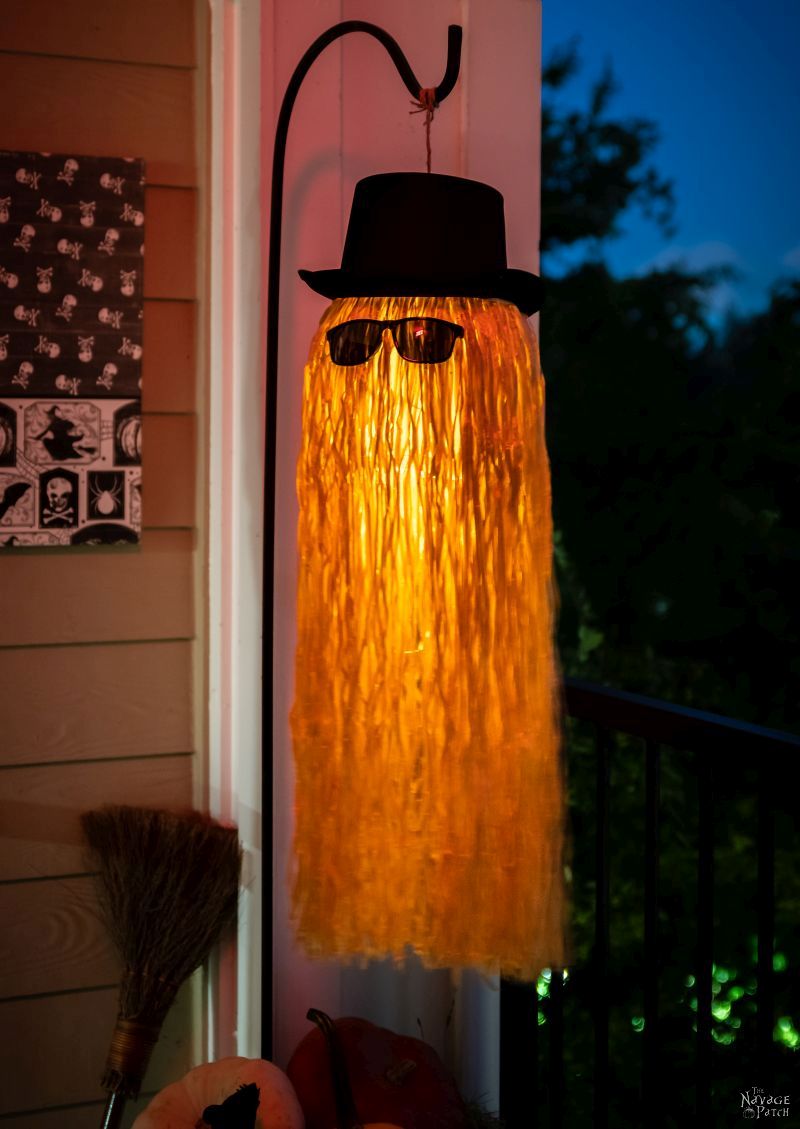
- DIY Cousin Itt Pathway Light
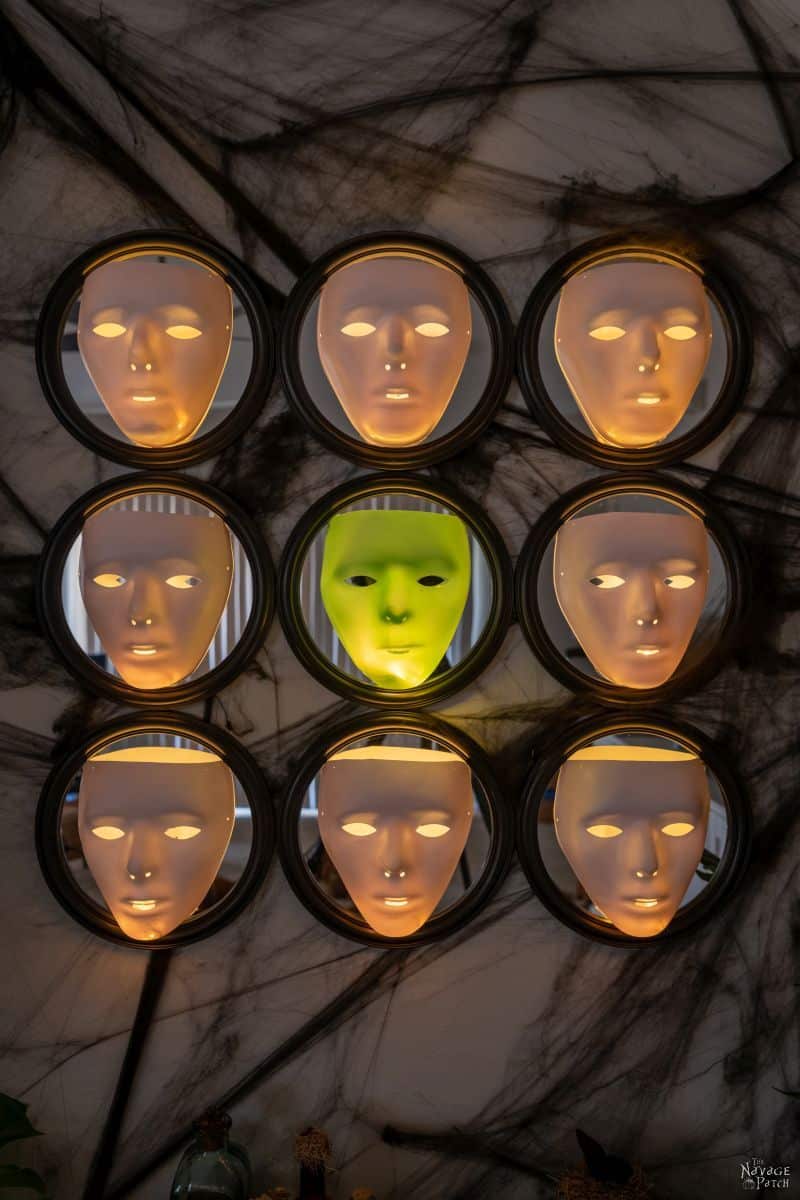
- Gallery Of The Faceless – Easy Halloween Wall Decor
- DIY Lighted Witch Hat (Grandin Road Inspired)
- Apothecary Jars And Free Printable Labels
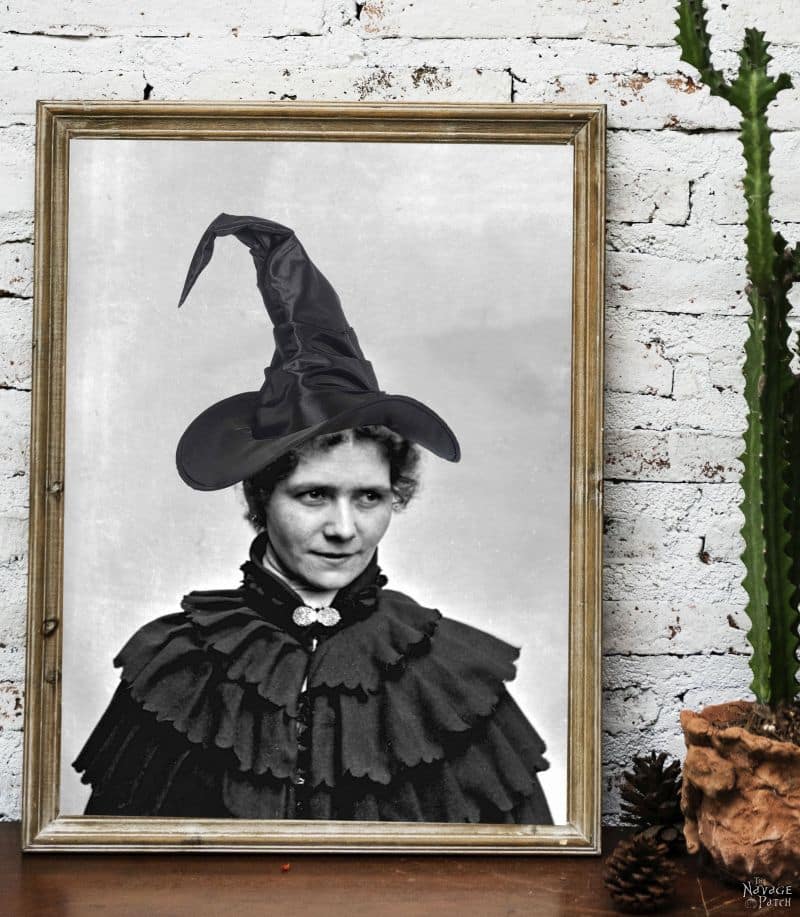
- Free Vintage Witch Printables
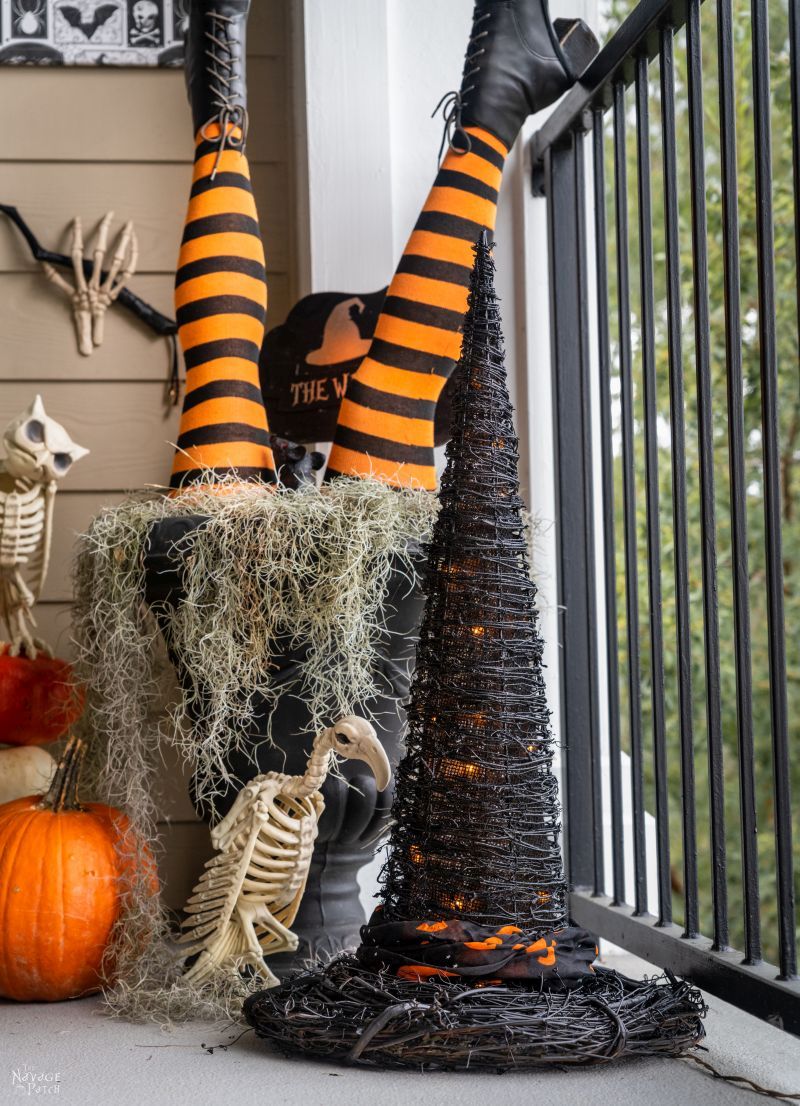
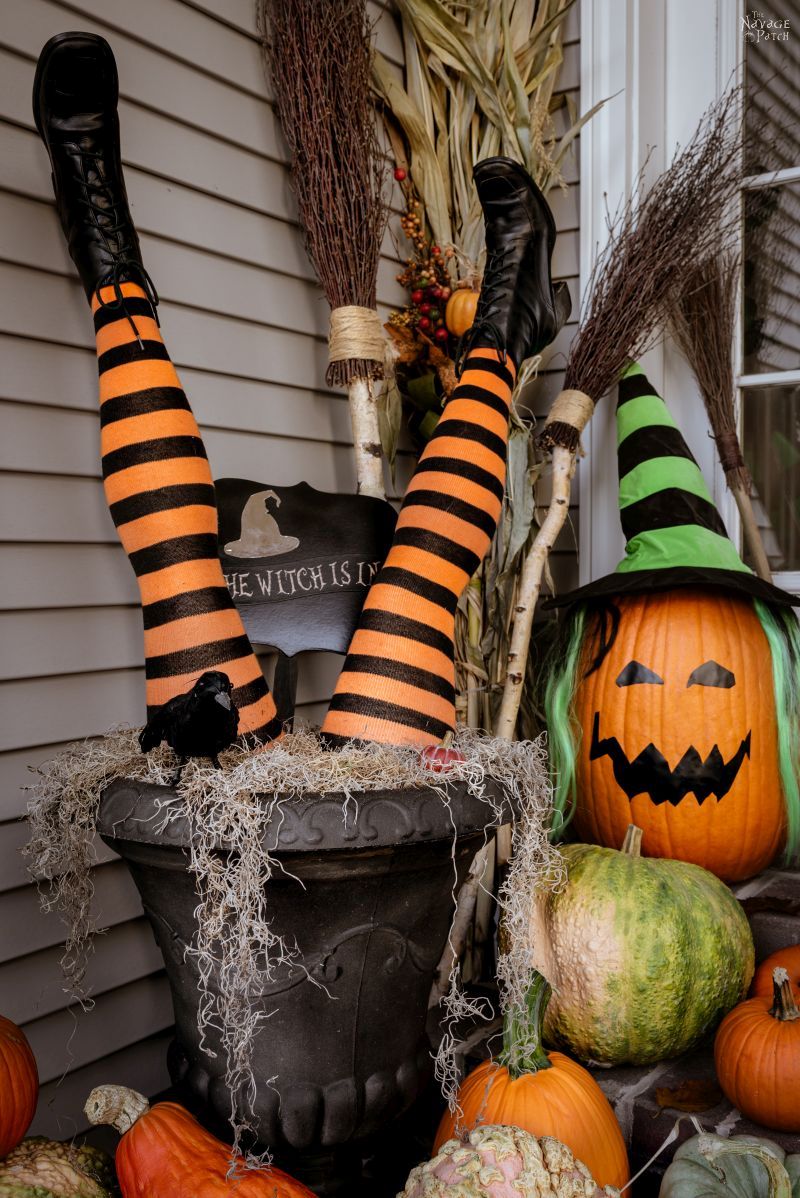
- DIY Witch Legs (Grandin Road Inspired)
- Dishes Of Darkness: Pottery Barn Inspired Halloween Plates
DIY Fairy SKeletons Tutorial
Step 1 – Paint…or don’t
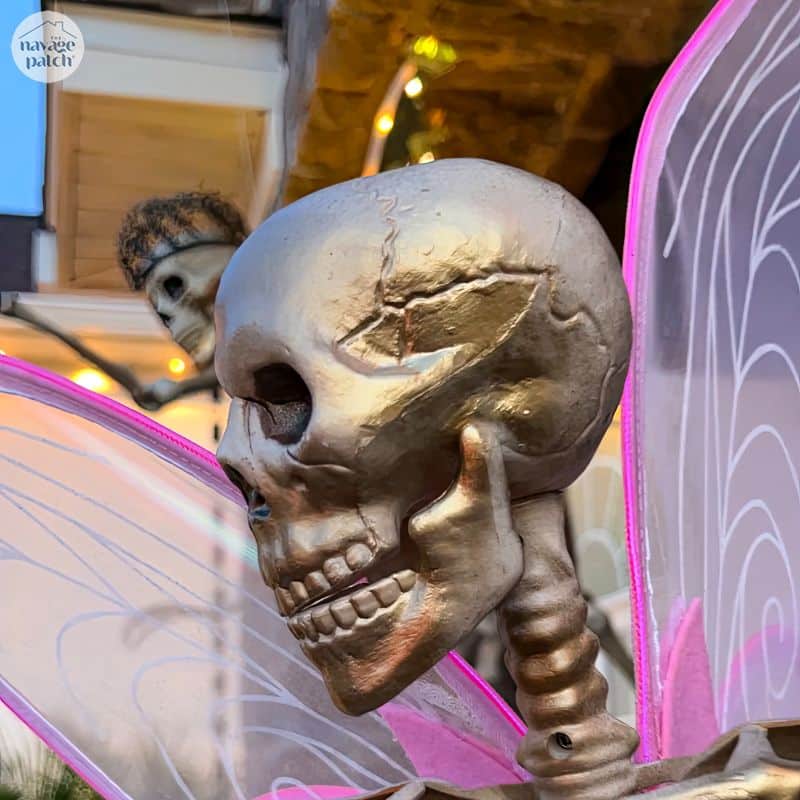
My babes wanted our fairy skeletons to be a little less bone-white and little more glamorous, so she asked me to make them shine a little bit.

I chose to use both Rustoleum Champagne Bronze and Shiny Gold. Together they gave the skeletons a classy-looking tan without crossing over into Gaudsville.

A little here and a little there…

I painted some bones a brighter than others!

Time for some fairy wings!

Step 2 – Add wings
I used EL-wire (electroluminescent wire) fairy wings for the small skeletons. My first attempt involving hot glue was an abject failure.


Not only was hot glue not up to the task, but I had to do something with the straps. One thing was certain: this fairy backpacker look wasn’t going to cut it, especially not with my babes!

I figured out a way to move the straps inside the rib cage. It was a huge improvement, but I had a nagging feeling The Shrimp wouldn’t like it.

And this was about the time the glue failed.
Fortunately my mighty micro wife had joined me, took one look at the situation, and like a surgeon calling for a scalpel, she held out her hand and issued a command. “Zip ties!”
I hustled and got her some. She removed the straps and zip tied the wings to the back ribs. No muss, no fuss.
Why didn’t I think of that?
Oh, right. I’m a doofus!
At least I’m a doofus who learns quickly. I repeated her actions on the other two skellies. Two zip ties did the trick.

The wings were good…but they would be better with a little curve to them. I used another zip tie on two of the fairies to pull with wings back a little.

Ta-da!

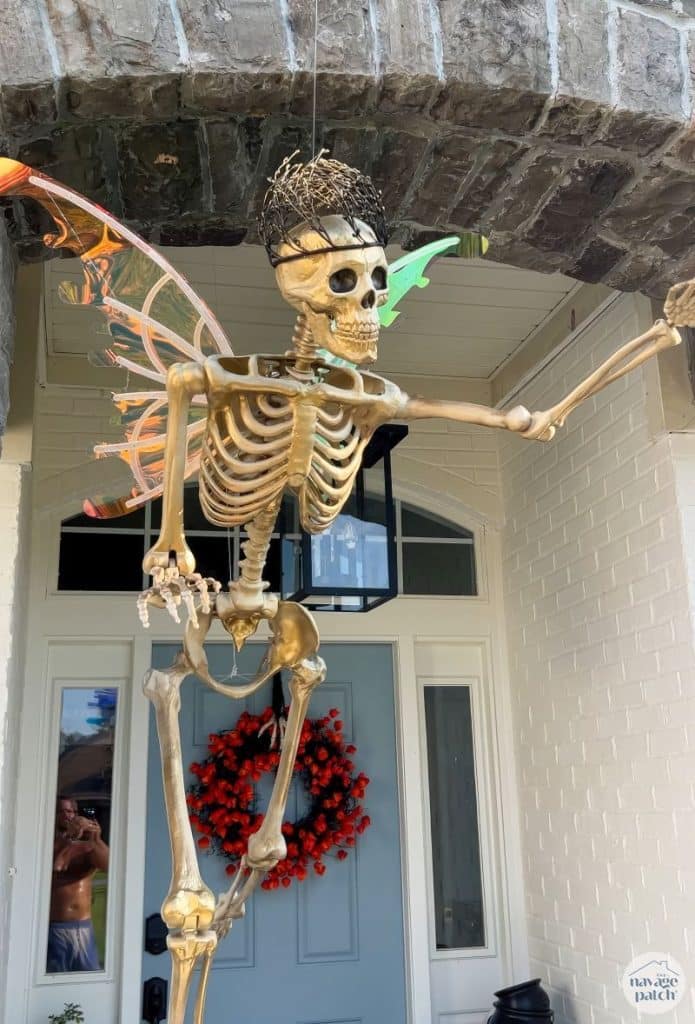
Step 3 – Make a king…or queen

This one was easiest of all! I painted a 5-foot skeleton just as I did the 3-footers. Then I zip tied these battery-powered LED flappy wings onto the back ribs.

After attaching them, we realized the motor unit would look better painted, so I removed the wings and painted the back of it gold. If I were to do it again, I’d paint the entire control unit gold, as some of the white shows through the rib cage.

I made a crown for the monarch by painting a Christmas candle ring black with gold tips, and then I hung him with fishing line from the soffit.

The other fairy skeletons are hanging out around their leader.


These are wonderful! I’ve been outlawed (some rubbish about storage) from buying anymore skeletons this year, but this is going on next year’s to-do list.
Thanks for sharing your talents!
Laws are meant to be broken 🙂
I love these. I usually don’t decorate much for Halloween but I’m thinking I might need me a Harry, Larry, and/or Mary. The neighborhood kids would love it! Thanks for the idea.
My pleasure! Have fun!
YEESSSSSS! These are awesome and fun and kinda creepy, but in a glamorous way. I will admit that I was a little disappointed that they weren’t life-sized (that pic of them on the table in front of you, prior to painting, earned an “Ahhh, dang.”), but the smaller ones look like they could zoom around easier a big one, anyway. Zip ties, buddy. It’s always zip ties.
Thanks, Deb! Yeah, those little guys are almost life-sized…but the big one is almost as tall as Handan! 😀
They are absolutely gorgeous. Such a fun idea. Z
Thank you!
Wonderful; I bet your neighbors line up to see your yard decor!
We did a test run last night, and several kids with parents showed up to watch!