
DIY Halloween Candle Cluster
This Halloween candle cluster is simple to make – just grab some battery-operated candles and the bleached skulls of your vanquished foes!
If you were to make a little book about my babes’ life here in America – especially her life around September and October – and if you were to wrap that little book up and fly yourself to Turkey, and if you were to seek out her family on the Aegean coast, and if you were to unwrap that book, and if you were to show the pages to her family – especially the pages concerning Halloween, it is likely those family members looking at the pages of your little book would be gasping and clutching at their prayer beads.
For it is a certainty that Handan of Izmir is nothing like Handan of Florida
Handan of Izmir is a no-nonsense, level-headed Turk.
Handan of Florida is a frizzy-haired Halloween lunatic.

Handan of Izmir holds a tea cup in one hand and a piece of baklava in the other.
Handan of Florida holds a bubbling brew in one hand and a skull in the other.
And while Handan of Izmir spends her days chatting amiably with friends, Handan of Florida prefers the company of witches and toads, including, but not limited to, her Chief Toad-in-Waiting…me.
So let me introduce you to a little something I made for my little witchy wife to brighten up her Halloween season.

The woman in her loves candles, and the witch inside loves skulls, so I combined the two for a spooky Halloween delight!
Halloween Candle Cluster SUPPLIES LIST
Affiliate links are provided below. Full disclosure here.
- All supplies can be found here
- Styrofoam Cooler – we got ours at Dollar Tree
- Assorted foam and plastic skulls
- Spray insulation foam
- PVC pipe
- Hot glue gun and glue
- French cream spray paint
- DryLok
- Black paint
- Spray bottles
- Battery-powered tea lights

Halloween Candle cluster VIDEO Tutorial
Watch our short and fun video below for an overview of our Halloween candle clusters before you read the detailed step-by-step tutorial.
On Tiktok
On Instagram
More Easy DIY Halloween Decor Ideas
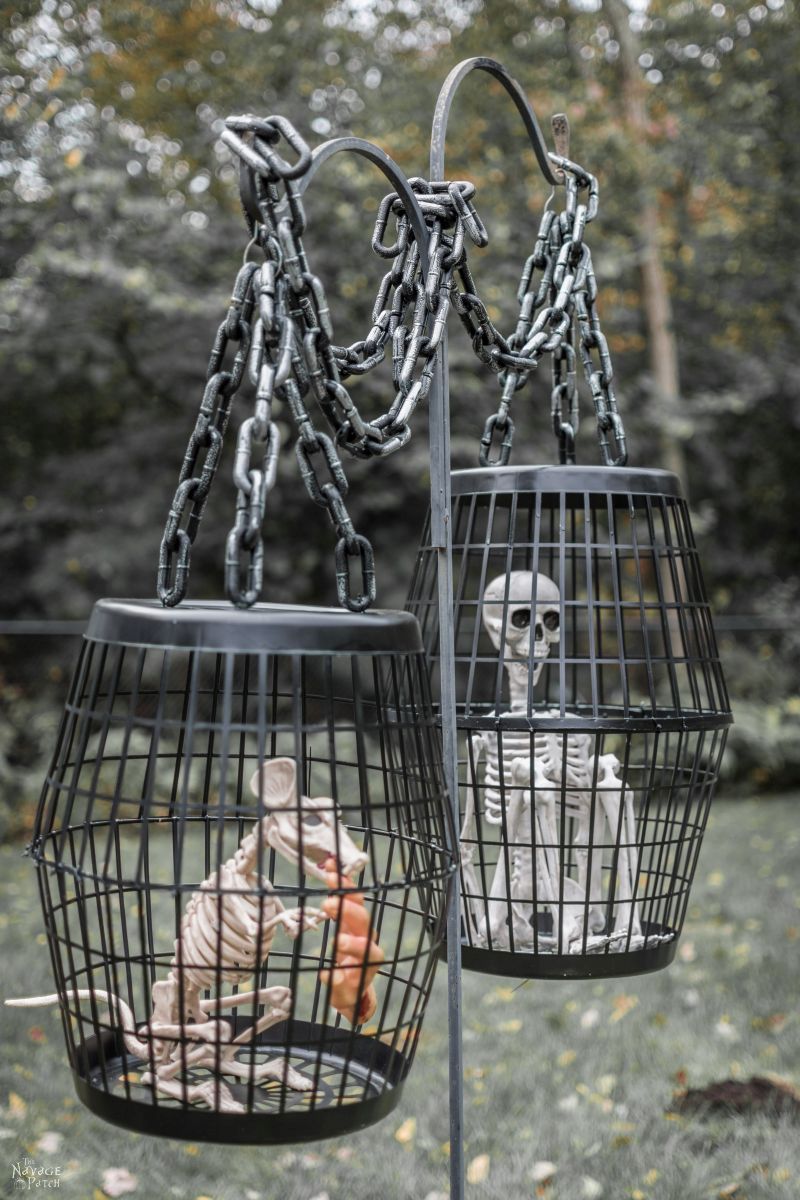

- Hanging Cage Halloween Prop
- DIY Dollar Tree Halloween Lights
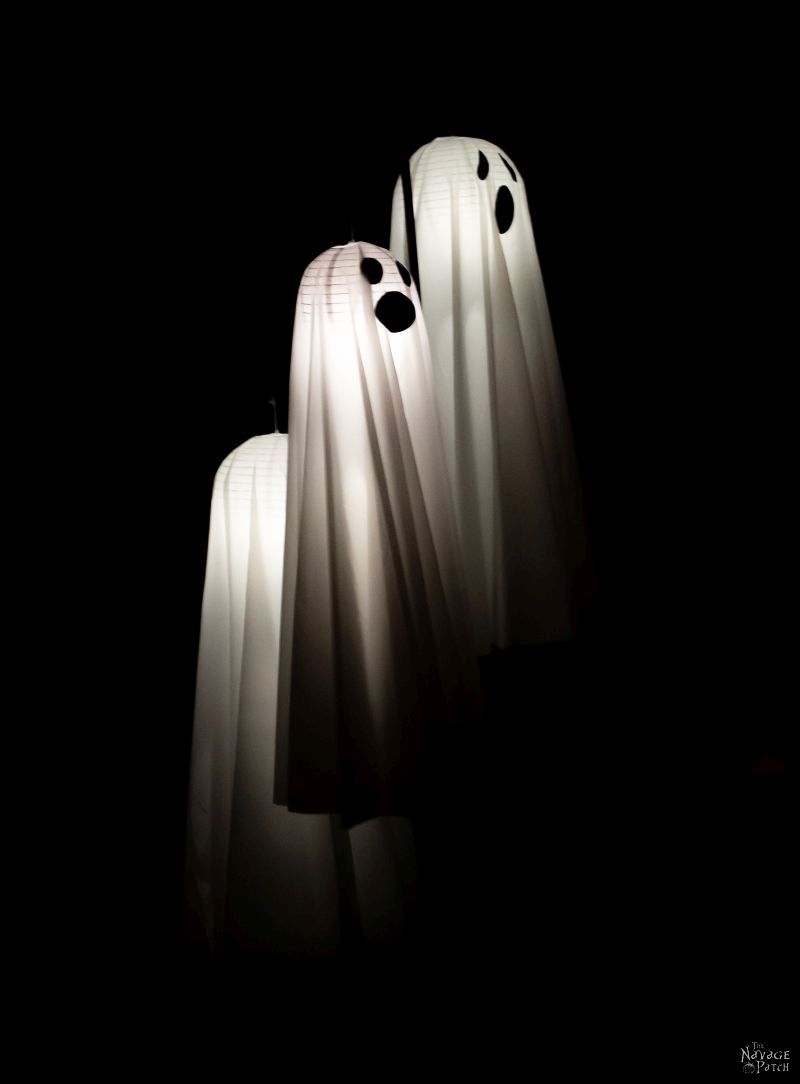
- Easy Lighted Hanging Ghosts (A Dollar Store DIY)
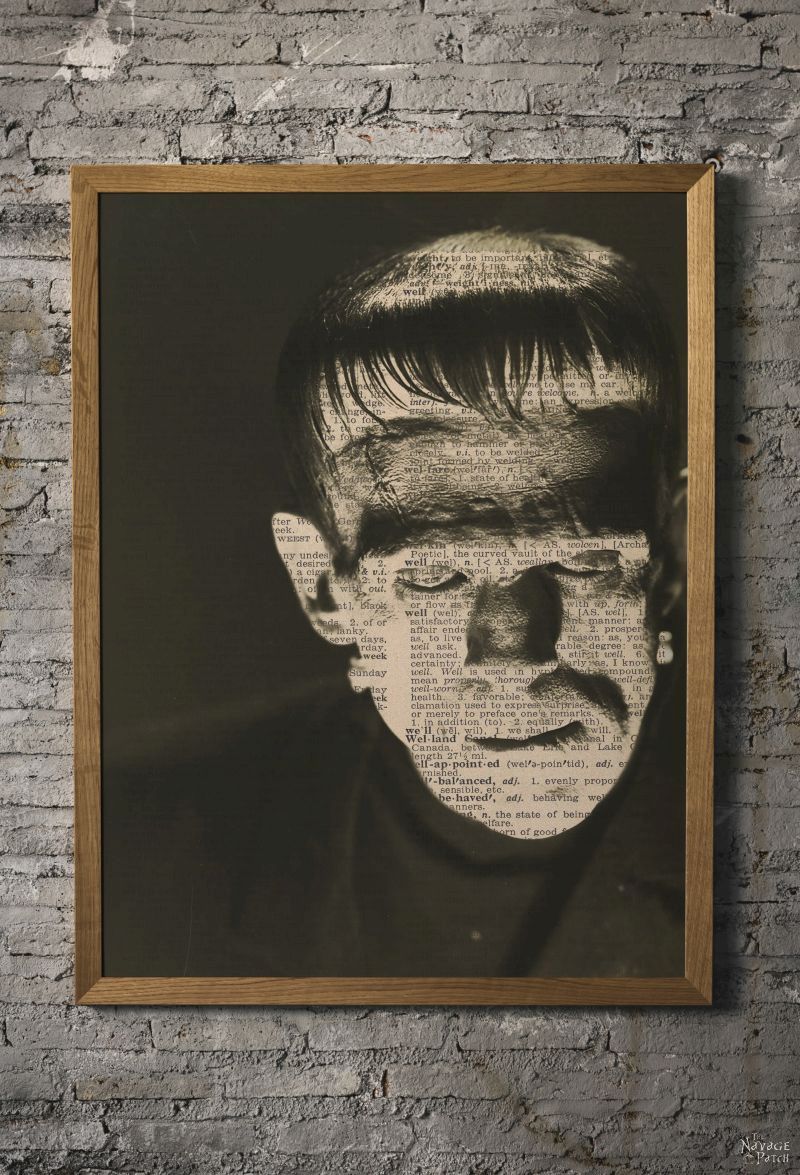
- Free Vintage Movie Monster Printables
- DIY Halloween Fire Wreath
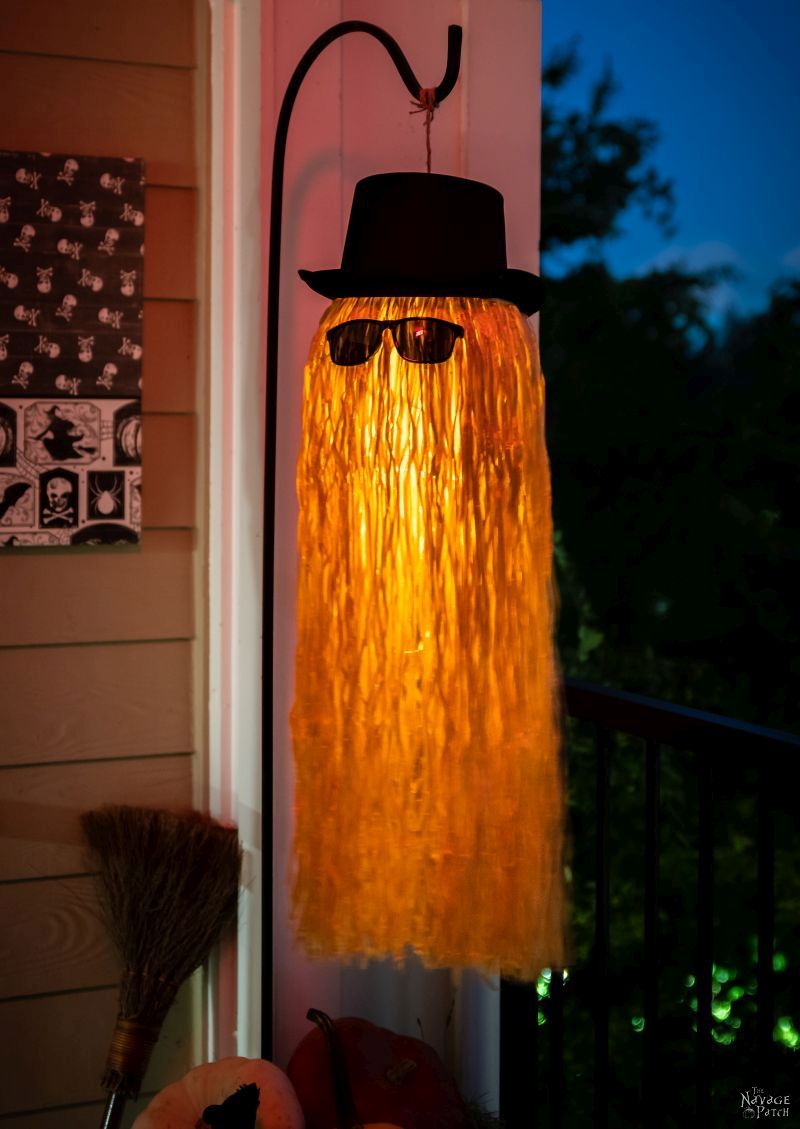
- DIY Cousin Itt Pathway Light
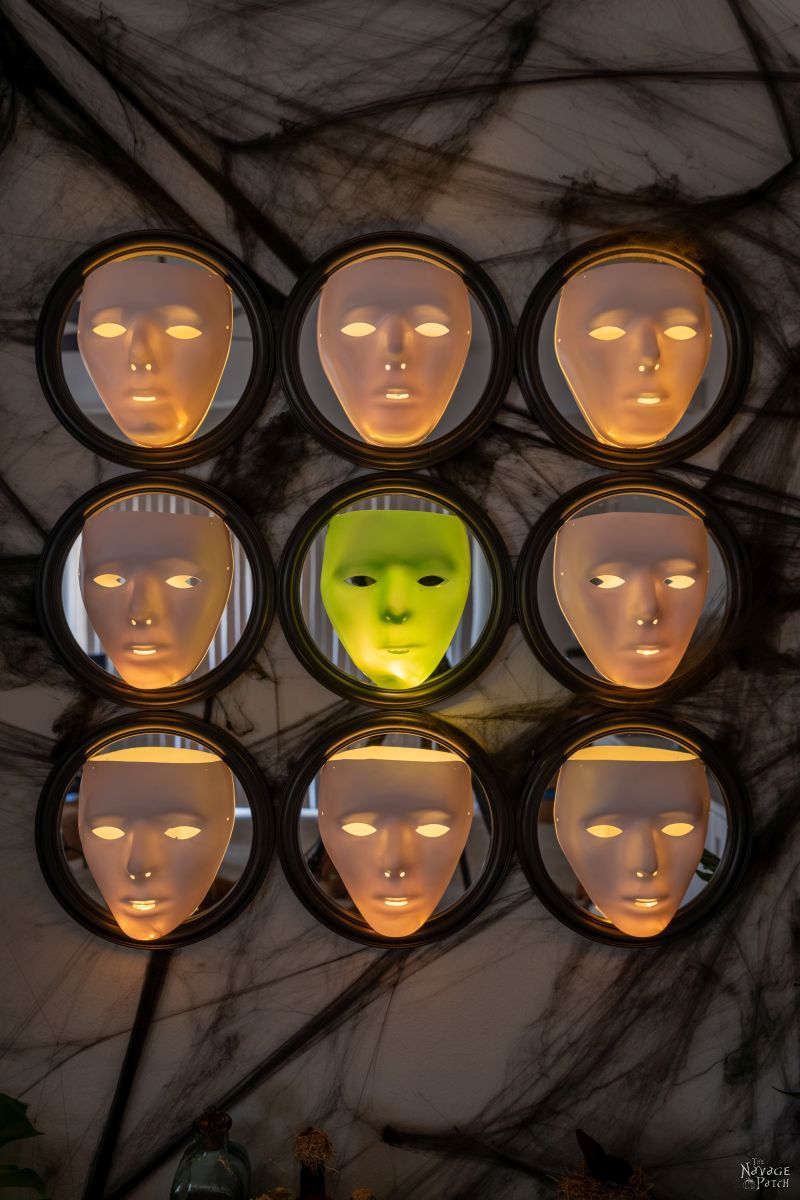
- Gallery Of The Faceless – Easy Halloween Wall Decor
- DIY Lighted Witch Hat (Grandin Road Inspired)
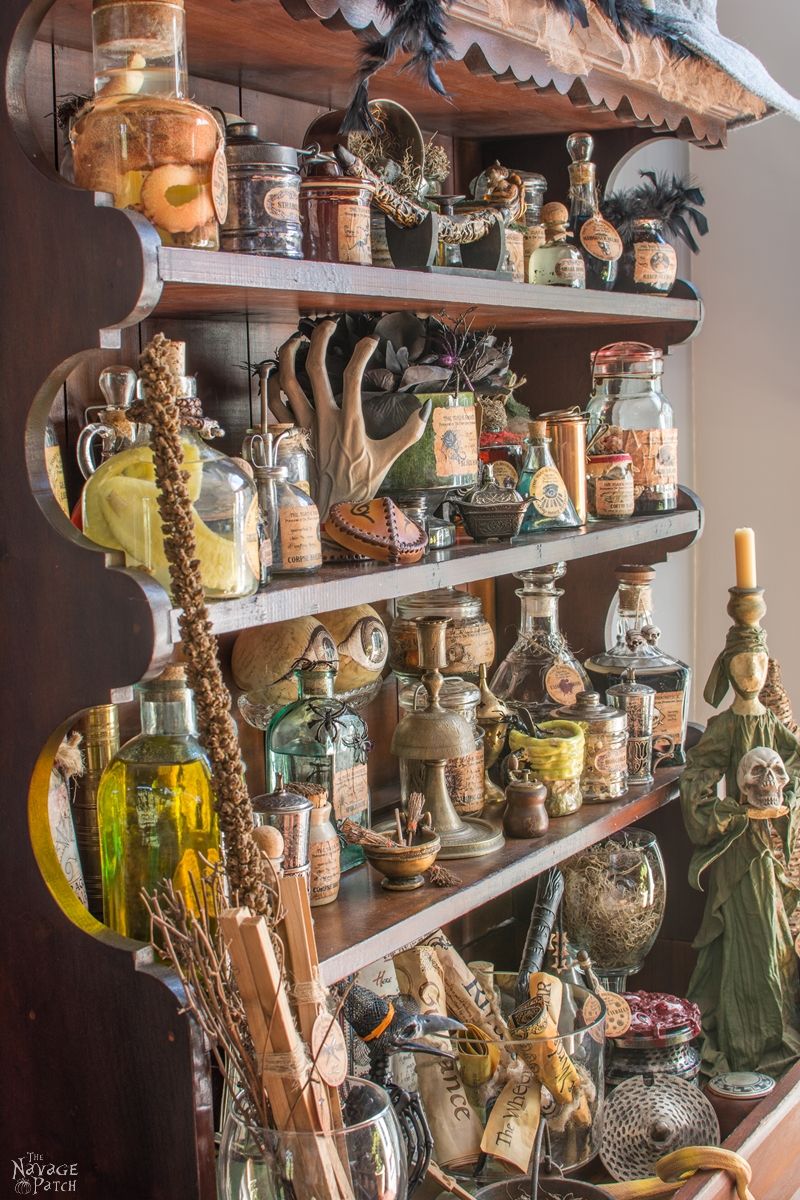
- Apothecary Jars And Free Printable Labels
- Free Vintage Witch Printables
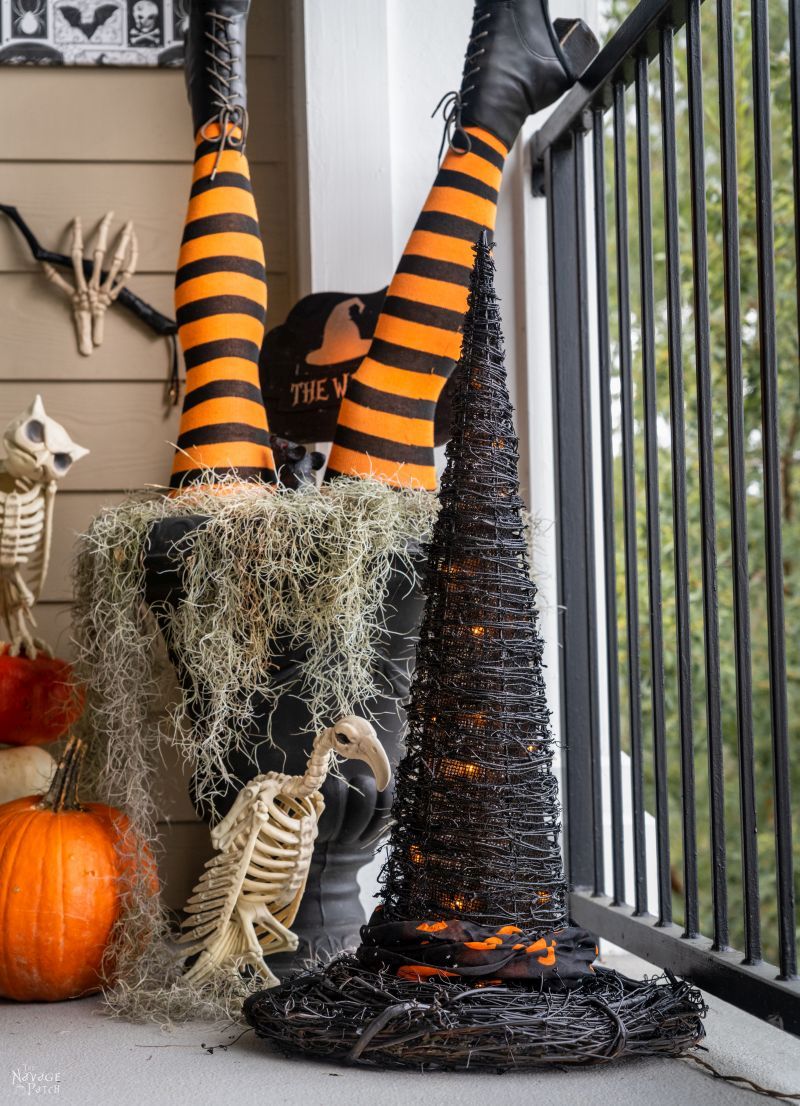
- DIY Witch Legs (Grandin Road Inspired)
- Dishes Of Darkness: Pottery Barn Inspired Halloween Plates

We love to see our DIY Halloween decor out in the wild! If you make this Halloween DIY decor for your home, take a picture or video and post it on Instagram, be sure to tag us – thenavagepatch
DIY Halloween Candle Cluster Tutorial
Because my babes loves symmetry, I wanted to make two candle clusters for the two accent cabinets in our dining room. Two styrofoam coolers from Dollar Tree fit the bill perfectly. I also made one from a Dollar Tree laundry basket, but that one is for outdoor display. You can use pretty much anything you’d like for a base!

For the candles, I used 1 1/2 inch and 2 inch PVC pipe (inner diameter)

I cut the PVC into random lengths with a chop saw, but PVC cuts easily with a hacksaw if you don’t have a power saw.


I dry-fit the candles onto the cooler. Since I was making two clusters to flank the dining table, I made each a rough mirror-image of the other.

When I had the candles arranged how I wanted, I pulled one at a time, ran a line of hot glue down the side or sides that touched another candle, and then placed the candle back into the grouping.


After gluing the cluster together, I moved onto the dripping wax, which I created by squeezing hot glue around the rims of each candle and letting it run down the sides.

This step requires a very hot glue gun, and HART’s is perfect for the job!


Next, I spray painted the candle clusters with French creme.


I think the French creme keeps it classy, but black candles with blood-red wax would also look amazing.

I let the paint dry, and then I hot glued the clusters to their bases.


Now for the fun part: SKULLS!

I cut the backs from a bunch of styrofoam skulls.


And I relieved some of those skulls of their lower jawbone – much creepier!


I started by gluing two full skulls on each corner – these are the anchor skulls. Maybe cornerskulls? Keyskulls?

Anyway, they fit nicely as full skulls in those two corners.

It ain’t Halloween if I’m not spraying foam all over the place, so I covered the front with foam…


…Then I placed skulls of all sizes into the foam before it hardened.


Next I did the same to the sides.


Well, technically for these, I only put skulls on one side of each, because where I’d be displaying them, one side would be very near a wall and not seen. No sense wasting skulls!

Then I filled in the top around the candles with foam.


When the foam had hardened, I painted it and the skulls with two coats of DryLok. This gave them a concrete look and feel.


To give a little dimension to the monochromatic DryLok, I sprayed the skulls with some watered down black paint.

I followed up by spraying water to diffuse the black and make it run like mascara in the rain.

The goal here was to add depth and dimension.

I sprayed paint and water here and there until I was happy with the overall look.


My final touch was to darken the eyes. This made the skulls really pop, and gave the whole cluster a creepier look.


When all the paint had dried, I inserted a piece of pool noodle into each candle on which I placed the tea lights. I then carried my creations into the dining room and put them on display!


My babes just adores her new skulls ‘n’ candles!

How about you??

Love this latest candle cluster creation. One question: how did you attach/insert/glue (?) the tealights? I assume the are removable so they can be turned on/off?
Thanks for sharing!
Good question, Charlotte! I forgot to mention that I put a piece of pool noodle in each candle on which to sit the tea light. I will update the post!
Haha I always enjoy your posts and videos!!
Thanks, Amanda!
Fun project! Did I miss where you put the tea lights in? How did you get them to stay at the top? Thanks!
Disregard. I see you replied to another comment! 🙂
Hi Tracery, I put slices of pool noodle into each candle and then placed the tea lights on top!
How did you put the tea lights in? Did I miss that part? Love the Halloween decor.
Hi Sherry, I cut slices of pool noodle that I inserted into each candle, and then I placed a tea light on top of the noodle slices.
Those are awesome. As usual, you have outdone yourself. I wonder what they would look like if you put battery lights in the foam insulation and did the burning ember paint job on the botom section like you did the fire wreath?
Oh, it would look absolutely amazing! I was going for something a little more restrained for this one though, since it’s in the dining room! 🙂