
DIY Self-Stirring Cauldron
Discover the secrets of this self-stirring cauldron and unlock a witchy new world of potions, spells and turning husbands into toads!
With the August supermoon setting in the west, I think it’s fair to say Halloween season has officially started.
I know, I know, some of you are diehard summerheads who don’t give up on your sandals and mai-tais without a fight and a fit. But there’s no denying it. Down South, the kids are already back in school, so it’s only a matter of time before hay bales and pumpkins start popping up at every turn.

And look, it’s not like we’re rushing into it like we did last year! We started decorating the yard mid-July in 2023, and lemme tell you, it did not go over well with the HOA! Unfortunately for our black-robed Overlords, our Exalted Covenants don’t have a Navage Patch contingency in them!

Anyway, that’s all black water under a troll’s bridge. This year, let’s ease into the season with a simple self-stirring cauldron that’s sure to delight all who gaze upon it!
The most expensive part of this self-stirring cauldron is the rotating display – if you choose the remote-controlled option. You can save about $20 with the non-remote version. For the polyfill, I found an old throw pillow in our PillowHoard™️ and used its innards.
DIY Self-Stirring Cauldron SUPPLIES LIST
Affiliate links are provided below. Full disclosure here.
- You can find all the supplies here
- Rotating display stand
- Plastic cauldron
- Small paper plate
- Remote-controlled color-changing LED tea lights
- Wooden spoon or stick
- Plastic cup
- VELCRO dots or double-sided tape
- Polyfill

We love to see our DIY Halloween decor out in the wild! If you make this Halloween DIY decor for your home, take a picture or video and post it on Instagram, be sure to tag us – thenavagepatch

Self-Stirring Cauldron VIDEO Tutorial
Watch our short and fun video below for an overview of our self-stirring cauldron before you read the detailed step-by-step tutorial.
Watch Our Tutorial On YouTube
On Tiktok
On Instagram
More Easy DIY Halloween Decor Ideas
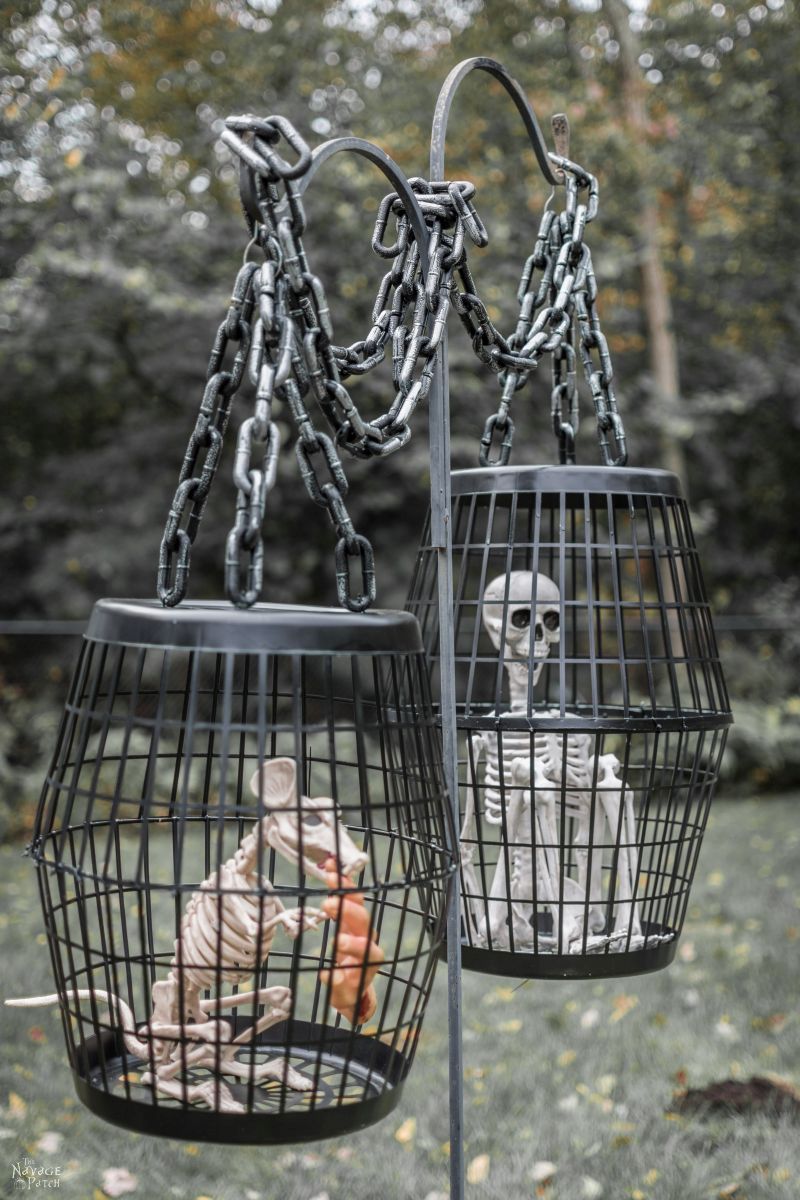


- Hanging Cage Halloween Prop
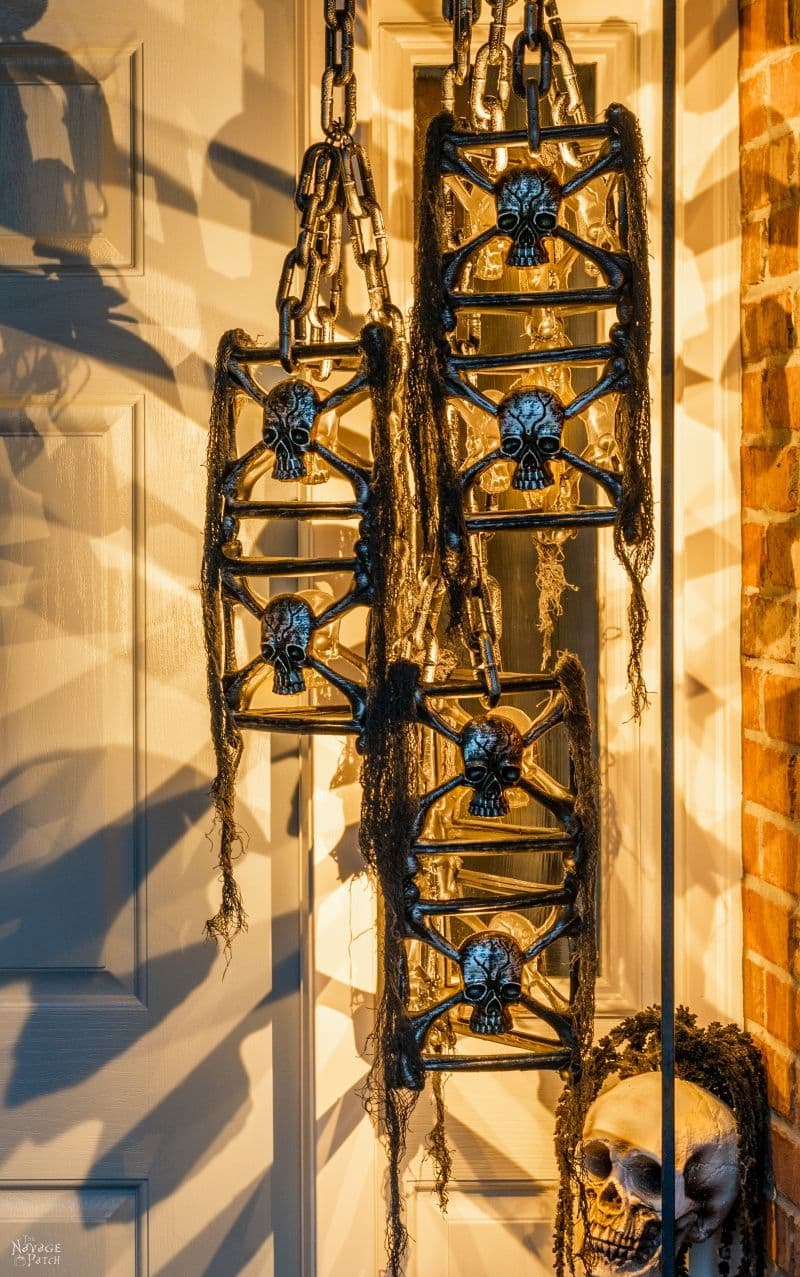
- DIY Dollar Tree Halloween Lights
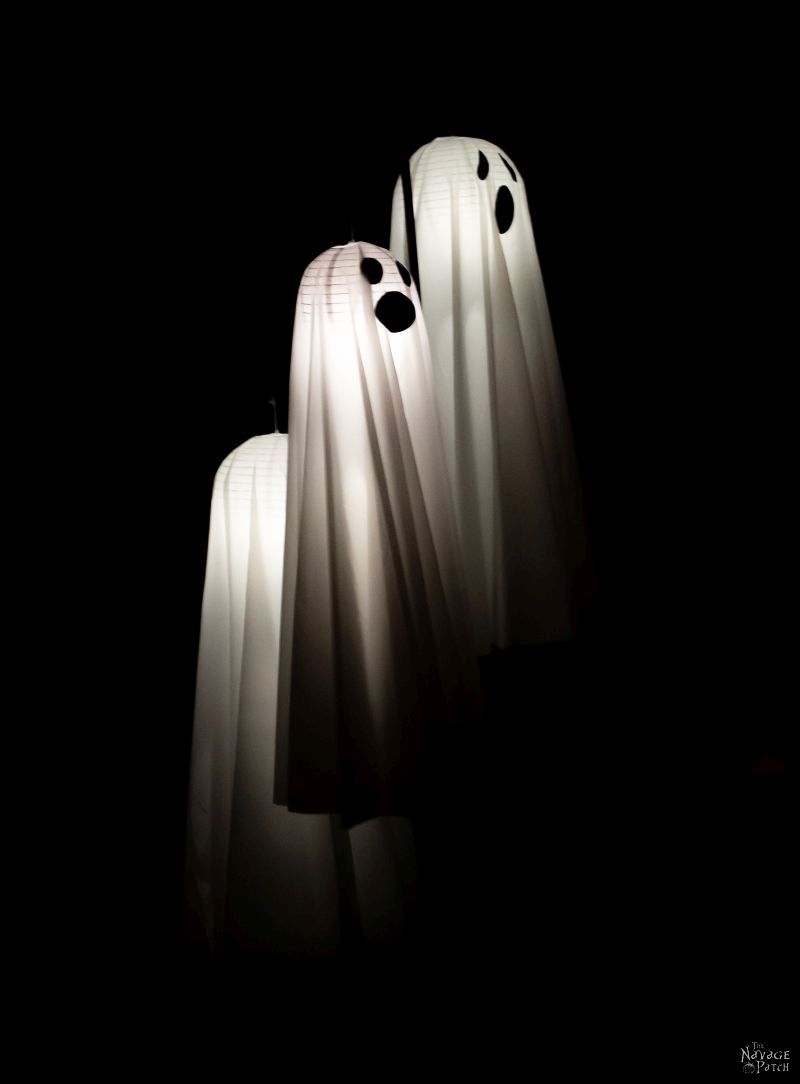
- Easy Lighted Hanging Ghosts (A Dollar Store DIY)
- Free Vintage Movie Monster Printables
- DIY Halloween Fire Wreath
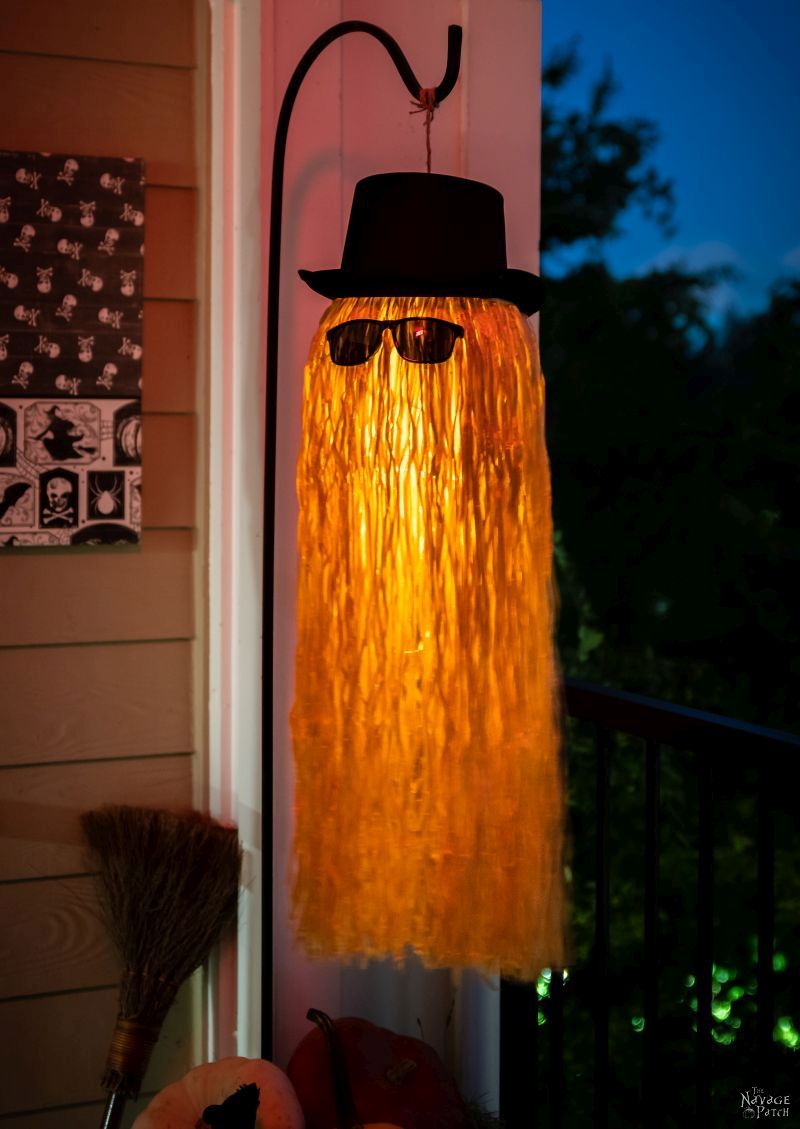
- DIY Cousin Itt Pathway Light
- Gallery Of The Faceless – Easy Halloween Wall Decor
- DIY Lighted Witch Hat (Grandin Road Inspired)
- Apothecary Jars And Free Printable Labels
- Free Vintage Witch Printables
- DIY Witch Legs (Grandin Road Inspired)
- Dishes Of Darkness: Pottery Barn Inspired Halloween Plates
DIY Self-Stirring Cauldron Tutorial

Step 1 – Paper plate
The cauldrons I used each have a small raised area in the middle of their bases, so to get a flat platform on which to set the rotating base, I added a paper plate turned upside-down.


Step 2 – Rotating base
I placed the rotating base onto the paper plate.


Lemme know if I’m going too fast. I know this is some post-grad level stuff here!
Step 3 – Add polyfill
Polyfill is perfect for a frothy cauldron effect, and it sticks beautifully to the hook side of hook-and-loop fasteners (aka VELCRO). I used the hook side of VELCRO dots to keep my cauldron foam in place. To start, I stuck a couple on the rim and then placed some polyfill on top.


I also put VELCRO dots inside the cauldron to keep the polyfill as tight against the inner cauldron wall as possible. This is important for a later step.

Step 4 – Add lights
I placed three LED tea lights into the cauldron and secured them to the rotating base with double-sided tape. VELCRO dots would be just fine. I only used tape because it was already on the lights from last Halloween.

Step 5 – Prepare the spoon
I put a sticky dot on the tip of the spoon, placed the spoon in a plastic cup, and then put another dot where the handle of the spoon meets the side of the cup.


Next, I placed three sticky dots on the bottom of the cup.

Step 6 – Add spoon to cauldron
I placed the spoon into the cauldron, slightly offset from center as shown in the picture below.

Step 7 – Add polyfill to spoon
I added a puff of polyfill on top of the cup.

This is why I made sure to keep the polyfill around the inner rim of the cauldron as close as possible. When the spoon spins, the puff of polyfill in the center needs to rotate free and clear of the polyfill around the edges, or the fibers will want to grab and stick to each other, pulling the spoon off its base.
And here’s how my self-stirring cauldron looks all lit up!


To see the full effect of the stirring, you’ll have to check out one of the videos linked near the top of the post.

Handan loves these cauldrons, and now my witchy wife has more free time to dream up new outrageous spells to try out on Yours Truly!
Your talent (and imagination) are amazing!! Plus your comments and jokes throughout your articles always make me smile. Thanks!
Thank you so much, Linda! I have a lot of help from Handan when it comes to great ideas. She’s the brains, I’m the muscle! 🙂
Love it!!! It must be witchcraft that I just thought of you guys this morning, wondering if I somehow missed a new post recently 🙂
The idea with the rotating plate is great!
Would you happen to have a similarly simple and genius idea to make the wheel of an old tricycle turn on its own?
Either way… thanks for another awesome post 🙂
Thank you, Nicole! Would the tricycle be stationary with a rotating wheel, or do you envision a tricycle pedaling itself around a room?
Hi Greg,
sorry for the delay (unfortunately, I don’t get notifications when you reply…)
It would just be stationary, either flipped over or lying on its side. 🙂
I’m not into decorating for Halloween but my daughter and her wife love Halloween, so I will make this for them! A few years ago, I made the hanging skeletons in the jail for them and they loved it. Thanks again y’all for another fantastic idea!
So awesome! Thank you, Abby! We love to hear that our creations are spreading out into the world! 🙂
Oh, these are super fun! 🧙♀️
This will be a fun project to do with the kiddo this year. I love the ideas you guys up with during this time of year.
Hey Mo! Thank you so much – I hope you guys have fun with it! 🙌
I love your diys. You break them down and make them so easy to do. And your sense of humor make it great!! Thank you for sharing these. I love your blog!!
Thank you so much, Renee! 🙂
Forget Hobby Lobby, Lowe’s, or any store that has Halloween filling the shelves in July. I only acknowledge that fall is approaching by applying the “Greg has a spooky project” rule: if YOU are hauling out the cauldrons, it’s time to start planning for October. This is a fun one, too! Thanks for sharing.
Exactly! August may be beach time for some, but it’s cauldron time around here! 😀
Love this idea and welcome back. Have missed your humor and Handan’s great ideas.
Thank you so much, Debi! 🙂
You two are awesome. The instructions are always easy to follow. Your house must be a blast.
Thank you for sharing your talents.
Thank you, Theresa! 🙂
Hey Greg. I picked up one of these rechargeable turntables. How long, roughly, does is last on a battery charge? Cheers! Sue
Hi Sue! To be honest, I can’t say for sure, as I’ve never run one through a full charge. They last long enough though!
Thanks matey! Just need it to get me through Halloween night 🎃
This is very creative especially the pillow pluff as smoke is amazing! For my cauldron I took a blue tub and covered it with black plastic garbage bag and tape , just reaching for an old pillow for the smoke. Thank you for sharing this!