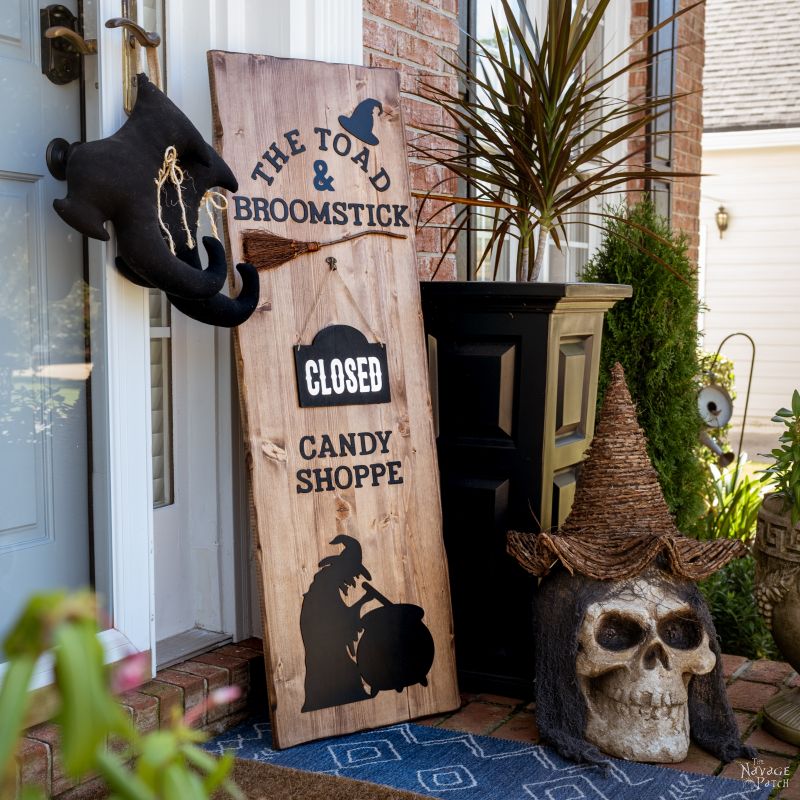
DIY Halloween Candy Shop Sign
This DIY Halloween Candy Shop Sign is made from mostly Dollar Tree materials and it’s a perfect addition to any front entry Halloween display.

So the Witch of the Patch has been itching for a candy shop sign to either hang on our front door or lean against the house. The idea came to her while she was in her Thinking Room.
No, not the bathroom! That’s where dudes do their best thinking!
My babes does her best thinking in Dollar Tree. You’ve never seen a shopper like Handan in that store, I guarandamntee! I swear to god she picks up every. single. item. in the seasonal decor and craft departments and studies them like they’re some newly-discovered alien species that holds the key to understanding the universe.
It’s agony, madam. Agony.
Did you think it was even possible to spend an hour in Dollar Tree?
Well, we’ve done it on multiple occasions.
Now, back in Connecticut, Handan’s main Dollar Tree just happened to be a handful of storefronts down from a Total Wine & More. So you know where your intrepid author was during those interminable hours!
Yep, while she meandered the aisles of plastic and glitter in Dollar Tree, I strolled through the aisles of Heaven – miles of gin and bourbon and wine and rum. It’s a grown man’s candy shop!

Fast forward to Georgia, and I’m SOL when it comes to Dollar Tree. None we’ve visited is near a boozatorium, and the one my babes is most fond of (which I’ll admit is the biggest and cleanest Dollar Tree I’ve ever seen) is all on its own!
What the WHAT!
Those stores are supposed to be just another link in strip mall chain. How dare they open a free-standing store! Where the hell am I supposed to escape to?
Bah!
Anyway, there we were in Handan’s Thinking Room – she, darting hither and yon like a squirrel hopped-up on fermented acorn juice, and I, drooling at the lips while I counted ceiling tiles.
At some point she did the inevitable: she waved a handful of mass-produced seasonality at me and demanded to know if I had any foresight of my fate.
“Does my babes know what he’s going to make with these? Does he? Hey? Hey? Does he?” she said and deposited the handful into her basket. I spied a wooden witch cutout in the basket, along with a blank wooden sign on a string and several bags of wooden letters.
I squinted at the loon and wiped the drool from my chin.
“Kindling?” I ventured.
“No, you silly bugger!” she said, whereupon she fished a hand into the basket and came out with the witch cutout. She held it in the air in front of her. I know in her mind, she was looking at the completed project, but to me it was just a wooden witch cutout with the Dollar Tree picture frame aisle in the background.

Then she held up a bag of wooden letters in the other hand and explained what she wanted.
And then she smiled.
Who can say no to that smile, no matter how loony the squirrel who wears it?
So back home we went, and I promised her I’d get right on it.
That was a couple of weeks ago.
I’m happy to report I finally did get on it and with my babe’s help, we’ve made a fun little Halloween prop to lean against our entryway for the month of October.
DIY Halloween Candy Shop Sign SUPPLIES LIST
Affiliate links are provided below. Full disclosure here.
- 16″ x 48″ Edge-glued panel (you could also use a 4ft length of 1×12, though you’d need to trim the witch a bit) Here’s a link to a 24-inch-wide panel, as the 16 is no longer available
- Dollar Tree wooden witch cutout
- Dollar Tree wooden witch hat cutout
- Dollar Tree small wooden sign with string
- (3) Dollar Tree bags of wood letters
- Dollar Tree witch’s broom (or small scented broom from Home Depot + a scavenged stick)
- Optional: stencil or cutting machine for adhesive vinyl/foil, or Dollar Tree vinyl letters
- Flat black spray paint
- Stain of your choice
- Matte spray sealant


More Easy DIY Halloween Decor Ideas
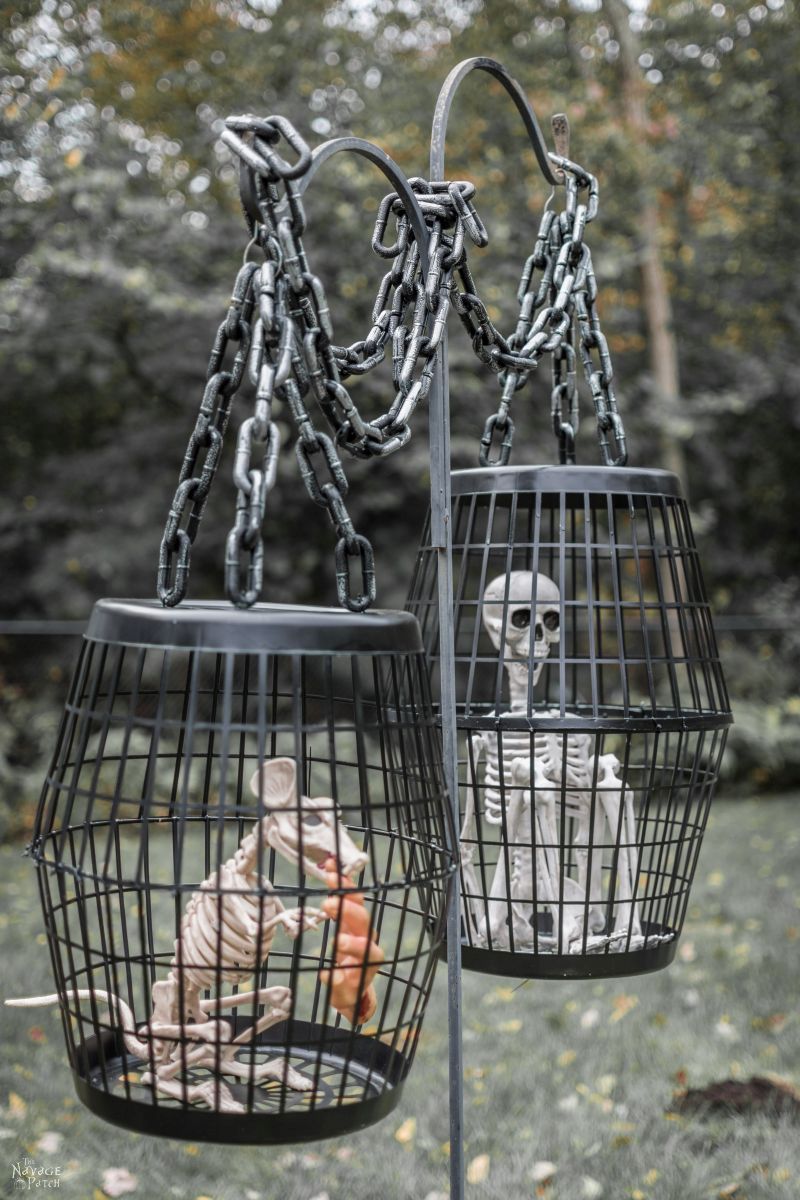
- Hanging Cage Halloween Prop
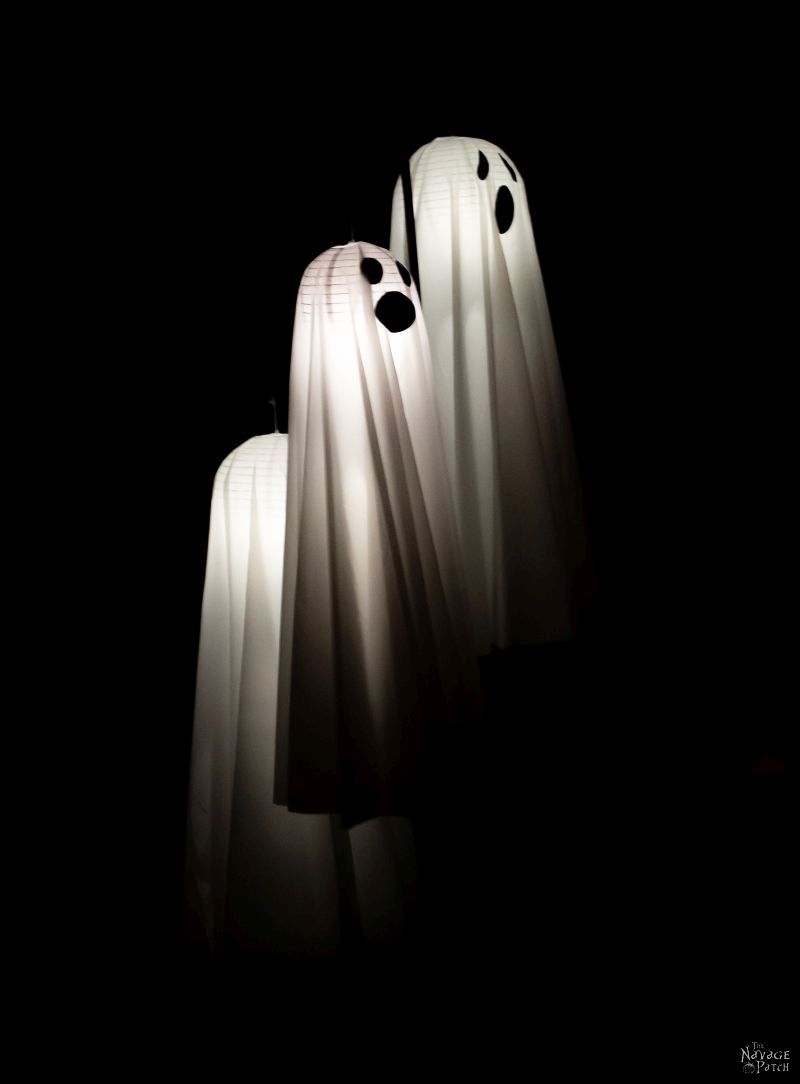
- Easy Lighted Hanging Ghosts (A Dollar Store DIY)
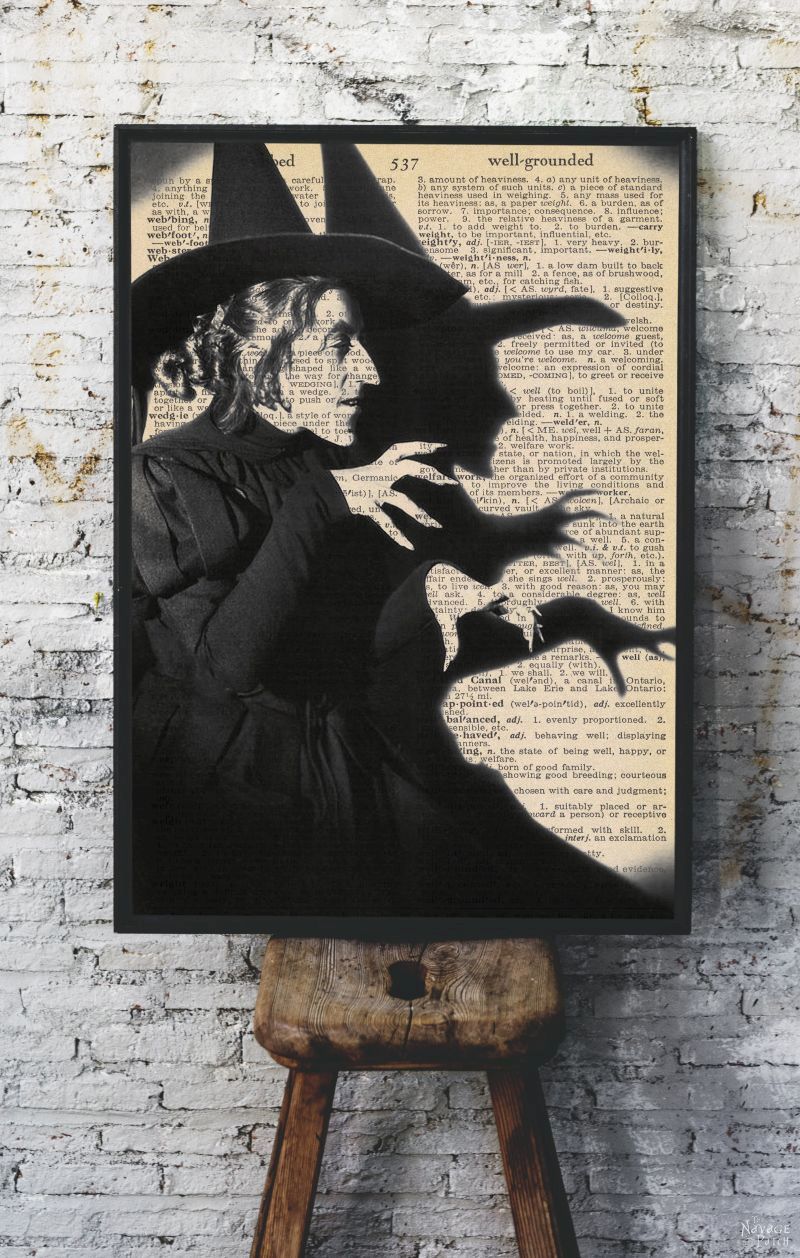
- Free Vintage Movie Monster Printables
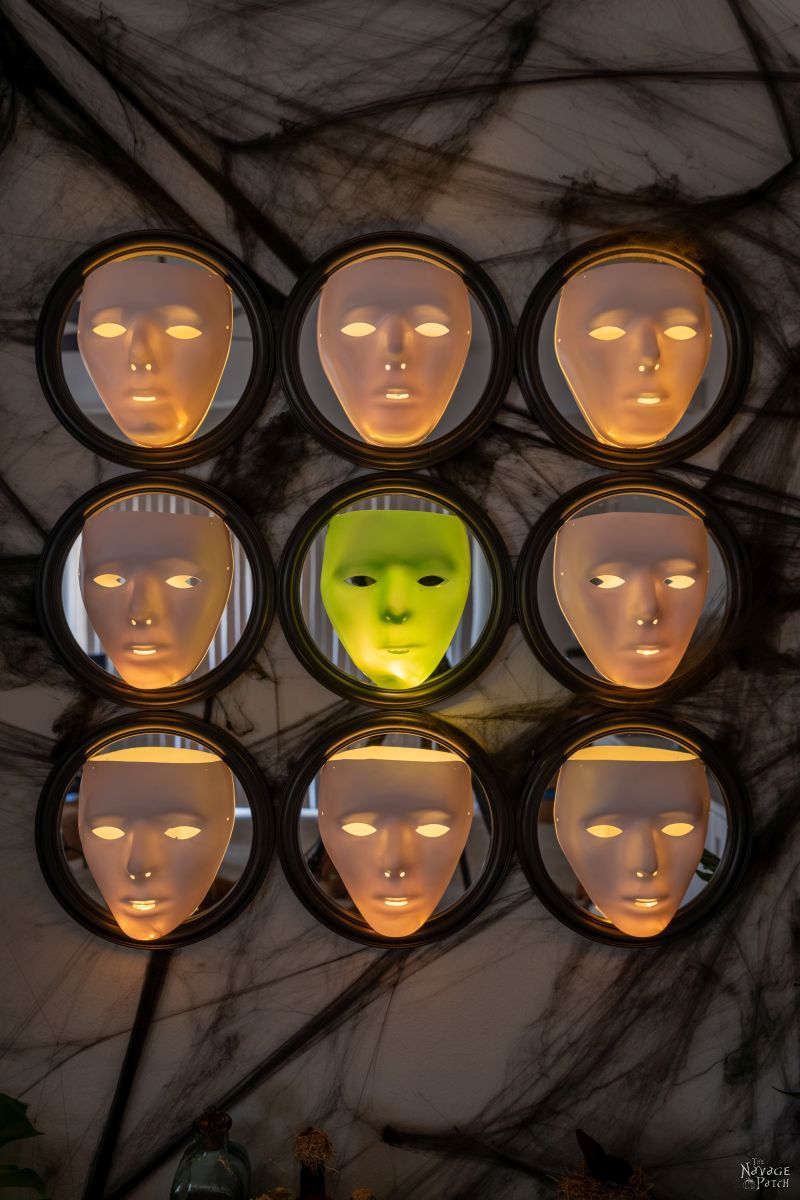
- Gallery Of The Faceless – Easy Halloween Wall Decor
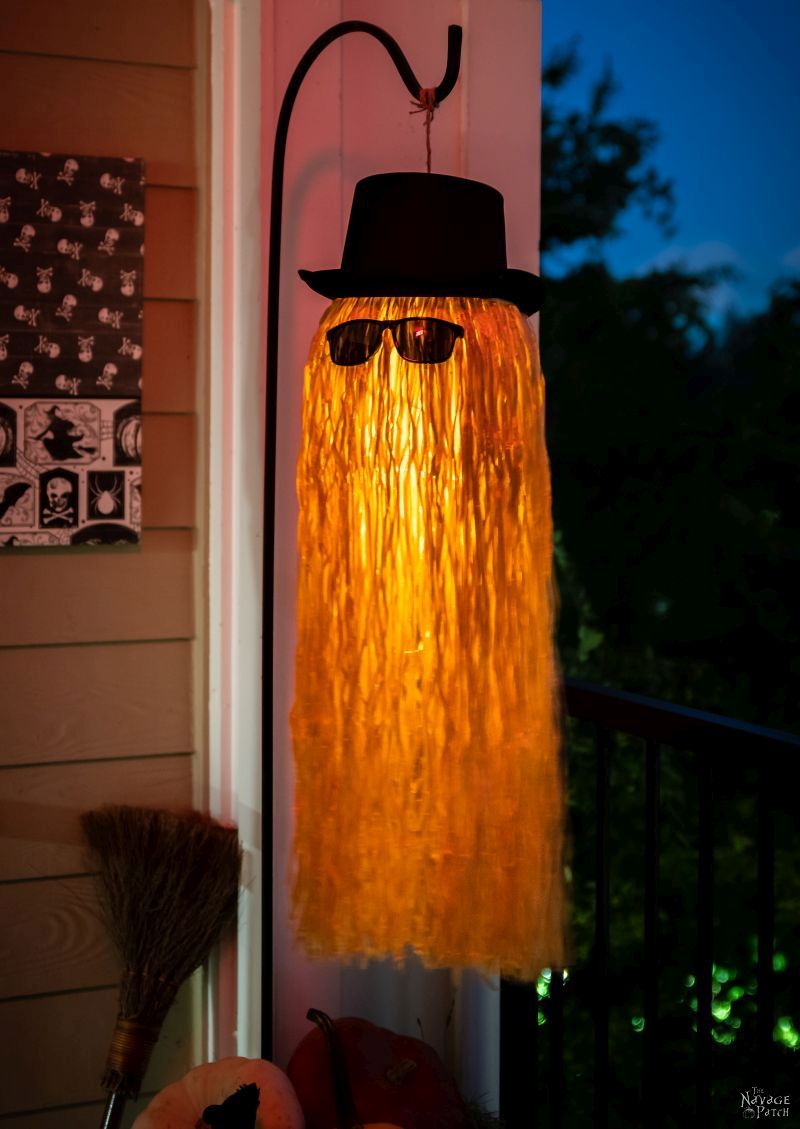
- DIY Cousin Itt Pathway Light
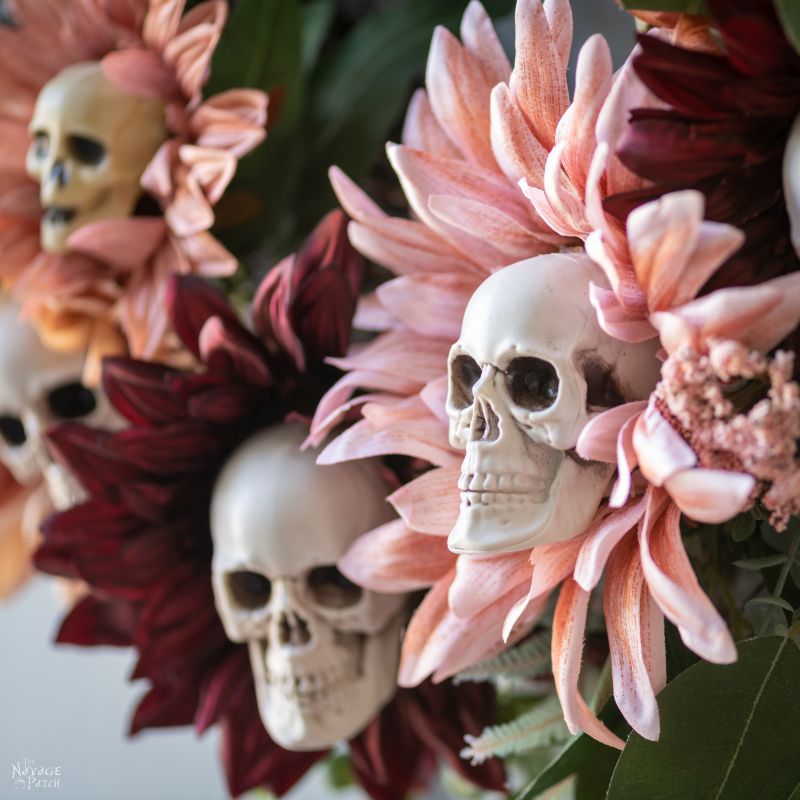
- DIY Skull Sunflower Halloween Wreath
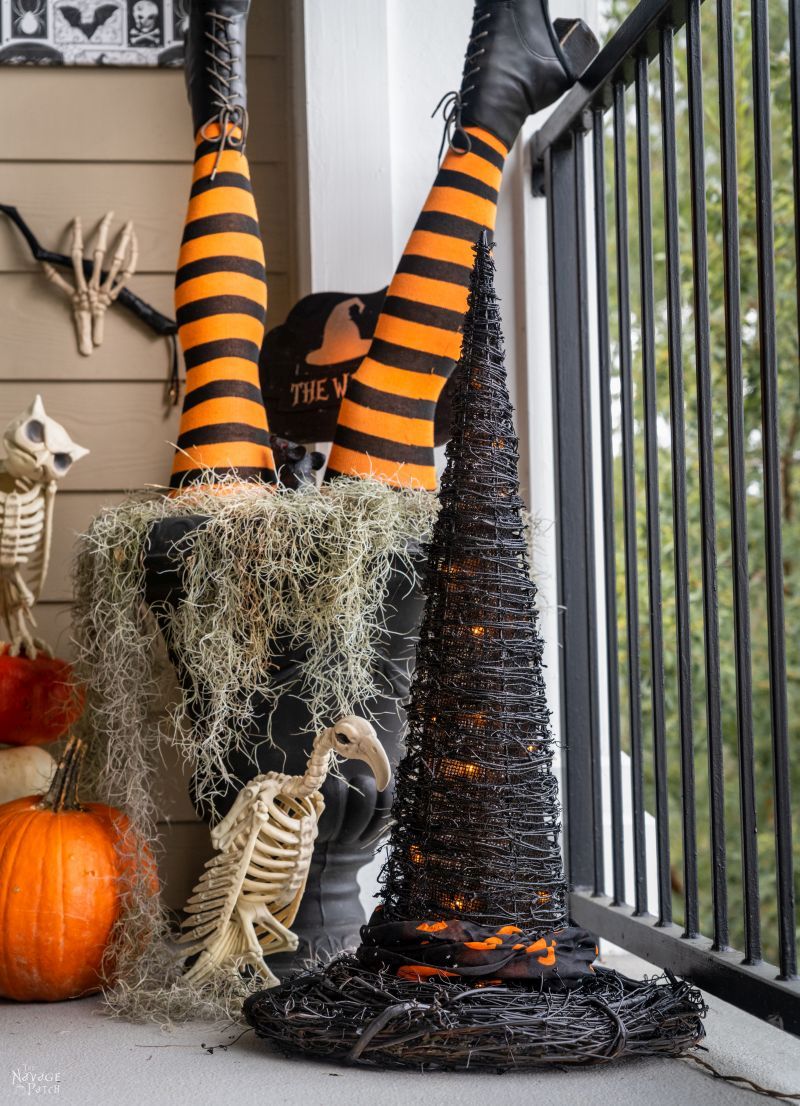
- DIY Lighted Witch Hat (Grandin Road Inspired)
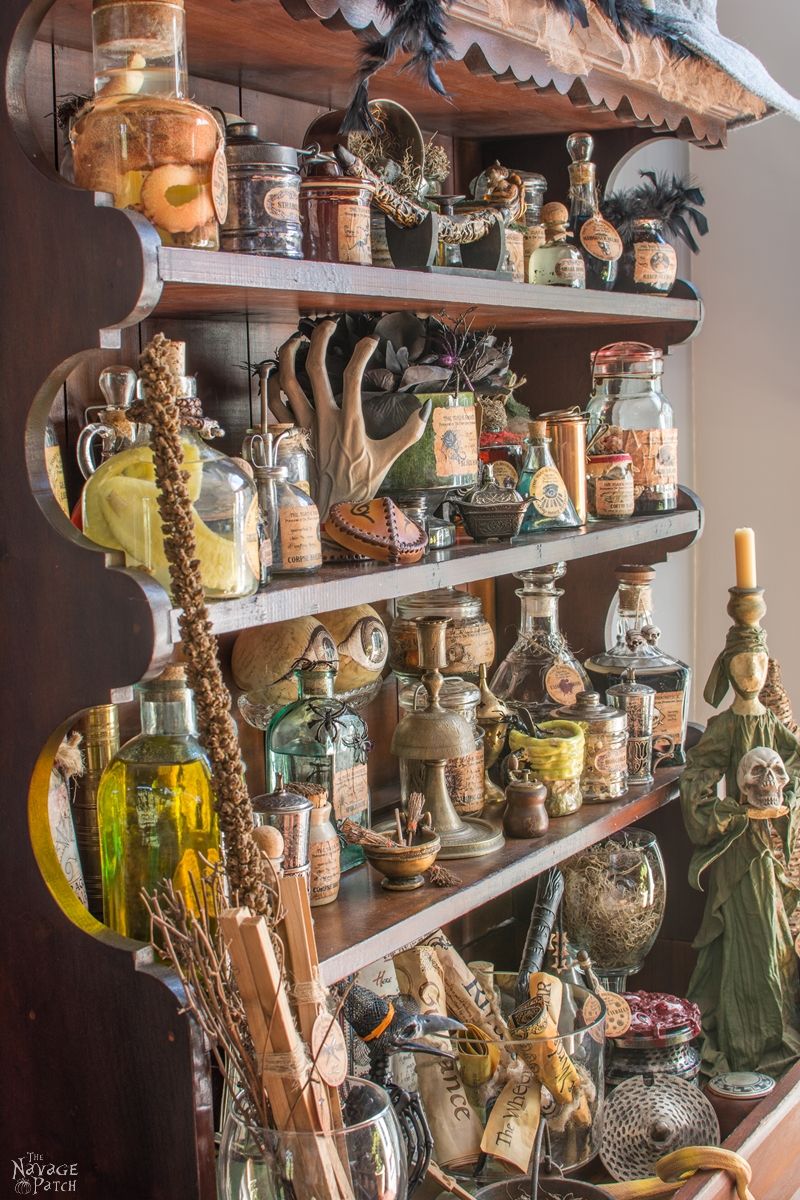
- Apothecary Jars And Free Printable Labels
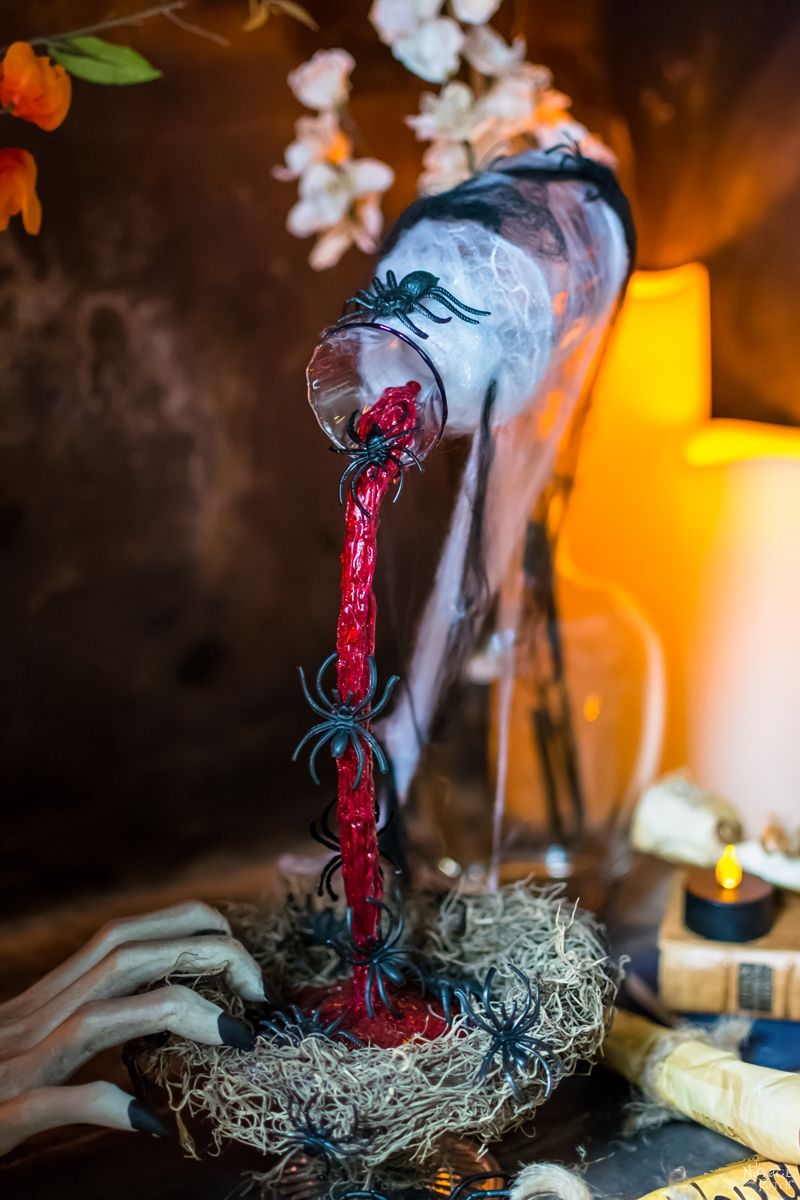
- Floating Potion Bottle
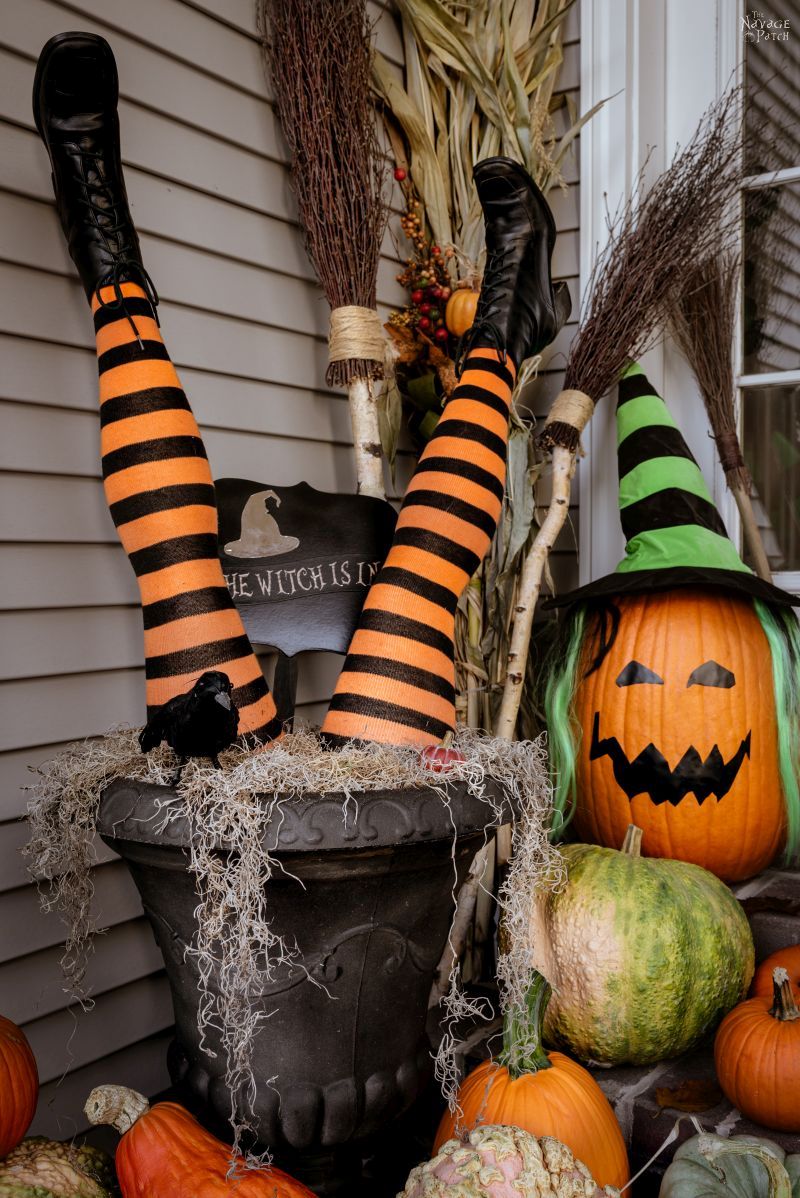
- DIY Witch Legs (Grandin Road Inspired)
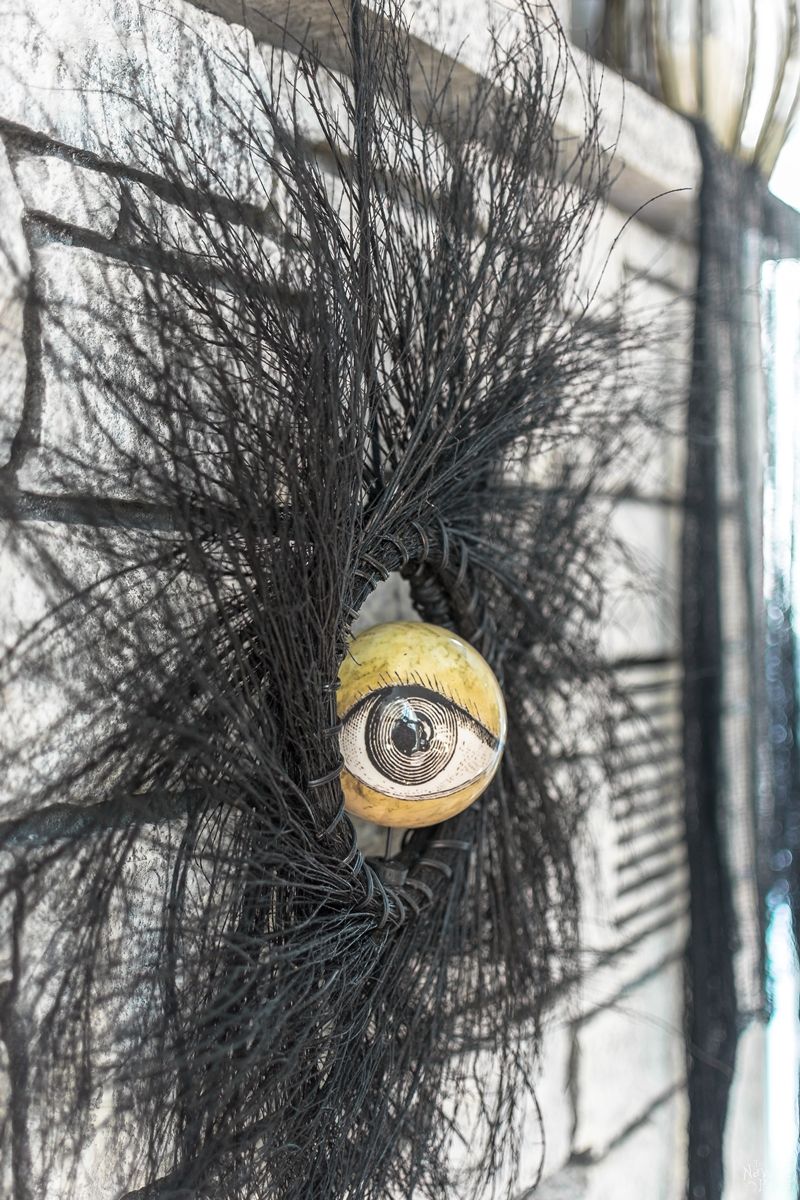
- Eyeball Orb Halloween Wreath
- Dishes Of Darkness: Pottery Barn Inspired Halloween Plates
DIY Halloween Candy Shop Sign Tutorial
So I recently discovered a life-changing item at Lowe’s: the edge-glued panel.

Until September 2020, I’d been building shelves out of pine 1x12s (which are only 11 1/2 inches wide) and putting up with all of their warping and cupping.
And I was about to do it again for this project! I was planning on buying a 1×12 board, even though the witch was 12 inches wide. But as I scanned the lumber in Lowe’s, I discovered a section of edge-glued panels – they come in 12 inch (actually 12, not 11 1/2), 16 inch, 20 inch, and 24 inch widths and varying lengths from 4 feet and up. The best part? No warping and cupping!
I snatched a bunch (1 for this project and some bigger ones for some laundry room shelves I’ll be building) and made for the exit. Handan was going to be psyched!

Okay, with the edge-glued panel, we were ready to rock this withy candy shop sign.
First, we laid out our letters and cutouts so we had a rough idea of how it would look.

At this point we were still planning on using a Dollar Tree broomstick. Those Dollar Tree packs of letters don’t include an ampersand, so for The Toad & Broomstick, we were thinking of either cutting one out of adhesive vinyl with Cricut or drawing it on with a marker (we chose Cricut). We also used Cricut for the Open/Closed letters on the flippable sign.

When we were satisfied with the layout, I took the panel to the basement for sanding and staining.
I used a random orbit sander to weather the edges a bit and give them a little scalloping. This is totally optional.

I used Minwax Special Walnut – it’s Handan’s favorite, and she basically wants it on everything – including pancakes. [I do! – because it’s the best brown. Not too dark or not too light. It has a little warmth, but it isn’t yellow or red. The perfect wood stain color ever! – Handan]


I filled the holes in the hat and witch with spackle.

Then I sprayed everything flat black. My babes was upstairs in a virtual meeting while I painted, so unfortunately, you won’t be able to see any glorious action shots of me valiantly spraying the witch with paint.

I laid the letters back in place and used a straightedge for the straight lettering.

When I had the layout just right, I glued the letters, one-by-one.

I started with the finger-smear technique of glue-spreading, but this soon became a sticky mess. Fortunately, my babes isn’t the only one with a brain around here. Occasionally the wad of old chewing gum between my ears belches to life and excretes a good idea. After the first few letters, I switched to brushing glue on with a small paintbrush.
Yes, I know. I’m a genius.
To make sure I put glued letter back in the right spot, I used a razor blade to mark its position.

This was my babes’ idea. After the “spread the glue with a paintbrush” idea, my little wad of chewing gum was all tuckered out and in need of rest.
And a martini.

I cleaned up the squeeze-out with the covered part of a razor. Later, I used a thin wooden skewer with a tiny bit of blue tape wrapped around the tip.

Sometime between gathering our initial supplies for this project and actually starting it, Handan and I found these mini scented brooms in Home Depot. They were the perfect size for our Halloween candy shop sign, so we bought a bunch – one for the project and the others to sniff.
That night on our walk, we gathered sticks for the broom handle. I found what I thought was the perfect stick, but then a few minutes later, Handan announced to all of Gwinnett County that she had found a better one. I looked at her scrawny twig and scoffed. It was nothing compared to my majestic branch! She just smiled and said, “We’ll see when we get home whose is better.”
I’ll give you three guesses whose stick won the day.

The stick shown above is the one my babes found. My branch was disqualified.
Anyway, I put a little hot blue on the broom and then stuck Handan’s stupid stick into it.


There. Are you happy now, my babes?? 😀

I again used hot glue to secure the broomstick to the board.


Carrying on with gluing the letters, I occasionally had problems with the ends not staying down. A little blue tape solved this as it worked like a custom clamp.

After all was glued, I cut letters for the Open/Closed sign with our Cricut Explore Air 2 and adhesive foil. I also cut an ampersand from a scrap of black adhesive vinyl.

Applying the transfer tape…

Transferring the letters to the sign…

The ampersand!

For the final step, I took the sign outside and sprayed it front and back with several coats of clear matte sealant.
The Halloween Candy Shop is closed. (But it’ll be open on Halloween!)

Oooops! Wrong wreath! My babes busted in the act of taking down the fall wreath and putting up the Halloween one!

There we go – much better!

We love to see our DIY Halloween decor out in the wild! If you make this Halloween DIY decor for your home, take a picture or video and post it on Instagram, be sure to tag us – thenavagepatch
Do you remember our eyeball orb wreath? It looks great against our new door color.


We’re not finished with Halloween decorations yet, but we’re getting there. How is your Halloween decorating going? Let us know in the comments!
Share it on Pinterest & Facebook!


You always have the best ideas! I have plans to make a Ringu guy to live with the 2 “Girls” I made last year. Am thinking they will grace staircase this year.
Happy Holidays and keep you idea juices flowing!!
Thank you, Sharon! Oooh, send us a pic of your 3 Ringus when they’re ready!
Handan is a genius! One, for thinking of the idea and two, for getting you to make it! Lol! I love it! You could make a fortune selling these on Etsy. Sadly, the Canadian Dollar Tree (actually $1.25) doesn’t always have all the neat things yours do but I will be making a trip to see if there is anything close! I think this may be one of my favourite Halloween decorations that I have ever seen!
LOL, she is a genius! She was smart enough to marry me, eh? :D:D:D
And it all comes with an in house ‘Ghost”! Beautiful!
LOL, our ghost can’t wait for Halloween! 🙂
WICKED cute ?
LOL, thanks, Cheryl! 🙂
I’ve recently found you two and I love your beautiful DIY’s! But this? This is my favorite Halloween piece ever!! I’m a wanna-be DIY’er, and when our area here in Iowa went through The Midwest Derecho( an inland hurricane) this summer, I escaped the devastation by soaking up as many DIY posts and videos as I could haha! SO many trees were destroyed, so to pay homage to them, making this wood sign would be so special!! You made this look so easy, but I just may give it a try! Thank you for the inspiration!!
Hi Mary, I love how you’ve taken a positive out of all that devastation! I hope you do give this one a shot – it’s one of those Halloween props that you can use year after year after year. Good luck! 🙂
Fermented acorn juice? I love that!! Hahaha! Love your project, too…great job!
June in KS
LOLOL! It’s true though! 😀
Fabulous sign and the front of your house looks fabulous too. Thank you very much for the Harry Potter images and the Halloween ones. My back up drive crashed (which was connected at the time) and I lost all my files so it was very nice they are still here. Thank you
Thank you, Anglea! Our free printables will always be here for you! 🙂
Inspiring and great ideas as always. The Dollar Tree is calling to me to get busy crafting! ?I’m loving the witchy shoes on the storm door. Is there a post for those?
Thank you, Karen! Handan made those witch shoes a few years back. I’ll ask her if she has any plans to share! 🙂
What a fun sign!! I’m going to Dollar Tree to see what we have. I may try a smaller version of your project. Bravo!!
Thanks, Sara! Good luck! 🙂
I love this. I have small grandchildren so I don’t like anything real scary for Halloween…..yet. This will be perfect. Going to Dollar tree now.
I saw you live in Gwinnett county! I lived there from ’91 to 2000. I absolutely loved it! We lived in Suwanee which at that time I believe had under 2,000 people. I heard it’s grown a little… Closer to 20,000?
Love getting your emails. I’ve shared with many many friends.
Thank you, Lori! Yes, we love it here in Suwanee! You probably wouldn’t recognize it – construction everywhere, from subdivisions to high-density apartments and townhouses. Can’t stop progress, I suppose.
I completely agree with Handan — walnut IS THE BEST wood stain color ever!!! I put that s–t on everything 🙂
Oh yeah, the sign came out great like all your DIY projects do!
LOLOL, so do we, Victoria! 😀
Love it ❣️ Will head to dollar store tomorrow – already have all the stuff to make the Halloween gnomes – maybe you should just leave the window, looks pretty cool ?
Thanks, Kate! We’re definitely keeping it for Halloween! 🙂
Hi Greg,
You and Handon work so well together. Your Halloween sign looks fantastic! So cute and original. I like the open and closed sign. I always laugh when I read your posts.
Marian
Thank you so much, Marian! I couldn’t do what I do without her! 🙂
A whole hour in Dollar Tree? You got off easy!! I easily spend 2 or even a little more! But then the only decent sized Dollar Tree to me is 2.5 hours away – across the state line even – & I always make the trip count since I won’t be going back for a few months.
Between Dollar Tree, Home Depot, Lowe’s, Thrift stores & yard sales along with a stop at the Re-store it’s a full day event. We come home with the hubs truck loaded to the brim (we even had to add 2×4’s to stick in the sides to make the bed higher to hold more a couple times) plus stuff piled high under my feet which is fine because it’s my excuse to lounge with them on the dash. A major nono according to the hubs otherwise. 😛
We usually take off about 4:30 am and I can’t remember a time when we got home before 10 pm. Long wonderful day of ferreting out every bit of hidden goodness. I take my laptop with so I can make notes on all the wonderful ideas we come up with during the day.
Oh wow! We have a new winner! You’ve got Handan beat, Zoe, and I’m more than happy to let you keep the title. Holy crap – 4am to 10pm shopping. I don’t think I’m exaggerating even a little bit when I say I would absolutely without a doubt explode sometime around mid-afternoon. Your husband is a saint. Or a superhero. Or both!
I look forward to reading what you have been have been up to. Greg, you make me laugh out loud. Great sense of humor. I made a wooden sign that says boo and a short wooden scarecrow and a wreath of course. Happy Fall guys!
Thank you, Ethel! My goal is to teach and make you laugh, so I guess I’m doing it right. 🙂 Happy fall to you!
Another great project, as usual. I didn’t even realize I needed to smile until I did! I’ve got a mix of harvest and Halloween going so far for decoration–but nothing impressive like yours!
LOL, I think the only problem with Halloween decorating around here is that it entirely dominates traditional fall decorating. But this year in the South, once Halloween is over, we’re going all-in on fall decorating since it will still be warm. Alas, those decorations won’t last long, because we’re going to have to dive right into Christmas! 😀