DIY Halloween Wreath Hanger
Make this adjustable Halloween wreath hanger in less than 5 minutes for less than $5 – it’s a perfect way to display your spooky wreaths!
Okay, look, I know there a lot of Halloween naysayers out there, and that’s cool. I understand not everyone is prepared to hang smoldering body parts on their front doors (weirdos).

Whatever, it’s fine. We’re nothing if not inclusive here at The Navage Patch, so for all the skull-haters and blood-phobics, we offer some gentle Halloween crafts each year like these adorable little pom pom ghosts:

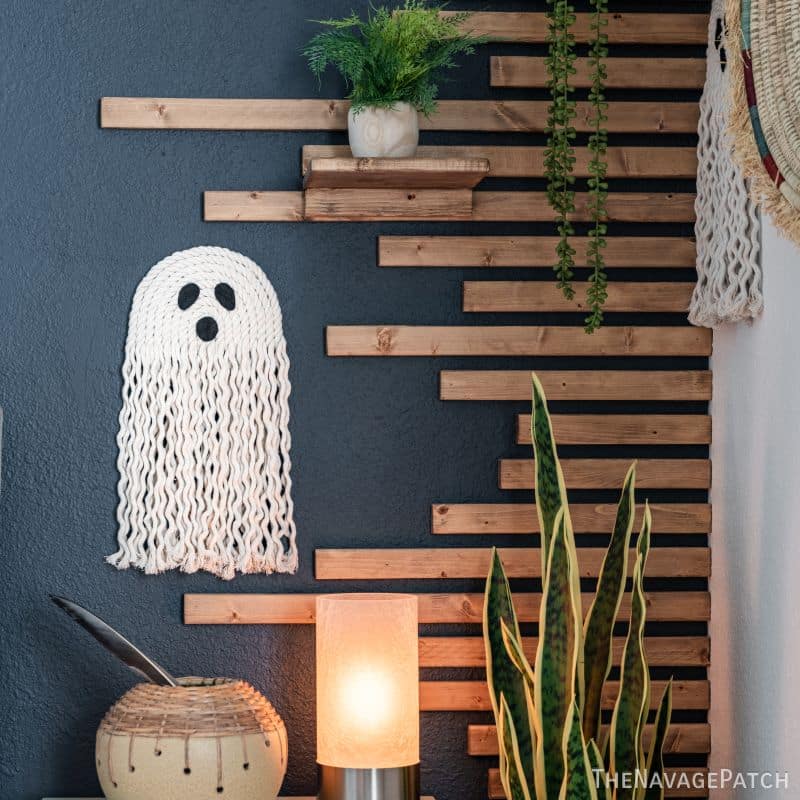
And these absurdly cute macrame ghosts:
By the way, if you’re on TikTok, you can read through the 1000+ comments we got on this viral hit and have a laugh at all the people who had apoplectic fits because I dared to name this a “macrame ghost.” Of course, I responded with my usual good humor. 😁
Anyway, this DIY is a happy medium between the blood-and-gore and the rated-G. Our Halloween wreath hanger has just the barest touch of the macabre, and really, you could use it to hang any wreath this time of year. That’s what we did!

It’ll let your friends and neighbors know that while you may not be lining up at the cinema for the latest slasher film, you’ve got a bit of the ghoulish spirit in you.
Oh, and I should mention that our Halloween wreath hanger is adjustable, unlike most store-bought ones. Combine that with a sub-5-dollar price tag and a 5-minute time investment, and you’ve got an easy winner on your hands!
Or…hand…as the case may be.
Okay, enough yapping. This preamble took longer to write than the Halloween wreath hanger did to make!
DIY HALLOWEEN WREATH HANGER SUPPLIES LIST
Affiliate links are provided below. Full disclosure here.
- Dollar Tree wreath hanger
- Dollar Tree mini picture frame
- Skeleton hand – we got ours from Walmart (2 for $4), but you can use any skeleton hand from Amazon or Dollar Tree
- Zip ties
- Hot glue
- Dollar Tree creepy cloth (optional)

We love to see our DIY Halloween decor out in the wild! If you make this Halloween DIY decor for your home, take a picture or video and post it on Instagram, be sure to tag us – thenavagepatch
DIY Halloween Wreath Hanger VIDEO Tutorial
Watch our short video below for an overview of our DIY Halloween wreath hanger before you read the detailed step-by-step tutorial.
More Easy DIY Halloween Decor Ideas
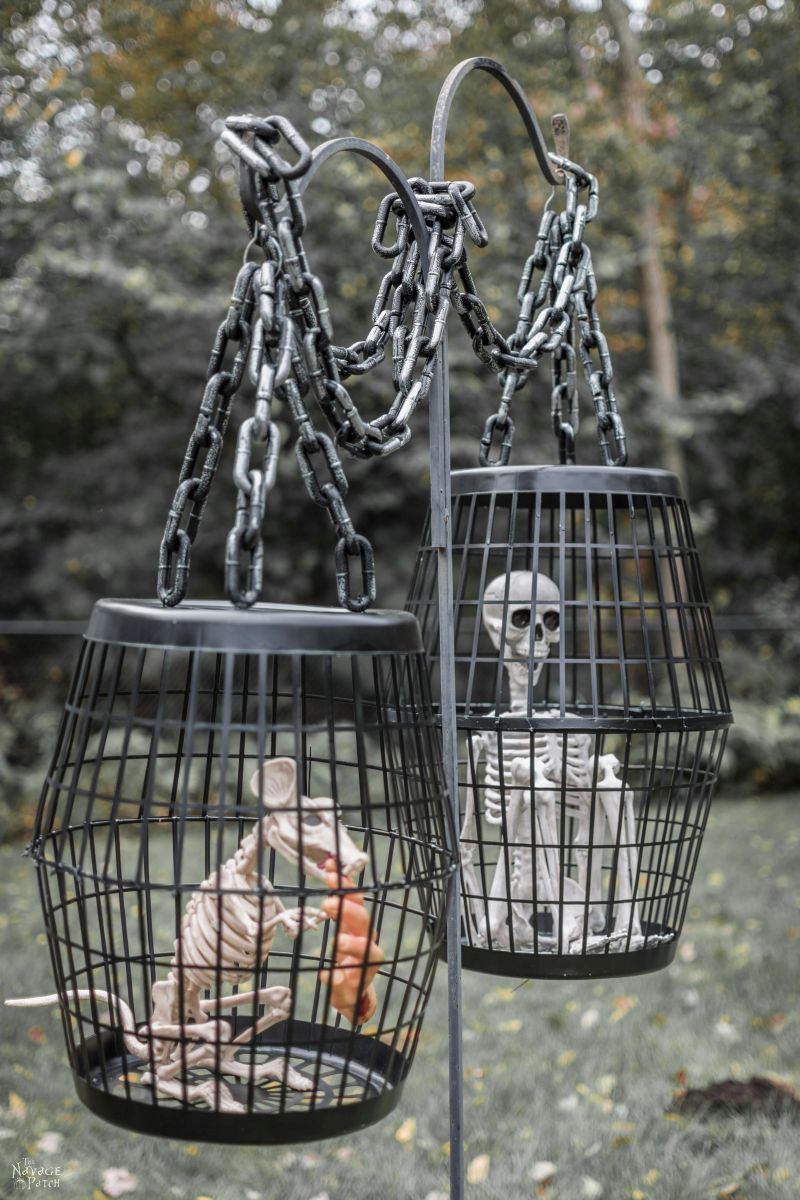


- Hanging Cage Halloween Prop
- DIY Dollar Tree Halloween Lights
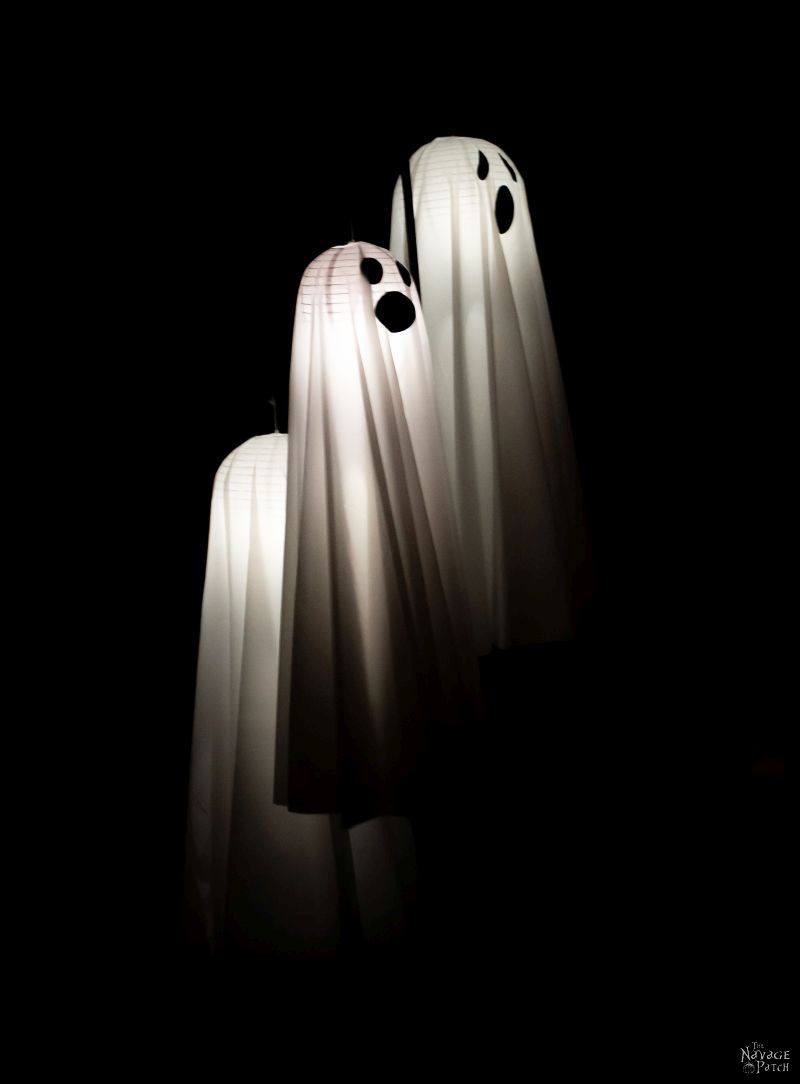
- Easy Lighted Hanging Ghosts (A Dollar Store DIY)
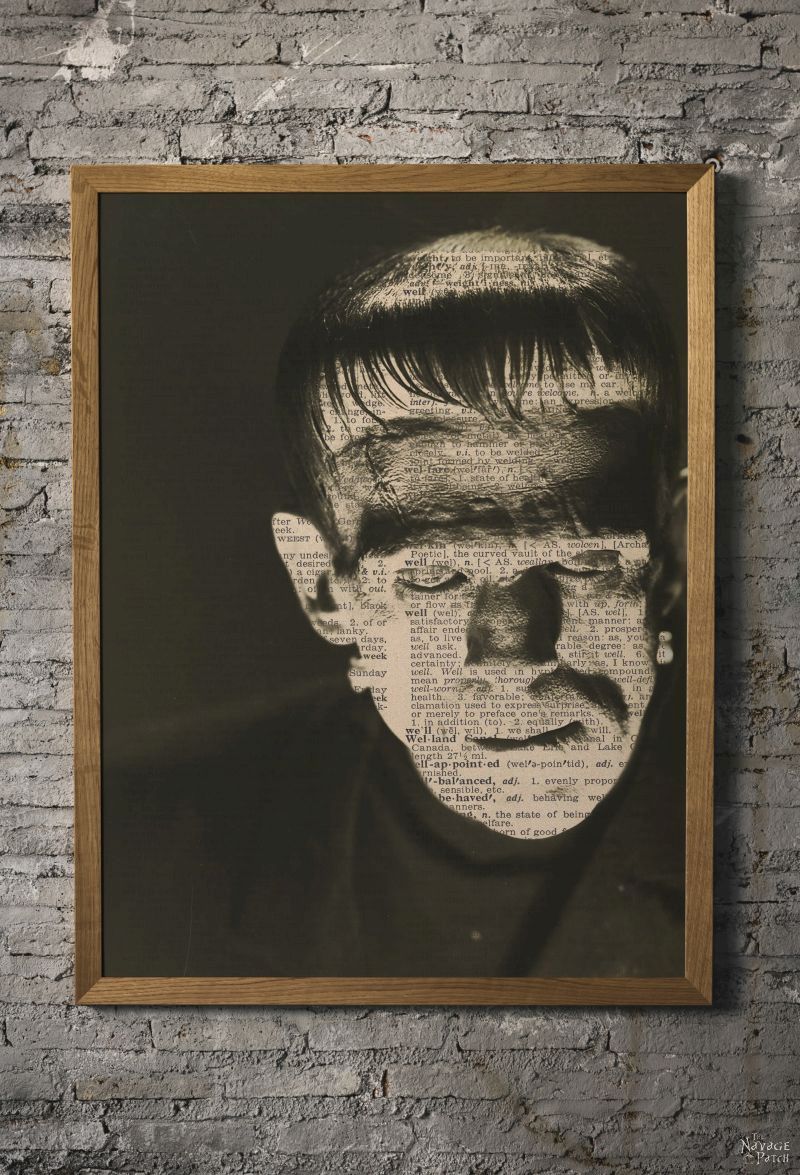
- Free Vintage Movie Monster Printables
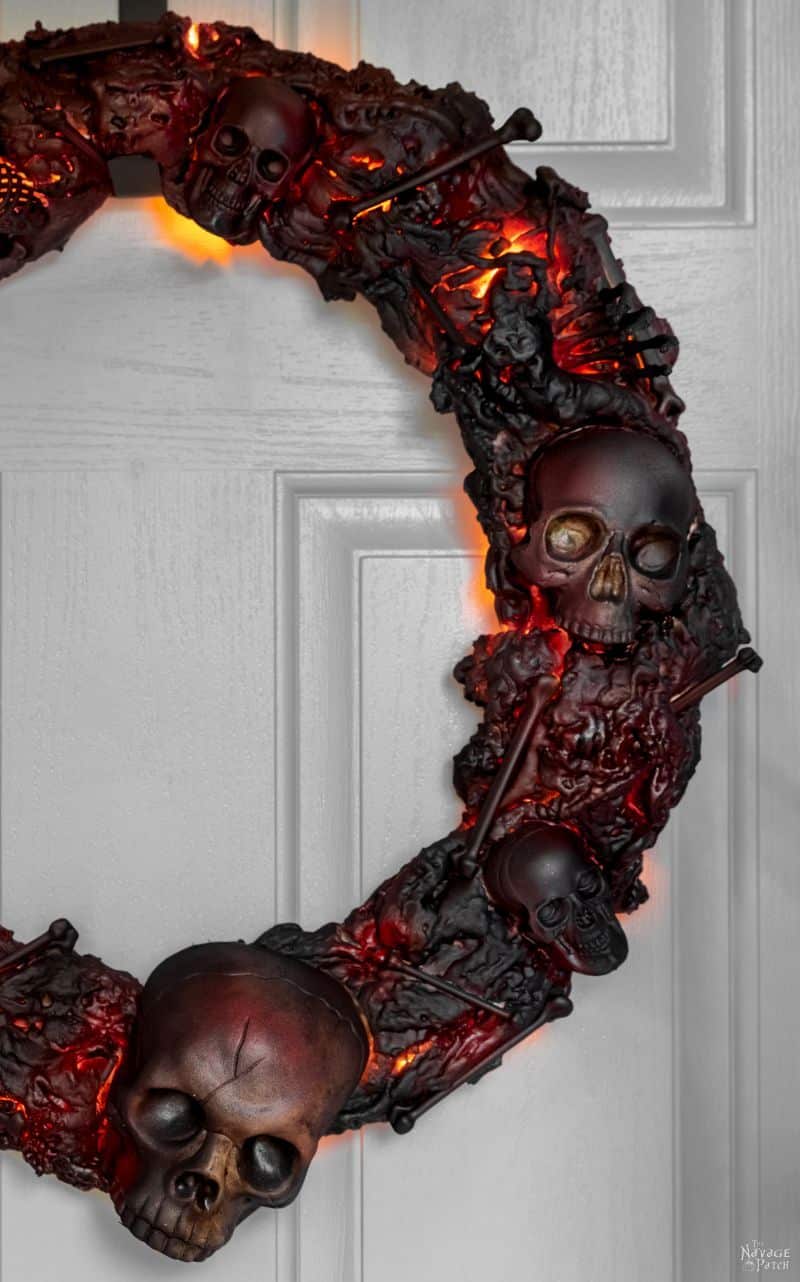
- DIY Halloween Fire Wreath
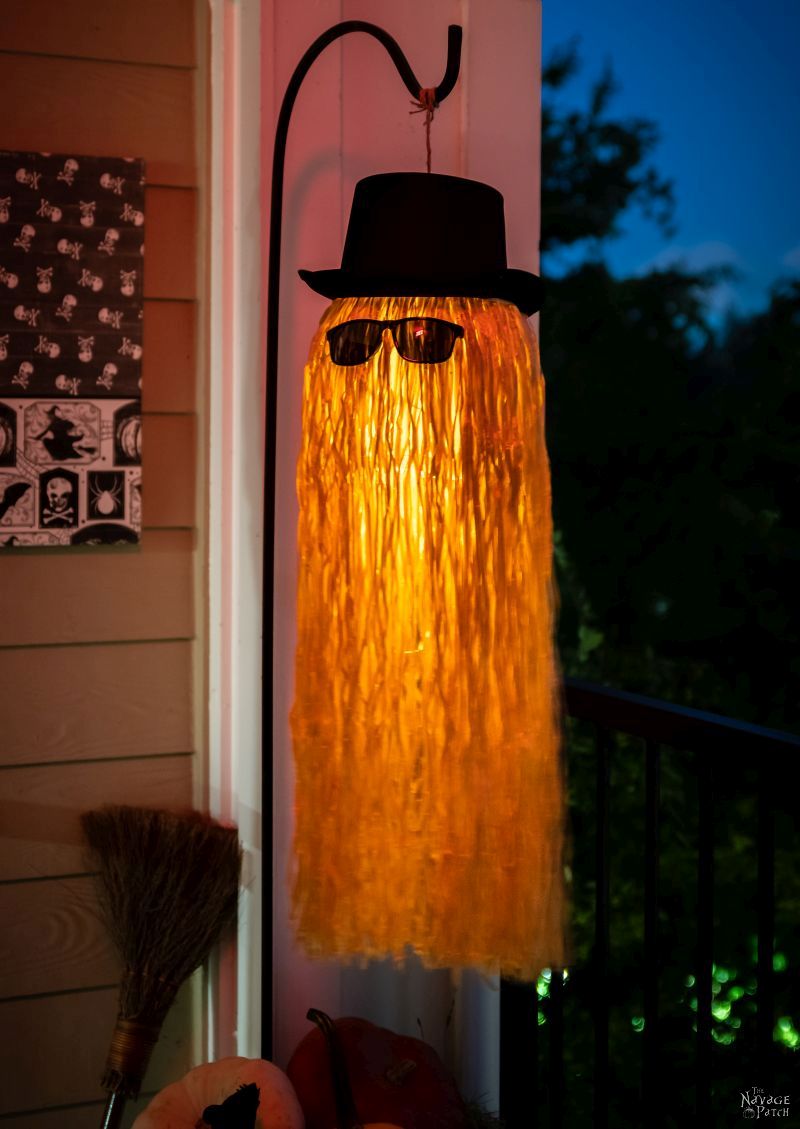
- DIY Cousin Itt Pathway Light
- Gallery Of The Faceless – Easy Halloween Wall Decor
- DIY Lighted Witch Hat (Grandin Road Inspired)
- Apothecary Jars And Free Printable Labels
- Free Vintage Witch Printables
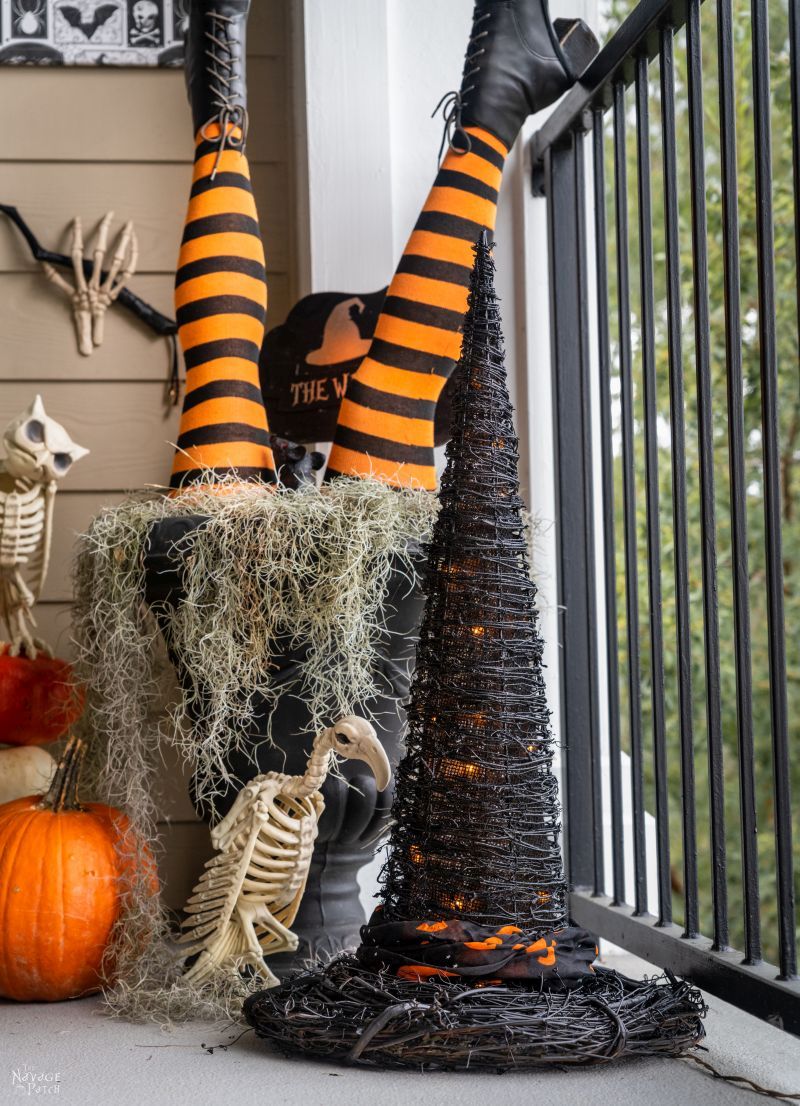
- DIY Witch Legs (Grandin Road Inspired)
- Dishes Of Darkness: Pottery Barn Inspired Halloween Plates
DIY Halloween Wreath hanger Tutorial
Step 1 – Remove the kickstand
Dollar Tree sells a wee little picture frame with a wee little kickstand that’s perfect for this skeleton hand Halloween wreath hanger.


I cut off the kickstand and trimmed the plastic part to be the same width as the wreath hanger.

Step 2 – Zip tie the kickstand to the wreath hanger
I used two zip ties to secure the kickstand to the wreath hanger.

By using zip ties, the Halloween wreath hanger is adjustable – I can slide the skeleton hand up and down.
Step 3 – Attach the skeleton hand
I used hot glue to attach the hand to the kickstand.

By the way, the hot glue sticks we use hold up perfectly in hot weather. Not all glue sticks are created equal, so give these a look.

I made sure to position the hand so that it would be able to tilt up without the arm bones getting in the way.

At this point, you can call it finished and go slurp down a Bartles & Jaymes or whatever spritzy booze floats your boat.

Orrrrrr, you can take it a little step further and add some creepy cloth. Don’t worry, your Bartles & Jaymes ain’t going anywhere, and I assure you no one will take it.
Step 4 – Add creepy cloth
I cut a small piece of creepy cloth and glued it to the top of the wreath hanger and to the arm bones.


I added a couple dots of glue on the hand to make sure the cloth wouldn’t blow to the side.

Finished! Now you can go enjoy that Tickle Pink Bartles & Jaymes!


So how do you like our Grandin Road inspired Halloween wreath? My babes loves it! It’s so simple and a fraction the price! Look for a post coming soon about our Chinese lantern wreath.


There’s just no end to the wondrous things you can do with some plastic bones.
No doubt, Laurie! We’ve got boxes and boxes of them to play with! 🙂
Such clever ideas!
Thanks, Nancy! 🙂
Beautiful i have those hands thanks did you make the orange n black wreath you put on it?
Thank you, Kandy – yes we did! Tutorial coming soon! 🙂
So cleaver. I’m not into the creepy side of Halloween like many others, but I can’t help admiring you and “your babes” creativity. I going to make this wreath hanger for sure. I loved your vintage movie monster printables and can’t wait to get them on my walls again this year. Also excited to see what you’ll do with the left over frame from this project 😉
Hi Karen, thank you so much! We always try to accommodate all tastes for Halloween!
I keep forgetting to suggest to people who cannot use an over-the-door hanger: if you place a Command hook upside down on the inside of the door toward the top, and loop your fishing line/string/thread/yarn/whatever over the top of the door from the wreath/sign/decoration, and hook that on the Command hook – that works for everything! Now I have to figure out how to put that skeleton hand onto the wreath, though. Oh – just hot glue it! This is an awesome wreath hanger, sir!!
Great tip, Patty and thank you so much! 🙂