DIY Dollar Tree Gnome Garland
This DIY Dollar Tree Gnome Garland is an easy & inexpensive craft. It’s a perfect Halloween decoration for small spaces & big ones too!
I’m a little late posting it, but we actually did this little gnome craft on my first night with confirmed ‘Rona. Handan had already been sick a few days, and I tested positive that morning. I was convinced that I’d beat it in a day. That’s how long it usually takes me to beat back an encroaching sickness. But the ‘Rona works in mysterious ways, so instead of the one day I boasted (and bet my babes) on that fateful Sunday evening, it actually took me another ten stinking days to test negative. Yeesh.
She’s the guest who just won’t leave, even though the party’s been shut down for a week.

She’s the gift you never asked for and never wanted who just keeps giving and giving…and giving.
But try as she did, ‘Rona couldn’t break us. My babes and I laughed at her each morning when our lollipops showed positive, worked all day while she tried to drag us back to bed and basically told her to eff off each night as we settled into another Nyquil-induced slumber.
You have two paths with miscreants like Rona: submission or defiance. We chose the latter.

And though I can’t say with certainty that it cured us faster, at least it kept our spirits up and allowed us to GSD around the house instead of whimpering under the covers and waiting for our health to return.
This was the first of our Corona Crafts. The second (which I already posted) was our Gnome Scarecrow Wreath. The third (and one of our favorites – we can’t wait to share it with you!) will drop next week. I also painted our front door and trim (those on Instagram followed along in our Stories), and we got a new concrete patio poured (I’ll be sharing stories on Instagram). We also started completing the dining room brick wall. Hopefully we’ll have that finished this month!
So all-in-all it was a productive two weeks! We’re both negative now, so Rona can go suck an egg. Team Handan and Greg FTW!

Okay, back to today’s project. This is a quick and easy Halloween craft made from Dollar Tree supplies. And yes, there are gnomes involved.
Look, just accept the fact that gnomes are here to stay, and you’ll have a much easier time convincing yourself, that you do, in fact, love them.
I know, I know. Most of you totally do already. But I also know from comments on Instagram and TikTok that there are some gnome haters and gnome deniers out there who are only just now begrudgingly starting to see things our way when it comes to the shaggy dudes with big noses and hidden eyes.

DIY Dollar Tree Gnome Garland SUPPLIES LIST
Affiliate links are provided below. Full disclosure here.
- Wood ghost cutouts (Dollar Tree)
- Wood witch hat cutouts (Dollar Tree)
- Wood pumpkin cutouts (Dollar Tree)
- 15mm split wood beads
- Craft paper
- Hot glue gun
- Mod Podge (Dollar Tree)
- Small paint brush (Dollar Tree)
- X-Acto knife
- Permanent black marker (Dollar Tree)
- Twine or string for hanging

More Easy DIY Halloween Decor Ideas
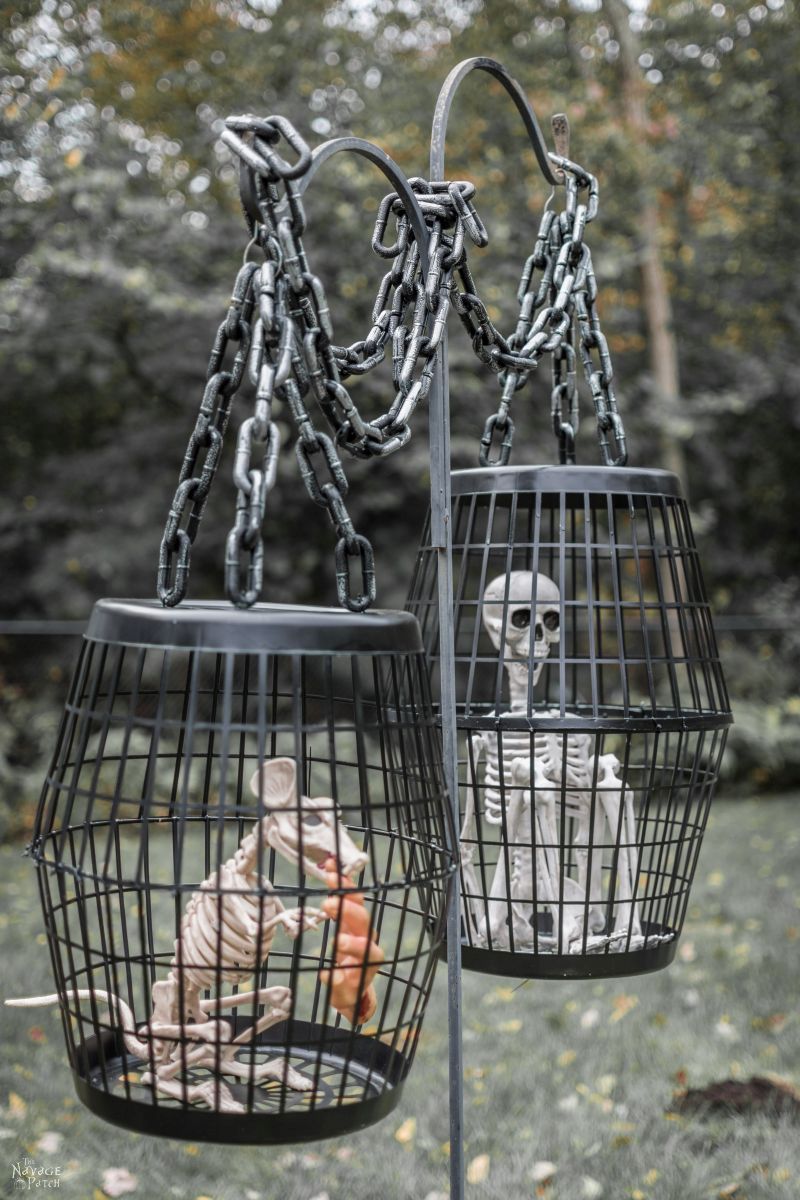
- Hanging Cage Halloween Prop
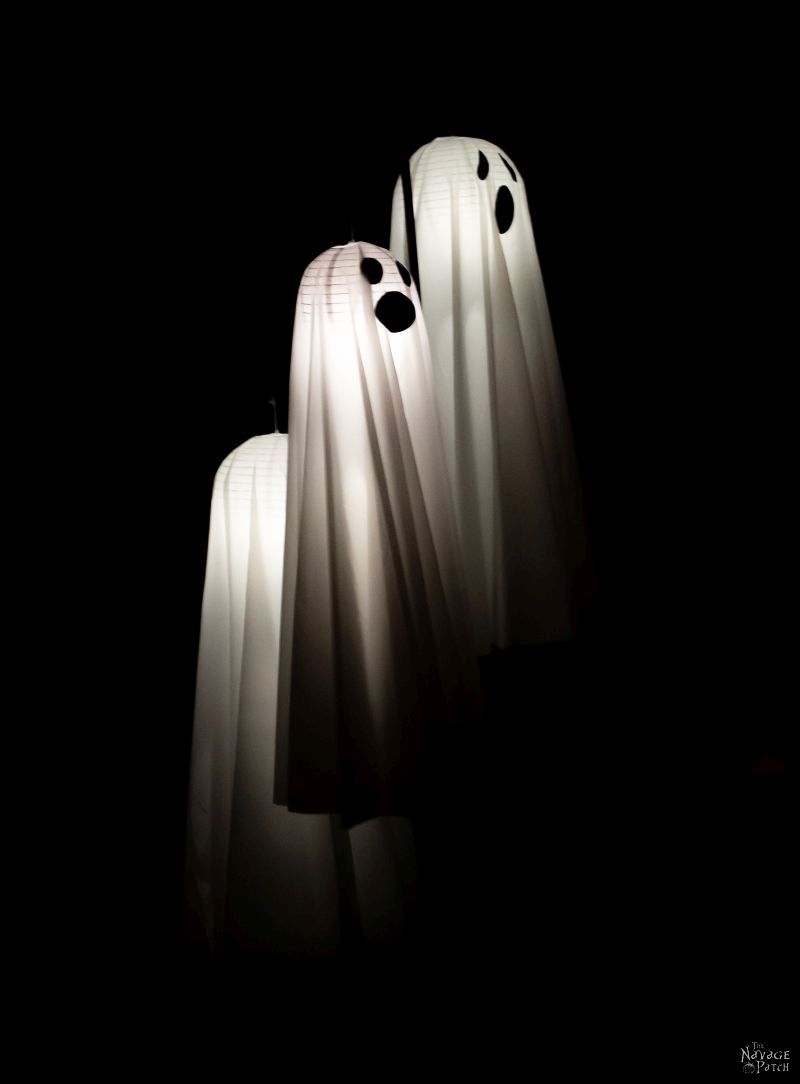
- Easy Lighted Hanging Ghosts (A Dollar Store DIY)
- Free Vintage Movie Monster Printables
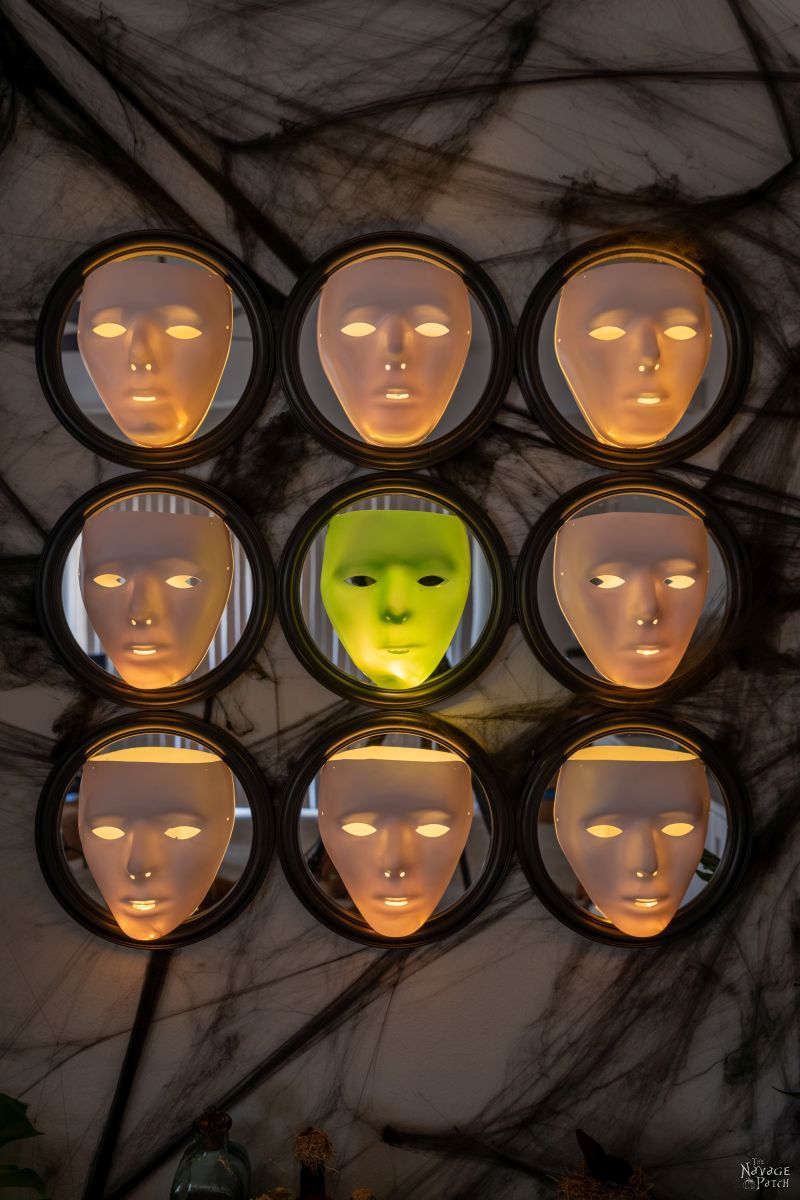
- Gallery Of The Faceless – Easy Halloween Wall Decor
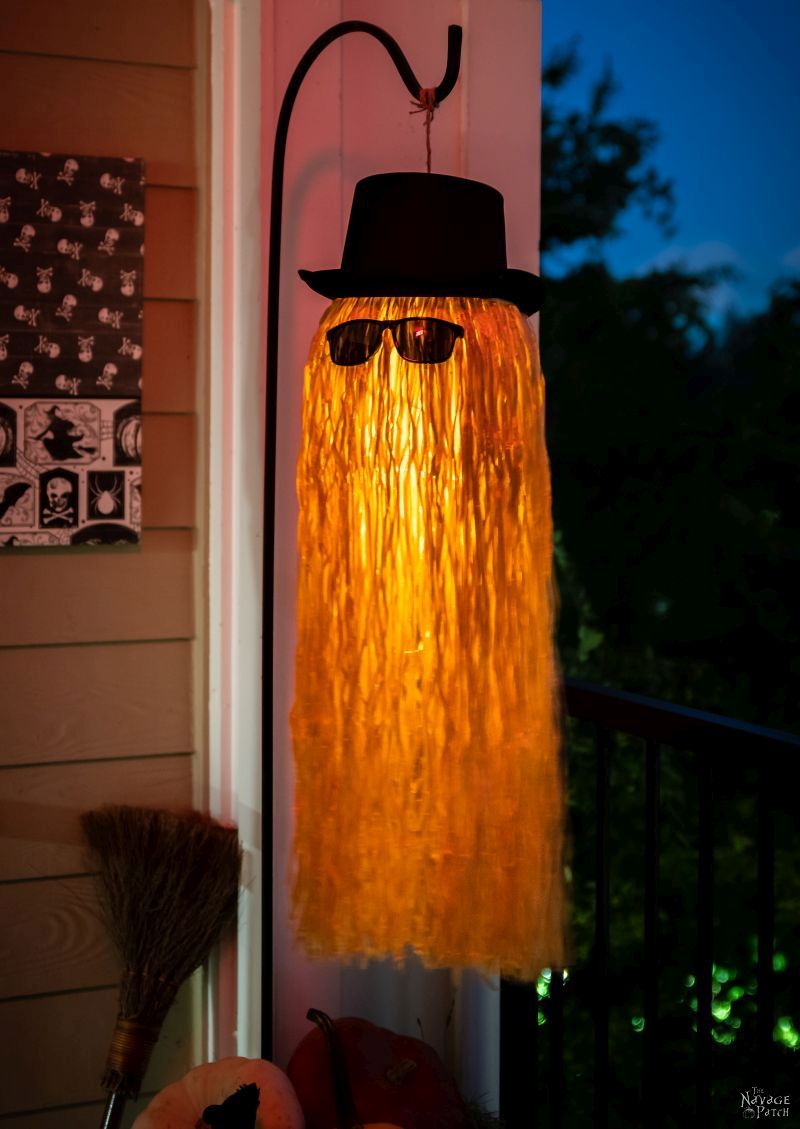
- DIY Cousin Itt Pathway Light
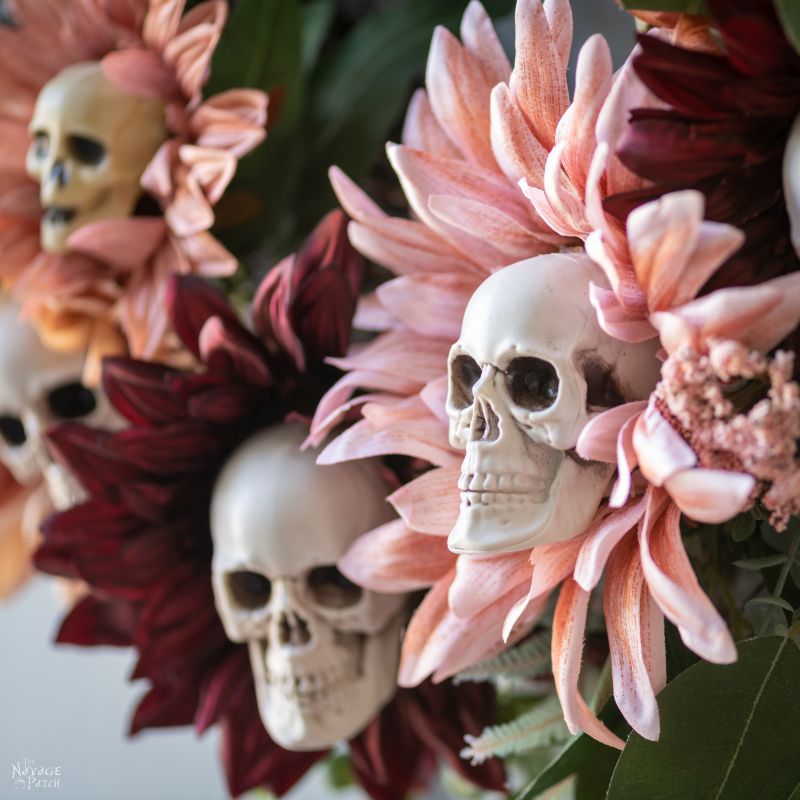
- DIY Skull Sunflower Halloween Wreath
- DIY Lighted Witch Hat (Grandin Road Inspired)
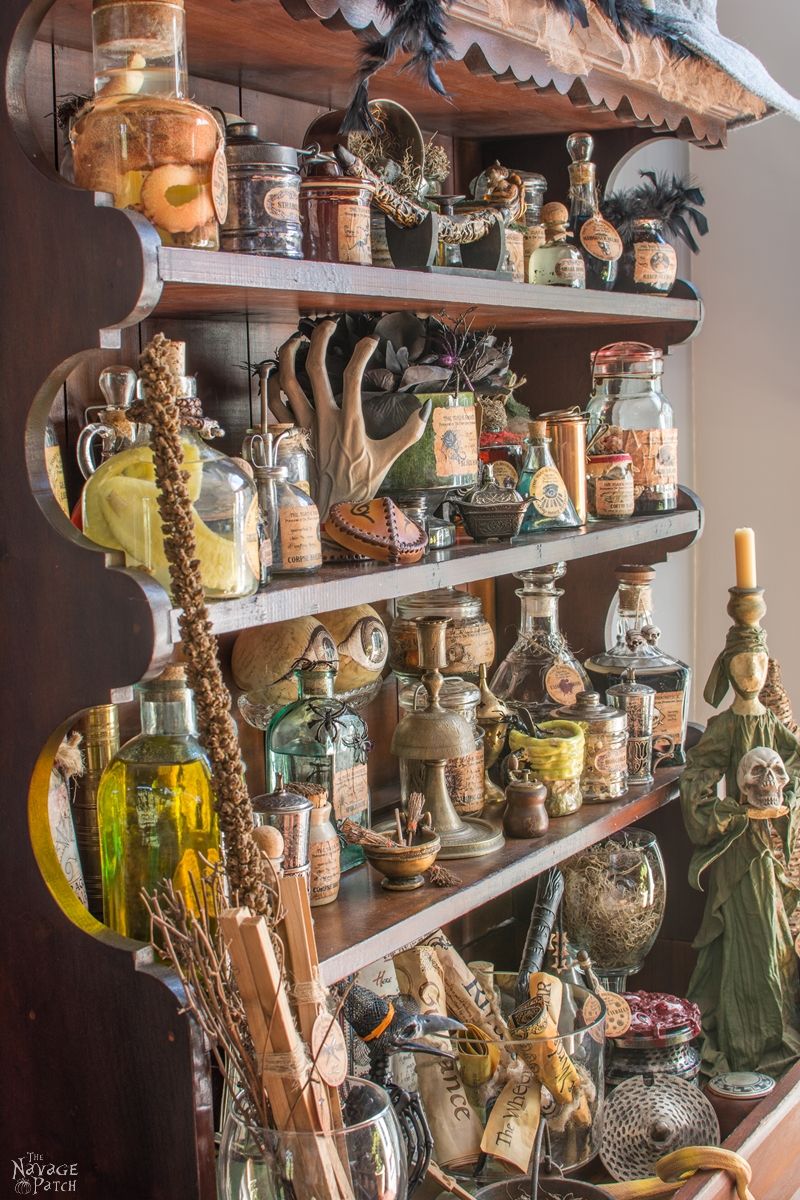
- Apothecary Jars And Free Printable Labels
- Floating Potion Bottle
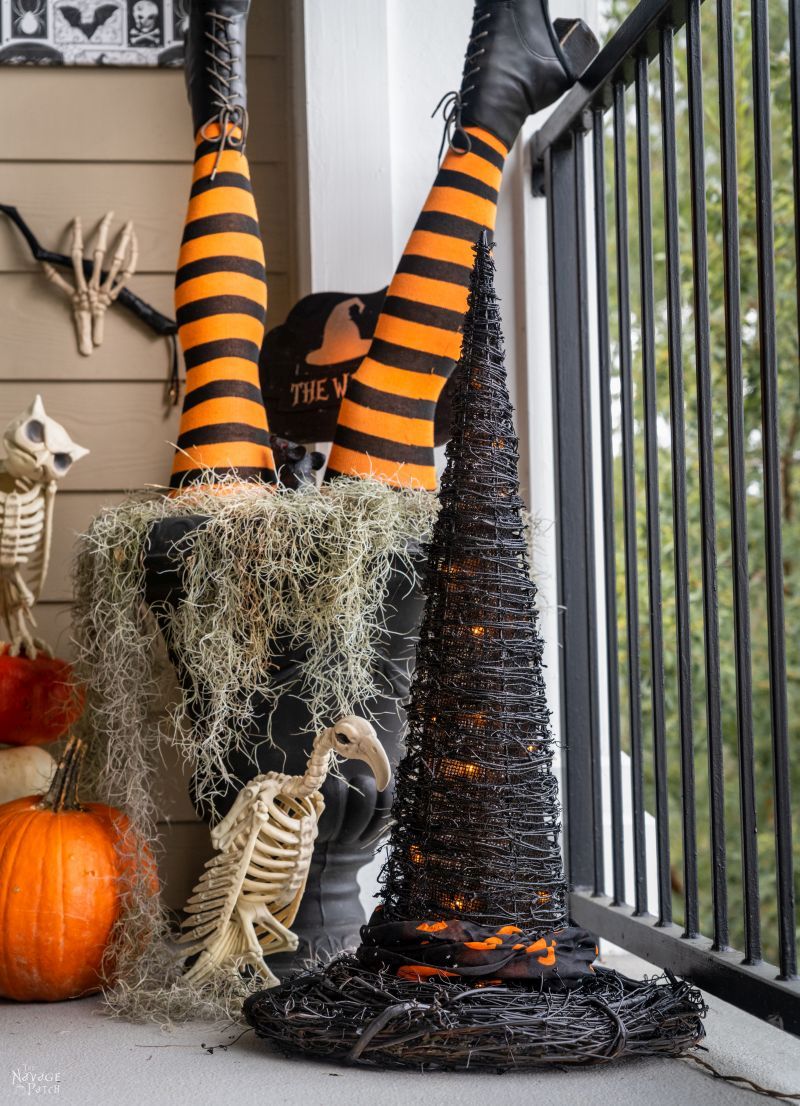
- DIY Witch Legs (Grandin Road Inspired)
- Eyeball Orb Halloween Wreath
- Dishes Of Darkness: Pottery Barn Inspired Halloween Plates
Dollar Tree Gnome Garland VIDEO Tutorial
You may want to watch our short video below for an overview of our Dollar Tree gnome garland before you read the detailed step-by-step tutorial.
Dollar Tree Gnome Garland Tutorial

Step 1 – Glue noses on the ghosts
Who knew that ghost + witch hat = gnome? That’s some real peculiar math, if you ask me, but hey, arithmetic was never my strong suit, so who am I to judge?
Okay, let’s start by gluing a split wood ball right on top of the ghost’s nose.


Now, it may have been the fever, but we thought he looked hilarious with a big nose!

Step 2 – Add a hat
Now let’s put a little hot glue on the ghost’s head.

And we’ll follow that up with a witch hat.
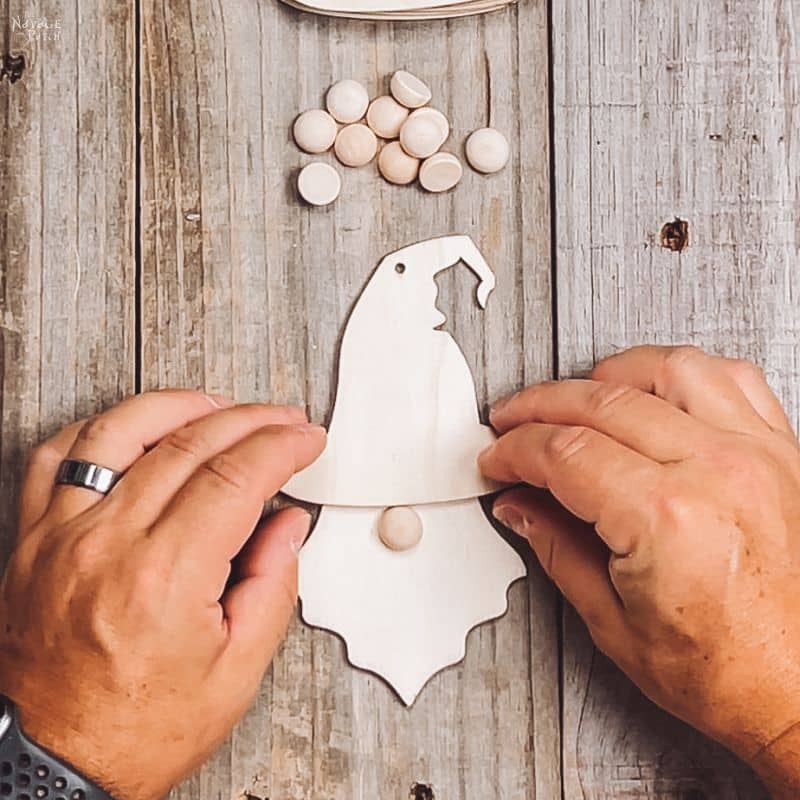
Presto! Instant gnome! Now let’s flip him over and glue another witch hat on the back. This is optional if you’re trying to save on witch hats, but it will make the garland look better from behind.


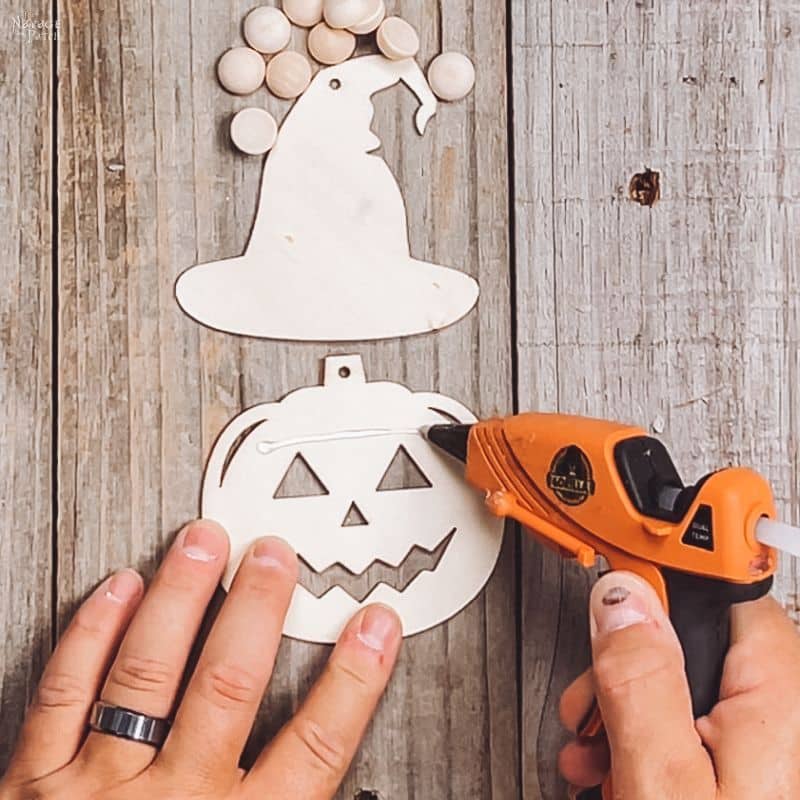
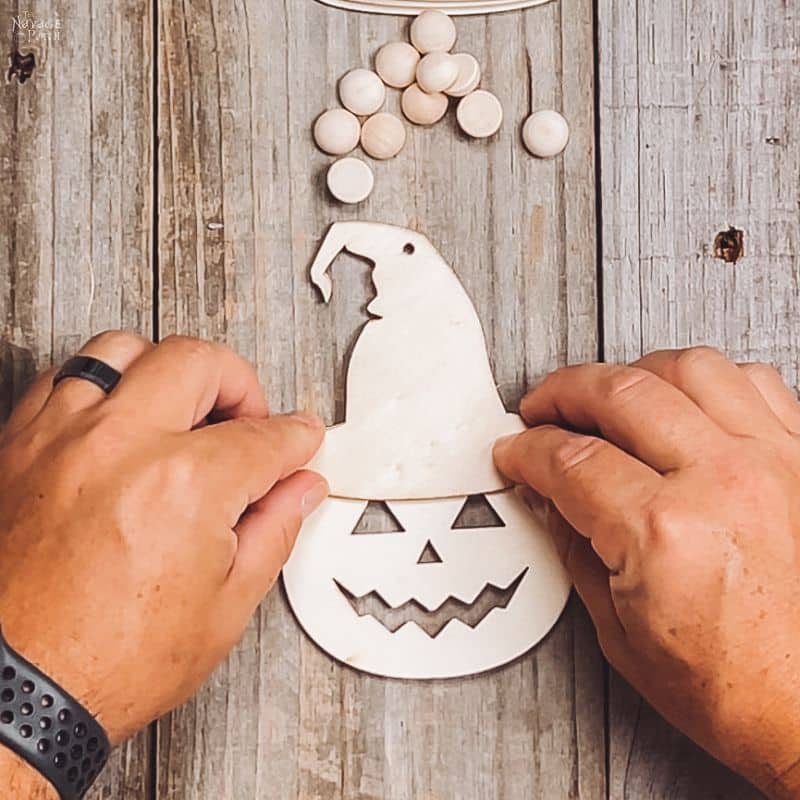
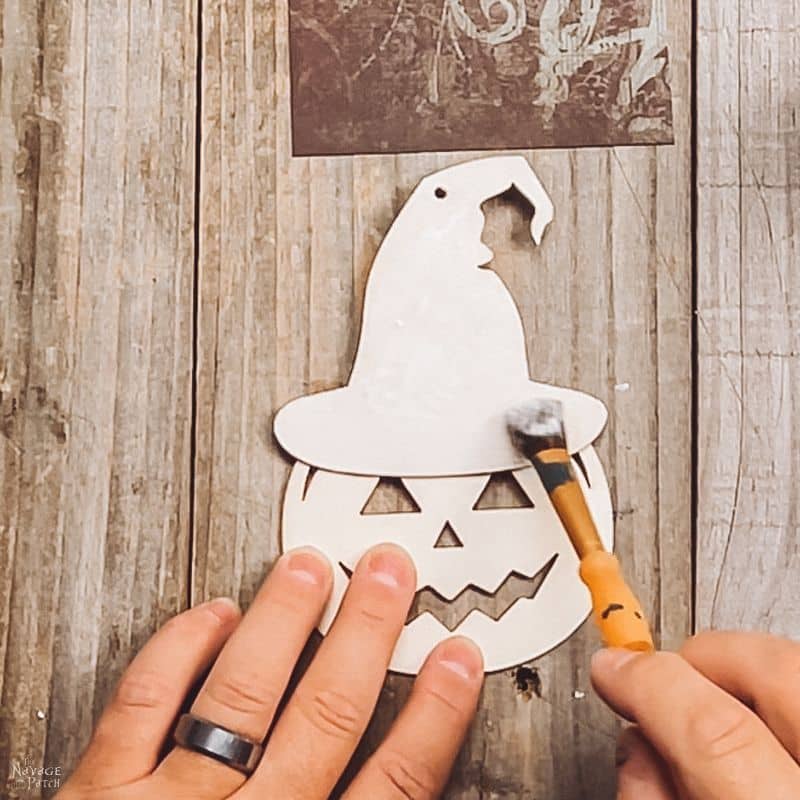
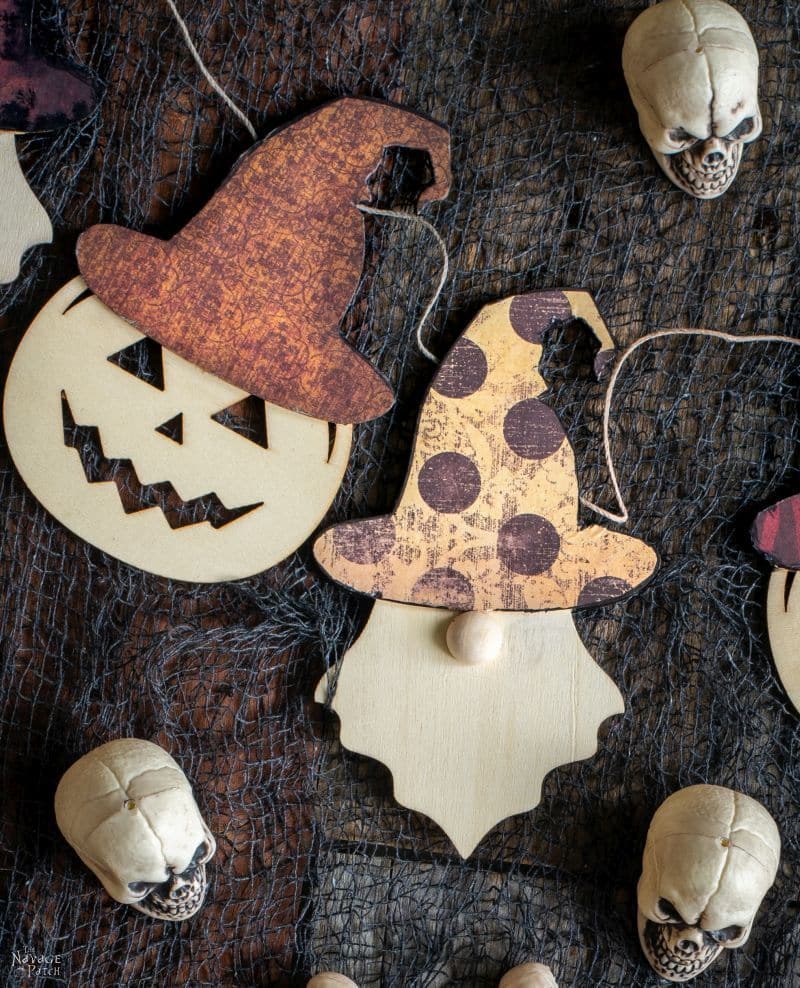
Step 3 – Make a witch hat pumpkin
Now, we could make a whole garland from just witch hats and ghosts, and the world would still turn and the mountains would still stand, but why not mix things up a little and add a little contrast with pumpkins wearing witch hats? Makes as much sense as ghost gnomes if you ask me! So like we did with the ghosts, let’s glue a hat on both sides of the pumpkin. But let’s skip the nose, shall we? Otherwise you’ll end up with Bozo the Pumpkin.


Step 4 – Decorate the hats
From here we have several options. We can leave the gnomes and pumpkins as-is and hang them up, we can give them to the kids for painting, we can wrap ribbons around the hats, or we can Mod Podge some cool scrapbook paper onto the hats to give a cool and classy Halloween vibe. Lucky us, we had some old-world feel scrapbook paper on hand for the job.
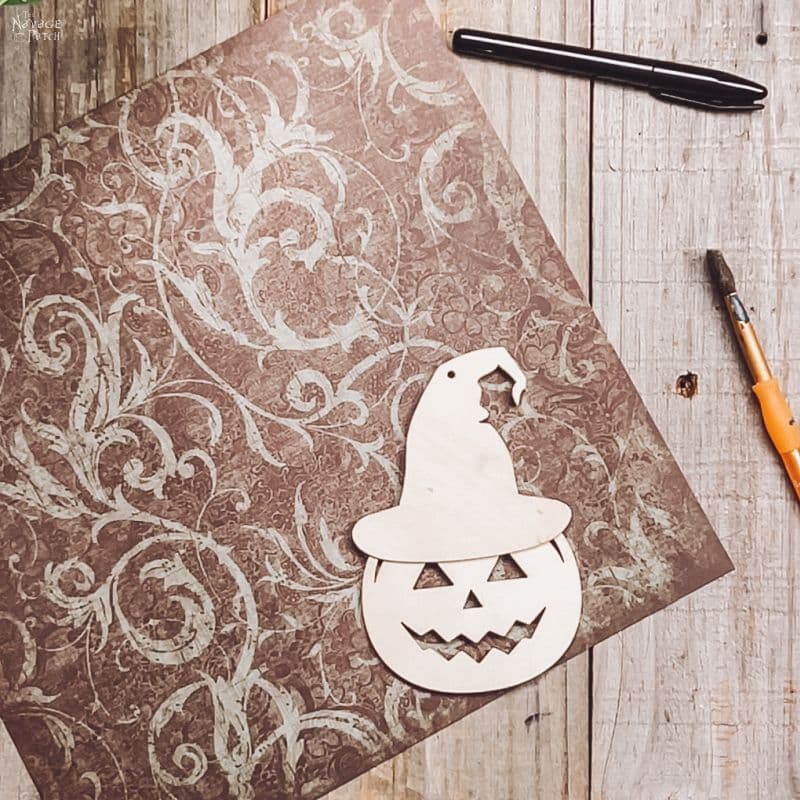
For each gnome and pumpkin, we want to cut a piece just slightly bigger than the hat.

Then let’s brush some Mod Podge all over the hat. Don’t be stingy with the glue – you want those edges to stay down!

When the glue is all spread out, let’s then place the piece of scrapbook paper on the hat and press it down really good with our fingers.

Then let’s trim the craft paper from the back with our X-Acto knife.


And finally, it’s going to look really good if we color the edges with a black permanent marker. Don’t worry if you get some on the craft paper – it’s all part of that Halloween vibe!


And that’s it! Hey, he looks great!

Now let’s do a bunch more!

It’s really easy, right? And you can’t beat the price!


We love to see our DIY Halloween decor out in the wild! If you make this Halloween DIY decor for your home, take a picture or video and post it on Instagram, be sure to tag us – thenavagepatch


How did you attach the twine to create the garland instead of a pile of very cute ghosts and pumpkins?
I slid the twine between the two hats and then used a dot of gel super glue to secure the two hat tips together.
That is just the info I needed! Now to visit Dollar Tree for my supplies (I think you mentioned that they carry gel super glue, too) in several other posts. I’ll be on my way when stores open . Thank you for all the wonderful ideas!
Have fun! 😊
Love! easy hack, if you paint the wood with a thin layer of modge podge, let dry, and then lay paper or napkin on top dried MP, a piece of parchment, and press with a mini iron, or the cricut mini press, Volia’ perfect adhesion, no fear of wrinkles! Love this when I am using tissue or napkins. Off to the dollar store. Love you guys!
Wow, great tip! Thank you so much, Wendy! Geez, you guys are always full of great ideas! 🙂
What a great craft idea! Do you just glue the twine to the back to make the garland?
Thanks, Dawn! I slid the twine between the hats and then glued the hat tips together!
Adorable, as always. I am sure it was the fever, but I do think it would be easier to cut around the witch hat paper before glueing it to the pumpkin. Just saying. Really need to check out my local DT! Bout of tennis elbow (HA!–crafter’s elbow) has let up so I am crafting in small doses again!
You are so right, Kathy! Our original plan for the hats was something different, but we didn’t like how they turned out, so Handan thought of scrapbook paper and Mod Podge!
Glad the virus is out of the house and you’re under Gnomeland Security now! I’m liking the nose on the ghost-gnome, also. It adds an element of ‘cuteness’. Thanks for sharing those super ideas!
Gnomeland Security!!! 😂😂😂😂
Wouldn’t this be a Gnome Gnarland (or Ga-nome Ga-arland, if you want to get silly about it)? This is crazy cute. I do wonder though–when you are wandering through a store, are you always half-thinking about potential craft project and keeping your eyes peeled for gnome-beard shapes? I mean, did you just happen to see the ghosts and think, “Hey! The bottom half of that ghost looks like a gnome beard!” Or did that occur later after you bought all the wood pieces and were messing around with ideas for them? It’s a legit question–I’ve always got a short list of items I’m looking for, no matter what else I may be there to actually buy. Thanks for the project! I want to make some now.
Okay these are really stinking’ cute!
Thanks, Jay! I have to agree with you!
Very cute crafts
Thank you for all crafting ideas. My dollar tree does not carry the witches hat anymore. Do you have any idea where I can purchase those?