DIY Jumbo Jingle Bell
You’ll have the biggest bells in town with this DIY Jumbo Jingle Bell, and it’s sure to turn a few heads in the neighborhood!
I thought I had pretty big bells.
Even the nice ladies in Hobby Lobby remarked on the size of my big white bells. I admit I was showing them off a bit, but hey, when you have a set of bells this big, you want to strut your stuff like the cock of the walk!
Social Media took note of my enormous bells, too. The women of TikTok and Instagram just couldn’t resist asking about my humongous bells. It seems they wanted a pair for themselves! And can you blame them? Just look at these big bells!
But that which was ample enough for the Women of the World Wide Web wasn’t nearly big enough for my babes.
Nope.
She slid her gaze across my gargantuan bells and then locked her eyes onto mine.
“They’re not big enough,” she said, and I felt instantly deflated.
“Not big enough?” I said. “Bells this big come around maybe once in a generation! My bells are marvelously large!” I proclaimed with pride and defiance.
Her gaze dipped once more to my bells and then back up to me.
“Not big enough,” she said again.
Well, if my babes wants bigger bells, my babes is gonna get bigger bells! Or in this case, I’d just give her one bigger bell, because a pair of bells this big would be a sight almost too awesome and terrifying for mortal eyes to bear.
DIY Jumbo Jingle Bell SUPPLIES LIST
Affiliate links are provided below. Full disclosure here.
- Silver exercise ball
- Styrofoam ball
- Plastic balloon holder
- Hula hoop
- Hammered silver or Antique Flat Nickel spray paint
- Oil rubbed bronze and Flat Chestnut spray paint (optional)
- Hot glue gun or E-6000
- Permanent adhesive vinyl
- Jute rope
- Faux greenery (optional)

We love to see our craft projects out in the wild! If you try this seasonal craft project, take a picture and post it on Instagram, be sure to tag us – thenavagepatch
DIY Jumbo Jingle Bell VIDEO Tutorial
On Tiktok
On Instagram
More DIY Christmas Decor Ideas
- DIY Dollar Tree Duster Trees
- DIY Dollar Store Mop Wreath
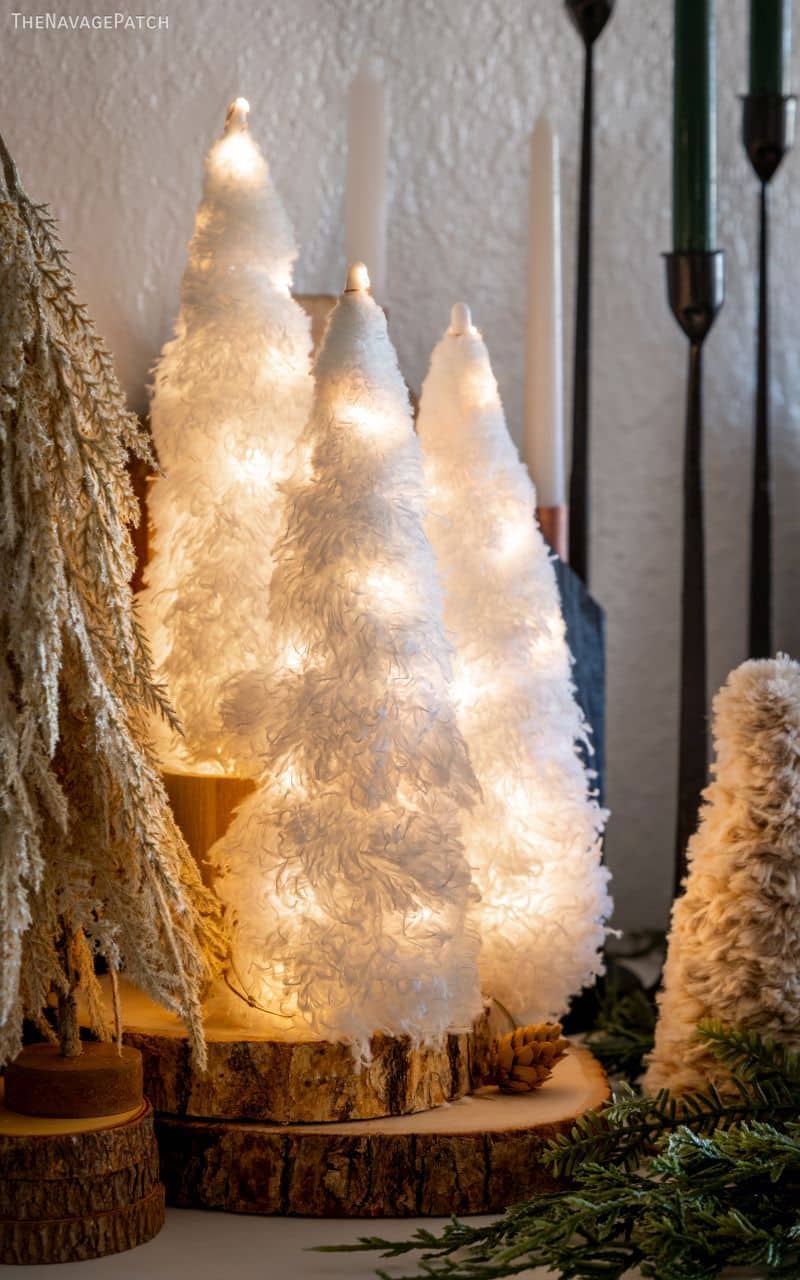
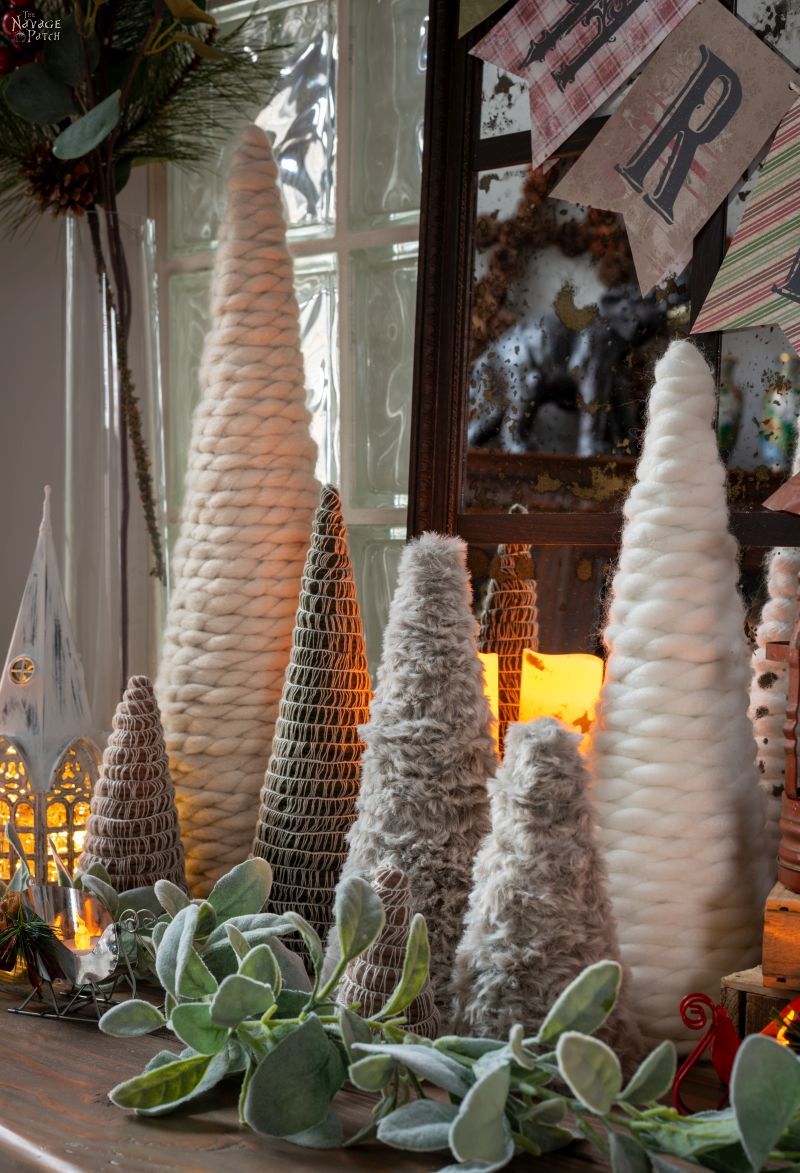
- DIY Faux Fur Trees
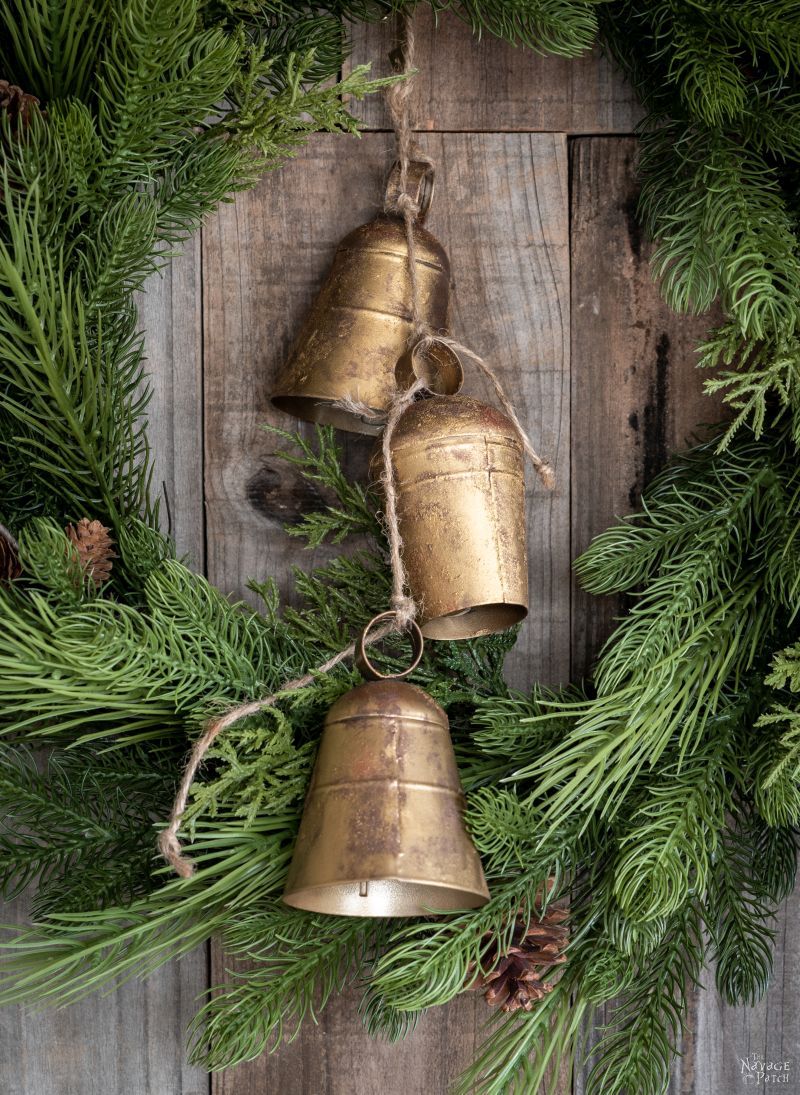
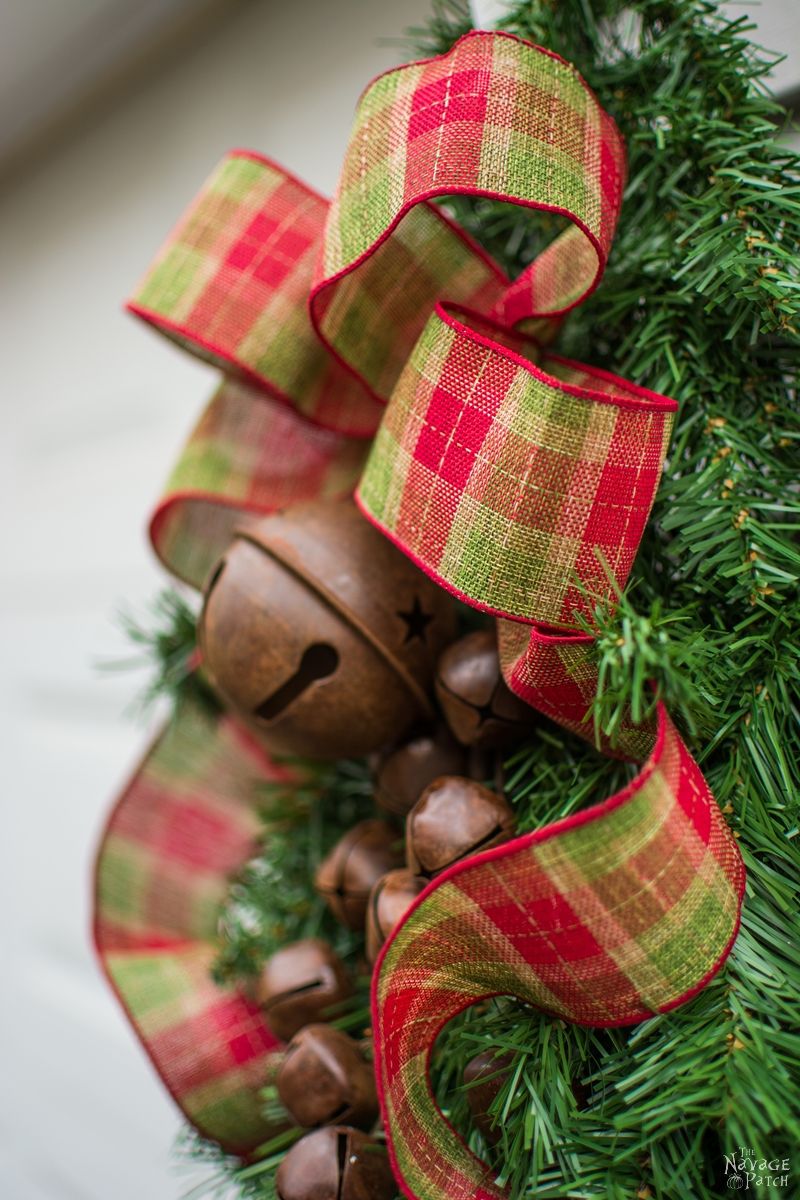
- DIY Faux Antique Brass Bells
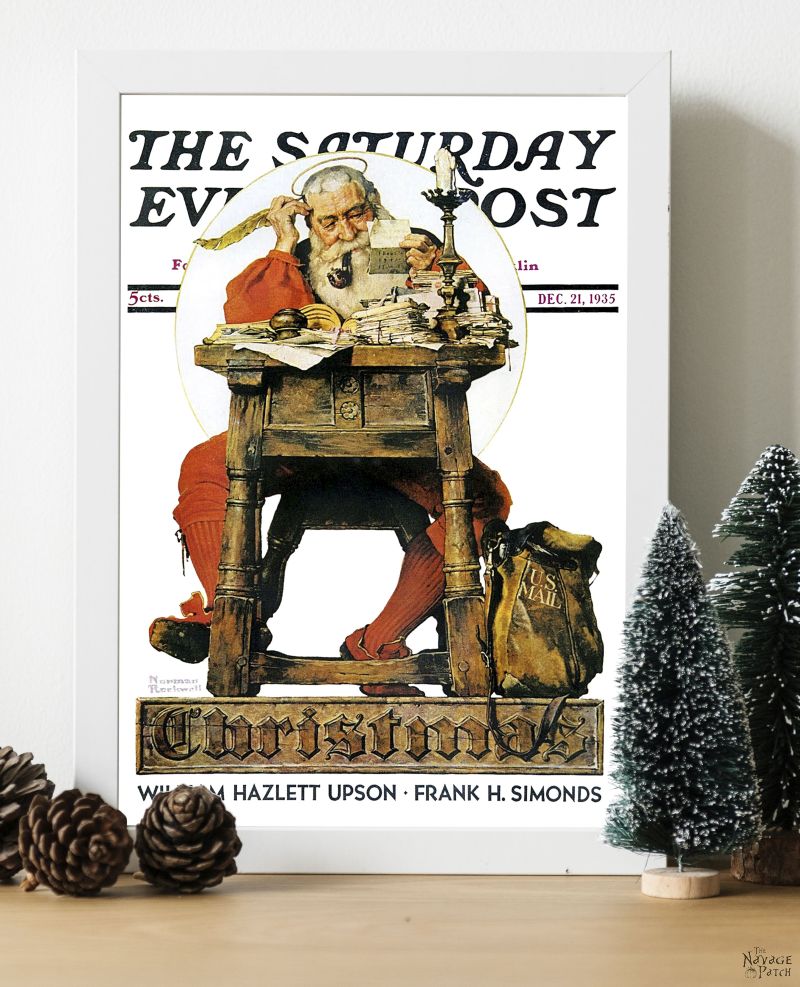
- Free Vintage Christmas Magazine Cover Printables
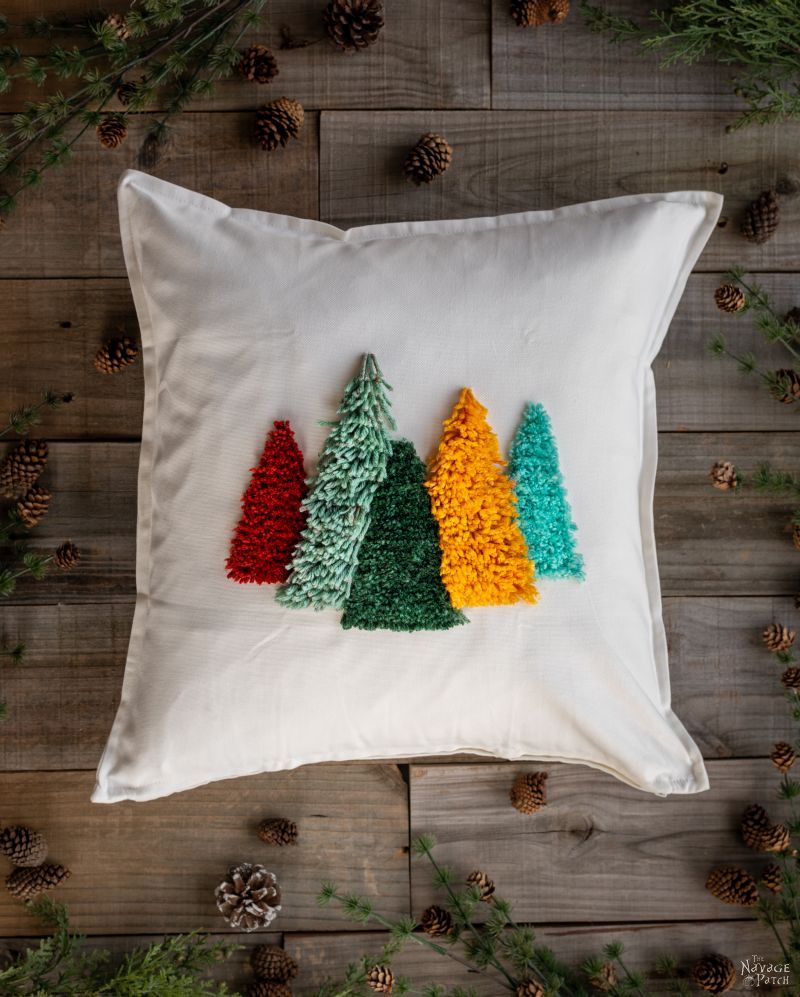
- DIY Shag Tree Pillow
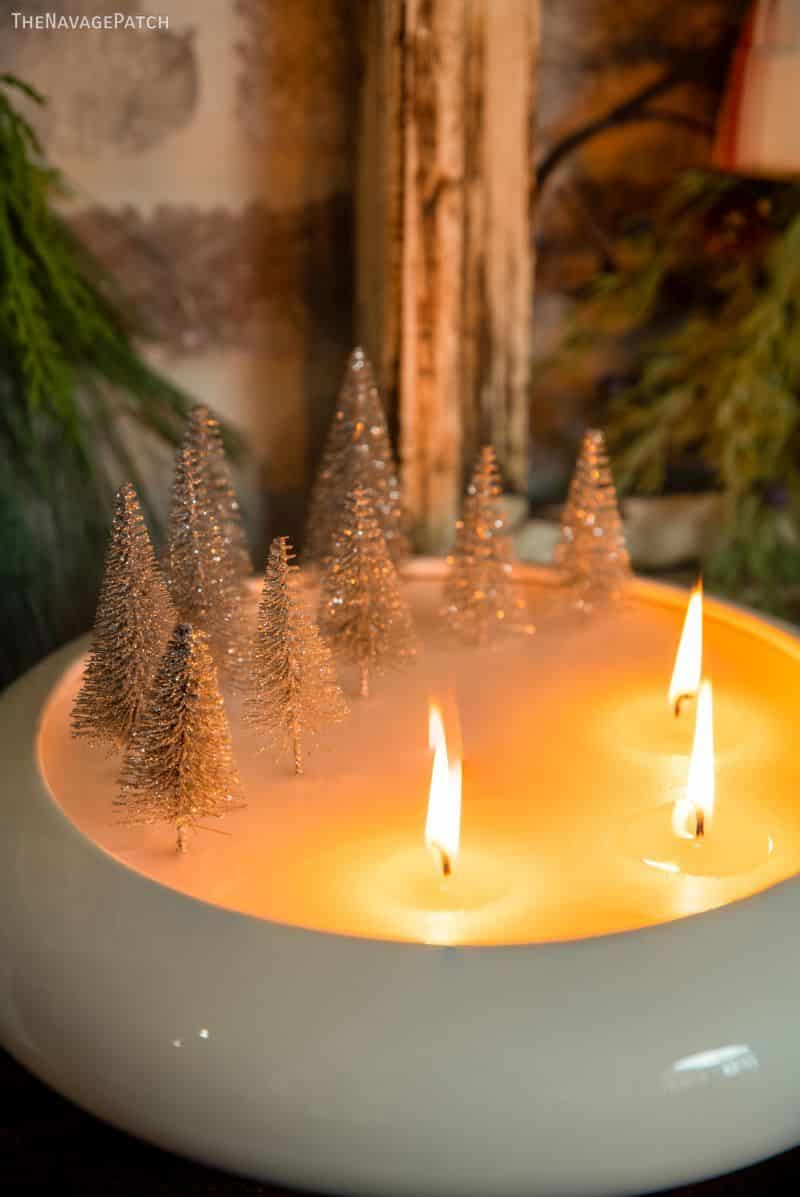
- Easy DIY Christmas Candles
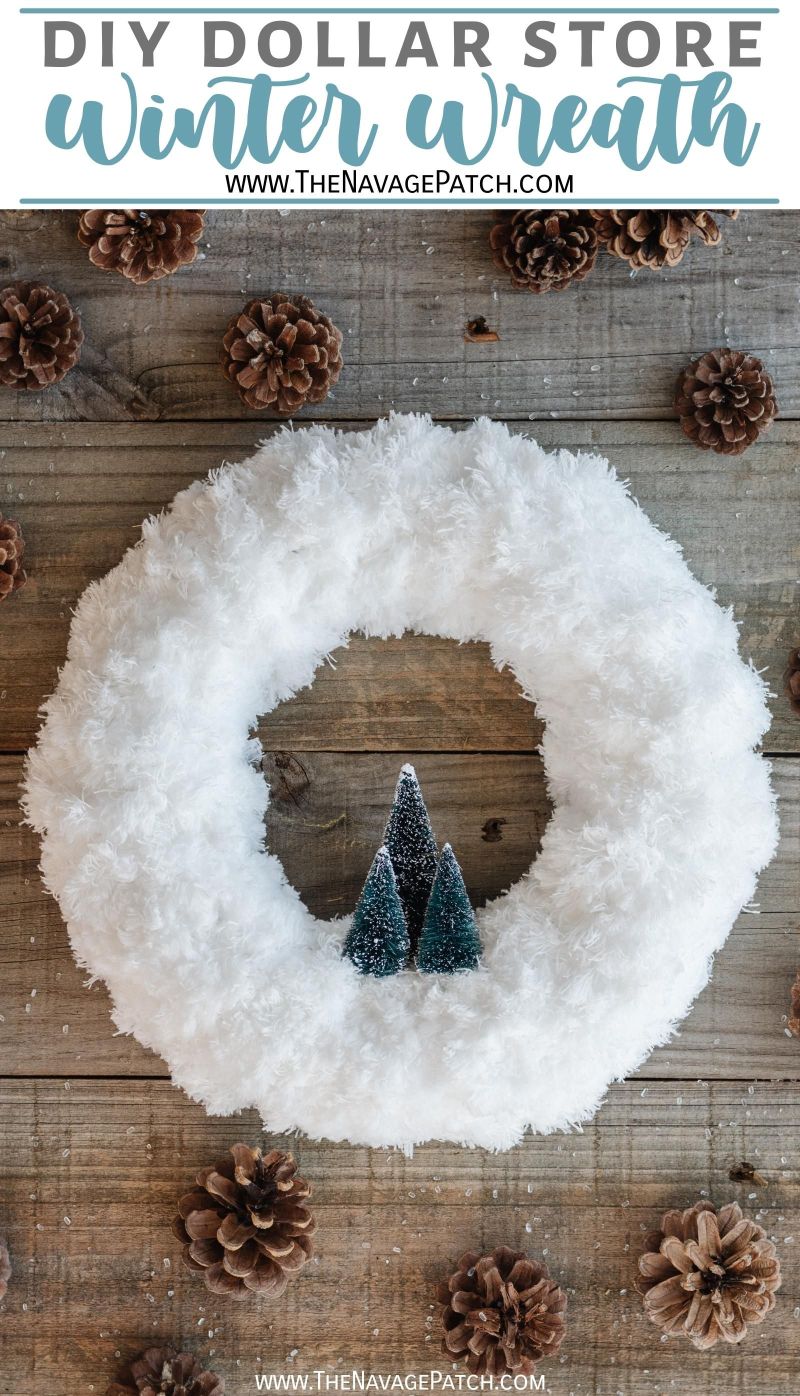
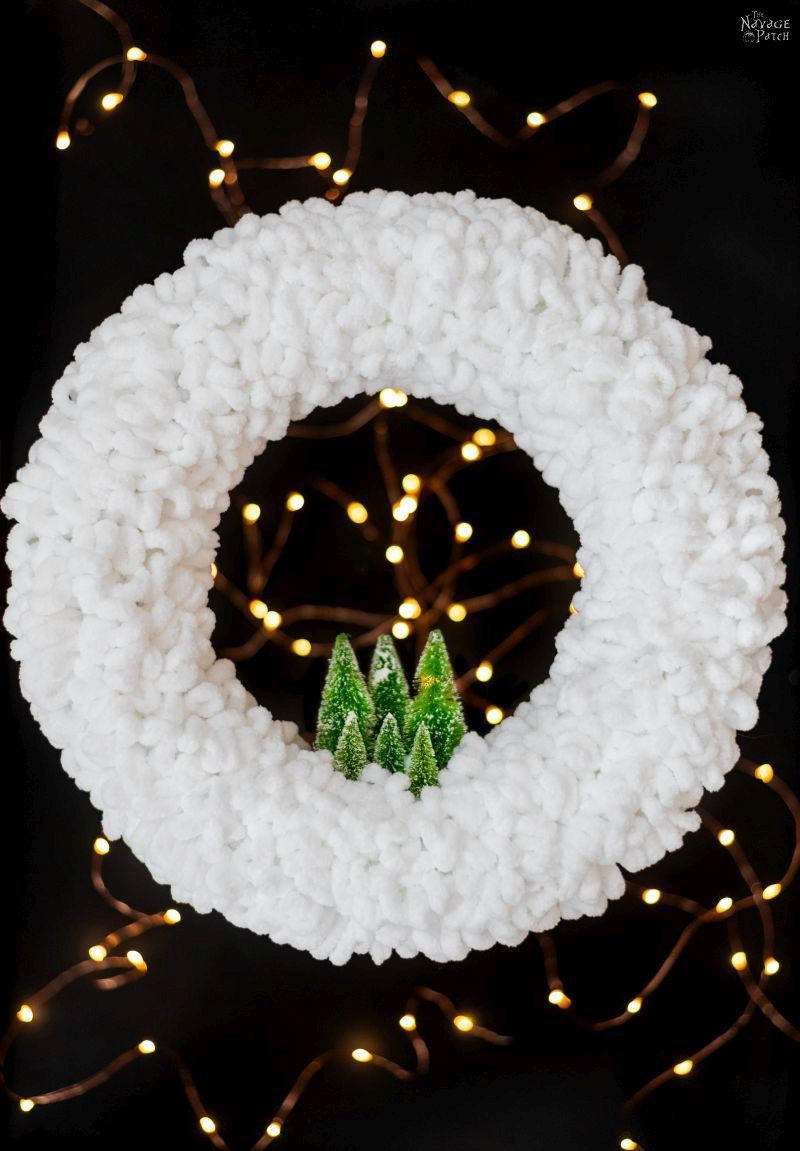
- DIY Winter Loop Yarn Wreath
- DIY Christmas Decor: Faux Tree Repurposed 3 Ways
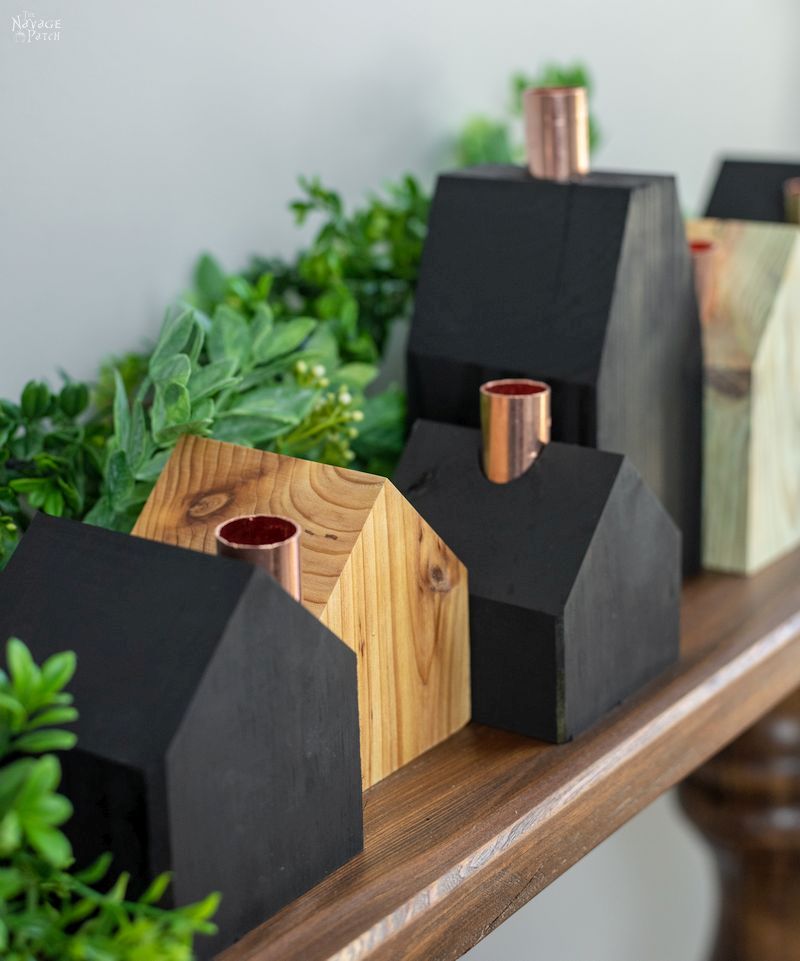
- DIY Wood House Candle Holders
- Christmas Patent Wall Art And 18 Free Printables
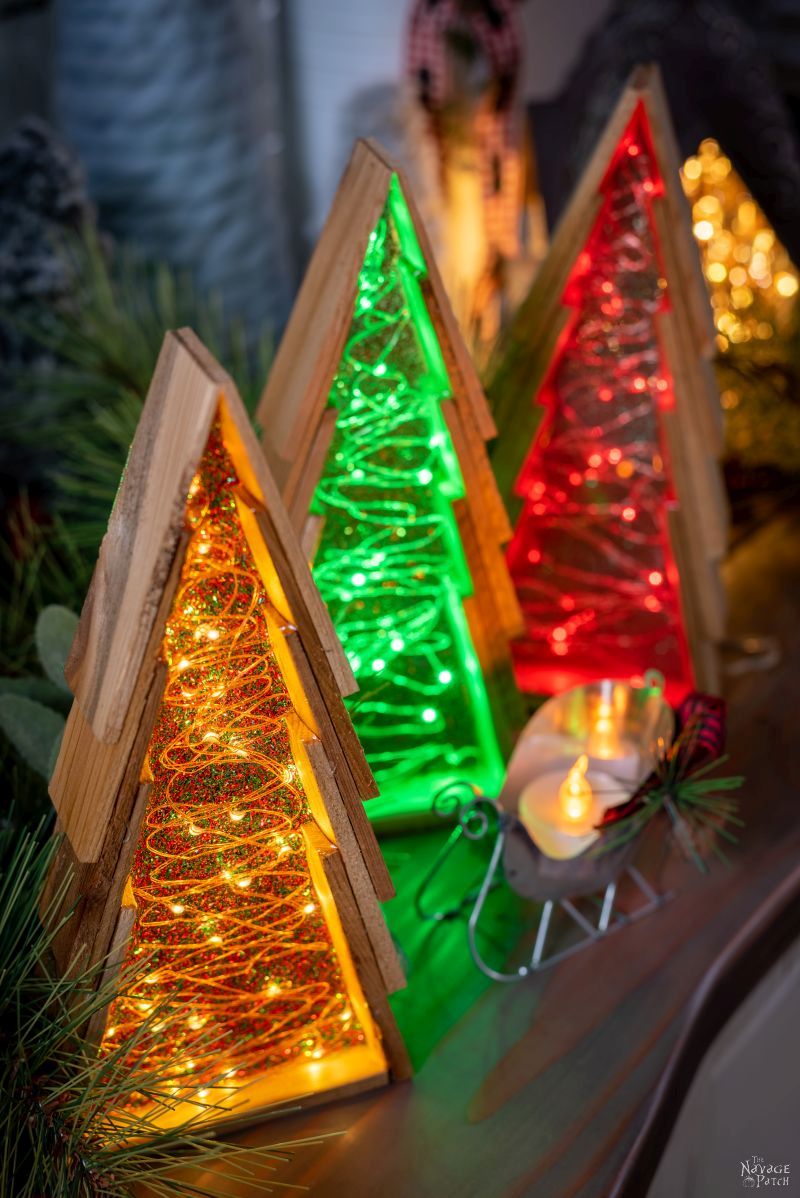
- DIY Epoxy Wood Shim Trees
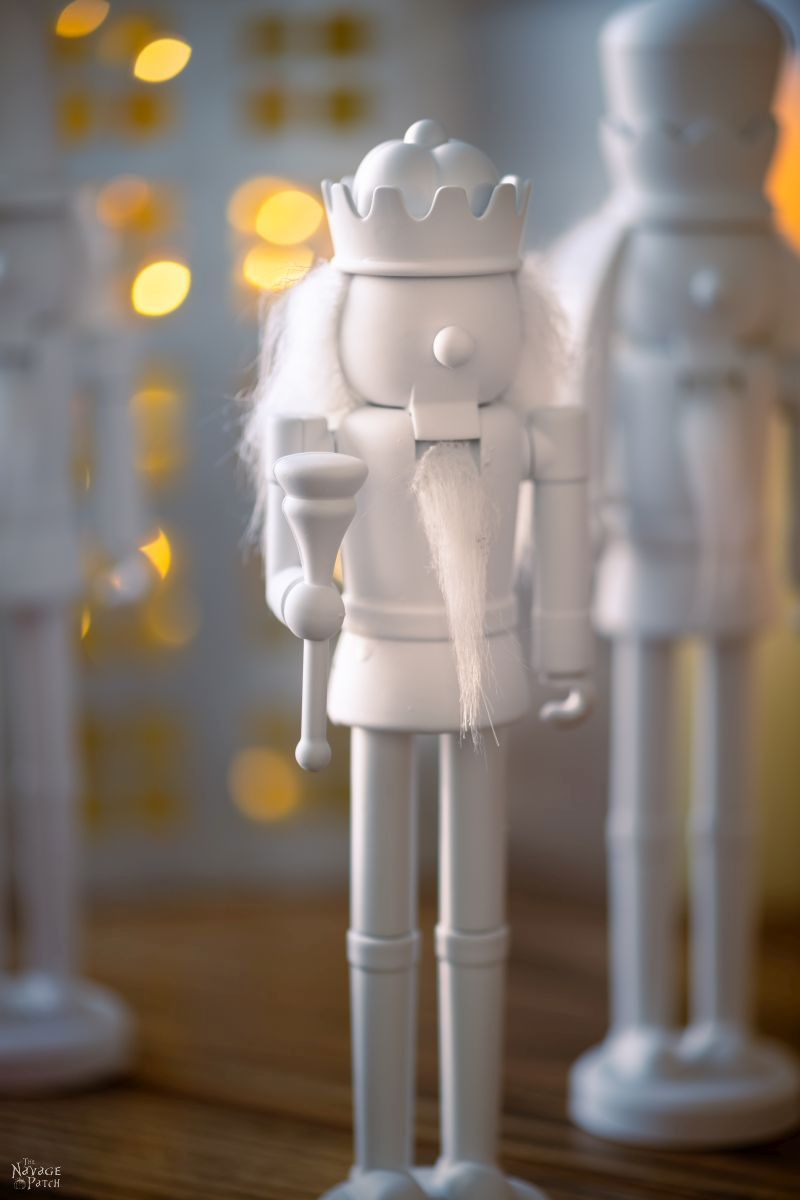
- DIY Dollar Tree Snow-White Nutcrackers
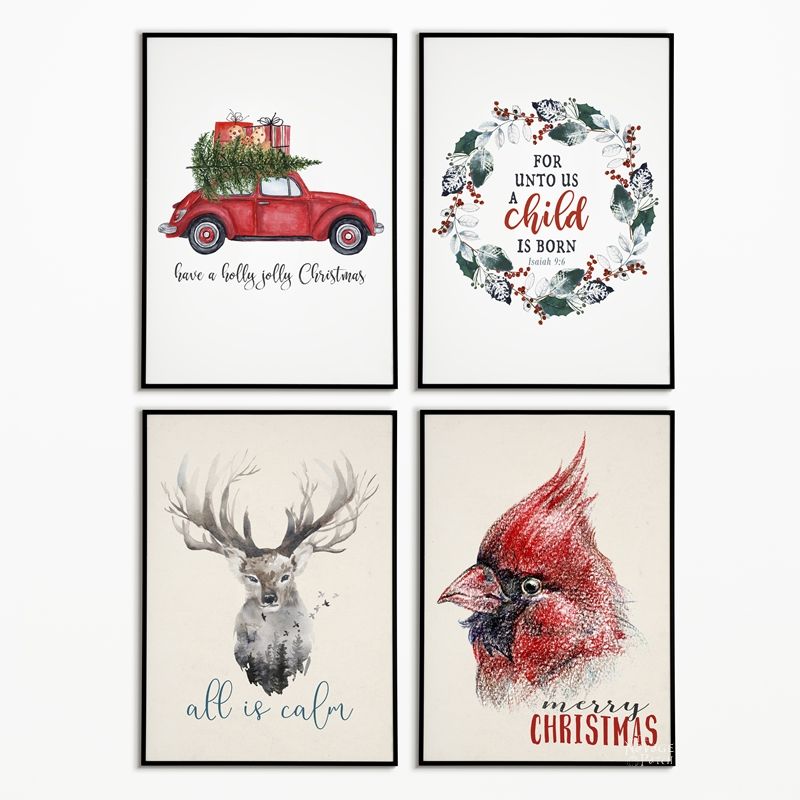
- Free Watercolor Christmas Printables (20+ BEAUTIFUL Holiday Prints)
DIY Jumbo Jingle Bell Tutorial
The key to this jumbo jingle bell is the yoga ball.

Now, the obvious observation is that it is already silver, which saves a lot of time and paint. But more than that, it is the orientation of the lines that makes this particular big ball the perfect candidate for big bell. As you can see in the photo above, the lines run longitudinally – from north pole to south pole. This gives a more realistic jingle bell look than the standard big ball whose lines run latitudinally, like the one shown below.

Since most jingle bells are cast from two halves and then welded or otherwise joined together, I used a hula hoop to recreate the rim. Most hula hoops come wrapped in psychedelic patterns that are easily peeled off.

Once peeled, I sprayed the hula hoop with hammered silver spray paint. My first choice of color was Flat Antique Nickel, but that can was a dud, and I had no desire to drive an hour round trip to find more.

To make the crown of the jumbo jingle bell, I used a foam ball that I sliced a bit off of to make a flat gluing surface.
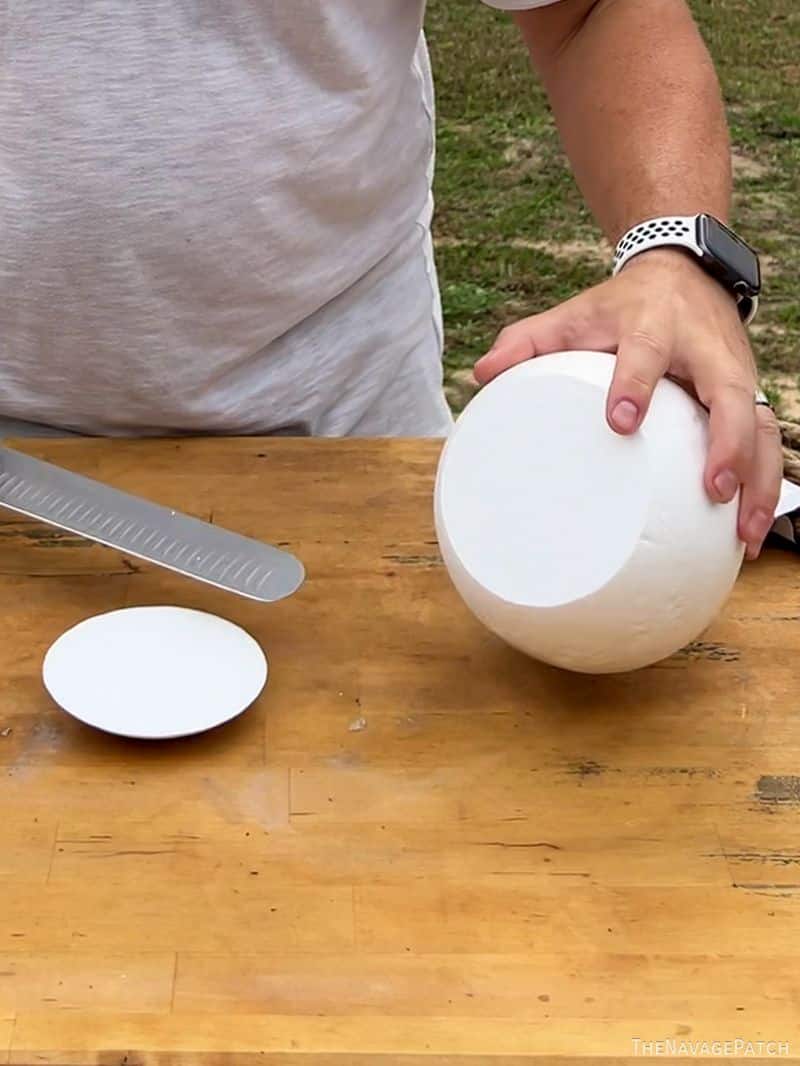
For the handle, I first tried using black pipe insulation foam, but it ended up looking too chunky, so I ended up using a balloon holder that I bent into shape.

I stuck the ends into the foam ball for the perfect moveable handle

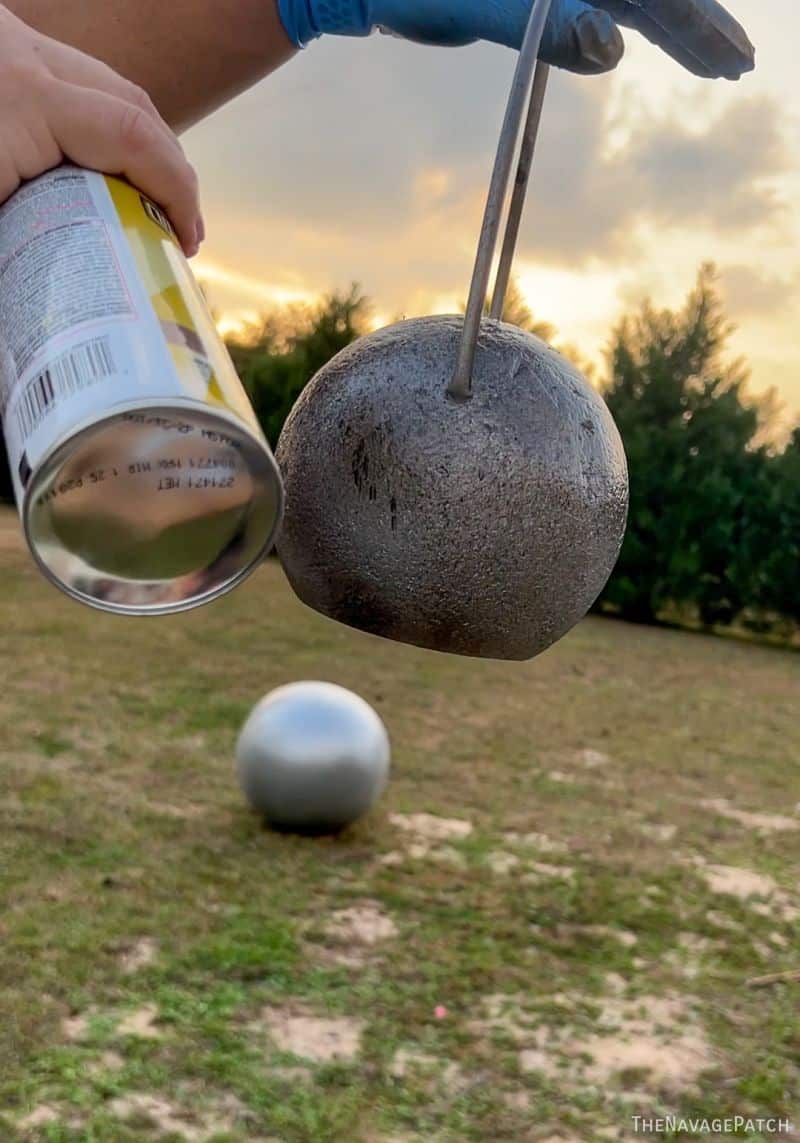
When I sprayed the crown and handle with the hammered silver, it looked way too monotonously silver, so give it a little life, I followed up with oil rubbed bronze sprayed sloppy…

That gave a cool pitted look, but it lacked warmth and dimension, so I hit it with some flat chestnut, and that gave the perfect aged metal look to the crown.
While the paint dried on the crown, I pushed the hula hoop onto the yoga ball.

Since the hula hoop was just the tiniest bit too small to fit, I pulled out the connector piece and hot glued it back together as shown below. That gave it enough room to fit around the center of the yoga ball.

With the seam installed, I glued the crown onto the bell. I used hot glue due to time constraints, but I’d recommend something a little stronger like E-6000 for maximum adhesive power.


Next I cut out the 4 slits from permanent adhesive vinyl. Though I cut the slits with a Cricut machine, this can easily be done by hand as shown below.


I placed the 4 slits equally around the bottom hemisphere…


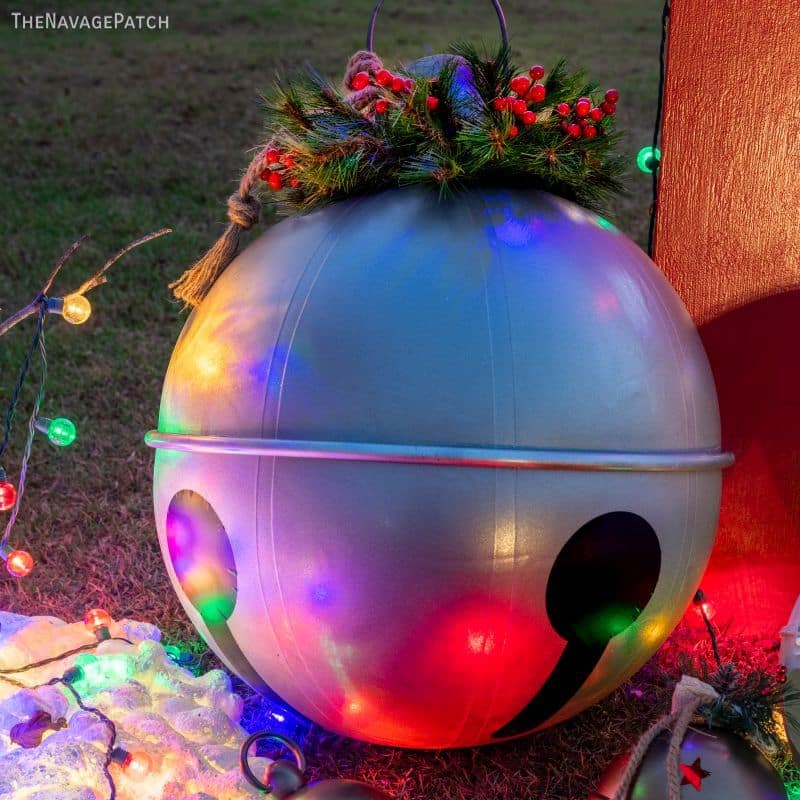
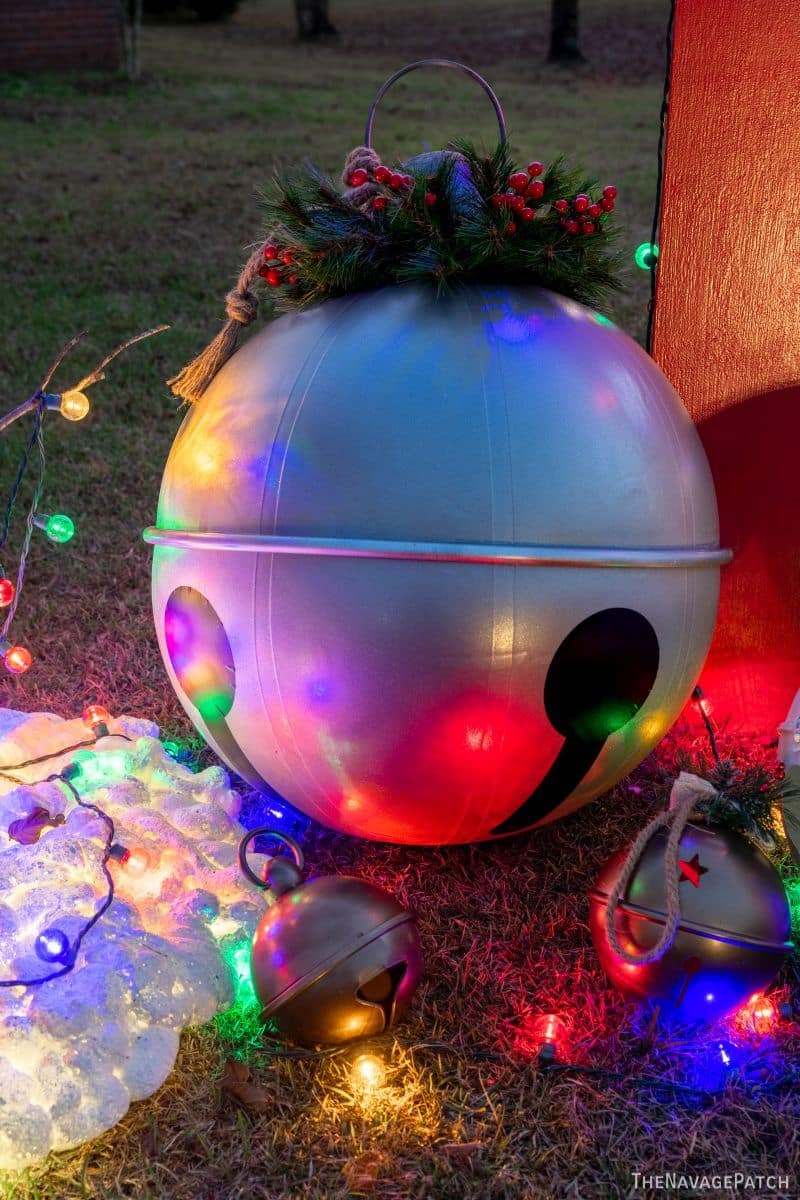
…And then finished my jumbo jingle bell with rope and some greenery.


My babes loves her gargantuan jingle bell, and the whole neighborhood seems to agree!
Kool bells
Can you light them up with fairy lights?
Edy, I can light anything with fairy lights! 😂😂😂
That is a very nice set of bells.
Why thank you, I think so too! 😁
Oh…my…God…Becky, look at his bell! I can’t believe it’s so round, it’s like out there!
That is a truly impressive bell and I have to admit that I’m quite envious of its prodigious girth. I’m also pleased that I can present this post to my husband as concrete evidence that I am not the only person obsessed with ridiculously oversized jingle bells. Thank you kind sir.
It’s all about the girth! 😂😂😂
OMG!! LMAO, I am 70yrs old, and just love your site, I have tried quite a few of your crafts and love them so much, thank you for that.
I am sure Handan appreciates the fact we now know the size of your balls, oops, so sorry bells, lol. But this has given me quite a chuckle, I love your humor, keep making us laugh and entertaining us with your humor while teaching us lots of crafts.
LOL, thank you, Mary, I am very happy to have brought a smile your way today! 😁
Oh my word you are knocking it out of the park with Christmas decorations!! I just love them. I am pinning a lot of them to try next year when I can start early and have more time. I am already excited about next Christmas but knowing you two there will be a ton more I will want to try!! Have you made large presents in the past that maybe I missed? That is something I always wanted to try. The ones they sell are so small. Merry Christmas!!!
Thank you so much! We did do large presents a loooong time ago. You can find them here. We were planning on doing easier ones this year but ran out of time. You can count on it for next year!
There isn’t any words that properly describes your work. Appreciation is the only word that describes your instructions. I think to myself that “I can do that”, and then I remember I don’t have the space, tools, nore stamina any more. Thank you for the work and ideas that make my day brighter. I can plan a yard in my mind and it is the envey of my imagination. Once again, thank you and your wife. Keep up the great work.
Thank you so much, Wendy! I’m happy to hear we brighten your day, and I love this sentence: ” I can plan a yard in my mind and it is the envy of my imagination.” Beautiful!
God, I love what you do!!! I hope you and your family have a wonderful Christmas!
Thank you so much, Terry! Merry Christmas to you!
This made my day. LMAO. It seems only fitting to follow up by watching SNL Schweddy Balls.
Perfect! And you can follow that up with South Park’s Chocolate Salty Balls! 😂😂😂
I am almost always impressed with your creations. These bells are fantastic! ( narrative wasn’t bad, either!). Looking forward to trying this out next year, possibly on a slightly smaller scale to better suit my house. Keep it up; you guys do great things! Merry Christmas from north GA!
Thank you so much, Cindy! Merry Christmas to you and your family! 😊
So you got your workout with this one! Remember to wear support when carrying those massive bells around!
😂 Yes, I need bell support!
Love those big bells.. but where do you store all these treasures??
Well, this big bell deflates for easy storage, lol! The other big stuff goes into a storage unit!
First of all I’m old school no til tok for me. Great to hear for you that you have so many followers and views. Great idea on the Christmas balls. I might just have to talk my husband into doing a couple of these for Christmas 2023. Hope you to have a wonderful year in 2023. Can’t wait to see all your new projects and house updates. Thank you for sharing with this community.
Thank you, Joan, this blog is here to stay! Regarding TikTok – I got my 82-year-old mother on Instagram this year, and I will be getting her on TikTok when they visit in 2023. TikTok will figure out what you like and serve up an endless stream of videos you’ll want to binge watch!
Hi, these are pretty impressive. One question, do you need special spray paint to spray the plastic rubber balls? Mine will be outside and I don’t want them to chip. Thank you so much