
Vecna’s Muffins and Bakery
Get ’em while they’re hot! Vecna’s Bakery is now open and proudly serving Vecna’s muffins. Made with bone meal and baked in lava for that one-of-a-kind crunch!
The problem with having a witchy wife is the witchy in-laws that come with her.
Marrying a witch isn’t for the faint of heart. Just look at this terrifying creature!

Well, somebody had to tame this wicked beast, and I was feeling particularly plucky back in 2010, so I jumped at the chance!
Now here we are 12 years later, and I’m still almost entirely myself with very few amphibious parts and no long-lasting effects from a decade of spells cast my way.
But one thing I’ll never get used to are the yearly visits by my in-laws. They come over for tea each fall.

Yeesh, those crones could scare the chrome off a trailer hitch! And you’ve never heard such gossip! They call it “Harvest High Tea.” I call it the Slurp-n-Slander.
Last year, they roped me into joining them. I’ve never been so humiliated in my life. I felt like a doll at a dress-up party!

This year, I’m having none of it! Those gabbling broom-jockeys can find themselves a new ragdoll. This year I’m staying in the kitchen like a scullery maid – out of sight and hopefully out of mind!
But apparently they have to eat, and I had the perfect treat in mind: Vecna’s muffins. They’re spicy little muffins with all the toppings a wart-nosed hag could want. There was just one problem. Vecna’s muffins are only sold at Hawkins Bakery, and it’s closed until next season. I was just going to have to make my own.
A quick search online turned up a suitable recipe, and I just happened to have all the ingredients already!
Enough of yapping, let’s make Vecna’s muffins1!

1For those who don’t watch Stranger Things, just think of this project as “Skeleton Hand Fire Orb Holder.”
Vecna’s Muffins SUPPLIES LIST
Affiliate links are provided below. Full disclosure here.
VECNA’s Bakery SUPPLIES LIST
Affiliate links are provided below. Full disclosure here.
- An old board about 7′ x 14″
- Skeleton hands (we got ours from Walmart for $3.98 a pair, but I can’t find them online so I linked to Spirit Halloween to show you what we used)
- 3″ deck screws (10 of them)
- Great Stuff insulating spray
- Dollar Tree or Walmart plastic skulls
- Red, gray and black spray paint
- Outdoor rated orange or red LED string lights (50 LEDs)

We love to see our DIY Halloween decor out in the wild! If you make this Halloween DIY decor for your home, take a picture or video and post it on Instagram, be sure to tag us – thenavagepatch
Vecna’s Muffins & Bakery VIDEO Tutorial
Watch our short and fun video below for an overview of our Vecna’s Bakery before you read the detailed step-by-step tutorial.
More Easy DIY Halloween Decor Ideas

- DIY Halloween Fire Wreath
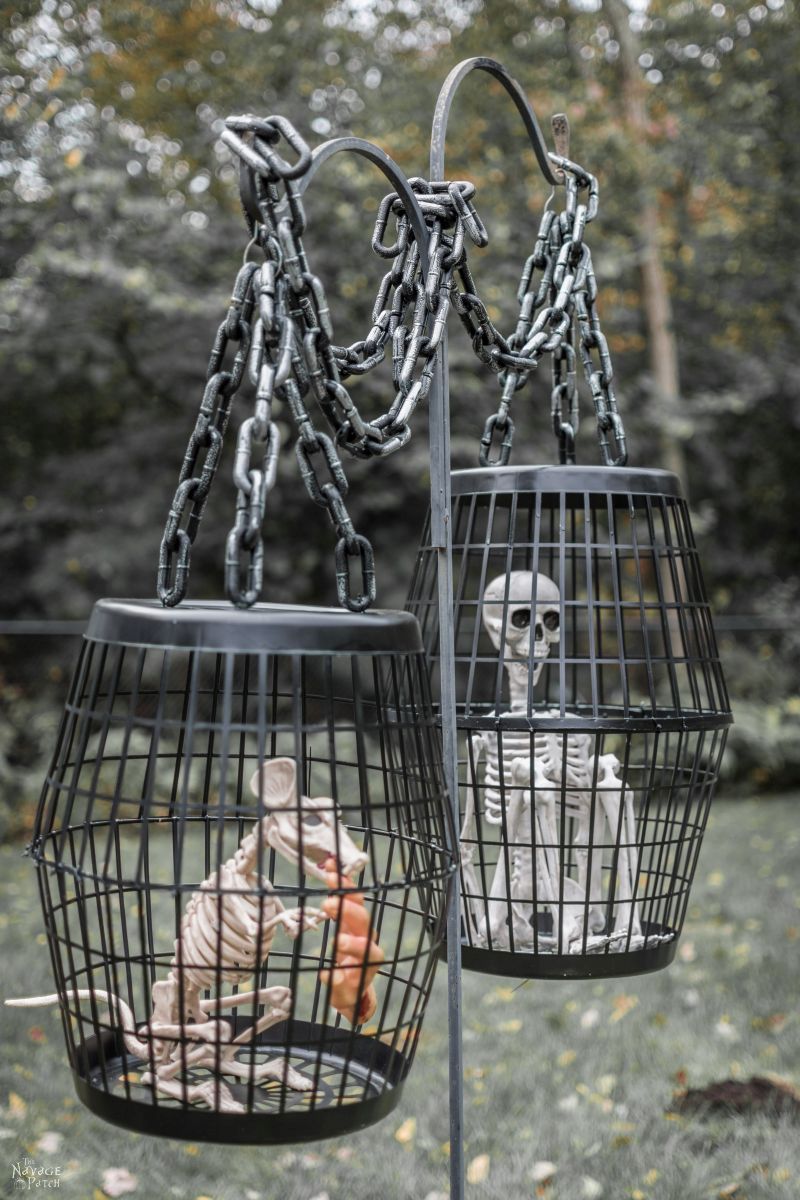
- Hanging Cage Halloween Prop
- DIY Dollar Tree Halloween Lights
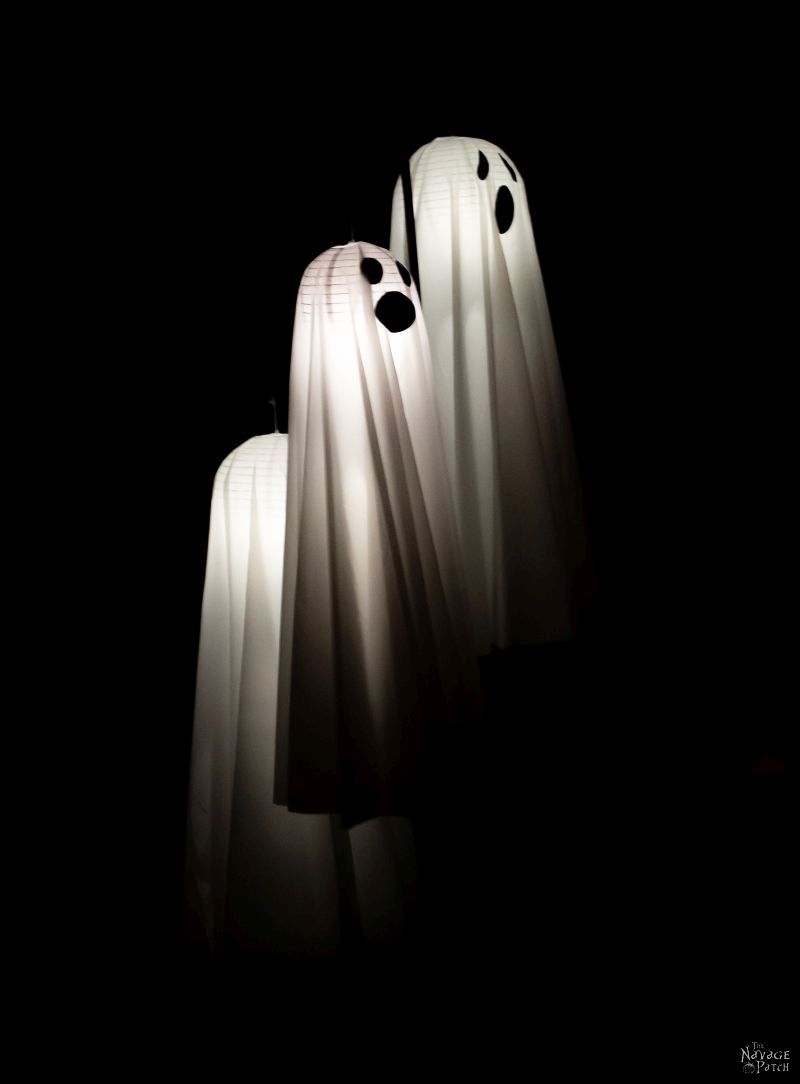
- Easy Lighted Hanging Ghosts (A Dollar Store DIY)
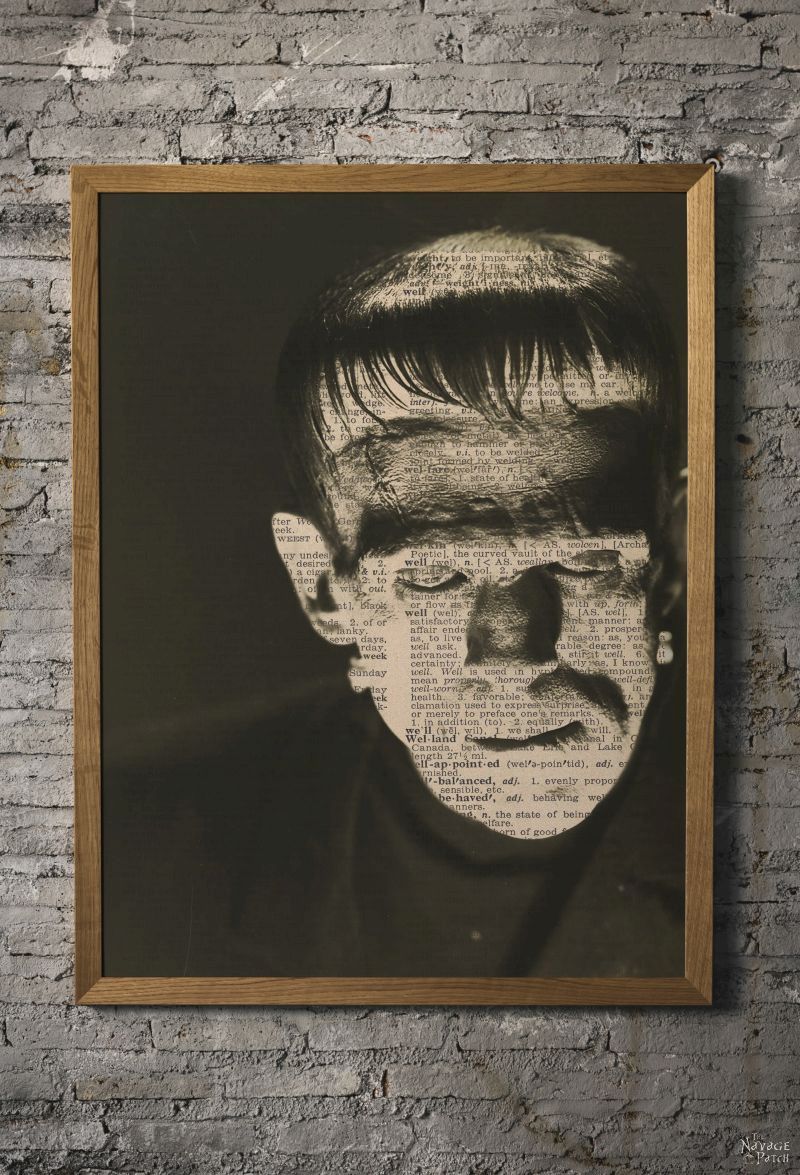
- Free Vintage Movie Monster Printables
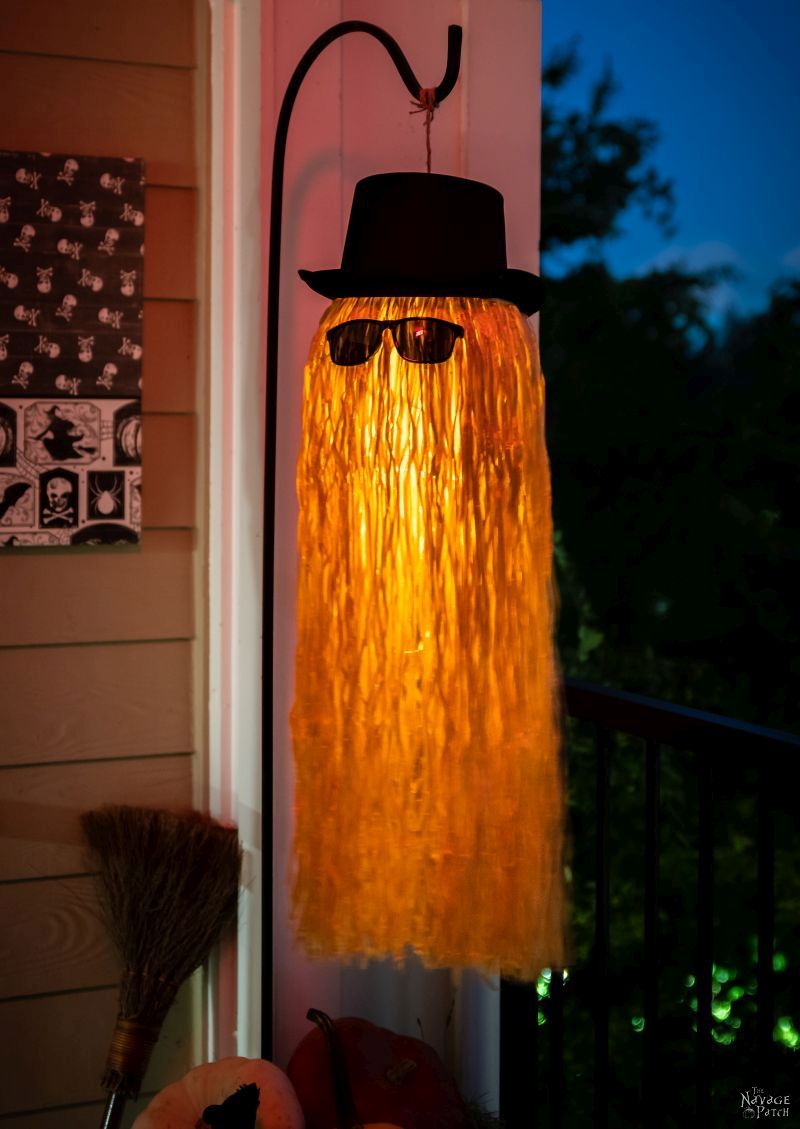
- DIY Cousin Itt Pathway Light
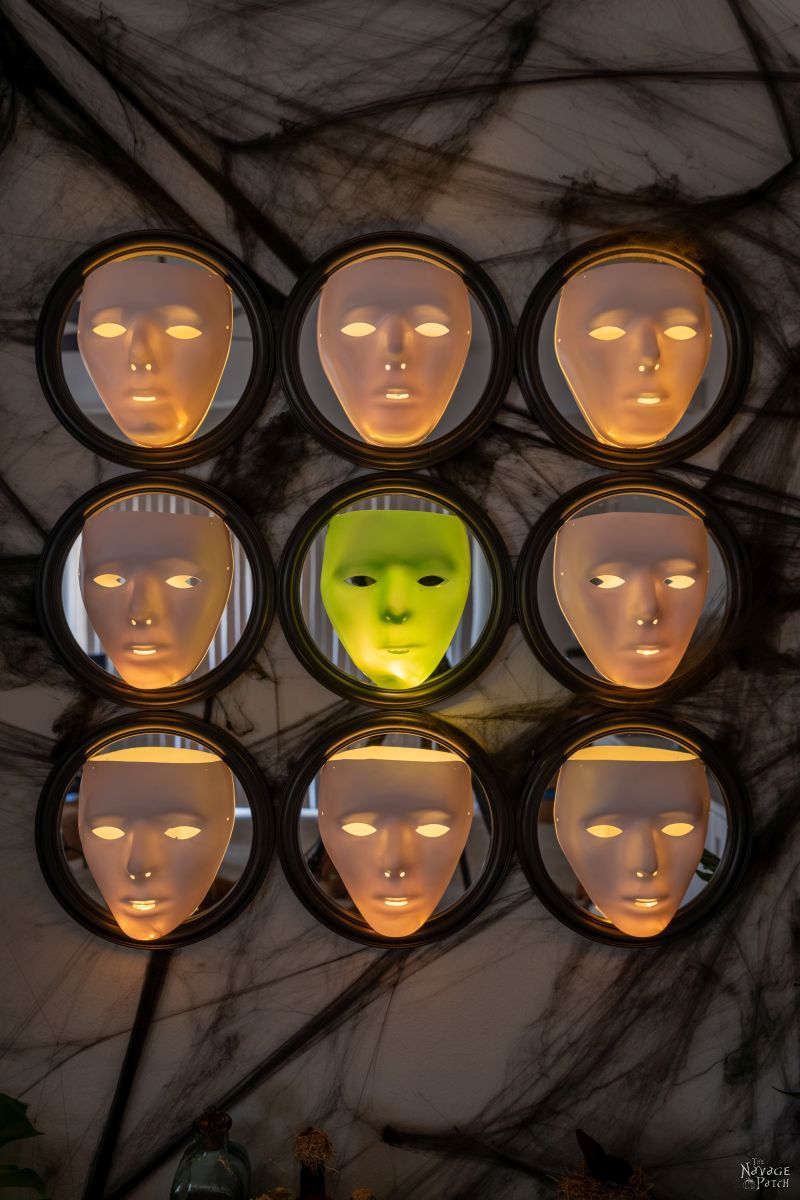
- Gallery Of The Faceless – Easy Halloween Wall Decor
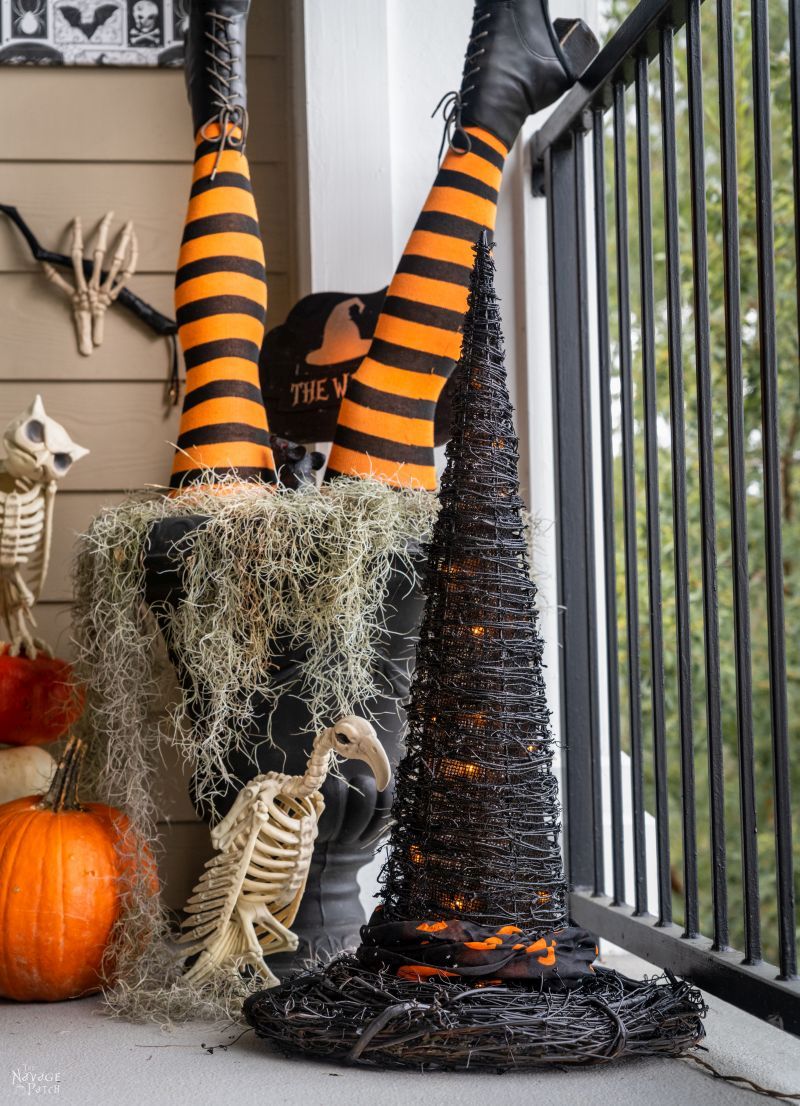
- DIY Lighted Witch Hat (Grandin Road Inspired)
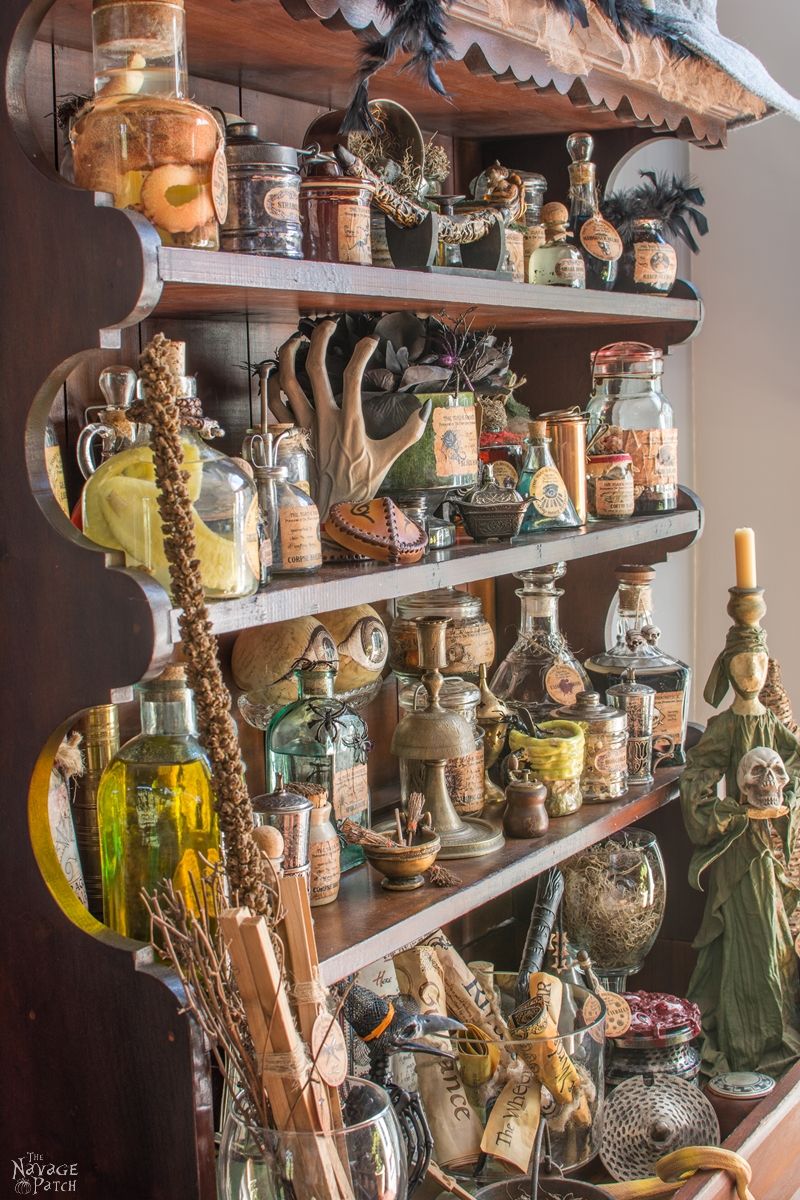
- Apothecary Jars And Free Printable Labels
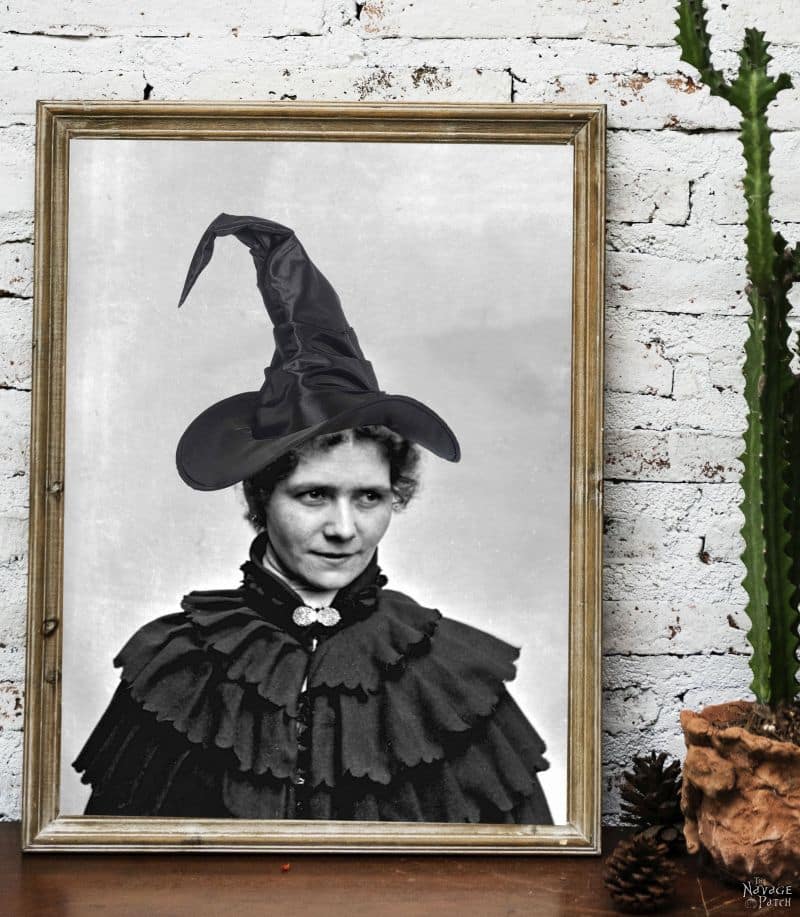
- Free Vintage Witch Printables
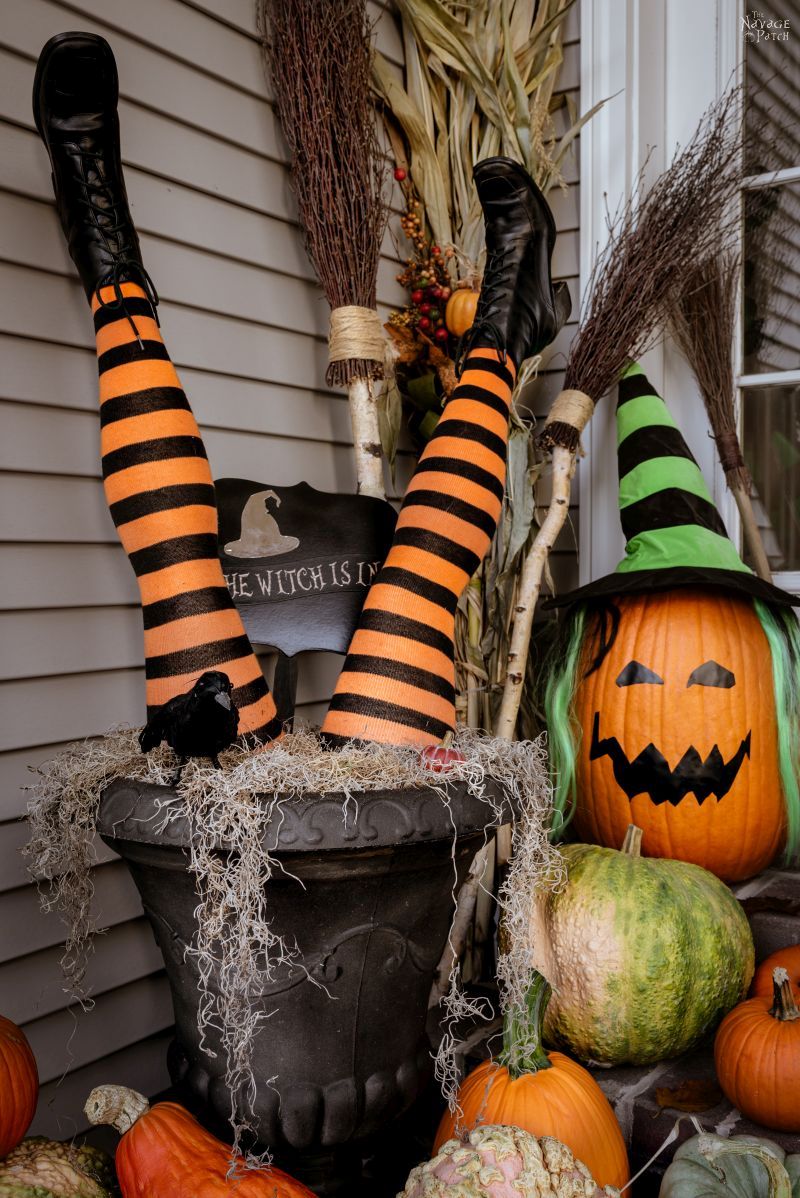
- DIY Witch Legs (Grandin Road Inspired)
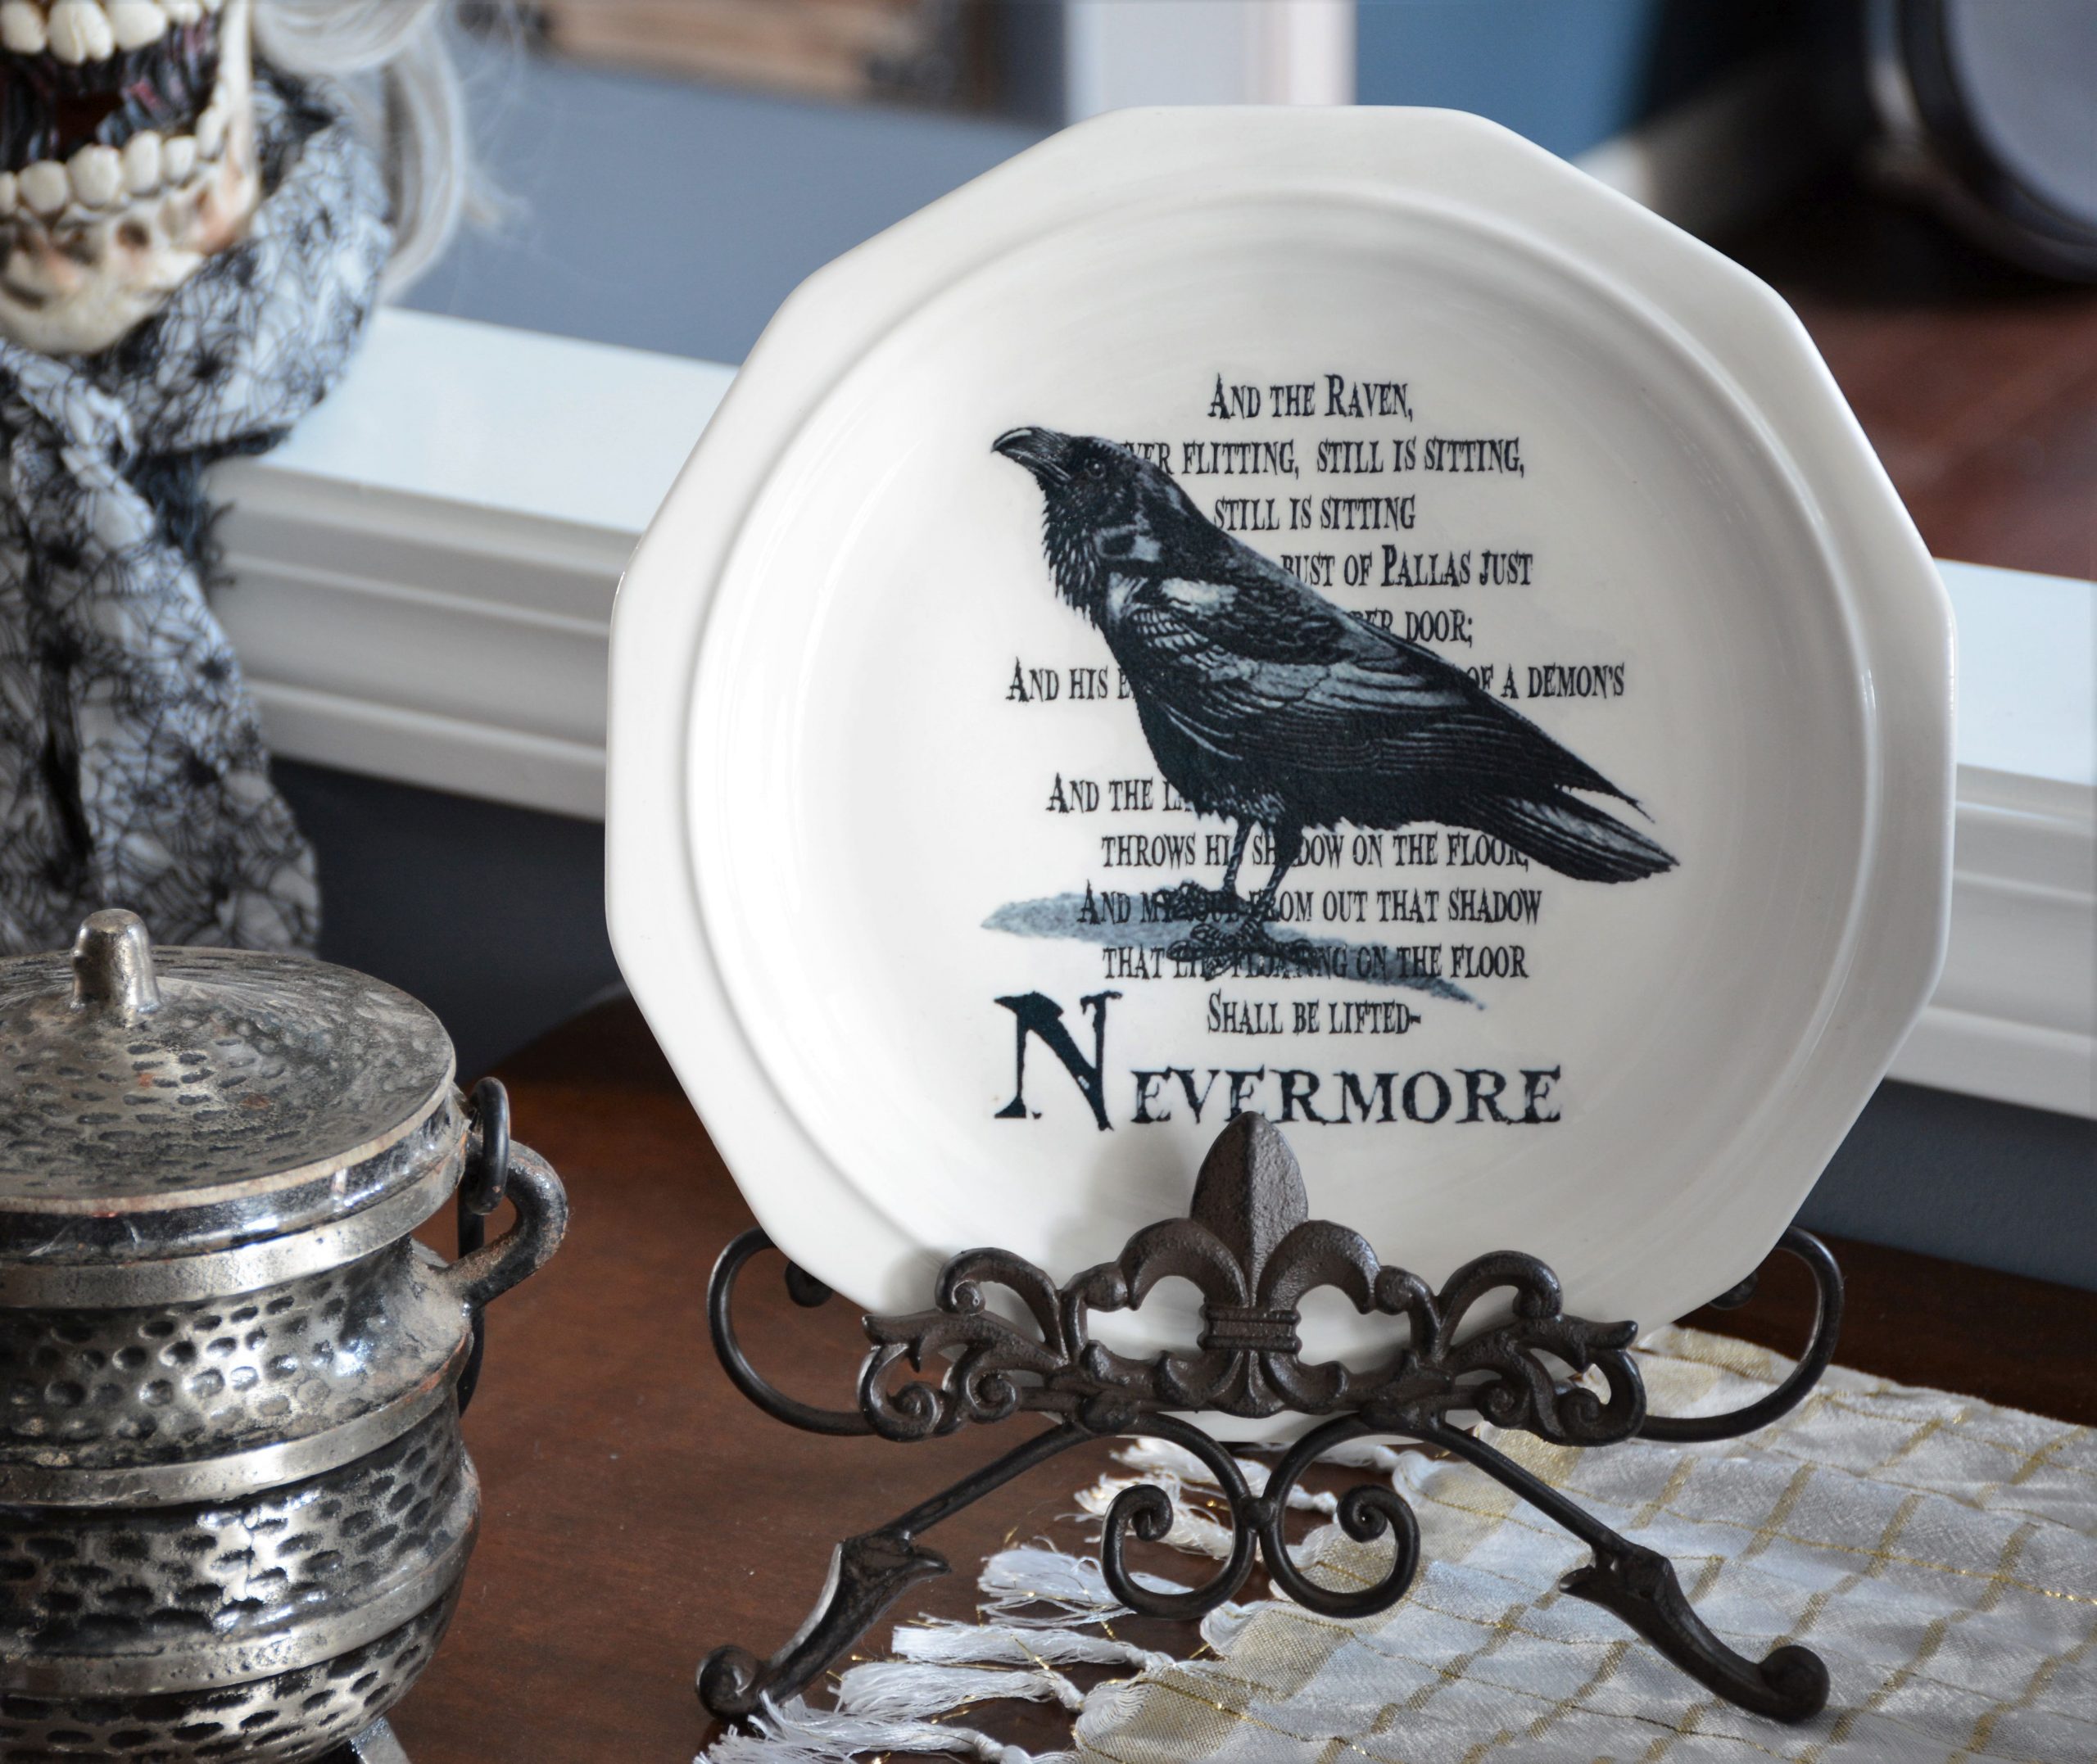
- Dishes Of Darkness: Pottery Barn Inspired Halloween Plates
Vecn’a Muffins & Bakery Tutorial
I started with 7 Dollar Tree terrariums, though we ended up only using 5 of them. My first step was to tape off the small hole. I used packing tape, but any clear tape would work.

The technique I’m going to show you below came after an initial failure. I wanted the foam to be spherical, but when I put Great Stuff on one of the terrariums, it had a tendency to slide down and pool at the bottom. When the foam hardened, I had a lump instead of a spherical orb.
Our solution to this was cling film. By placing the terrarium (let’s switch to calling it a muffin) on a square of cling film and squirting a small amount of foam around the bottom, I would be able to shape it around the bottom half of the sphere. Then when it hardened, I could build upon that base with new foam.
I put just a little Great Stuff around the base.


Then I gathered the corners of the cling film and wrapped the muffin.

I flipped the orb over and used my hands to squeeze the foam down towards the middle.

Then I unwrapped the semi-foamed muffin and set it aside to harden.

I repeated the process with the remaining muffins.

When they had dried, I hot glued two skulls to each muffin. With the fire wreath, I foamed first and stuck skull and bones into the drying foam. With these muffins, I wanted to try a mix of having some skulls already attached and foaming around them and sticking some into the sticky foam.
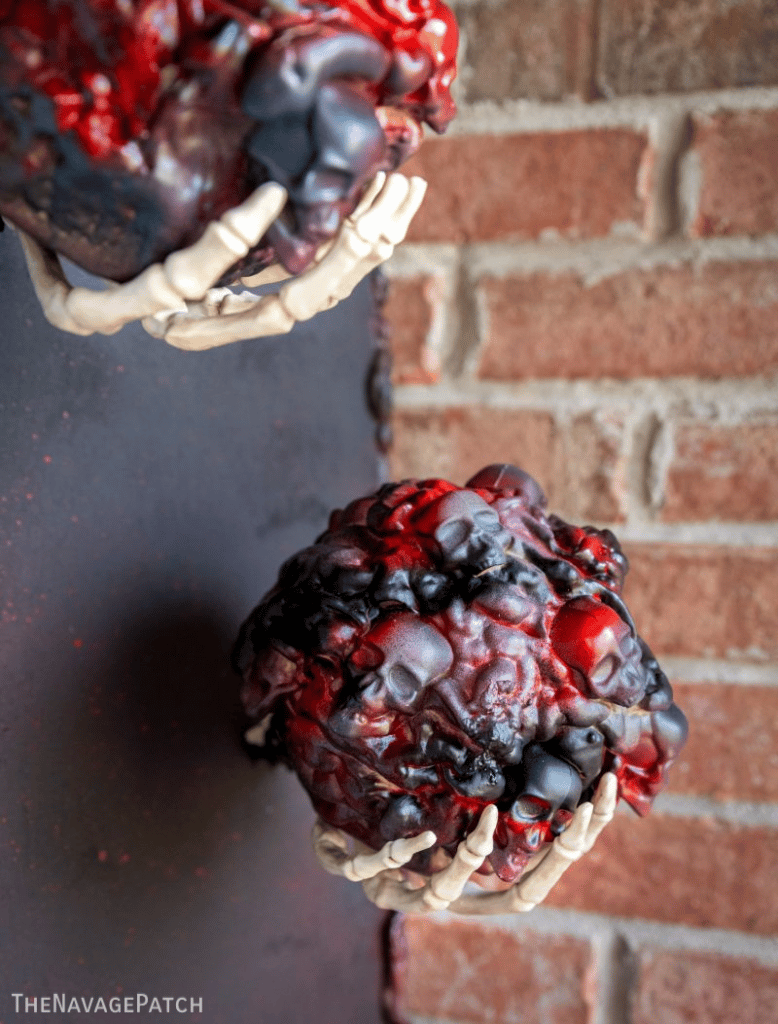
Vecna’s muffins are beloved for their crunchy bits of charred skull, and I knew my in-laws would just love them!

With the bottom half foamed, I was able to work the foam up the orb without it sliding down and collecting at the base.

This part is like putting whipped cream on a bowl of ice cream. Around and around until you reach the top. Just try not to give that final squirt into your mouth like you know you do with the whipped cream. It’s okay. We all do it.

Before the foam hardened, I stuck some more skulls on.

I let the foam cure overnight.

And then I painted them. Here are two unpainted muffins. Good, but not as spicy as the final product!

I painted Vecna’s muffins with the same technique I used for the fire wreath.

Vecna’s muffins go great with beer on a hot day. The cold beer really tames the muffin’s heat!

To light the muffins, I stuffed a wad of battery-operated LED lights in each orb – some orange and some red. These lights have 8 settings, so I was able to make them glow brighter and fade.


That’s a mighty fine-lookin’ muffin!

I had my muffins, but I needed a place to keep them until the hags my in-laws arrived. Hey, I had to DIY the muffins, may as well DIY the whole dang bakery!
I had a scrap piece of 3/4 inch plywood that measured 7 feet by 16 inches little left over from Baris’s DIY Modern Barn Door build, and it was the perfect size my bakery.
I marked 5 groups of two holes. I would drive groups of two screws in from the back and attach the skeleton hands with zip ties to the screws. I marked in from the sides about 3 1/2 inches. The hands are staggered, and I left 8 inches between each one vertically.

I drilled pilot holes.

Then I drove in the screws. 3-inch deck screws are the perfect length.

To make the stabby bits more safe, a covered the screws with hot glue.

Then I sprayed the whole thing matte black. There was no need to paint the top and bottom, as I’d be putting more foam there.

Though the muffins are battery-operated, the top and bottom lights would be plug in. I drilled a hole near the top and bottom to accommodate the cords.

Note: A word about foam and fire. Foam is flammable. There is a risk of fire if your plug-in LED lights are faulty. Plug-in LED lights on their own do not generate enough heat to be a fire risk. The only risk would come from bad wires or faulty lights. We only use brand-new lights, and we test them all first. As with all things in life, there is a risk to this if it’s done with plug-in (electric) LED lights. We are aware of the risk, we take steps to minimized it, and we accept the remaining risk.
If you’re going to use plug-in (electric) LED lights with foam, understand the potential risks and do it at your own risk.
We put 5 lights under the small skulls and 10 under the big one.

I hot glued the skulls in place and then we arranged the rest of the lights around the top of the board, gluing here and there to keep them in place.


For this part of the project, I used Great Stuff Big Gap Filler. It was my first time using it, and then I followed up with a tip we learned on the internet. Thoughts on both in a minute.

The big gap foam is definitely more pillowy.

I ran some foam down the sides for added effect.

And then I tried the thing we learned online: spraying with water to make the foam puff up even more.

And it sure did! Look at those luscious pillows!

Like we did with the fire wreath, we rushed the painting. Don’t rush the painting. It’s going to make more work for you in the end. Just let the foam cure overnight. Or if you foam in the morning, don’t paint until night. More on this in a bit.

Right after painting the top, I installed the hands muffin holders with 2 zip ties per hand.


A little trial run…

Next we laid the bakery back down and finished off the bottom. We decided to skip the skulls and just have lights and foam. I glued them down here and there to hold the layout we wanted.

And then I foamed.

Okay, back to the subject of painting too early, big gap foam and spraying with water. You can see below that the foam continued to move after I painted. Unfortunately, it shrank and shriveled. Now, I know that this is inherent in all the foam – it happened to a lesser extent on the fire wreath as well. But I wonder if the water makes the ensuing shrinkage even worse? I can’t say for sure, and I’ll have to test it to know for certain. But it seems like a case of what does up must come down with this foam.

But this isn’t a bad thing! As long as you wait long enough before painting, the resulting texture after the foam deflates a bit is wayyyy more creepy than the original!

The gap left by the shrinkage was too big just to paint over, so I sprayed on some more foam. When it was still fresh it looked like an intestinal neck pillow – perfect for this project (but it also shrank)!

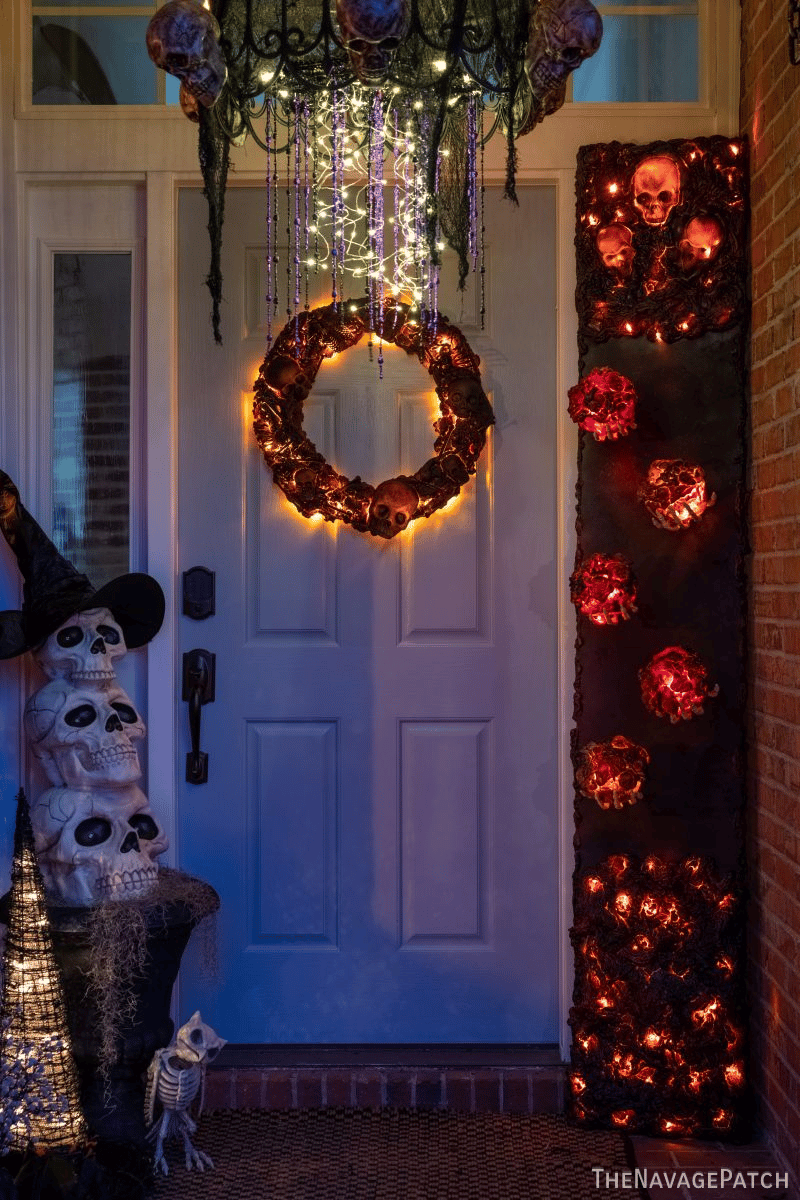
After I hit those repairs with a little gray and black paint, Vecna’s bakery was finished and ready to start serving piping-hot Vecna’s muffins!
First, some day pics.


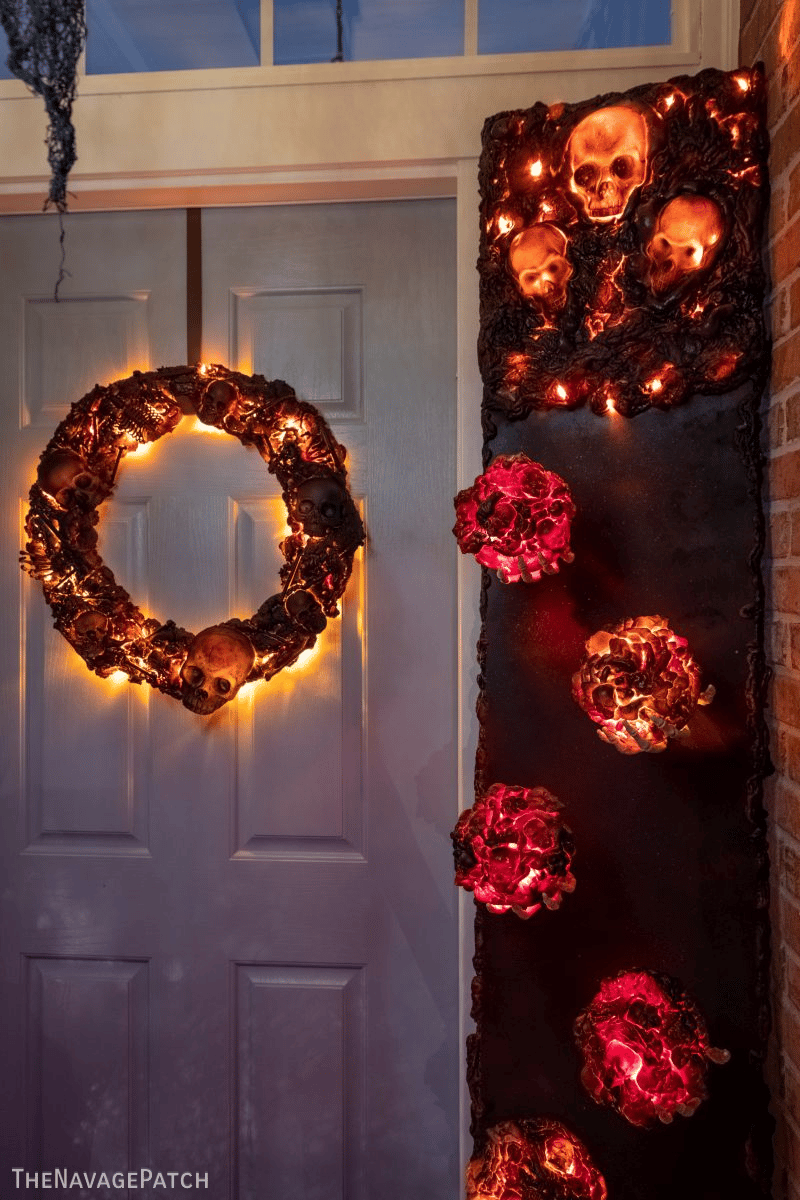
And now, the night shots!


You guys are having way too much fun with the spray foam. These are cool though. I have to try that wreath. I was thinking of making one with fake crows but I like the lava and skulls better.
Laurie, the foam is so much fun to play with! Try it and see! 🙂
Just loooooove it. You guys brains must never sleep to come up with all these great ideas.
No sleep till the New Year! 😀
Oohh…the deflated foam looks kinda like intestines, which is a perfect backdrop for skull-encrusted muffins. That Vecna really knows how to appeal to her audience! Yum!
I know, right? 😀
Oh, this is by far, so creepy good!! You guys have come a long way since the oldy but goody “caged skeletons!” I was thinking intestines as well when I first saw that photo! Maybe Vecna’s Viscera Muffins? 😁
LOL, that’s a great name, Cindy! 😀
Spooky creepy awesome. I just love that glowy lava effect. Great stuff foam is used a lot in cosplay and in various other hobbies I’m in, and I’ve seen people sort of…push it back a bit before it dries and it both stops it from deflating so much, and makes it less lumpy (if you don’t want it lumpy or for it to only fill a certain area). You basically let a skin harden on top (hilarious turn of phrase in this circumstance) and then shove it back into place like it’s been bad. It will still keep puffing up a bit so it won’t just be concave once you’re done, but it won’t be quite so voluminous. You can also take a razor to it and cut stuff out or back where you want or need. …I have weird hobbies, but I’m saying this to someone who has a bulk order of skulls, so ¯\_(ツ)_/¯
That’s good info, Jay. Cosplayers can really push the envelope sometimes – I’ve seen some pretty amazing work! Have you worked with foam much?
The only time I actually used the spray foam was to fill a prop. You make two sides, fill with the spray foam, and then stick them together. Makes it lightweight but durable because the foam sets in the middle. As for foam-foam I mostly used EVA foam and on a couple horrible occasions, polystyrene. EVA foam is fantastic and comes in all kinds of weights. You can do some amazing things with it but it stays lightweight. I made a giant donut out of polystyrene and cutting it out was an absolute nightmare because all I had was a carving knife. And it goes everywhere. It looked like it had snowed. Many miniature and diorama builders also use insulation foam (it comes in big purple or blue sheets?) because it’s easy to cut and is very sturdy. There’s also all kinds of finishes you can put on the foam, all kinds of sealers or paints. If you have a specific question I should be able to help out 😁 You know my email!