
DIY Terracotta Pumpkins (Pottery Barn Dupe)
Learn how to make these DIY terracotta pumpkins using Dollar Tree pumpkins for a simple & gorgeous Pottery Barn dupe!
You can’t flip open a smartphone these days without running across them. They’re pretty much everywhere, and every smiling Suzy Sawhorse on Instagram and Debbie Do It on TikTok is making them and proclaiming them to be “just the cutest thing EVER!” In fact, (they’re quick to inform) they’re also “super easy, super fun, super cheap,” and pretty much all-around SUPER! And would you believe that each and every one of them was just “so excited to share this with you?”
Well, madam, something this monumentally super deserves a glance from Handan and me here at the little old Navage Patch.
I’m talking, of course, about those Pottery Barn terracotta pumpkins that have half the internet all hot and bothered and the other half scratching their heads wondering what the big fu@%in’ deal is.

In case you’ve been vacationing on the dark side of the moon for the past month, these are the pumpkins that started the all the fuss.

You should all know by now how much my babes loves a good dupe, and these terracotta pumpkins were easy prey.
We’re generally not trend-jumpers, but this one was just too easy not to share, because it’s pretty amazing how good you can make a Dollar Tree pumpkin look (or any other plastic pumpkin) with just a few simple ingredients.
DIY Terracotta Pumpkin SUPPLIES LIST
Affiliate links are provided below. Full disclosure here.
- Chip Brushes
- Plastic pumpkins or Jack-O-Lanterns
- Orange matte paint (Behr color code given in post)
- Pale yellow matte paint (Behr color code given in post)
- Baking Soda
- Flour
- Spray fixatif
We love to see our DIY Halloween decor out in the wild! If you make this Halloween DIY decor for your home, take a picture or video and post it on Instagram, be sure to tag us – thenavagepatch
More Easy DIY Halloween Decor Ideas
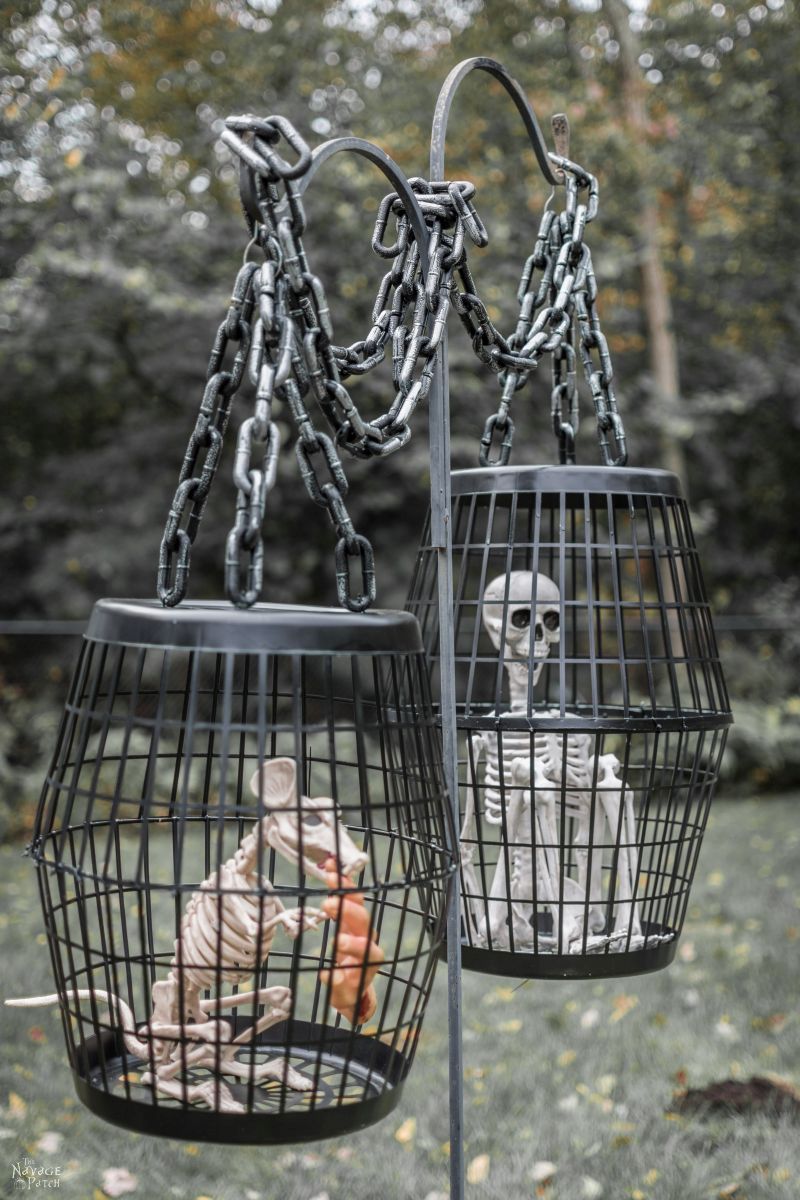


- Hanging Cage Halloween Prop
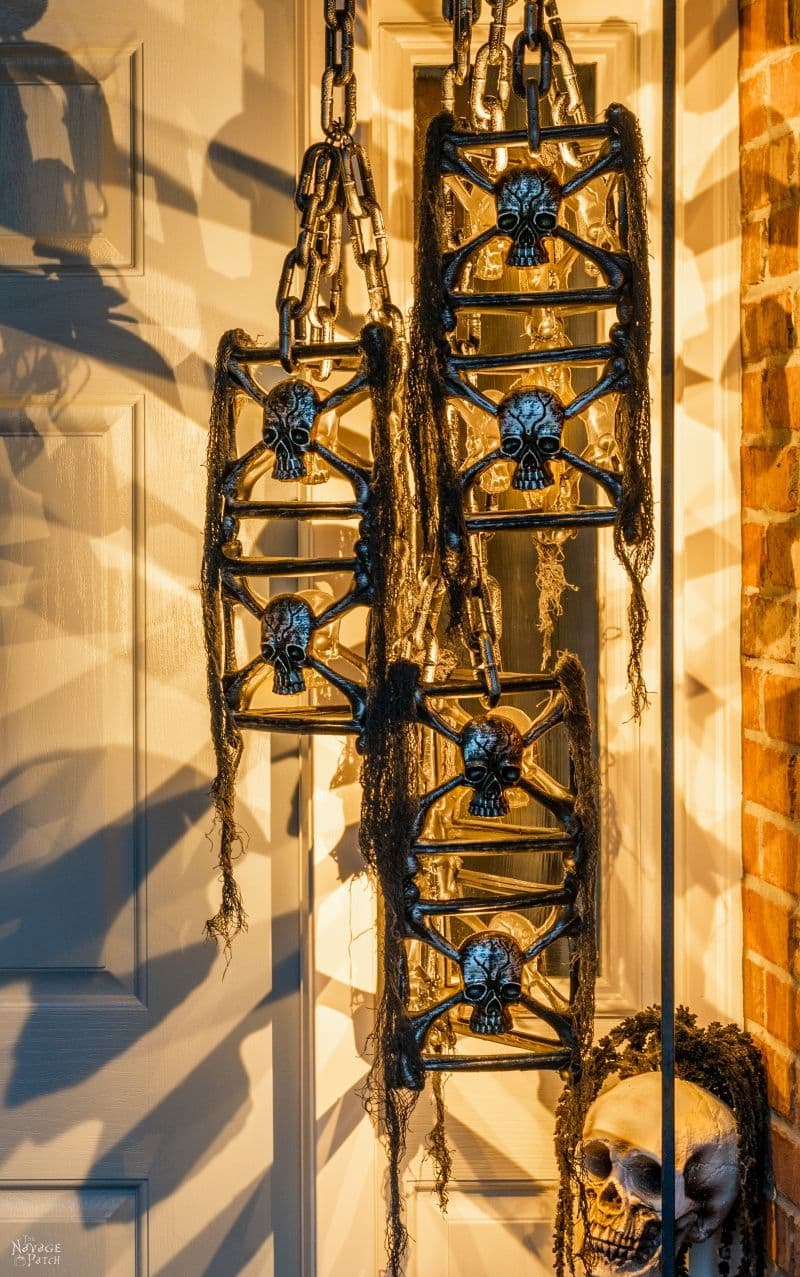
- DIY Dollar Tree Halloween Lights
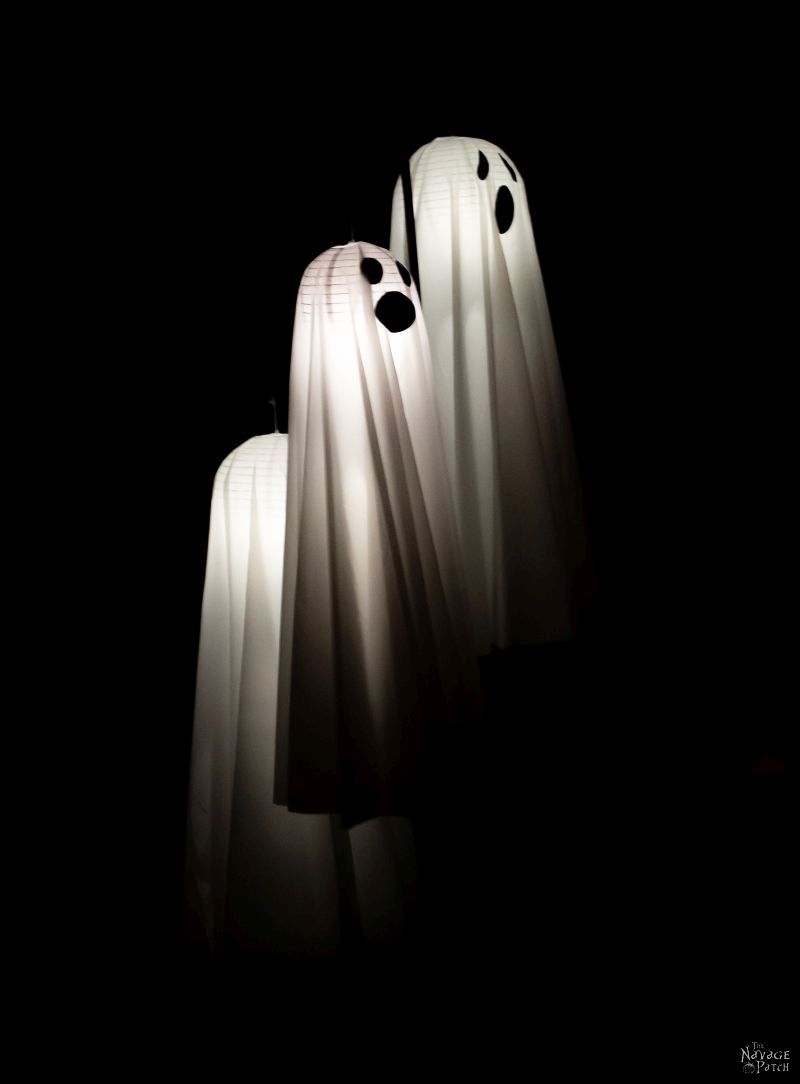
- Easy Lighted Hanging Ghosts (A Dollar Store DIY)
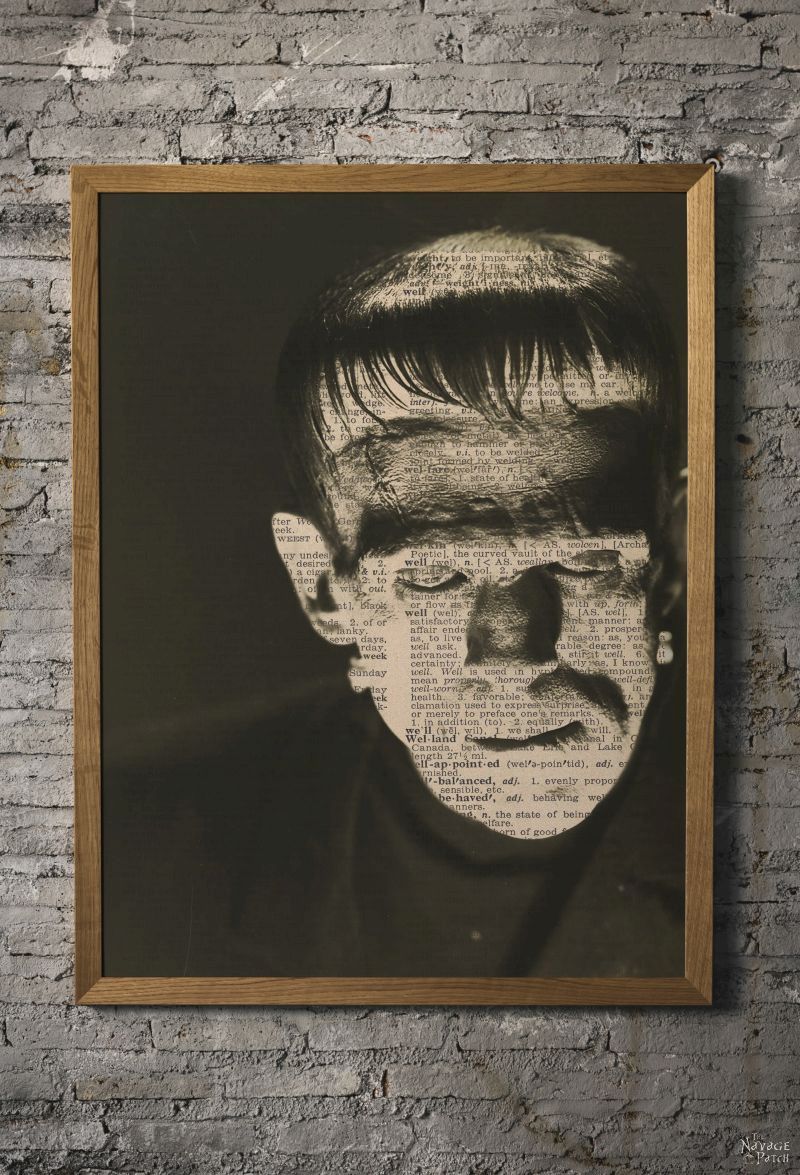
- Free Vintage Movie Monster Printables
- DIY Halloween Fire Wreath
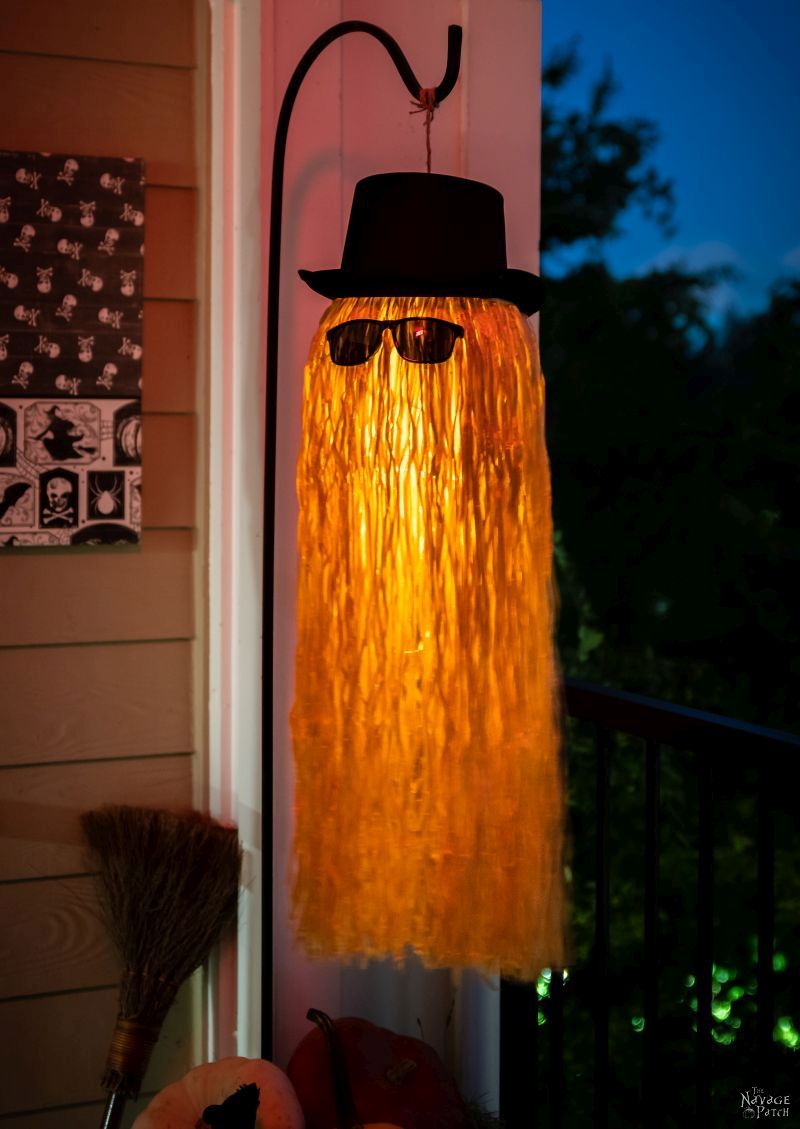
- DIY Cousin Itt Pathway Light
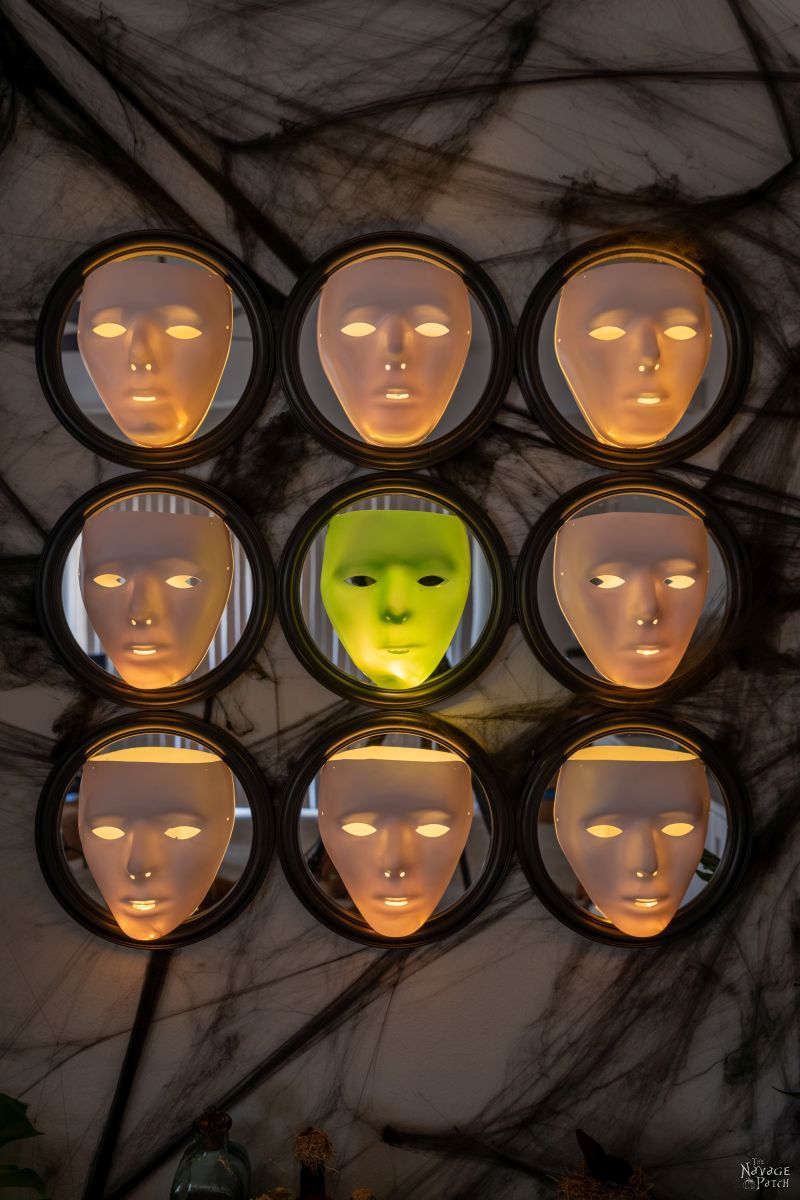
- Gallery Of The Faceless – Easy Halloween Wall Decor
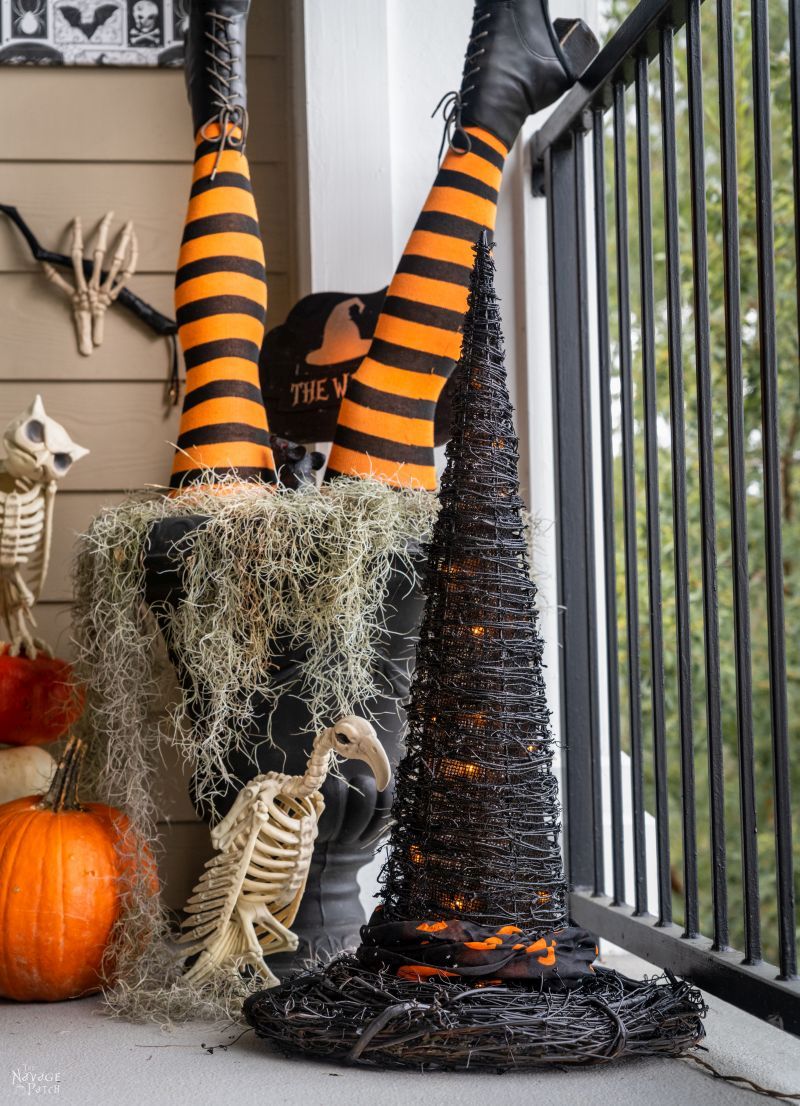
- DIY Lighted Witch Hat (Grandin Road Inspired)
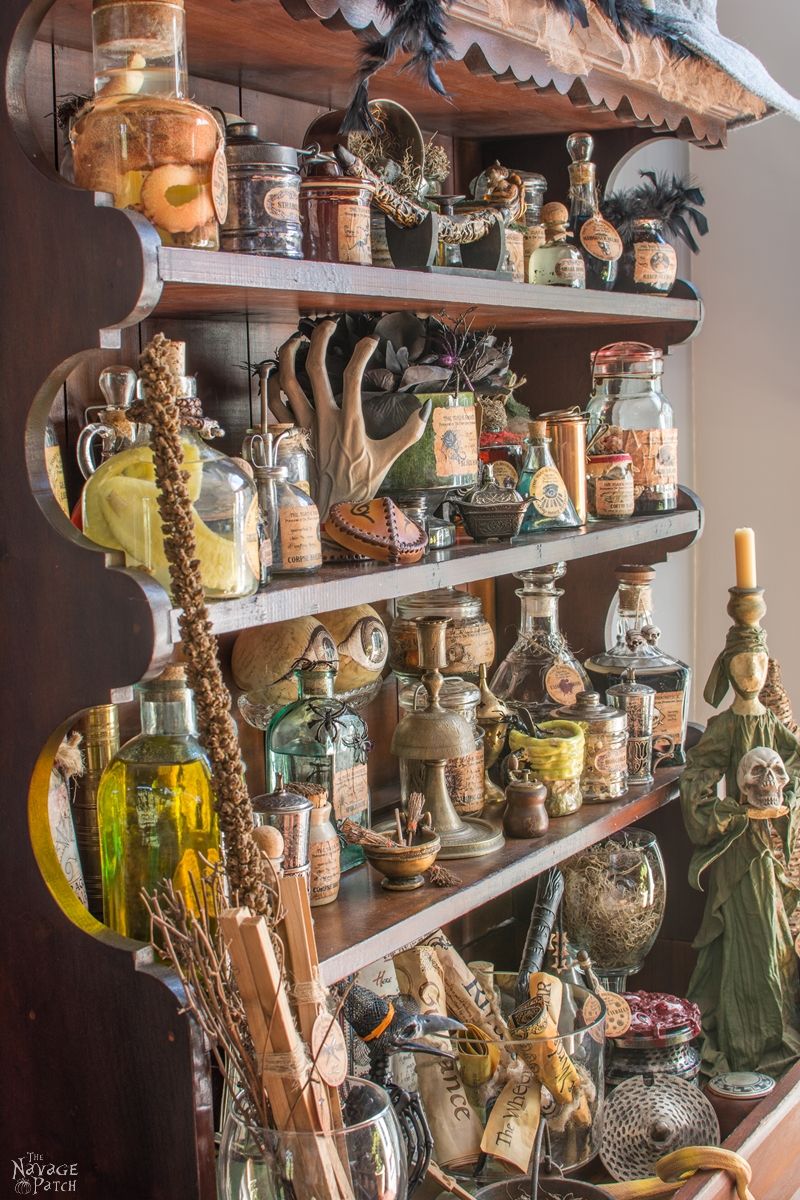
- Apothecary Jars And Free Printable Labels
- Free Vintage Witch Printables
- DIY Witch Legs (Grandin Road Inspired)
- Dishes Of Darkness: Pottery Barn Inspired Halloween Plates
DIY Terracotta Pumpkin Tutorial
Step 1 – Mix up the perfect paint
My babes spent hours in the lab reverse engineering the exact color used by Pottery Barn, and she nailed it right on its pale pumpkin head!
If you want your pumpkins to have the perfect sun-kissed terracotta look of the Pottery Barn originals, you’ll need to head to your nearest Home Depot with the following two paint codes:
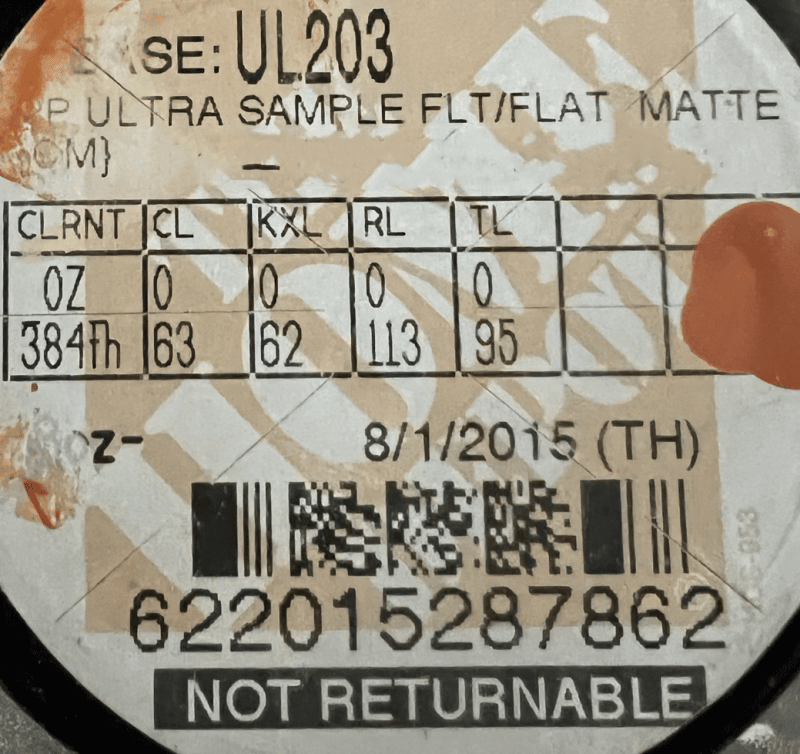
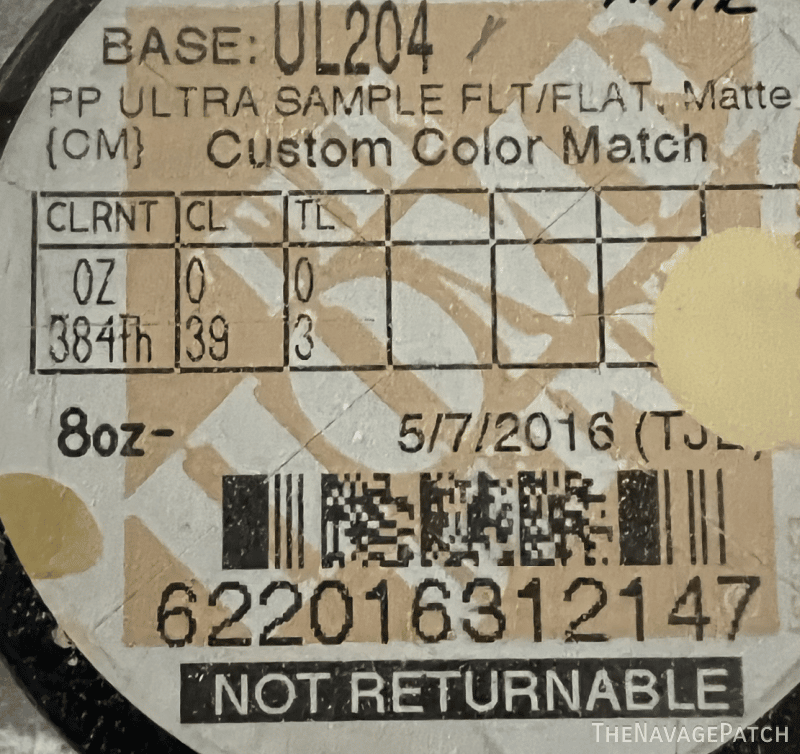
Mix the colors using 1.5 parts orange for every 1 part yellow.
Stir in baking soda until you have a thick paint. For more on this baking soda painting technique, please see my Faux Stone Vase post and my Faux Stone Pedestal Tray posts.
The difference in painting technique is that here I brushed long vertical strokes with the thickened paint instead of stabbing the brush to get a rough stone look.
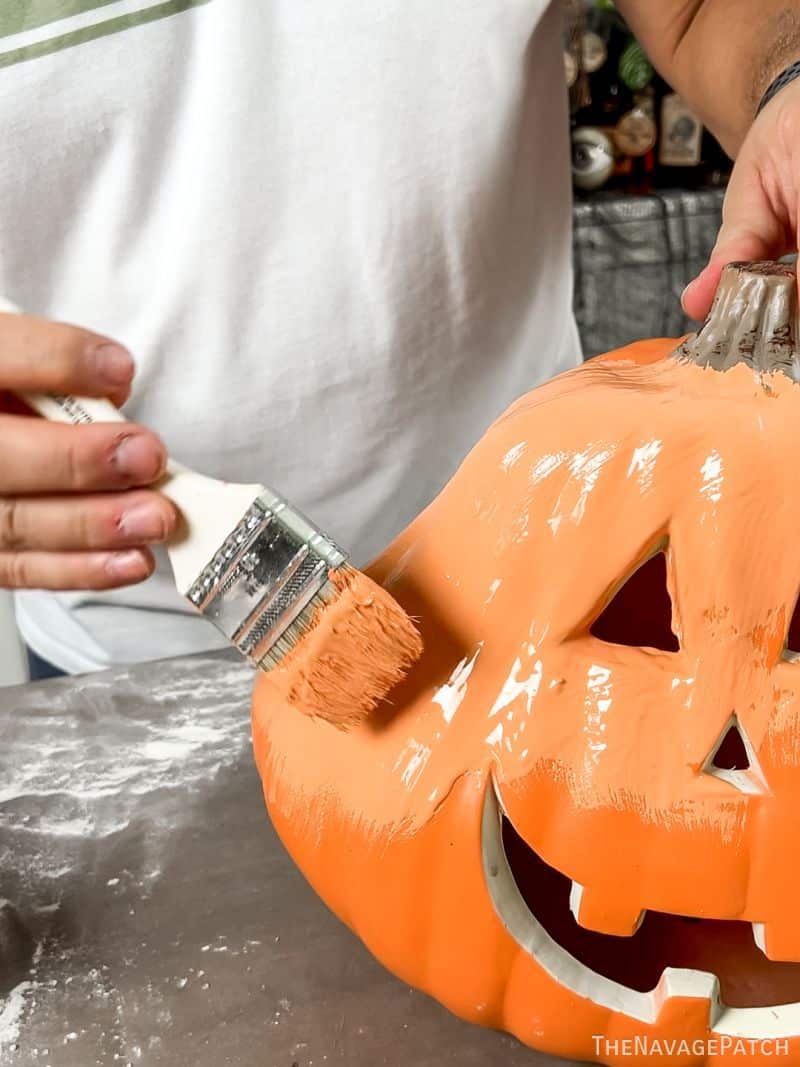
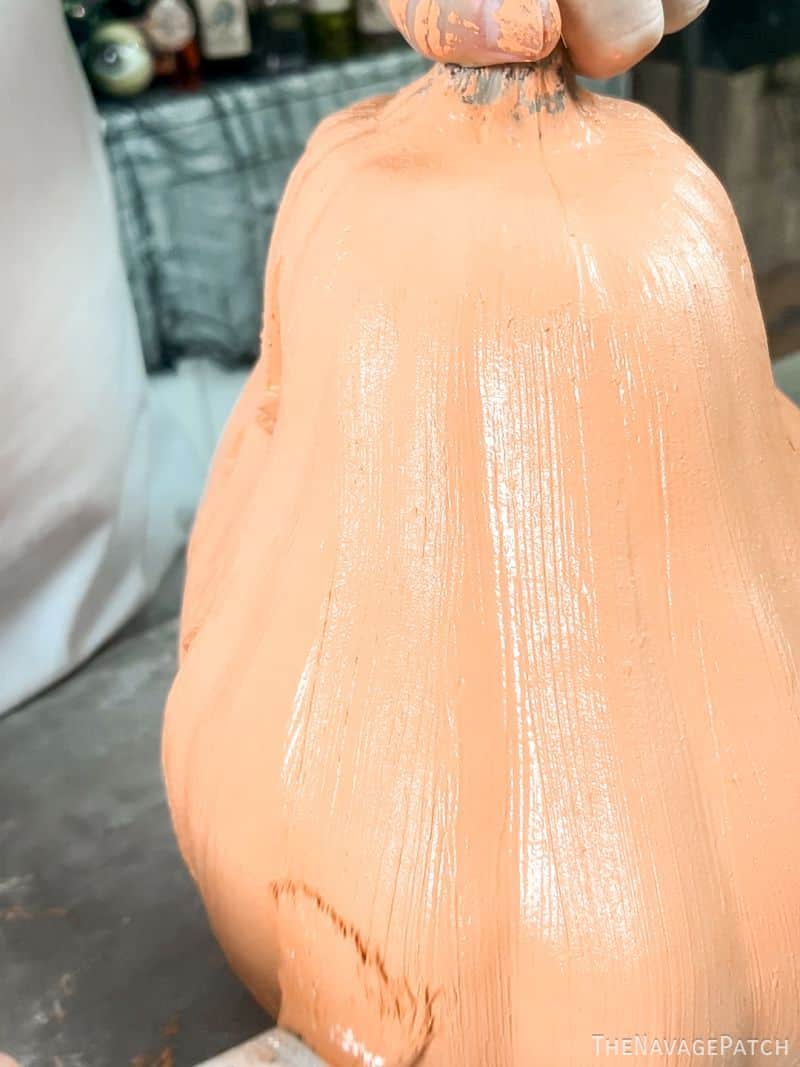
Step 2 – Paint!
This part is easy peasy pumpkin squeezy – just glop that sh!t on there and start brushing up and down!
I’ll be showing you how to make terracotta pumpkins with this lumpy fellow from Lowe’s. We also terracottafied pumpkins from Dollar Tree and a candy pail from Walmart.
Before we begin, I’d like to take you behind the scenes of a Navage Patch craft video shoot for a moment. My camera(wo)man is also the director, coach, kibbitzer-in-chief and stylist of The Talent (aka Yours Sufferingly).

Shortly after starting this shoot, the stylist decided my hair was just too cockatiel, so she fixed it on the fly…all while filming.
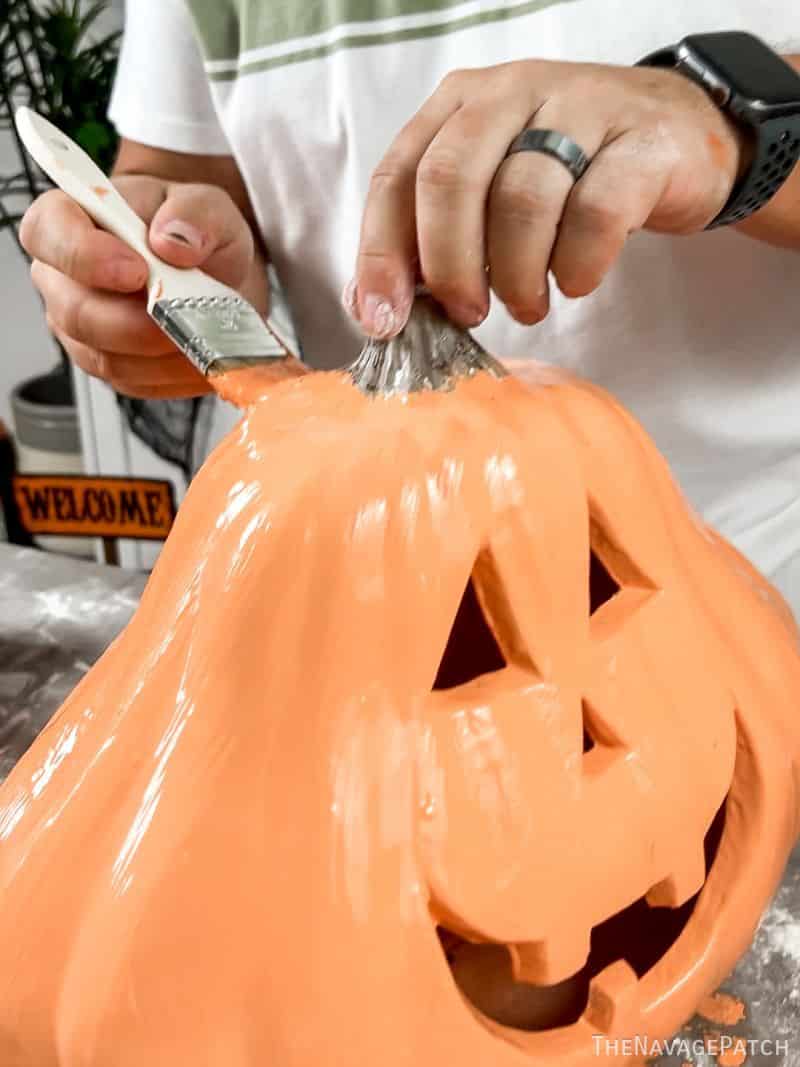
With my hair now fully-functioning, I got back to the matter at hand – painting my pumpkin. I slapped the paint on thick and brushed up and down.
By the way, if you want this exact pumpkin, you can find him here. Act fast, because they will run out!
Even though I thickened the paint, it still would want to level itself if left unattended.
After coating the entire pumpkin, I let it sit for a few minutes (how long you let it rest depends on how thick you made it, temperature, humidity, nearby fans, etc), and then I went back and continued the with the vertical brush strokes.
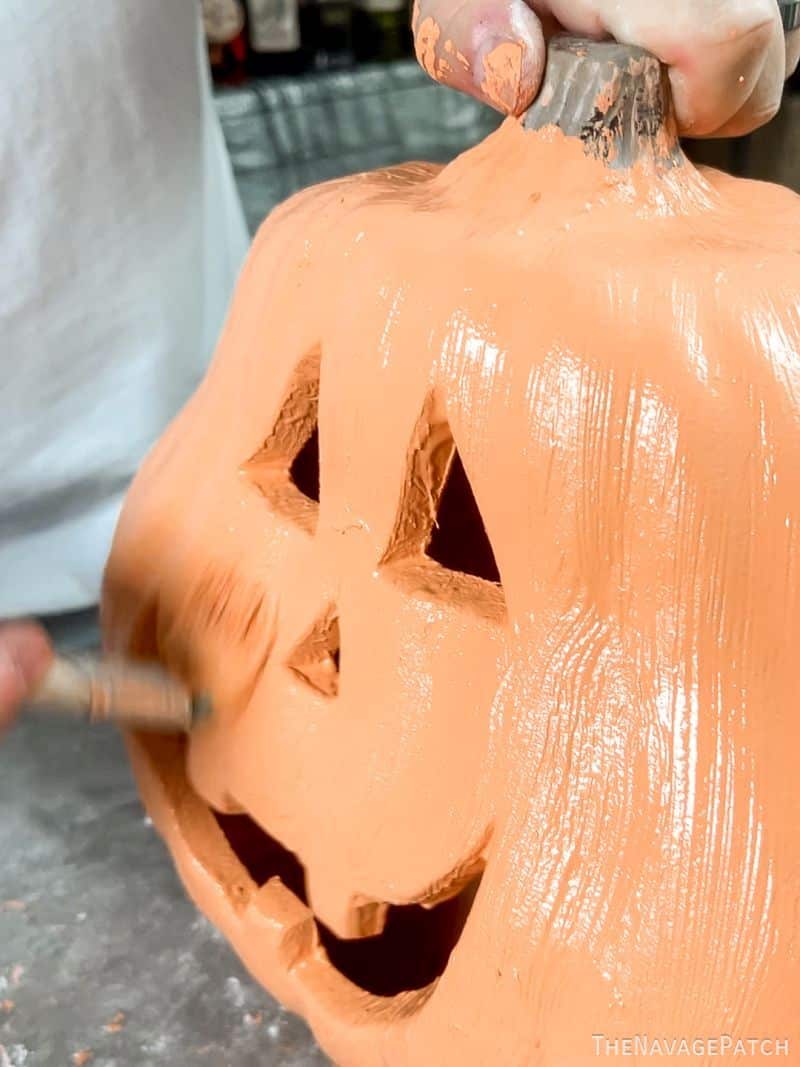
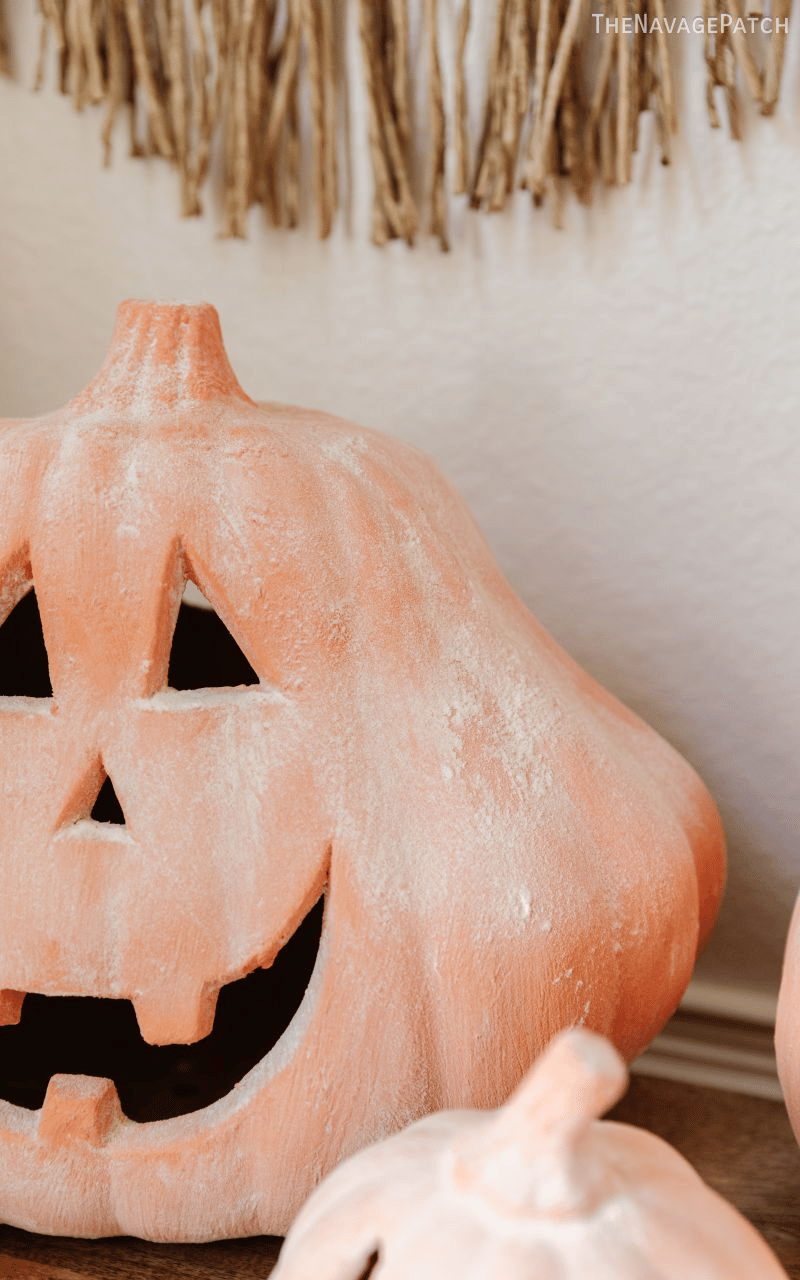
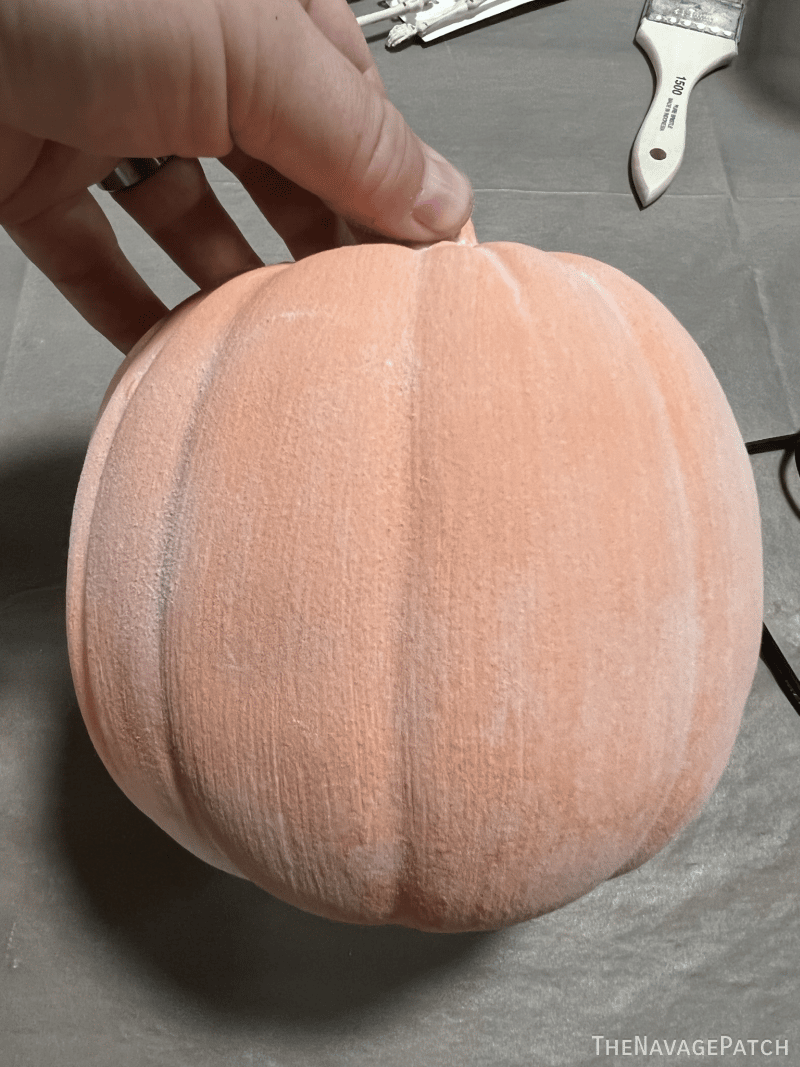
As the paint starts to dry, the brush strokes will remain and add beautiful texture to your terracotta pumpkin.
Step 3 – Add flour
After reaching the texture I wanted, the paint was already getting dry. This is the perfect time to add flour. Yes, flour. First person to make a pumpkin bread joke gets 50 lashes with a wet noodle.
I sprinkled a couple of handfuls over the top and around the sides.
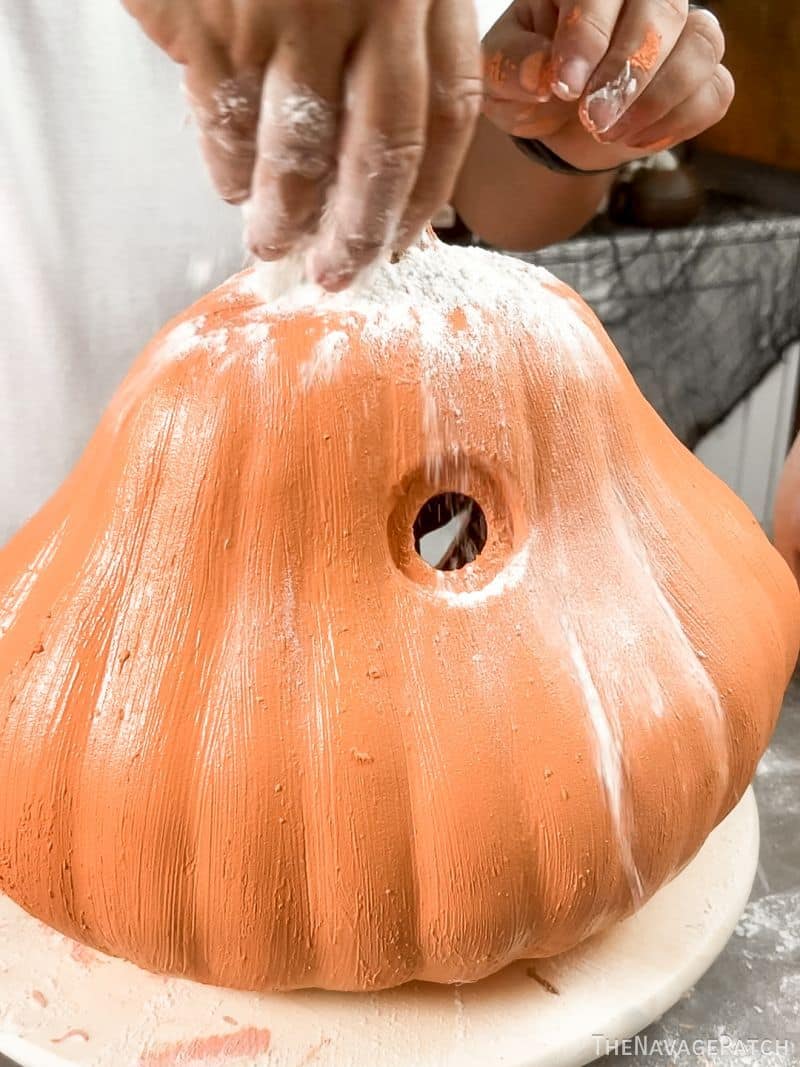
Then I brushed it lightly with a clean chip brush.
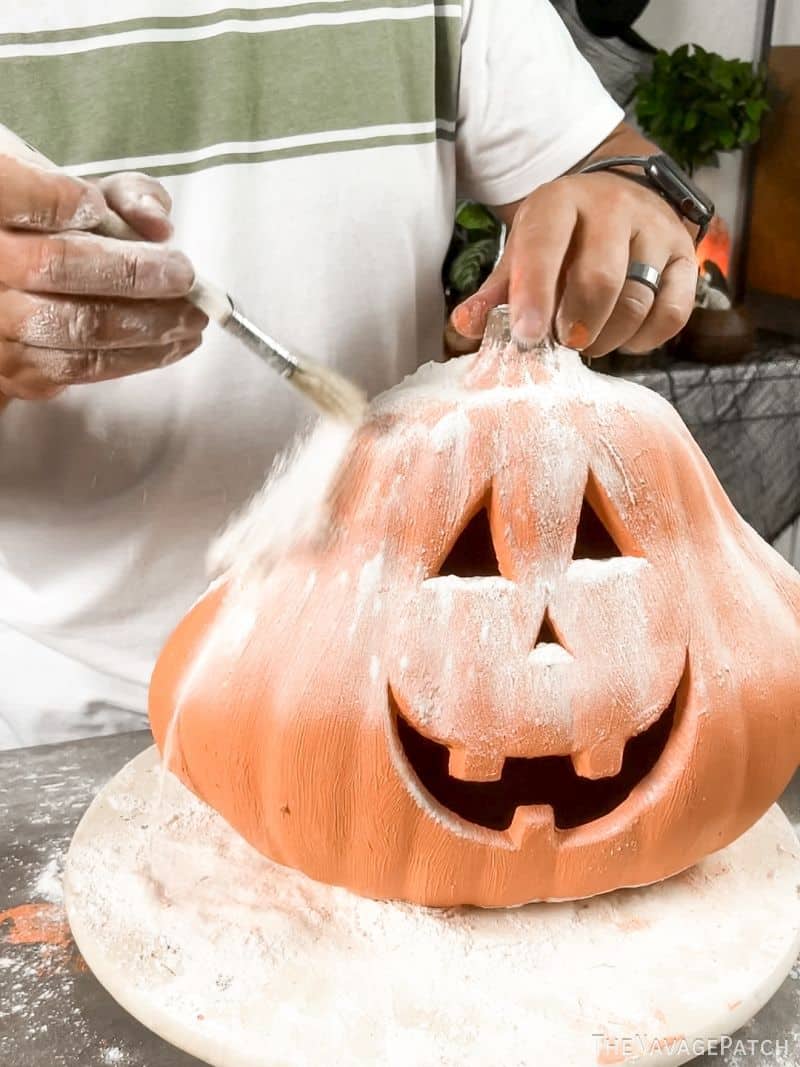
To get flour onto the bottom half, I flipped up the excess on the lazy susan with the brush.
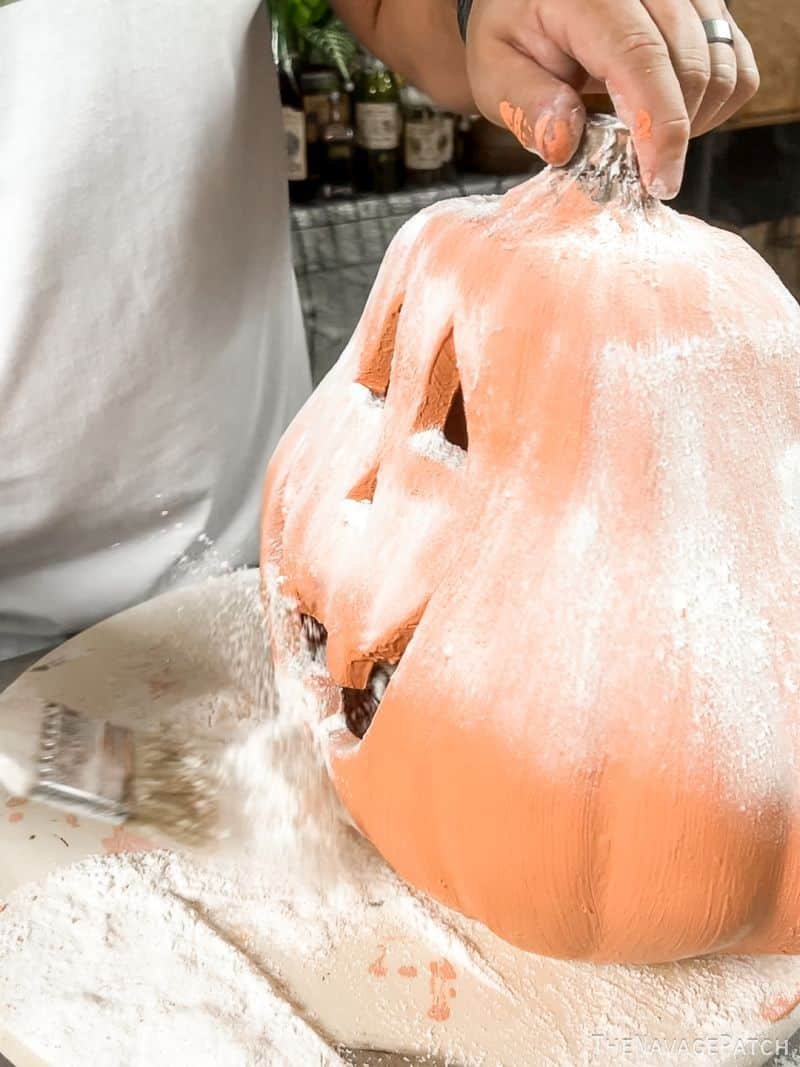
How much flour you brush off or leave on is up to you, but we think they look best with most brushed off – that still leaves you with a beautiful faux terracotta pumpkin. But we also liked the look of having some heavier-floured areas on some pumpkins.
Now, with all this flour, we’re going to need to seal it in, otherwise it’s going to rub off with every touch.
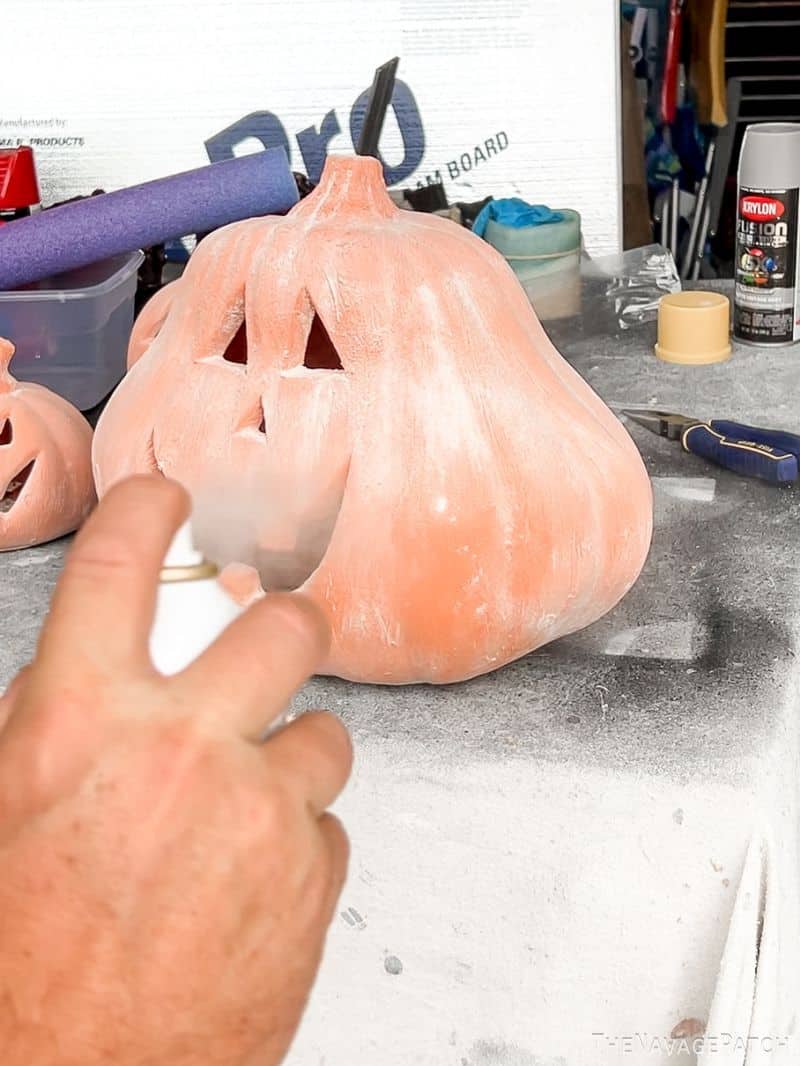
Step 4 – Seal (sorta)
Okay, first the truth. Anyone out there claiming they sealed it with clear matte acrylic sealer is completely full of sh!t. We tried it, and the sealer entirely erases the flour. Entirely.
Fortunately, we never throw things away, so I had some fixatif left over from my art days back in the mid 90s. Fixatif is meant to be sprayed on charcoal, pencil and pastel drawings. It sets those media in place so an errant brush with a hand or piece of clothing won’t smudge, smear or send half the artwork spilling off the page. It sets, but it does so gently, so that the drawing can be re-worked at a later date, if needed. Fixatif is not nearly as strong as acrylic sealant, but it did the trick for these terracotta pumpkins.
I gave each pumpkin a couple of light coats of fixatif, and I gave the ones with heavier areas of flour a couple more coats after that. Fixatif dries quickly, and I was able to recoat after a few minutes.
Now, smart madams such as yourself are probably thinking, “but couldn’t you use acrylic sealer after the fixatif? That would work, wouldn’t it?” It is an excellent question and one we thought of and tested ourselves. Unfortunately, the results were sub-optimal for both Rustoleum matte acrylic sealant and Mod Podge matte acrylic sealant.
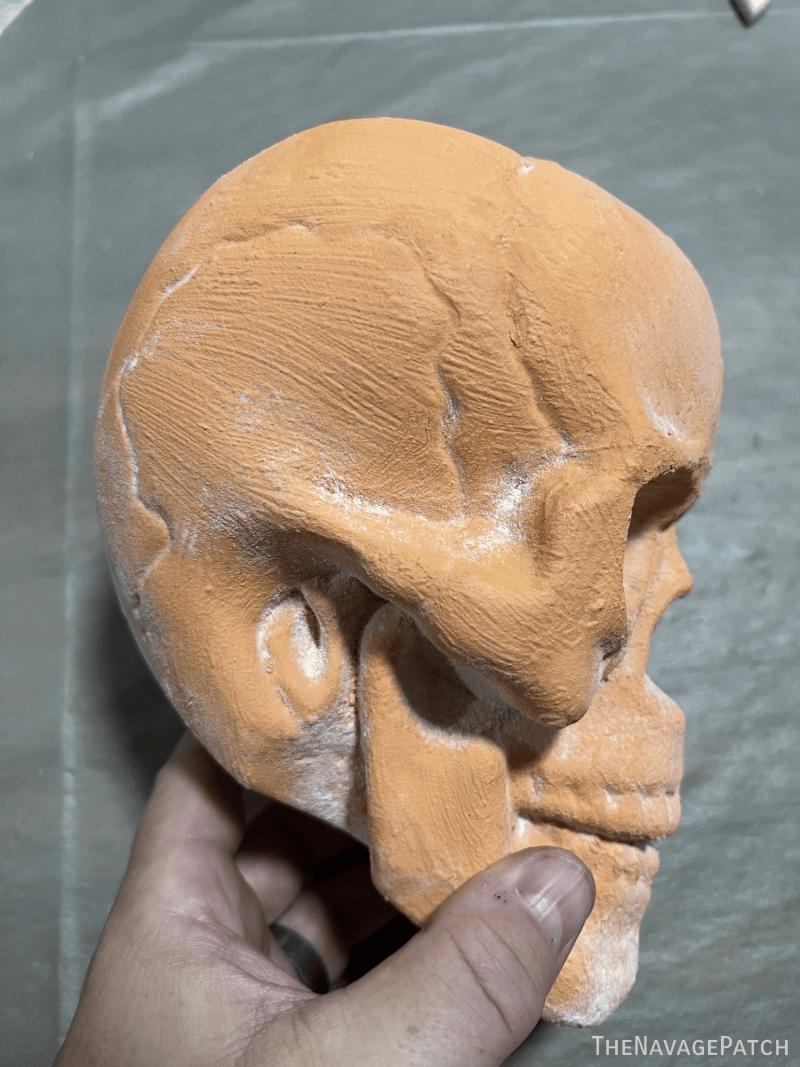
First, the Rustoleum. After fixatif, I sprayed half of this skull with Rustoleum. Here is the unsprayed side:
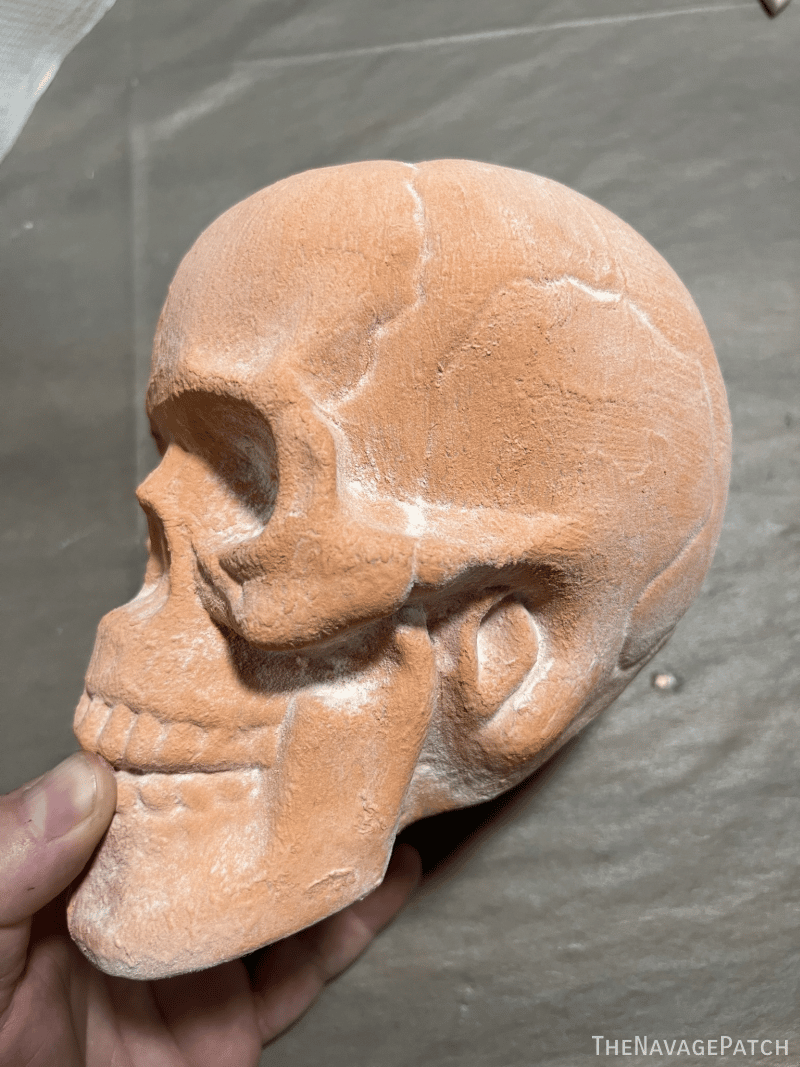
And the sprayed side. Only the thickest areas of flour remain.
And here’s the Mod Podge acrylic sealant. First the unsprayed side:
And the sprayed side:

Final thoughts on sealant. Fixatif is best, and I like it on its own. But if I had to follow up with a traditional acrylic sealant, I’d go with Mod Podge – it seemed to leave more flour than Rustoleum.
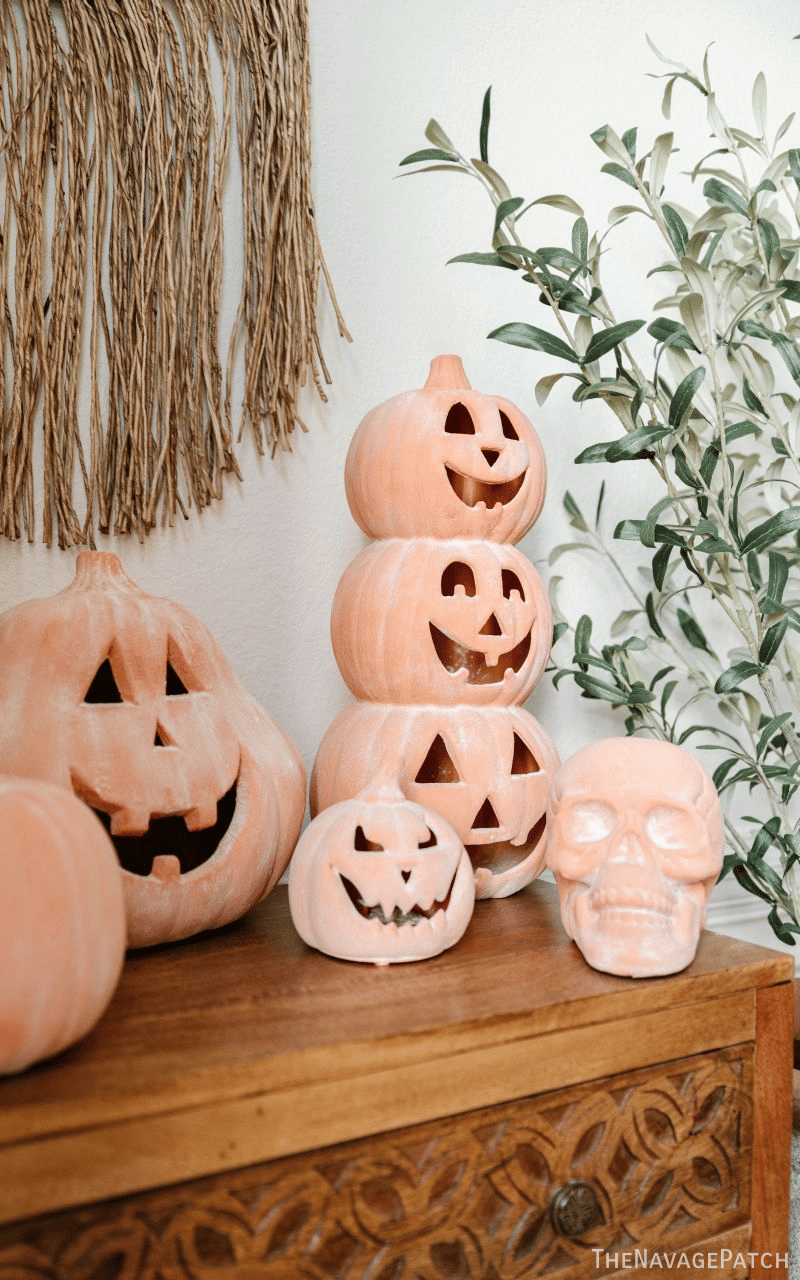
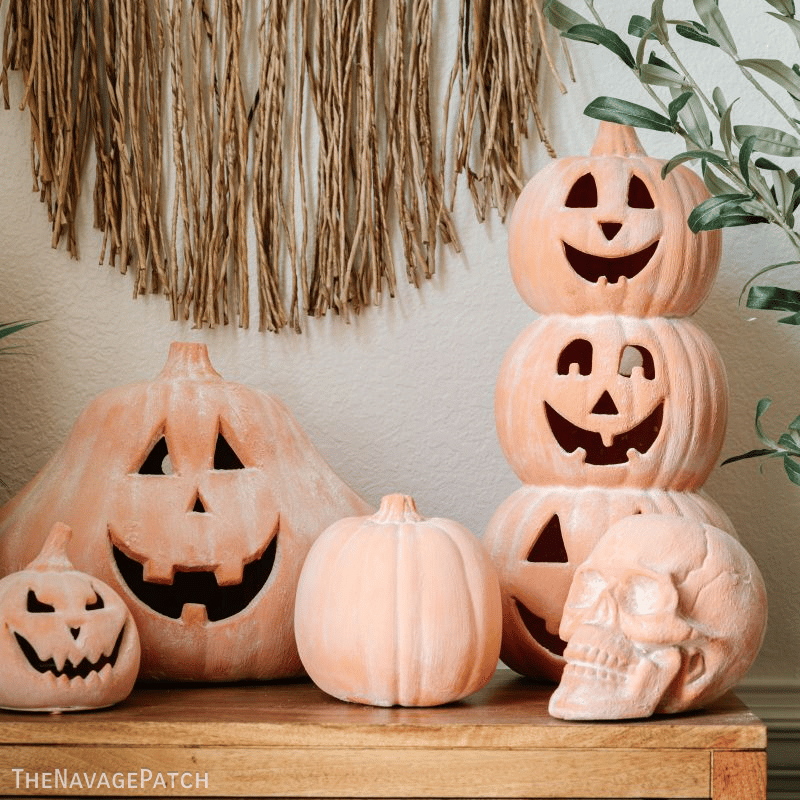
Okay, enough blabbing, let’s get on with the beauty shots!


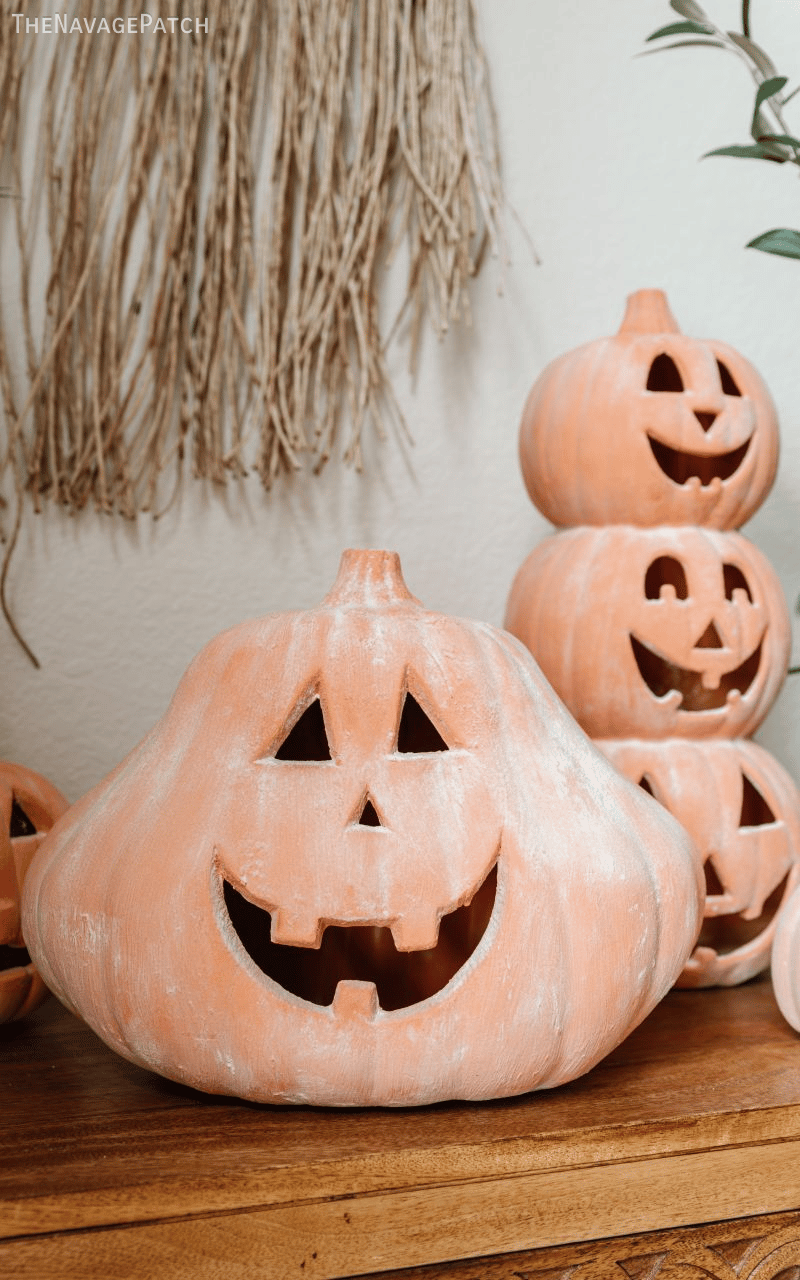
Just look that incredible texture! Unless you’re holding it in your hands, you wouldn’t guess these are faux terracotta.


Brilliant as always!!
Thank you, Deb! 🙂
This is a great idea! Any you did a great job! Can I ask where you got the large pumpkin? I love the shape!
Thanks
Thanks, Nancy, we got that guy here.
You guys always go 1 step further than I would have thought of. You took a skull and terra coated it. What’s next, terra coated spiders and snakes??? Great job as usual.
That’s not a bad idea, Mona! 😀
Here’s me — over here, scratching my head (in the second group of readers) yeah, I don’t get it. And flour ?? Mmmmm no. However, you two are the BEST Dupers, in which case it’s safe to call you and Handan Super Dupers…. That’s worthy of the 50 wet noodle lashes, but now that you mention it, pumpkin bread sounds pretty good….. you lovin’ Florida ?? Still not sayin’ ya’ll. 🧡
LOLOLOL! Loving Florida, Cheryl, and though I’m swimming in y’alls, I still haven’t give in…yet.
I should have clarified my “ya’ll” comment…..if it slips out, which happens on occasion (like a vile curse word) I pretend like it didn’t….just move on quickly….however, more dangerous than “ya’ll” (which, let’s face it, those aforementioned “Suzy &Debbie” influencers have mainstreamed “ya’ll” into a nationwide colloquialism) is the “fix-in to” — BEWARE of the “fix-in to” it can slide right in without fanfare….when I talk to my New England peeps, they brutally point out my unintended south of the Mason Dixon line conversion….and it’s wicked embarrassing. God Save The King. 🤍🤍. PS. I do love the SKULLyou created. 🤍🤍🤍
Oh man, you’re right about the mainstreaming of y’all! I think it’s a prerequisite for Influencers, lol!
After shopping every $ tree within a mapquest distance to find the gnome garland ghost and hat, I’m just going to ask “Where did you find your pumpkins to “jack” up? and the skull. Half of the success is the shapes of the pumpkins, don’t you agree? Thanks for all the great ideas.
cecelia
Good question, Cecelia! Okay, the one that everyone is asking about is here. The others are a combination of Walmart and Dollar Tree! 🙂
What about the 3 stacked pumpkins? Did you attach those together or buy them like that? Thanks for all the ideas! You guys are great at DIY!
Hi Schel, we bought them like that!
Yup, that’s the one. Thank you for sharing all the stuff you and Handan come up with.
Did you just get the big lumpy one from Lowe’s recently? I just love him. I mean the pumpkin of course.
Yes we did, Pamela! 🙂
Not really into the Terra cotta look (or feel for that matter) but that setup looks really good! No one will ever know. 😉😉 As Nancy said, please do tell where you got that large, wonky pumpkin! Inquiring minds want to know!
Thank you, Cindy Lee! We got that lumpy pumpkin here!
Nicely done! Makes me want to go shopping. Again. Sigh.
Have you made a haunted house out of a doll house? If not, I would like to see you do one. I have a Barbie Dream House that I just started working on. Would love to see what you do with one.
Thanks, Lyn! I’d love to do a dollhouse, but that will have to wait until we settle our real house, lol!
Love them! That technique opens the door to so many possibilities. What about this bowl? https://westelm.e54b.net/c/490947/267856/4336?subId1=HGTV–&u=https%3A%2F%2Fwww.westelm.com%2Fproducts%2Fskull-candy-bowl-d12003%2F%3Fpkey%3Dchalloween&subId3=xid:fr1662772966177hhj
Thank you and keep doing your magic.
Trish
LOL, so funny you send that link! We made a smaller version last week, and we started on the full-size version last night!
Absolutely obsessed. Forcing my sisters-in-law to come over and have a pre-Halloween party and make these. Do you think I could use a foam pumpkin? Or should I stick with plastic?
It should work just fin on foam, Mari. The thick paint will hide the “foam” look. Have fun!
Can’t wait! Found tons of good pumpkins and Jack-o-lanterns. Also found a little dollar tree skeleton that I’m going to attempt! I’ll show you a picture of it in the wild 😂
I just looked at this post this morning. Fabulous job as always. Wanted to let you know the link in my email sent me to the chandelier post, which was awesome too. Thanks for all the creative ideas you throw our way!
Sorry let me clarify. When I clicked on the “read more” part, it sent me to the chandelier post. That’s what I usually do. The link that says “click here to read the blog post” does send you to the pumpkin post. Sorry for the confusion. Really do appreciate all the hard work you guys put into your blog.
Yes, it seems I put the wrong link in there! Argh! Oh well, I hope everyone figured it out, lol!
Got a question…..First, I love this craft, heck, I love ALL your crafts…but….worried about using flour for the simple reason BUGS! When in storage, wouldn’t certain bugs be attracted to the flour? I live in SE Oklahoma (aka: Bug Capital of The World! No, seriously!! We have a zillion bugs at any given time! Terrible!) So, do you think something like Plaster of Paris would work or chalk dust maybe???
Yes, Sheila, P of P or chalk could work as an alternative. But since the flour is set with fixatif, I don’t think it would be a problem for bugs. But if it is a concern, then by all means use an alternative. Better safe than sorry!
Do I just need to show the picture of paint colors to the Home Depot paint person?
Yes, Shari, he’ll punch those codes into their mixing machine and you’ll be all set!
Love these! Actually have some I bought many years ago that were from a Dollar Tree type store. I didn’t have to do anything to them (probably from the late 90s or early 2000s). They’re a little lighter in color than yours, but if I make more I will definitely use your technique. As a graphic design major in college Fixatif was always around ready for use. I still keep a can around to this day. It can’t be beat for many craft applications. I do a lot of paper crafts and it’s great for “setting” the ink on printables I want to cover with Mod Podge without them bleeding excessively. Great stuff!
Ah, another fixatif fan! I’m happy to hear someone else knows about it too, Gail. I’ve been carrying those cans around for decades!
Just slop that sh%t on…you crack me up!!
They all look amazing! Thanks so much for the tips!
LOL, thanks, Tracy! 🙂
My natural inclination is to put everything either outside or put a plant in it…so I’m trying to think of ways to get that floured look to hold up. The problem of course is that if it’s just sprayed, most things (like the flour) just dissolves into a liquid, and of course without any sealer it would just come off. I’m thinking either PP, maybe even white cement…? And then seal that? If we lived like…at all close…I can imagine the horrible experiments that would take place on innocent pumpkins.
Yes, for outside, you’d have to go with something besides flour. LOL, yep, we’d make an orange mess for sure! 😀
Great instructional. I was thinking that if some of us would rather make than buy the pumpkins because they can get pricey, I would try to make with paper mache’. Might work out just as well and I am a bit nervous about the flour use because of insects etc even though fixative is used. Thinking talcum/dusting powder with the use of a mask might give the same effect. Thank you again for sharing your ideas 🙂
Yep, powder should work as well. Let me know how they turn out!
Each time I put something on my faux terracotta plastic pumpkin, it turns a dark brown without the flour effects. Suggestions. I used acrylic first, did not like it, redid the terra-cotta process and used the Fixatif. It was no better.
I’m not sure i follow you. Can you send me a picture? We’ve had no issues with ours – they look the same after a year in storage.
Hi, just curious a year later how that paint has held up on plastic? do I not need to do any prep like sand down the glossy pumpkin? Seems like the paint might just peel off otherwise great dupe. I love the look of it and I am excited to give it a try!
The paint holds up great as long as you keep them indoors!
Hi, I want to put these outside, would this work, rain or sunshine?
Thank you,
I wouldn’t recommend using them outside, Monica. The fixatif wasn’t designed for that.
I just wanted to say that the 2 of you are amazing! I love see all the stuff you 2 create it inspires me . Thank you for sharing !
Thank you, Jess, I’m so happy to read this!
Loosely followed this, but found terracotta paint for 99 cents at Michaels. Mixed with baking soda as directed. For final coat, I use baking soda versus flour, I was thinking that the flour might attract bugs. To adhere, I sprayed the pumpkin with a spray adhesive then sprinkled on the baking powder. Let it dry overnight then brushed off. Did not use a fixant on top of it as I didn’t have it and didn’t want to spend that much money on something that was relatively inexpensive until that point. We’ll see how it holds up this fall, but love the look!
What was the total cost of the pumpkins?
I absolutely love this idea! The terracotta pumpkins are so charming and seem easy to make. Can’t wait to try this craft out for my fall decor! Thank you for sharing such a lovely tutorial!