Simple DIY Tie, Belt & Scarf Organizer
This simple DIY tie organizer can also keep your belts and scarves nicely organized and within easy reach!
Obviously I don’t need it!
Yeesh, the last time I donned a tie had to be somewhere in the lost and forgotten middle 2000s. Probably a wedding. Or it may have been some fancy dinner or industry party back when I wore the pants of a Wall Street man.
My-oh-my how times have changed!
I didn’t even wear a tie to my own wedding! My babes had already been married, so she wasn’t keen on a big wedding, and I’m of the opinion that weddings and funerals are two of the biggest scams going, so we kept it island casual and low-key.
As for belts? I’ve got a couple, but they sure don’t need organizing. And scarves? Well there may have been a time in chillier states, but I don’t see many in my future here in Florida.
That said, The Boy has a few ties, and he’s inherited my collection. He’s young and on the rise, and I expect he’ll be needing them throughout these years, so he’s the perfect candidate for this DIY tie, belt and scarf organizer!
And when my babes and I tackle our master closet (real soon!), she’s got enough belts and scarves to lash together a large and comfortable bamboo raft should we ever get marooned on a desert island, so I’ll make her one, too!
The thing is, this tie organizer is so easy to make and use, it almost makes me wish I had more occasions to don the monkey suit and waddle around like a self-important putz.
Almost.
DIY Tie, Belt and Scarf Organizer VIDEO Tutorial
On Tiktok
On Instagram
We love to see our DIY projects out in the wild! If you try this DIY project and take a picture and post it on Instagram, be sure to tag us – thenavagepatch
More Organization Ideas
Tie, Belt and Scarf Organizer Tutorial
C’mon, it’s really too easy. I can’t even justify putting steps into this, but okay, because the Google Gods like posts with steps, here we go!
Step 1 – Install the towel bar
Okay, I pretty much gave it all away in the title of the step, so lemme try to break it down for you. Take the box that holds the towel bar. Perhaps you ordered it from Amazon. Maybe you bought it at the blue store or even the orange store. Take that box and give it a good long look, and then grab a kitchen knife and carefully slice through the annoying tape that’s preventing you from getting inside.
Once you’ve opened it, remove the towel bar and show it around your home. Make it comfortable, and then show it where it will be spending the next phase of its existence: inside your closet.
Now would be a good time to call your mother, or if she’s passed on to the Great Closet in the Sky, you may want to call your daughter. Tell her of your beautiful plan and then grab a level, a screwdriver and a hammer and install that towel bar!

Kudos to you madam. Towels everywhere will be singing your praises for generations to come.
Step 2 – Prepare the rings
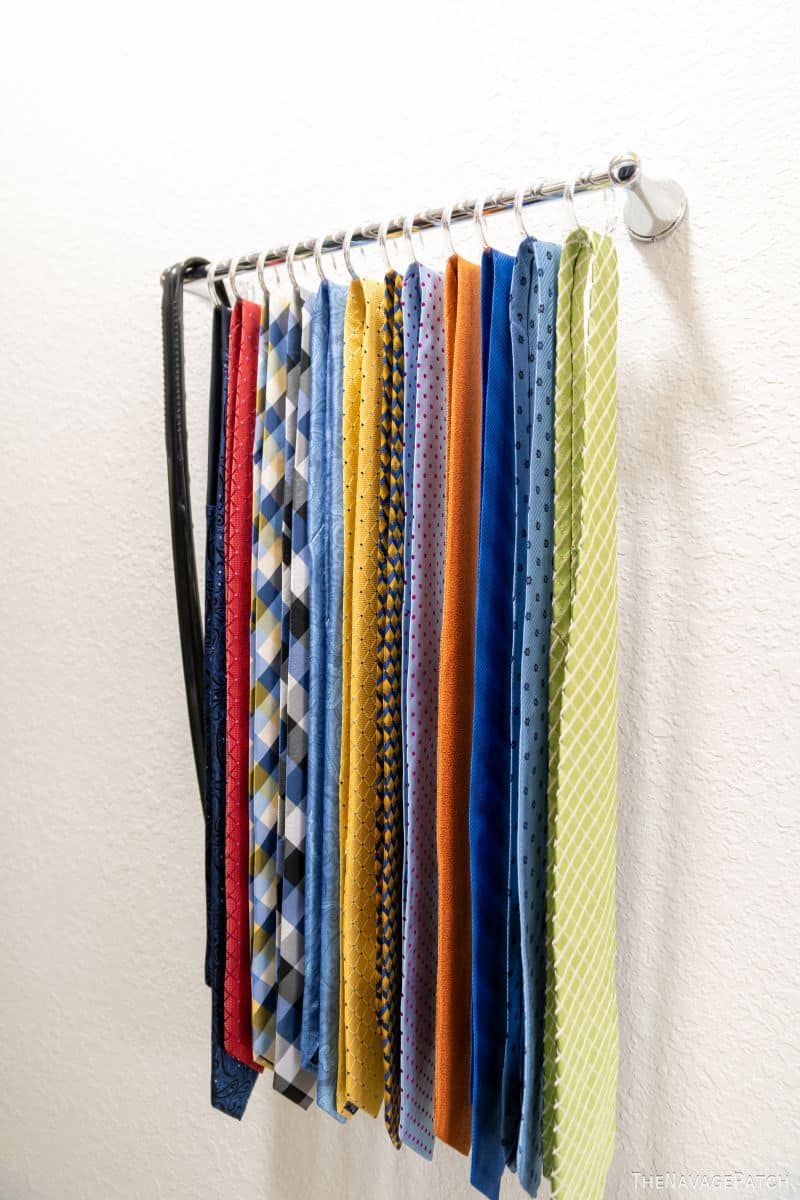
I know it sounds like something out of a Tolkien book, but I assure you it is far more mundane. Dollar Tree plastic shower curtain rings come in 12-packs. How many packs you buy, and for that matter, how long a towel rod you buy, depends entirely on how many ties, belts and scarves you want to hang and organize. Our son had a dozen ties, so one pack was the perfect number to fit on an 18-inch towel bar with room to grow.
Here’s how it’s gonna go down. You’re going to take up your pliers in your dominant hand and pluck a ring from the pack with your other hand.

Holding the ring firmly, you will latch the pliers onto the little plastic connector piece and give a quick downward snap.
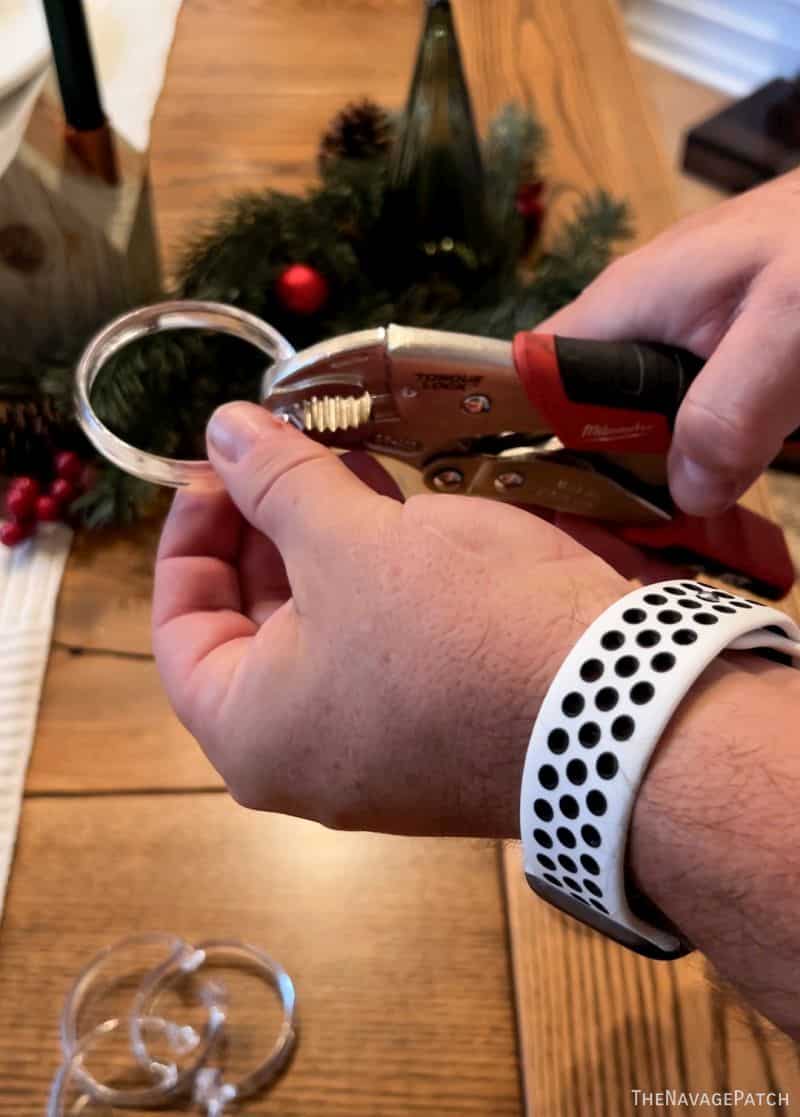
The plastic connector piece is no match for your strength nor your intellect, and it will break off from the shower curtain ring with only the barest resistance.
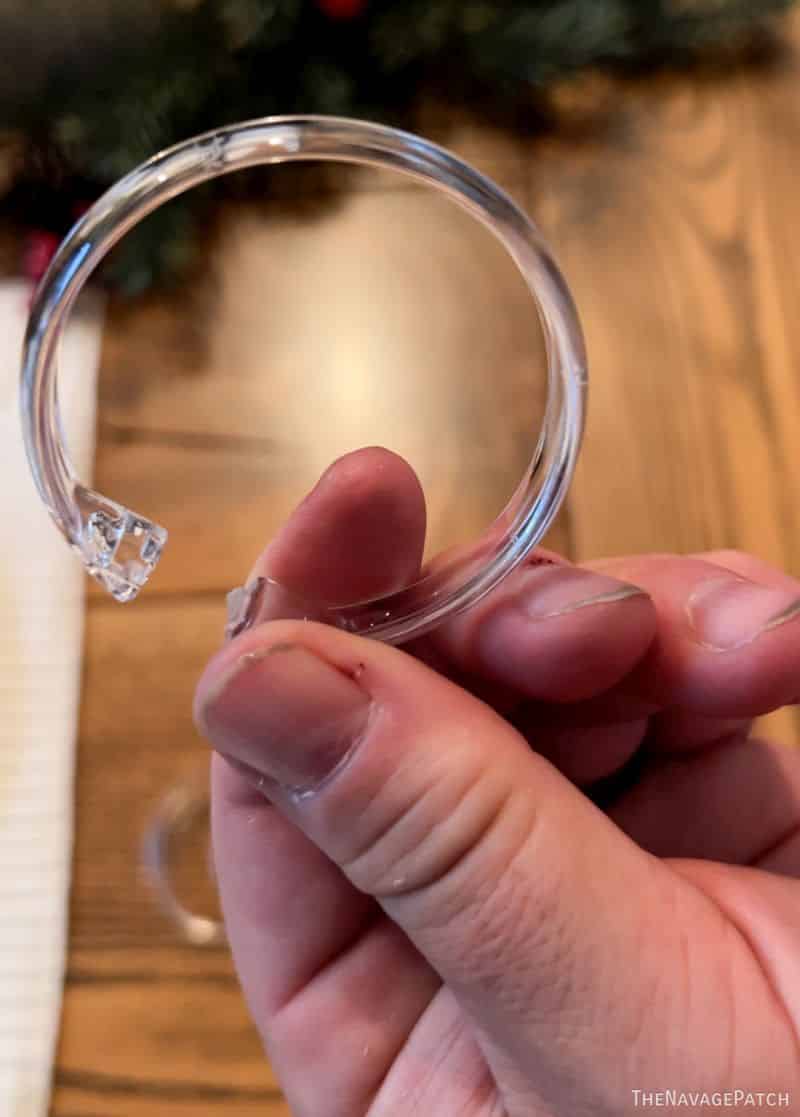
You may repeat this with as many rings as you need and then carry them into the closet.
If the plastic decides to be stubborn and doesn’t break cleanly, simply sand down the remaining nub – you wouldn’t want to catch a nice silk tie or scarf on a sharp piece of plastic!
Step 3 – Organize!
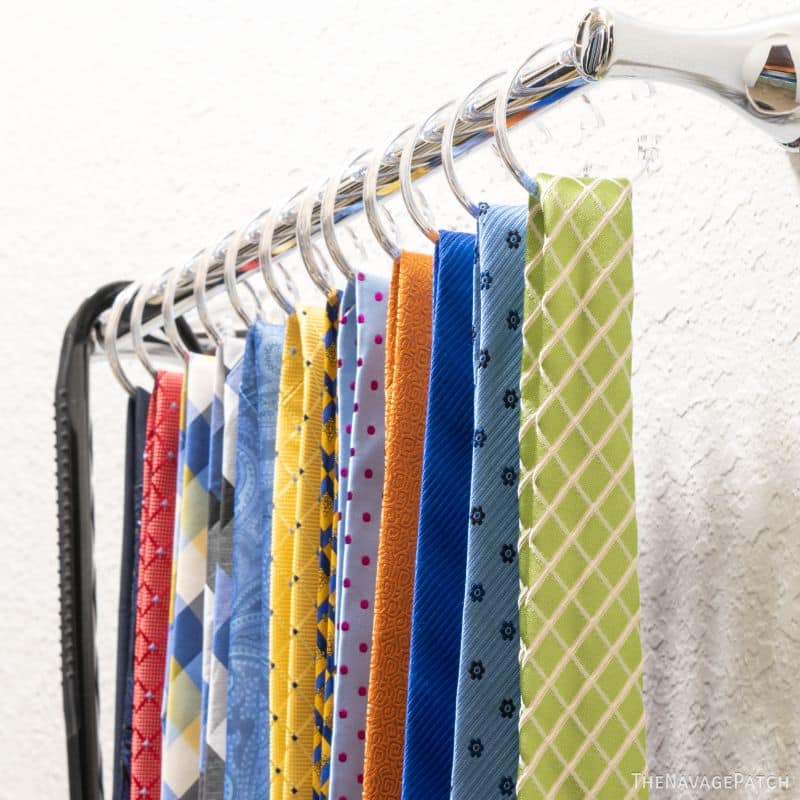
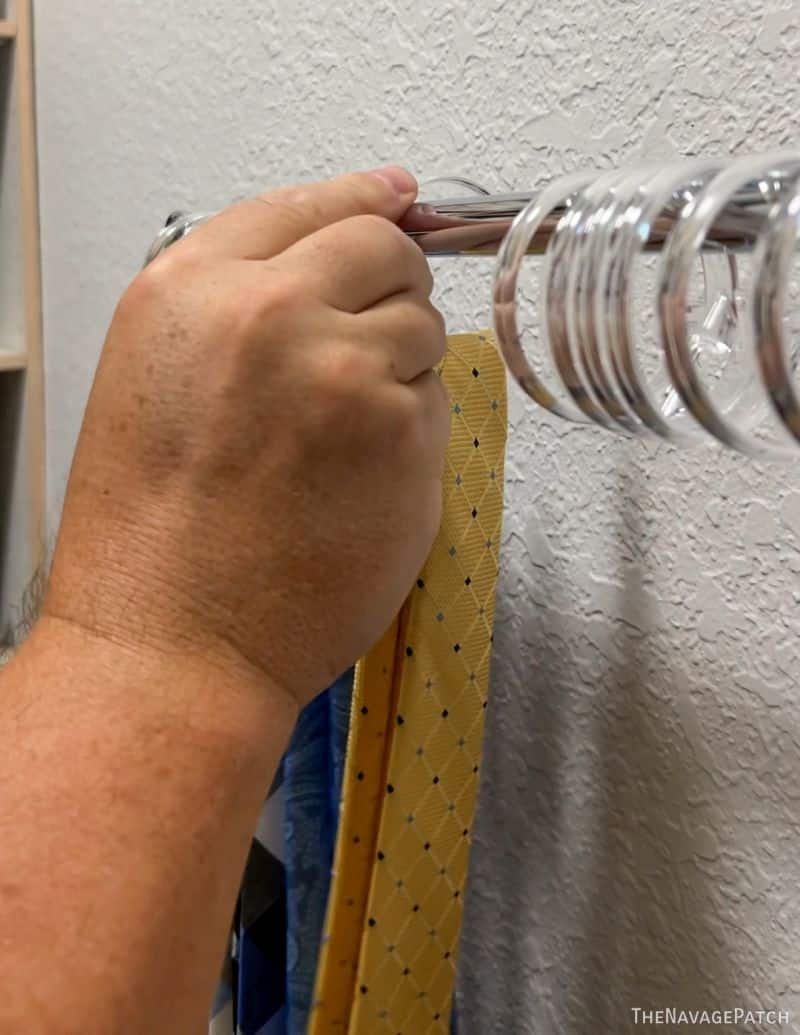
To use your new tie, belt and scarf organizer, simply drape a tie, belt or scarf over a ring and place it onto the bar.
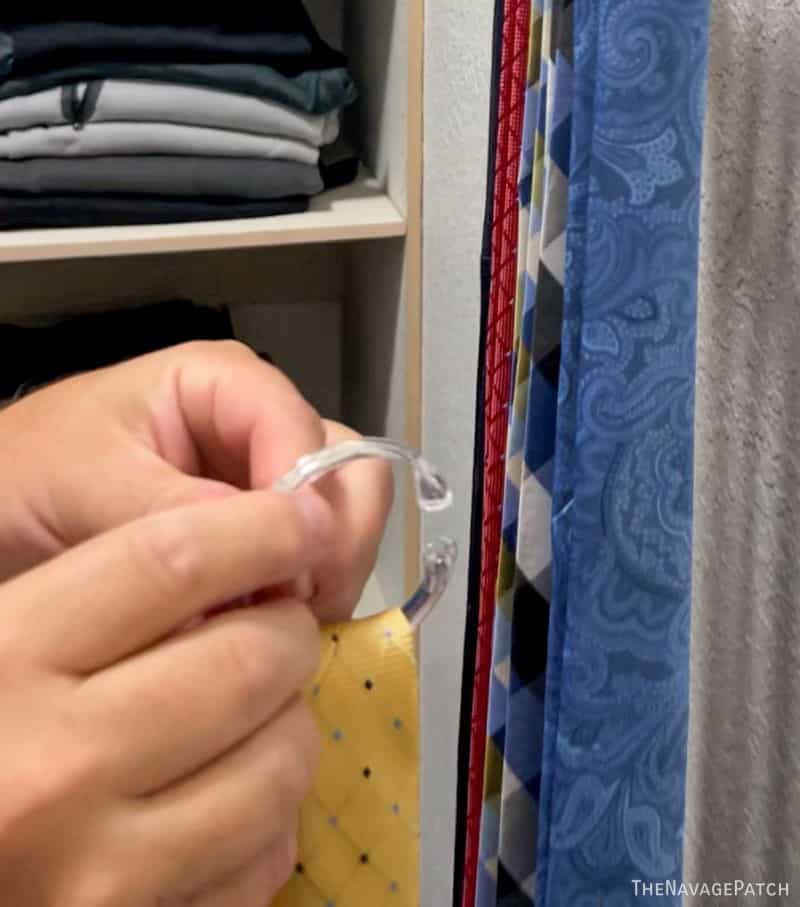
The bar passes right through the ring – there’s no need to open it with your other hand.

Easy on, easy off, and ties, belts or scarves beautifully organized, easy to see and easy to reach. That’s a lot of easies for one sentence!


This would be great for necklaces and bracelets too,
Absolutely, Claudia! Lots of uses!
Nice idea execution. I did something similar with an thrift store oak towel bar that I painted and used Ikea rings for some jewlery. This option for the Dollar store rings used white HASSJÖN shower curtain rings, $1.29 for a 12 pack from Ikea. In using them, instead of the Dollar store ones, you can loose the pliers and skip having to snap out the connecting piece (and sanding down the sharp edges left behind). They also have black ones, too: RINGSJÖN at $1.99 for a 12 pack. cj
Great idea, CJ! Next time we’re near IKEA, I’ll grab some of those!
Clever, clever, clever!!! franki
Thanks, Franki! 🙂
Ties Greg? I’ve never seen you in a tie. Seems strange to organize things that aren’t even a part of your wardrobe. Maybe you have a secret life? Just teasing!
LOL, though some of those ties were once mine, they now belong to Baris – it’s his closet! 🙂
I just made a similar organizer but for ball caps! I actually used command hooks and a small curtain rod so it doesn’t have to be permanent. I then used “s” hooks so it was a bit easier to put them on and off. I have three rods on the wall behind the bedroom door so you don’t see it when the door is open. Perfect for the so many ball caps I didn’t realize he had!
That’s a great idea, Angela!
Great idea!
Thank you, Jean!