Carpet Removal and How to Easily Remove Carpet Tack Strips (& Staples!)
Carpet removal is a cinch with a few simple tools like a carpet staple remover. We’ll also show you how to remove carpet tack strips the easy way!
Pablo Picasso once said, “Every act of creation is first an act of destruction.”
He wasn’t the first to voice this sentiment, nor would he be the last.
It is as true in nature (an old forest must burn to make way for new new growth, and the ashes of the old nourish the new) as it is with modern man – newer, bigger (better?) cities rise from the rubble and rest on the foundations of buildings sacrificed in the name of progress.
So it is with our craft room makeover.
Except, you know, we’re not burning the room to the ground.
And we’re not reducing it to rubble.
Okay, so maybe my comparison is a bit dramatic, but we did have to tear out the carpet.
That’s a little bit of destruction, right?
Okay let’s get on with it.
If you believe The Internet, carpet removal ranks up there with colonoscopies and prostate exams in terms of the stress it gives people.
Folks, there’s no need to fear the shag.
Removing a carpet is simple if you do it the right way!
Carpet Removal – The Easy Way!
- Utility knife
- Hammer
- 6-in-1 painter’s tool
- Stanley Wonderbar (or other pry bar)
- Carpet staple remover
- Knee pads (optional)
- Gloves (optional)
Step 1 – Cut the carpet into strips
The first thing you need to do is figure out how many strips you’ll need to cut. Factors that weigh into this decision:
- How strong are you? Carpet can be pretty heavy, so plan your strips accordingly!
- How far do you need to carry the strips? To the garage? The street? Down a narrow stairway? Plan your length accordingly.
- How will you be disposing of the strips? If you’ll be bagging them, you’ll need to make the rolls small enough to fit into contractor bags. If you’ll be throwing them in a dumpster, you can have them as big as you want. We cut ours into two strips – easy enough for me to carry, and small enough to fit in the car so I could take them to the dump.
Use a utility knife to cut the carpet into manageable strips, which you will later roll up and carry away. Carpet fibers are pretty tough, so you’ll probably need to make 2 or 3 passes to cut all the way through. There’s no need for a careful touch UNLESS there is good hardwood flooring underneath that you are trying to rescue.
Step 2 – Start pulling the carpet
Most will find it easiest to start pulling from a corner. You can use your 6-in-1 tool or a screwdriver if necessary, but the carpet should come up fairly easily. We started pulling ours from a floor register that was near the wall, as it was the easiest place to start. Be careful around floor registers! They’re lined with carpet tack strips, and they’ll puncture your finger with the slightest pressure.
Ask me how I know!
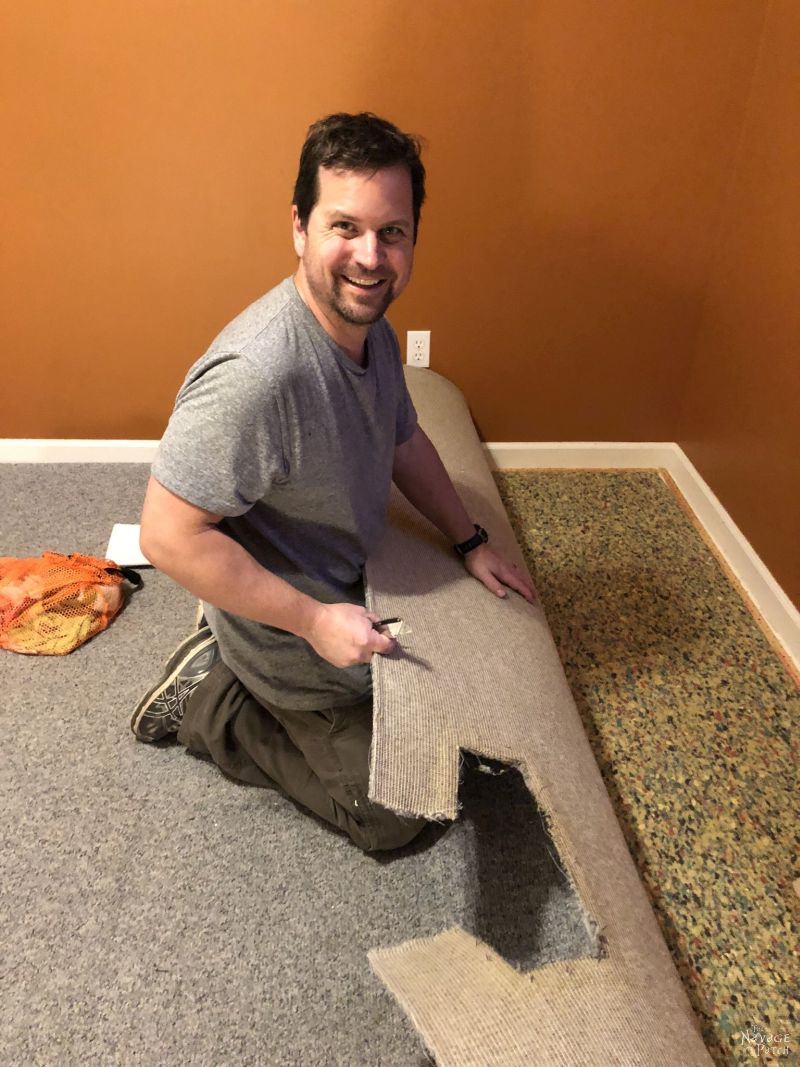
Step 3 – Roll up the carpet strips
It’s really so easy! Unfortunately, as I started to roll, Handan squirreled and ran into another room, leaving me to roll alone. At the time, I wasn’t thinking of writing a blog post about carpet removal, so I just carried on my merry way. Removing this carpet took all of 2 minutes. It actually took longer to remove the carpet pad!
Step 4 – Pull up the carpet pad
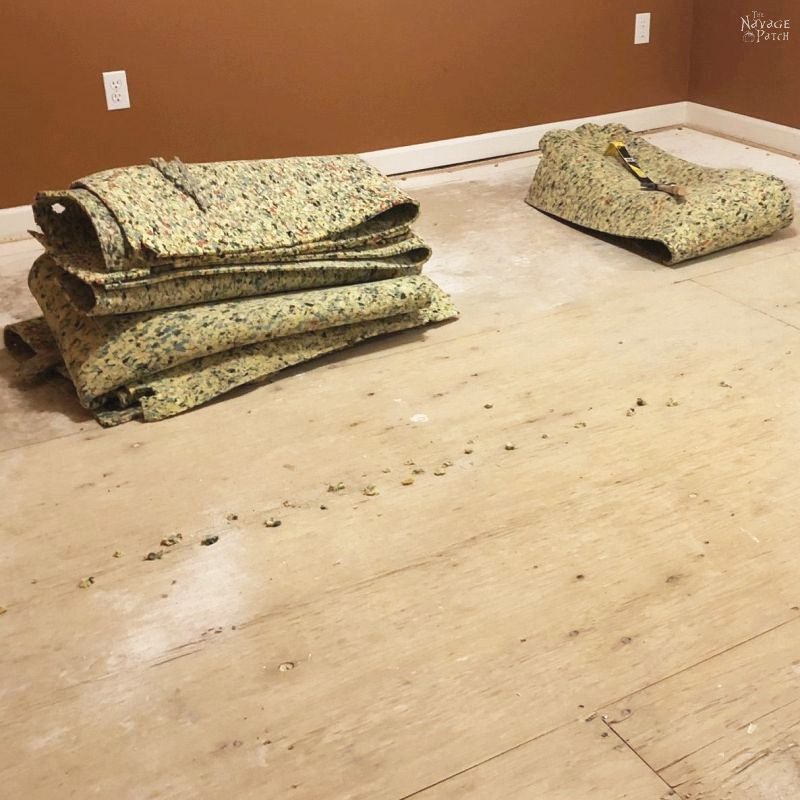
Blech, what a nasty thing! The carpet pad is where all the dirt and dust of decades past has gone to hide. This dirt is so deep that no amount of vacuuming could ever have cleaned it! The best way to remove the carpet pad is to fold it up. It’s usually laid in smaller sections, and it’s stapled along its edges.
Ours seemed to be stapled by someone very determined and very drunk – lots and lots of staples all over the place!
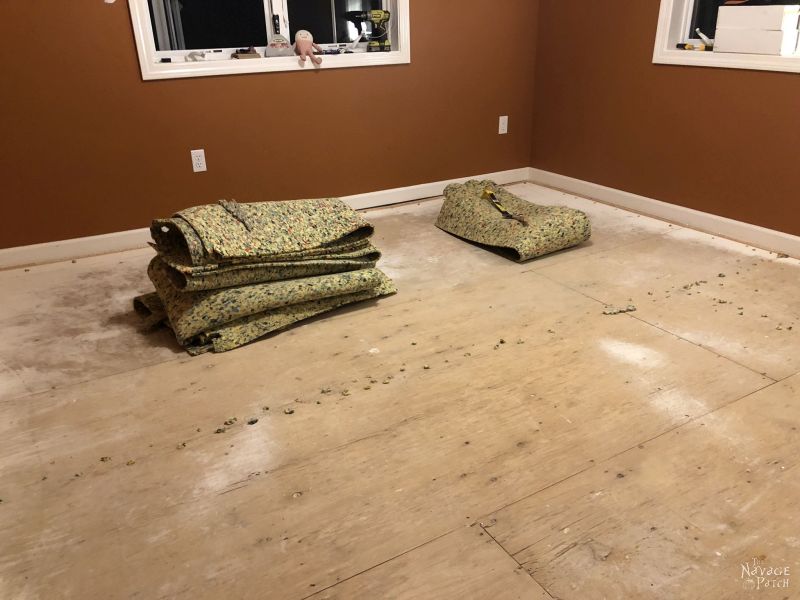
Step 5 – Remove the carpet tack strips
Some people have a hard time with this step, but I’ll show you how to remove carpet tack strips the easy way with three simple tools. Pick somewhere to start – either a corner or a break between two tack strips. Use the 6-in-1 painter’s tool and a hammer to lift one end of one of the strips.
Gently tap the painter’s tool with the hammer until it is underneath the carpet tack strip.
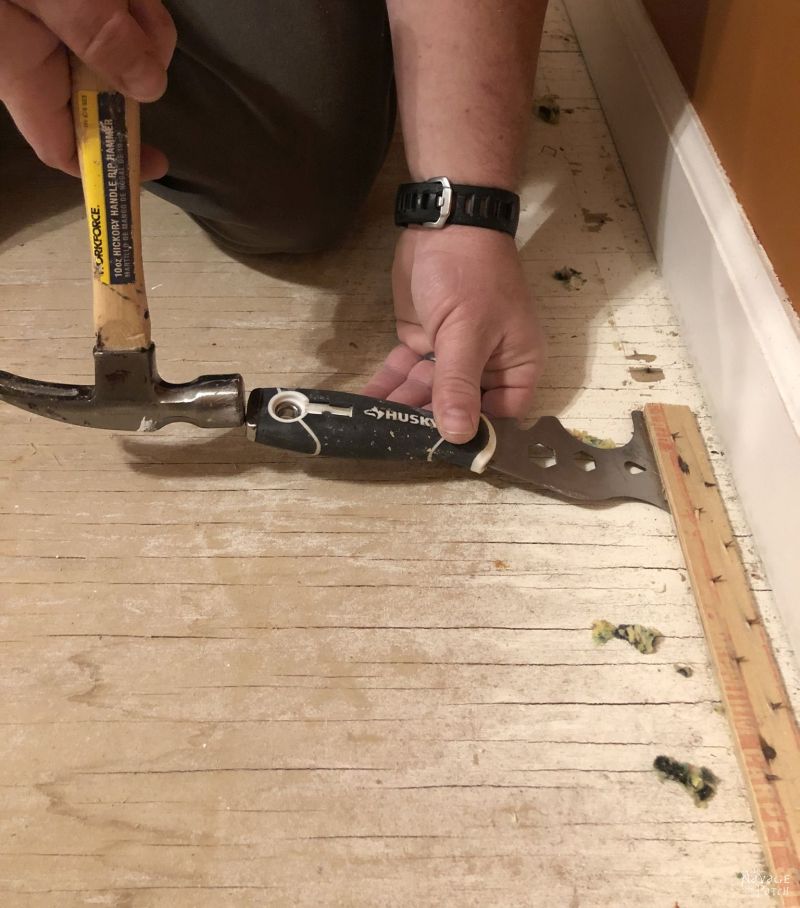
Lift up. This will create a small space between the carpet tack strip and the floor.
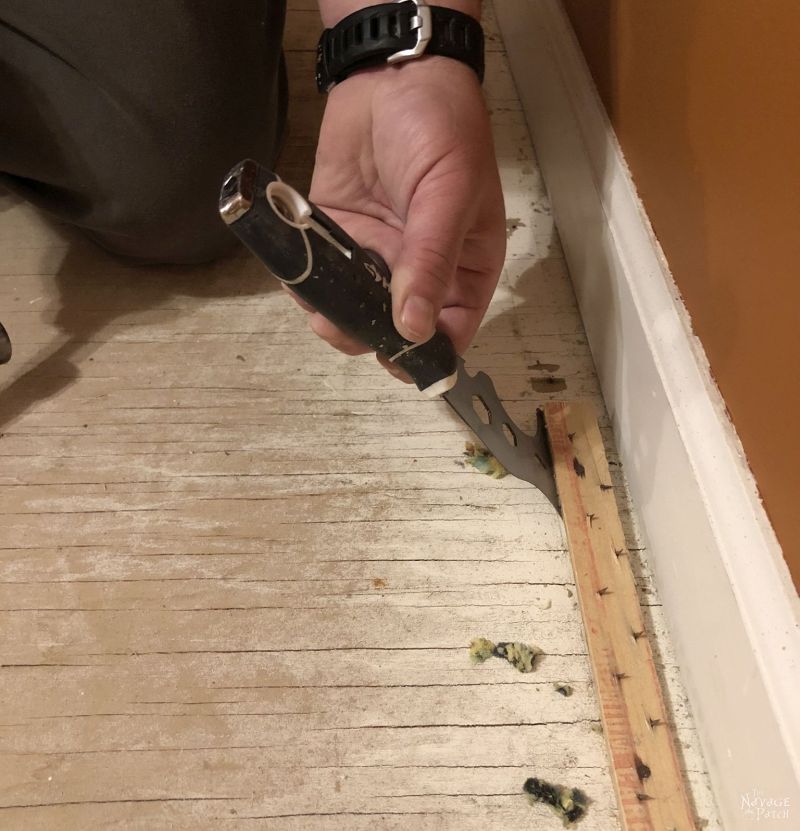
Why not use a regular scraper or why not just use a pry bar to begin with?
Good questions! Most regular scrapers are too flexible to lift up the tack strip. The 6-in-1 tool is rigid.
Most pry bars are too thick on their prying end to easily fit between the tack strip and the floor. By creating a space with the painter’s tool, the pry bar fits right in.
By the way, I swear by Stanley’s Wonderbar not only for this job, but for all my trim and baseboard removal as well.
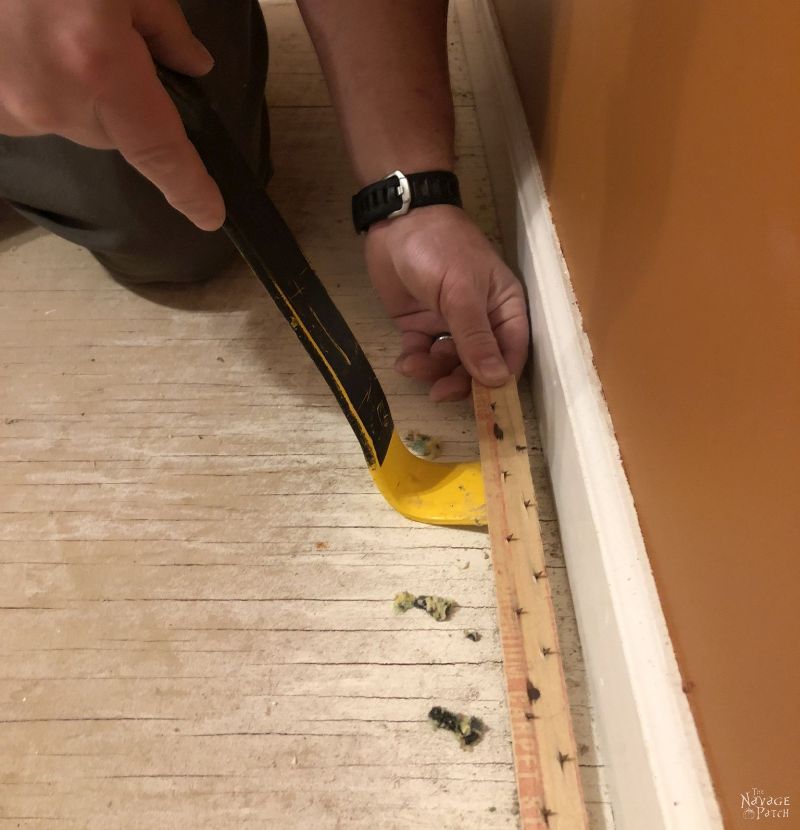
You will see floor nails at regular intervals along the strips. To easily remove the carpet tack strip, move the pry bar near a nail and pry up while gently lifting the end of the tack strip with your other hand.
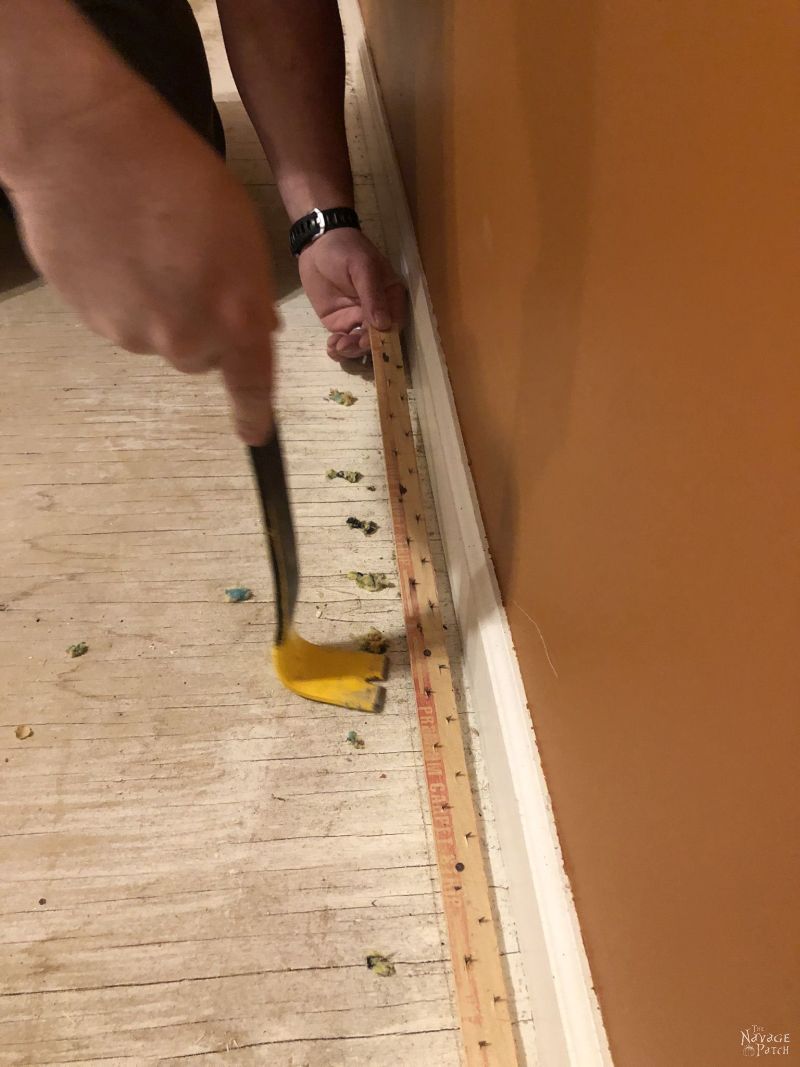
With this method, you’ll never break a strip unless the wood is rotten. Oh, and do be careful when removing carpet tack strips. Those tacks are beyond sharp!
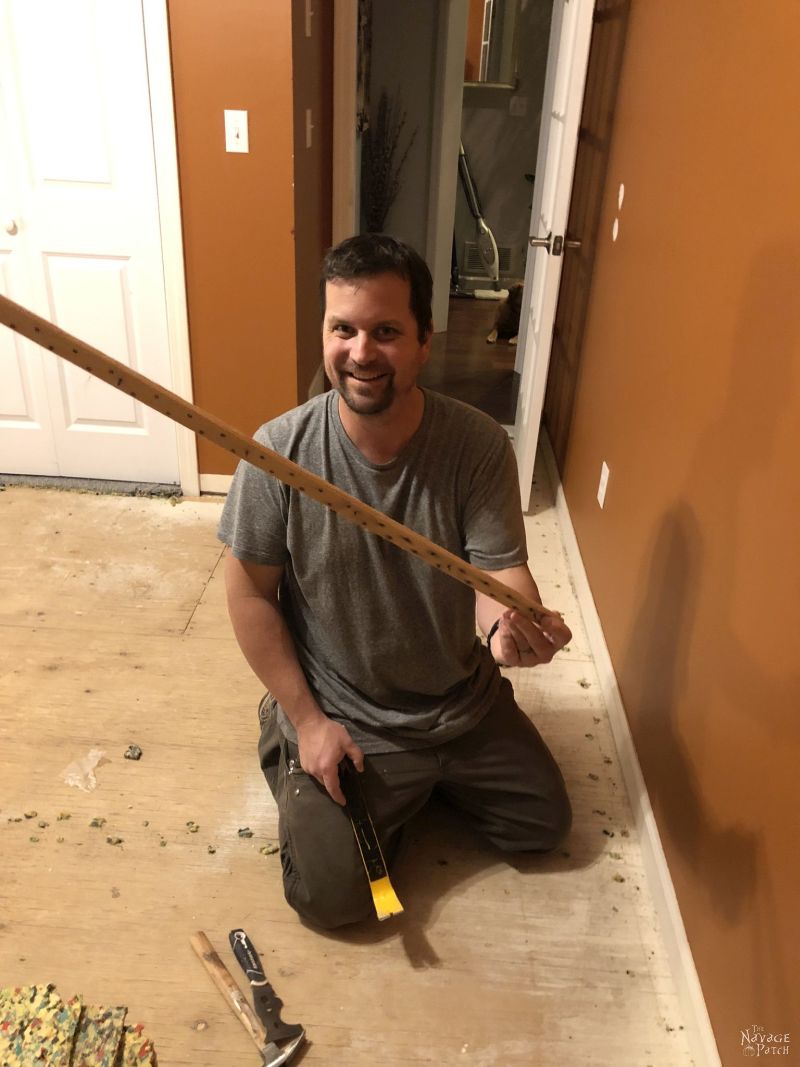
On a side note, I seem to be smiling too much, given the nature of the work I’m engaged in.
Never trust a man who smiles too much.
He’s selling something.
Oh, hello there! Fine day, madam! May I interest you in this delightful product? You’re going to need it for the next section, you know!
Step 6 – Remove the carpet staples
Okay, so this is the step that sends people into conniption fits. The problem is – EVERYONE IS DOING IT THE WRONG WAY!
(and that included me until my babes showed me the light)
Like most others, I started attacking those staples with a flathead screwdriver and a pair of pliers. After expending considerable energy removing three carpet staples, I looked around the room at the hundreds left and muttered a string of words that began with the letter ‘F,’ which included, but was not limited to, “farts!” “fanny!” “flubber!” “fuggedaboudit!” “fink!” “fish-heads!” and one other F-word not fit to print on this pious and wholesome blog.
My babes heard me babbling profanities and came to see what was up.
“What are you doing?” She said, looking down at me as a mother would look down on a snot-nosed 4-year-old sitting on the ground covered in mud.
I babbled and pointed at the staples and then at my screwdriver. “Hmph!” I said.
Point well made, I thought.
“My babes,” She said, and I knew right away I was doing it wrong. “My babes, I have a tool for that, you silly. Just wait.”
She left, and I continued glaring at the carpet staples.
Little metal jerks.
She returned and handed me the most wonderful tool in the universe: a carpet staple remover.
Forget about the moon landing, the personal computer or flying cars – this is mankind’s greatest achievement! Well, at least it is during the time you’re trying to pull carpet staples out of a subfloor. For most other times, I guess the moon landing would still be number one.
The staple remover not only made the job easy – it made the job (dare I say) fun!
Just shove it under the staple…
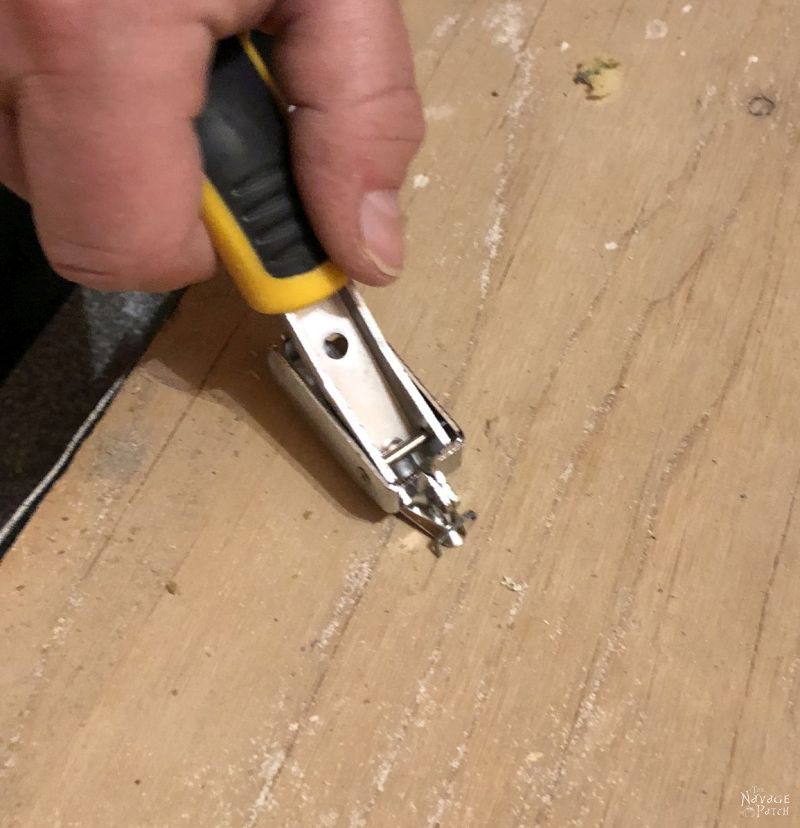
..and push down. The carpet staple remover locks onto the staple and lifts it up!
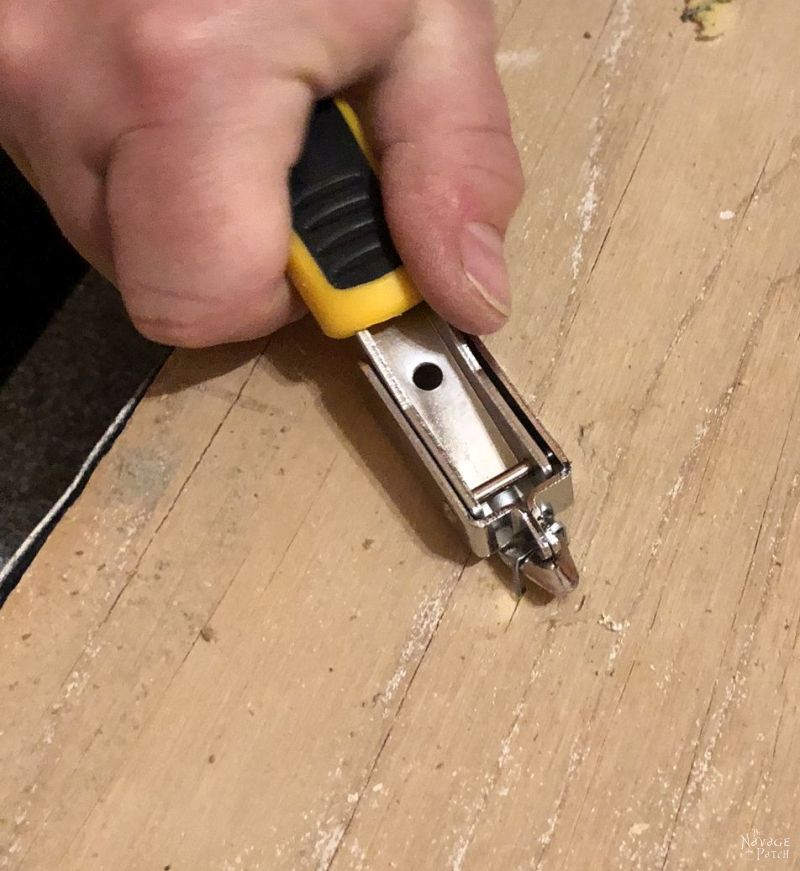
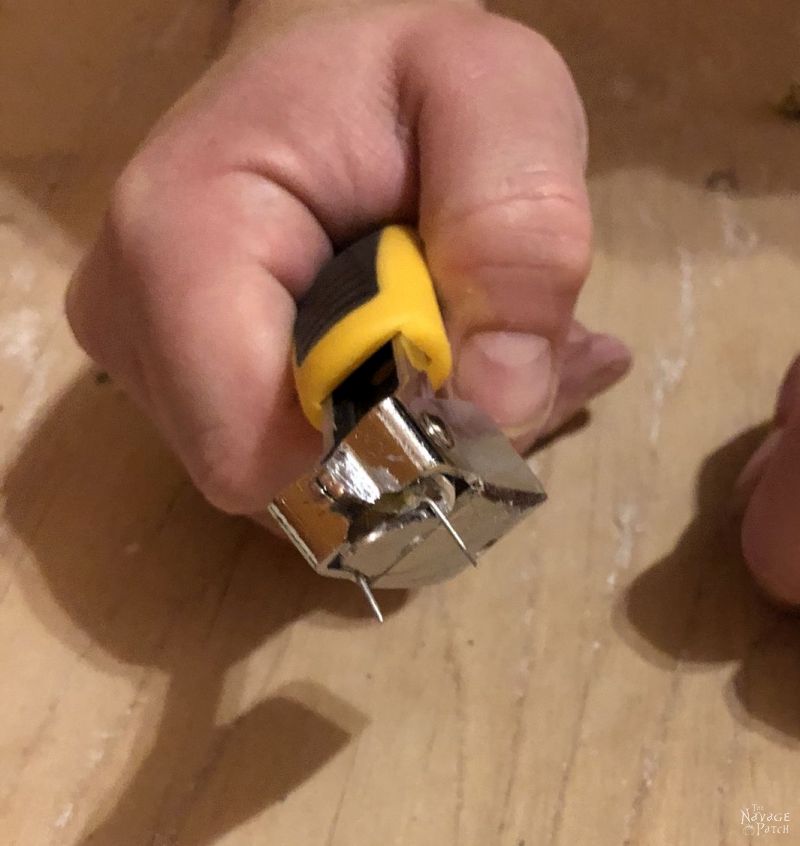
This little gadget turned what would have been an hours-long crapfest into an easy 10-minute job.
Step 7 – Vacuum and you’re done
While vacuuming, you’ll likely encounter one or two stray staples that eluded detection. Pull them, and you’re done!
*****
Carpet removal is a simple job that’ll save you a ton of money by Doing it Yourself. There’s so much fear and mystery when it comes to carpet and flooring, but like most things in the home, once you learn how to Do it Yourself, you realize that most of the hysteria is generated by “professionals” who want nothing more than to funnel your hard-earned dollars into their own bank accounts.
So with our own carpet removed and disposed of, I turned my eye to the walls, window trim and ceiling. It was the perfect time to paint – no need for a tarp because there was no floor to mess up!
If you’re following along with the craft room makeover, here’s how we stand:
Craft Room Makeover Checklist
Craft room ideas and laying out the game planPaint the walls, ceiling and trimPaint the french doorCarpet removal- Install laminate flooring
- DIY craft table for Cricut
- Buy curtains and install curtain rods
- DIY / buy a computer desk
- DIY Closet makeover
- DIY Industrial Bookcase (West Elm Inspired)
- Antique Sewing Machine Drawer Upcycle
- Upcycled craft room storage
- Craft room makeover reveal
Click here to see more craft room makeover posts as we continue to cross items off our checklist!
We love it when you share our posts on Facebook and Pinterest!




I love your blog! I have a house with tack strips galore. Nice to see it done with regular tools! Ps-a prostrate exam would have you on your stomach on the floor. A prostate exam is the one where you turn your head and cough 🙂
LOL, my proofreading isn’t what it used to be! Thanks for pointing it out! 🙂
I agree with you on the carpet pad and decades of dirt! When we took out our Master Bedroom carpet, after we removed the underfelt/carpet pad and started vacuuming, we had to clean out the vacuum filter 7 times before we could get all the dust and dirt out! The easy part in South Africa is that we have concrete subfloors, so no staples to remove, but they do fix the underfelt with a glue… Great job, can’t wait to see the new floor!
Thank you, Junette! South Africa sounds more like Turkey – everything concrete instead of wood. I’d really much prefer it that way!
You forgot “felgercarb” in your string of f bombs. I wish I had one of this handy-dandy tools when I was removing tons of carpet staples years ago. I hate finding all that fine dust and sand under the pad. EWWWW. We did the tedious screwdriver and even hand staple pullers (those claw types). So not fun.
Handan, you find the the best gadgets.
You know, I may have actually said that one, too! Seriously though – she really does find the best stuff! 🙂
Greg, I hope you can provide me with a solution to remove the perimeter carpet tack strips that are nailed to the concrete floor/slab…before I start thinking I will have to pay someone to do the job. I have severe allergies and need to remove the carpet plus linoleum in BR and Kitchen and have the new, waterproof vinyl installed. I am 70 and need your advise…or a genie! Charlotte
.
Charlotte, I will try to help you if I can, but first, could you email me some pictures of the tack strips? greg@thenavagepatch.com
Thanks!
Do not know why people remove the tack strips if they are reuseable for many ,many installation. unless you’re going to install some other type of floor rather then carpet.I remove 120yards of old carpet that was 31years old said my customer,no problems.reusing the take strips is not a crime why would you need to go tru the trouble.and delays I’m getting your new carpet installed by a professional then we could focus on other issues . Please stop removing the tack strips.people cause bigger issues problems on cement floors when they remove the tack trips there cement foundation seal breaks yeah keep on using a pry bar that causes more problems
That’s good advice! In our case, we removed the carpet and installed laminate floors, so there was no reason to keep the strips.